A SAILING HOLLIDAY

Janneke from Holland sailed with me in the first Bris 1972 to 1978.

Recently we have renewed our contacts.

A few weeks ago Janneke suggested that as small sailboats are so cheap in Sweden and as it such a paradise to cruise here why do we not purchase a little boat and have a holliday.

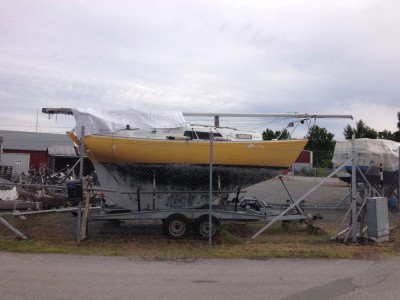
After searching the web we chose a Västbris 20. A high quality boat with lead keel and teak interior.

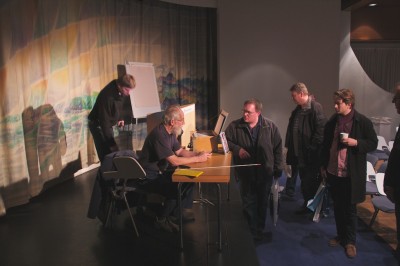
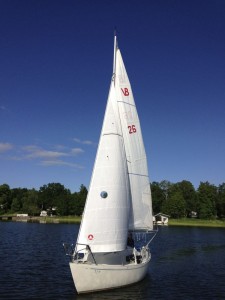
Below a picture of a sister boat on land

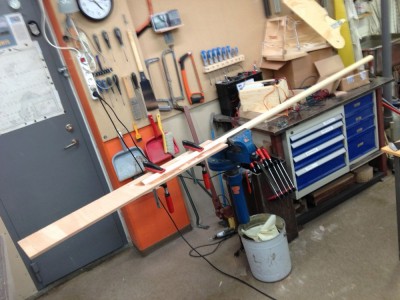
We bought an boat without an engine so i made a sculling oar. Here is the start.

My trusted sailmaker Hans Hamel made a new mainsail

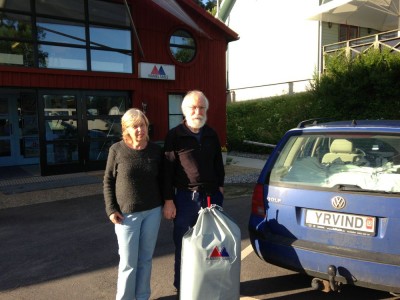
I took delivery of the boat in Stockholm and sailed her to Kopparmora båtklubb where Beppe my webmaster looked after her her while I drove to Holland to pick up Janneke. Below a selfportrait

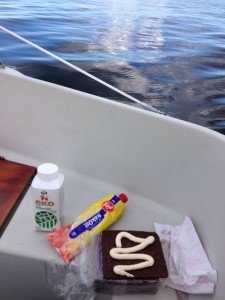
My first meal abord consisted of Räkost and raybread and milk. The raybread was leftover from my 2011 Atlantic crossing in the 4,8 meter chinerunner. It tasted as good as new and is probably good for a few more years.

Webmaster testing the boat with the old mainsail.

Janneke at the tiller.

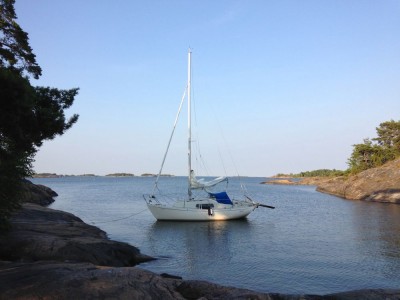
Tied up to an island near Oxelösund.

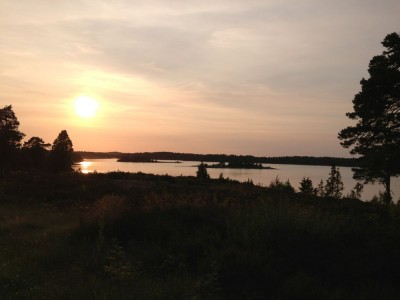
Below, a few islands near Fyrudden Gryt. There are tens of thousands of unhibited island in that region and no tide, a paradise.

Now we are back in Västervik working.

Janneke has promised to write something about how Seaband and akupressure prevents the terrible seasickness.

To be continued…

Regards Yrvind
TWO FORMULAS

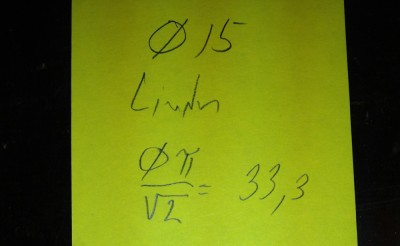
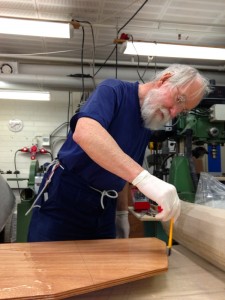
I am now sandpapering the  stow hatches below the bed. In a few places there is a inside radius. For that I have winded sandpaper around a stick. I use tejp with adhesive on both sides. Winding it 45degrees to the axis. To calculate the with of the sandpaper strip I came upp with the following formula

pi times diameter divided by the square root of two

The diameter of my stick is 15 mm hence the with of the strip 33 mm

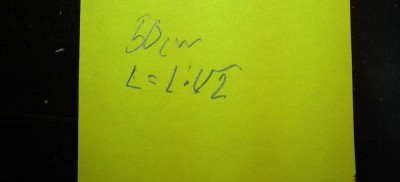
The lenght of the strip is lenght of strip times the square root of two

A composite boatbulder often do windings to create or reinforce spars or cover with leather for example so it has general

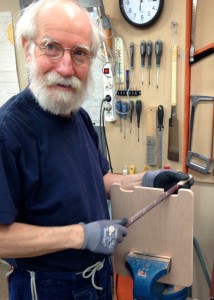
Below a pictureof me using sthe sandpaper stick

To be continued…

Regards Yrvind

STOWAGE HATCHES

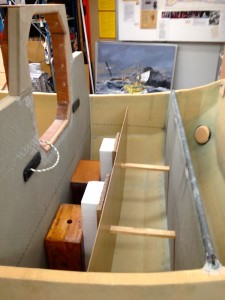
Below are some pictures of the work on the stowage hatches below the bed.

Work has not been fast. A film team from Hollywood has been here and entertained me with doing a video with me running in Reebok shoes. It was fun and hopefully it will get a nice price. They have now left and I am therefore still working on the hatches below the bed.

I have also been in Holland to fetch Janneke to help with the work. She is now  back in Holland.

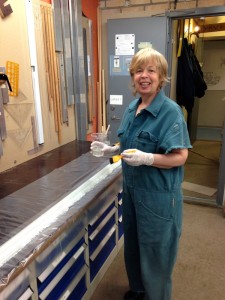
Below Janneke laminating a L-profile to rest one end of the hatches on.

Click once or twice on the pictures to enlarge.

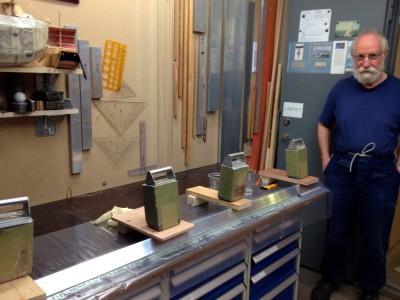
Two aluminium L-profiles are being used as moulds. Lead weights gives a bit of pressure.

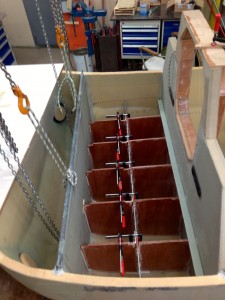
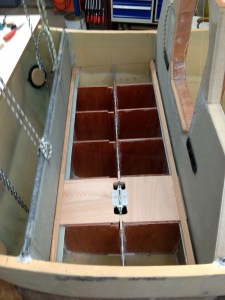
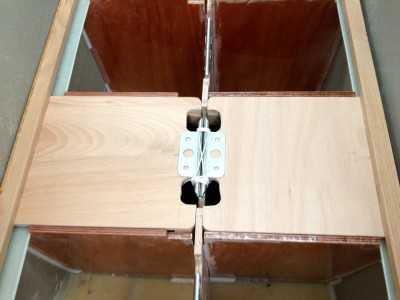
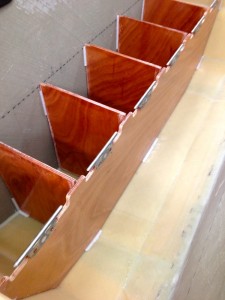
The twelve compartments

The first hatches in place

The cleat locking system works well, but maybe the holes for the rope is a bit big.

To be continued…

Regards Yrvind.

PIPE RIVETS FOR CLEATS FOR STORAGE HATCHES

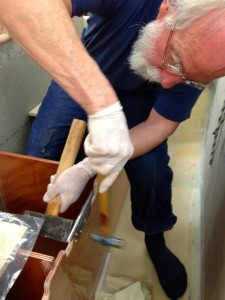
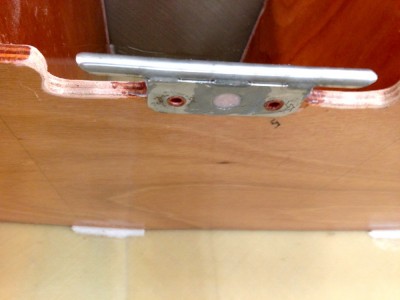
Today I have, with the help of Janneke, fastened the cleats for the storage hatches under the bed with pipe rivets.

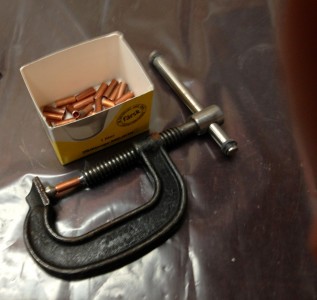
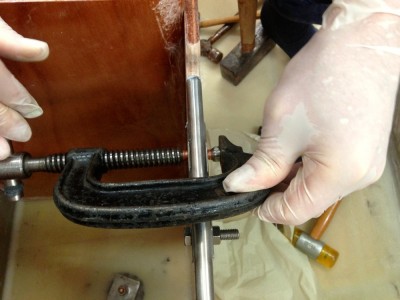
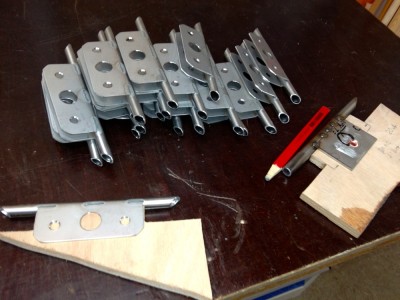
I have converted a c-clamp into a rivet tool. After that I used the traditional hammer and a counterweight.

Below are some pictures. Click once or twice to enlarge.

The tool and the rivets made from cupper piping by Janneke.

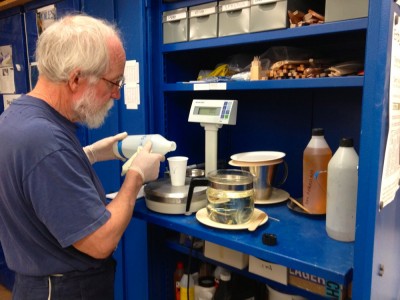
I am mixing NM-epoxy on my precision scale to 1/10 of a grams accuracy.

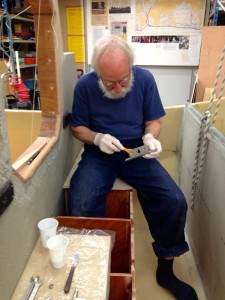
Applying the filler.

The tool in action

Riveting

Done

One of the cleats in place

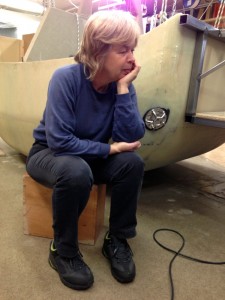
Janneke contemplating

I GET AN AWARD

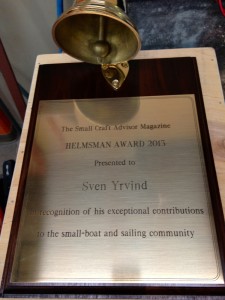
Yesterday was my 74th birtday. A package waited for me at the post office. On open it I found the an award with the following inscription:

THE SMALL CRAFT ADVISOR MAGAZINE HELMSMAN AWARD 2013

PRESENTED TO

SVEN YRVIND

IN RECOGNITION OF HIS EXCEPTIONAL CONTRIBUTION TO THE SMALL BOAT COMMUNITY.

The camera never lies. As proof of the above I proudly enclose two pictures. Click once or twice to enlarge.

Regards Yrvind.

STOWAGE HATCH CLEATS

The stowage hatch cleats are now ready as seen in the picture below.

The bottom right one is the first full scale mock-up. It has two different horns for testing. A piece of cupper pipe is used as a rivet. The final product have two rivets. Rivets are used becouse the can be ground down flat and smoth on each side of the hatch and of course no amount of vibration will unscrew them.

To be continued…

Regards Yrvind
A COMPLICATED STRUCTURE

The full scale functional mock up of the aft structure have arrived.

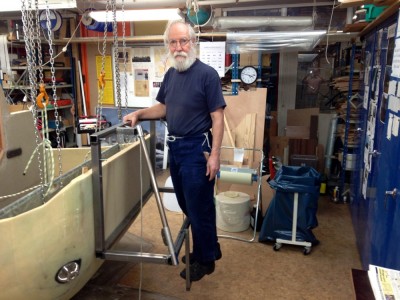
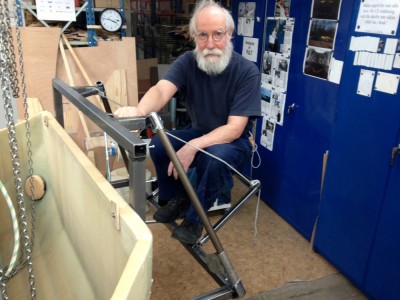
It serveces several purposes such as holding the two rudders being a bath platform and bording ladder. It also holds the pipes spanning up the watercatching arrangements. to port there is the yuloh hardware and to starbord anchor handling gear.

The final product will be made of stainless steel the mock-up is ordinary construction steel. Mock-ups gives good guidence. Already I have listed seven changes to make.

Below are some pictures. Click once or twice to enlarge-

Standing on the ladder.

A convinient seat.

Relaxing with the feet in the water.

To be continued…

Regards Yrvind.

CLEAT LOCK

Production boats are built with the fiction that they will never capsize and few boats do, but that’s because they restrict themselves to conventional cruising as advocated by Jimmy Cornell and others; hence their stowage hatches do not have hardware that enables them to be locked.

Me, I like to be able to keep things in place even during capsizes. In previous boats I have been experimenting with different ways of locking the hatches. Here are a few considerations. Ideally the locking system shall not interfere with the inside space nor intrude on the outside it should be strong and simple and easy to open and close even in the dark on a rolling boat. It should be reparable at sea.

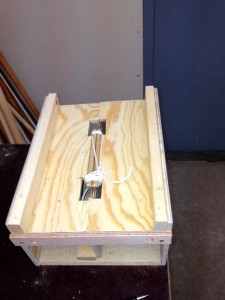
Here is the first mock up for YRVIND TEN. It consists of three cleats and a piece of Dynema string. It is incredible strong and nothing can go wrong with it. On my first small mock up it works well. Full-scale tests with the proper hardware will tell if it pass muster.

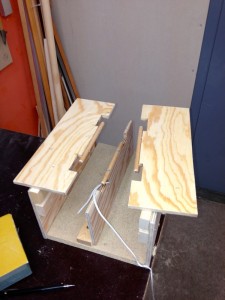
Below are two pictures, locked and two open hatches click once or twice to enlarge the pictures

Below the two hatches are opend

to be continued…

Regards Yrvind
WORK HAS STARTED AGAIN

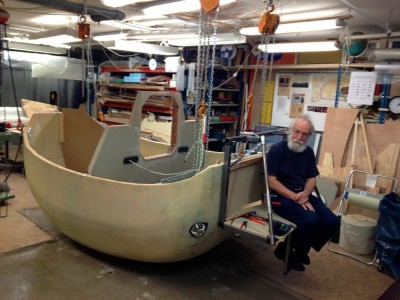
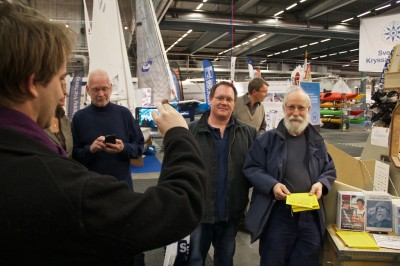
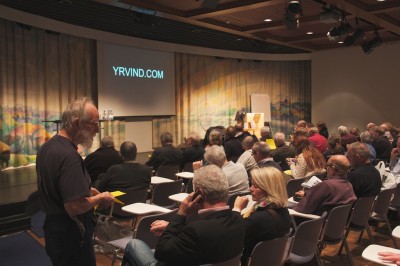
It is a long time since I did work on YRVIND TEN. I have had her exhibited in Göteborg and Stockholms boatshows. Also I have been making a trip to Holland to visit my old crew member Janneke. We talked about the days sailing Bris and being capsized and pitchpooled in the roaring forties near Cape Horn.
Very few small boats have been sailing in those waters. We boath agreed that a capsize and pitchpoole was completely harmless regarding personal injuries. As Janneke expressed it it all went in a flow.

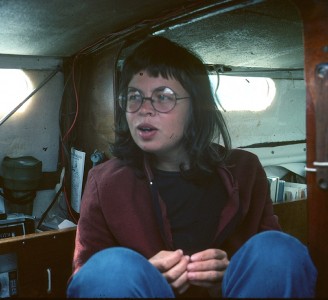
Below a picture of Janneke in Bris

I have now starting with the stowage below the bed. The picture below shows me taking off the shape of the main dividing piece of plywood.

Next picture is me coating it with NM-650 epoxi it has very low viscosity high wetting and long open time, that is excellent for coating.

To be continued…

Regards Yrvind