Long time no see. The reason is I am now working full time. After 16:00 I am writing a new book to finance the project. And before 16:00 I am working on the boat. Also to keep fit I have to take time of for that. Sundays and Wednesdays is running or kayak, Tuesday and Friday after 18:00 one hour exercises.
Also I am working on the interior now and it does not produce very exciting texts or pictures.
However because of the planned route the standard have to be much higher than on ordinary cruising boats, especially regarding stowage. Everything must be secured and waterproof. The back part of the boat, the sleeping room is the easiest part because the whole compartment can be closed of. The forward part is not so easy because water can come in through the entrance hatch when I have to open it for going on deck or work with the rigging or leeboards.
One more reason is I have been on the wrong track a few times and had to go back to square one which is time consuming.
And to be honest, I did work faster when I was younger, but of course did even more mistakes and more sloppy work then.
On the whole I have a nice time with my projects and enjoy life.
Below are a few pictures.
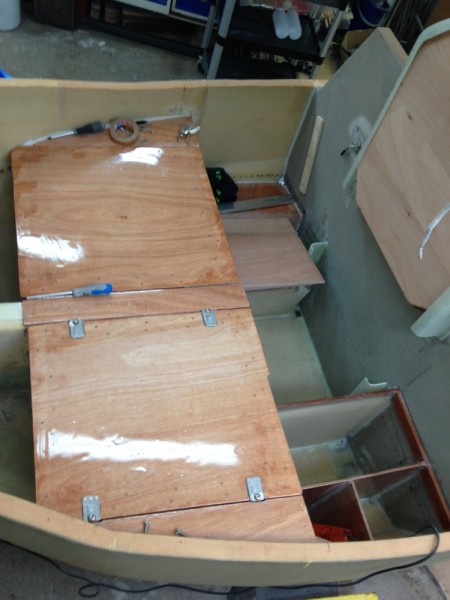
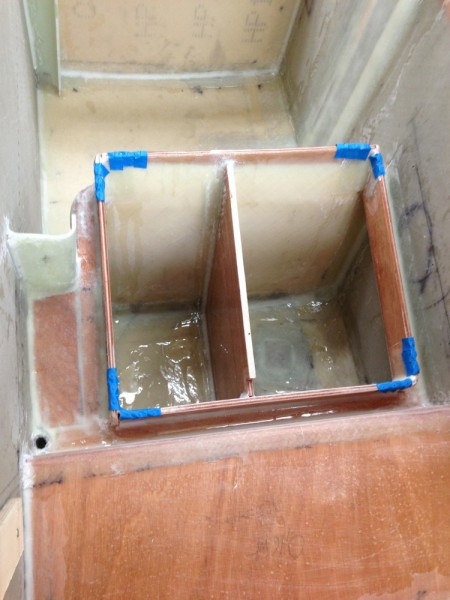
Abowe. The main closing hatches. Inside the compartments are subdivided.
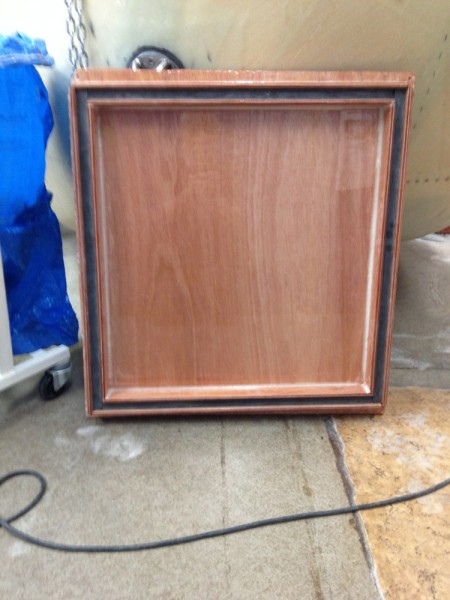
Abowe: One of the main hatches. There is a 20×30 mm EPDM closed cell gasket running around the edge to prevent water from entering. The gasket is not glued but is squised into place, therefore wery easy to replace even at sea.
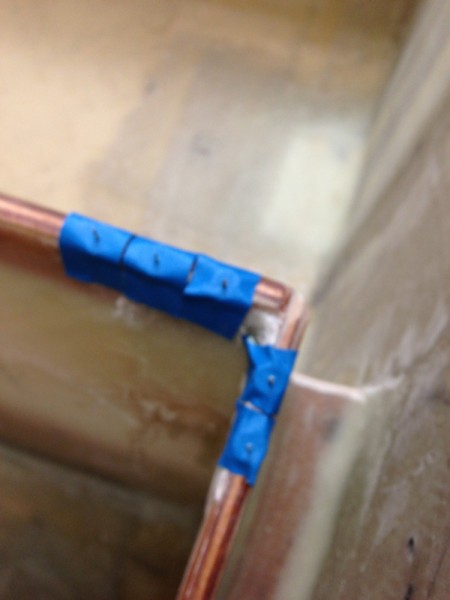
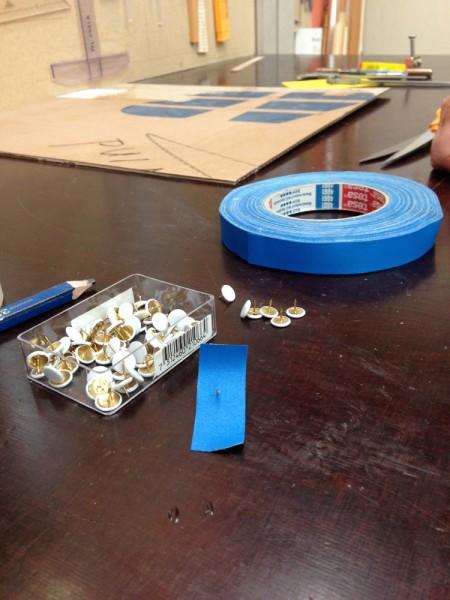
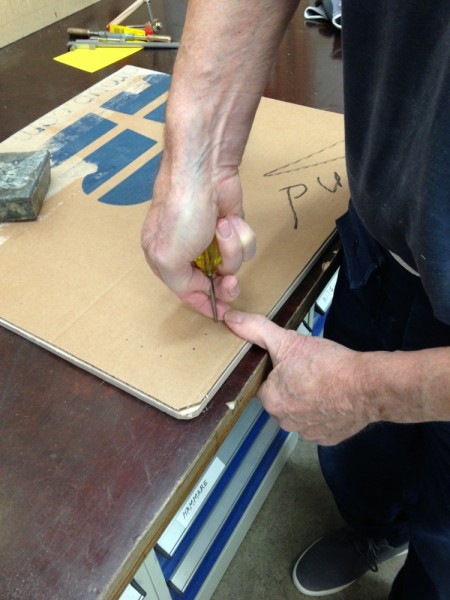
To transfer the closing edge I used thumb tacks.
an fuzzy close up.
The thumb tack and tejp.
The thumb tacks has marked a pice of cardboard. The cardboard is transfering the edge to the lid .
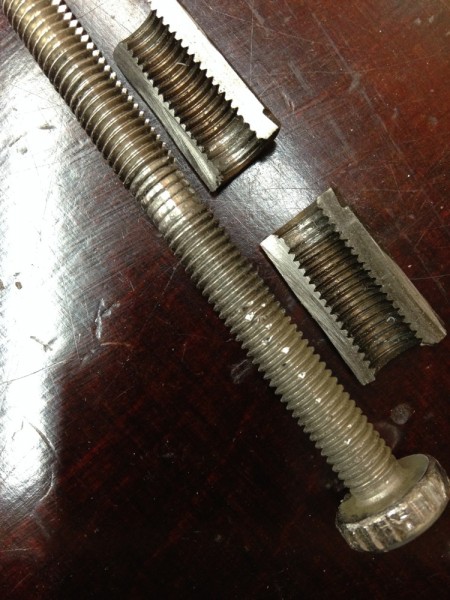
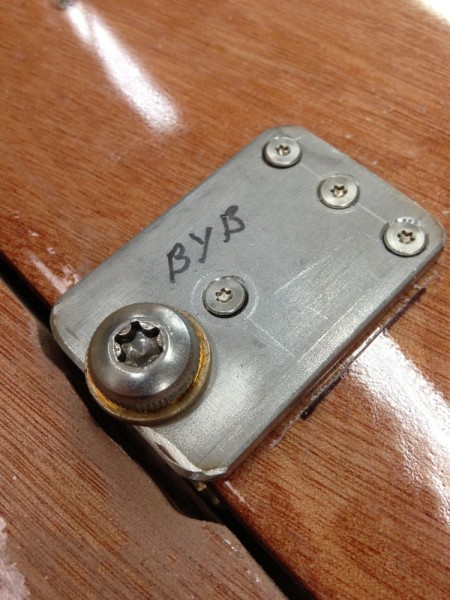
I did cinsider several was of closing the hatch. Finaly I decided on bolting it down. It not the quickest way but the strongest and most flexible and secure. It is easy to adjust the pressure on the gasket. It will take a few minutes to open the hatch. The process will be repeated thousands of times during the voyage. I did worry about stainless against stainless so I did a stress test. It sized up so hard it was impossible to mowe. I had to use the grinder to split the nut. I probably overdid the test but on the other hind I did not fancy being down the roaring forties with no acces to my food. I wanted to be sure.
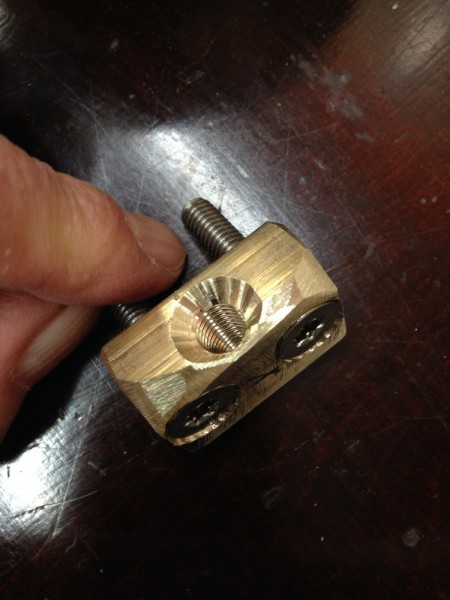
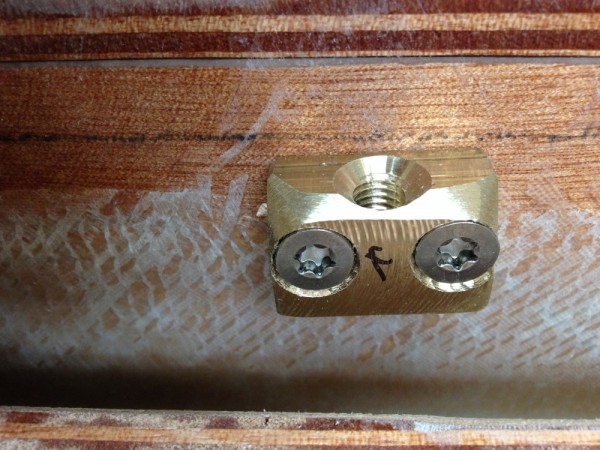
I went back to square one and did fittings of aluminum bronze. It is ecceptionally wear resistant and you are well advised to use sharp drills.
the bronze fitting.
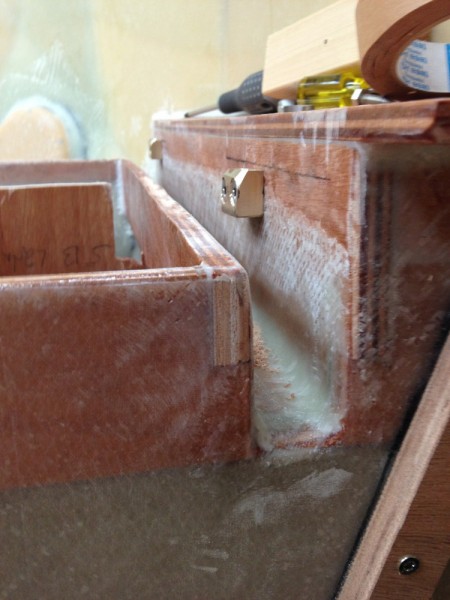
One fitting temporarily in place.
Bronze fitting and drain channel.
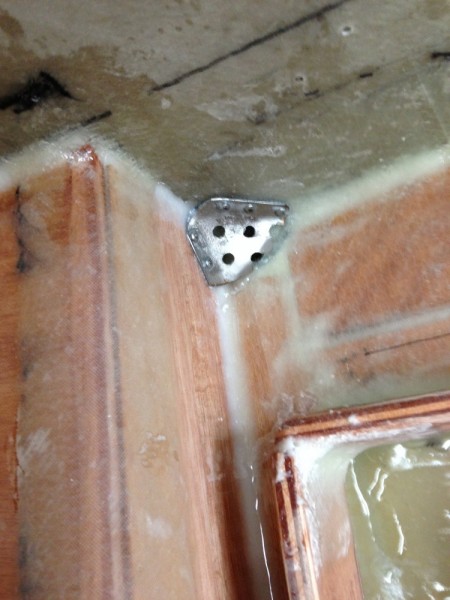
One of the drain outlets.
One of the screws temporarily in place.
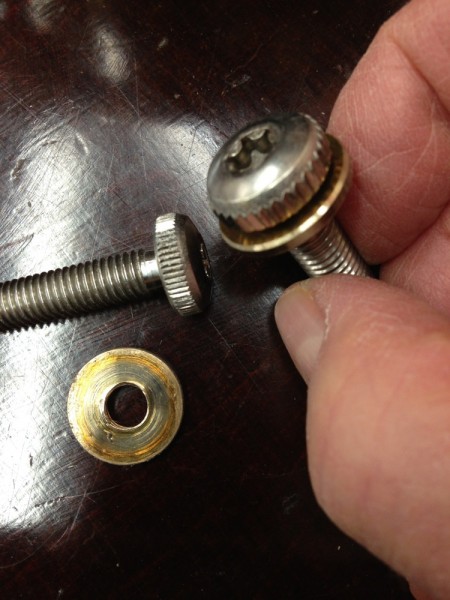
To reduce friction I made bronze washers. In order not to lose them I threaded them like a nut. At the top of the nut, just below its head I remowed the threads on the lathe. Now the washer can rotate freely up there but not fall off. It works well.
To be continued…
Regards Yrvind.
