MOCK UP OF DECKHOUSE

There are many things to consider when designing a boat bound for Cape Horn with an old skipper who does not like to get wet and cold, but now finally I think I got most things right.

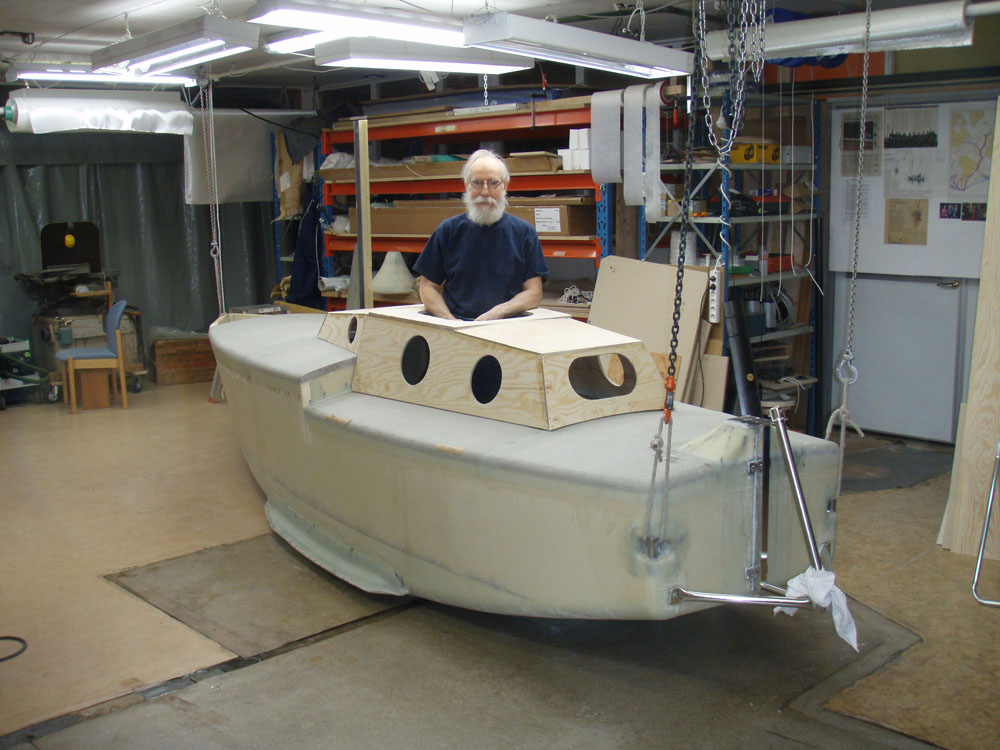
Through the windows in the aft cabin I will have a good view of the surrounding seascape from my comfortable chair.

From the bunk in my bedroom will have a good look at the sail.

There is ample place for ventilators and ducts of my waterproof system so that no water will enter even when the boat is upside down.

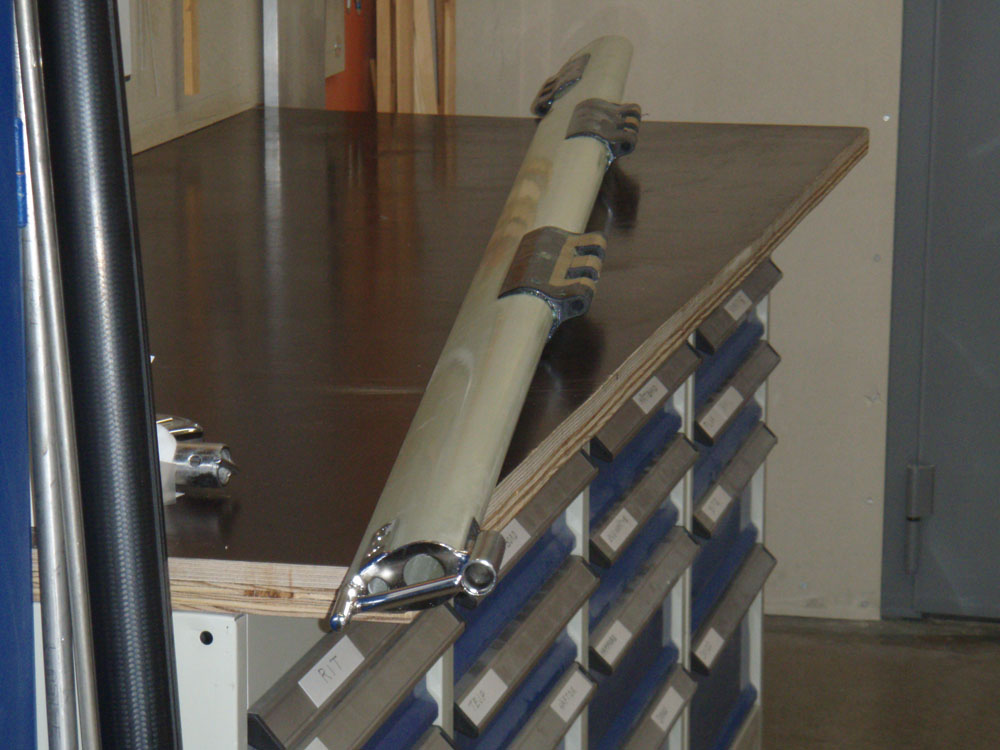
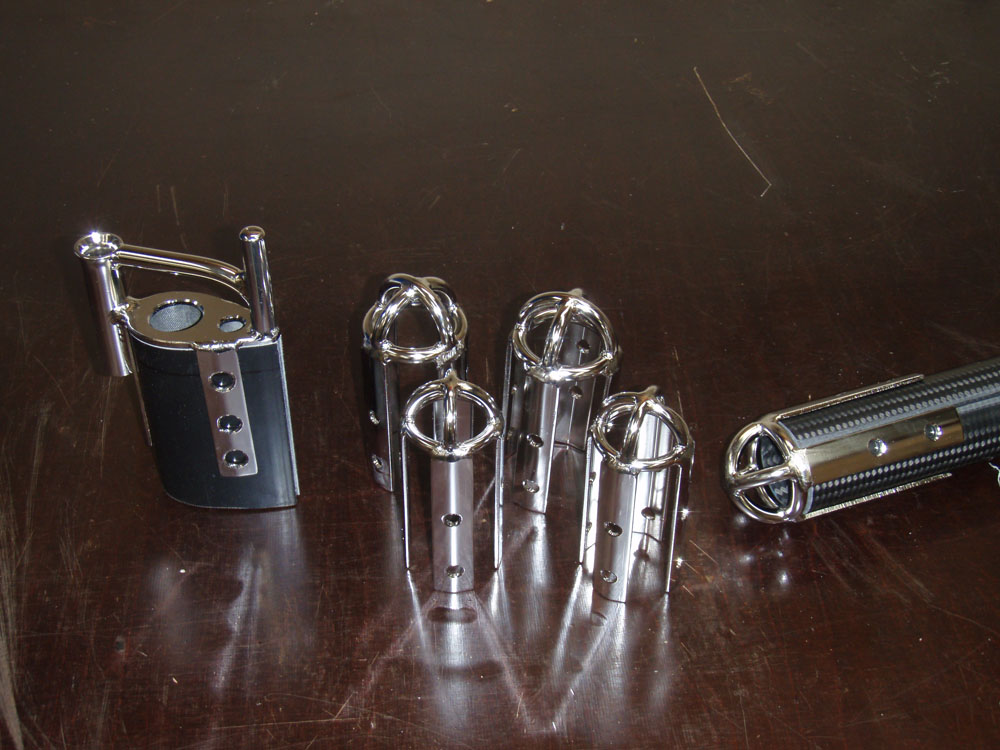
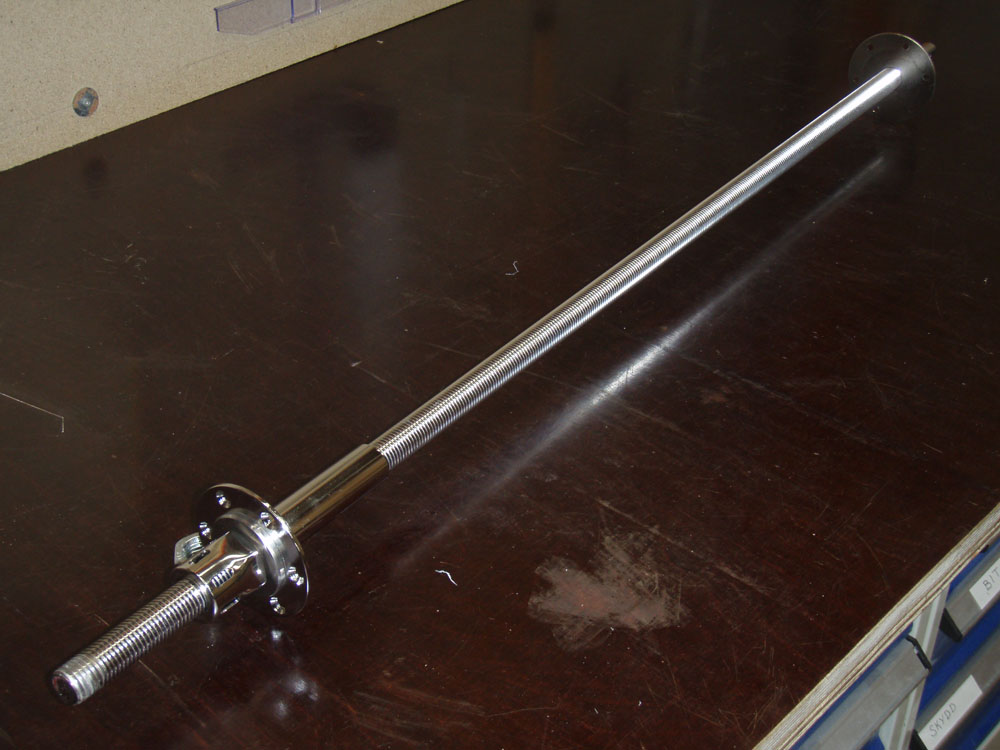
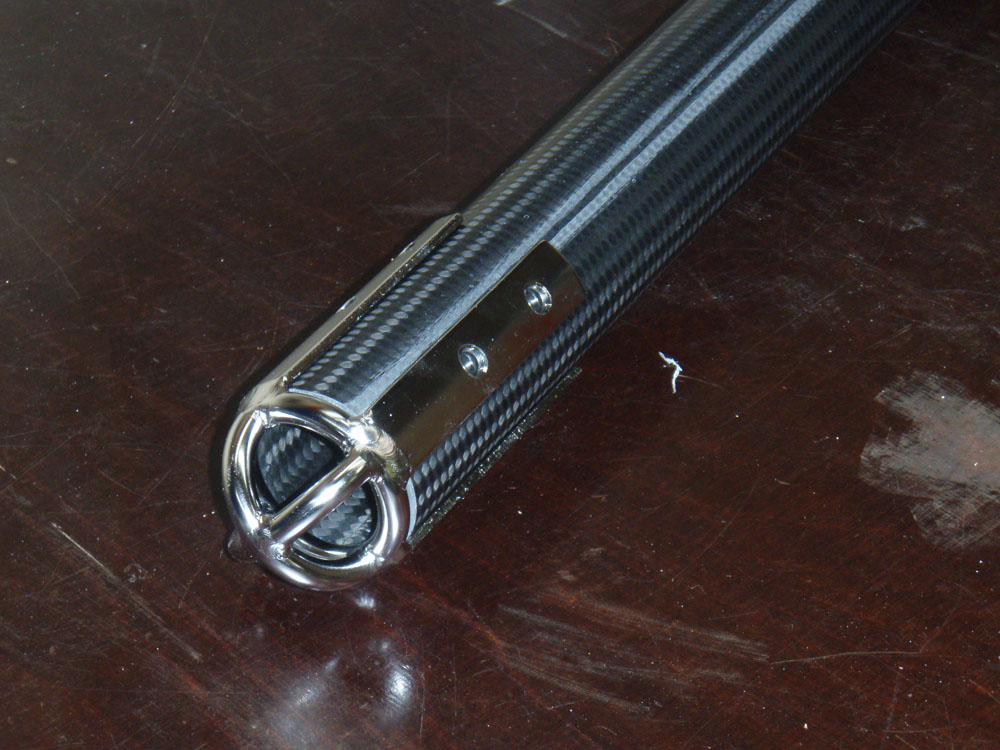
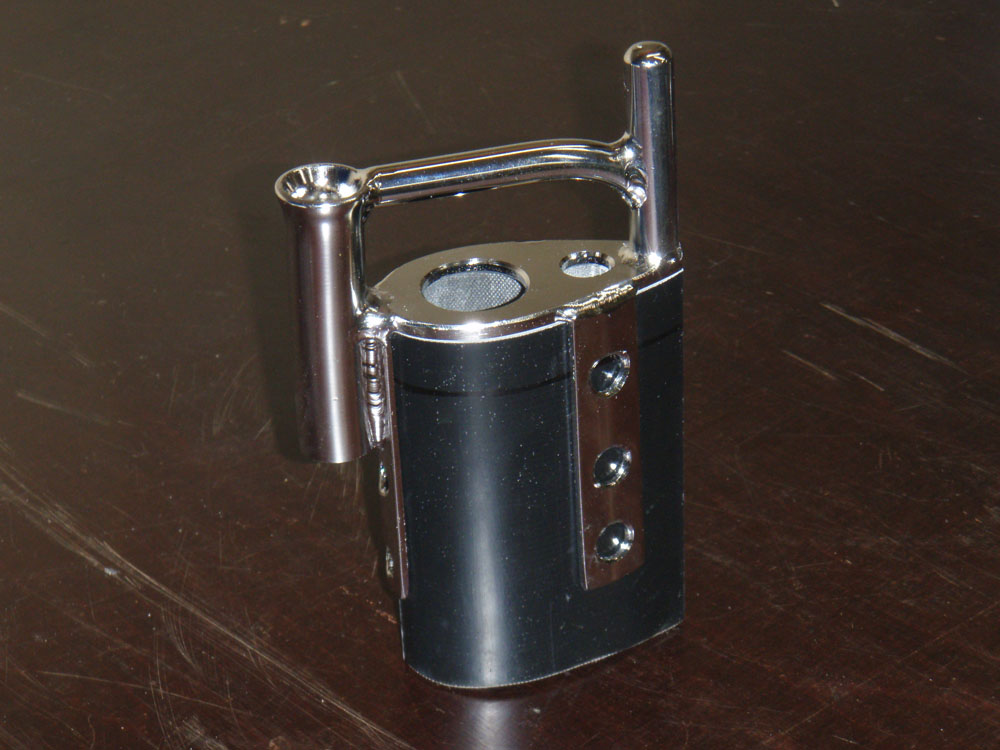
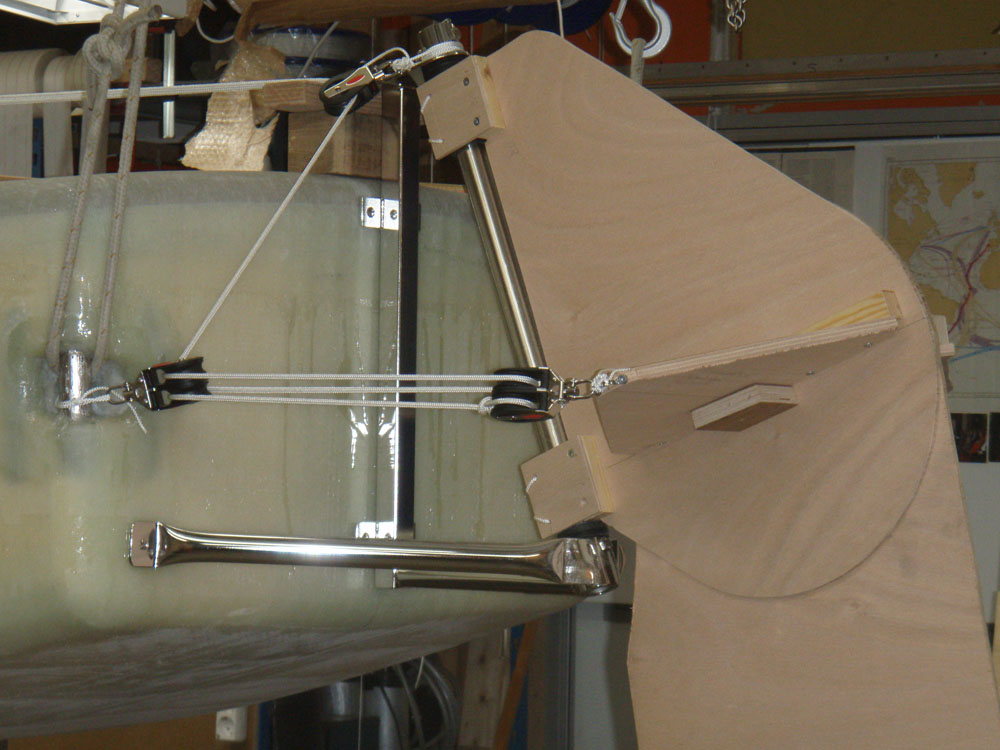
I have designed a hatch closing system on the principle of the Highfield lever. There is one latch out of the way below each of four corners of the hatch. From the latches a Spectra rope goes to a hook in the hatch which then can be made to press against a deep EPDM cell rubber gasket to the desired pressure and tightness. The good things with this system is that when the hatch is open there is nothing in the rim which chafes or snags.

Another advantages is that I can, in heavy weather have a modified kayak spray shirt permanently mounted on the hatch rim because the Spectra ropes can come through small waterproof holes is the spray shirt and I can from inside the spray shirt put the loops of the ropes on the hooks. I can therefore get inside the, to the boat attached spray shirt before before I open the hatch. In principle not one drop of water can enter the boat.

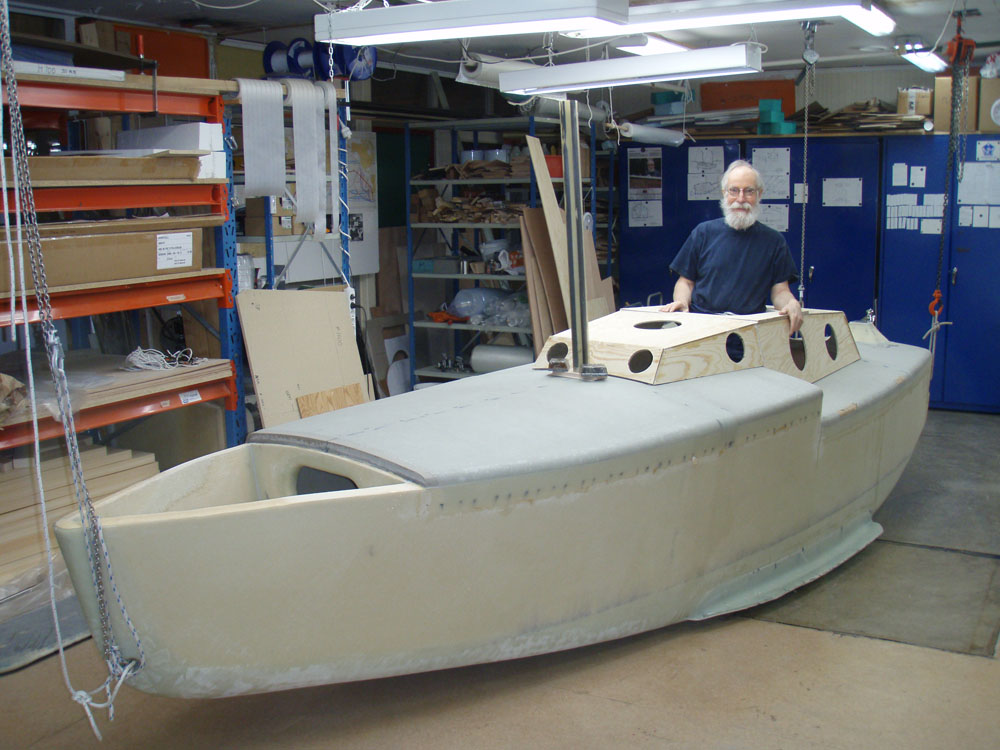
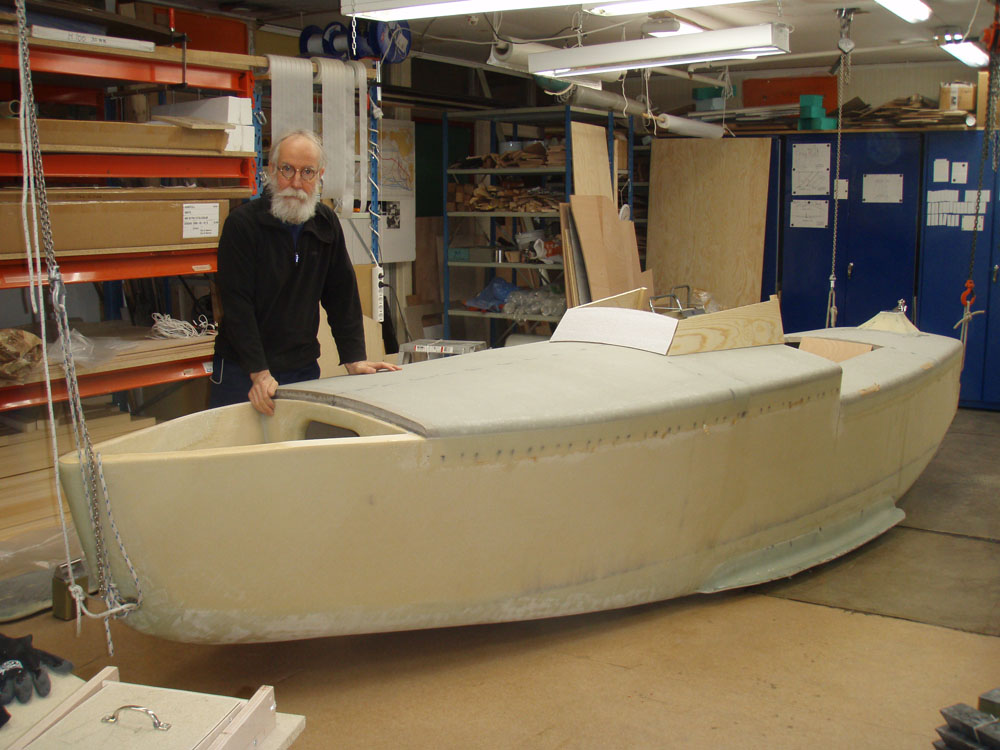
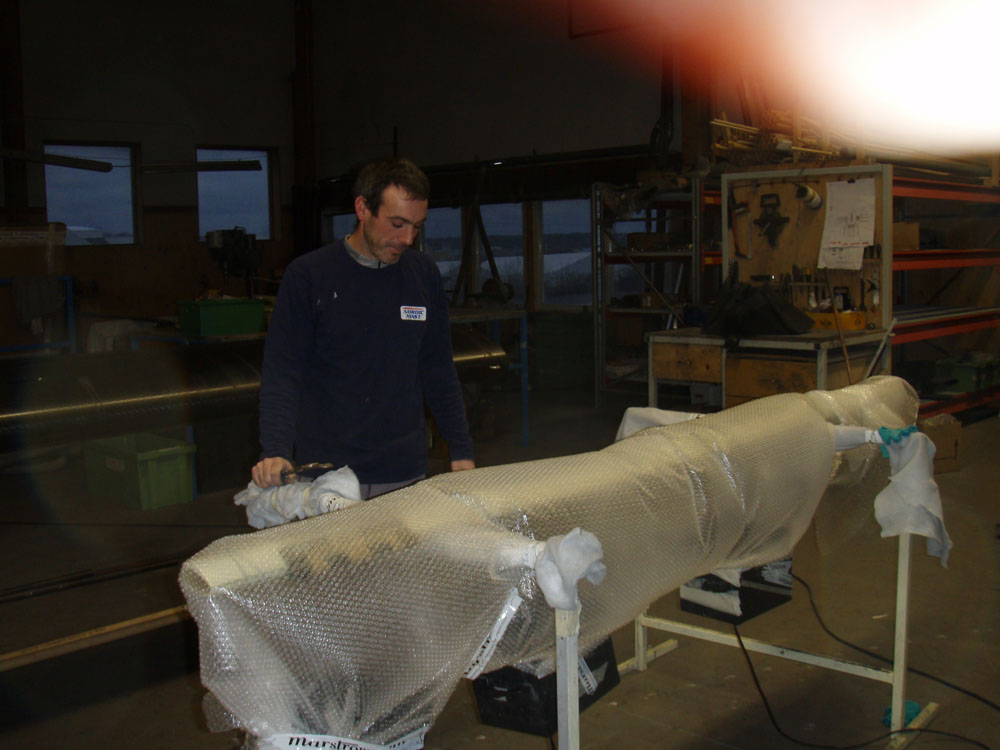
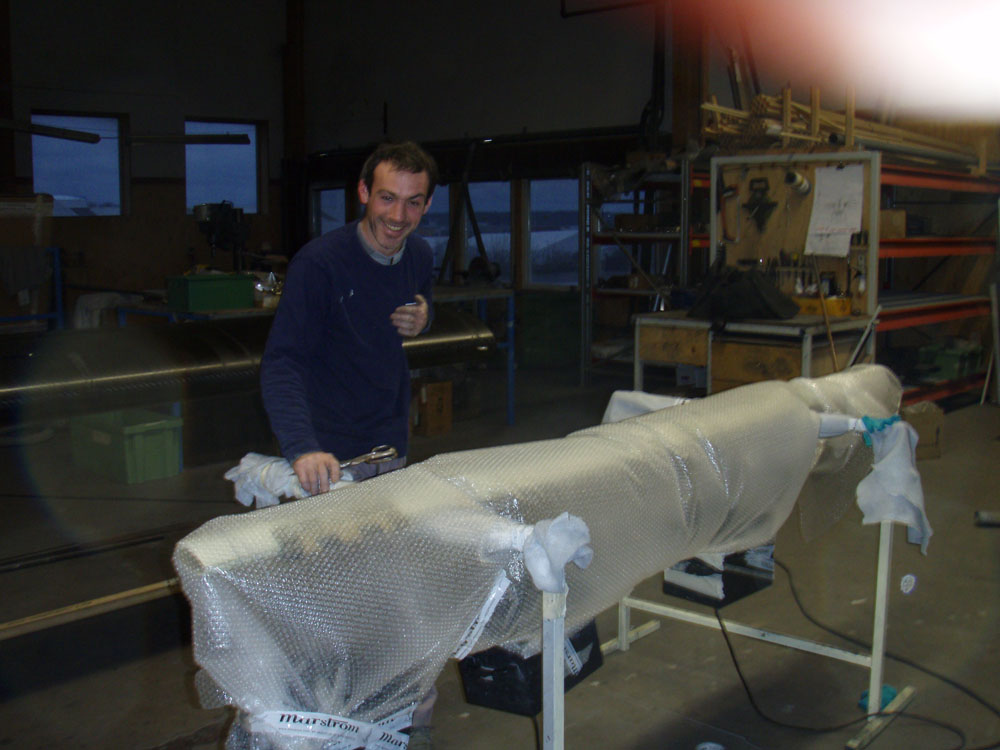
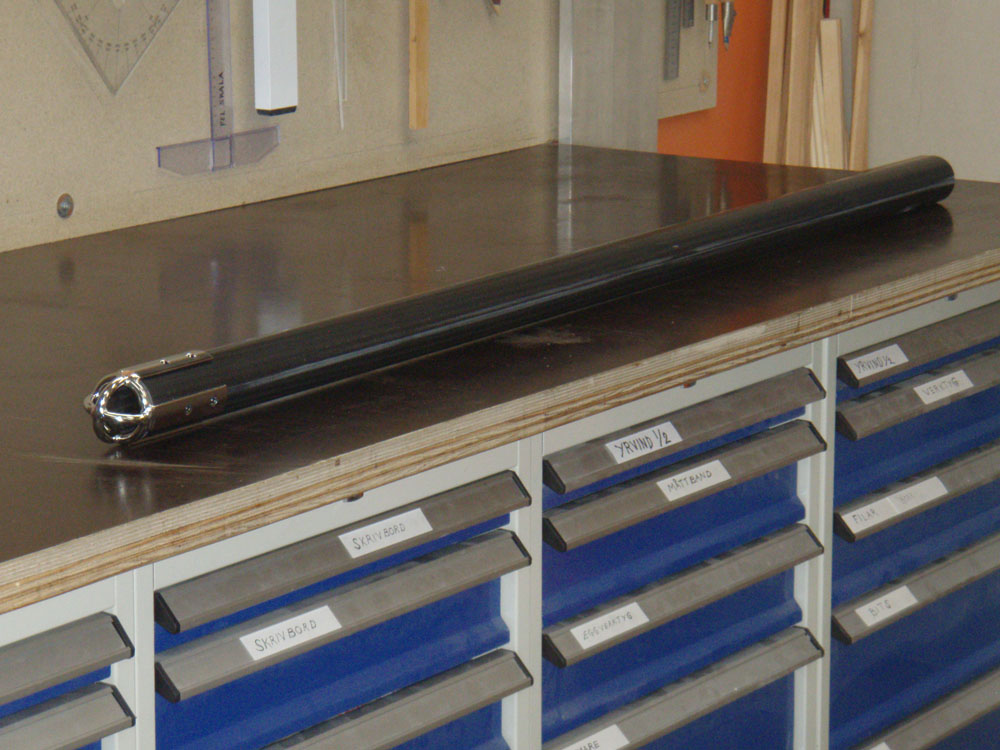
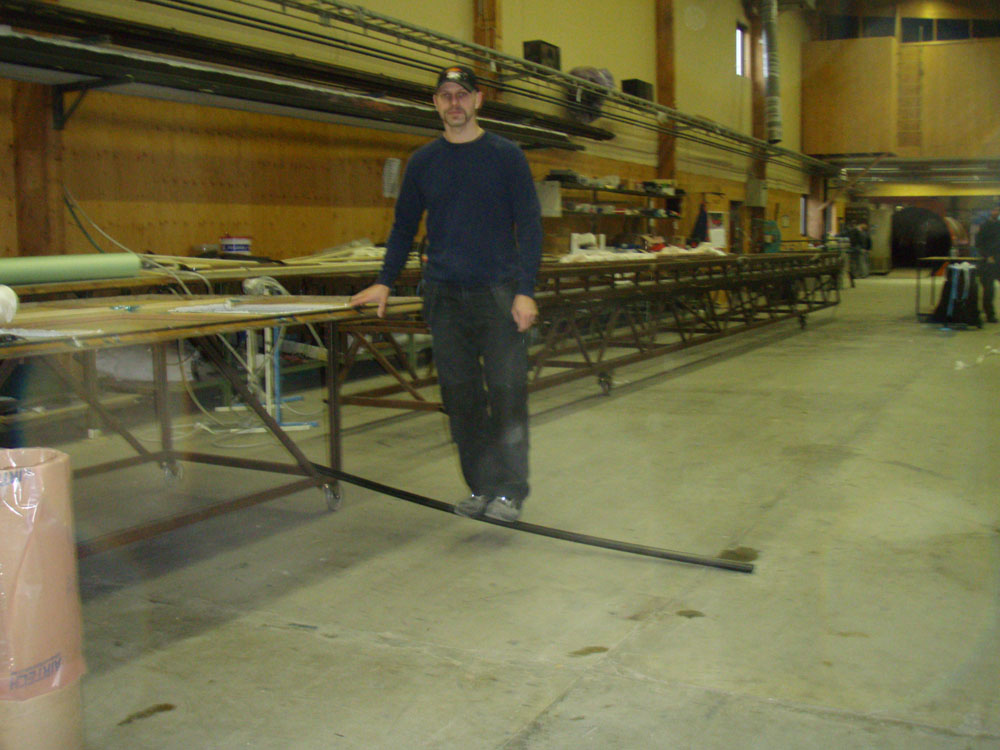
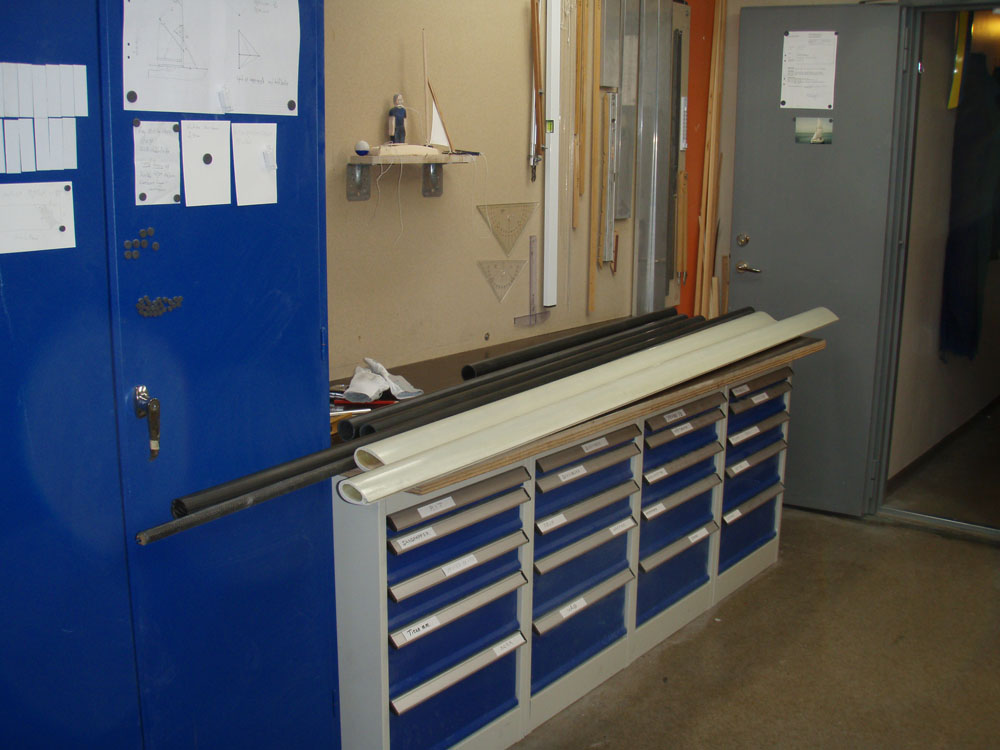
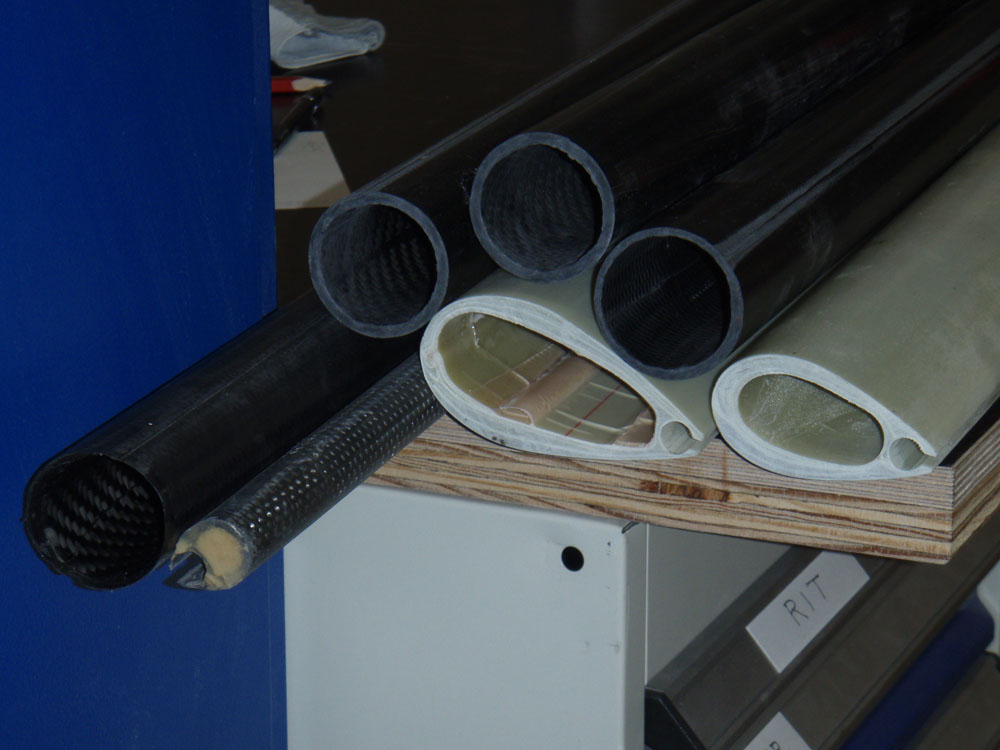
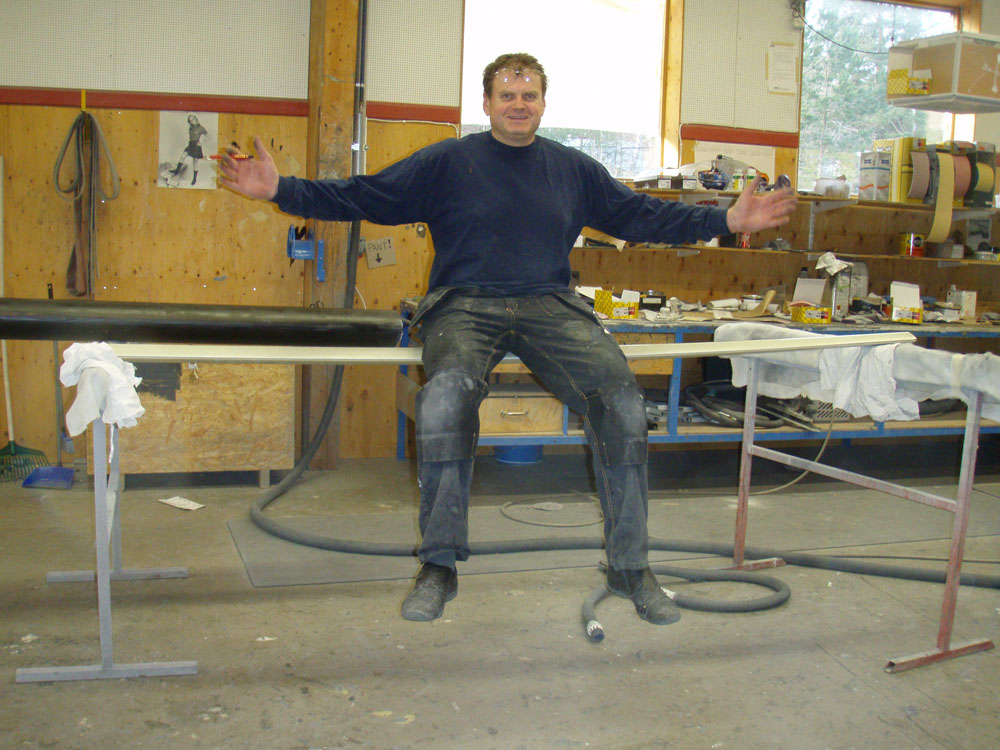
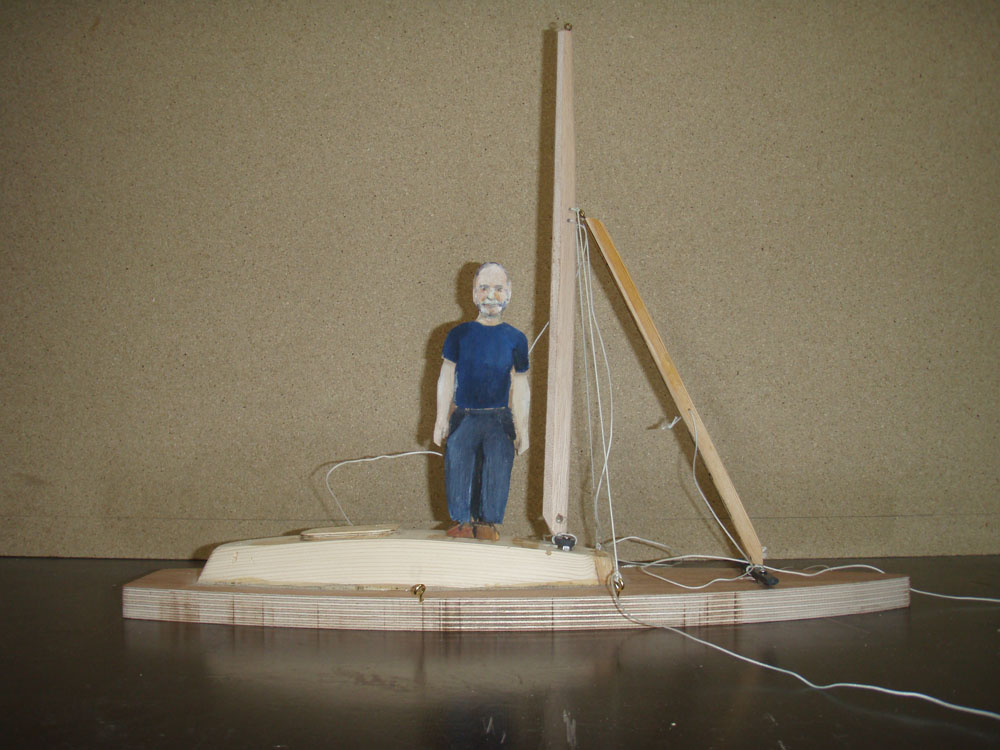
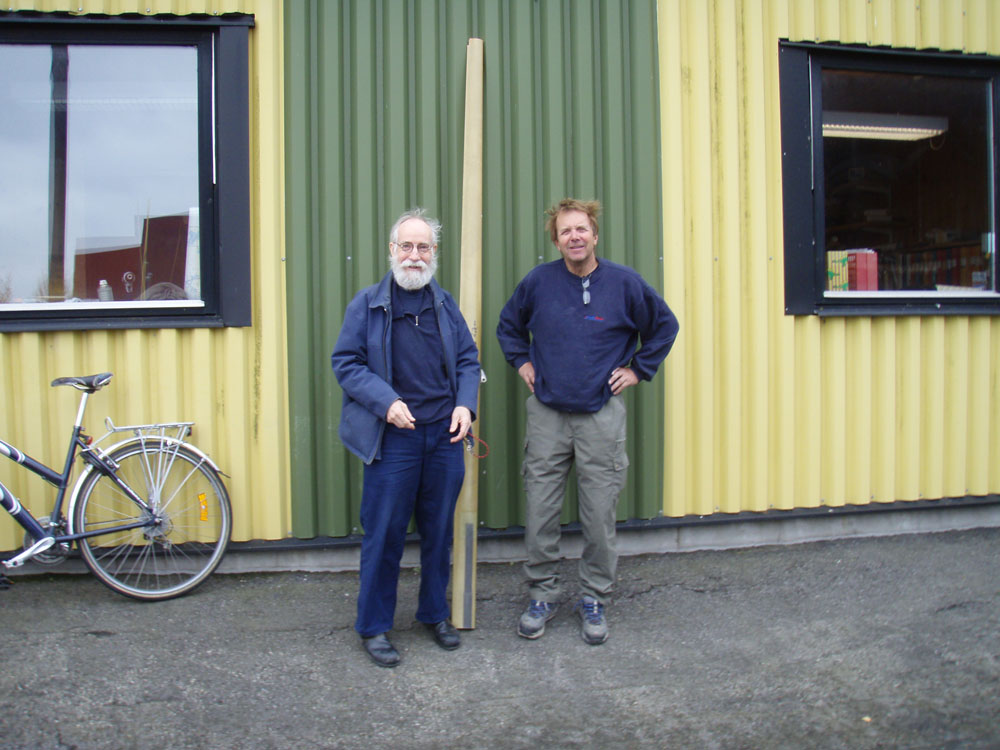
The mast is only 75 centimeter 2´6´´ in front of the hatch and therefore easily be reached without going on deck. The spar in the picture is a mock up of the mast.

The hatch is 40 x 45 centimeter a size I used on my first Bris in which I cruised many years. It is a size which suits me well.

I will be able to open the aft window in good weather to get better ventilation. It is closed tightened from the outside by bolts. Also the outside of the aft window is very easily reached from the hatch.
From the hatch I can also reach the water by leaning overboard. This is convenient when washing up and brushing my teeth.

I realize that my description may not be very clear but more pictures will follow as work progress.

THE DECK

Below is pictures of how I am putting in temporary frames to bend the deck to the right shape.

Now when the deck is done and I have to figure out the shape of the deckhouse

To be continued…

GOOSENECKS & OTHER FITTINGS

I decided to make the piece of the goose necks which is attached to the mast of carbon. I took a pieces from an broken mast and made molds of them. That they would not collapse under the tremendous pressure in the autoklav I filled them with wood. To get release I have covered them with Teflon.

A 10 mm rod is winded with carbon 45 degrees in both directions to make a hole for the axis.

Then carbon is laid on the mold, then on rod and mold.

Here the pieces are after having been cured in the autoklave.

Francois our Frenchman is helping me to glue them to the mast. He is so fast that it is difficult to get a picture of him. Finally I got my chance when he built a tent with three 2-kilo-watts space heaters to cure the glue.

Below is the mast with the three goose necks on it.

Below is the centerboard being laminated.

The next day I peel of the peel- ply. I do not have the strength of my youth.

I have to use all my force.

Here I have been shaping the attach point for the steering line on the rudder head.

Here it has been laminated

Below. In the meantime, Börje who makes Marströms stainless steel fitting have been kind enough to make some also for me.

Here is the axis which shall connect the rudder head and the rudder blade.

Below is the end fittings for the booms. In this case the heavy weather boom which also serves as a club at the end of a sprit boom to hold out a down wind sail opposite to the sprit sail.

Below close up

Below is the mast head fitting. It has several functions. The pin on the right side is to take a small rope lope. I do not have halyards but intend to push the sail up in its track so that the loop falls over the pin and then pull the sail down. To lower the sail I push it up again, then twist the mast. The intention is that now the loop on its way down misses the pin.

To the left is is a pipe which is going to take a pin from the top mast. It also serves as a point of attachment for the genua.

The bar between them is for me to hold on to when I climb the mast. It also serves as attachment point for back stays, running downwind. Running down wind I do not worry about wind resistance.

THE SPARS ARE DONE

Among a few thousand other things, Sam is a drummer in his spare time. Naturally he has built his own electronic drums of carbon fiber. Here he is jumping on the very light drum support pipe to show me how flexible carbon is. My mast of glass is twice as flexible as my other spars which are of carbon. Sailing south of Cape Horn among the icebergs there should not even be a doubt in my mind about the strength of my spars, not even during hurricane force winds. Everything is very strong and not very light. A carbon mast I am sure would have been strong enough at less than half the weight.

Here I am unpacking a spar just out of the autoklave, cutting up the vacumbag and removing the felt and peelply and release film.

Göran and Per, the owners of Marströms inspecting the spars which all fits inside my Volkswagen.
Per said: Thats a lot of spars.
Göran said: I would not call them spars.
Building a small cruising boat among the high performance multihulls I have to stand a lot of teasing.

Here I am home in my workshop regarding my treasure.

As can be seen I use quite rugged lay up.

During the workdays I have been to the Marström factory. During the week ends I work on the rudder and centerboard. Here is the rudder head. I am moulding the cone for the port stearing line. there will be another on the rudderblade for the starboard stearing line.

I have also been to Göteborg making money doing a lecture. At the same time I got a spare par of eye glasses. Also I was visiting the Garmin office discussing GPS and charts.
The work continues, there is a lot of goosenecks toggles, and other things to fit to the spars.

THE MAST CURED

Yrvinds 2.7 meter or 9 feet long mast came out of the autoclave well cured and in a perfect shape. Thank you everyone at Marström forall the help. Here it is the mastshop, being tested for strength by our strong man Mario. If it can survive his 150 kilo ( 330 pounds ) of muscles I dont think I have to worry in the Southern Ocean. Presently Im working on the masts three goosenecks. Besides the usual one for the boom my rotating mast has two on the leading edge as well. One for the supporting spar and one for the whisker pole. The goosenecks also serves as mast steps. I have no halyards as its easy to reach the mast top.

Its lot of fun to at Marström and there is always exciting projects going on. Due to rapid expension and many new orders we need plenty of more engeniers at least two right now. If any of my readers are familiar with the computers and the program “solid works” please apply for a job. For more details visit our webb page MARSTROM.COM mention my webb page.

IN THE MARSTRÖM AUTOKLAV

After nearly a week of putting the prepreg material in the mold; all the unidirectional, the 90 degrees and 45 degrees and the reinforcements is finally in place, as is the peelply and and vacumbag. Sam my master is checking for leeks.

Sam is satisfied. He assures me everything is going to be fine.

She is ready for the 35 meter long autoklav. With a 2.7 meter long mast I don’t feel I use its full potential.

Here we are getting up speed.

She is nearly in.

Thomas is closing the heavy lid.

and locking it.

Fredrik the Boss is chacking gouges and the tempratures of the inside surfaces of the mast the outside surface and the temperature of the compressed air inside the autoklav.

Finally I watch all the gauges while reading a yachting magazine. Everything worked perfectly, during the night she will cool under pressure in the autoklav and vacum in the bag and I will dream nice dreams. a big step forward has been taken.

WORKING ON THE SPARS

The picture above shows a model of the rig. Its a kind of biped. Two legs is stronger than one, they have wing sections to reduce wind resistance and make the sails more efficient. In heavy weather the sails will flap about less.
Also as the forward spar, the one supporting the jib in contrast to a wire can take compression the shrouds as seen on the model can therefore be placed forward of the mast allowing me to let out the boom about 135 degrees instead of the normal about 80 when sailing downwind. This helps to prevent jibes. With the boom forward if the mast the boat will travel downwind steady even in bad weather.

Below is a picture of me and my Master Sam teaching me how to cut prepreg.

Here we are with the mast mold. It is five meters long, long enough for the 2.7 meter mast and the 2.2 meter long forespar. This is my usual luck. Should I by chance run out of luck my philosophy is: it is better to have bad luck than no luck. Finally for those wishing to hear me speak in my native Swedish there are now, on this website under the heading “various” an audio file in two parts. Enjoy.

MAST & RUDDER

The picture below shows a second mock up of the rudder head with the rudder blade.

Below is a close up of a new and better line arrangement. Yrvind has no tiller. It saves weight and gives me more space on deck.

On passage I let the boat self steer with the help of feed back from the sheets. The lines from the sheets run in my case directly to the rudder. It is a simpler arrangement. An other advantage is that close to the coast it is handy not to be tied down to the tiller. With the steering lines I can walk around on the boats deck using them as remote controls. Whith the help of the steering lines I can in good weather stand on the fore deck looking at the bottom when navigating in shallow water. If I like to do that.

In the meantime the real rudder blade and the centerboard are being faired in Marströms mast shop. In the background two centerboard for the Volvo Ocean Race boats can be seen.

H

More good news, Göran and Per has given go ahead with building my spars. Here Göran and I are with an experimental mast for my boat. It is a 2.7 meter long piece of an Ice boat mast. They are usually made of glass fiber. I consider doing the same. The disadvantage is that it is about two to three times as heavy. The good thing with glass fiber is that the mast will be extremely flexible, like a fishing rod, which is good considering capsizes and pitch poles. Also it will allow me to place an VHF antenna inside the for the AIS sponsored by TRUE HEADING. Inside the mast the antenna is protected from weather and it gives no wind resistance. I consider it to be essential to reduce all kinds of resistance as much as possible. On a small boat powered only by wind and muscles you have very limeted resorces and have to be as efficient as possible.

Next week 4 to 8 November I be in Stockholm giving a talk together with Thomas at ABF ( see under lectures ) Also I will be at the Stockholm boat show looking for sponsors. Therefore during that time no work will be done on the boat.

PLOTTED NUMBERS

Jakob Alander has kindly helped me to plot the stability numbers below making it much more understandable. As can be seen there is no need to have a deep keel to get positive stability through 360 degres. Matt Laydens Paradox and other small boats with similar height to beam ratio and a low enough center of gravity confirm this.

PARTICULARS AND STABILITY

Here are some stability calculations and other numbers who Guy Lilljegren kindly has provided me with. There are three sets for center of gravity for 5, 10 and 15 centimeters above the waterline. Hopefully the center of gravity will come out at 10 centimeters above the waterline, but only the Gods know for shore. The numbers are really too small to reed but if you click on the pictures, first one time, them again, they get bigger and bigger.