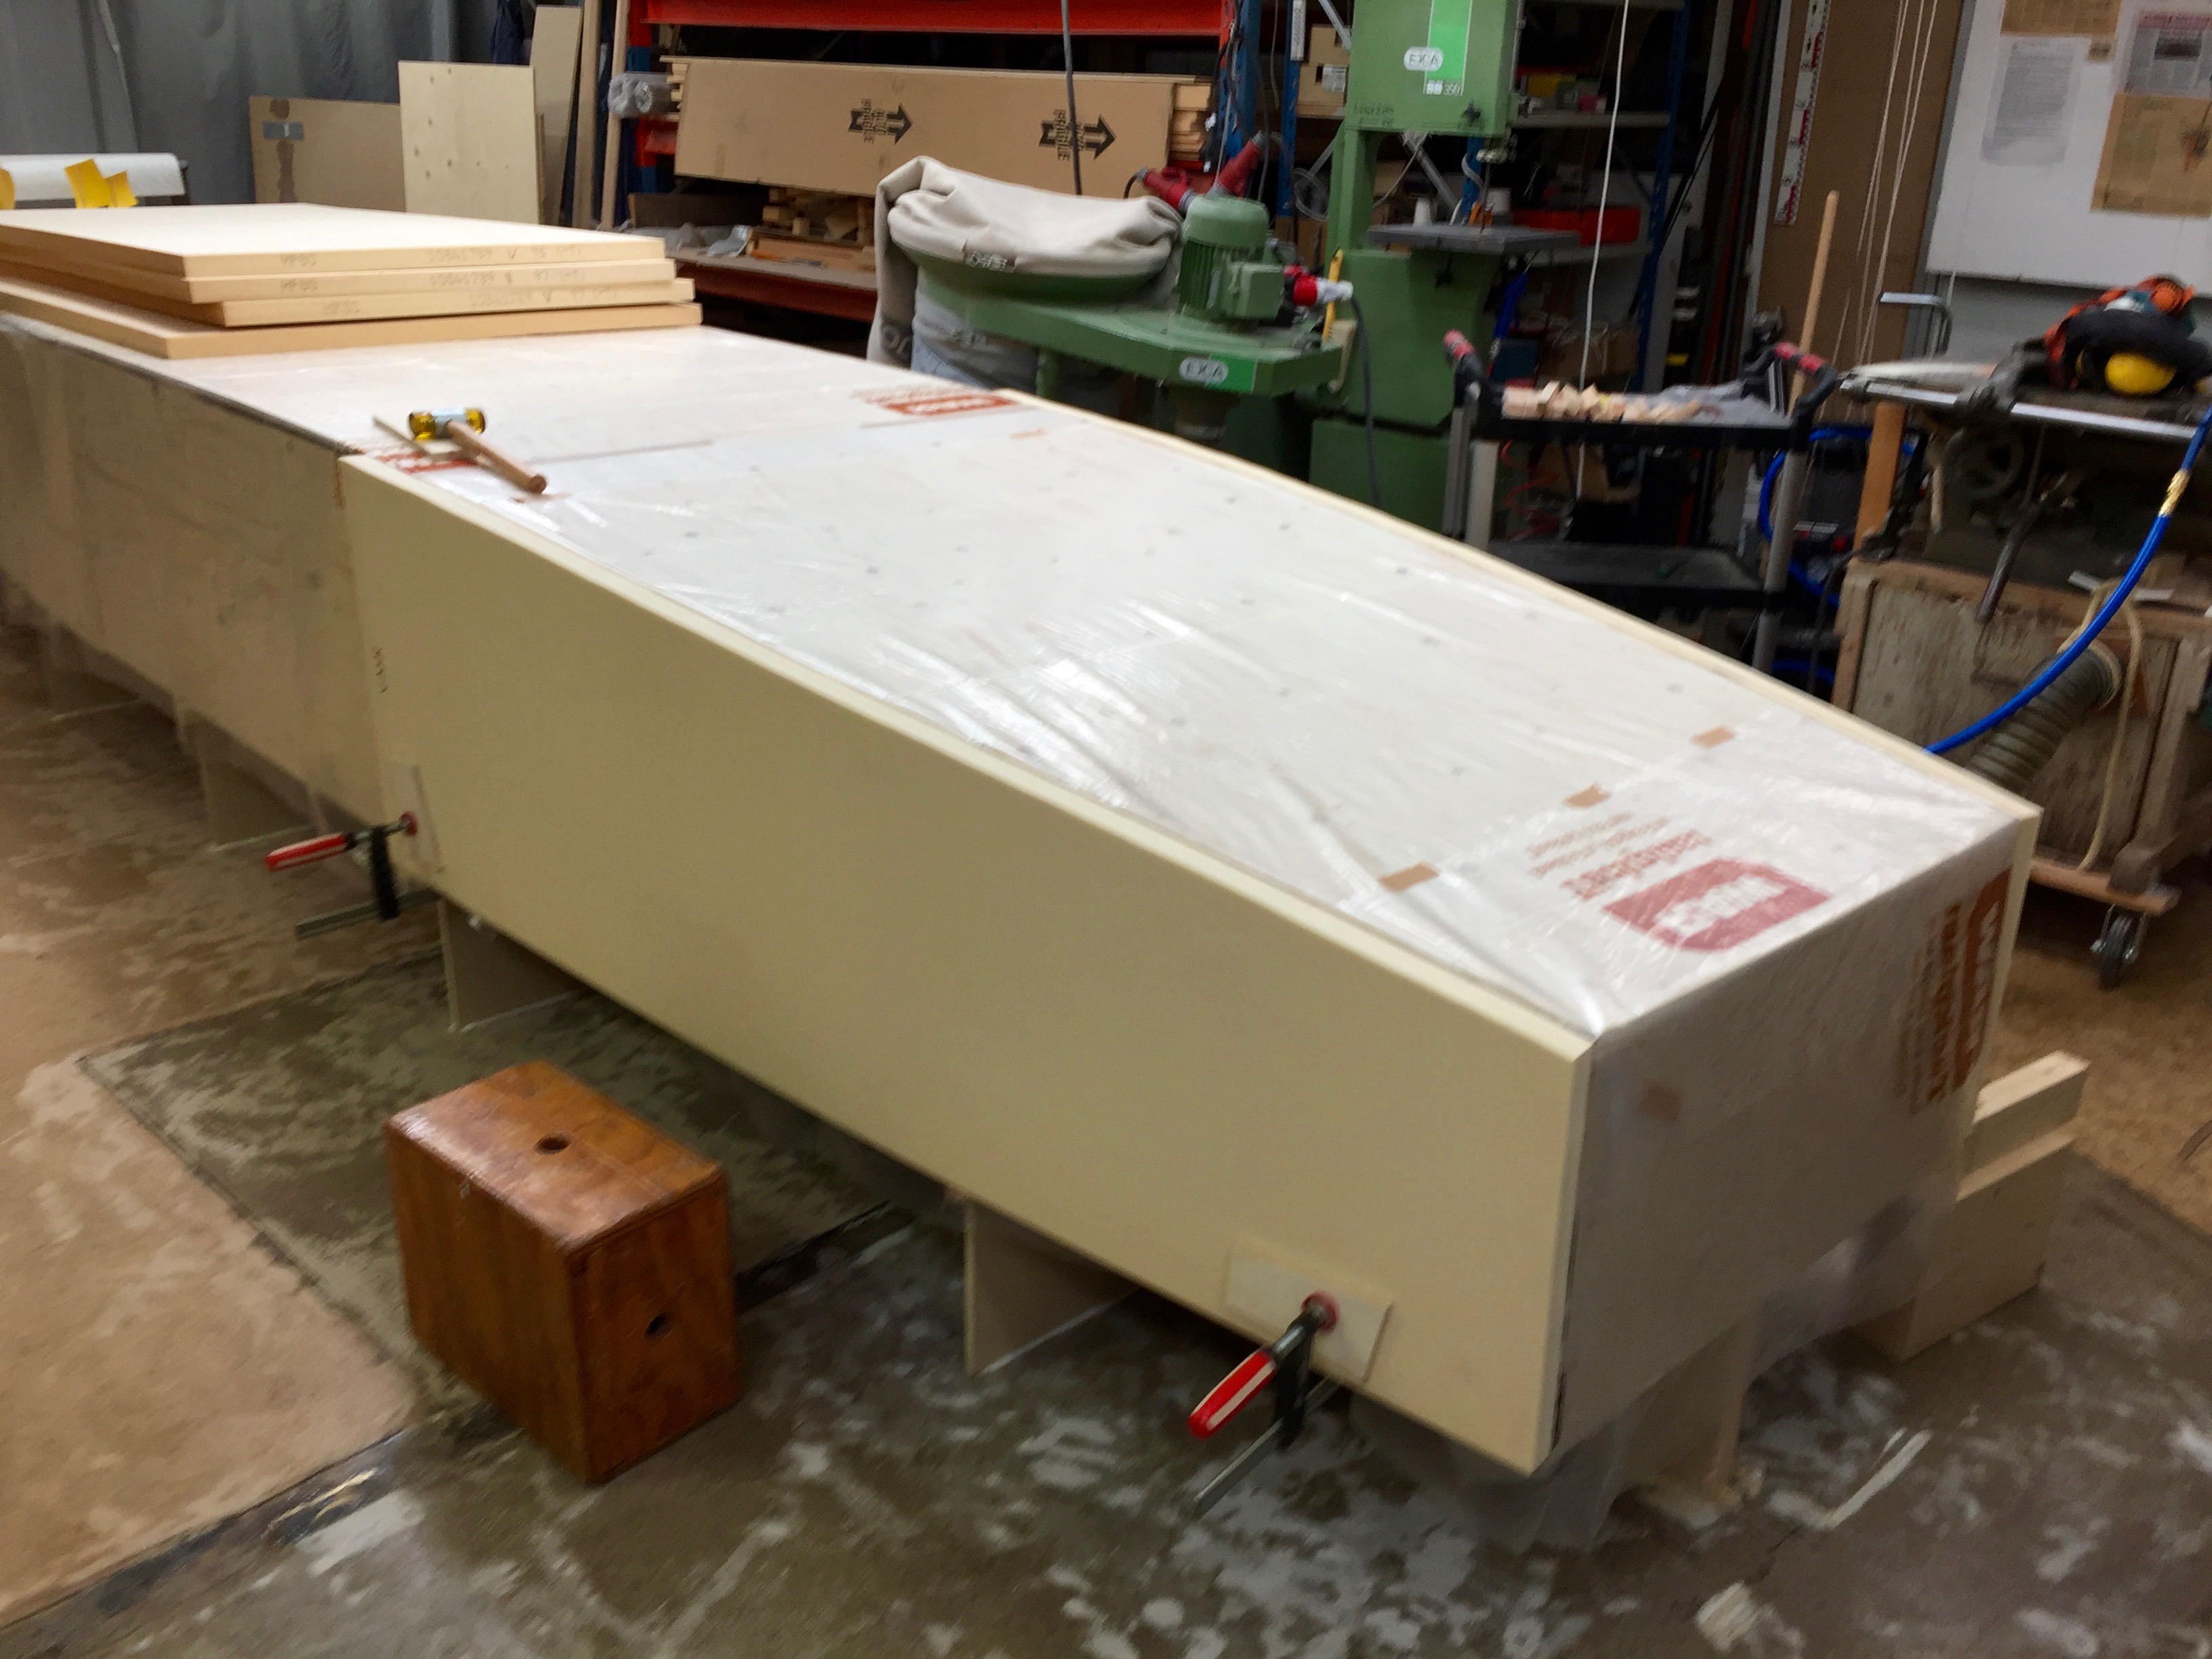
Today more pieces has been added and the end in form of a nicely shaped bow can be imaged.
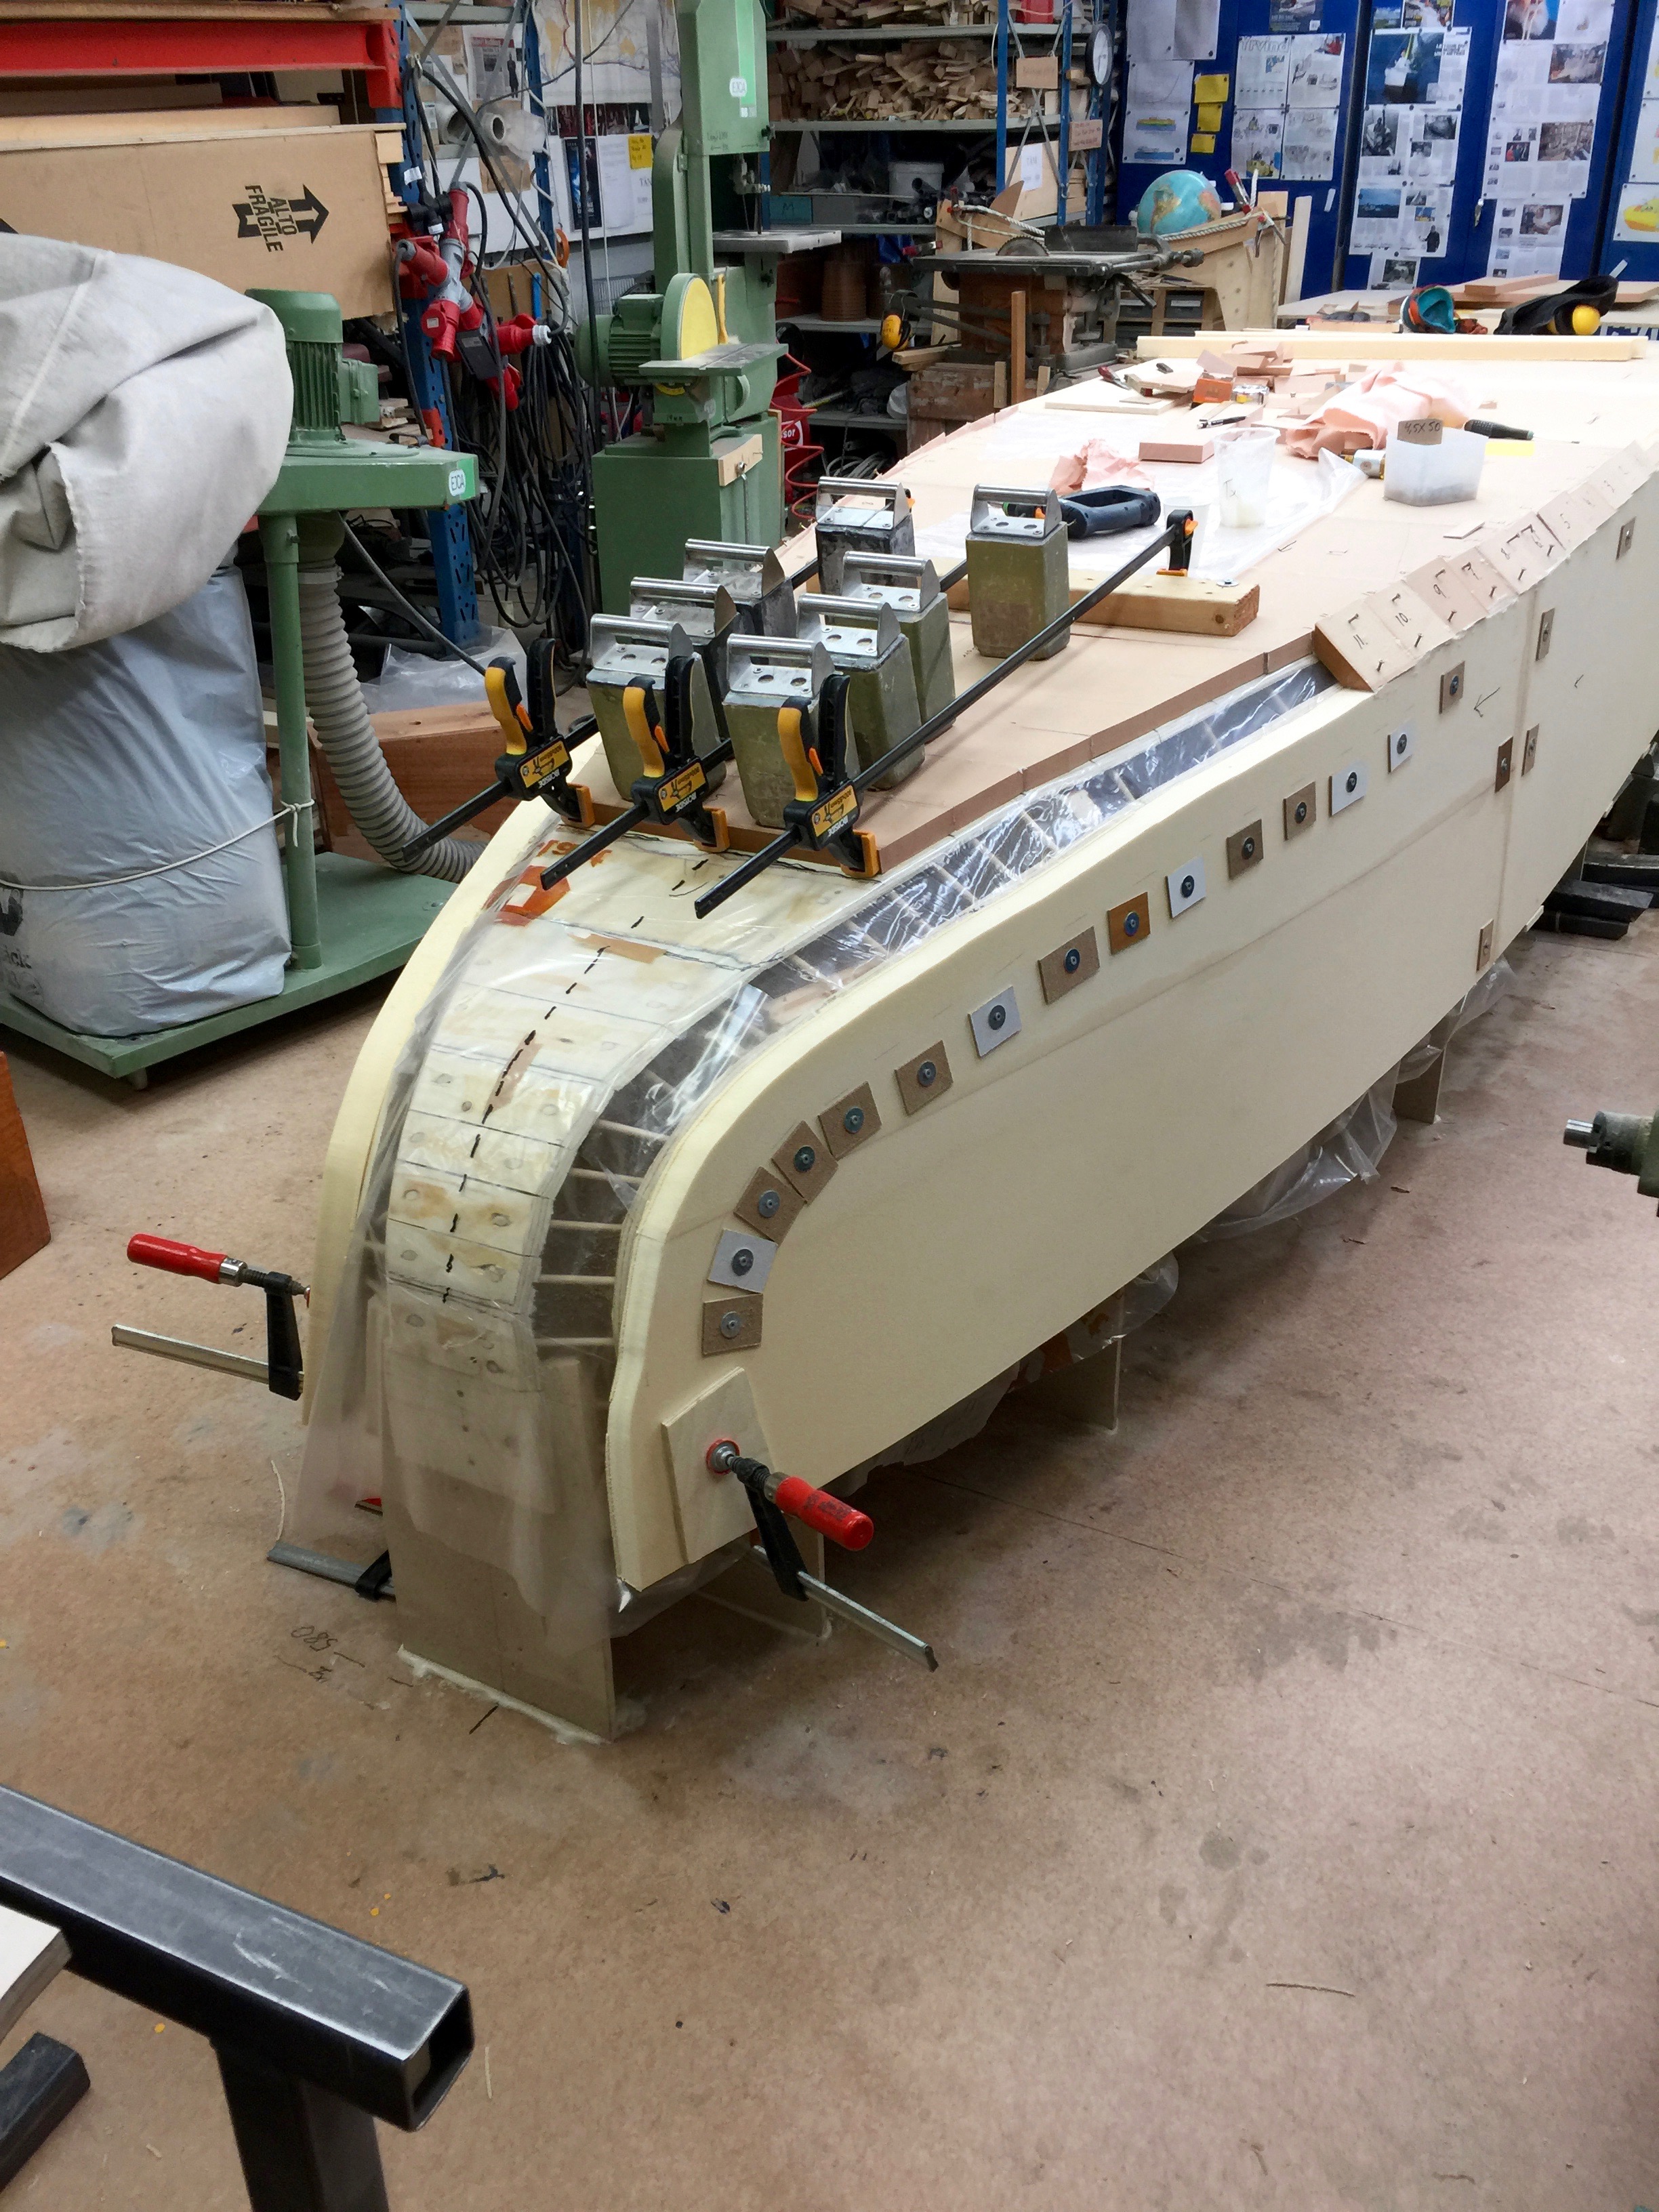
To be continued…
Regards Yrvind

Welcome to Yrvind´s website: small boat designer, builder, sailor & writer
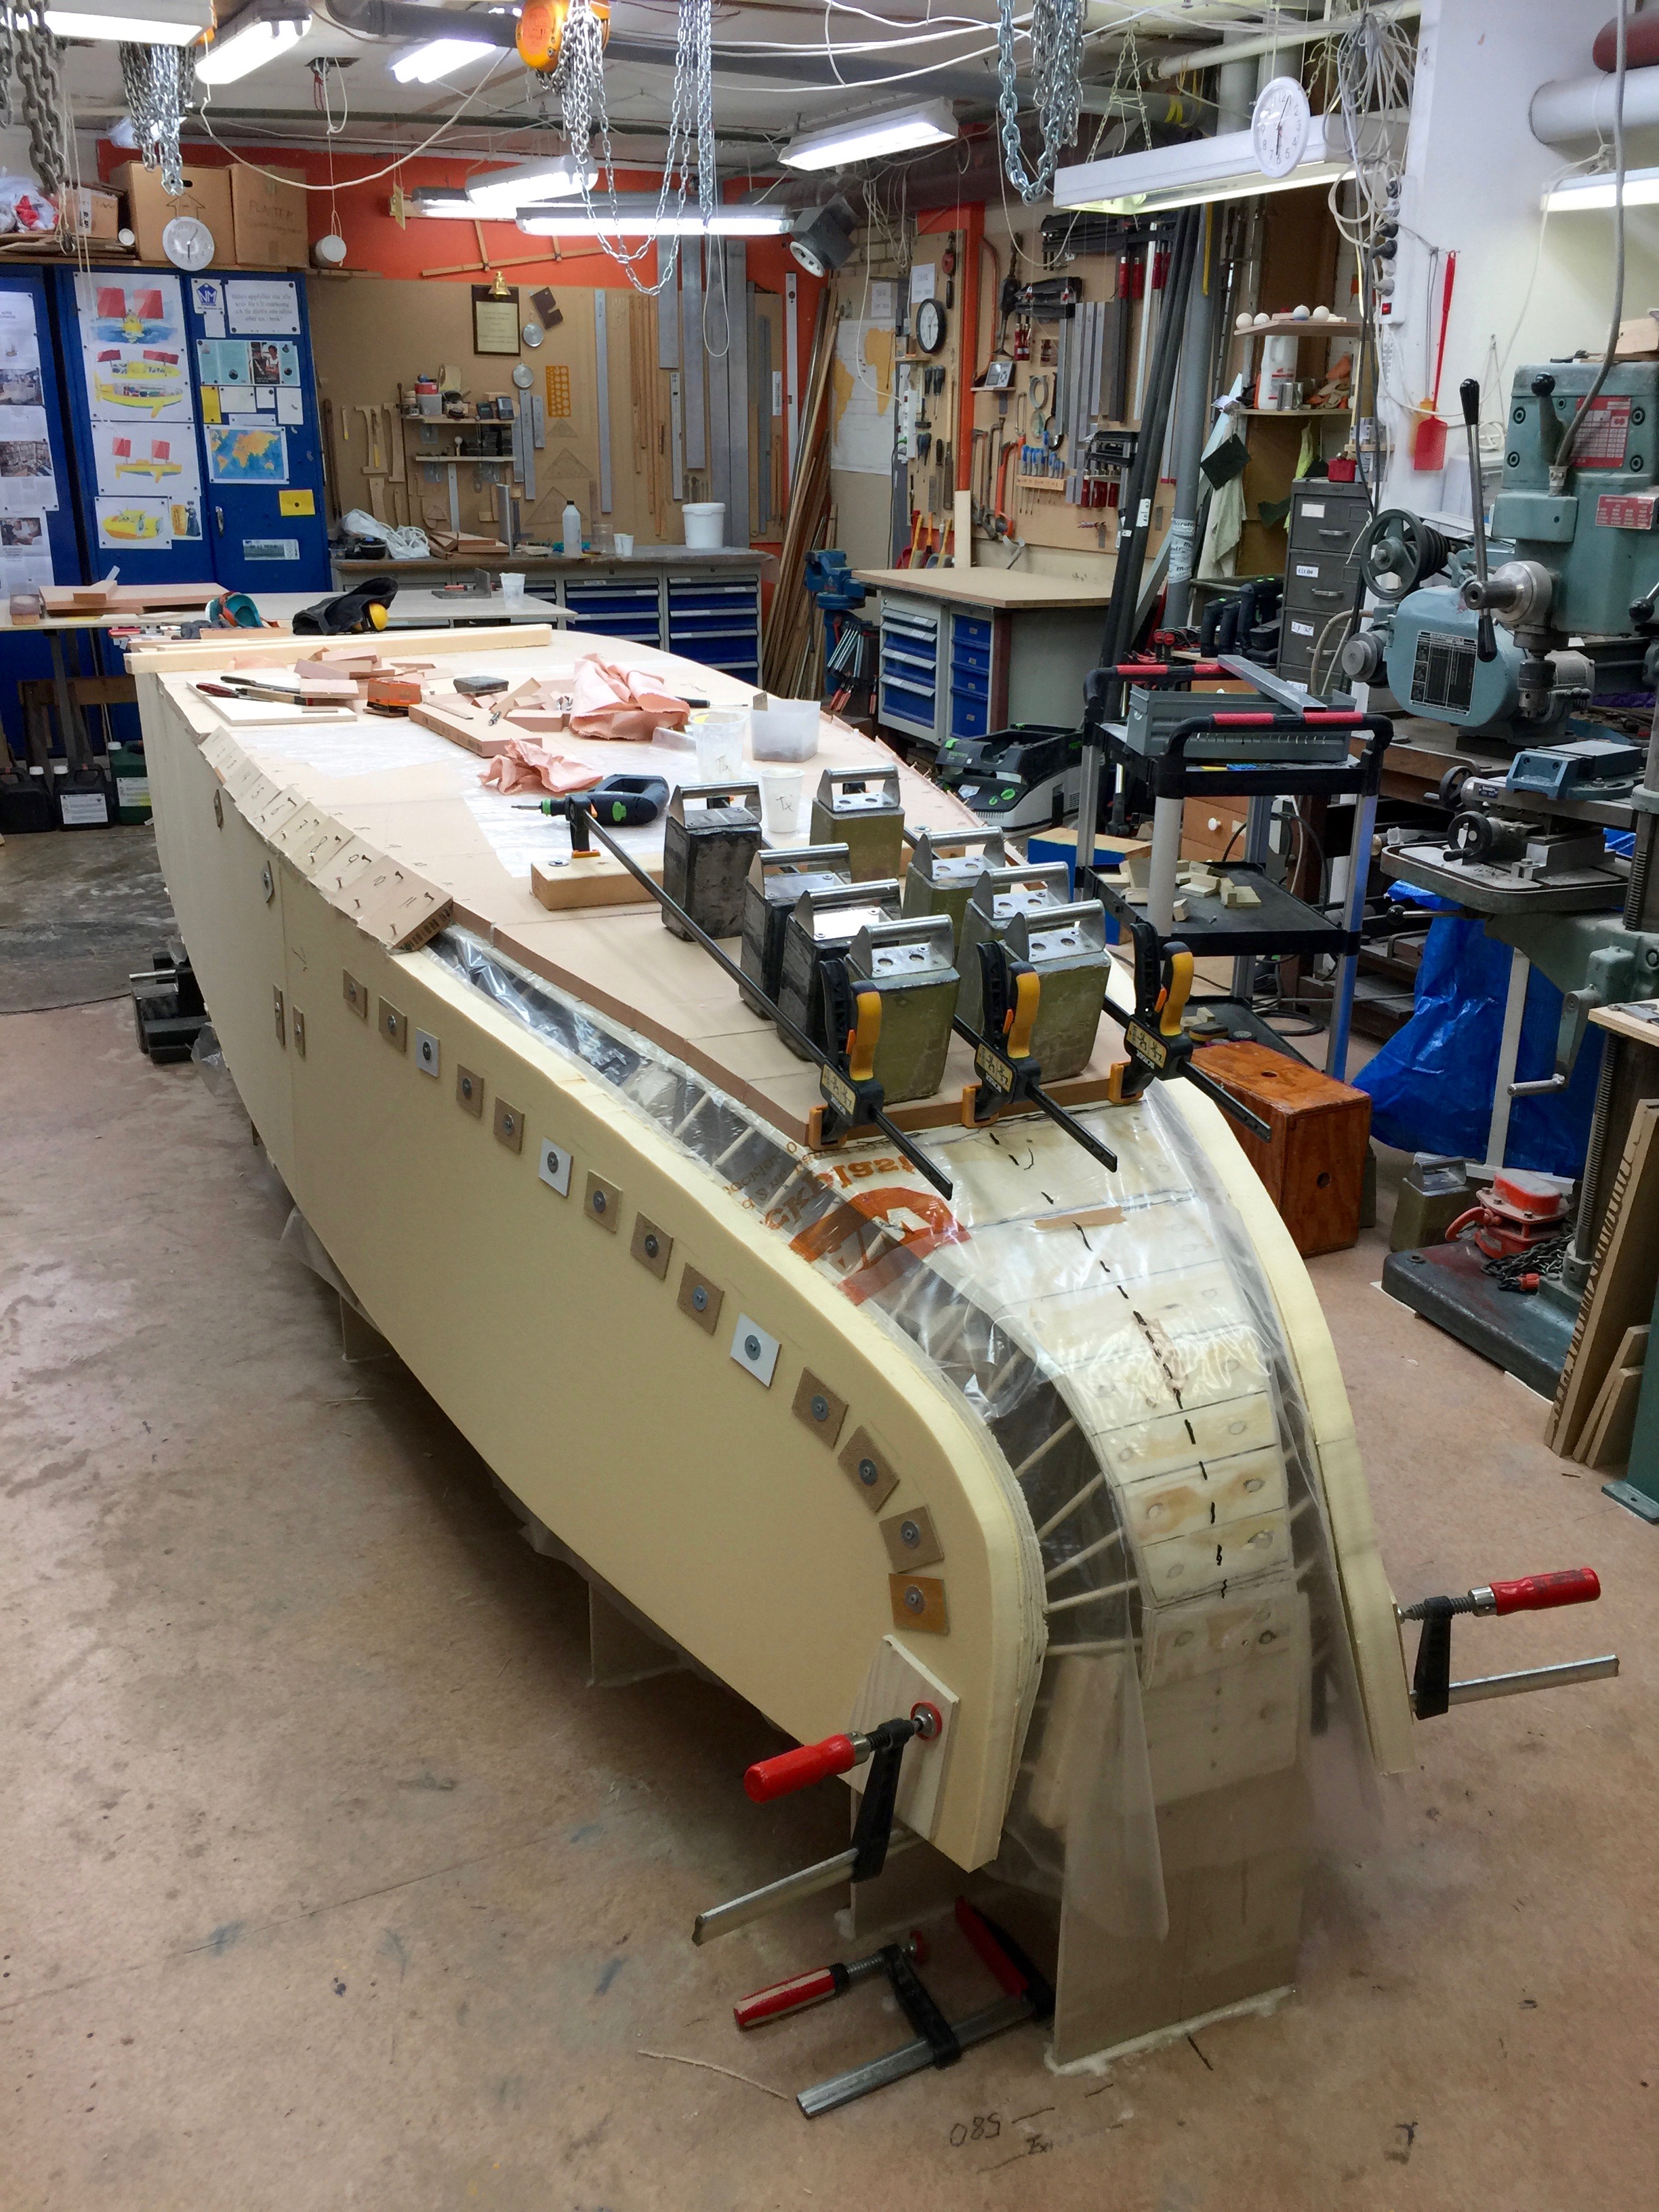
Today more pieces has been added and the end in form of a nicely shaped bow can be imaged.
To be continued…
Regards Yrvind
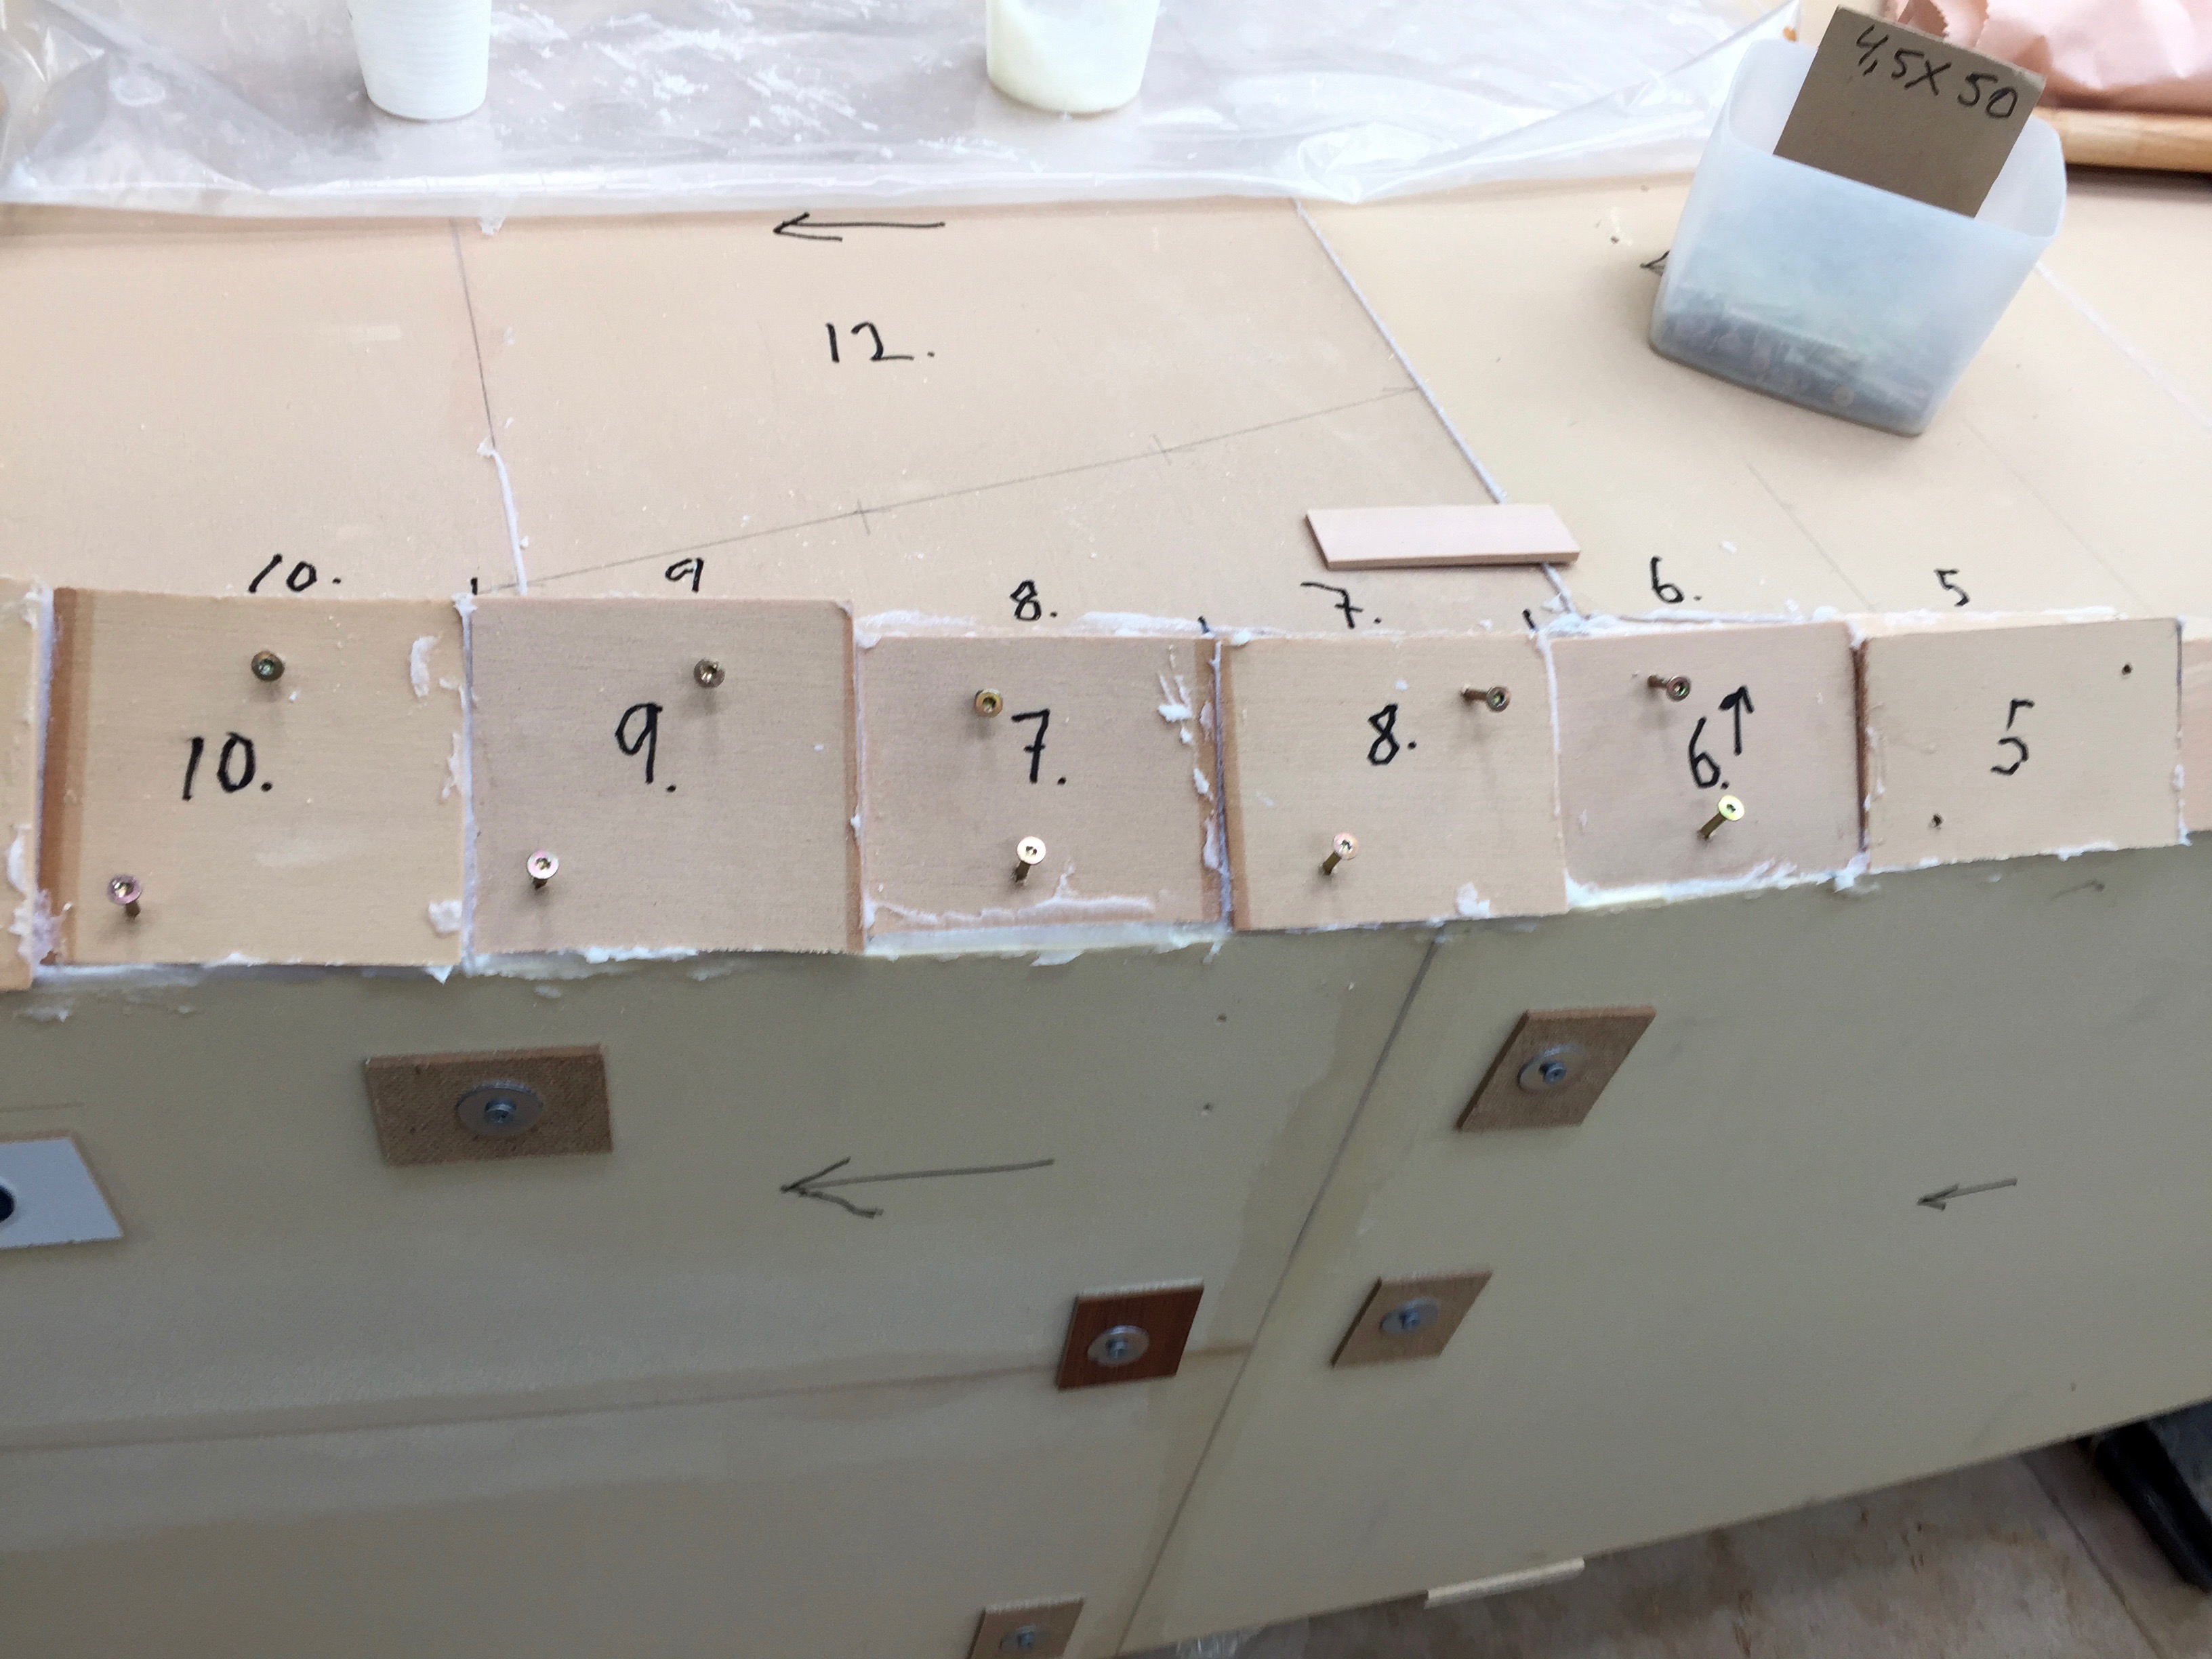
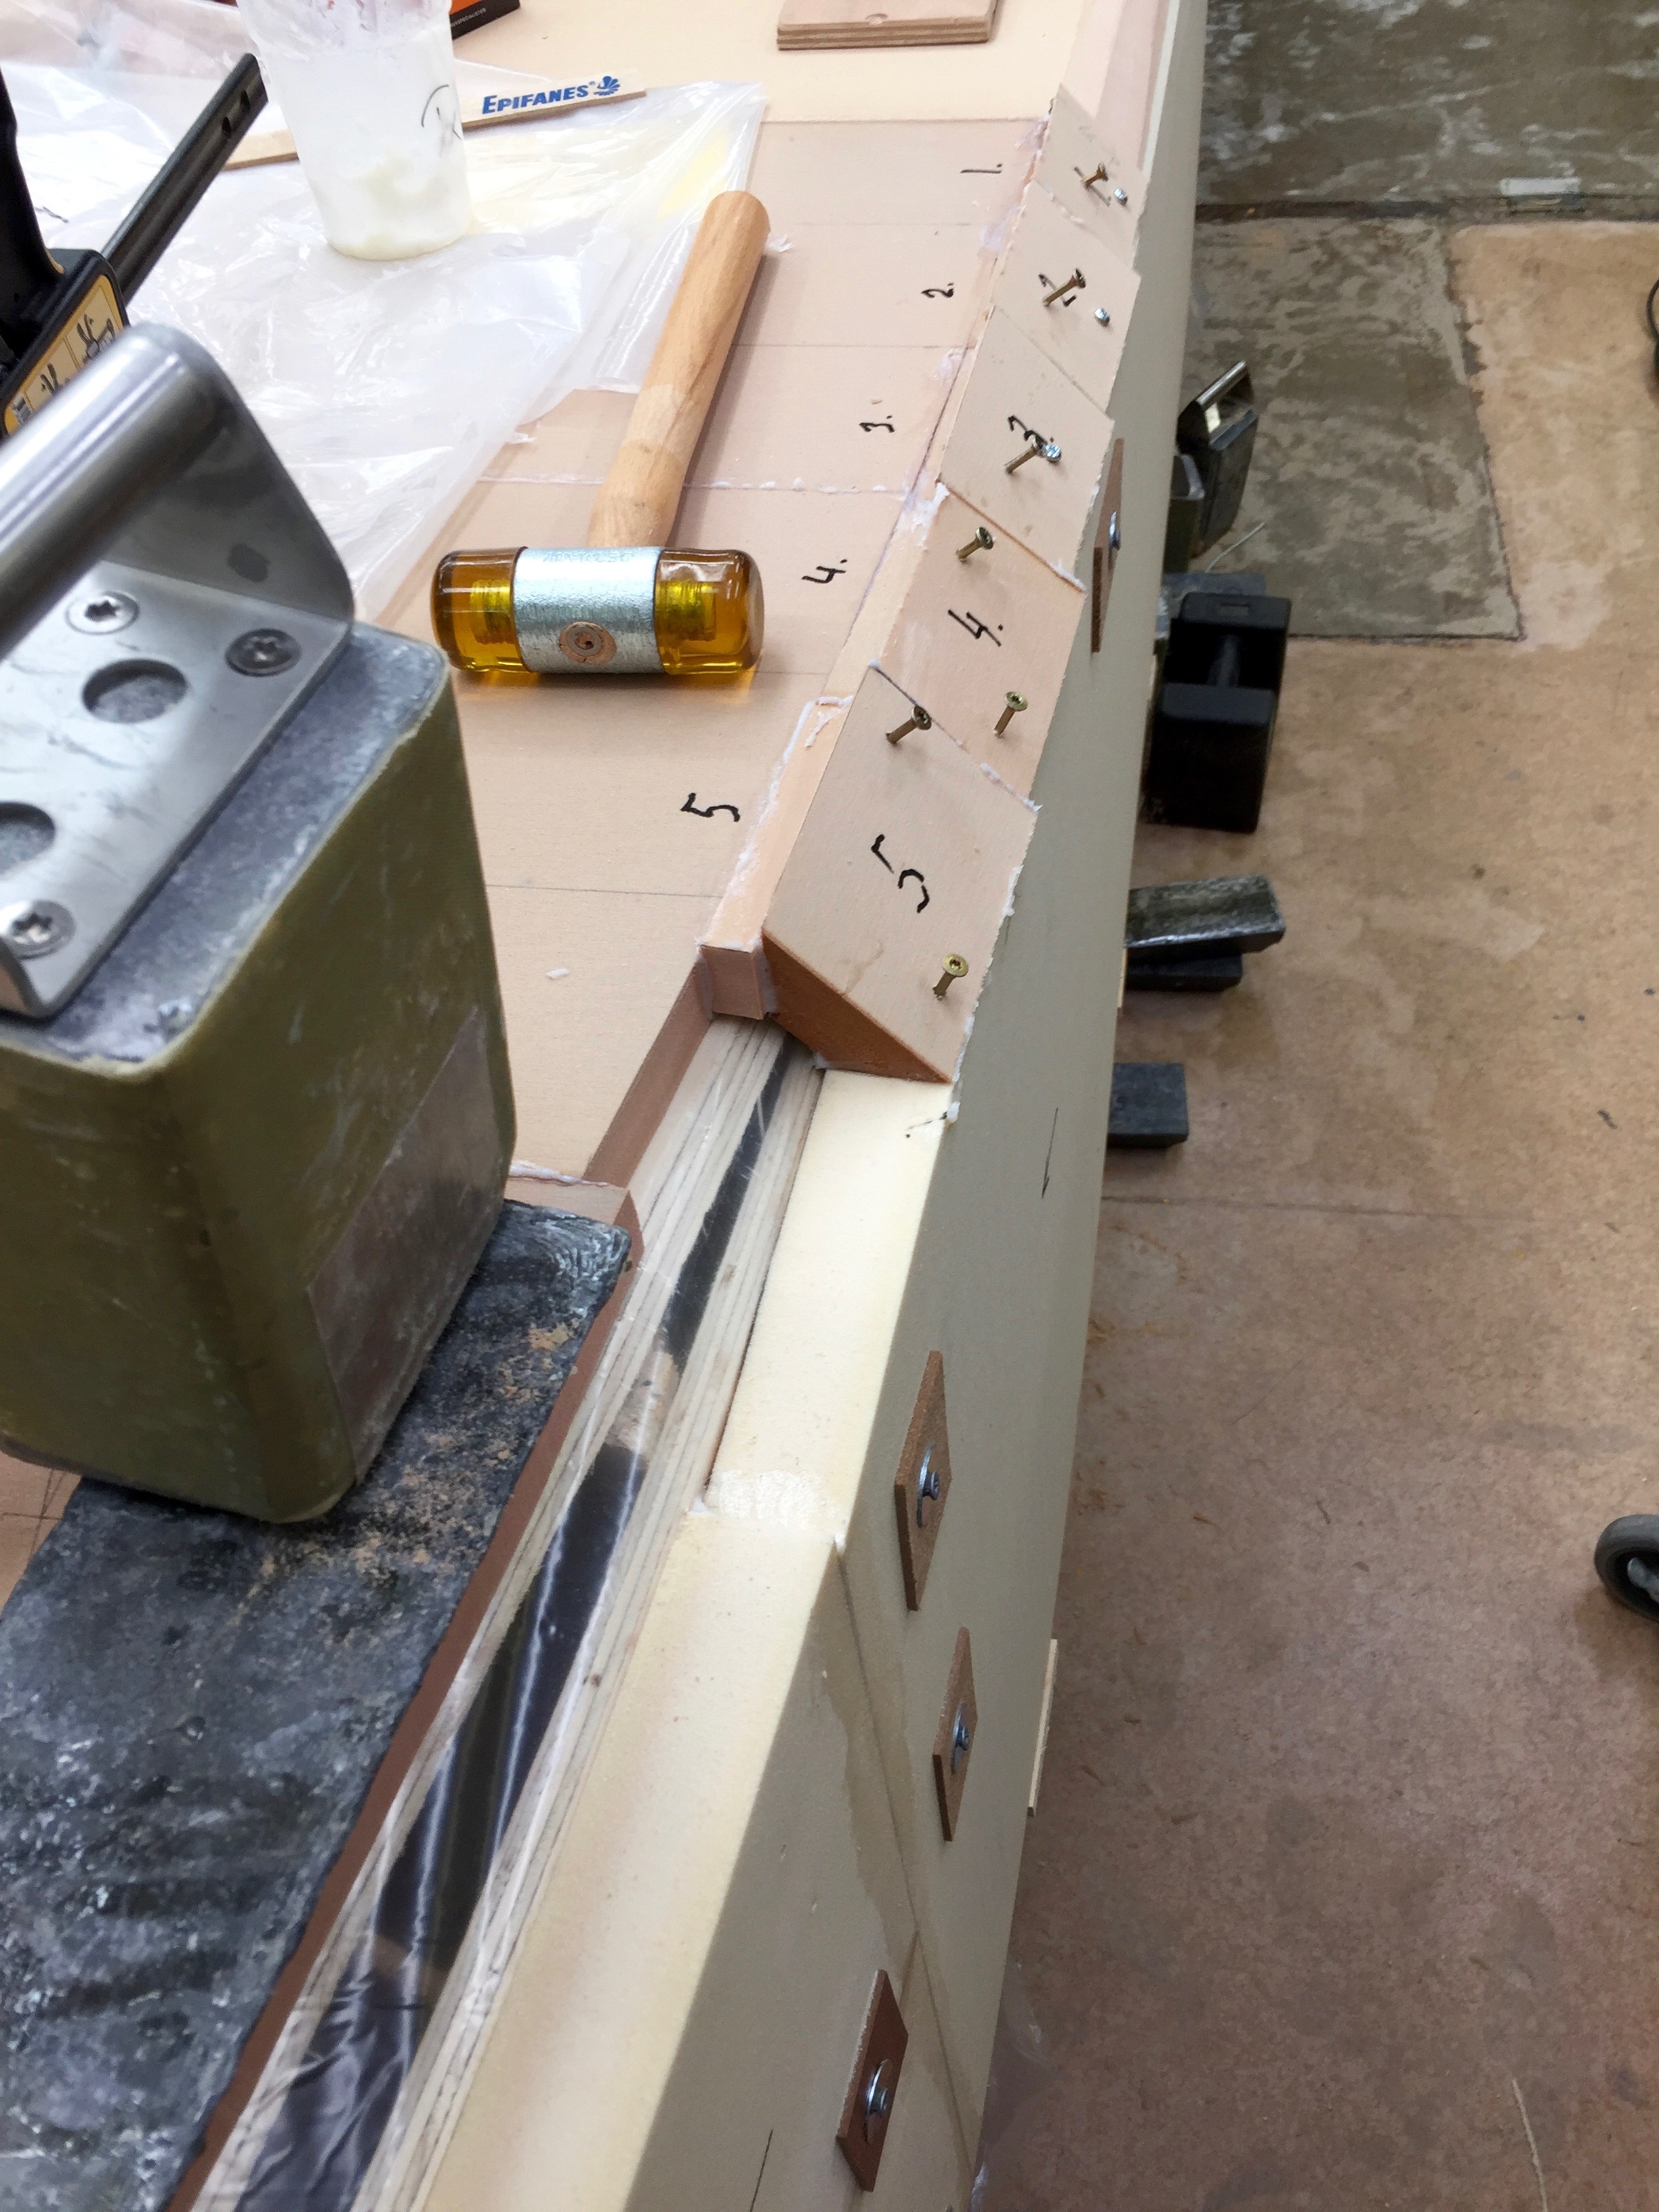
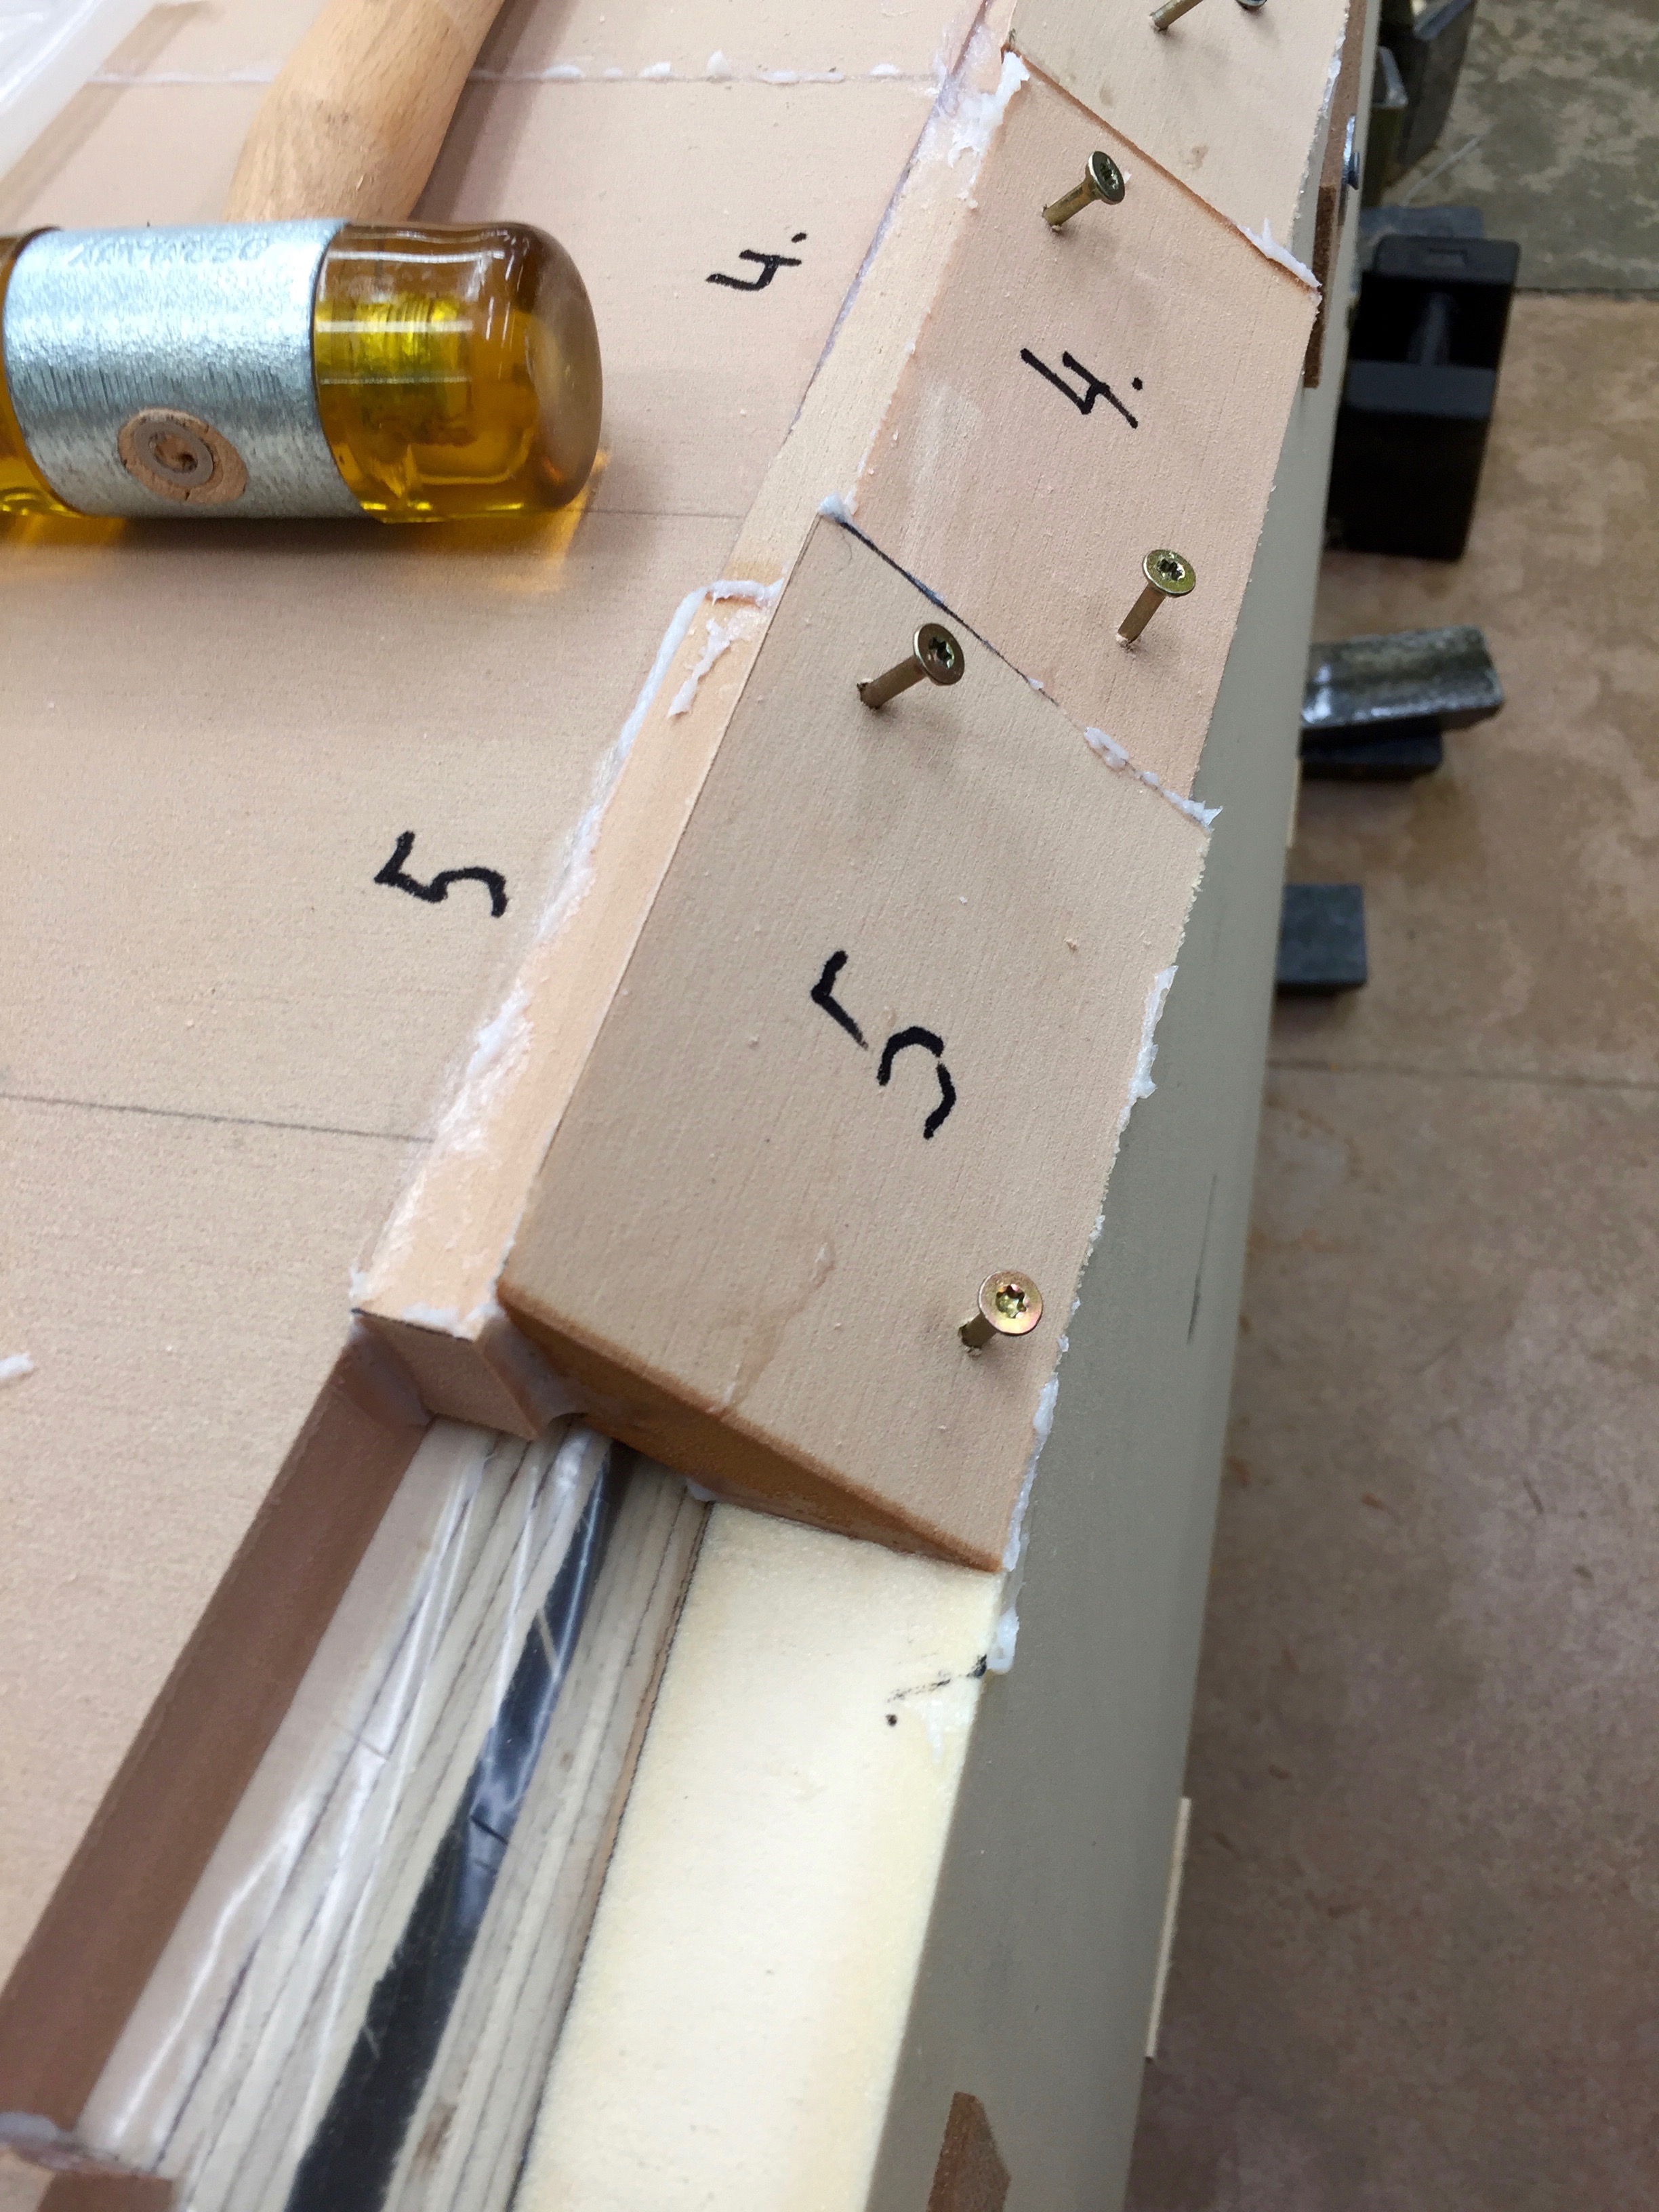
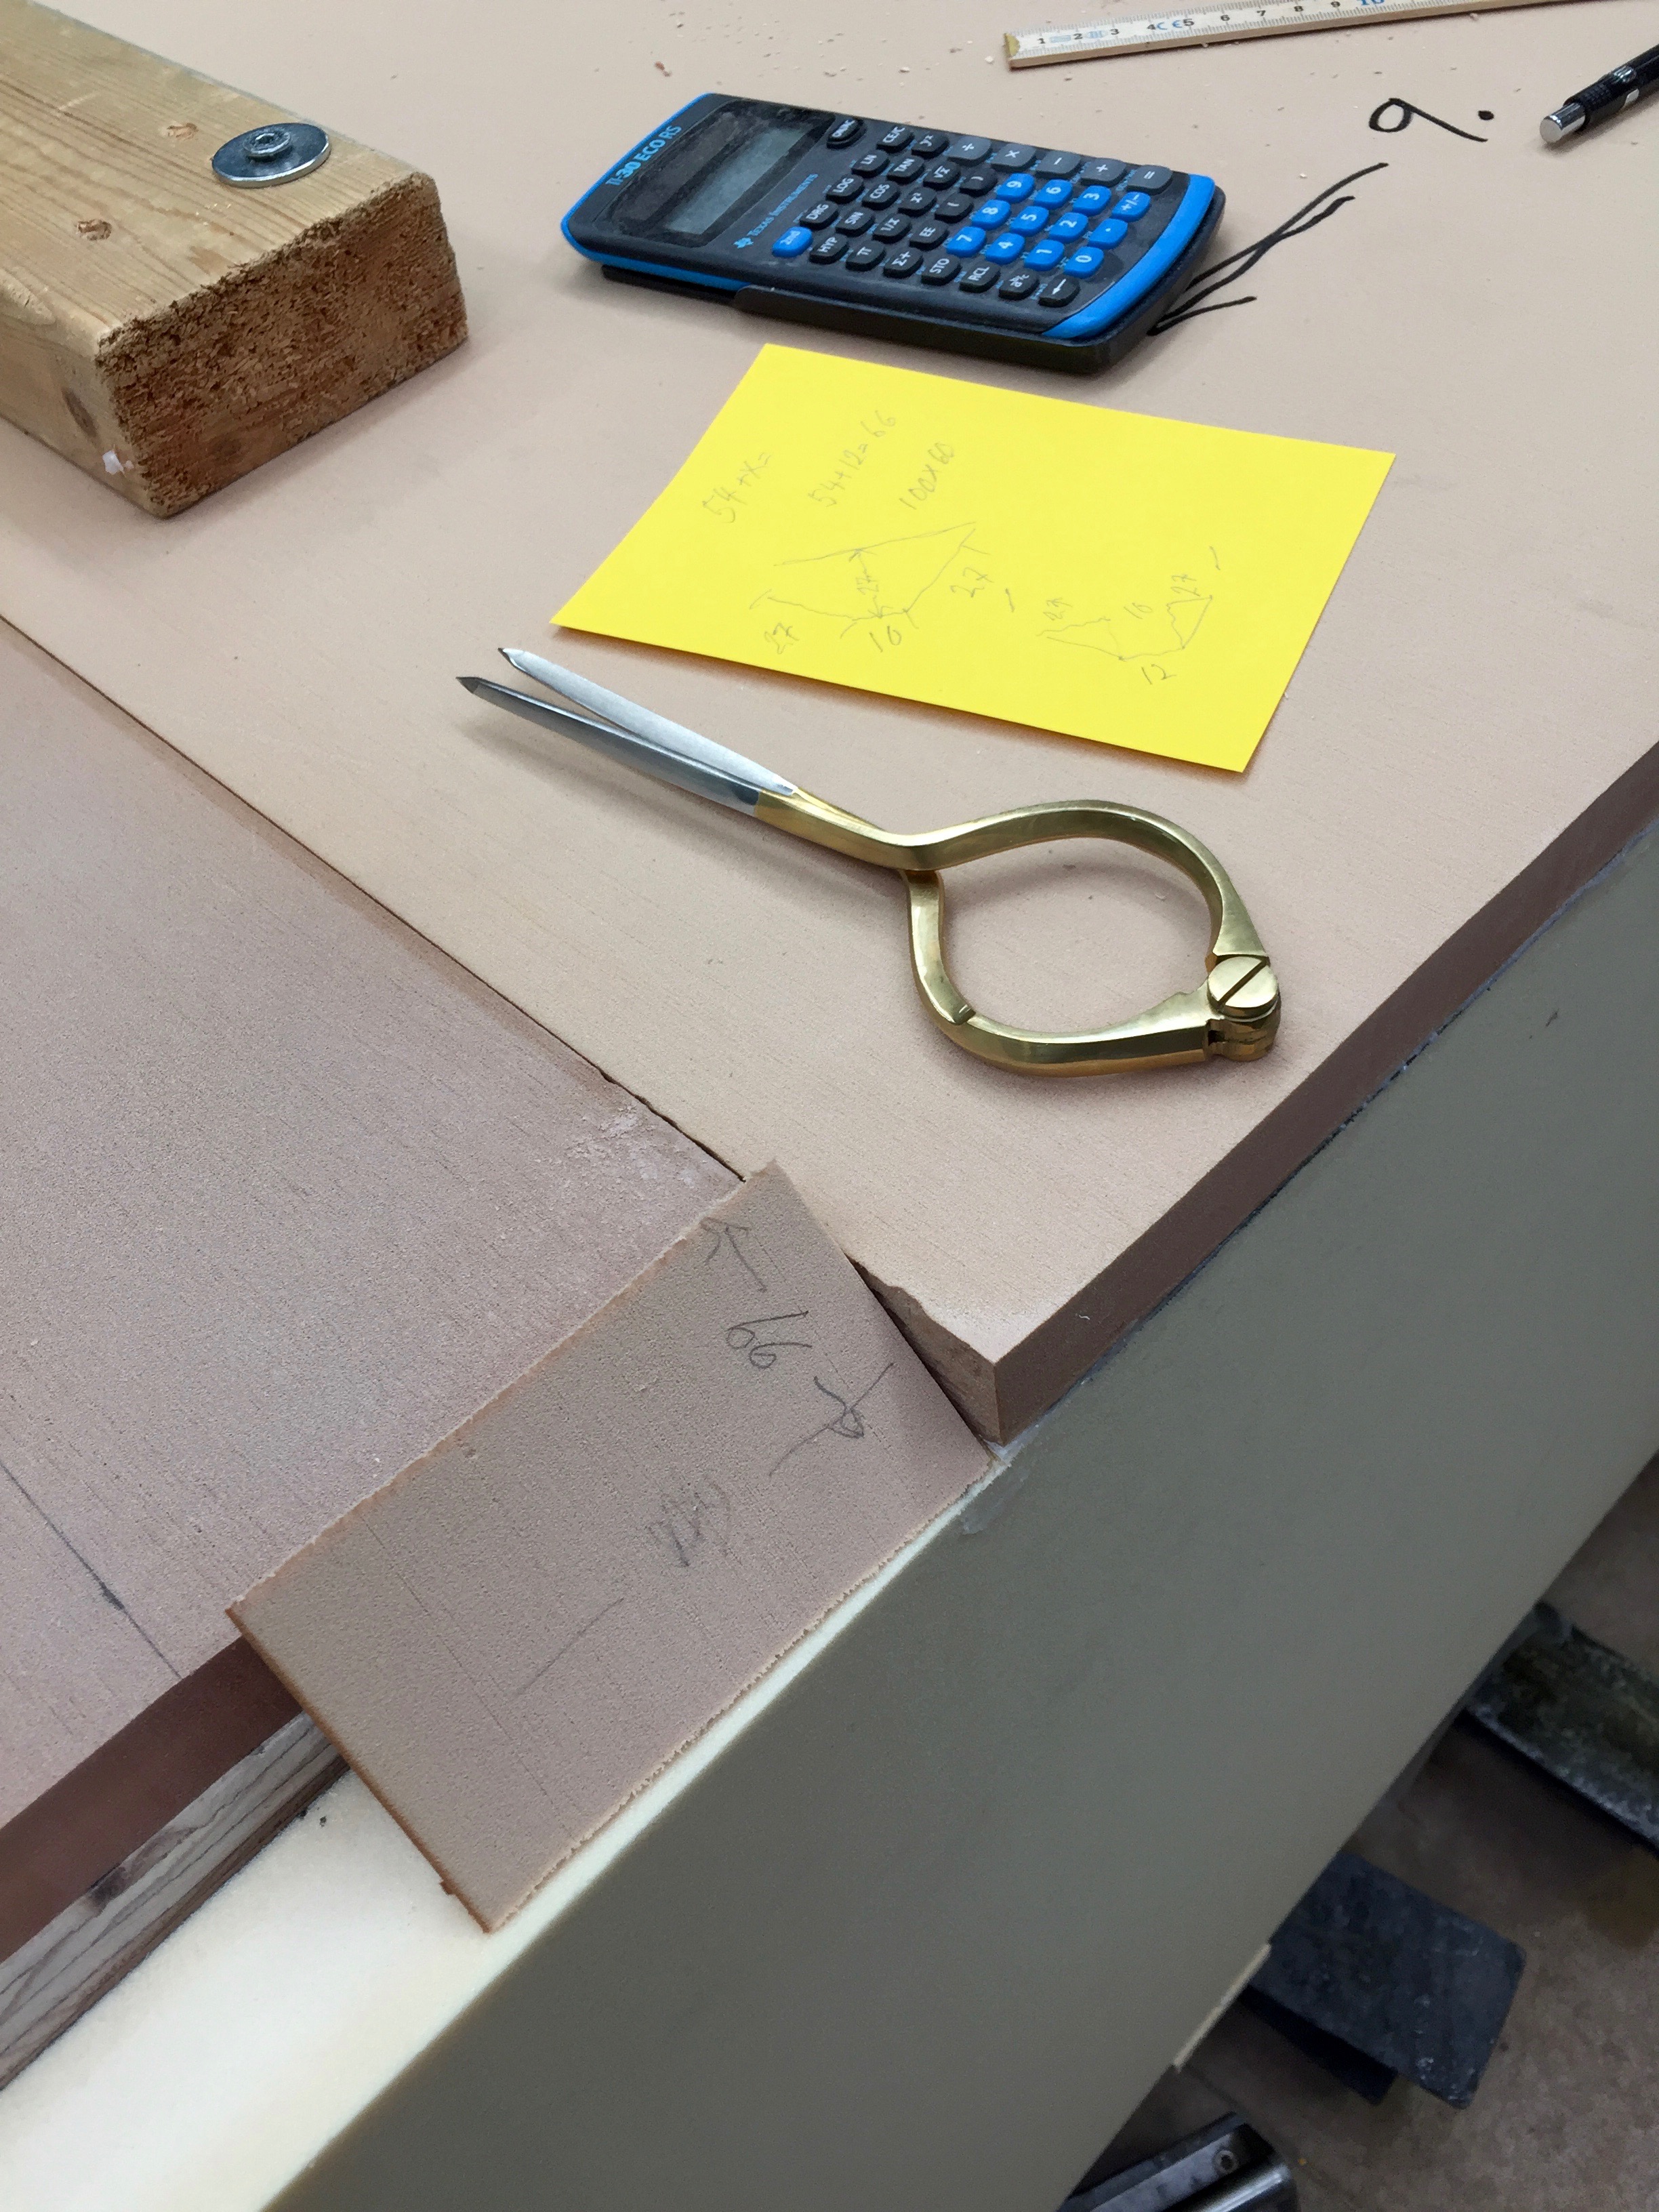
Today, besides doing two bottompieces I have started to glue the connecting bevel pieces.
Below are three pictures. Click once or twice to enlarge.
To be continued…
Regards Yrvind.
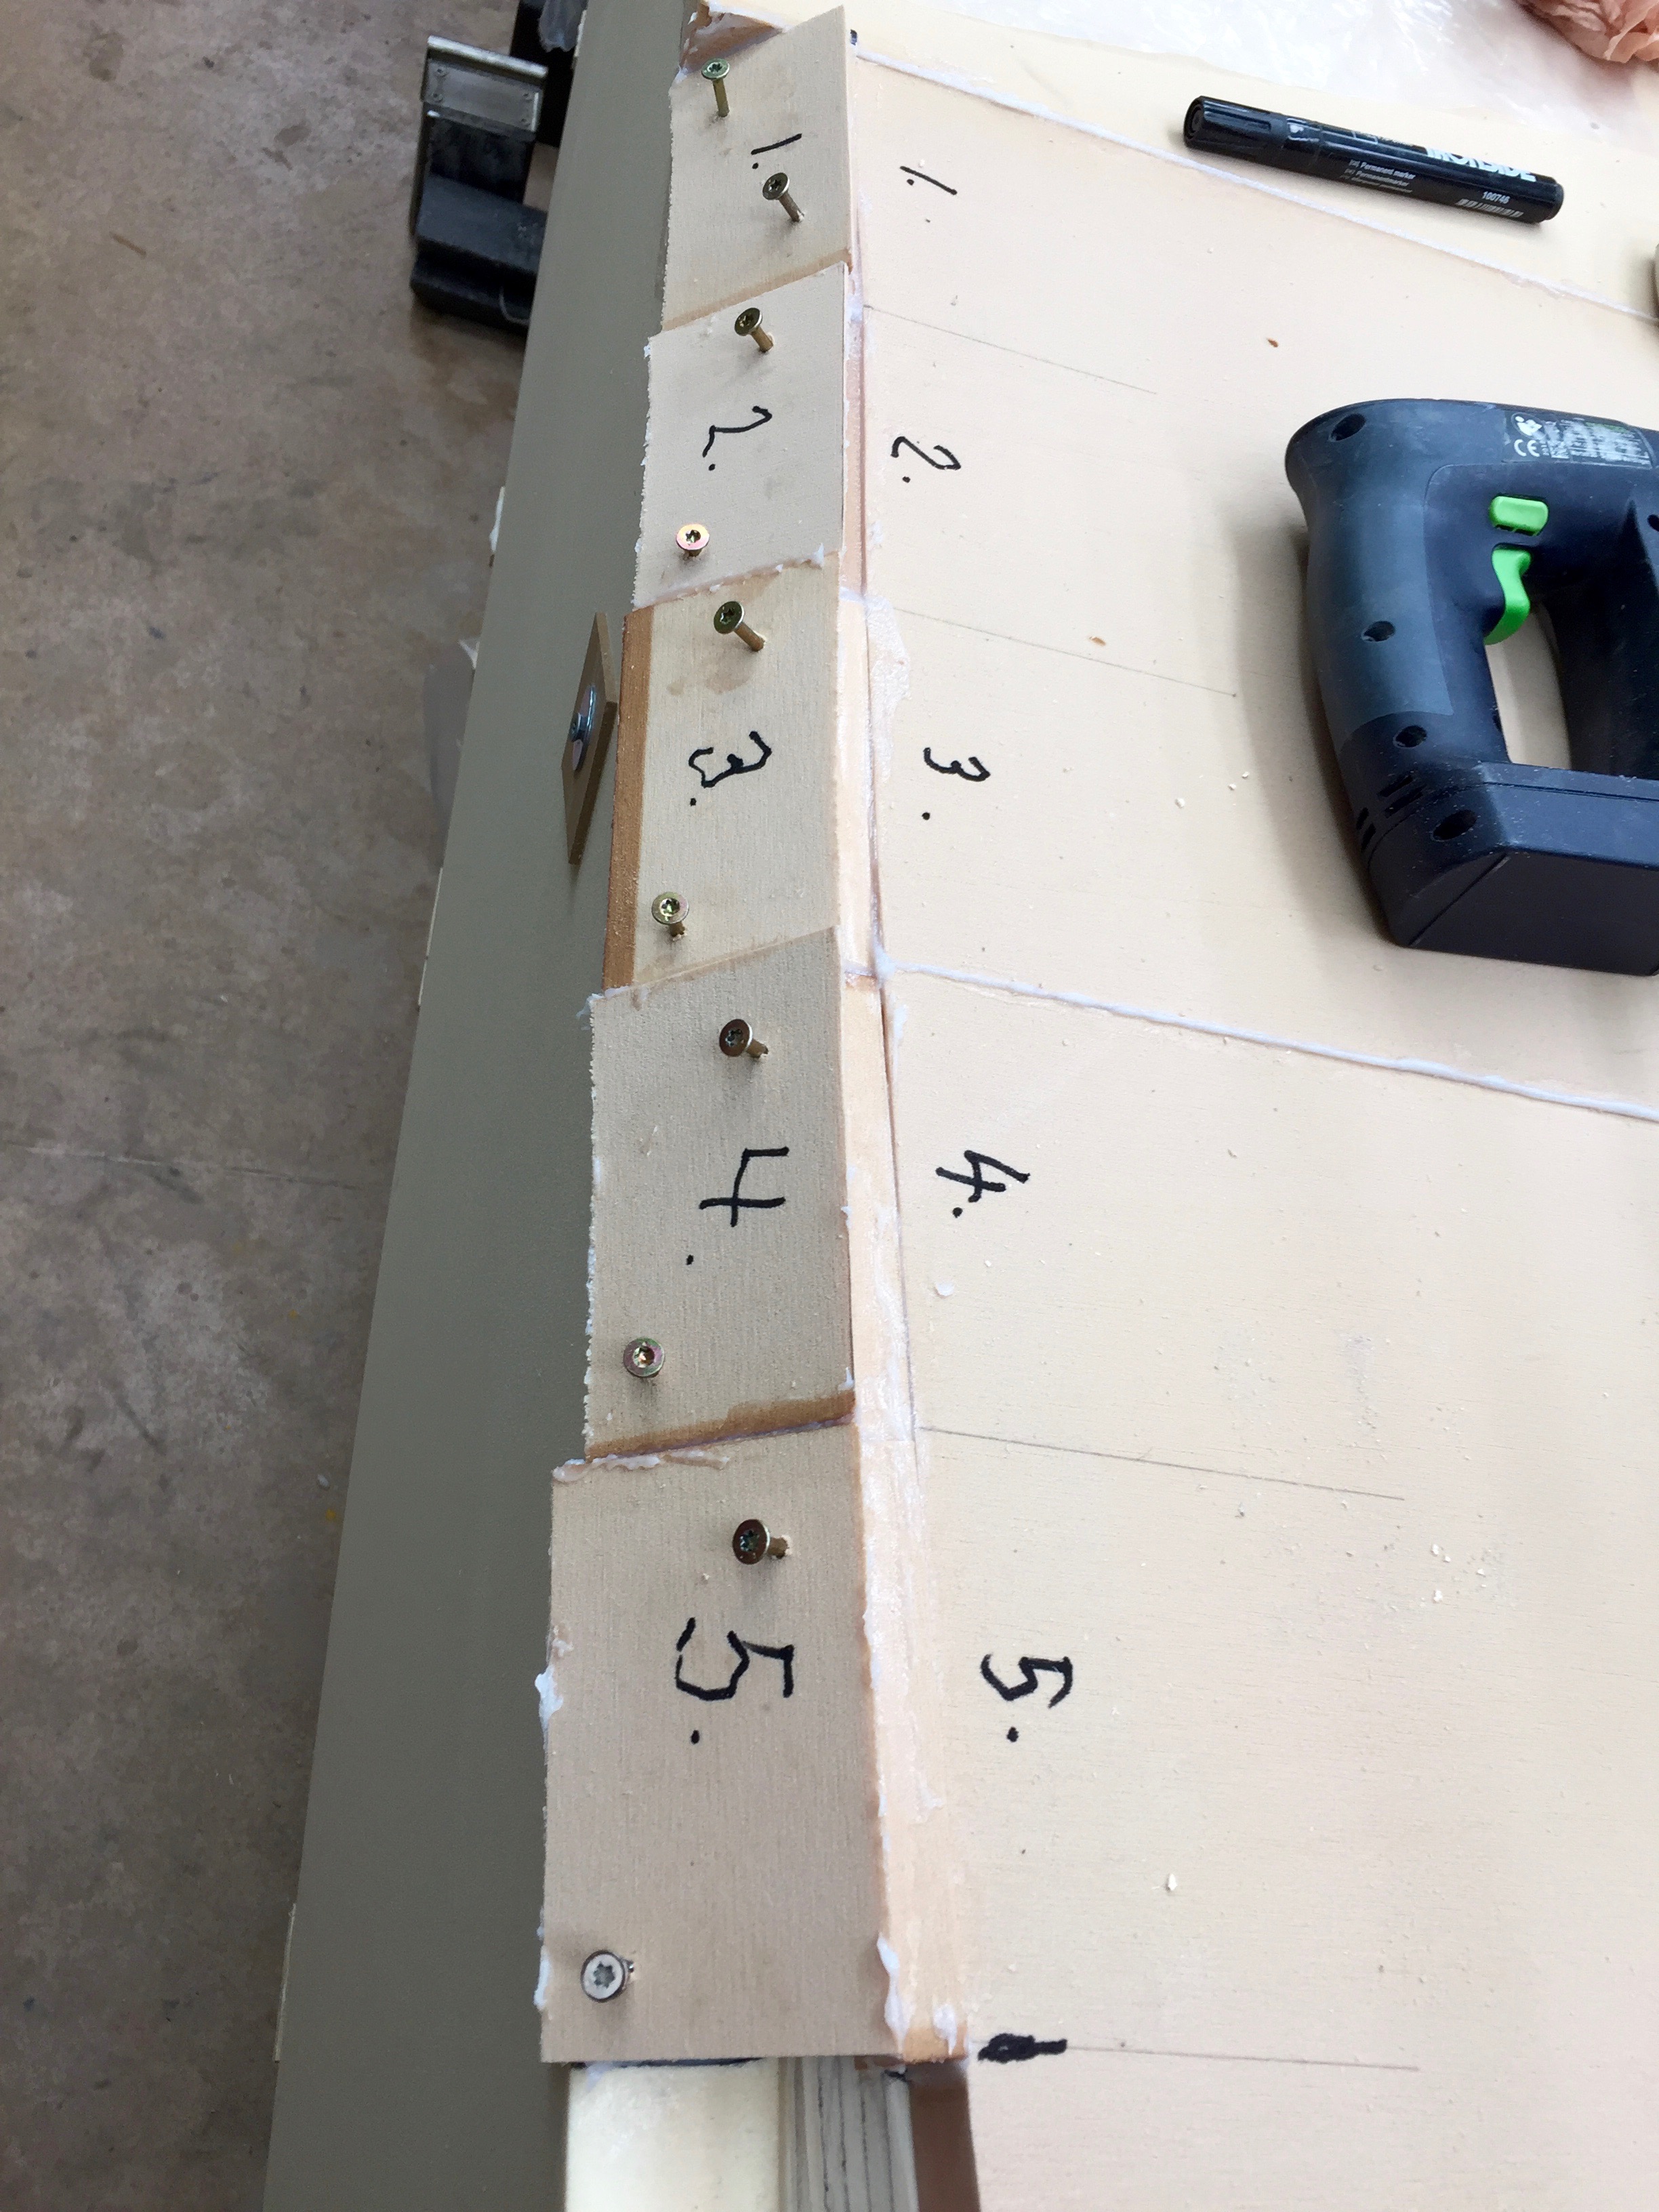
Now I am getting to the forward part av the boat leaving the square aft section behind and going to start the compound curvature. I have decided to do that by connecting the sides and the bottom with bevels of incresing length.
Leaving the sides as guides I shape the bottom part by taking the average of the bottom of the male mould.
Below are some pictures.
To be continued…
Regards Yrvind.
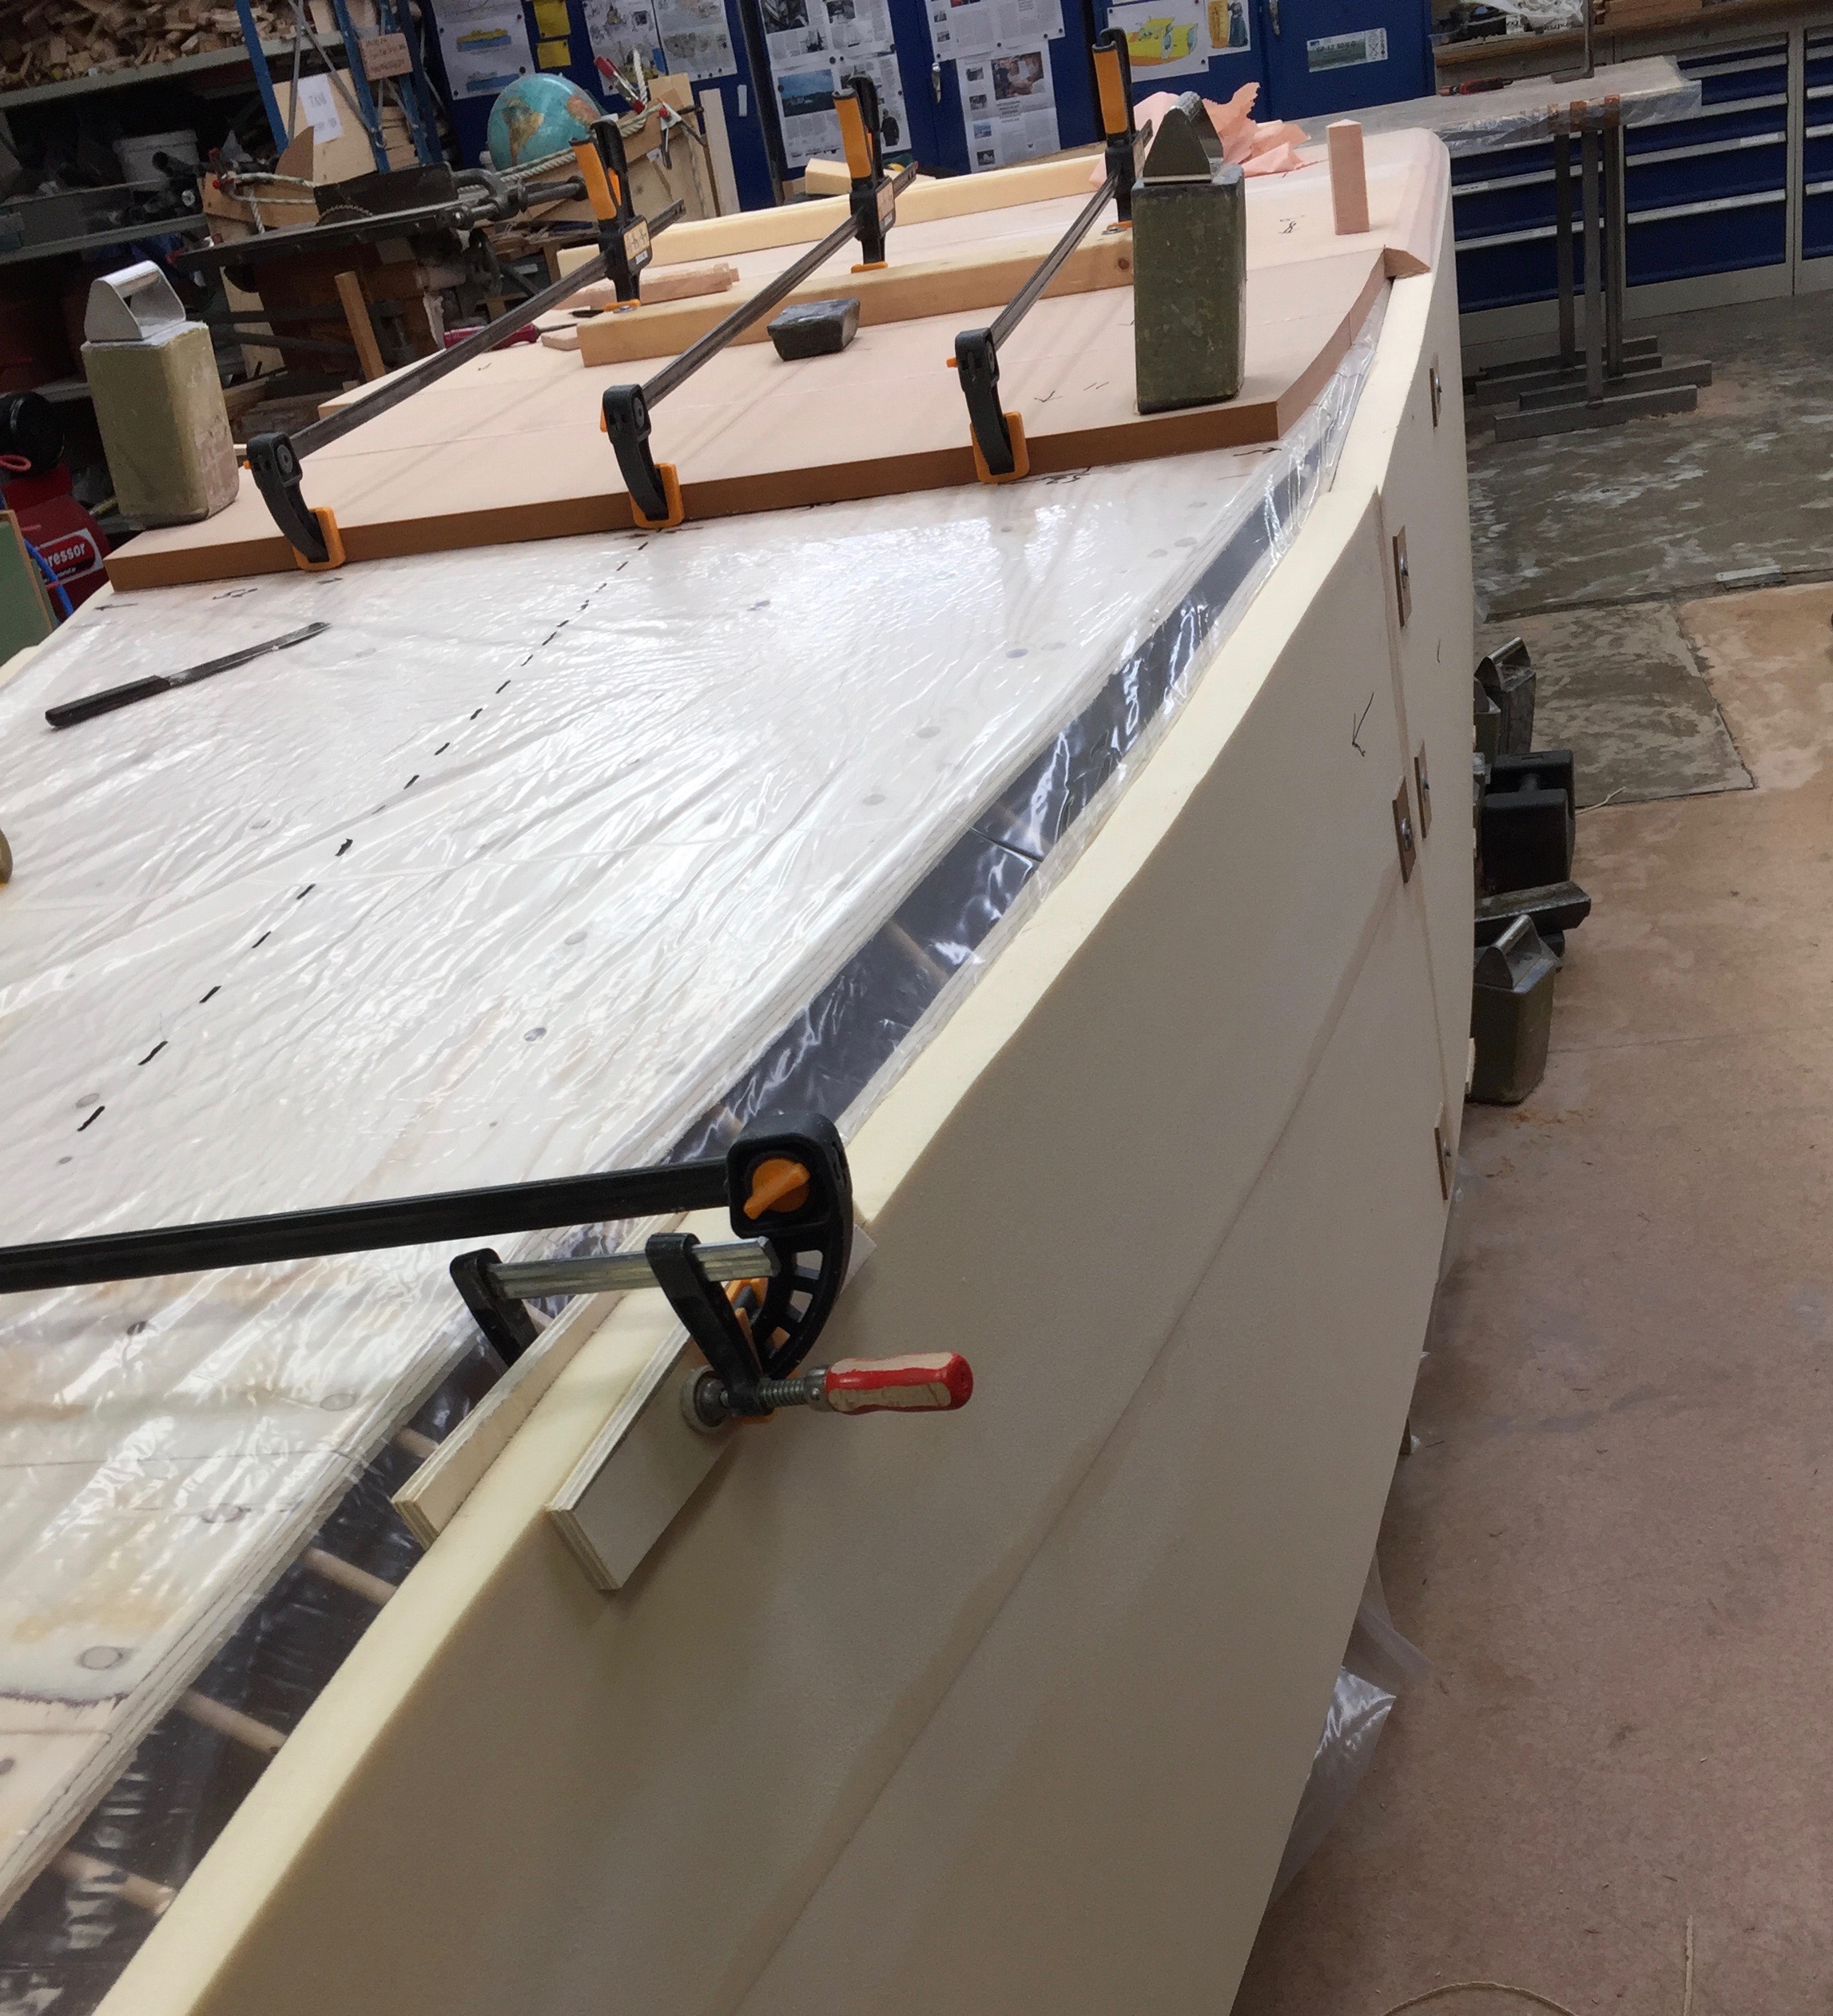
Today I have with the help of Håkan added two sheets of Divinycell on the bottom. I am now getting close to the more complex bow with its compound shaped curvature. I am not really shore how to solve that problem but I cross that bridge when I come to it.
Below two pictures from today.
Please continue to supported my project.
To be continued…
Regards Yrvind.
Reluctantly I now realise that due to weight, time and money restrictions I have limit myself on experimenting with Exlex Minor. The idea of twin rudders and bilgeboards has to be put on hold for later boats.
There will be one central rudder. That makes it easy to find a place for the sculling oar and also make an rudder indicator. The transom will not be so crowded.
As for lateral resistannce there will be a offset centerboard if my gentle reader can accept such an oxymoron, or should I call it single bilgeboard?
In the sixties a book on seamanship was published that made a lot of impact. I am speaking of Adlard Coles “Heavy Weather at Sea”. Two schools of riding out a storm was discussed. On one hand lying to sea anchor or drouge or the Moitessier way influenced by Vito Dumas, running free. Myself, I was influenced by the running free idea. My intended twin rudders used as brakes was a middle way. But I reluctantly realised that due to money, time and weight restrictions I have to do without the twin rudder brake idea.
A small boat is not as valnurable as a big one. It will not so easily get hurt if capsized or pitchpooled. Also in my upcoming attempt to round Cape Horn in Exlex Minor I now have a spoon bow and a very high prismatic coefficient. I think they will help her not to dig down and broach running down a big wave.
Big boats have problems with self-steering. My side by side rigg should make Exlex Minor easy to self-steer. Most of my ocean passages have been done without self-steering gear or sheet to tiller arangements.
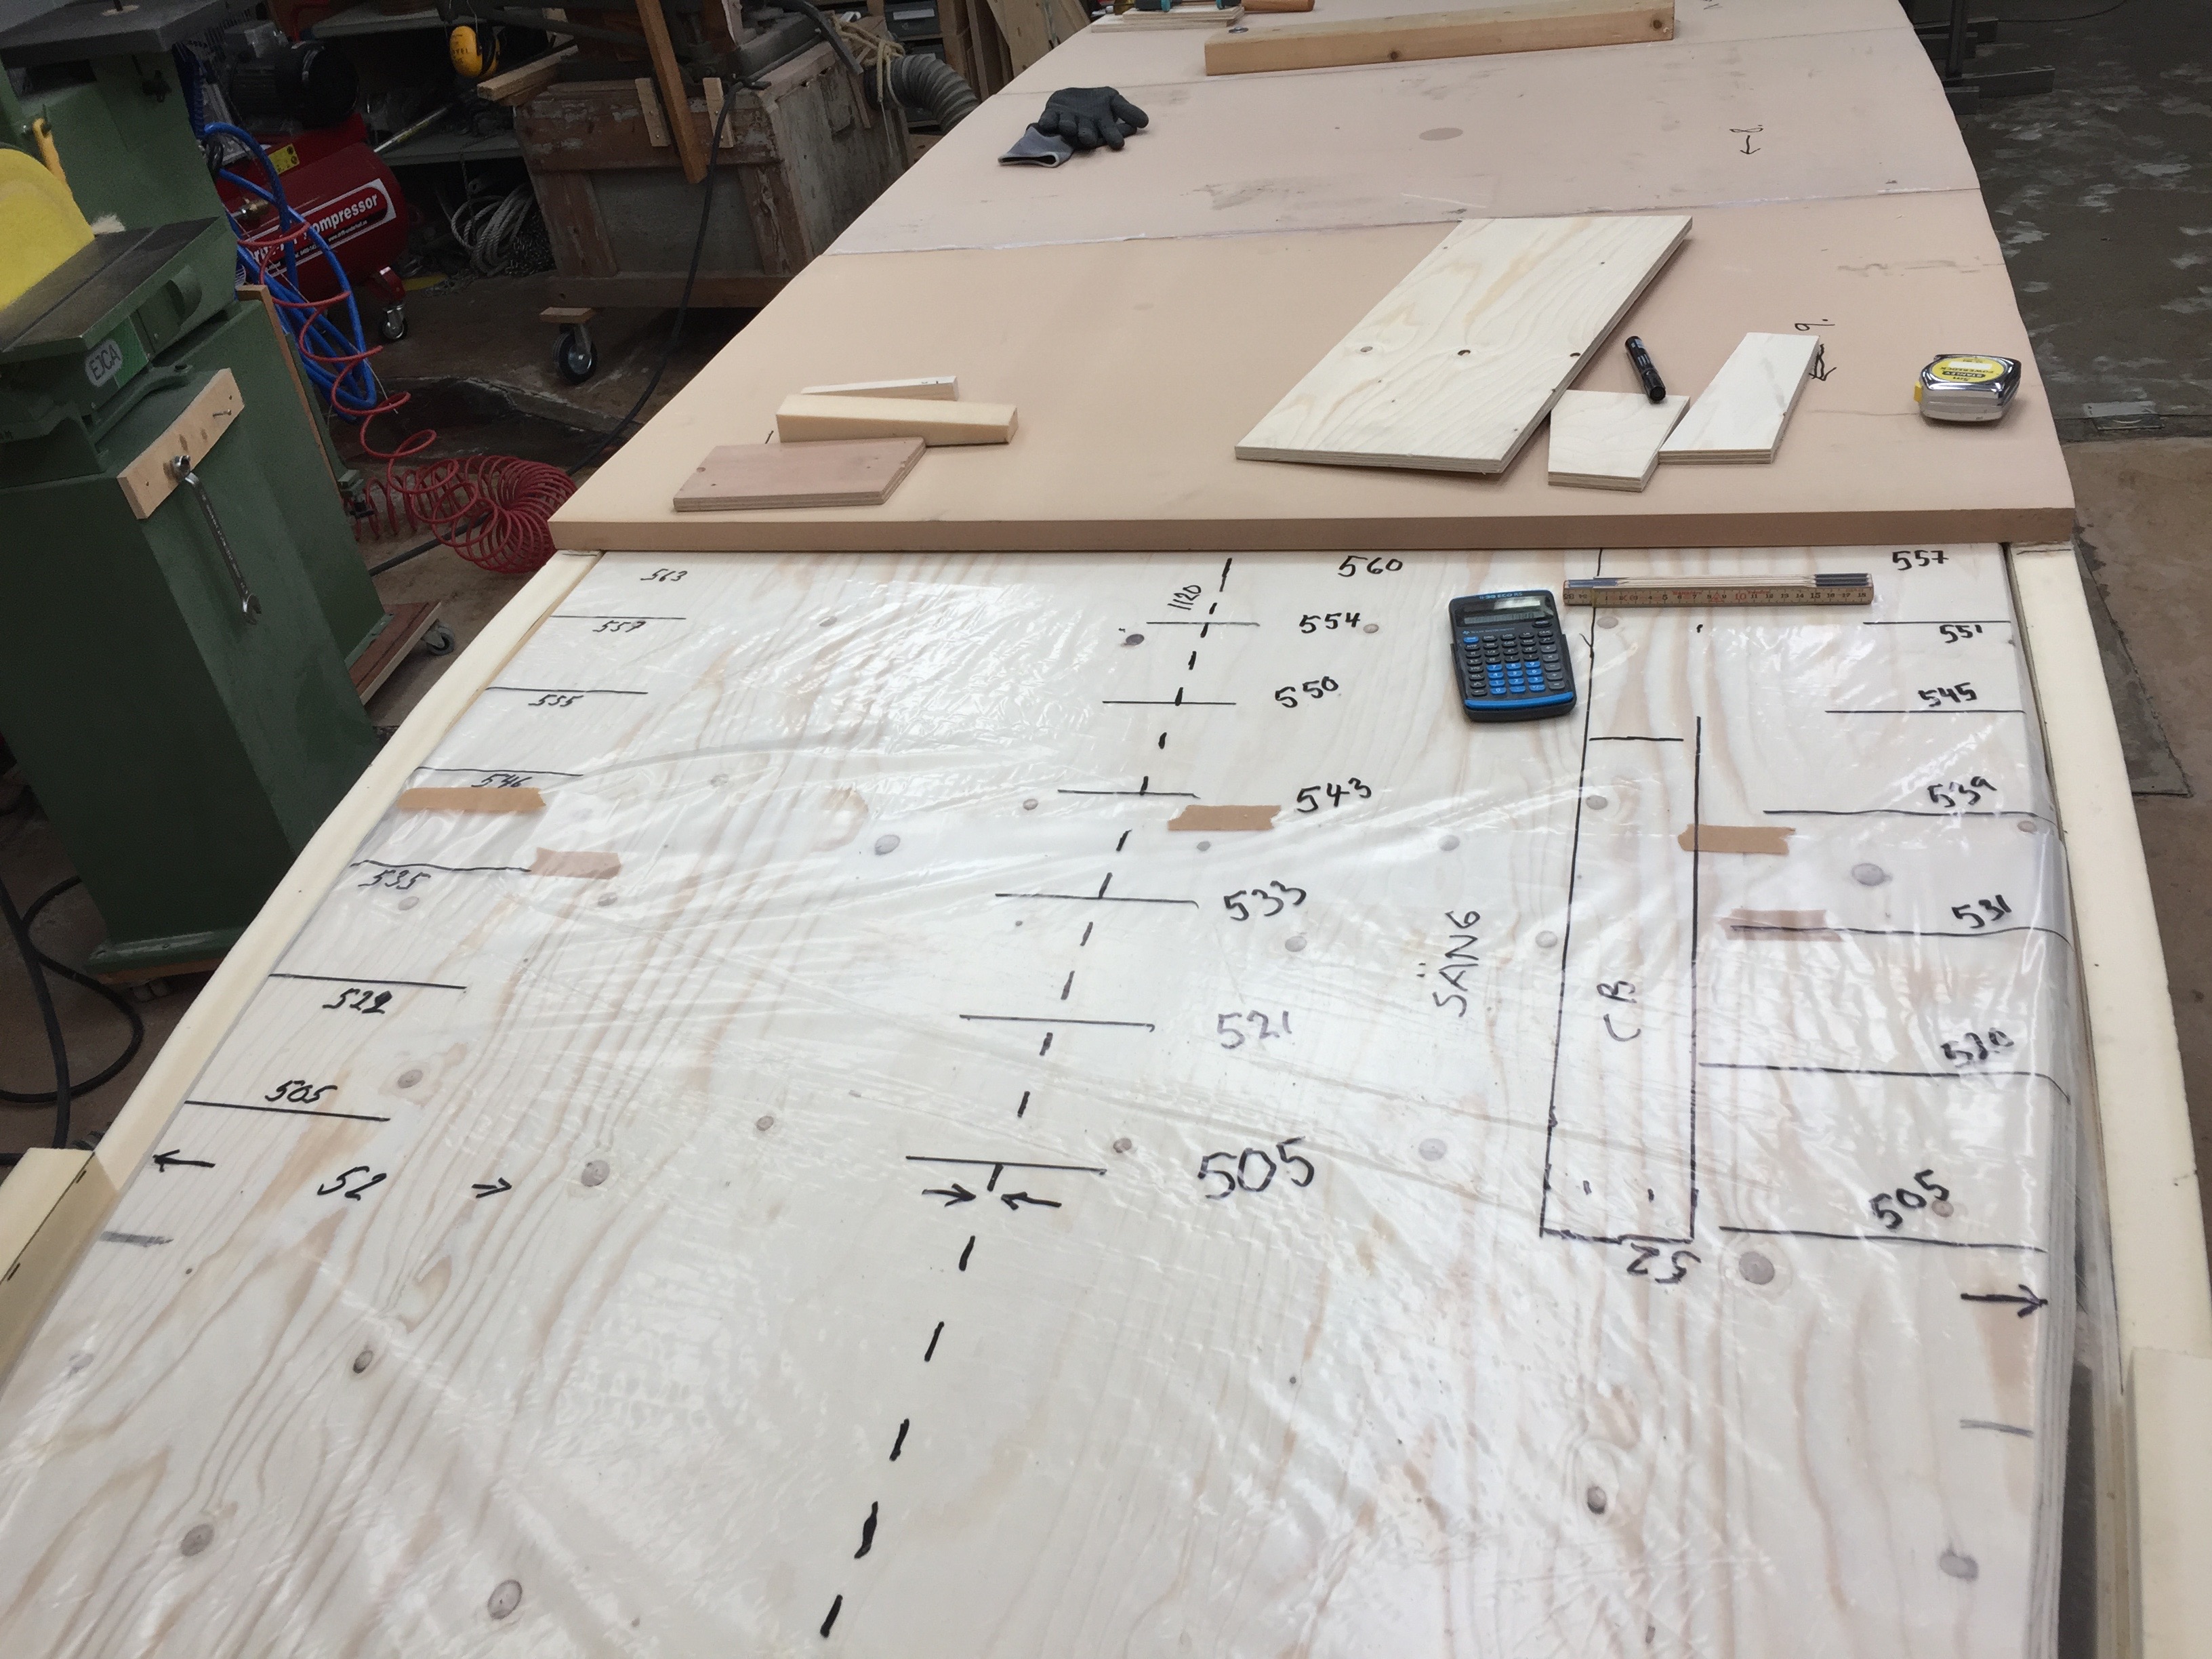
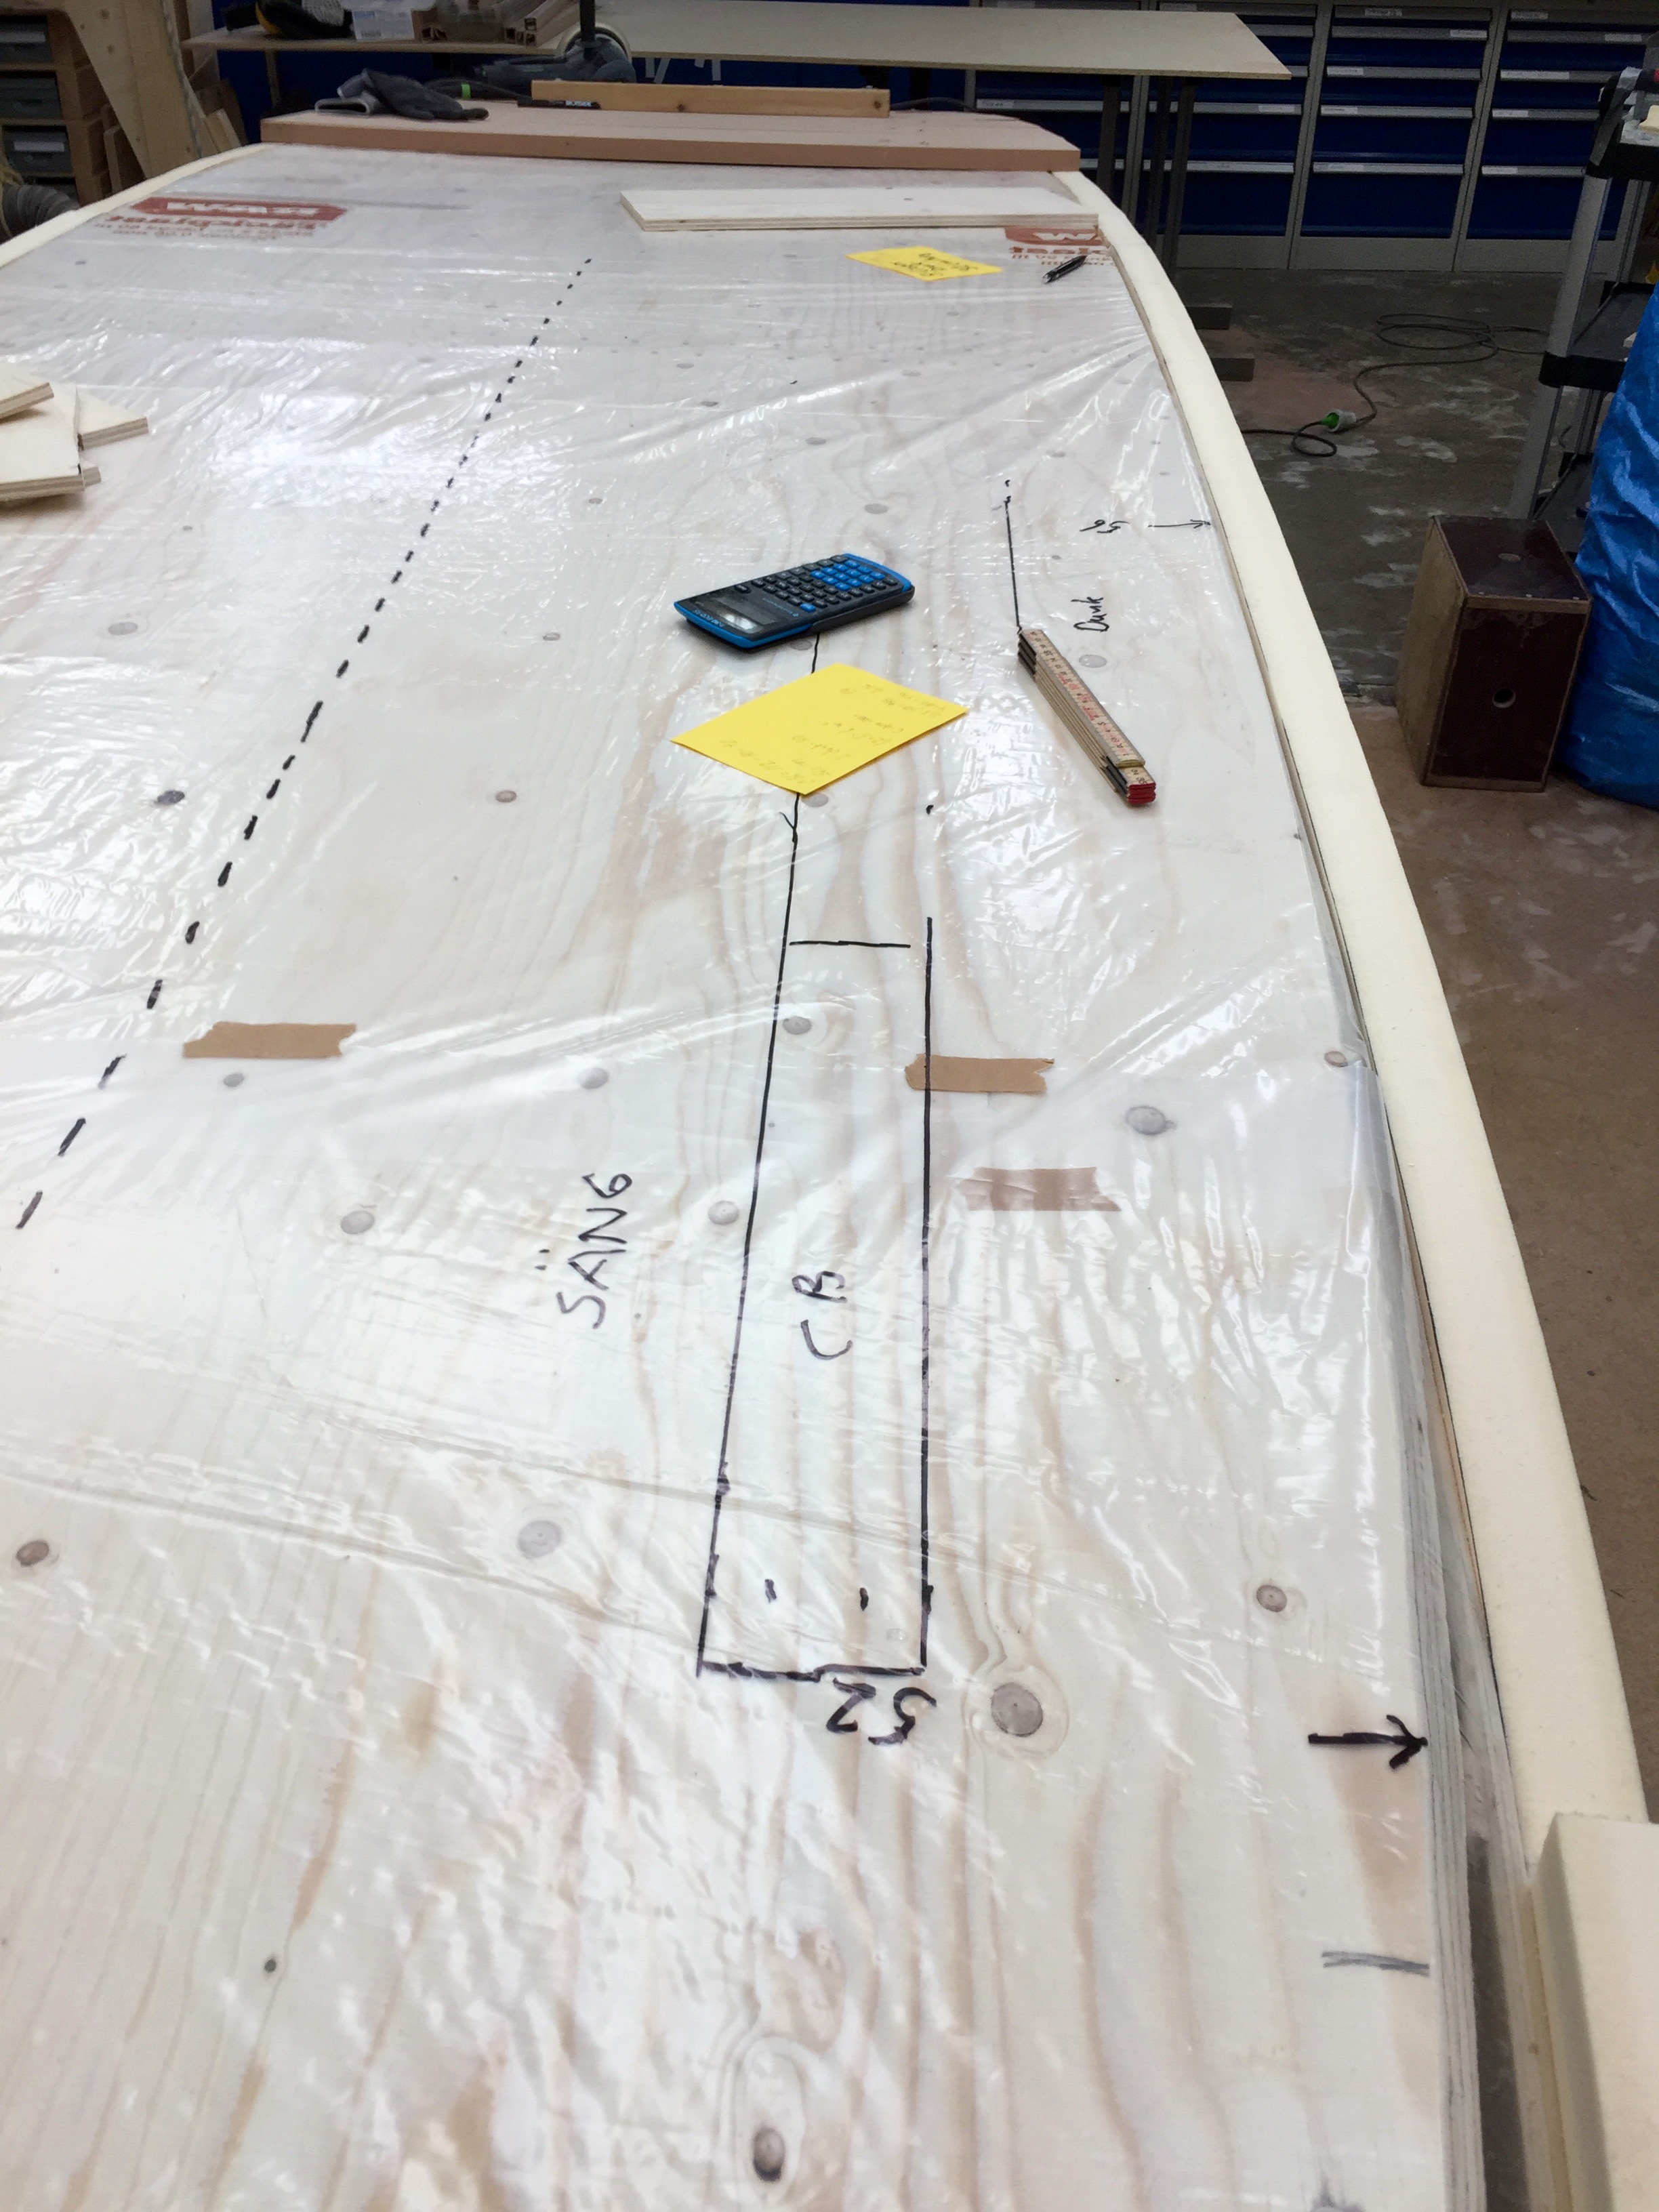
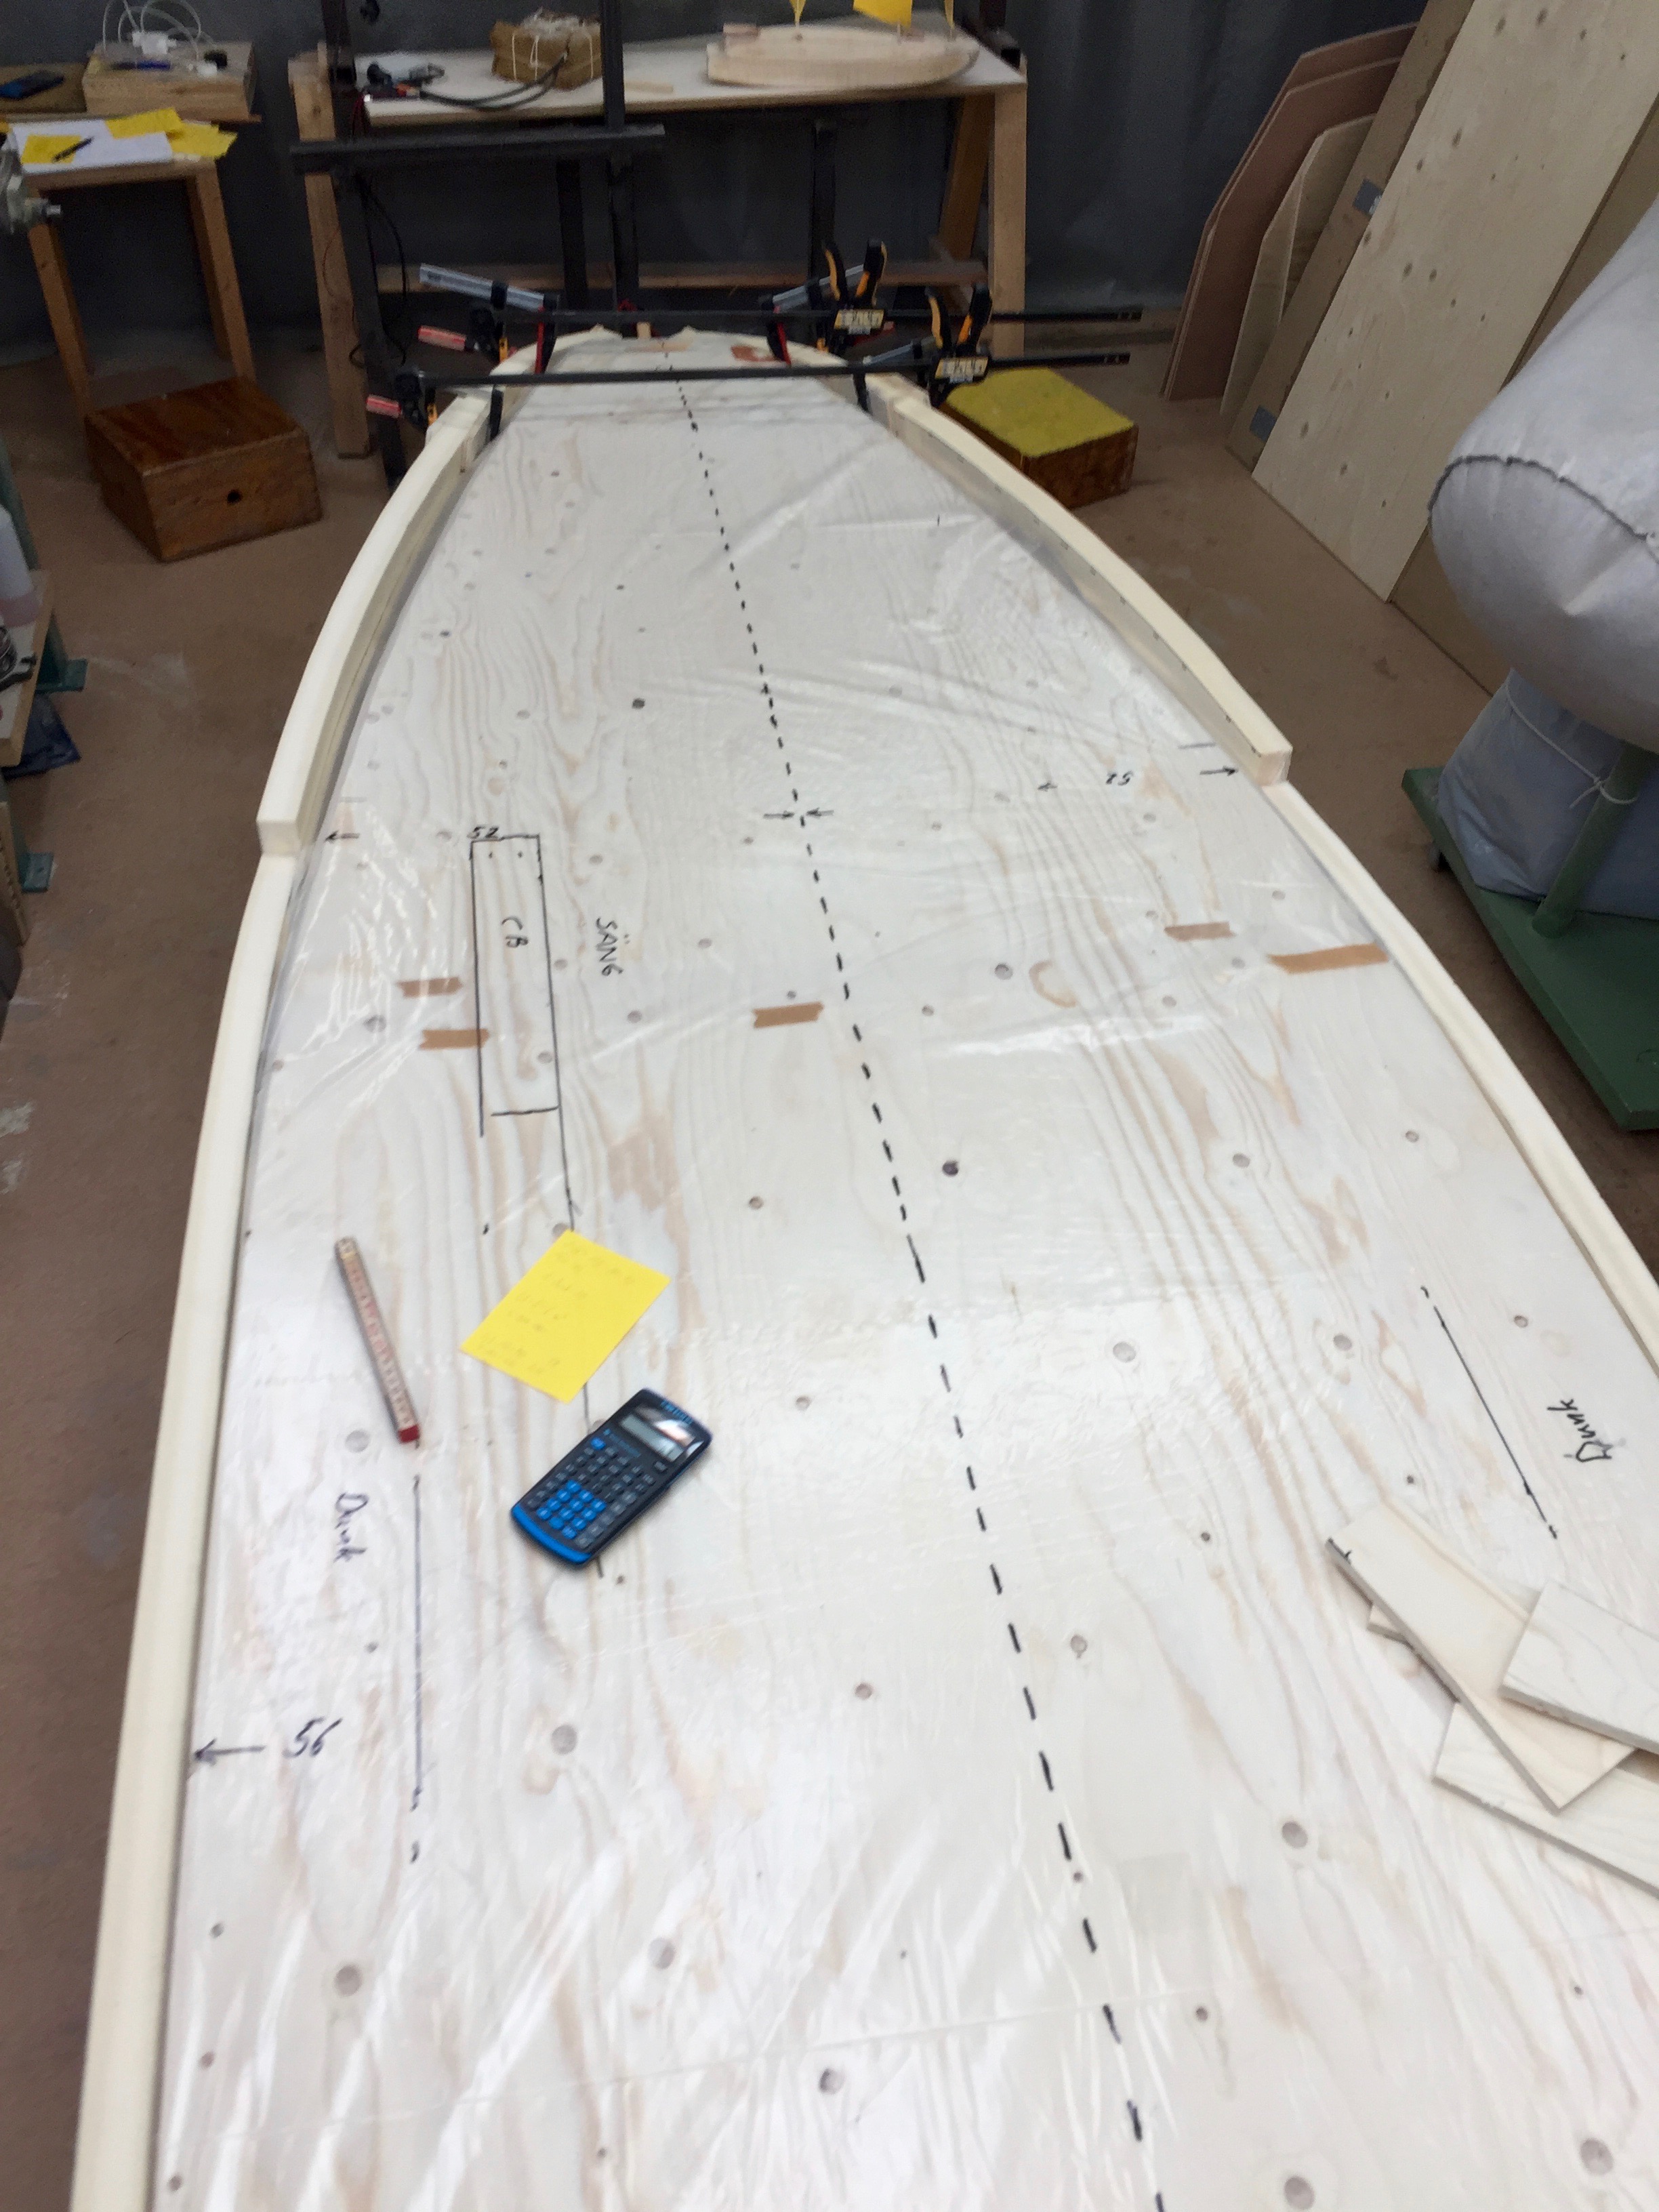
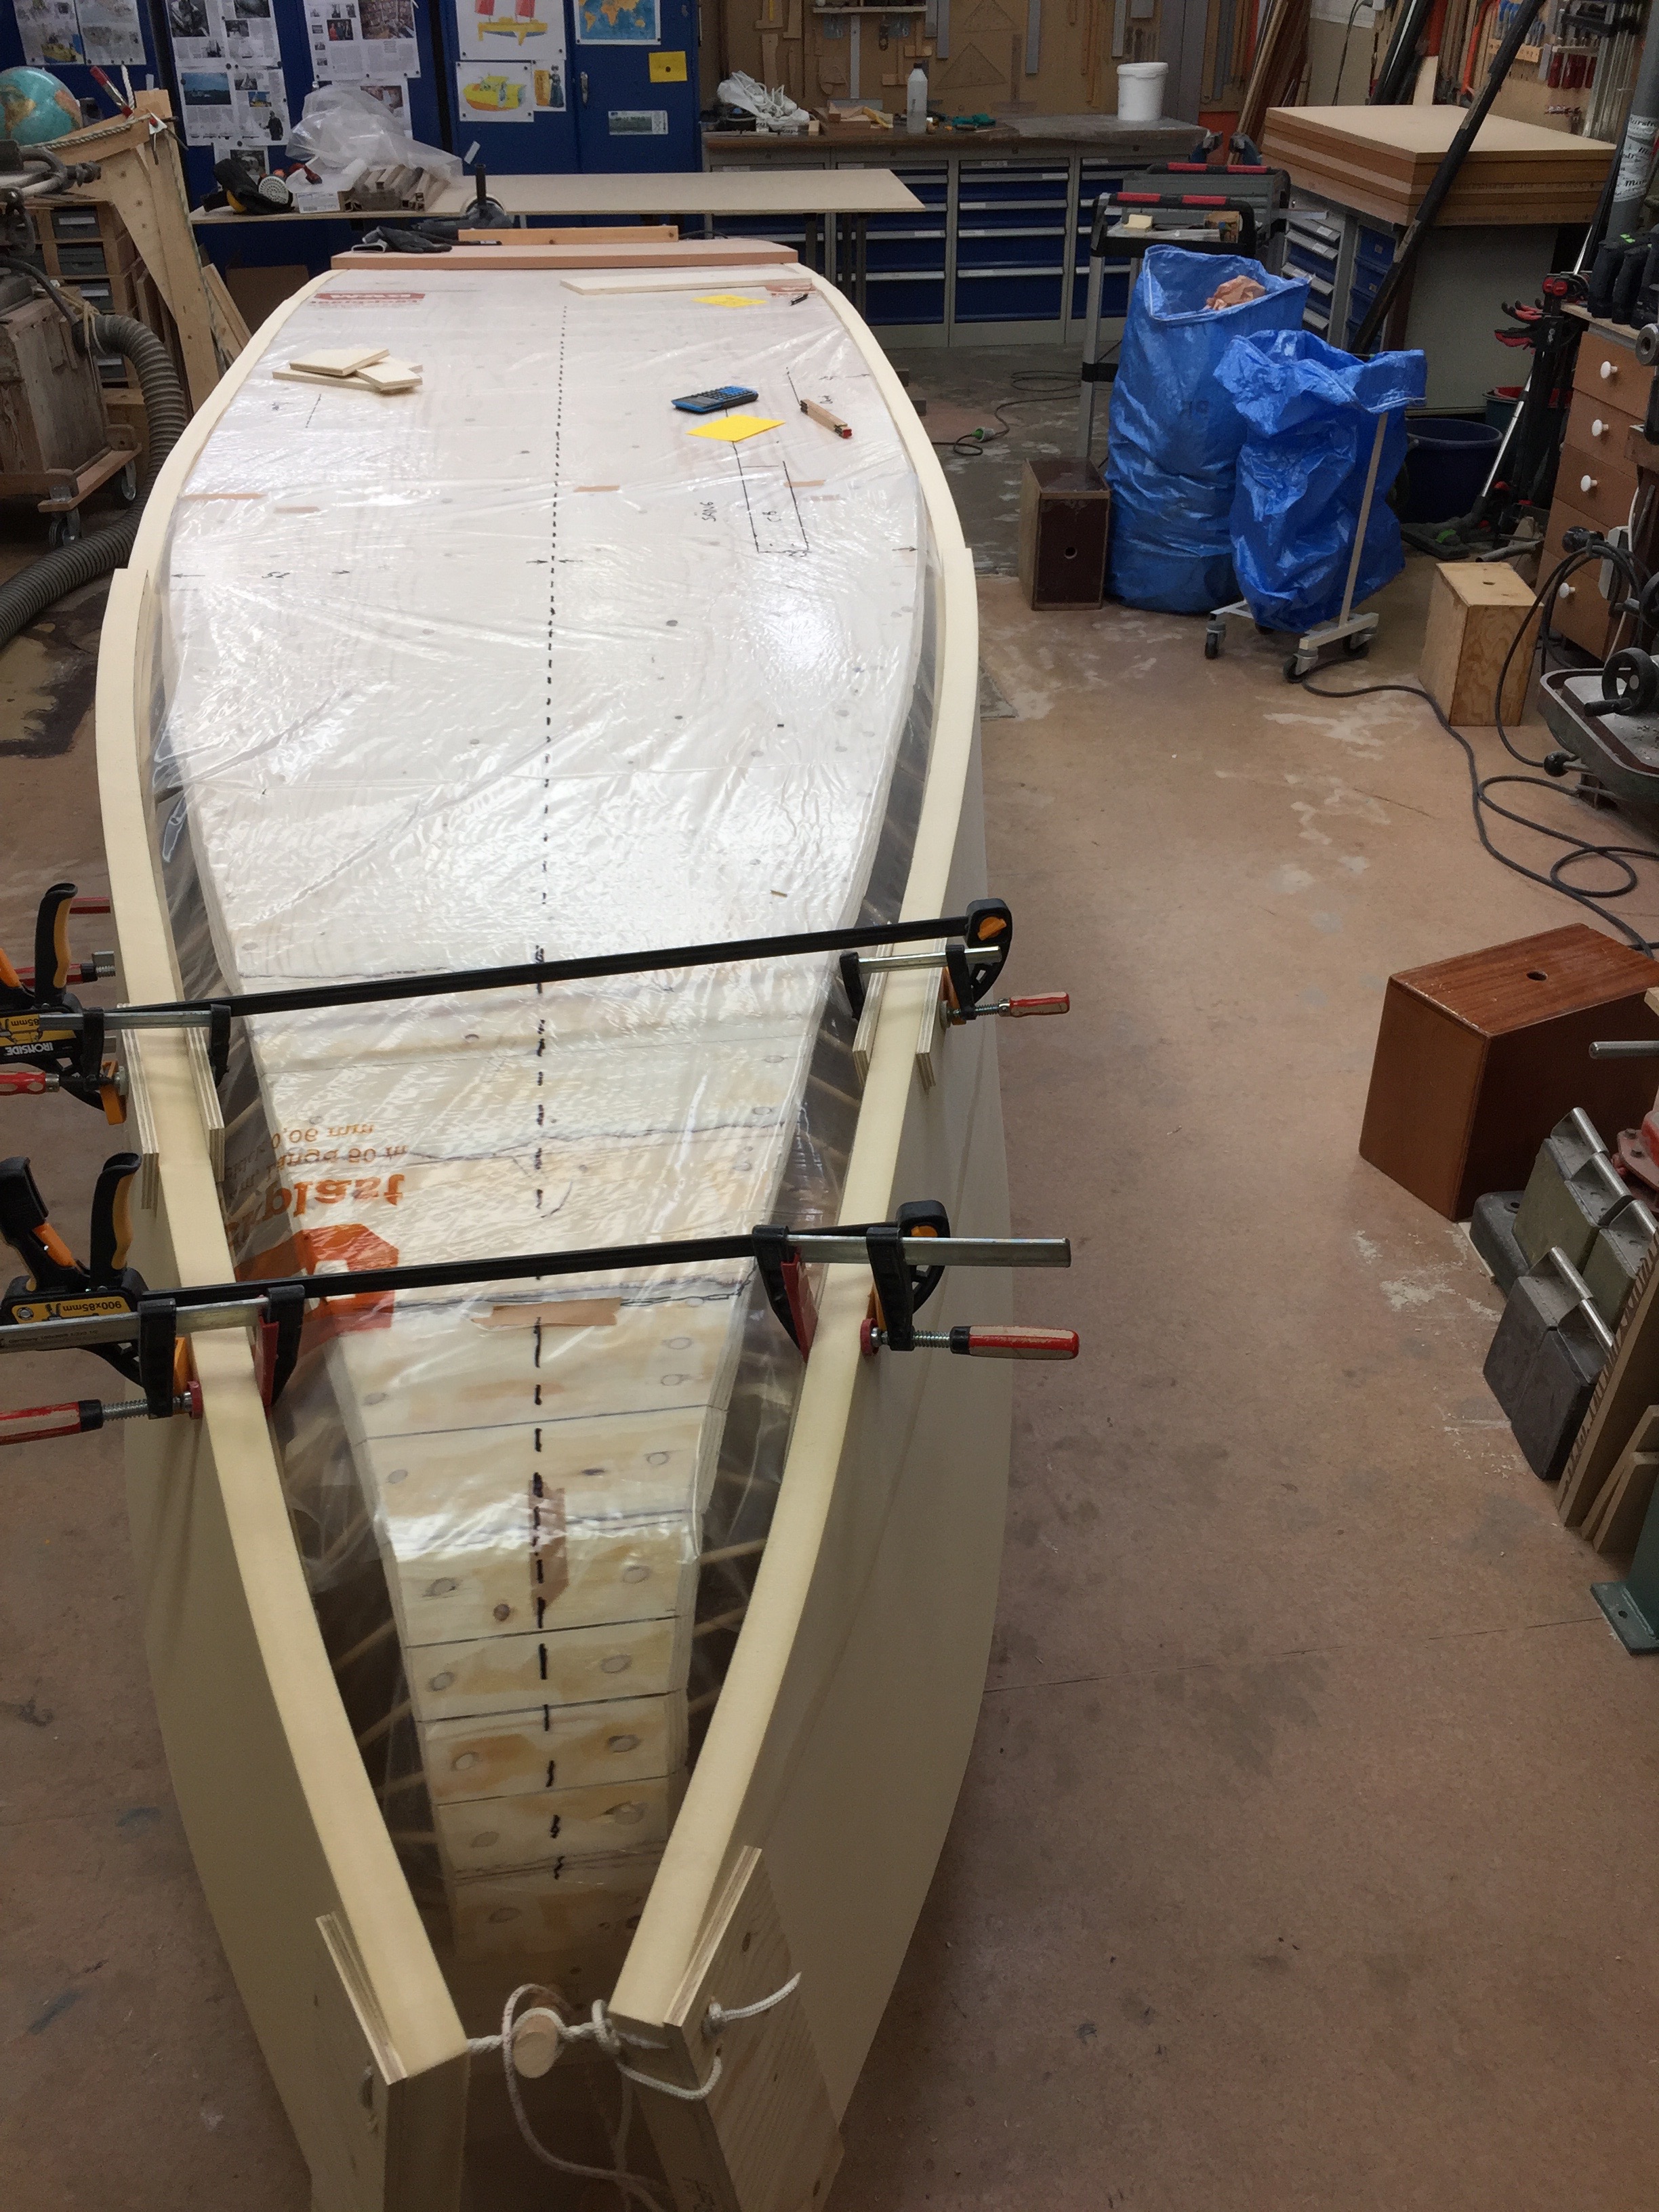
Below are some pictures showing where the centerboard will be placed.
The rectangle marked CB indicate the place of the centerboard.
The CB position viuwed fram aft.
The CB position viuwed from bow.
To be continued…
Regards Yrvind.
Exlex Minor will sometimes, after an ocean crossing be used as a beach landing craft. She will also be transported on trailers. This calls for a strong bottom.
To get a very strong bottom on a sandwich construction you need a tough core. Diab has supplied such a core. It has military specifications and is used for submarines among other thing. Yacht 40 – 50 -60 feet use a core of a density of about 80 kilo per cubic metre. The core I have chosen has a density of 350 kilos per cubic metre and is very strong, roughly strong in proportion to its density. Each sheet is tested.
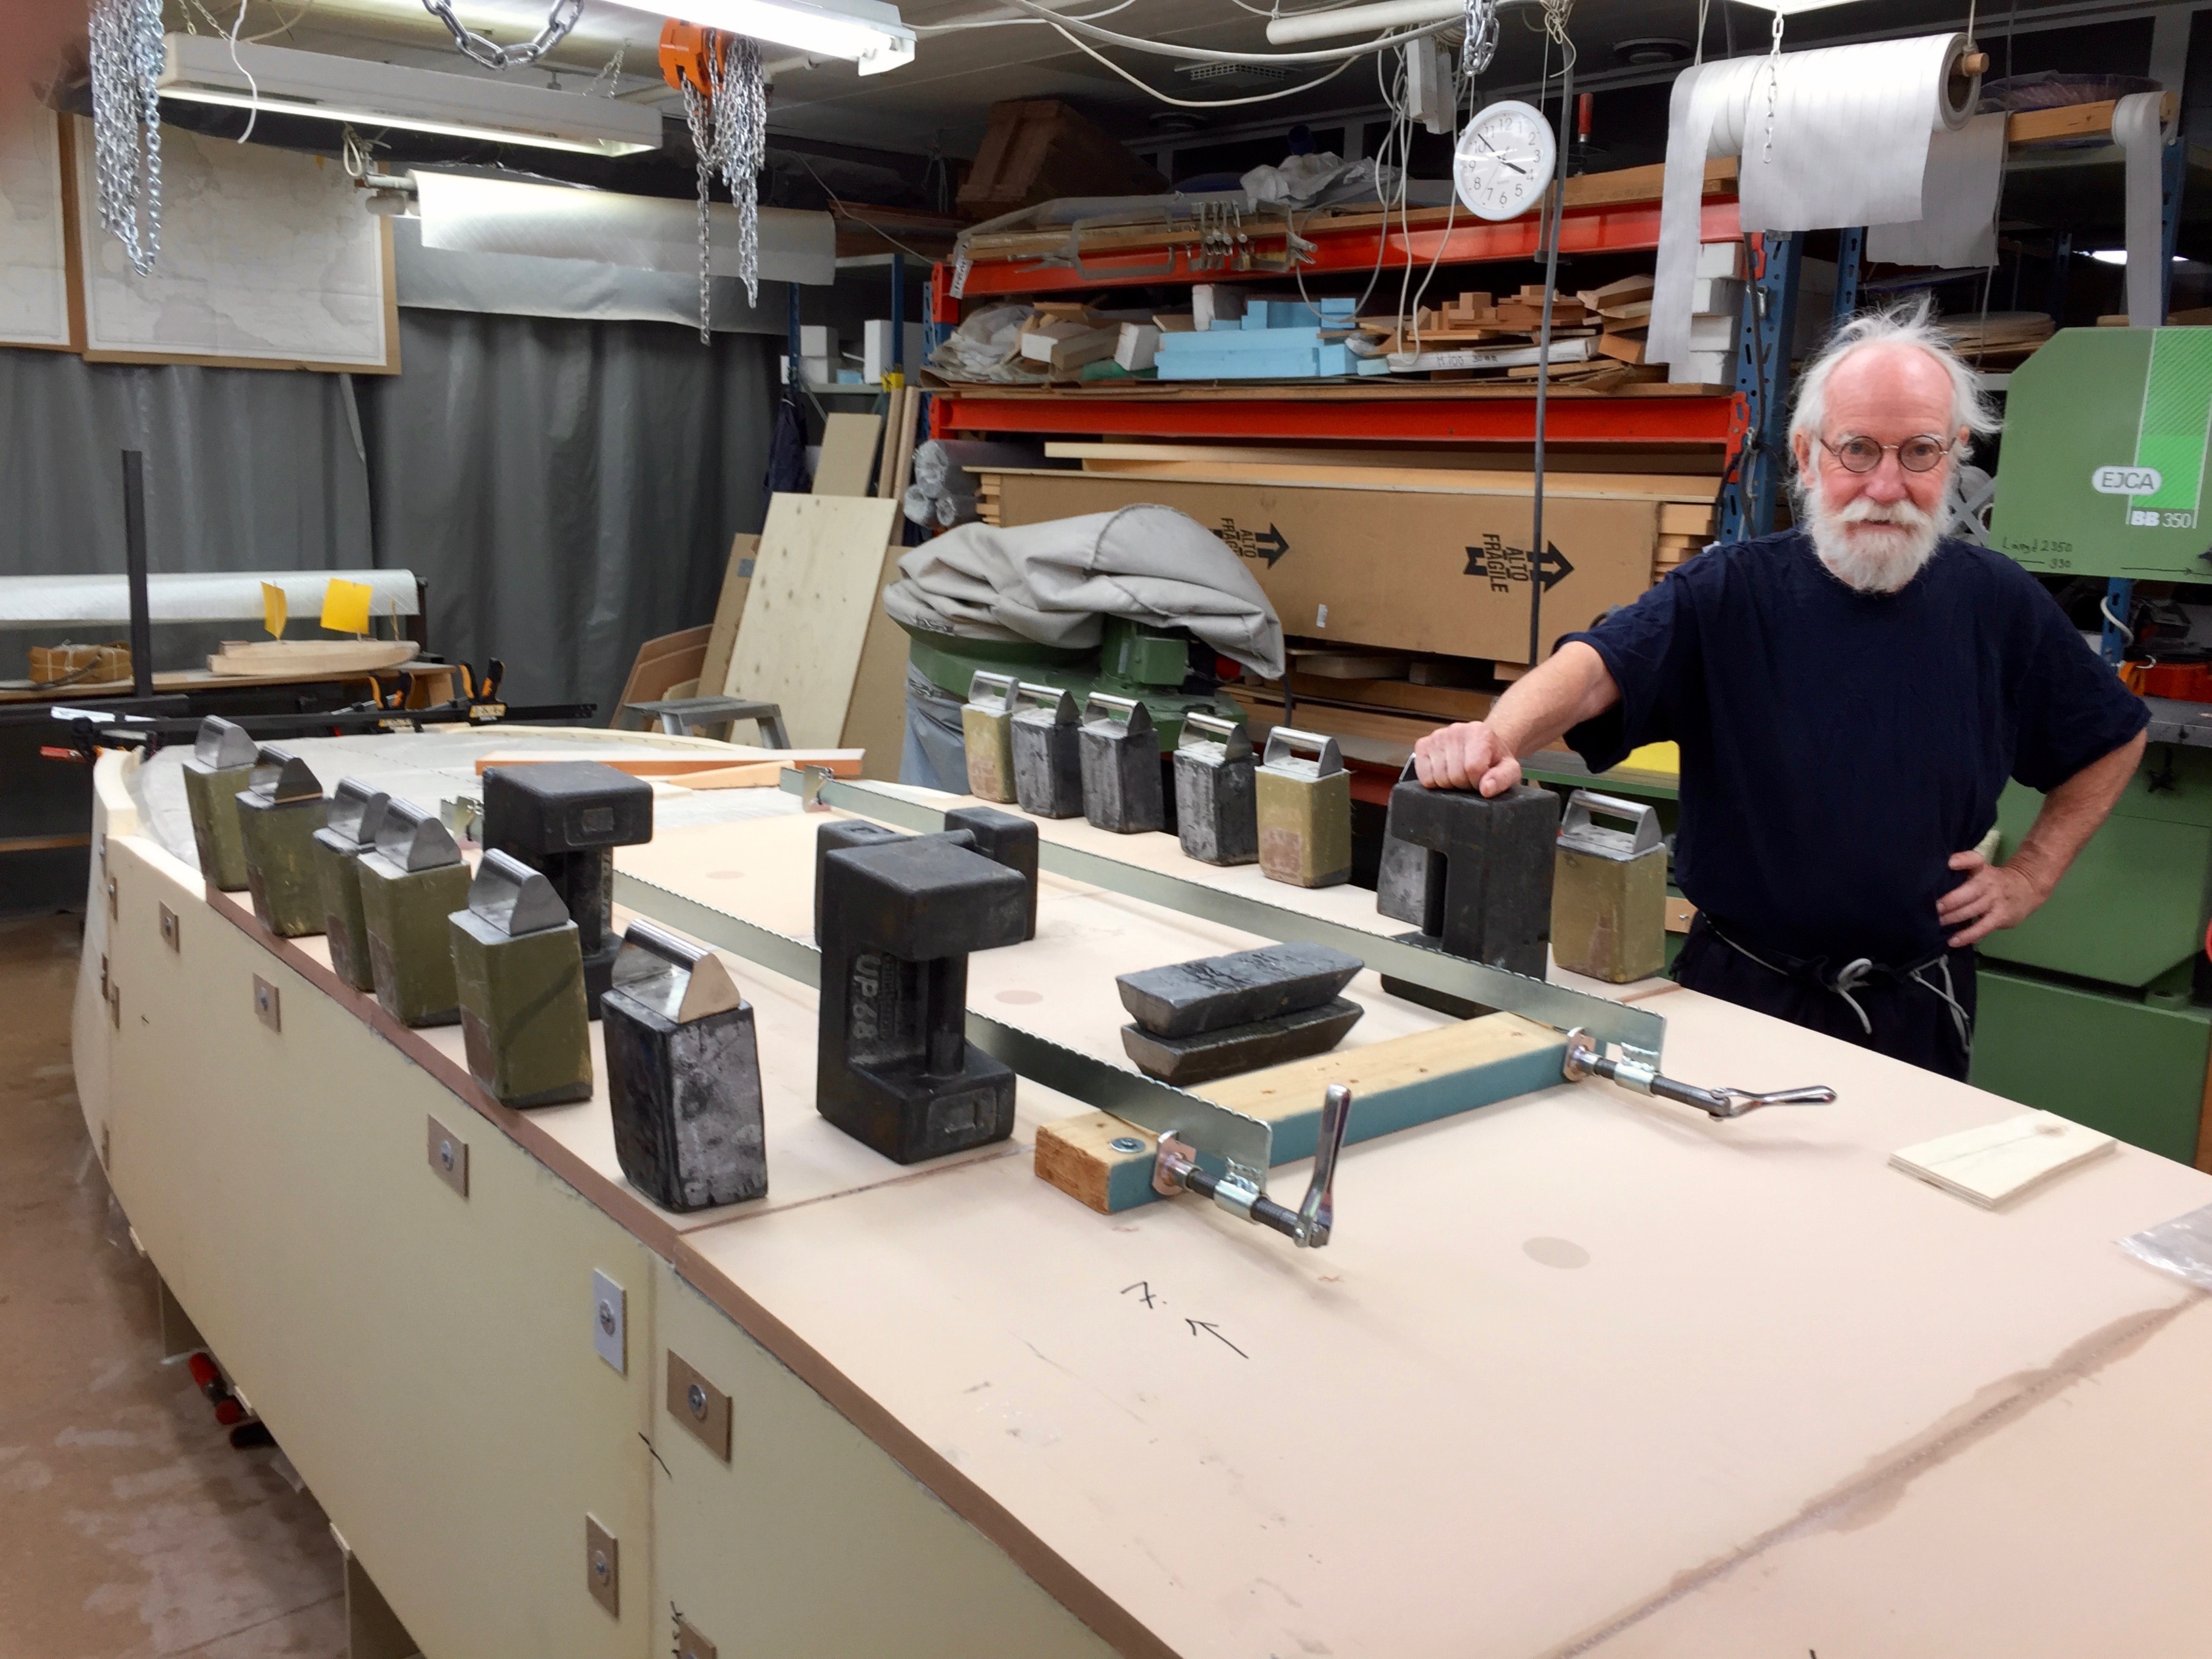
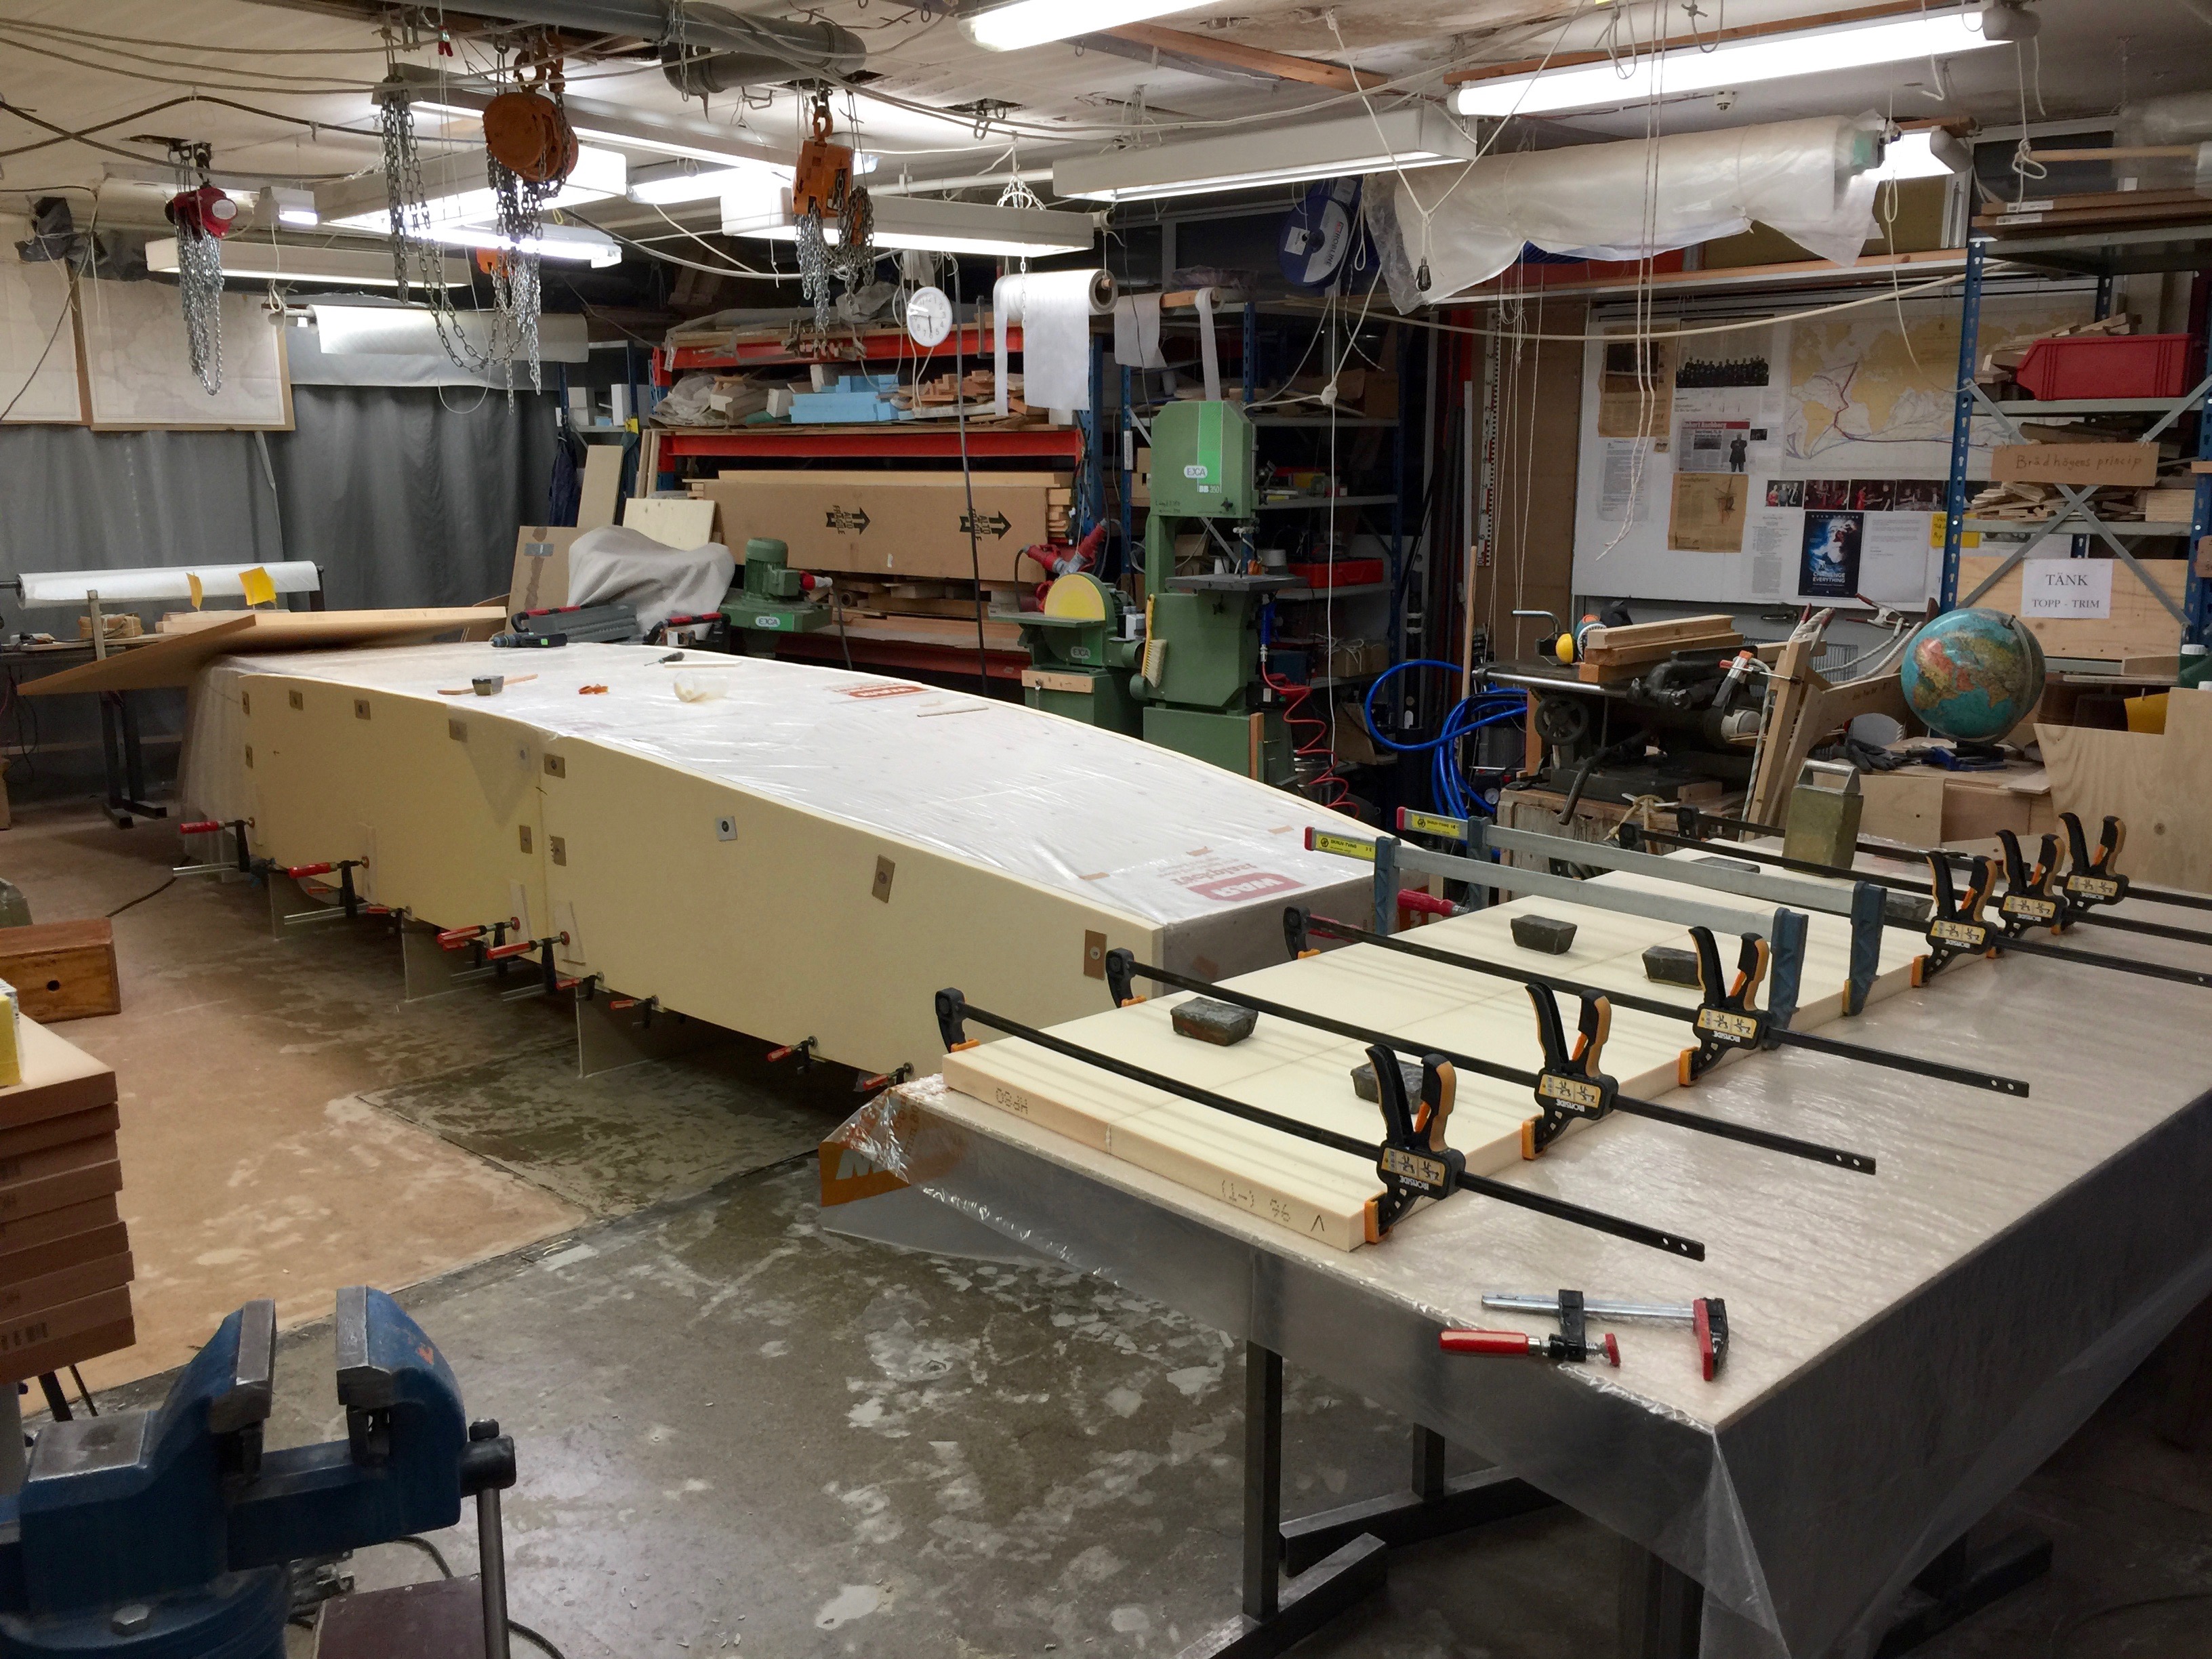
I have now started to do the bottom. The core is 27 mm thick. I cannot bend the sheets. They are to stiff. Therefore I have cut them into smaller pieces and I am cross planking her bottom. That way I can give her the desired lungutudinal curvature.
Below some pictures.

Abowe: The first three cross planks.
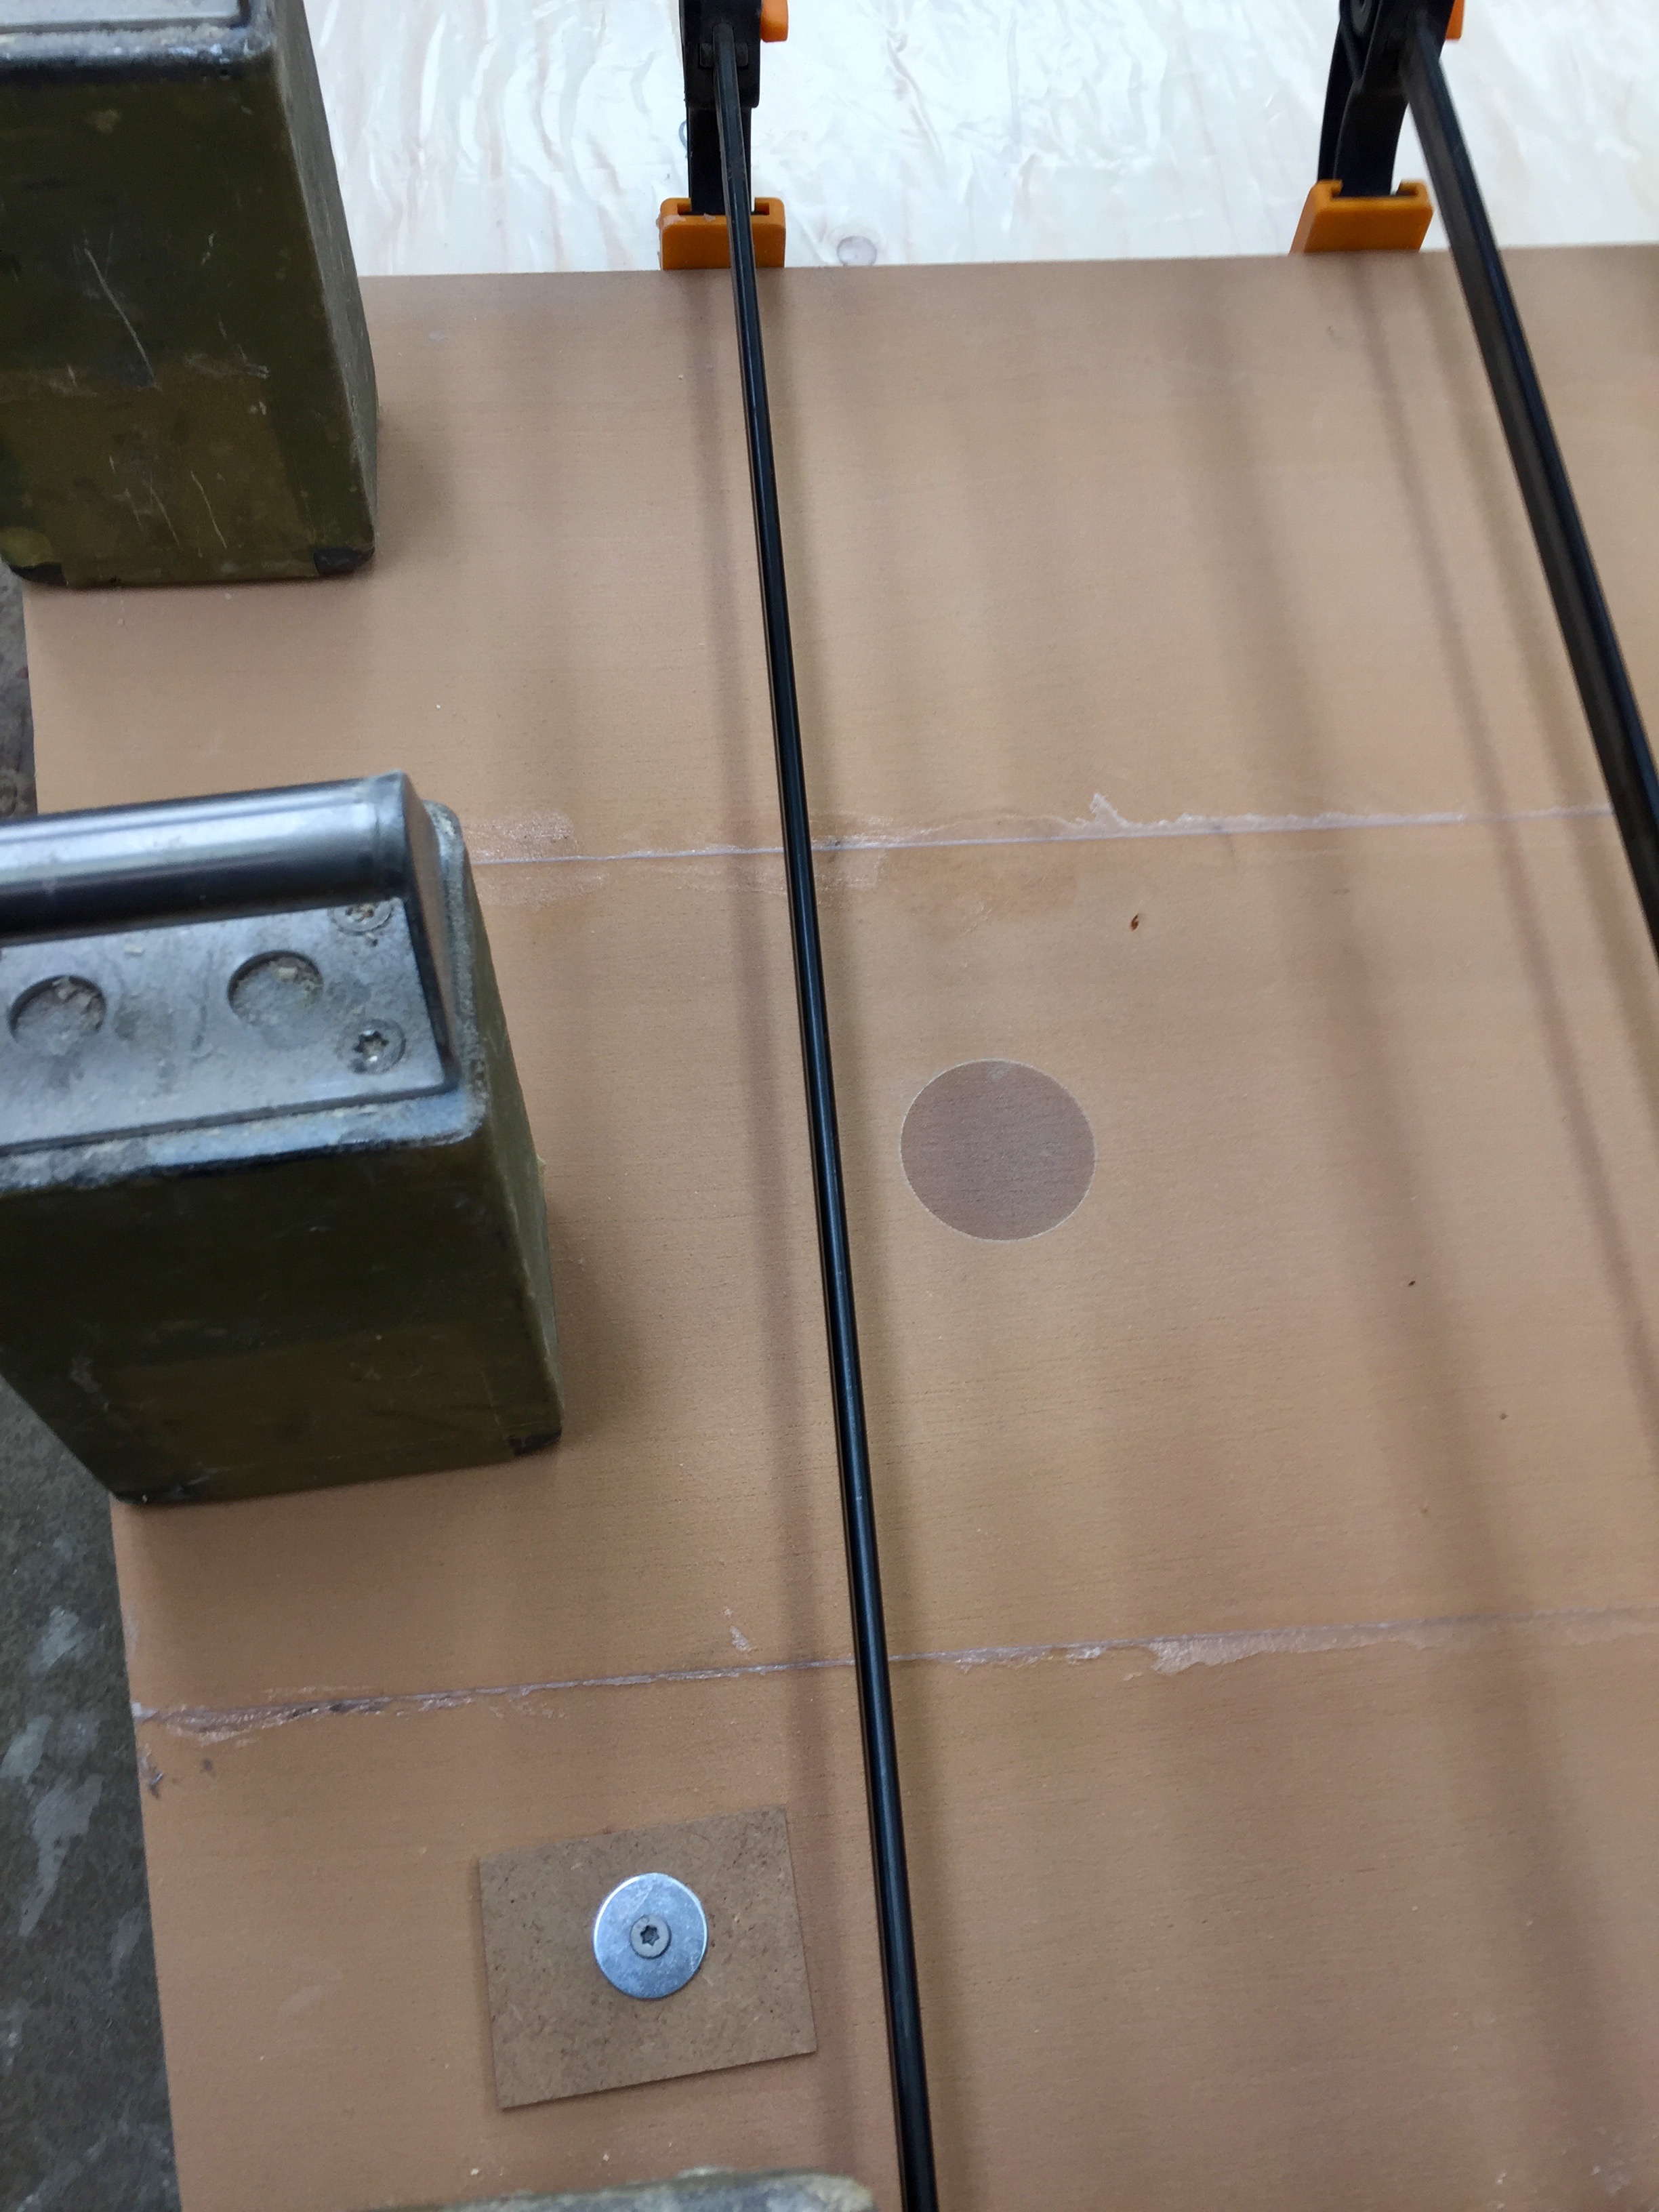
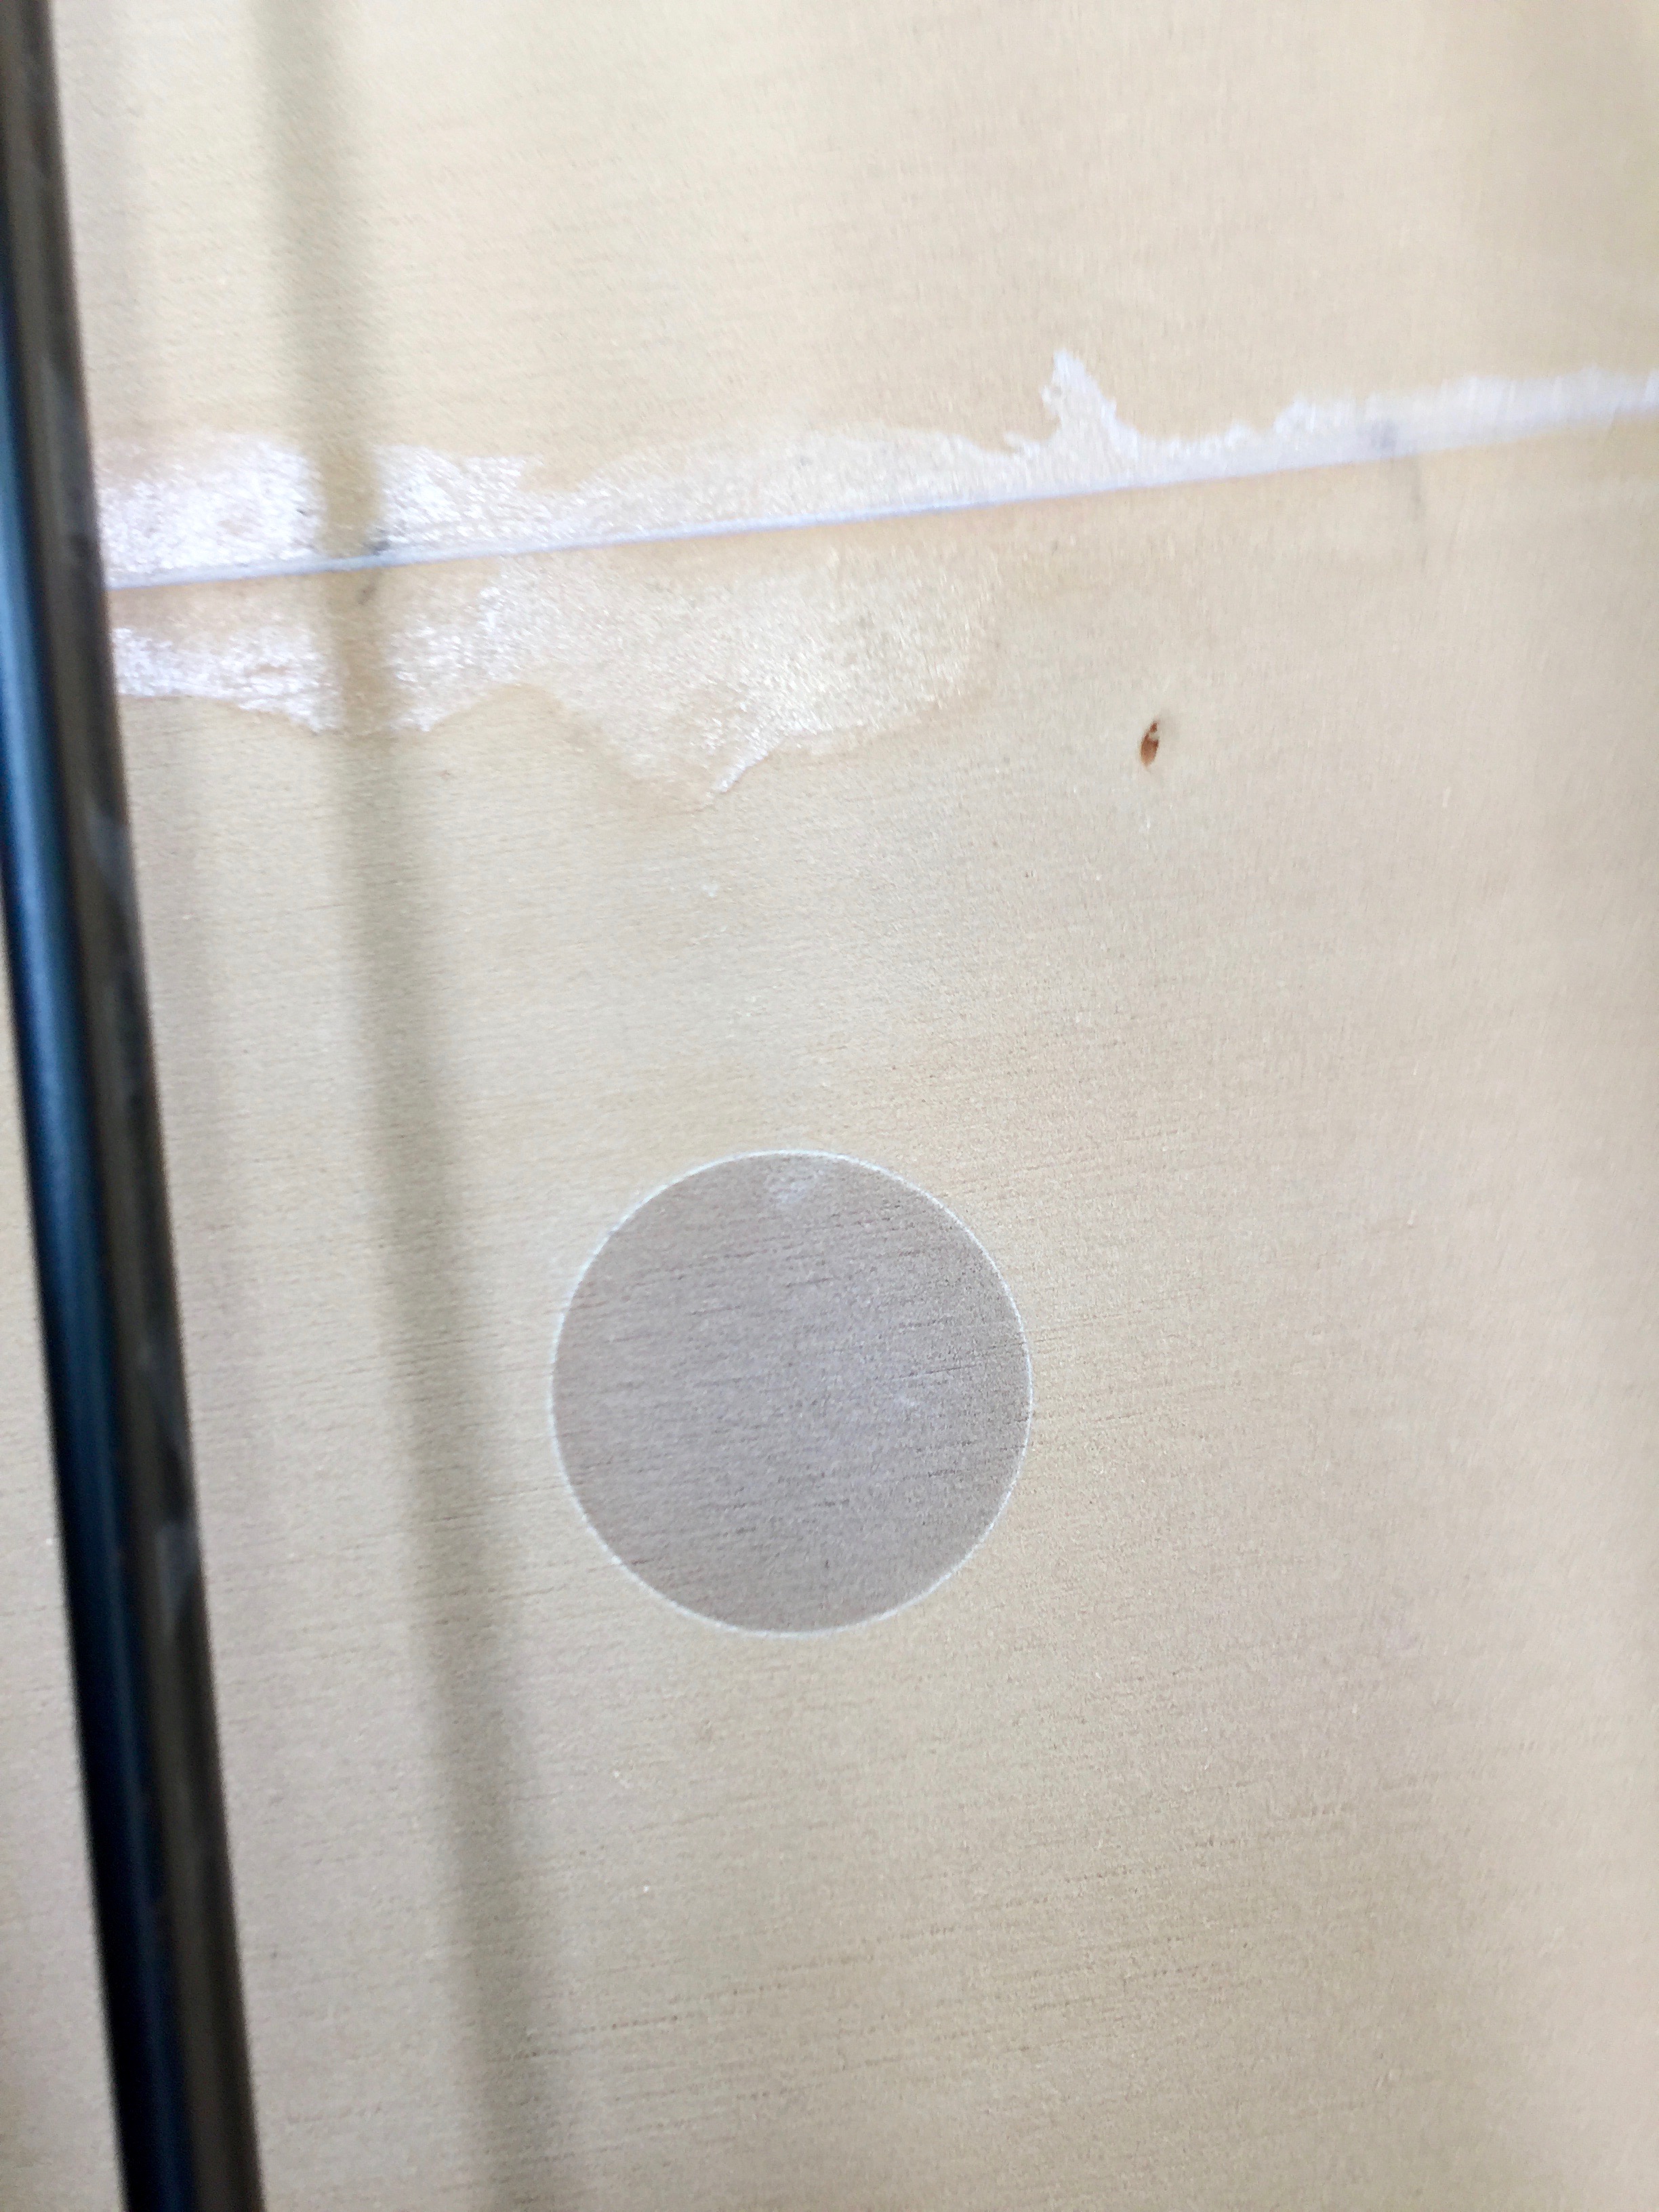
A closer look. The circle is where the test piece has been taken. First I got angry at all those holes, but when Anders at Diab explain the purpose I got proud that such care had been taken to produce the material to my boat. No haphazard manners here.
65 centimeters of the lenght of the boats bottom has been done today.
I have also added 10 fluoerscent tube to get more light. Winter is coming. Being in a well lit workshop brings happiness.
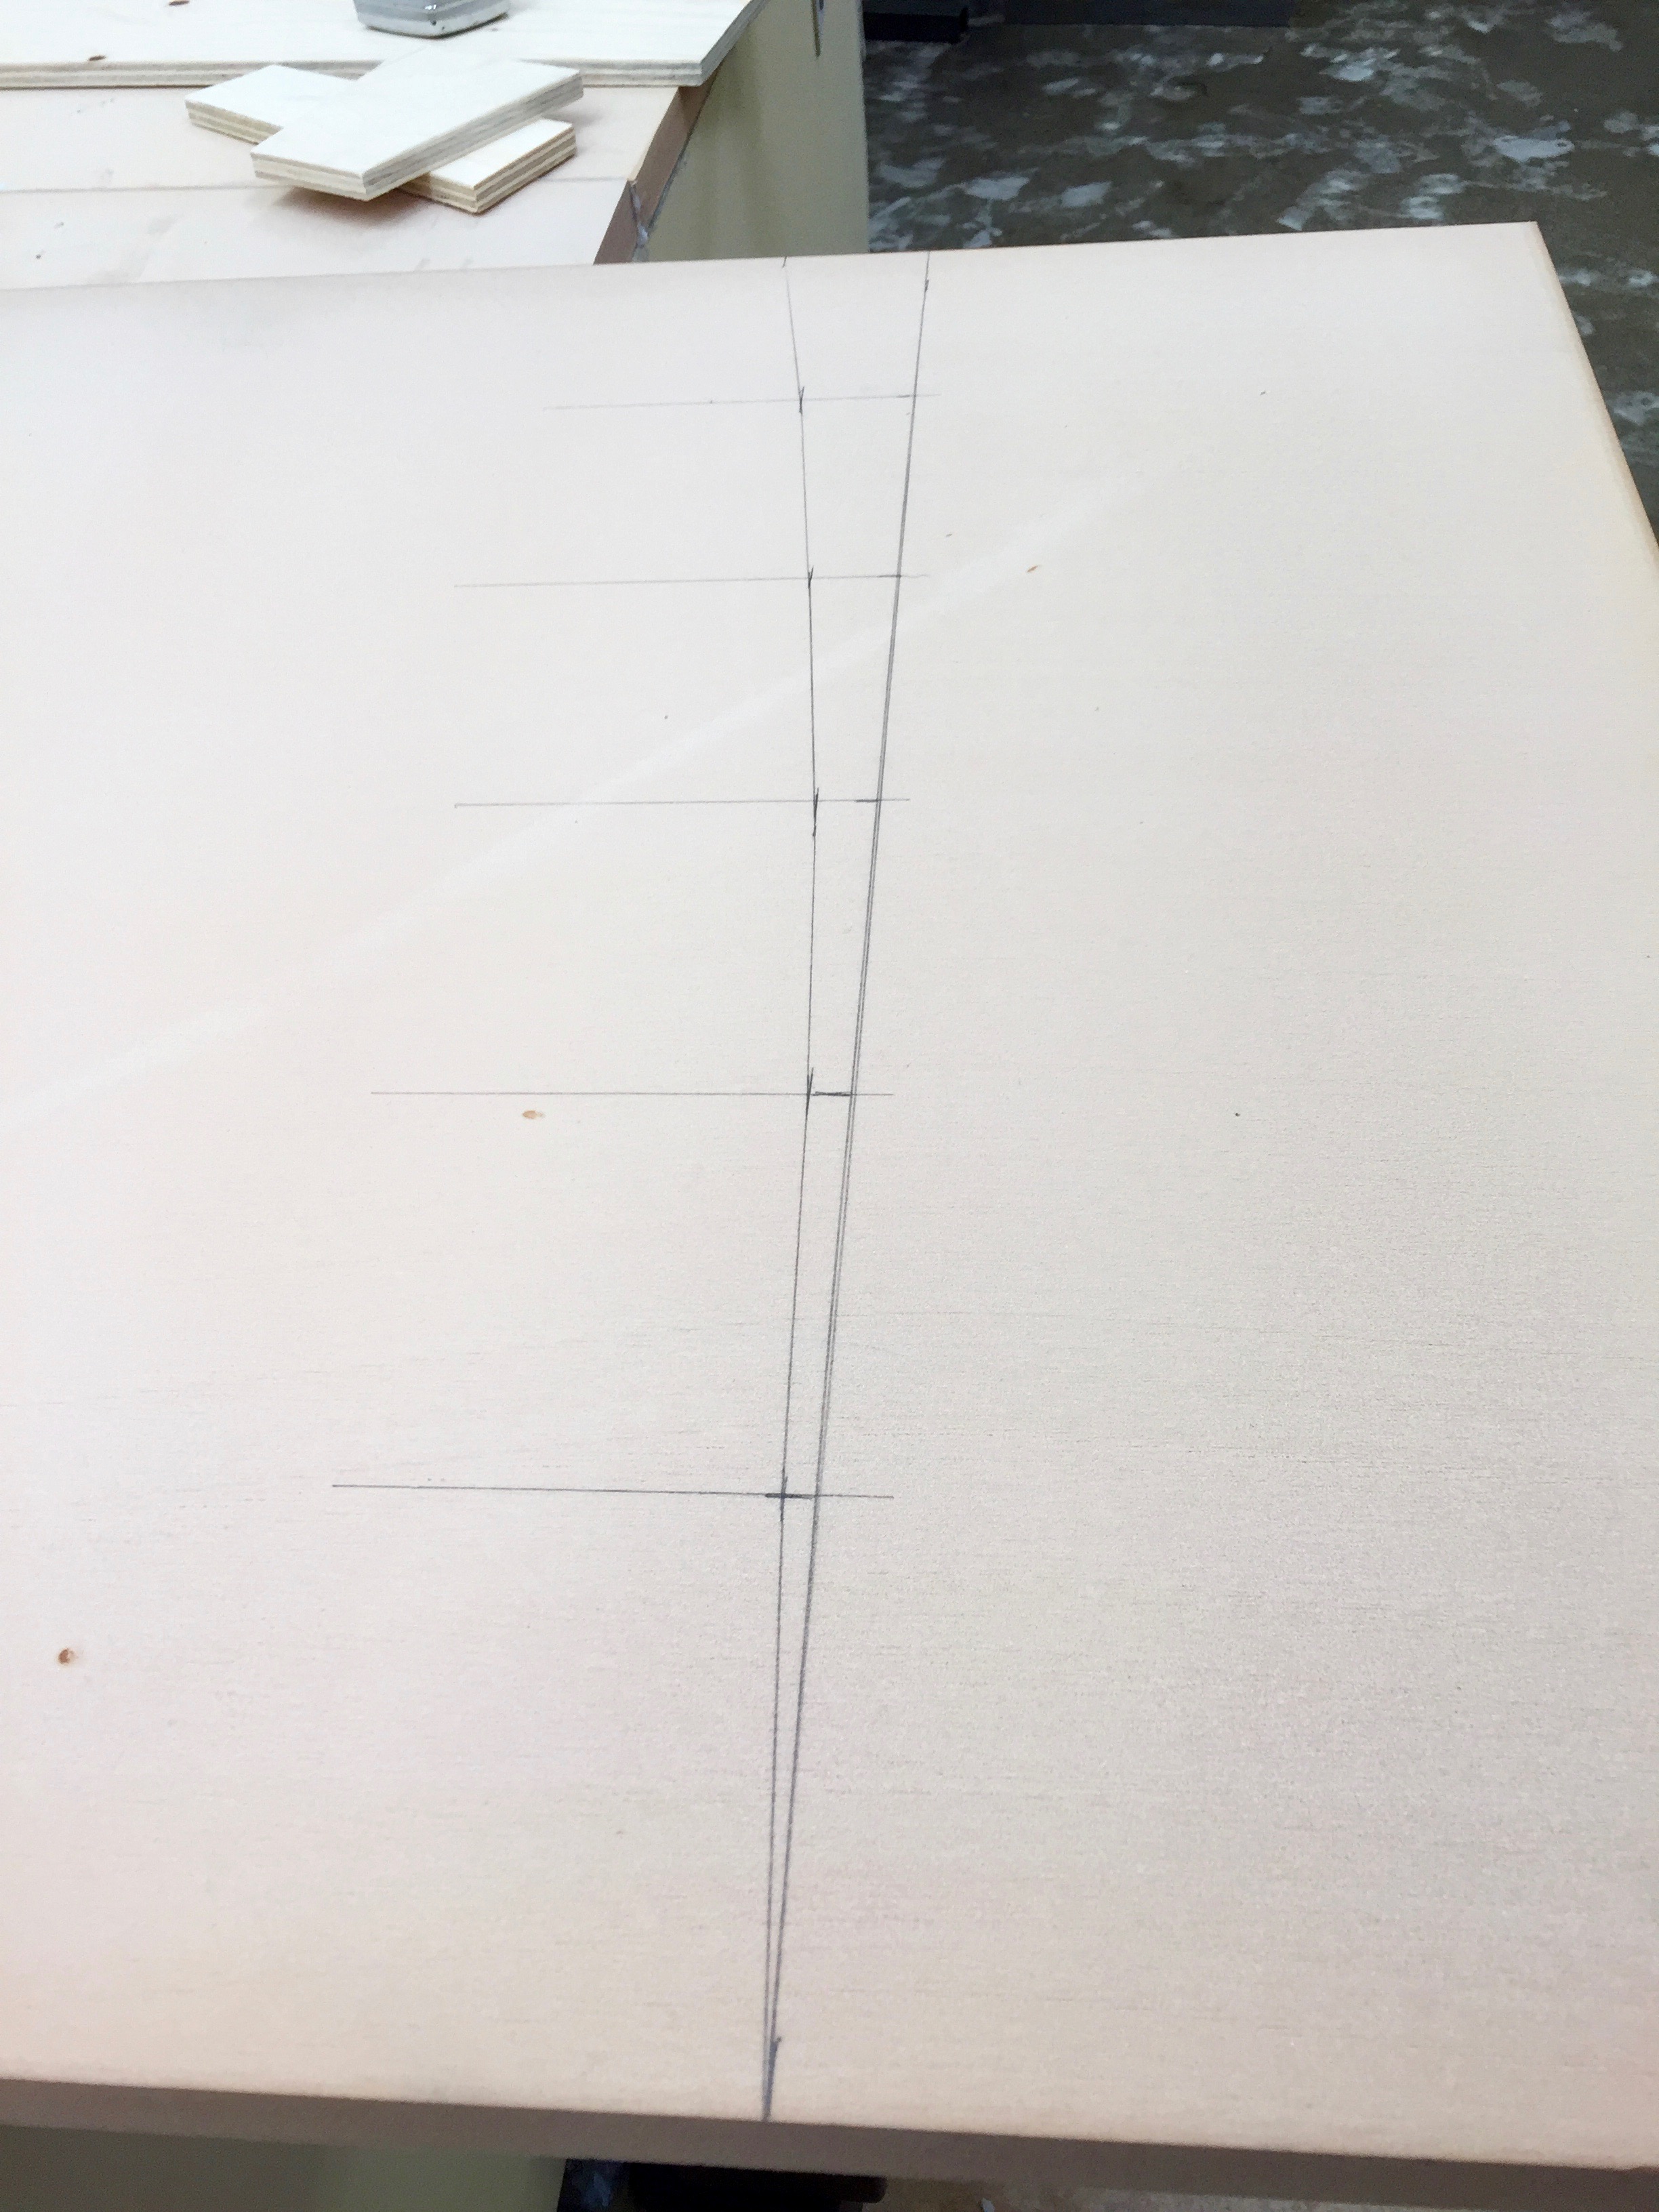
In the bow end of the boat I have with the help of a laser marked the center.
To be continued…
Regards Yrvind.
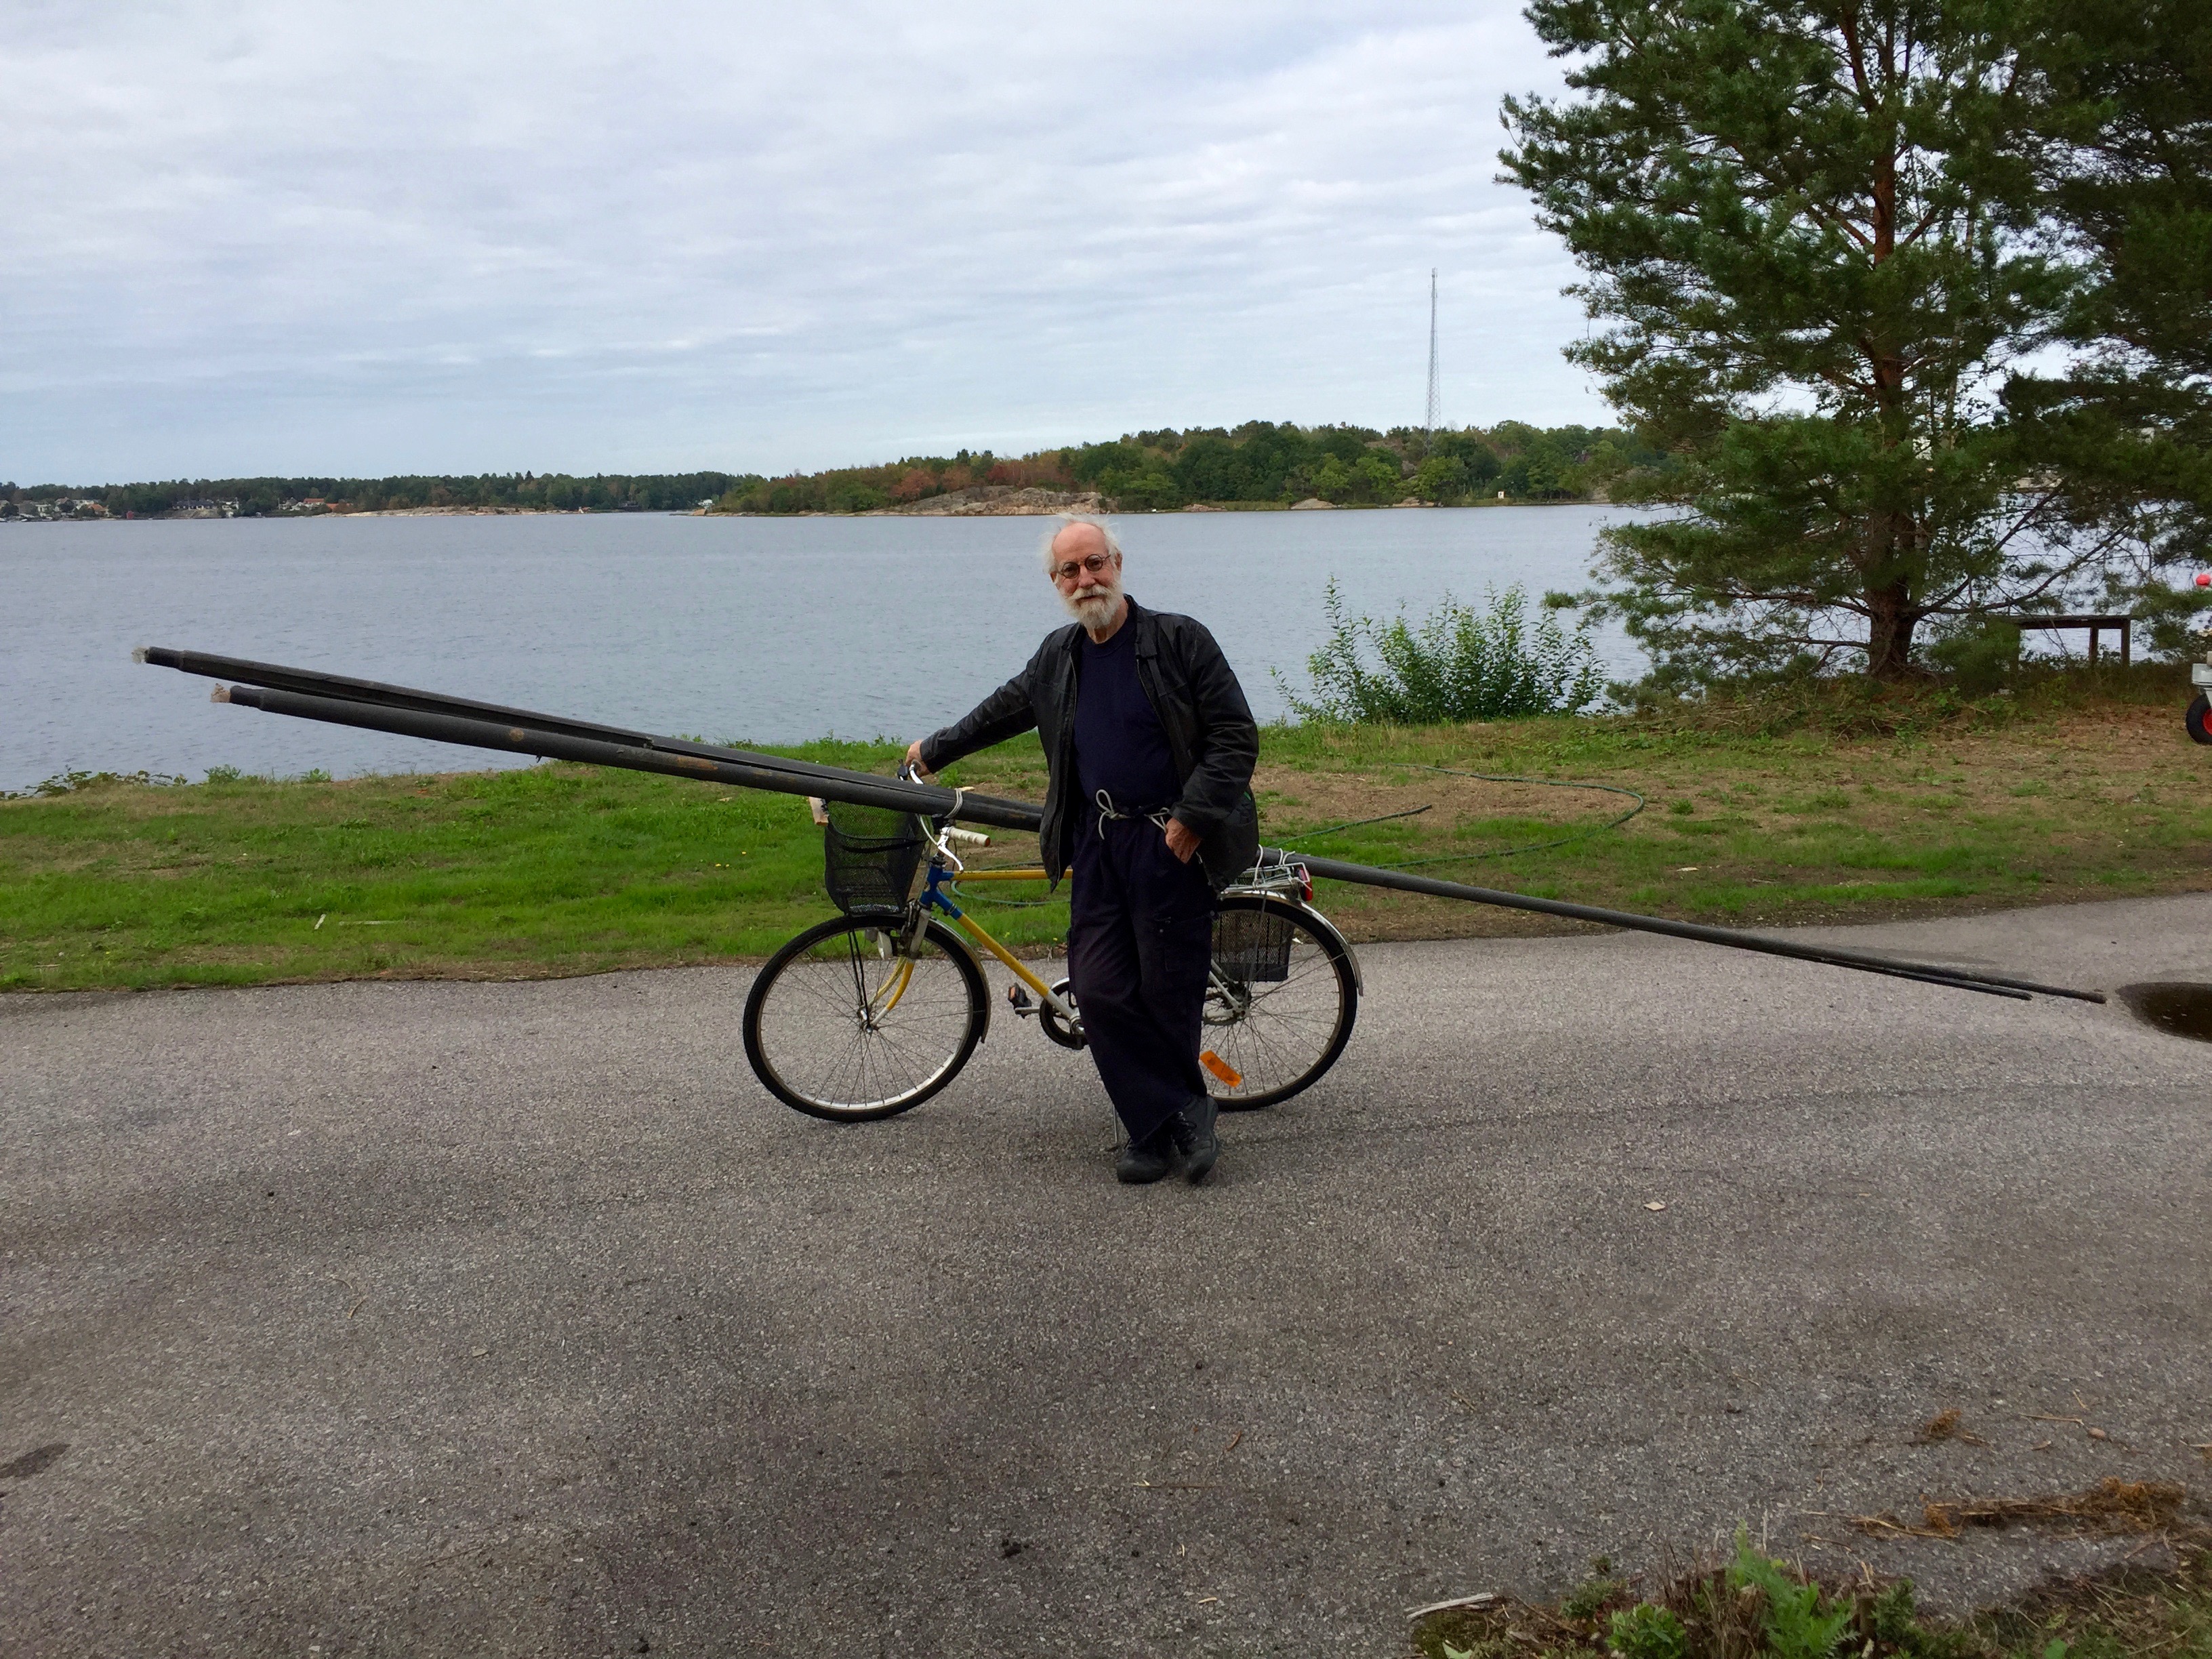
I got the mast safely to the workshop yesterday. After walking a while I saddled the bike and started pedaling. It was wobbly but I mostly keept to smaller streets. When crossing heavy trafficed streets, if such are to be found here in Västervik I did it by walking.
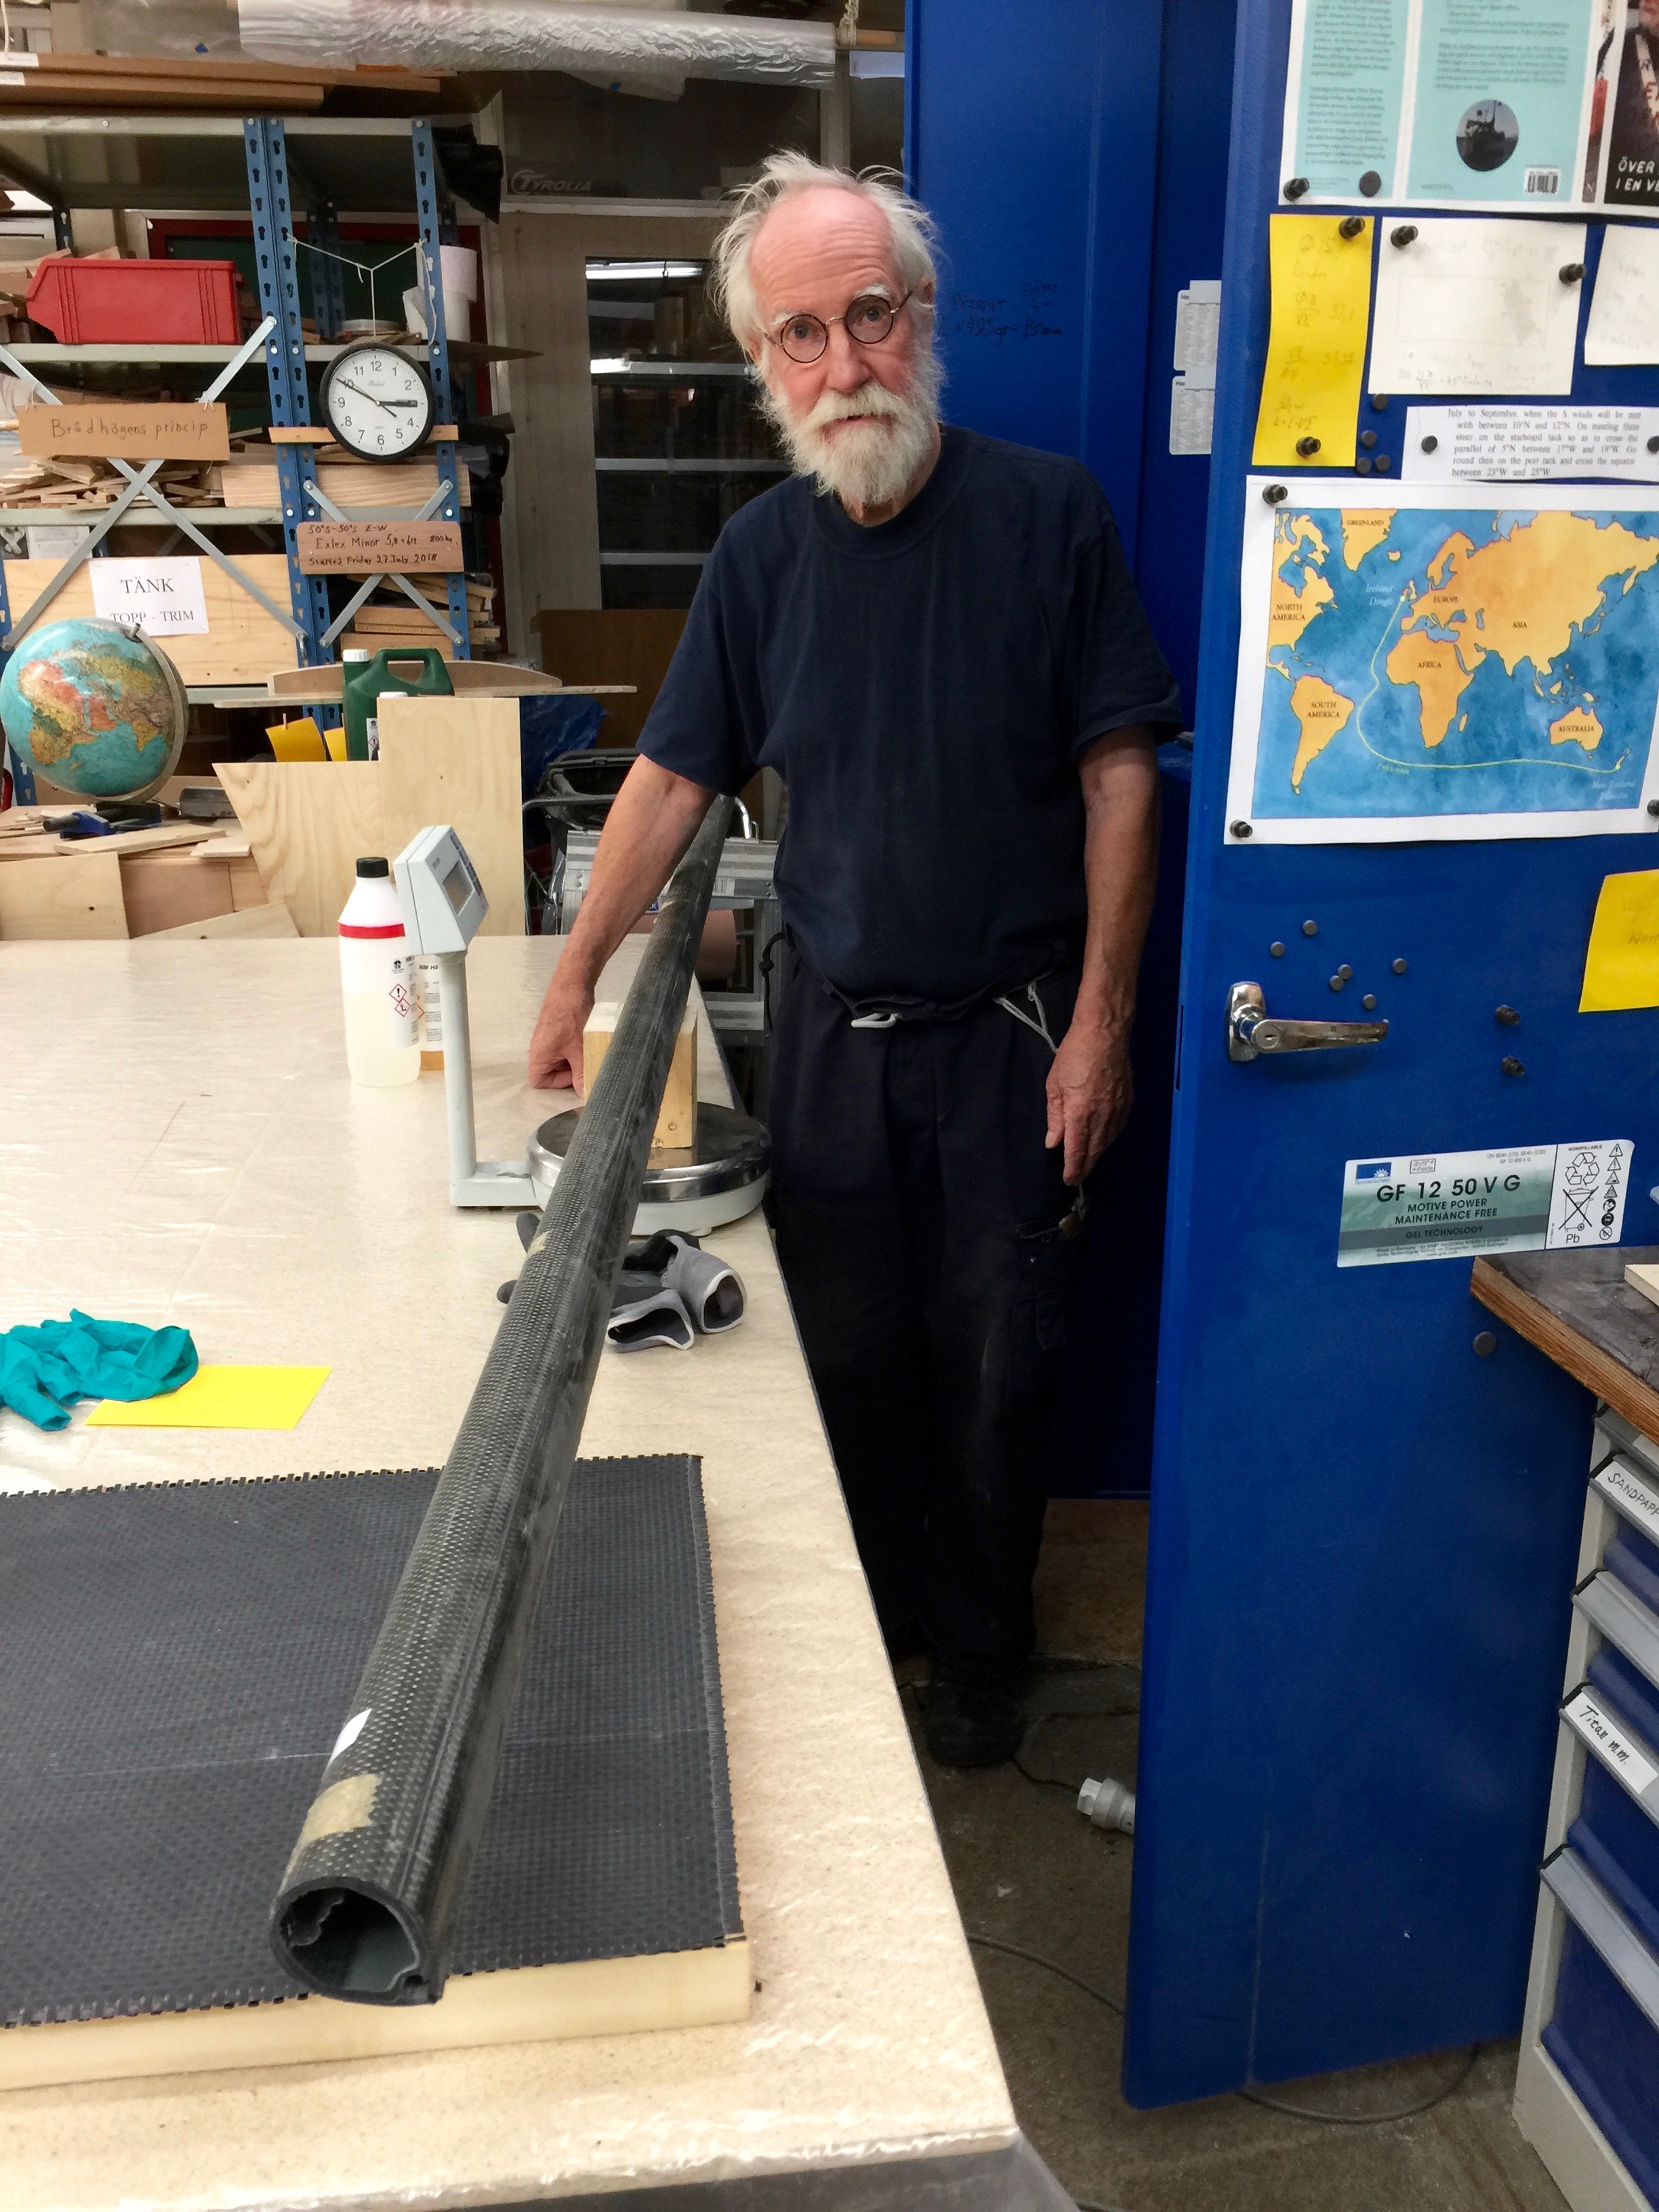
Today I have cut down the masts to size 2.6 meters long. They weigh in at about 2.5 kilos without paint and a few small fittings. The track will be grinded away so they will weigh about 3 kilos each when finished. That will be wery handy. They can easily be set and taken down to suit the weather conditions. The masts of late Exlex had a weight of about 5 kilos so this weight reduction will improve stability and handling a lot.
The bow panels seems to come together nicely. I do it bit by bit as not to crack them.
Some pictures below.
Starting the mast transport from Marström Composite factory idyllically situated at the Baltic a few hundred meters from my small flat.
One of the masts cut to 2.6 meters on the scale.
The scale reads 2656.7 grams or about 2,7 kilos
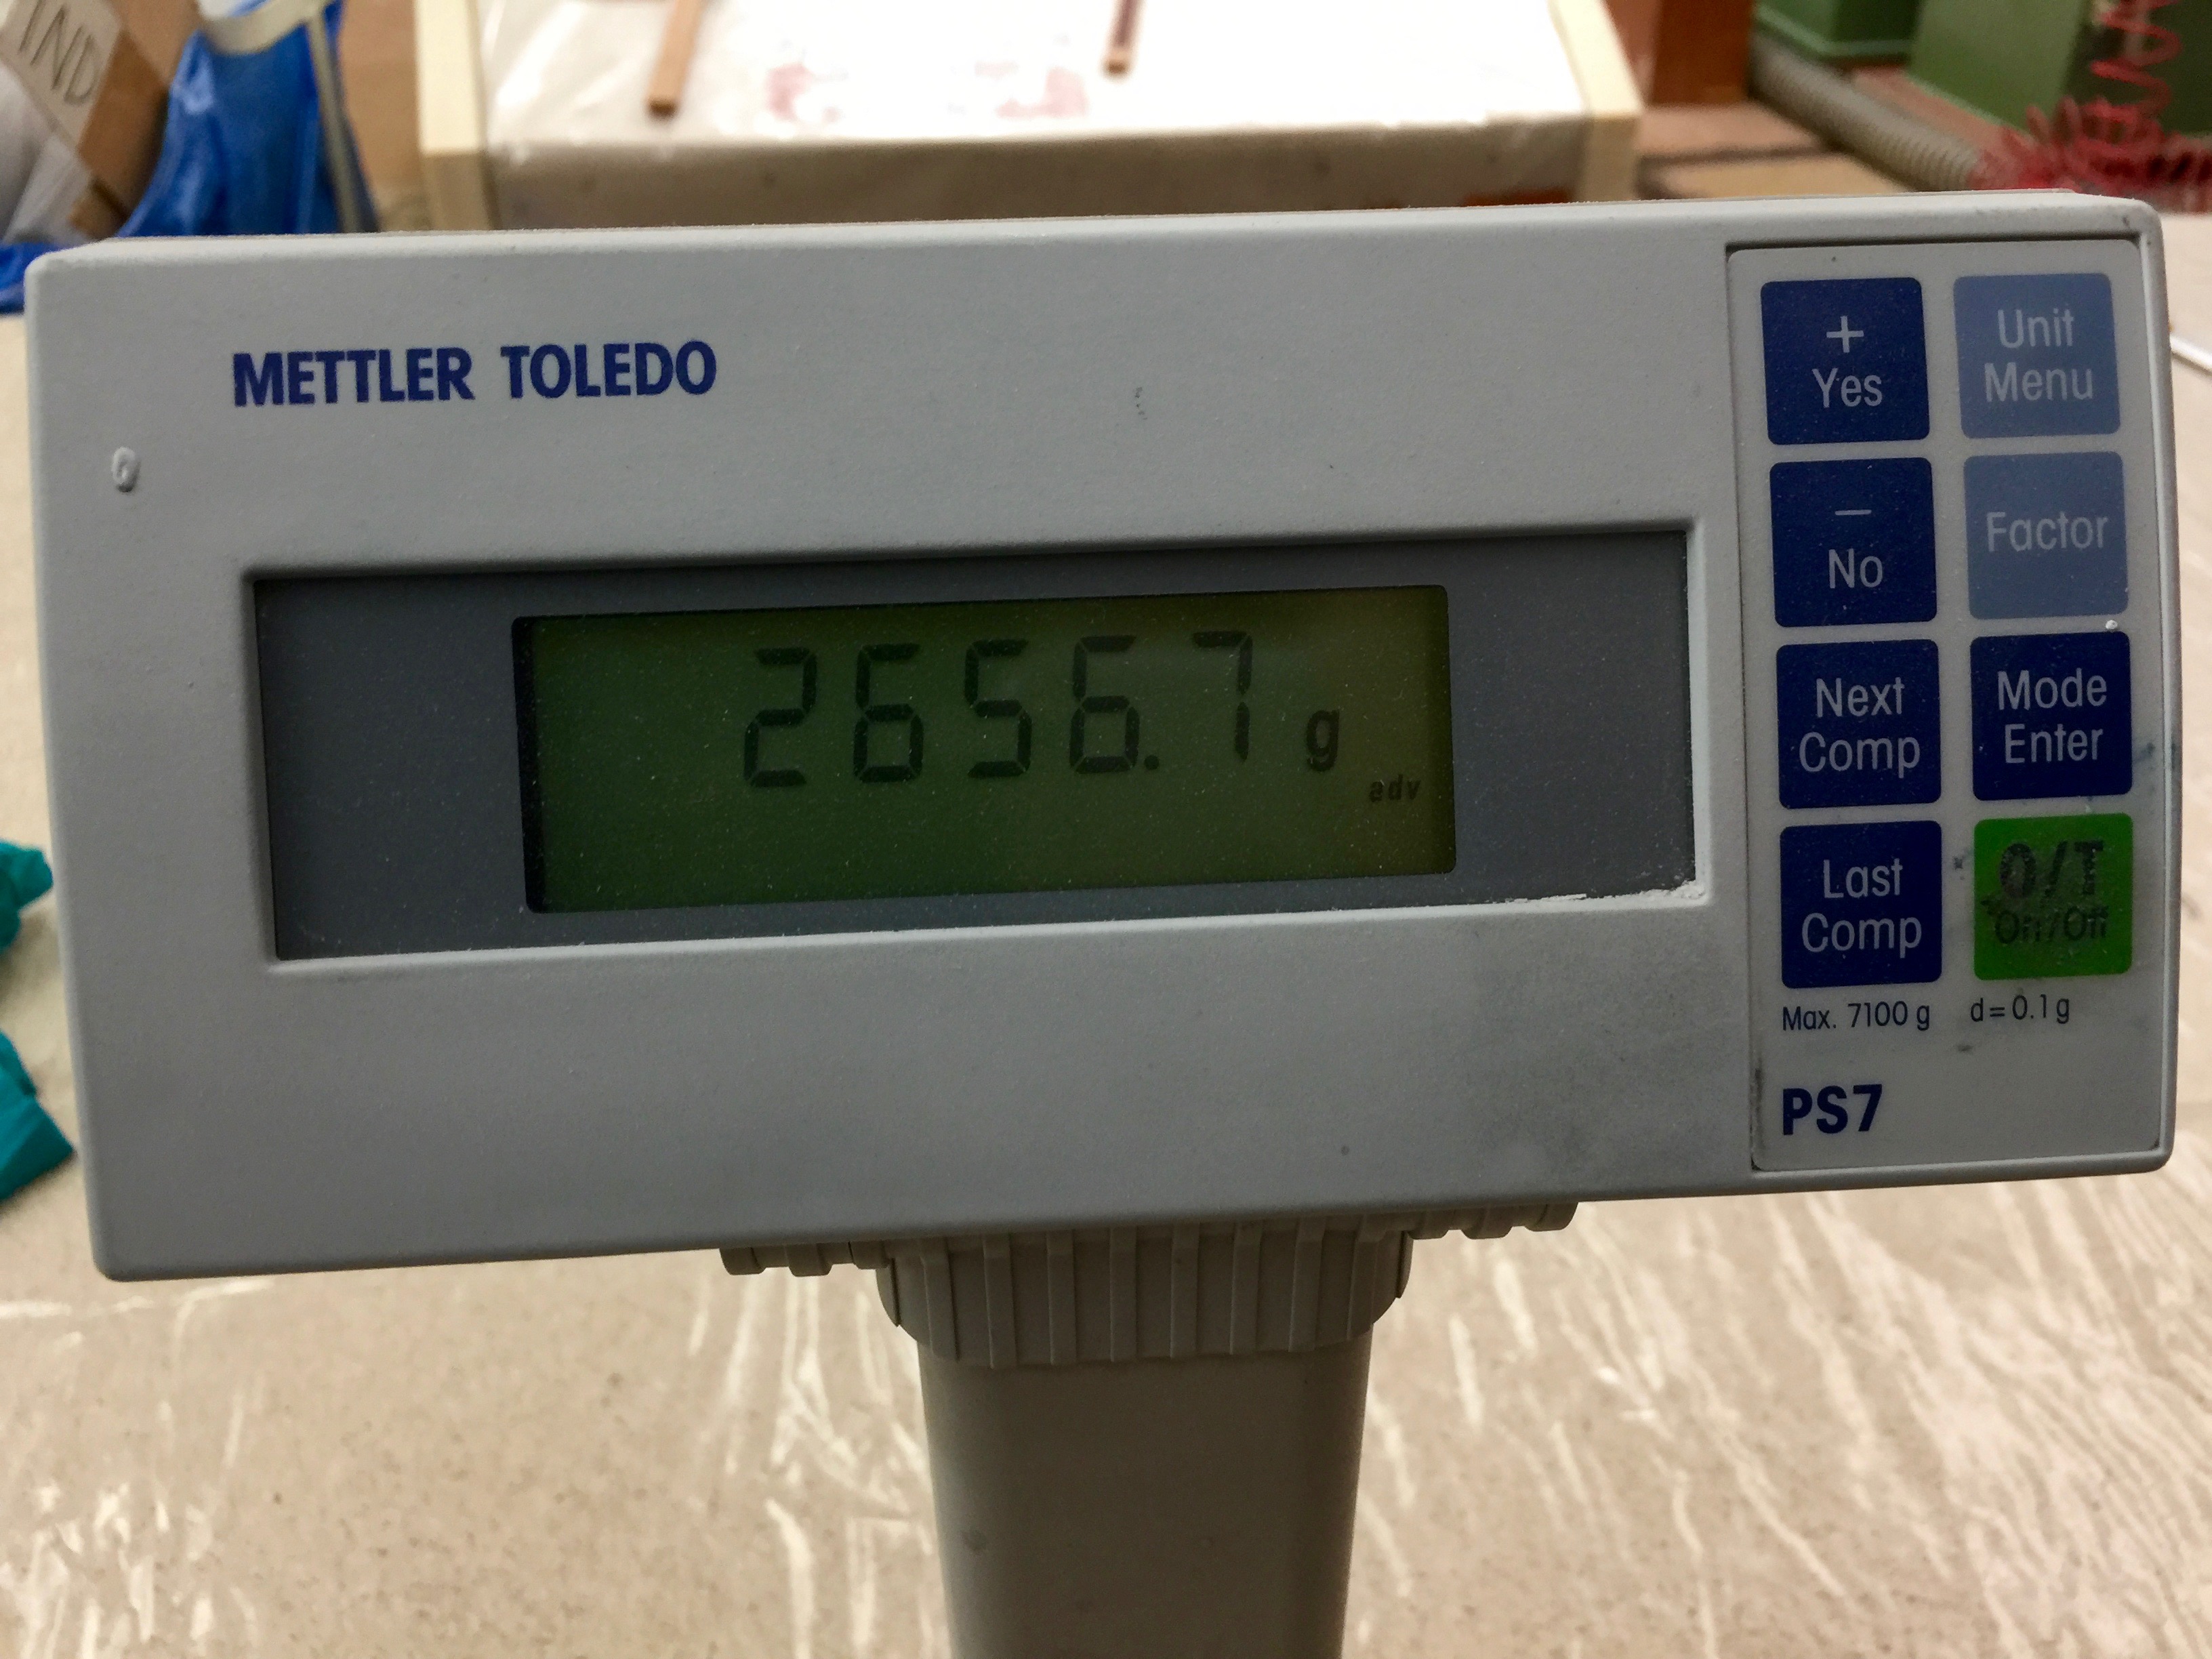
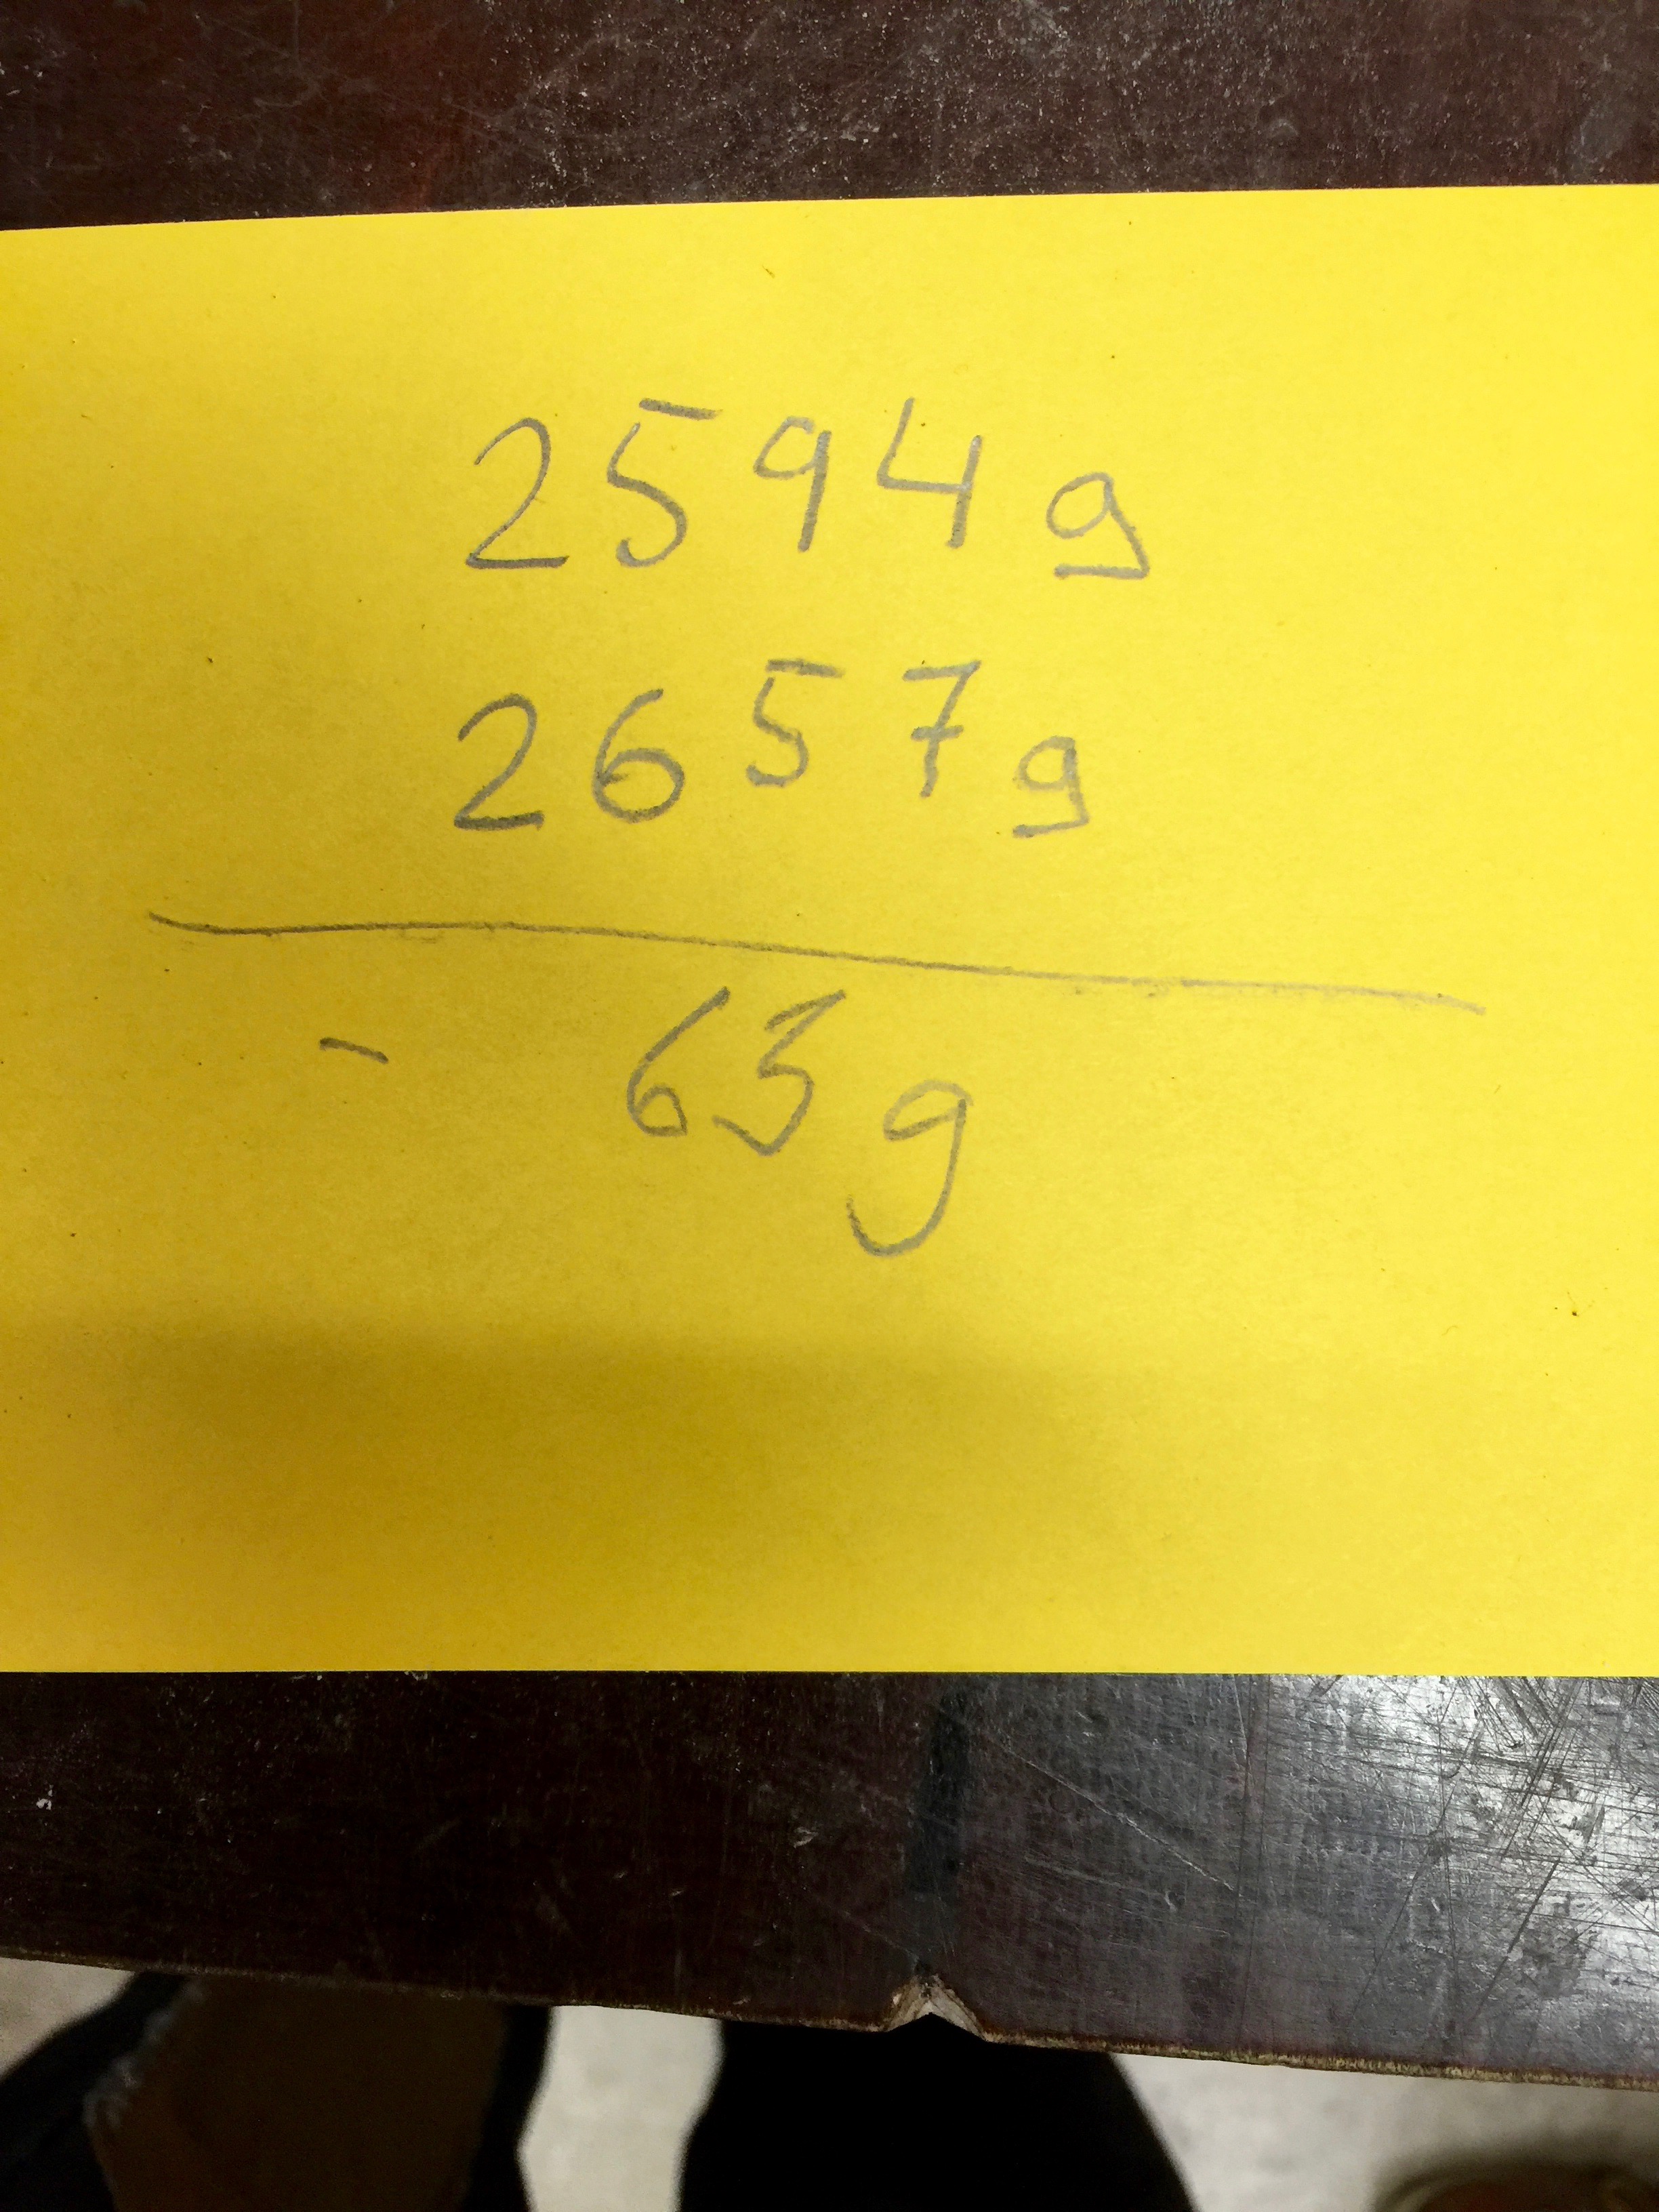
The difference between the weights of the masts is 63 grams.
There will be a third mast made from glass fibre. Glass fibre makes it possible to place the AIS/WHF antenna inside the mast. This protects the mast and an eys sore is gone.
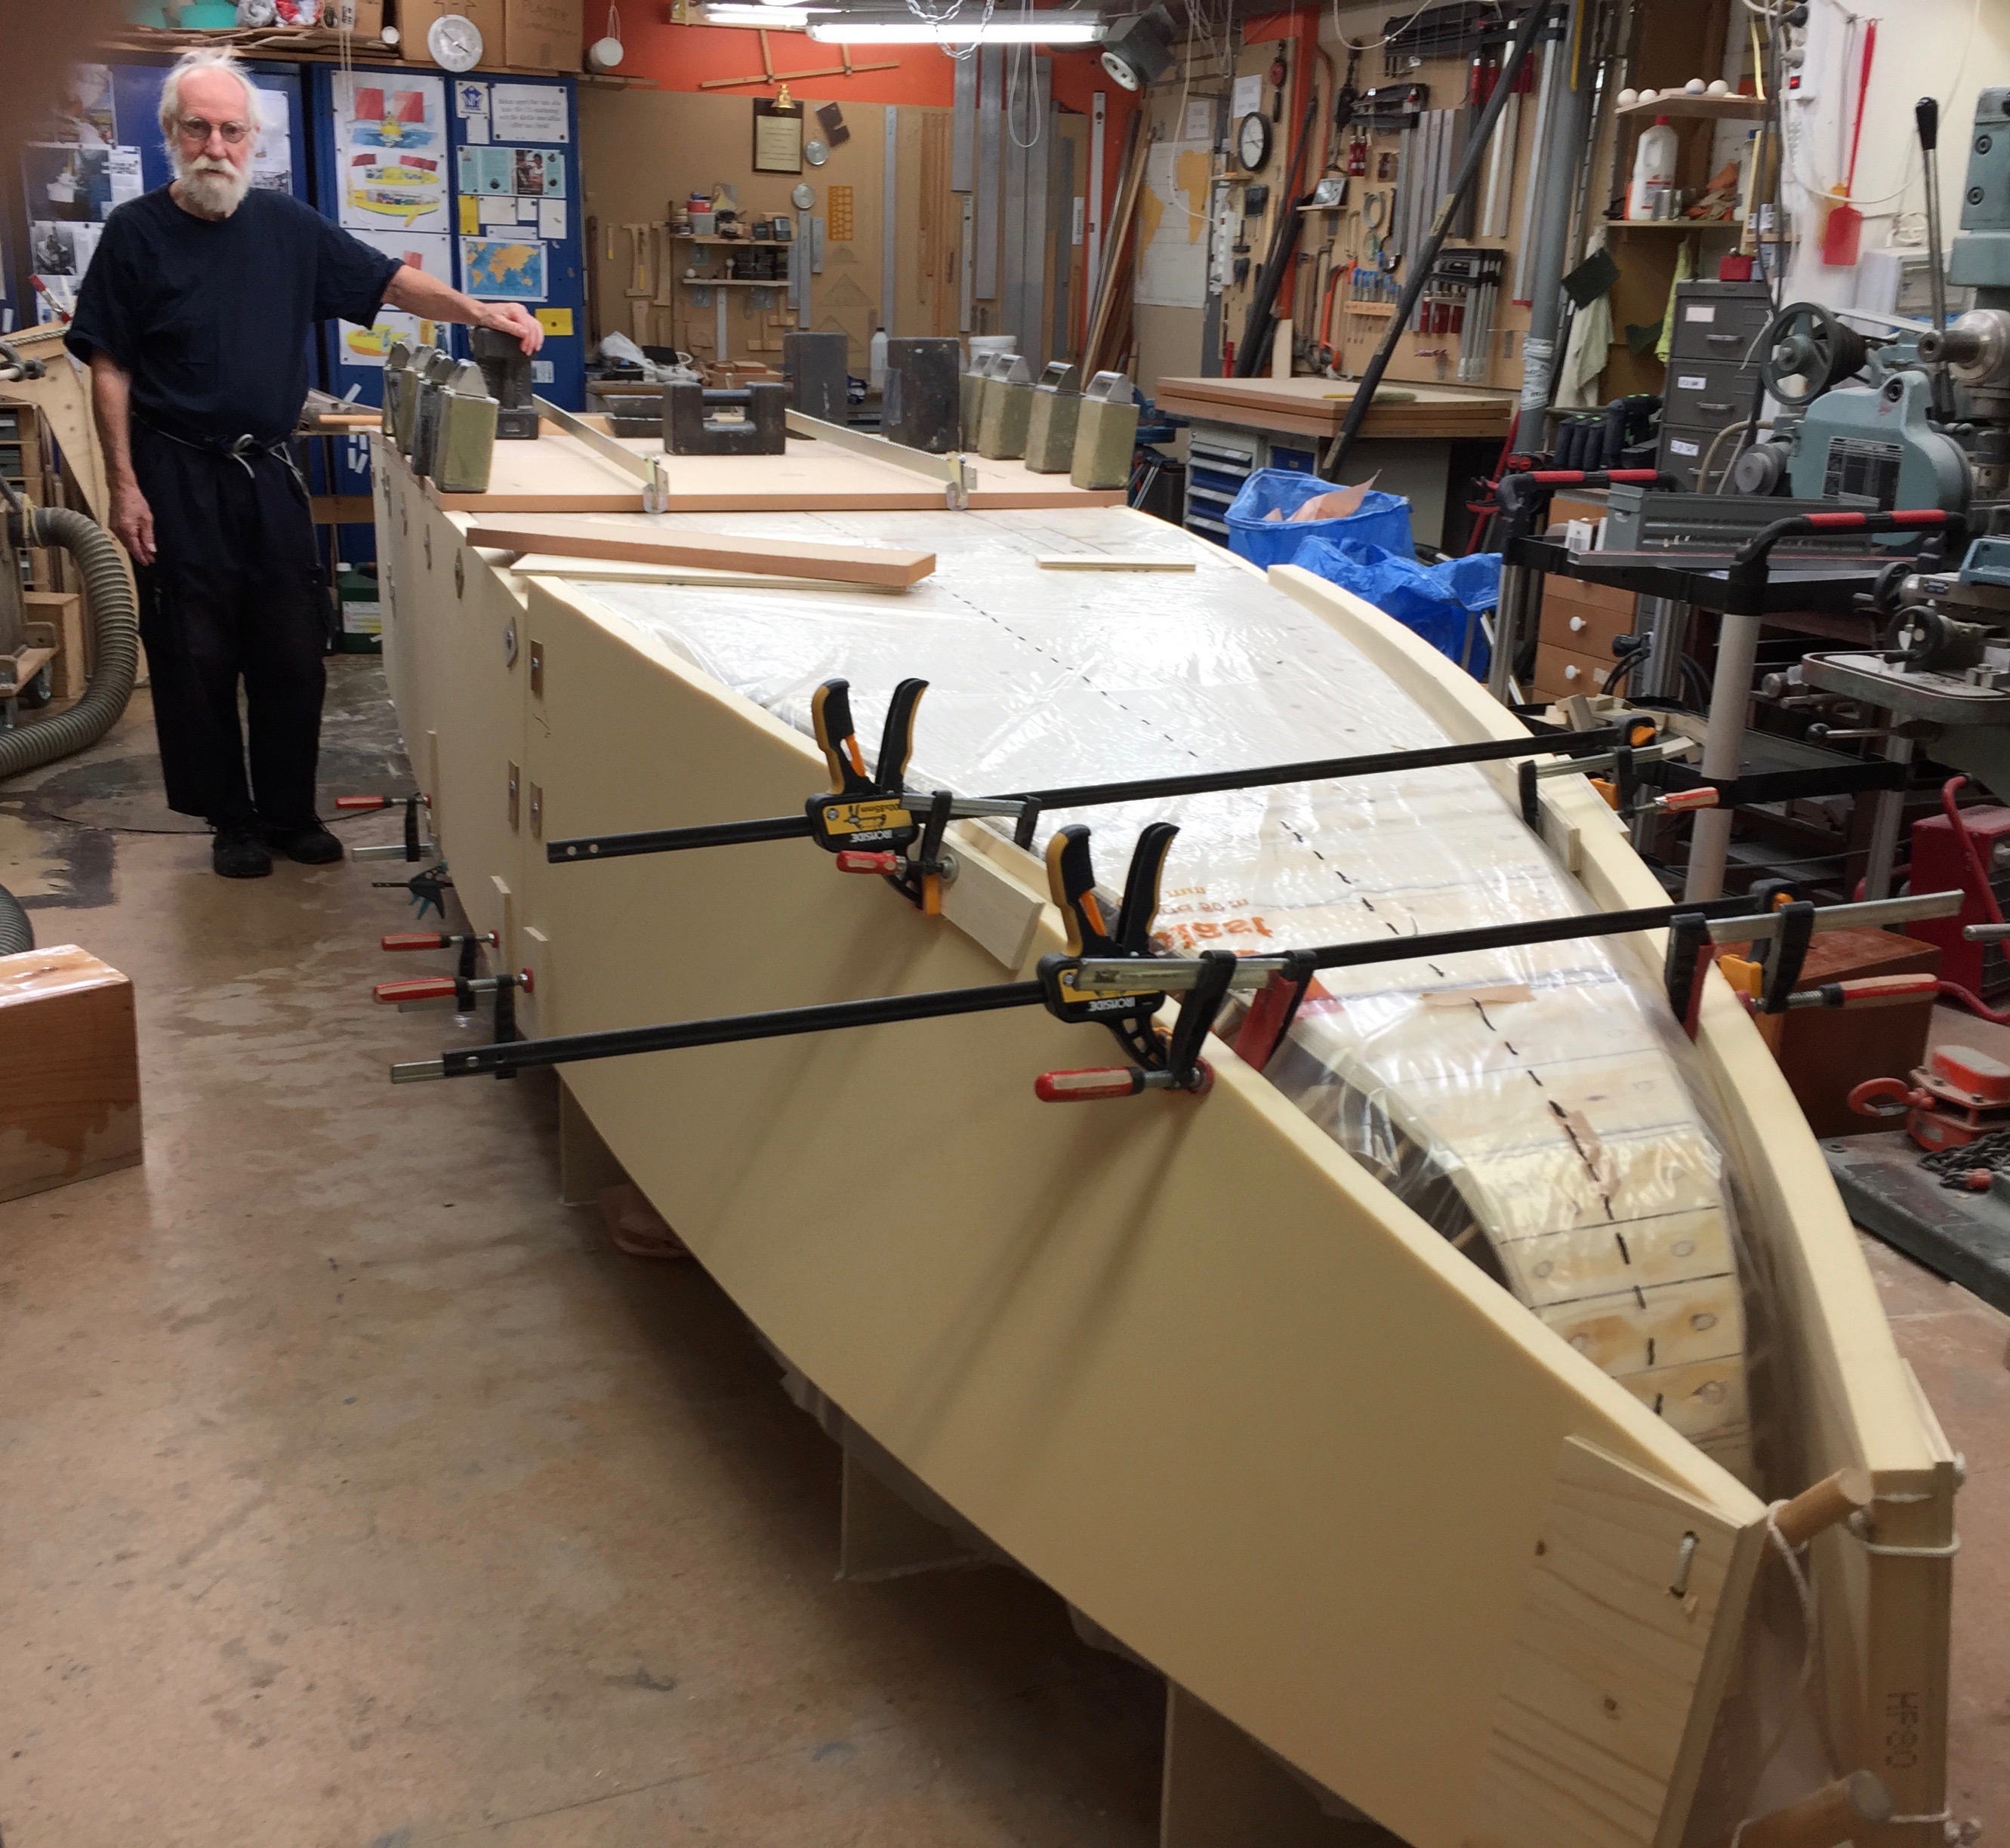
A combination of Spanish windlasses and clamp gets the side panels gently into place. The panels are here a bit longer than the boat. The reason to get a good curvature by bending. Once the are fixed the excess material will be cut off.
To be continued…
Regards Yrvind.
Taking delivery of my new masts by bike since i put my car on hold…
The masts intended for the Europe Dingy class and will be cut down to size for the balanced lug sails.
To be continued…
Regards Yrvind
I have started to build up the hullside from the stern. Two sheets on each side are now in place. Aft is the easy part, like building a box. Simple structure, but nothing is gained by making it more complicated.
Below two pictures.
First placing the Divinycell in a good position. Important when you are working alone. Adding the NM-epoxy. Clamping it on trying to get as good a fit as possible.
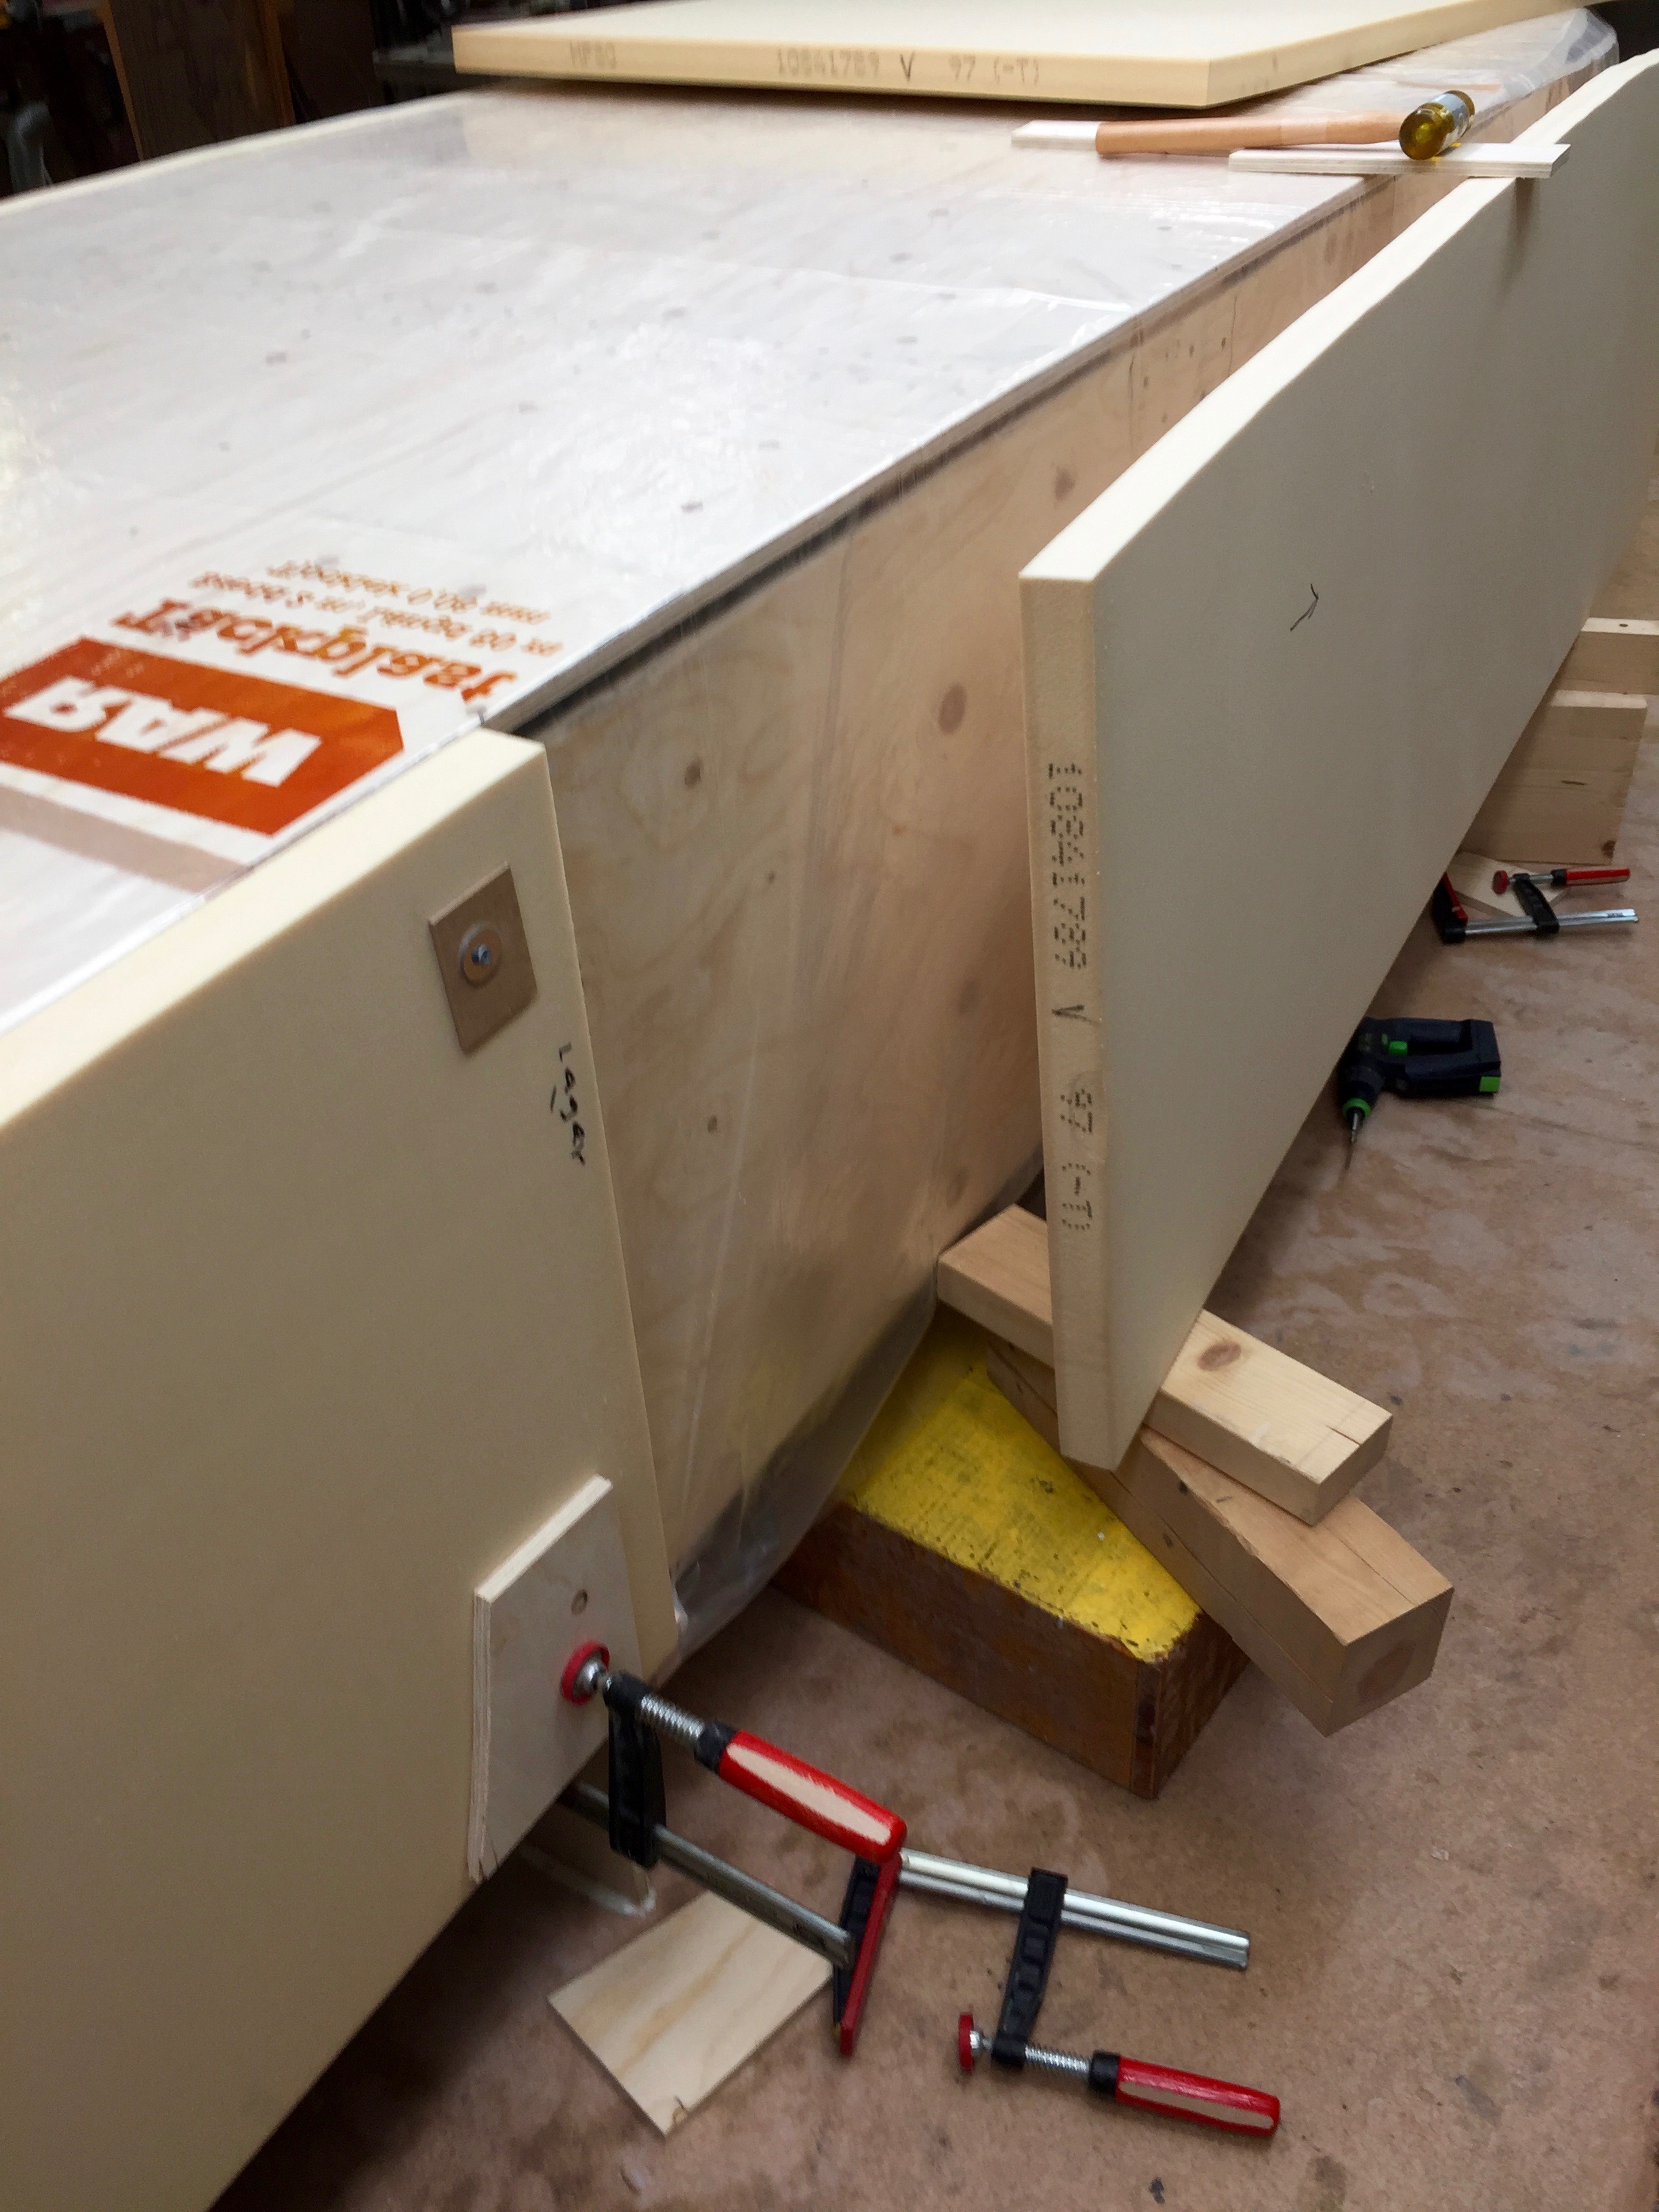
The piece in place.
To be continued…
Regards Yrvind
Today the 27 of August it is exactly one month since I came back from my voyage in Exlex. The progress of Exlex Minor is going well. Today I put on the first pieces of Divinycell on the mould. Pictures below.
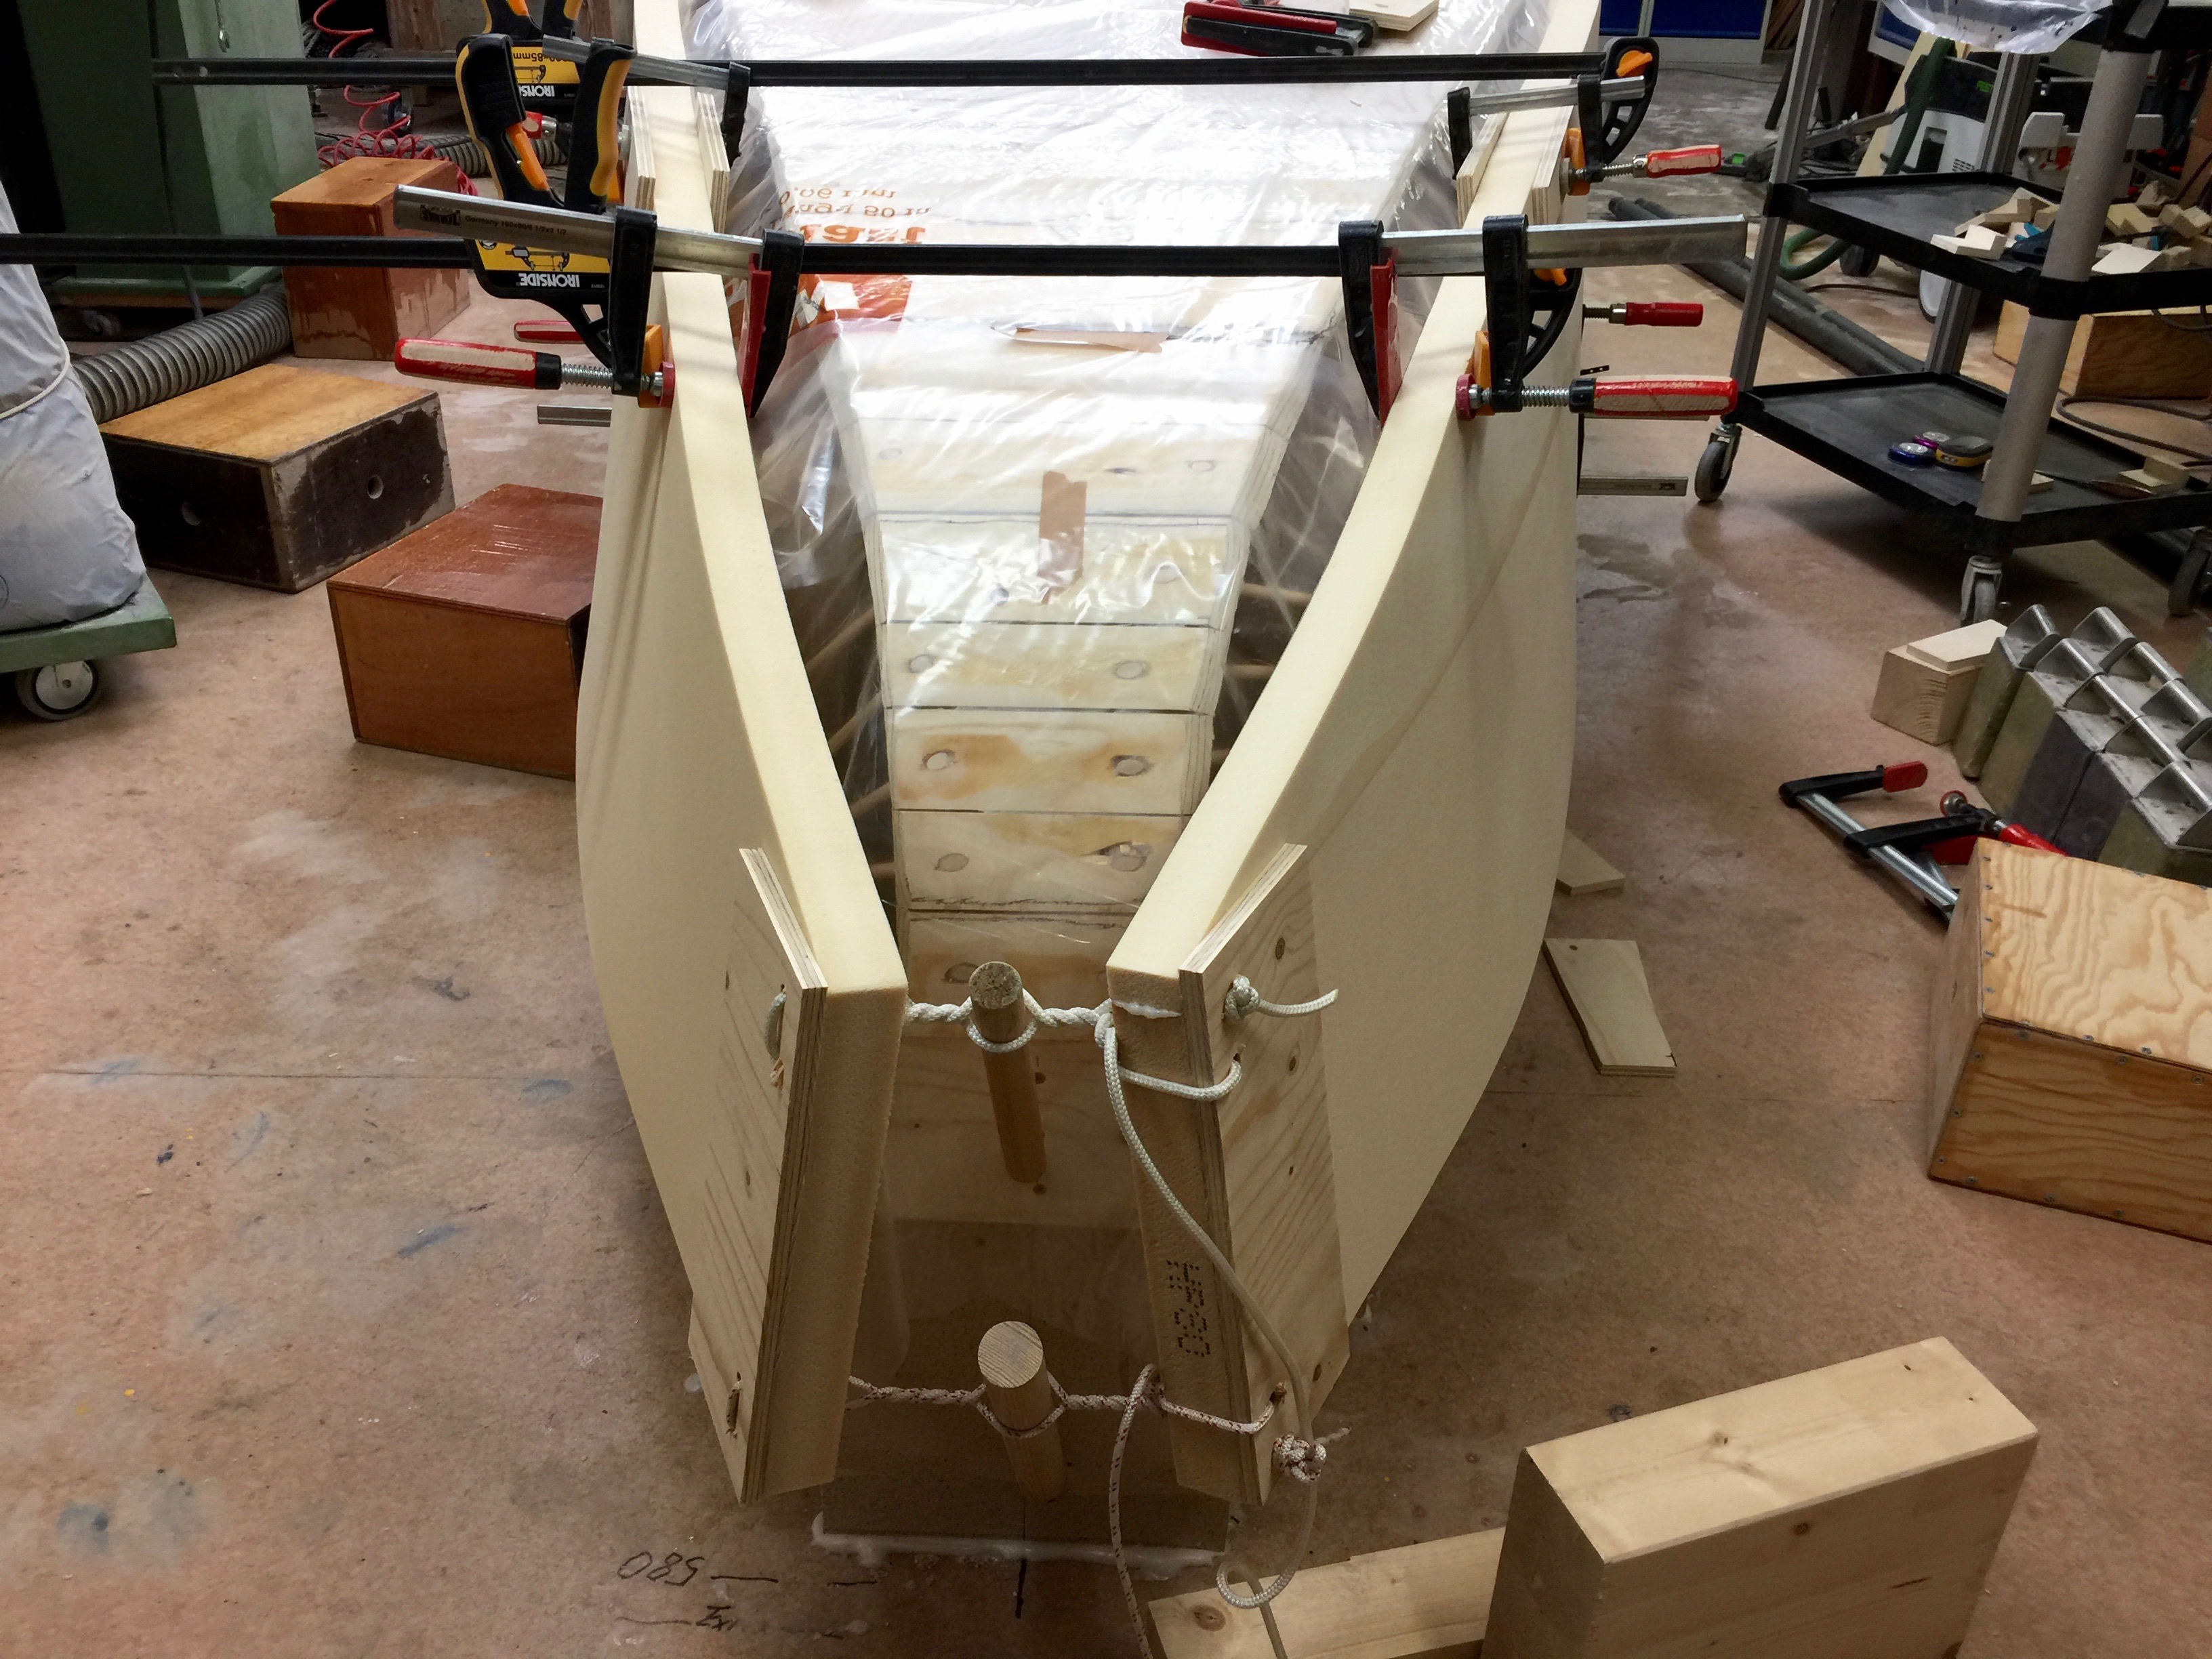
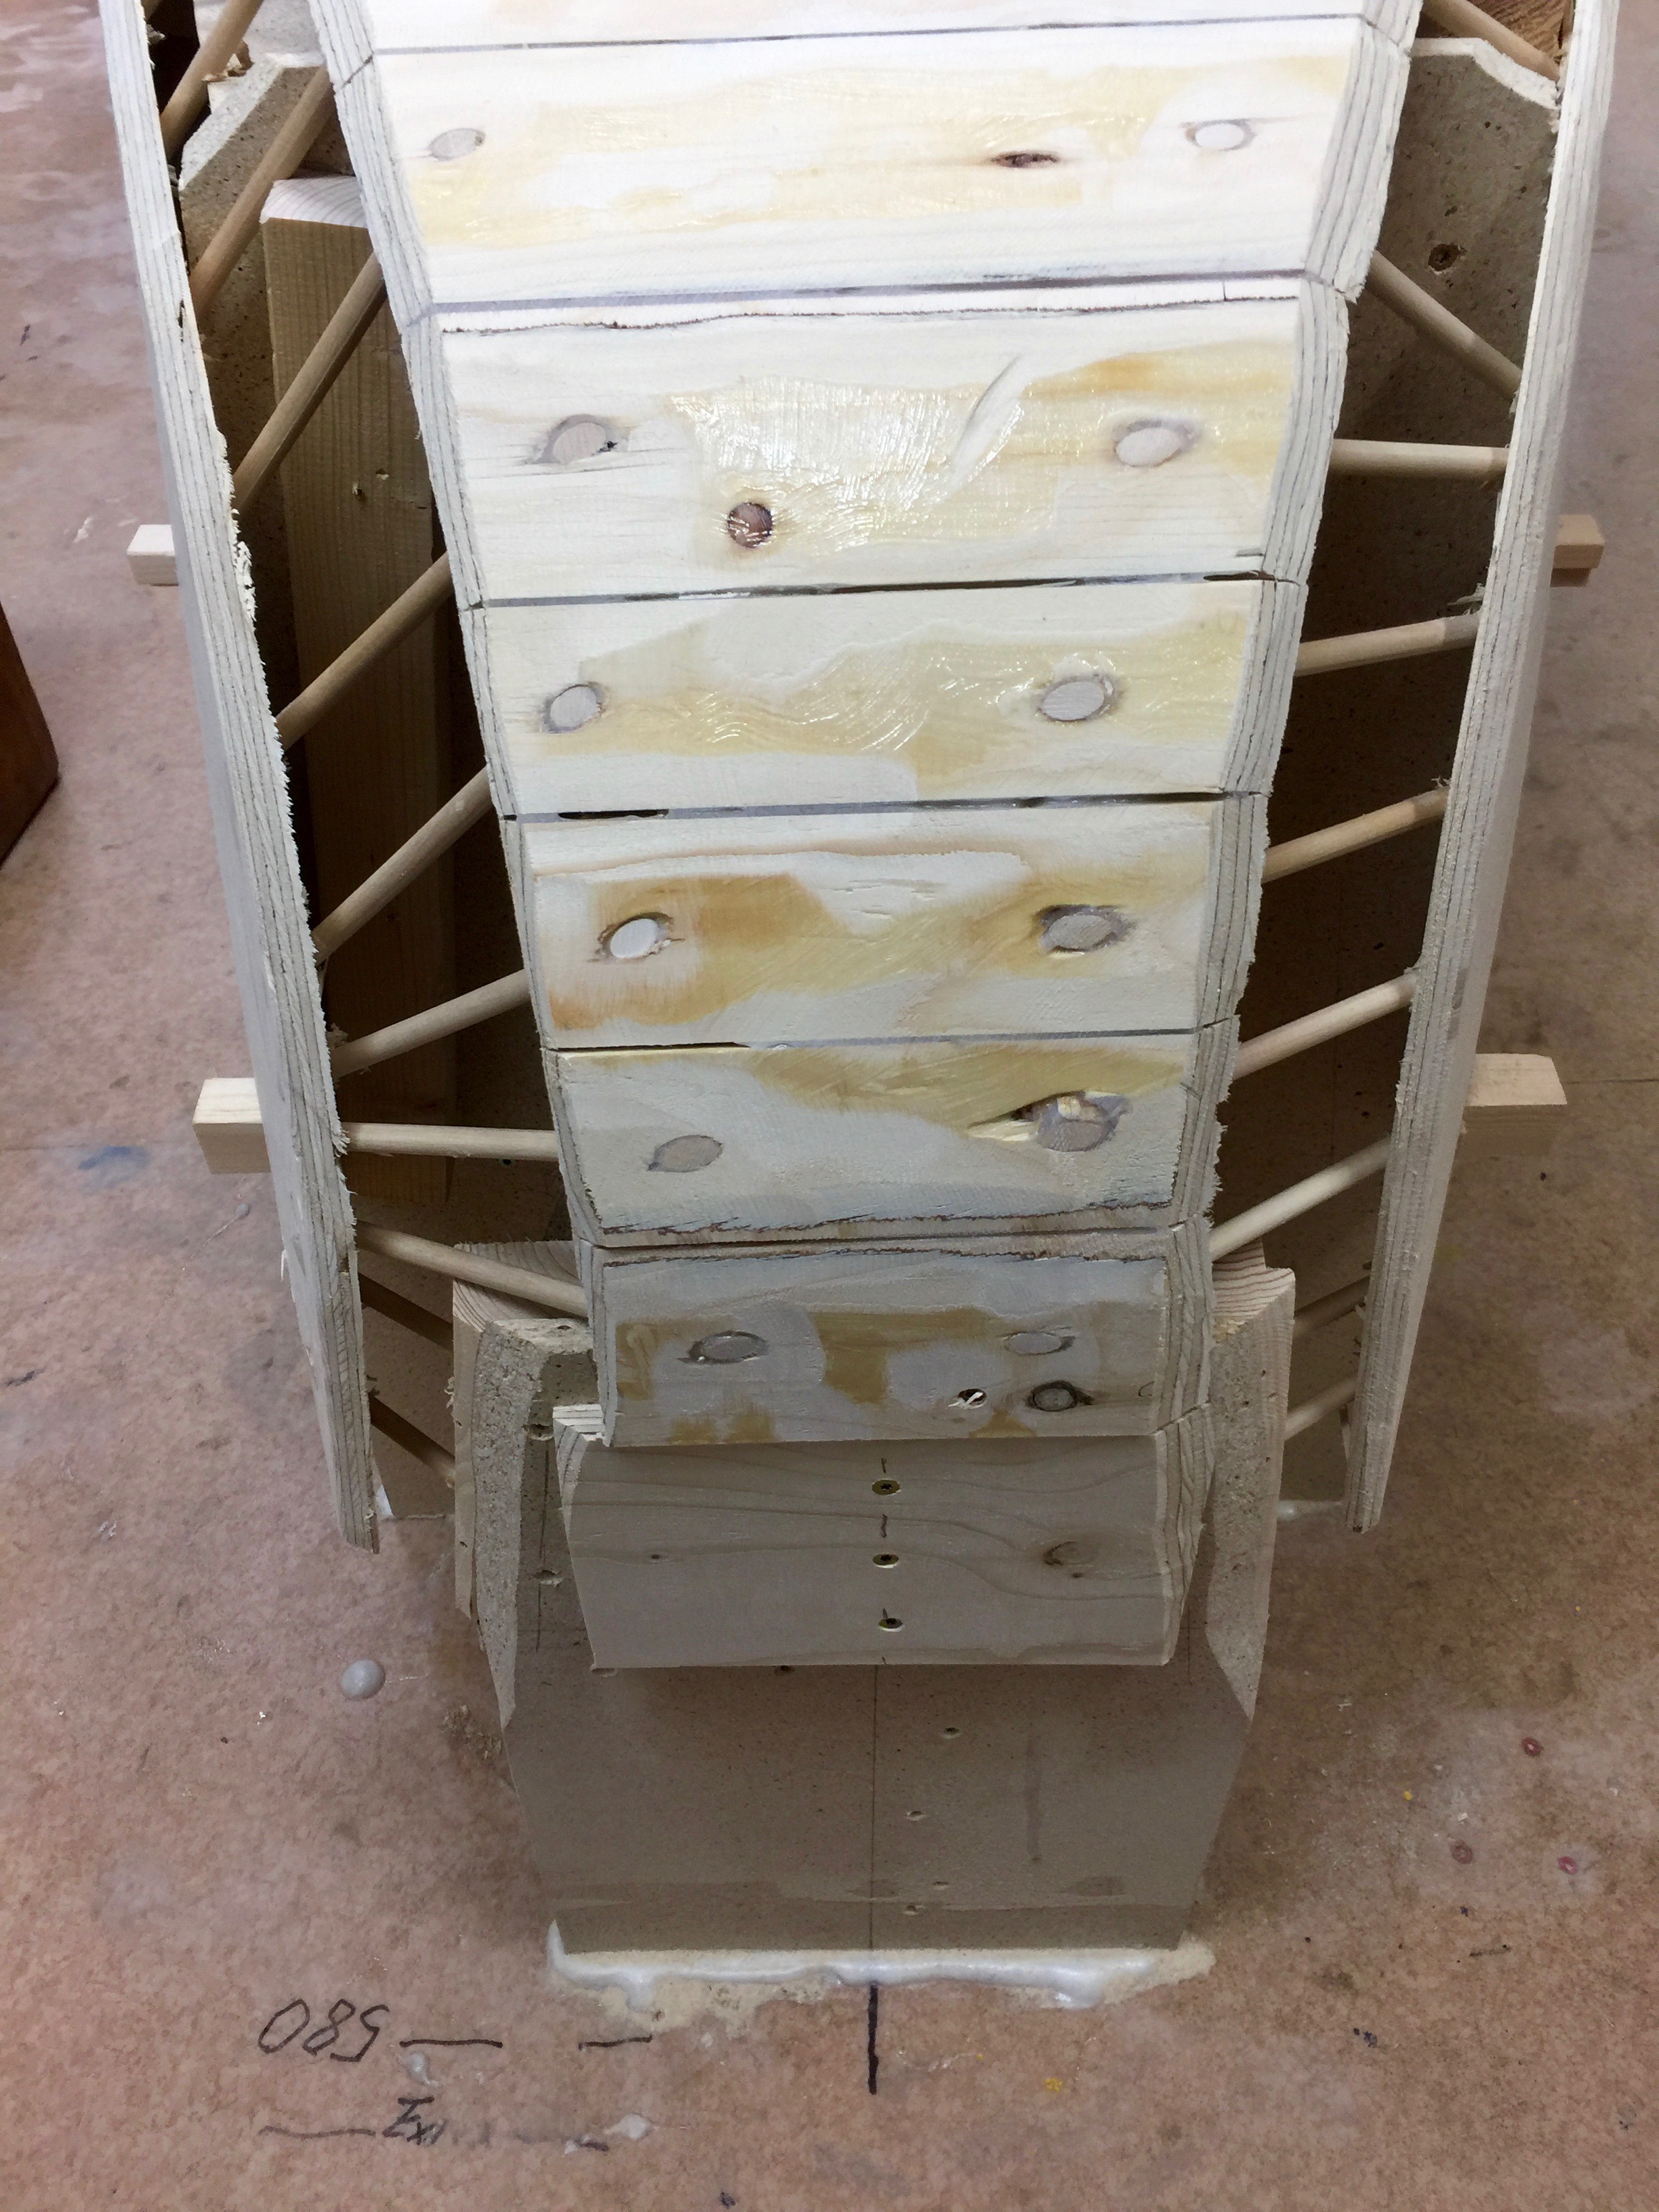
The first three pictures show how I managed to bevel the bow with the help of trunnels. This is the first step in converting a hard chine boat to a boat with a spoon bow. When the Divinycell comes on more shaping will be done.
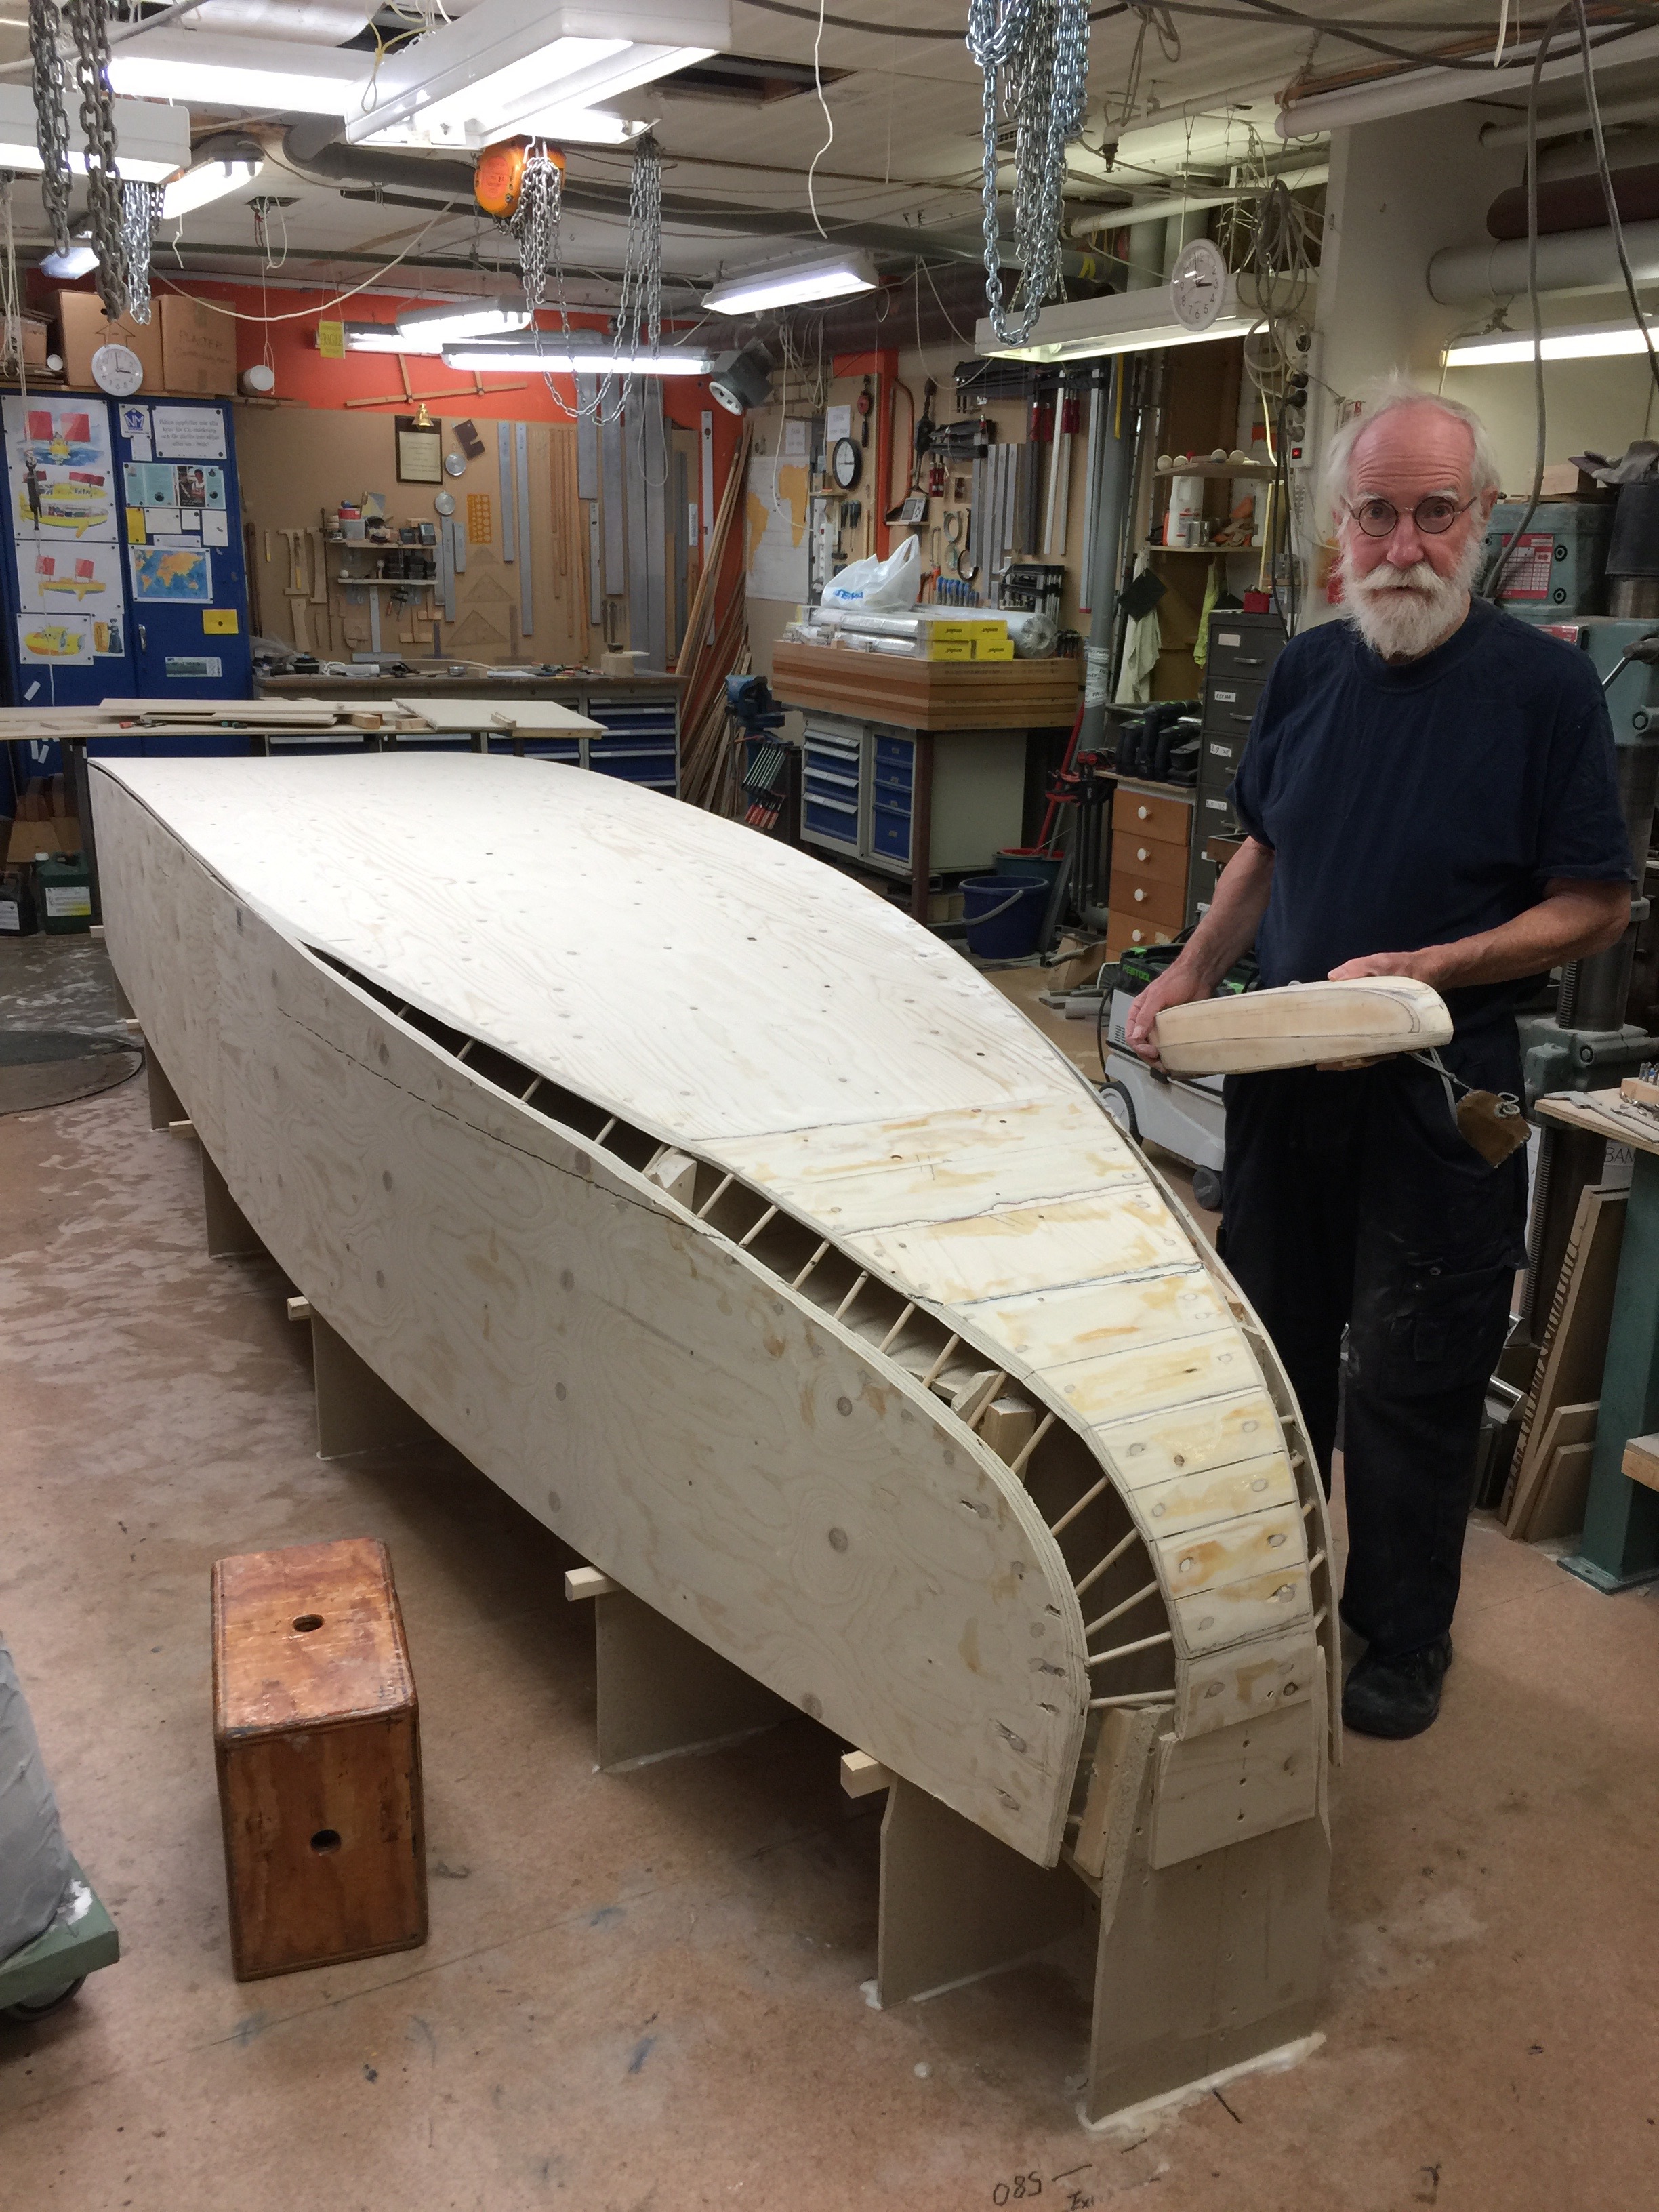
The bow from the side showing how the trunnels keep the plywood in position.
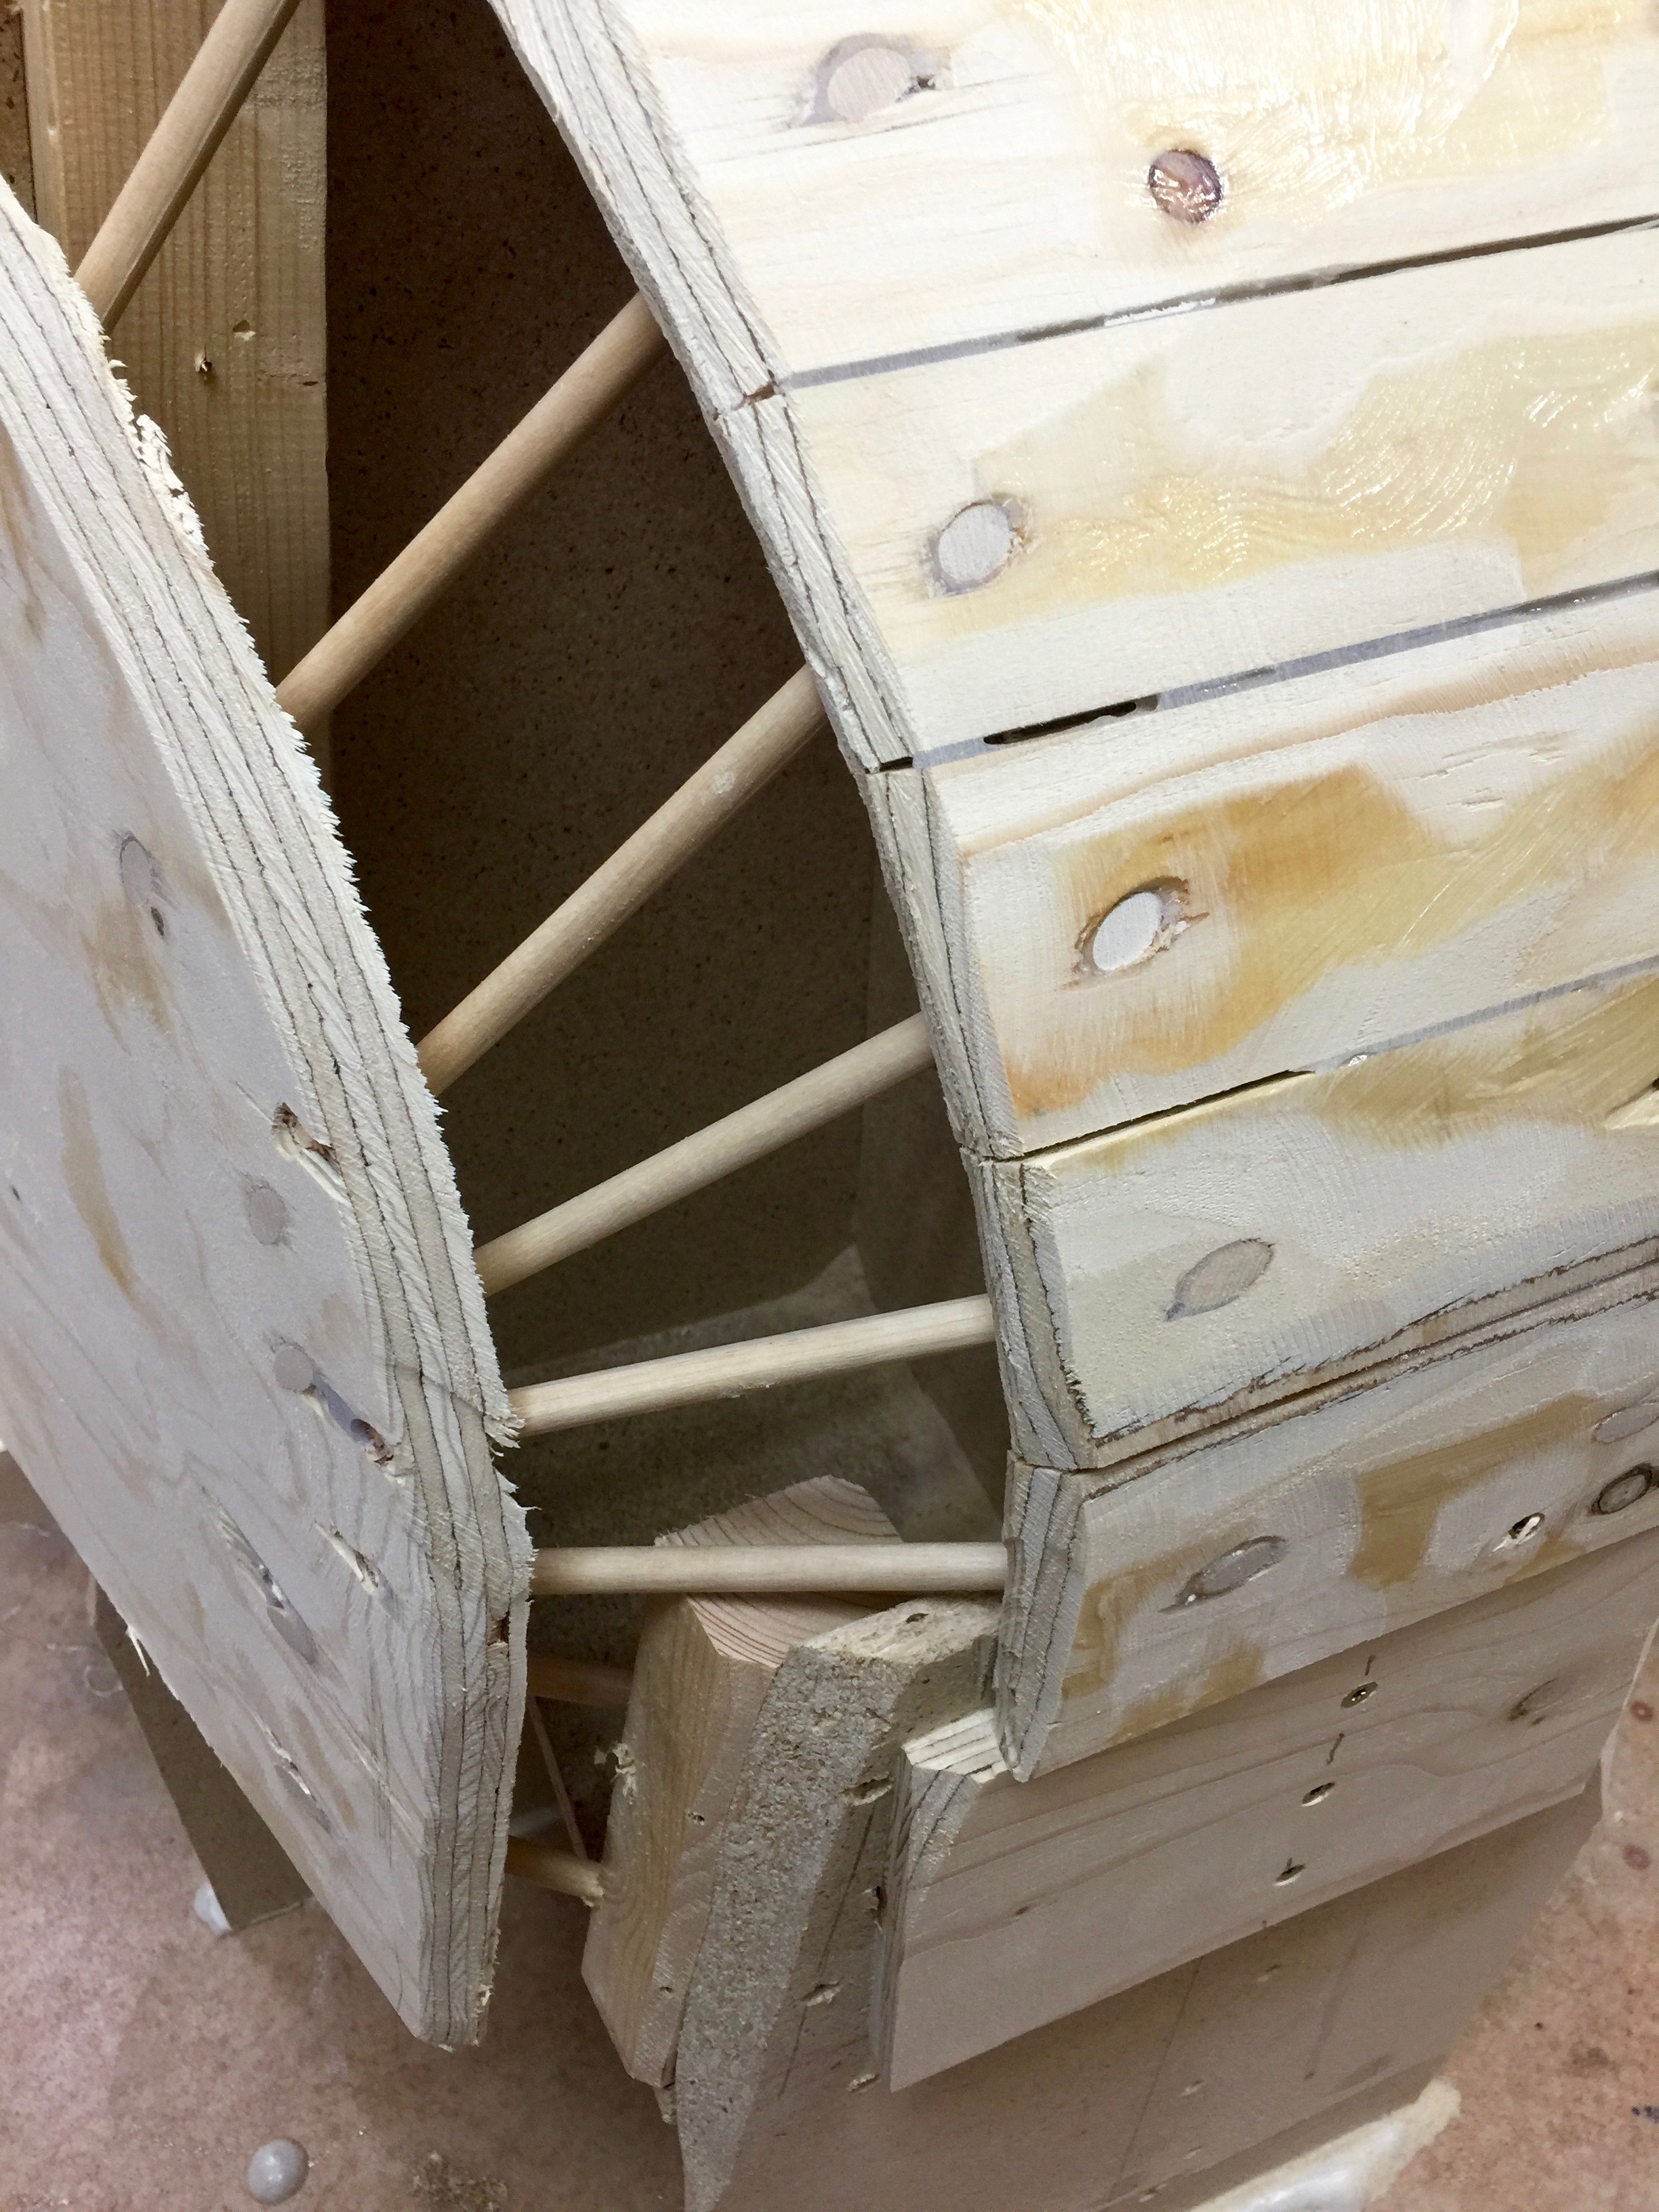
Below, one more close up of the trunnels.
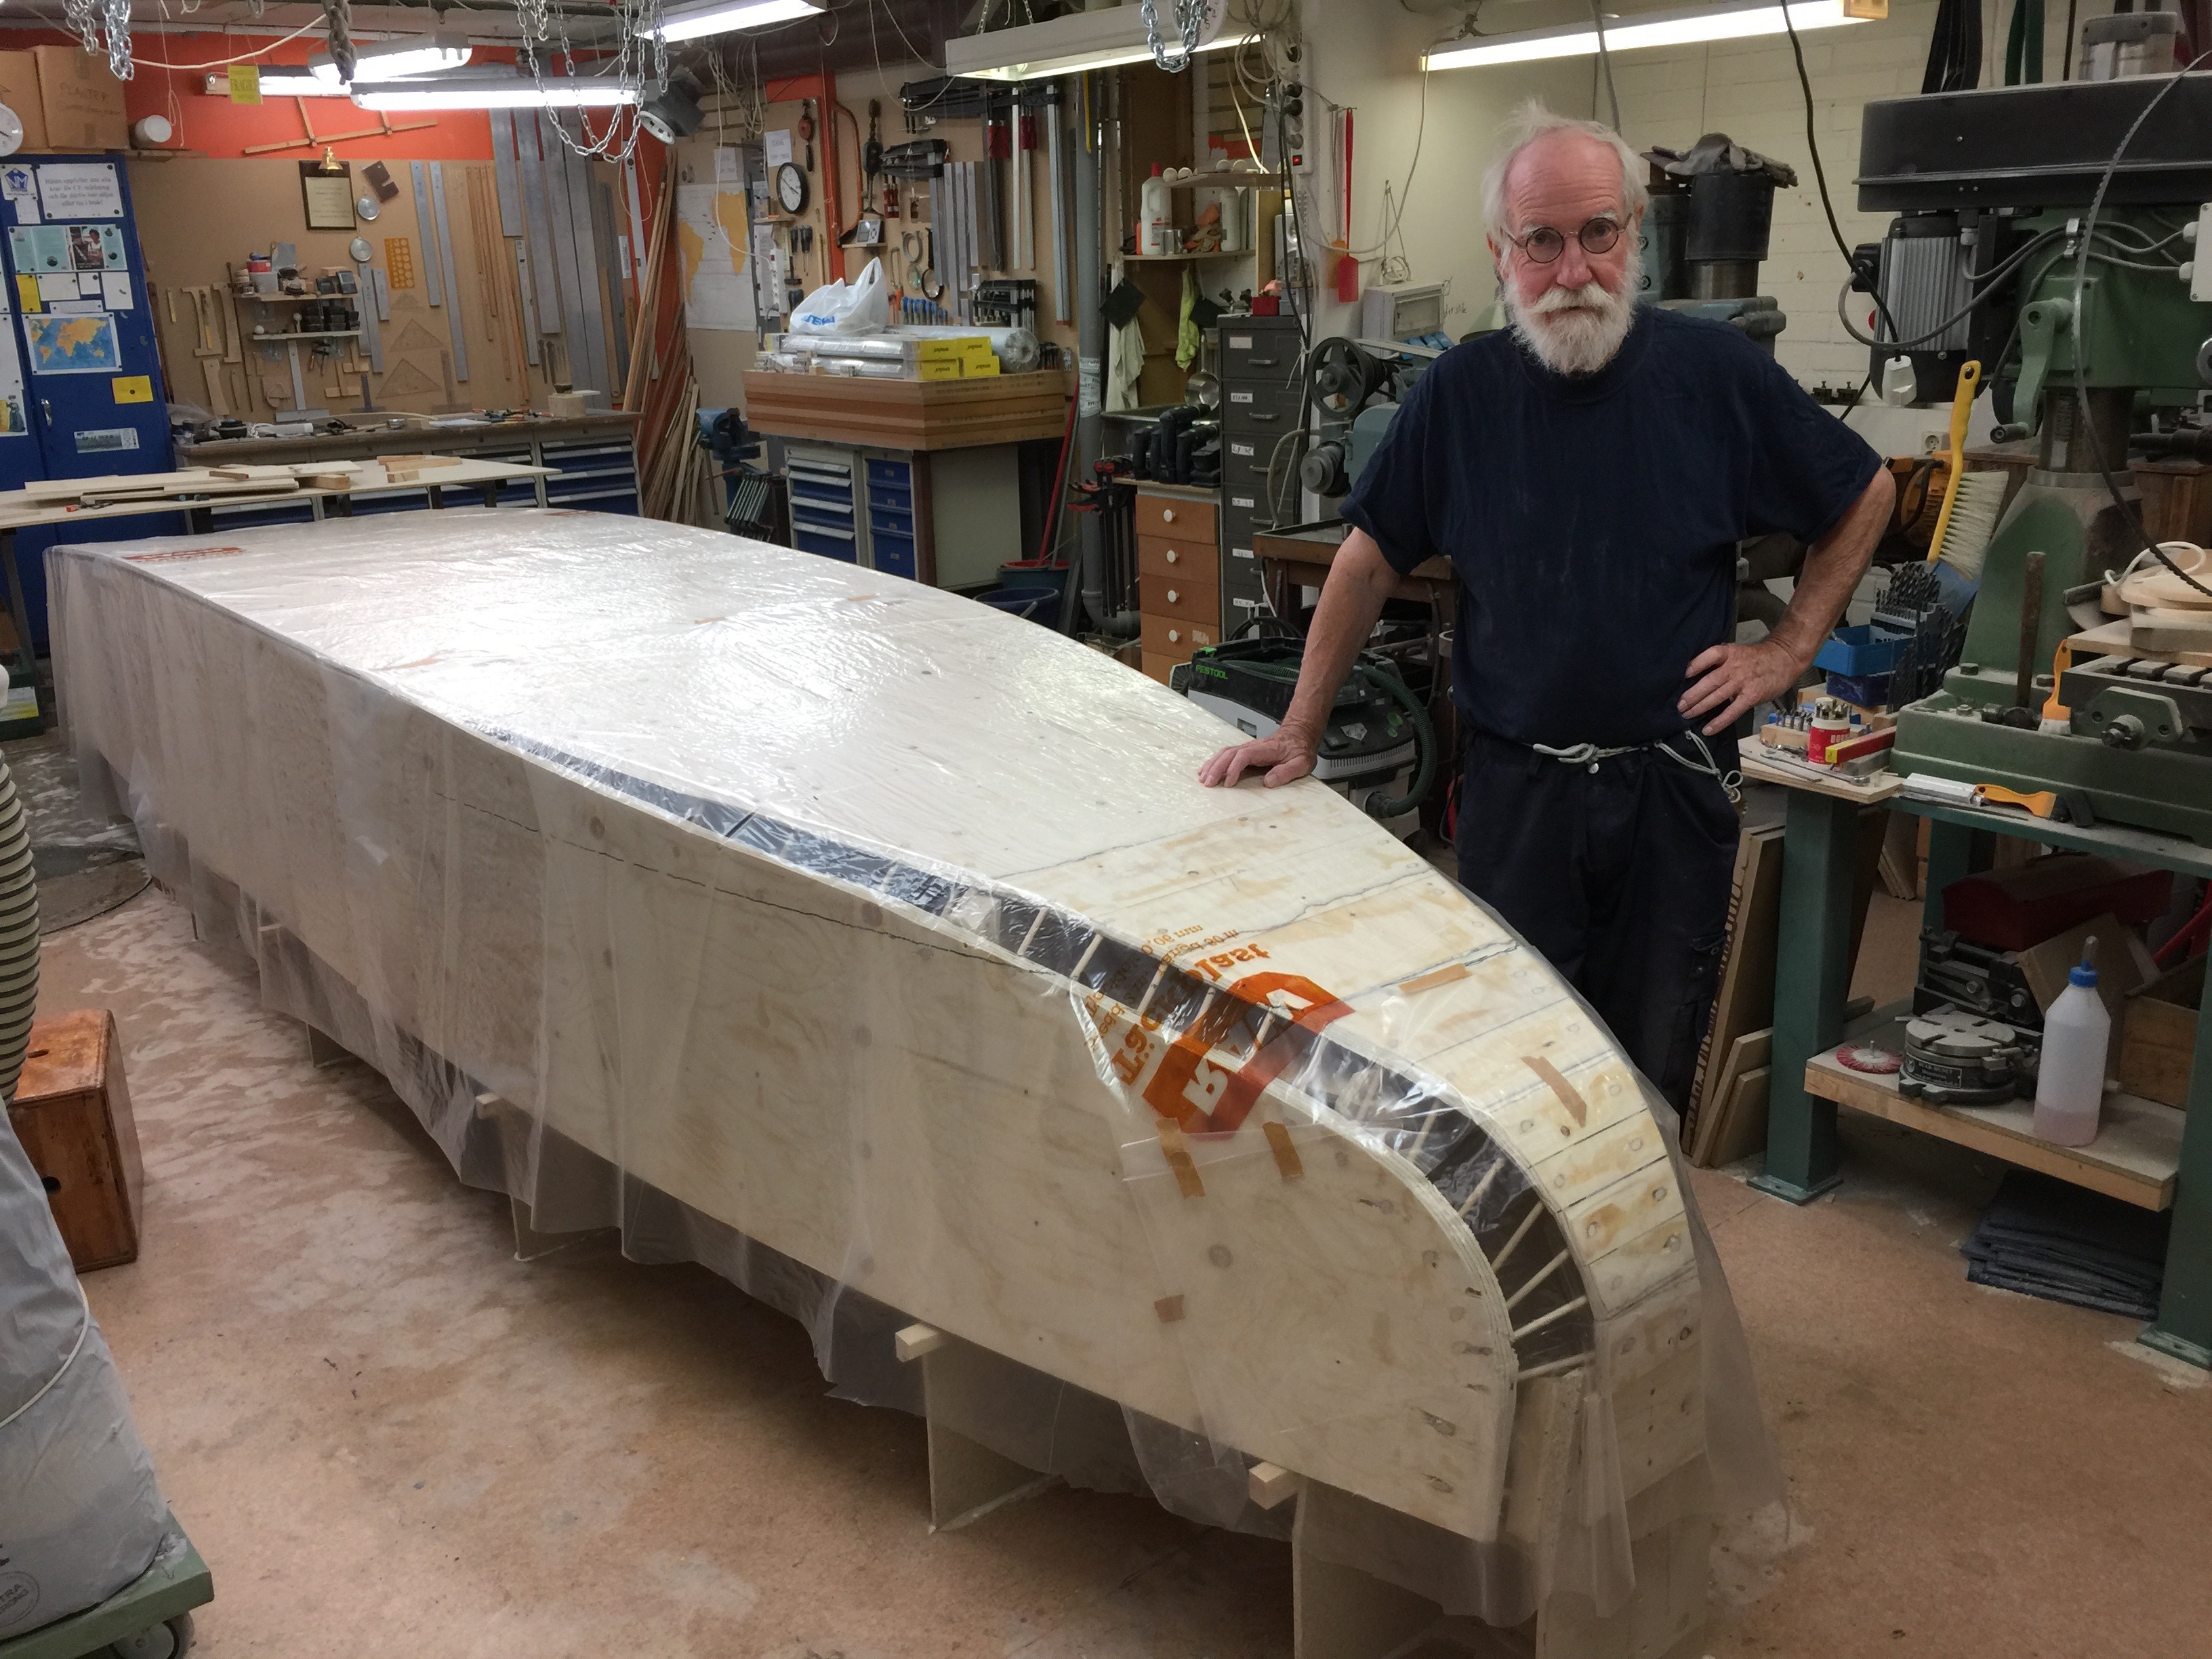
The male plug is now ready to take on the Divinycell, but first I insulate it with a plastic film to prevent the Divinycell from getting glued to the plug by any epoxy leaking between the pieces.
Finally two sheets of Divinycell H 100 40 mm thick is in place.
To be continued…
Regards Yrvind