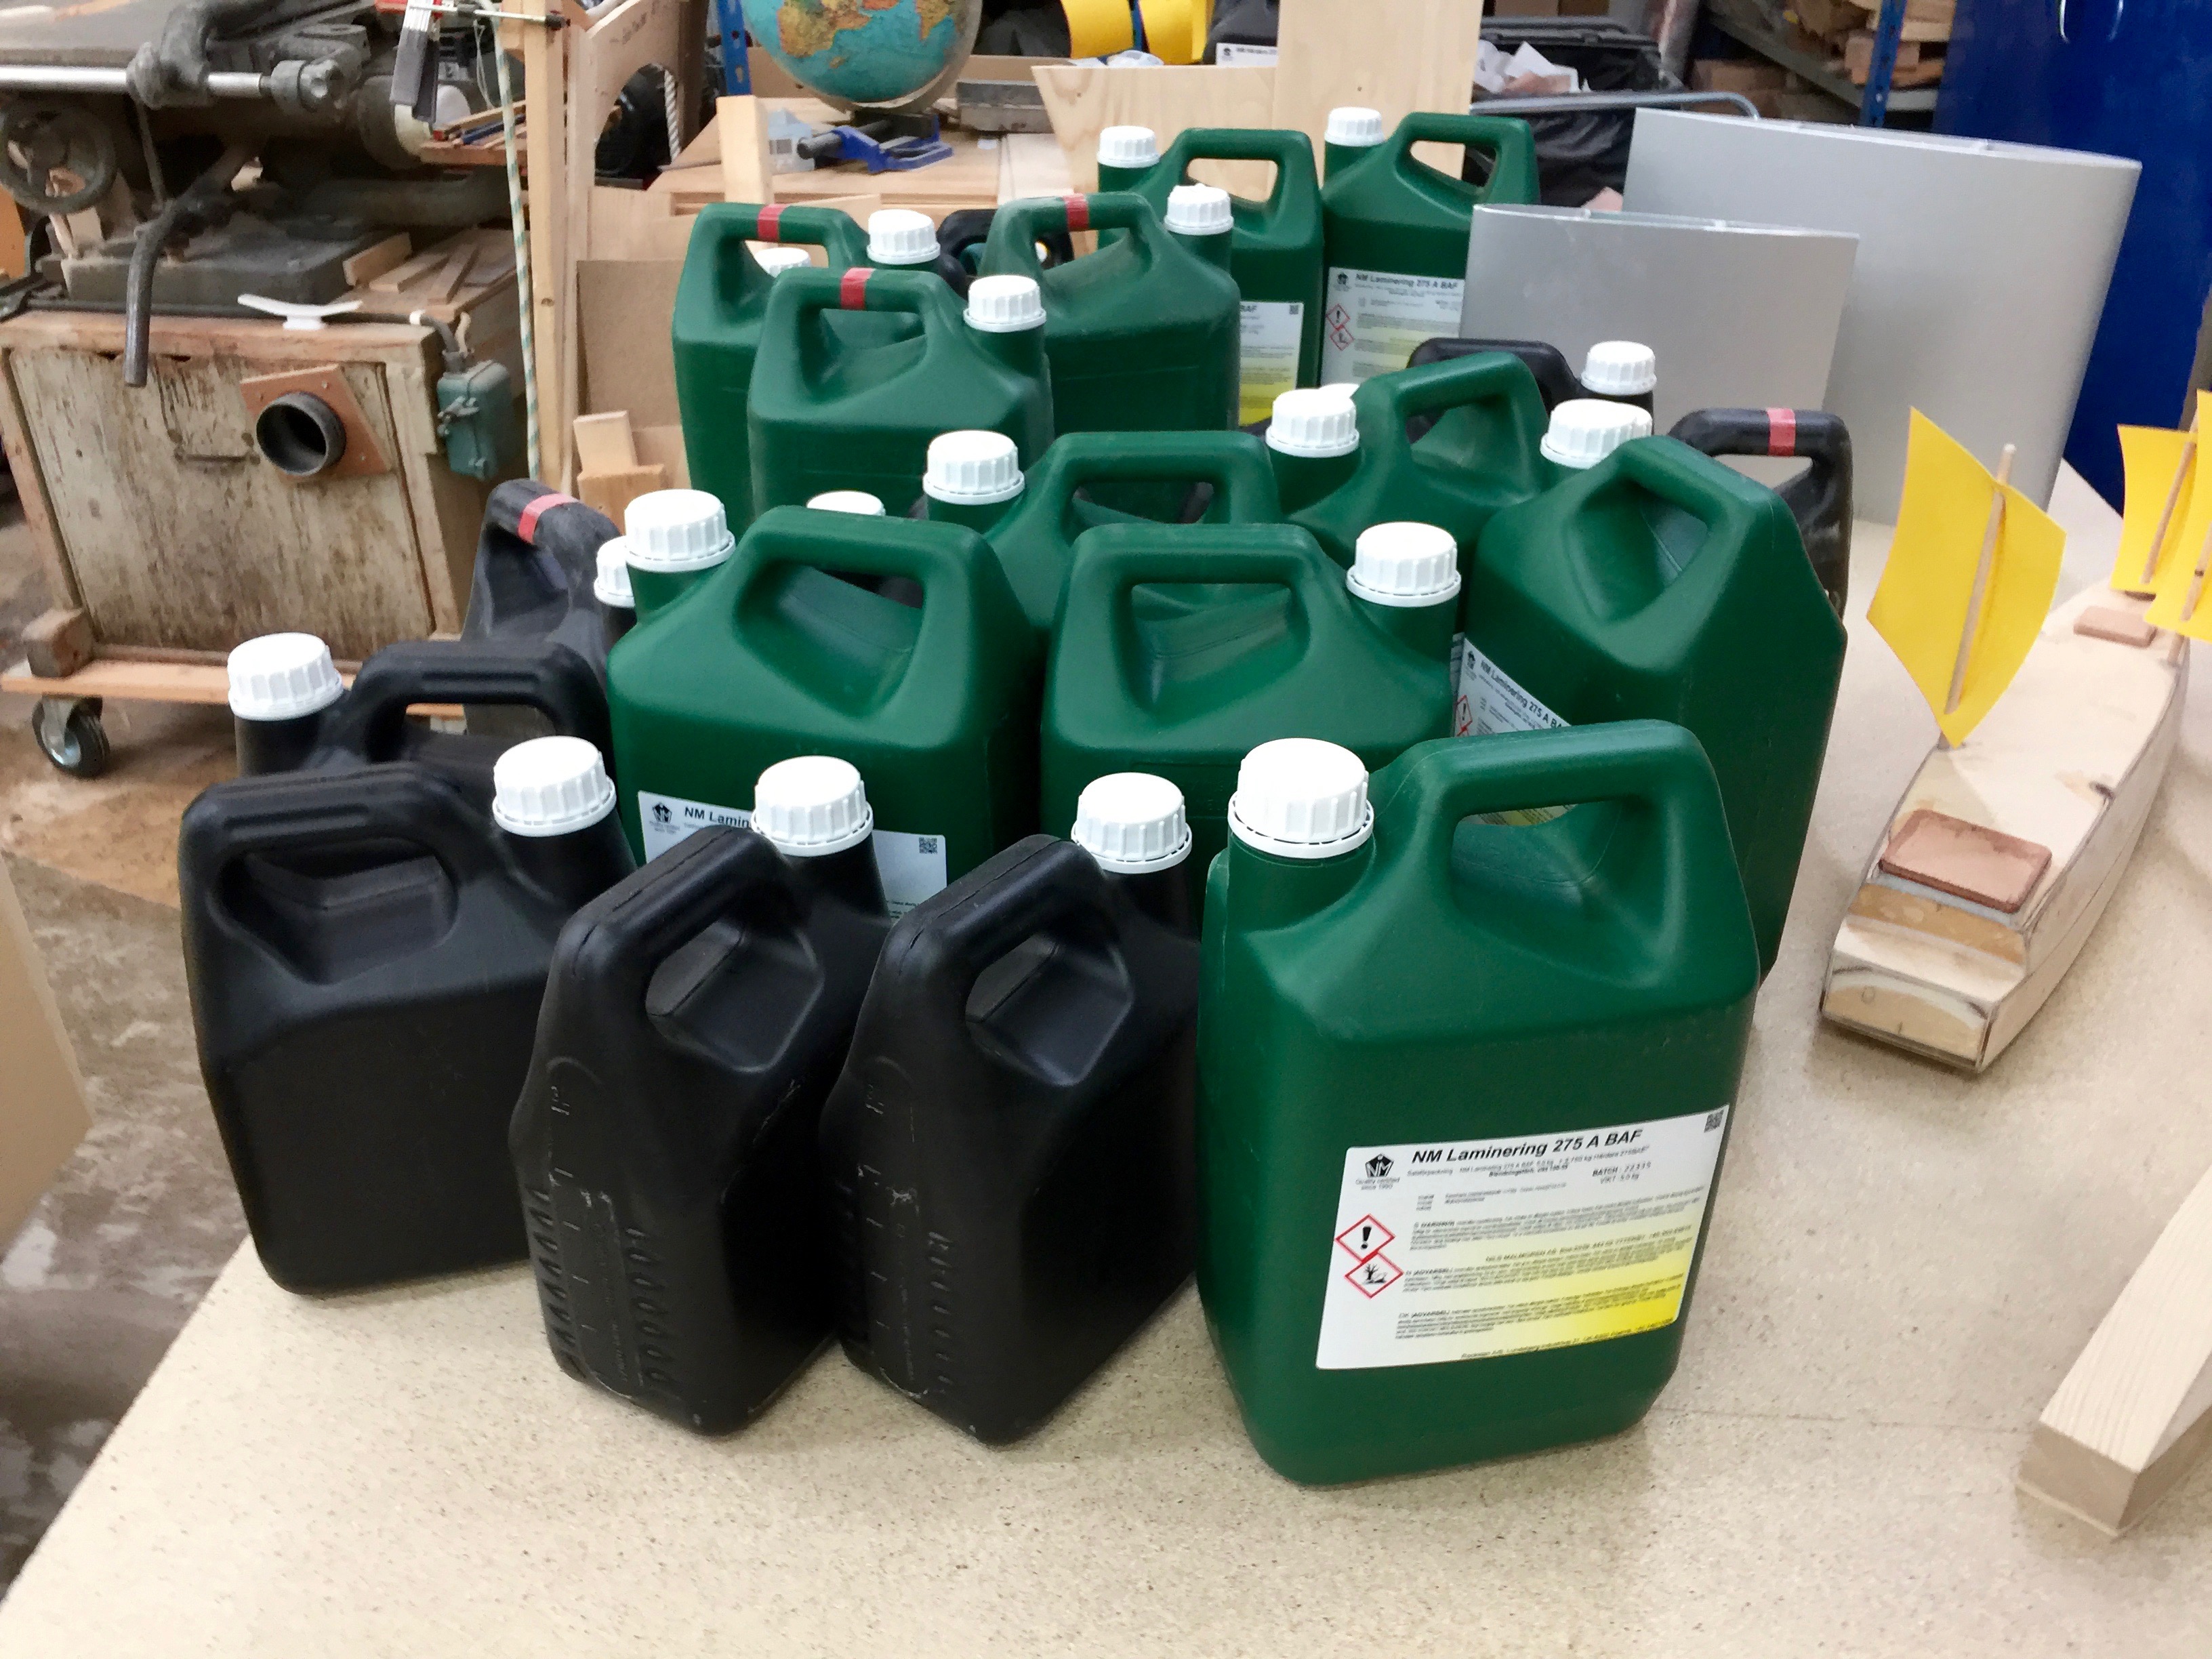
More of the NM-Epoxy for Exlex Minor from Nils Malmgren Ytterby has arrivied. My plan is to make a very strong bottom on the boat. It is good for handling the boat on land and I an emergency gives me the option run the Exlex up on a beach. The only place on Exlex where weight is advatageus is on the bottom.
Sunday morning 23 of September me and my friends plan to start to laminate the outside of the hull.
Most of the preparations are now done so there is not much more I now can do except relax a bit before the lamination is done. When done the boat will be turned right side up and lamination of the inside commence and the bulkheads.
The NM-epoxy arrived today. A big moment.One more photo of the bow. Do you see any improvement? I have been sandpapering the hull houers after houers hopefully its getting smoother.
Today racing yachts strives for a wave piercing bow. To slice through a wave instead of having to fight your way through it sounds like what a strong man should do.
Racing yacht and cruising yachts are different kind of boats. A racing boat is often built light and driven hard to windward a cruising boat is heavier and the sailing is more relaxt, its course is mostly downwind.
A cruising boats max speed or hull speed happens when the bow wave and the stern wave join each other and become one, creating a trough so deep that the boat is captured in it and can only travel as fast as the wave. The speed of the wave is the square root of the wavelength times a constant. Thus the longer between the bow wave and the stern wave the faster the boat can sail. Accordingly the earlier a boat can create a bow wave the faster she can sail. That’s why yacht designers give fast boats, boats that travel at a high Froude number a high prismatic coefficient – the prismatic coefficient is how many % of the underwater hull is left after you shaped a prism with the boats midsection and its waterline length. A high prismatic means full end, the opposite of wave piercing. Common numbers for sailing yachts is 0.54 % powerful powerboats more towards 0.7 %
The ocean sailing yacht may not have such a high average speed but out on the ocean there are big waves and in the trough, sailing downwind, there is a counter current often 2 to 3 knots fast if you add that speed to the average speed you are in a high Froude number speed range and need a high prismatic not wave piercing bow.
One more thing sailing fast down a wave and meeting a counter current is to ask for a broach. A spoon bow reduces the risk of broaching.
Further a spoon bow increases a boats initial stability as it makes the boat wider in the bow than the wave piercing bow and it’s the beam integrated over the length of the boat that is the initial stability.
Below two illustrations
A boat at hull speed. The bow wave and stern wave have created trough in wich the displacement boat is trapped.The spoon bow of Exlex Minor
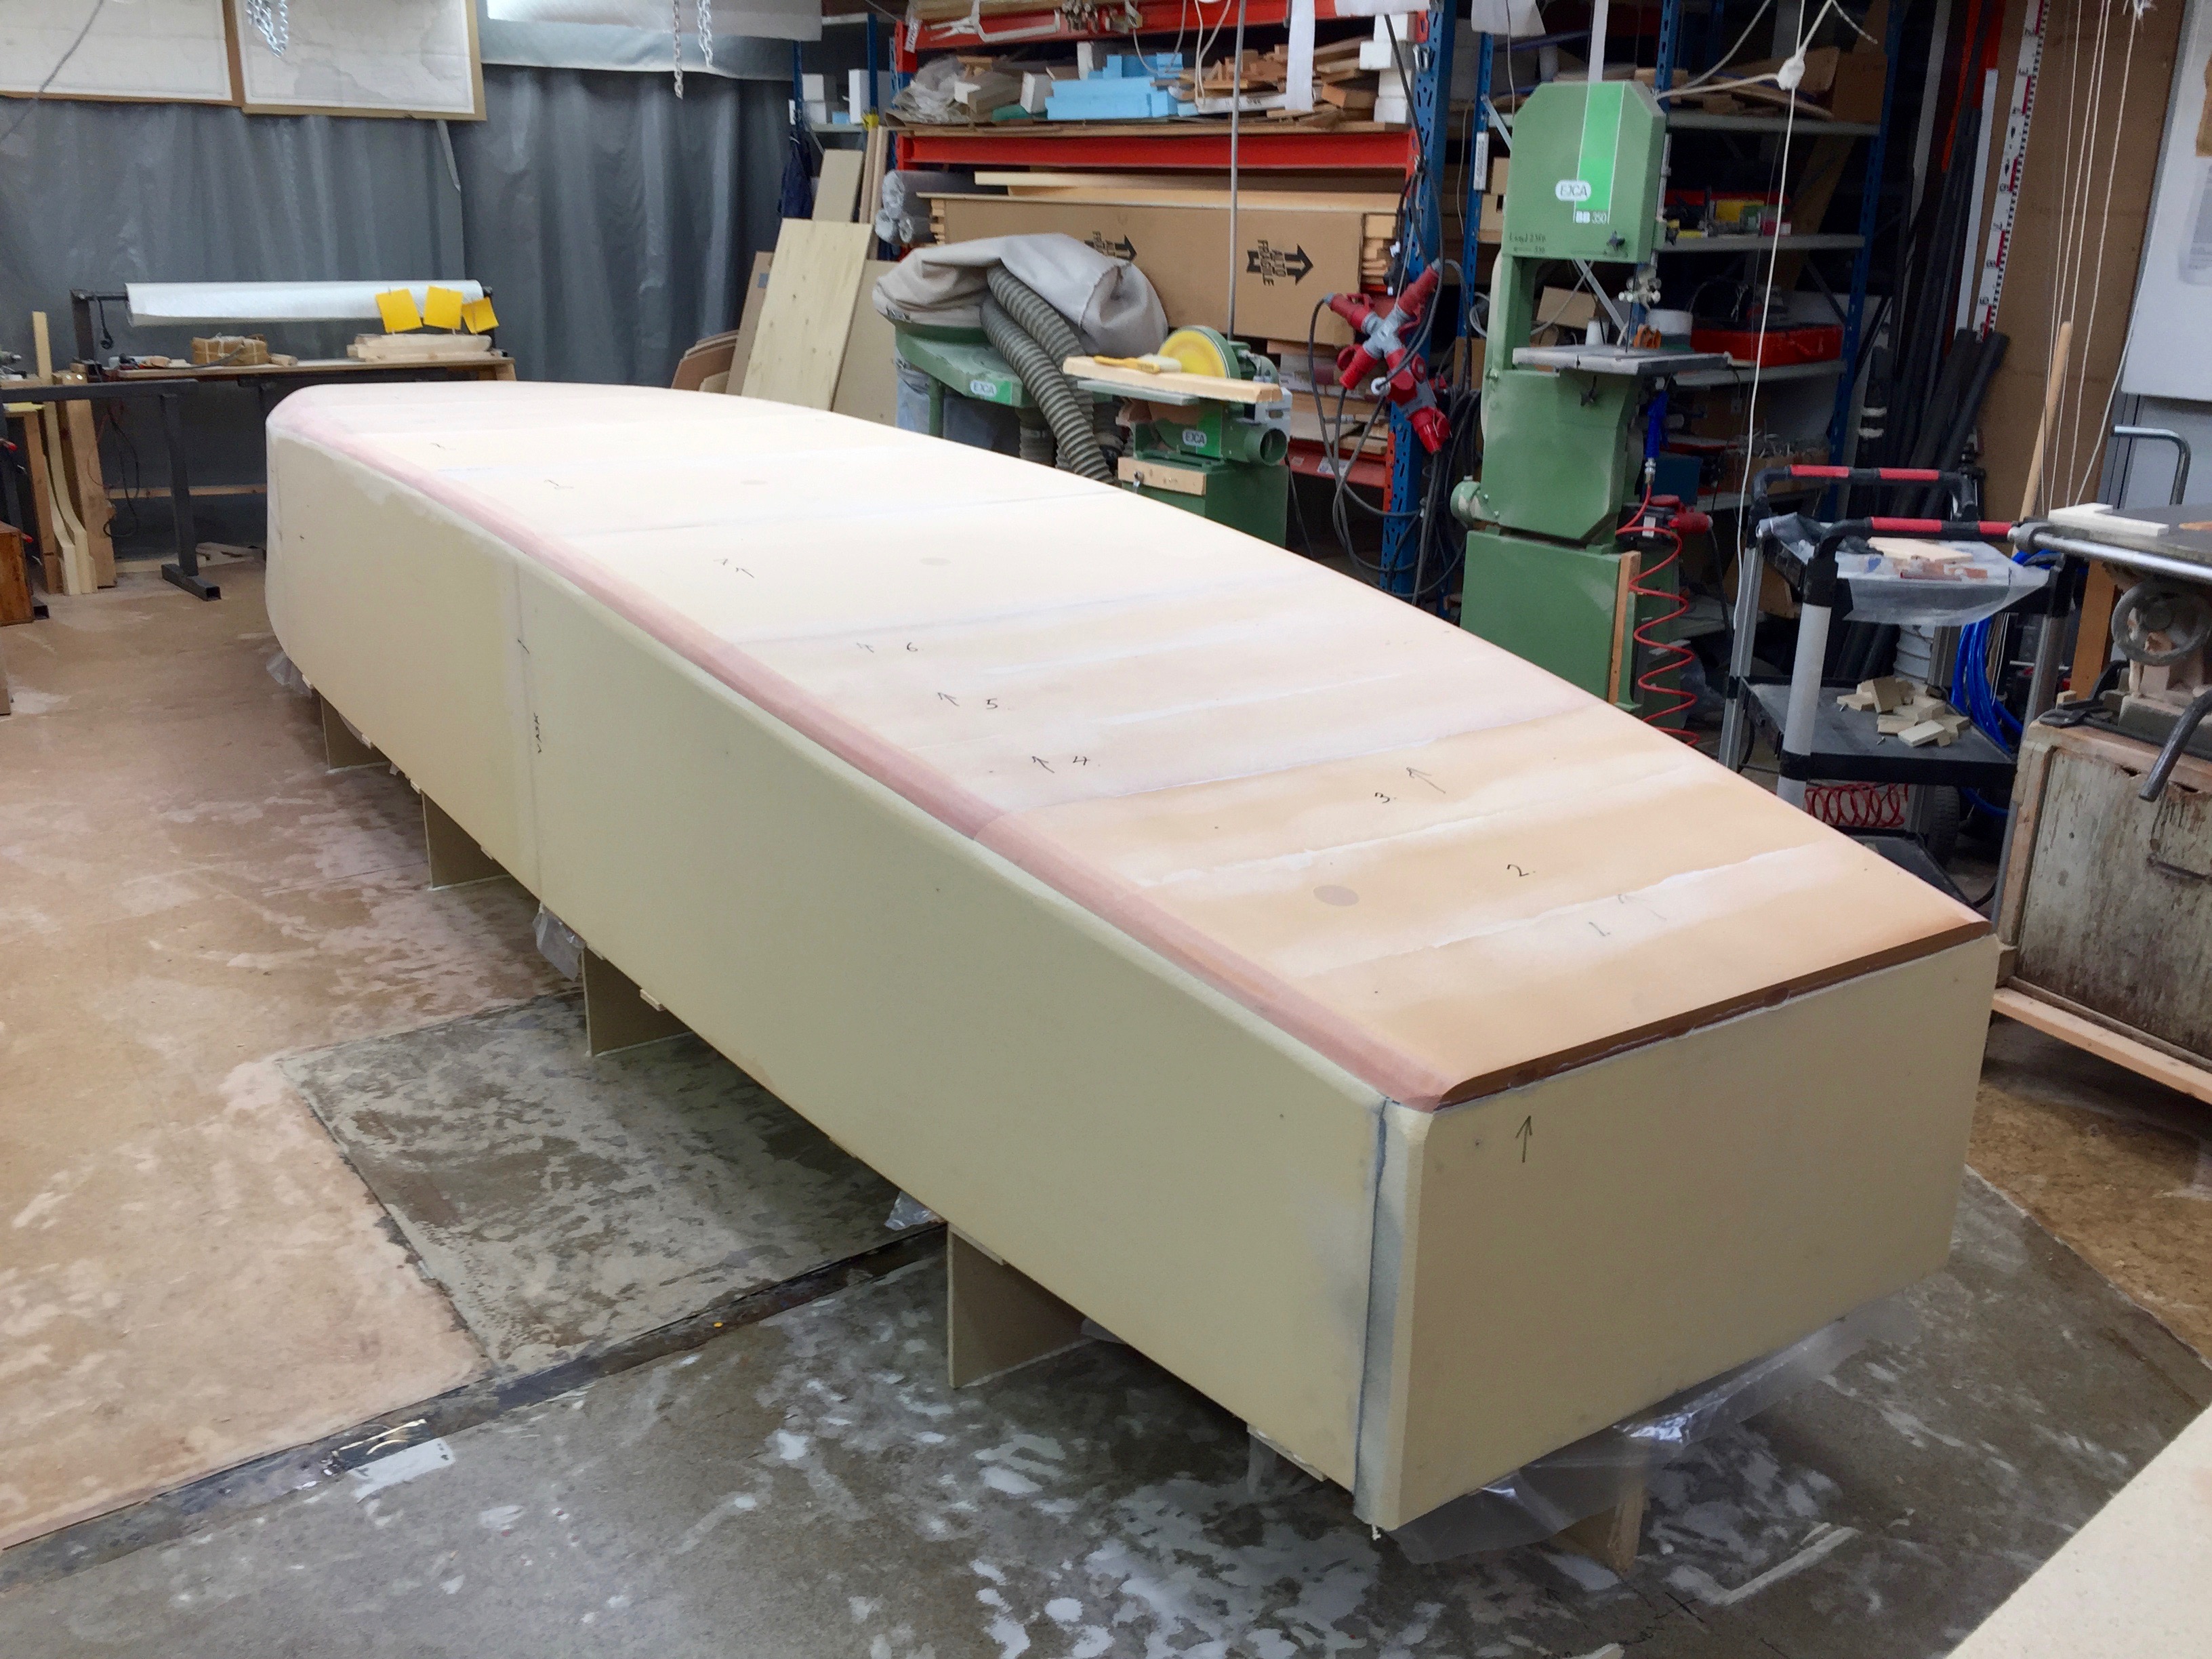
Yesterday I gloud the last piece of Divinycell on the hull of Exlex Minor.
Today I have been shaping her. There is more shaping to be done using the long board. The though Divinycell 350 kilo per kubic meter is hard to form but with patience I get there.
Below are three pictures.
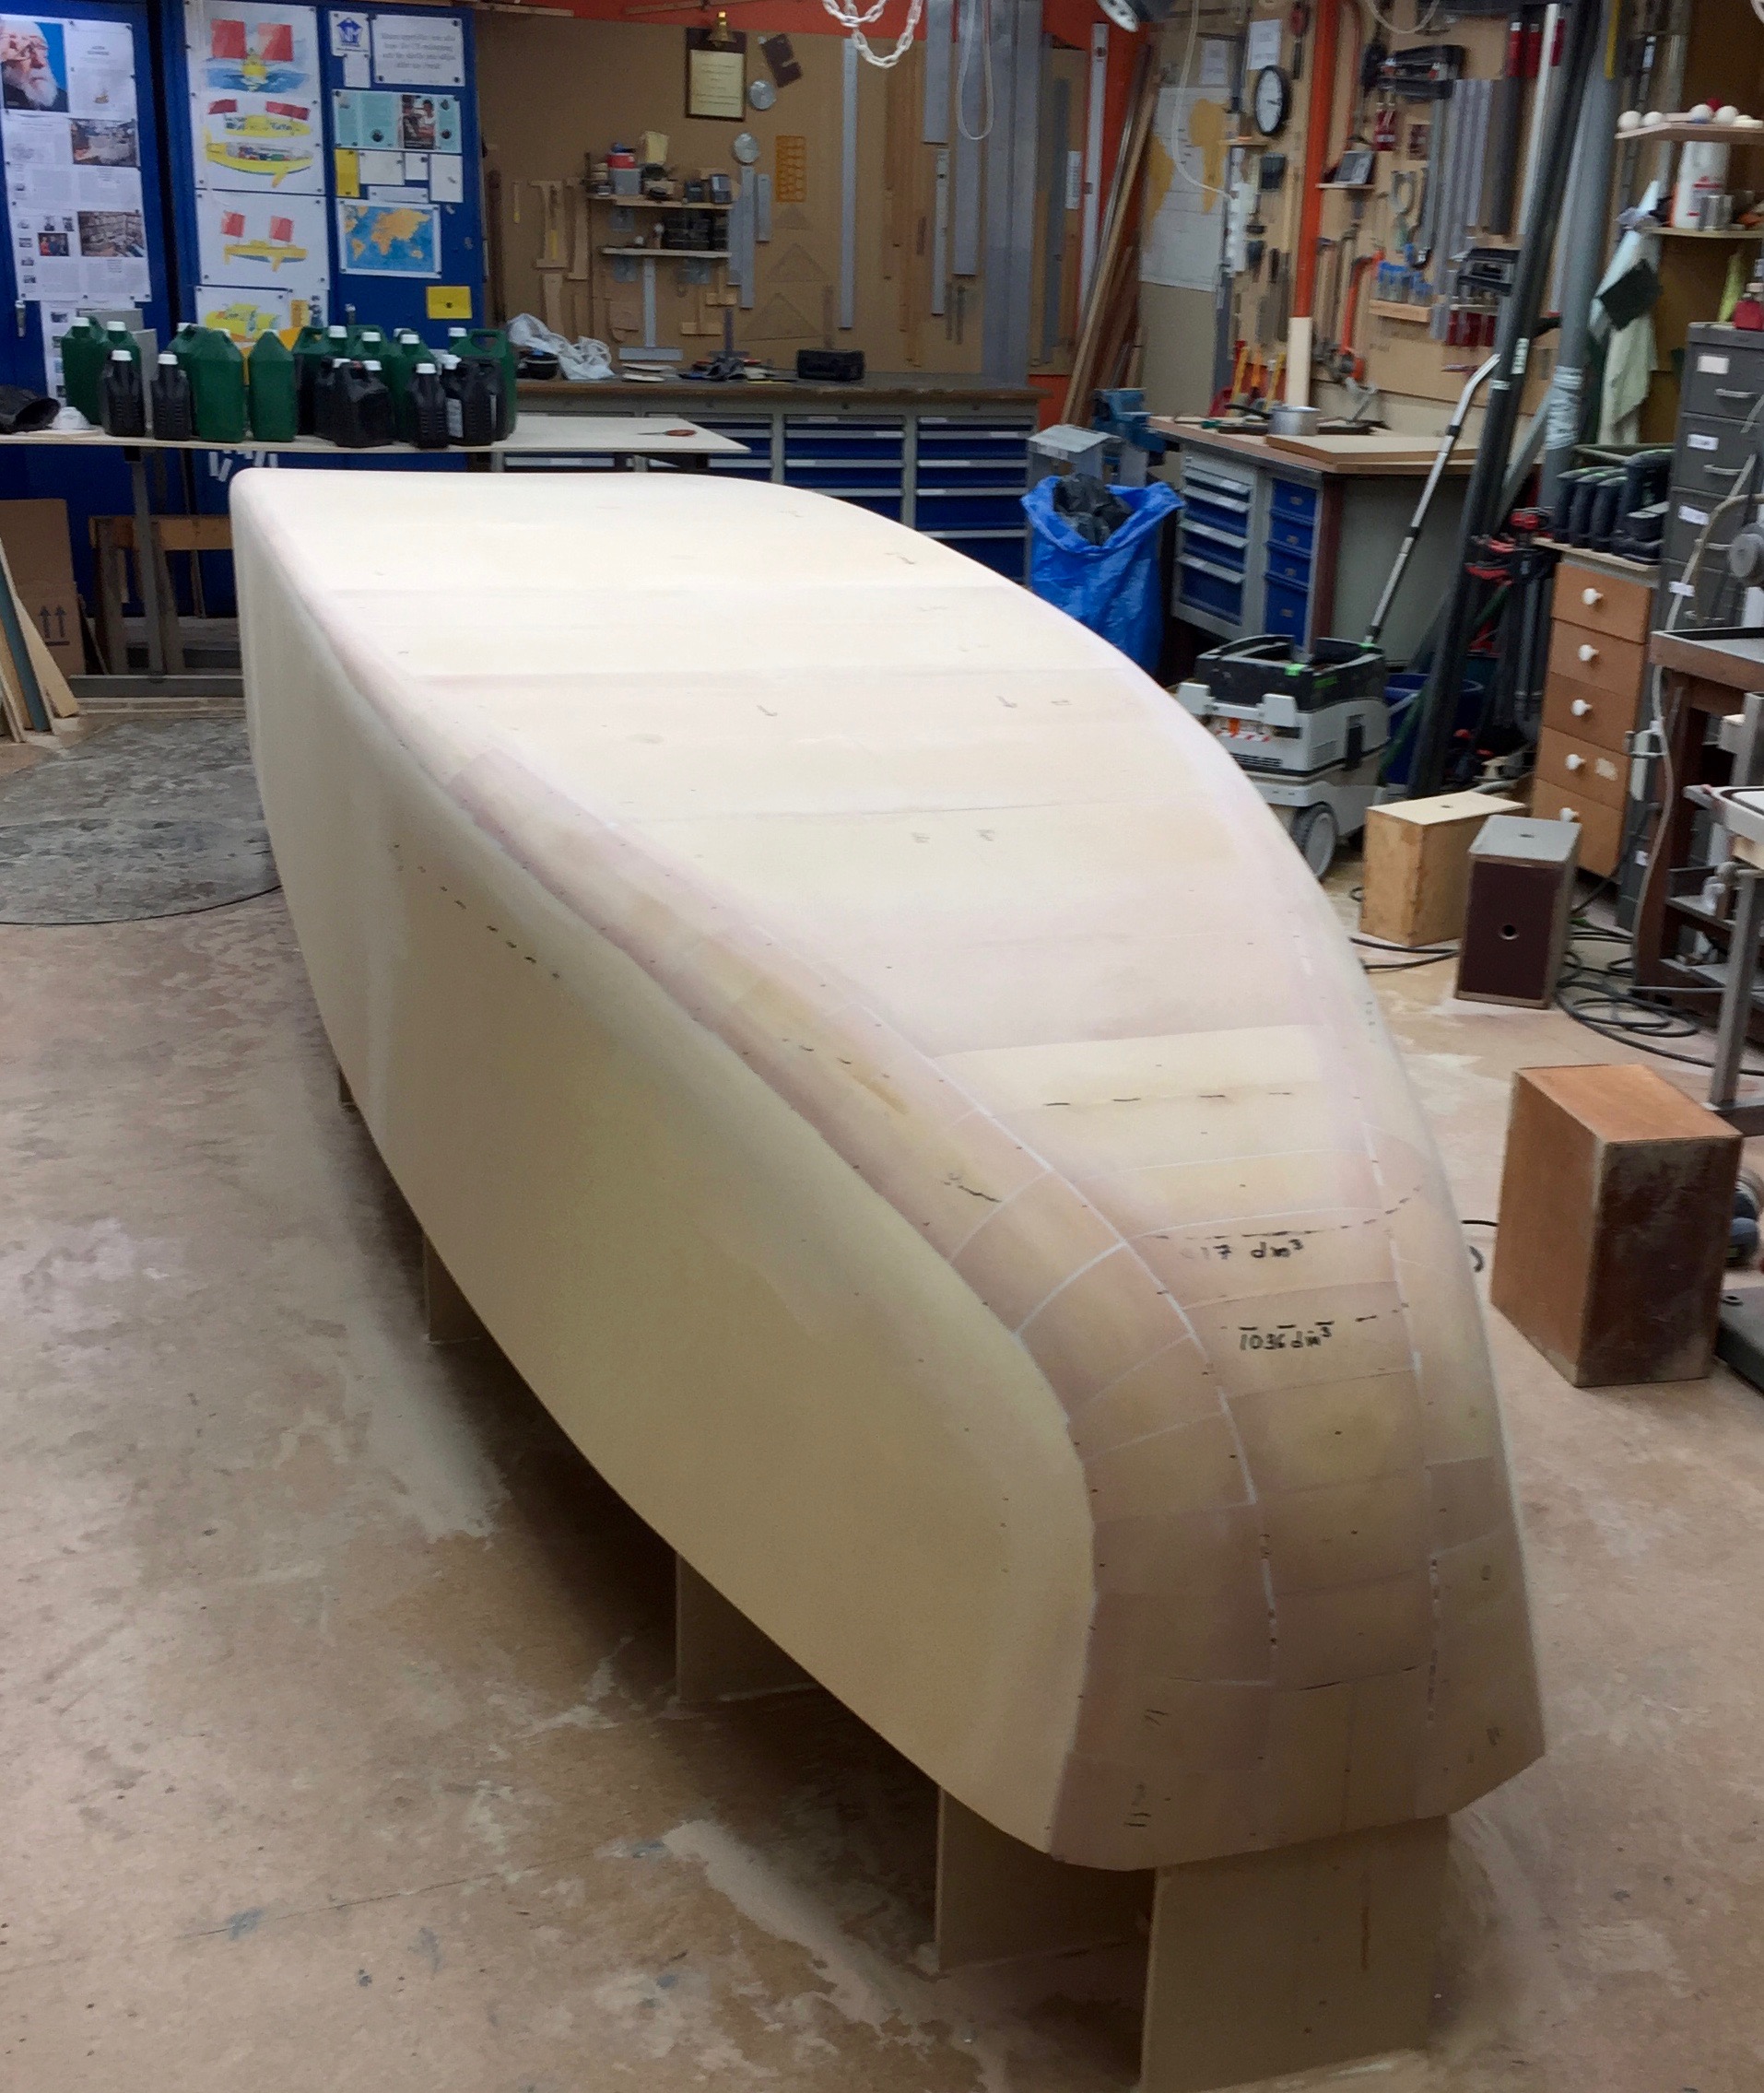
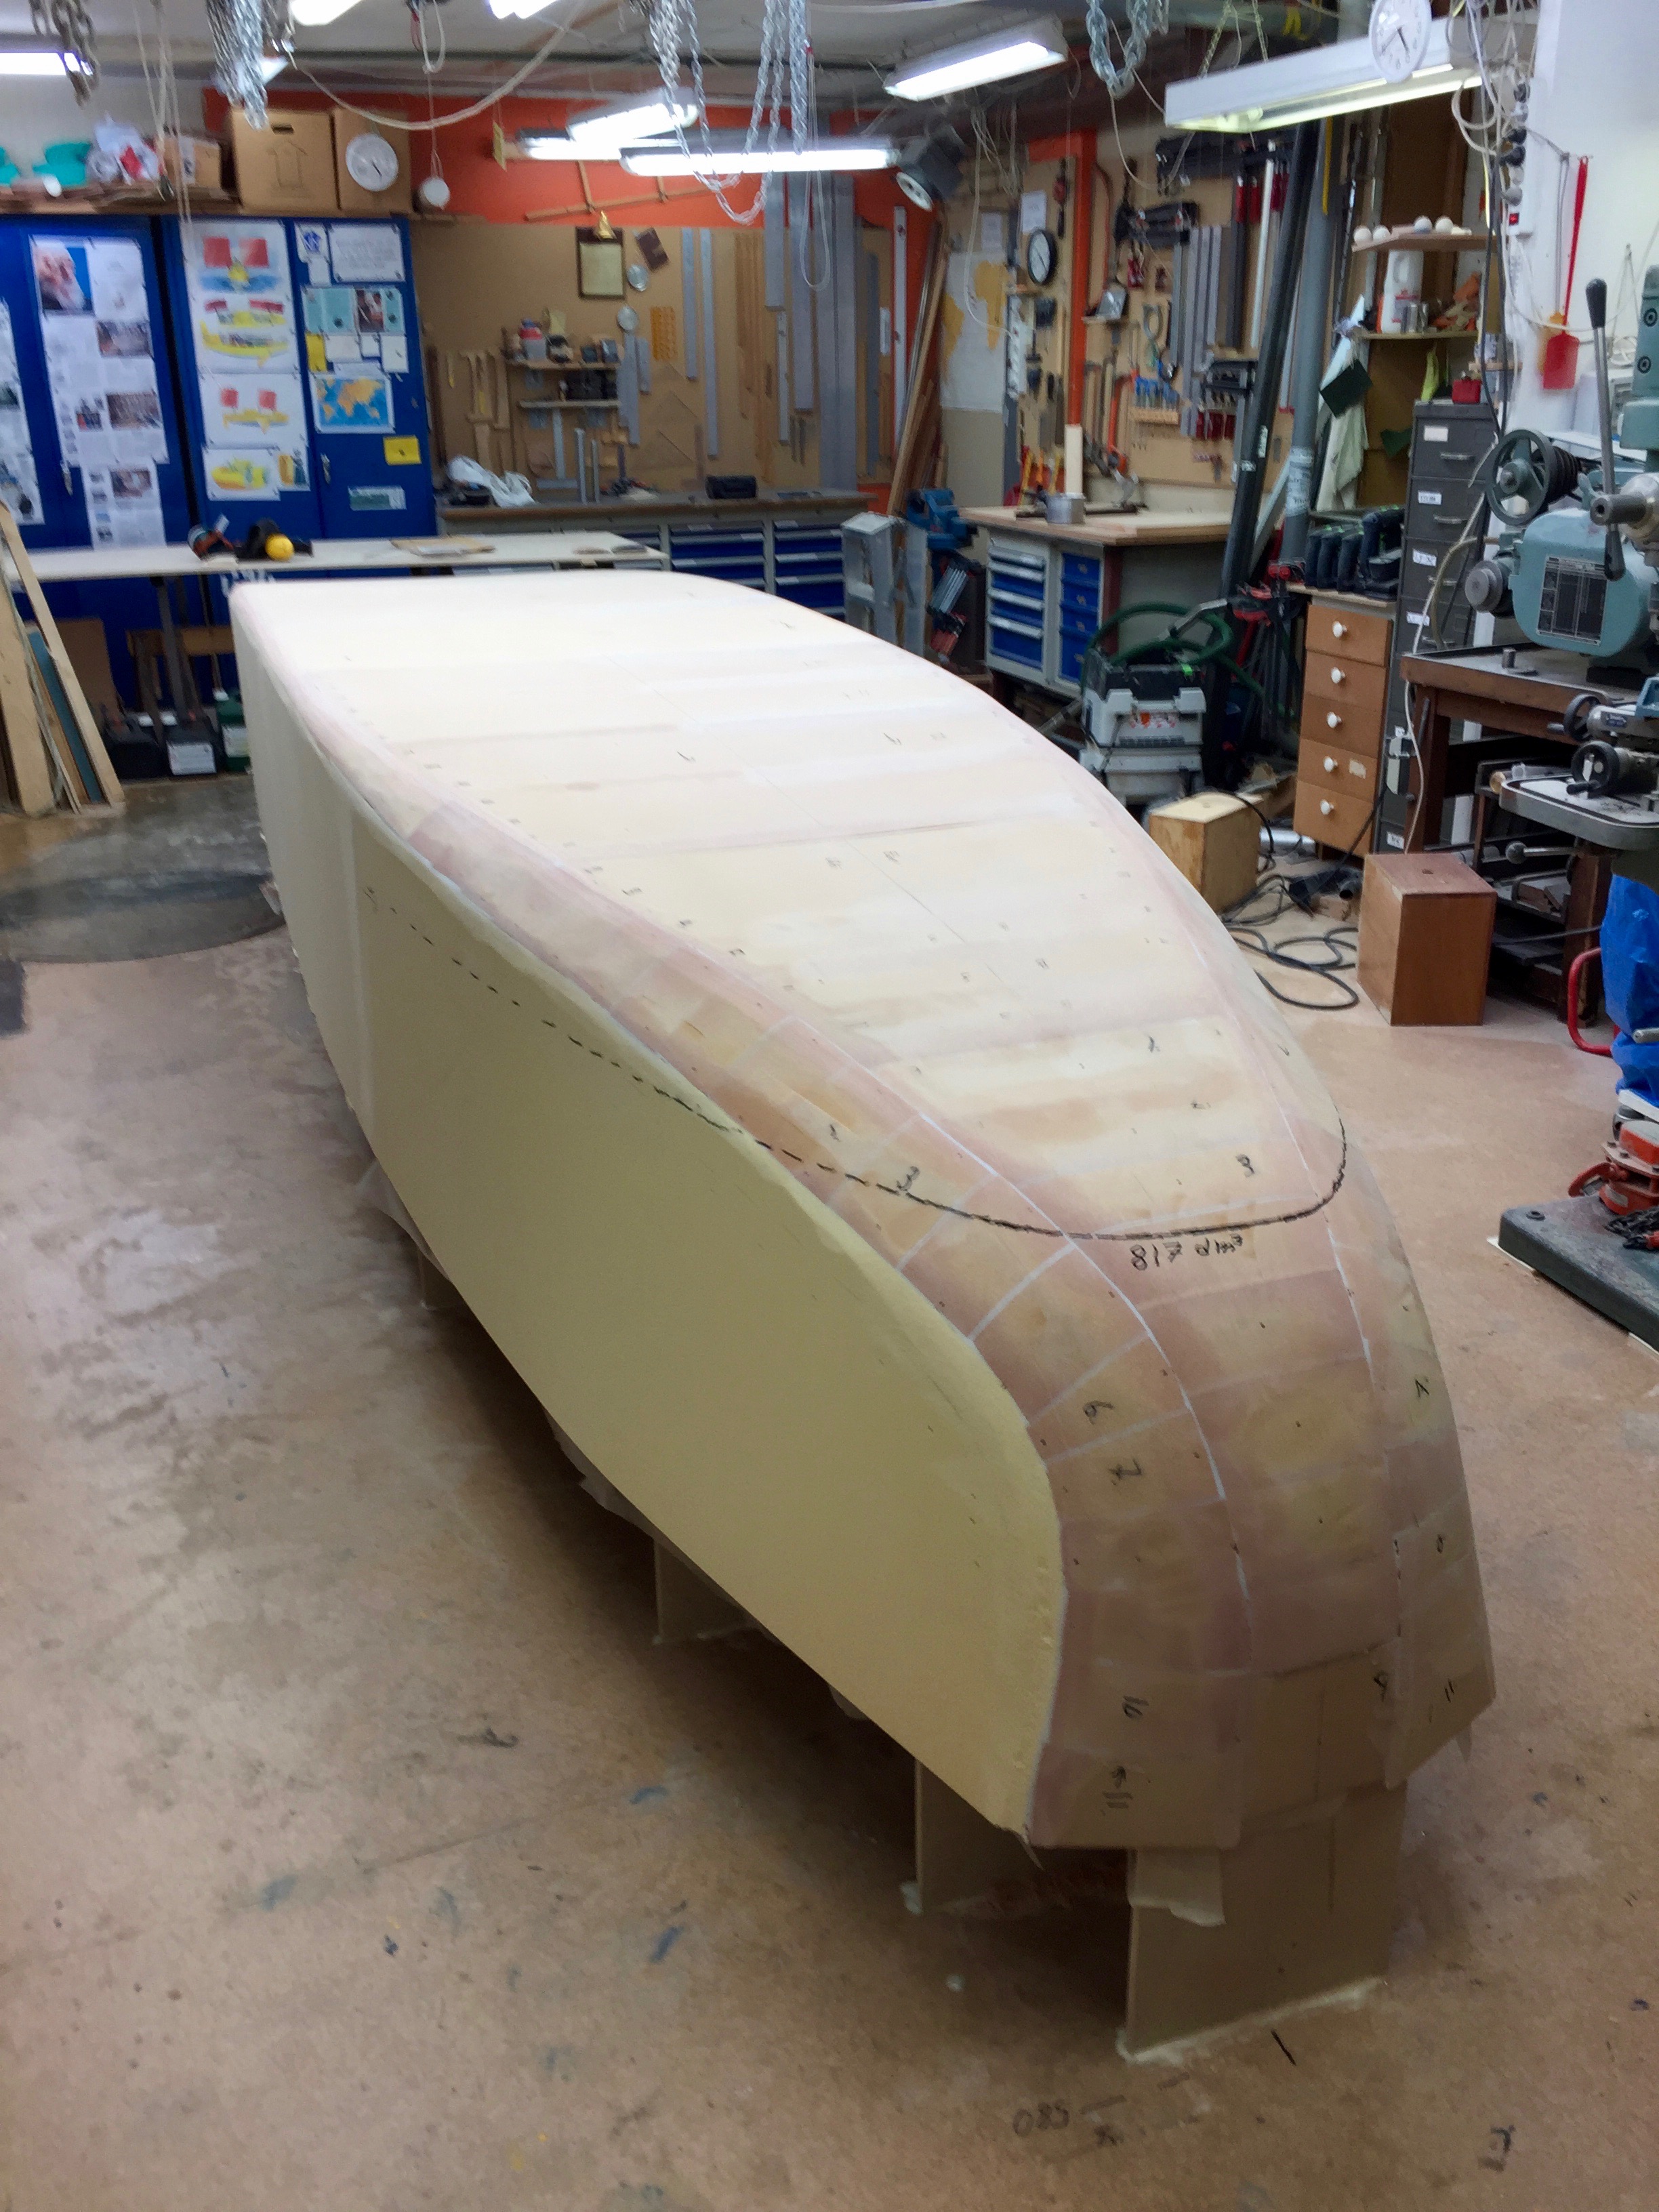
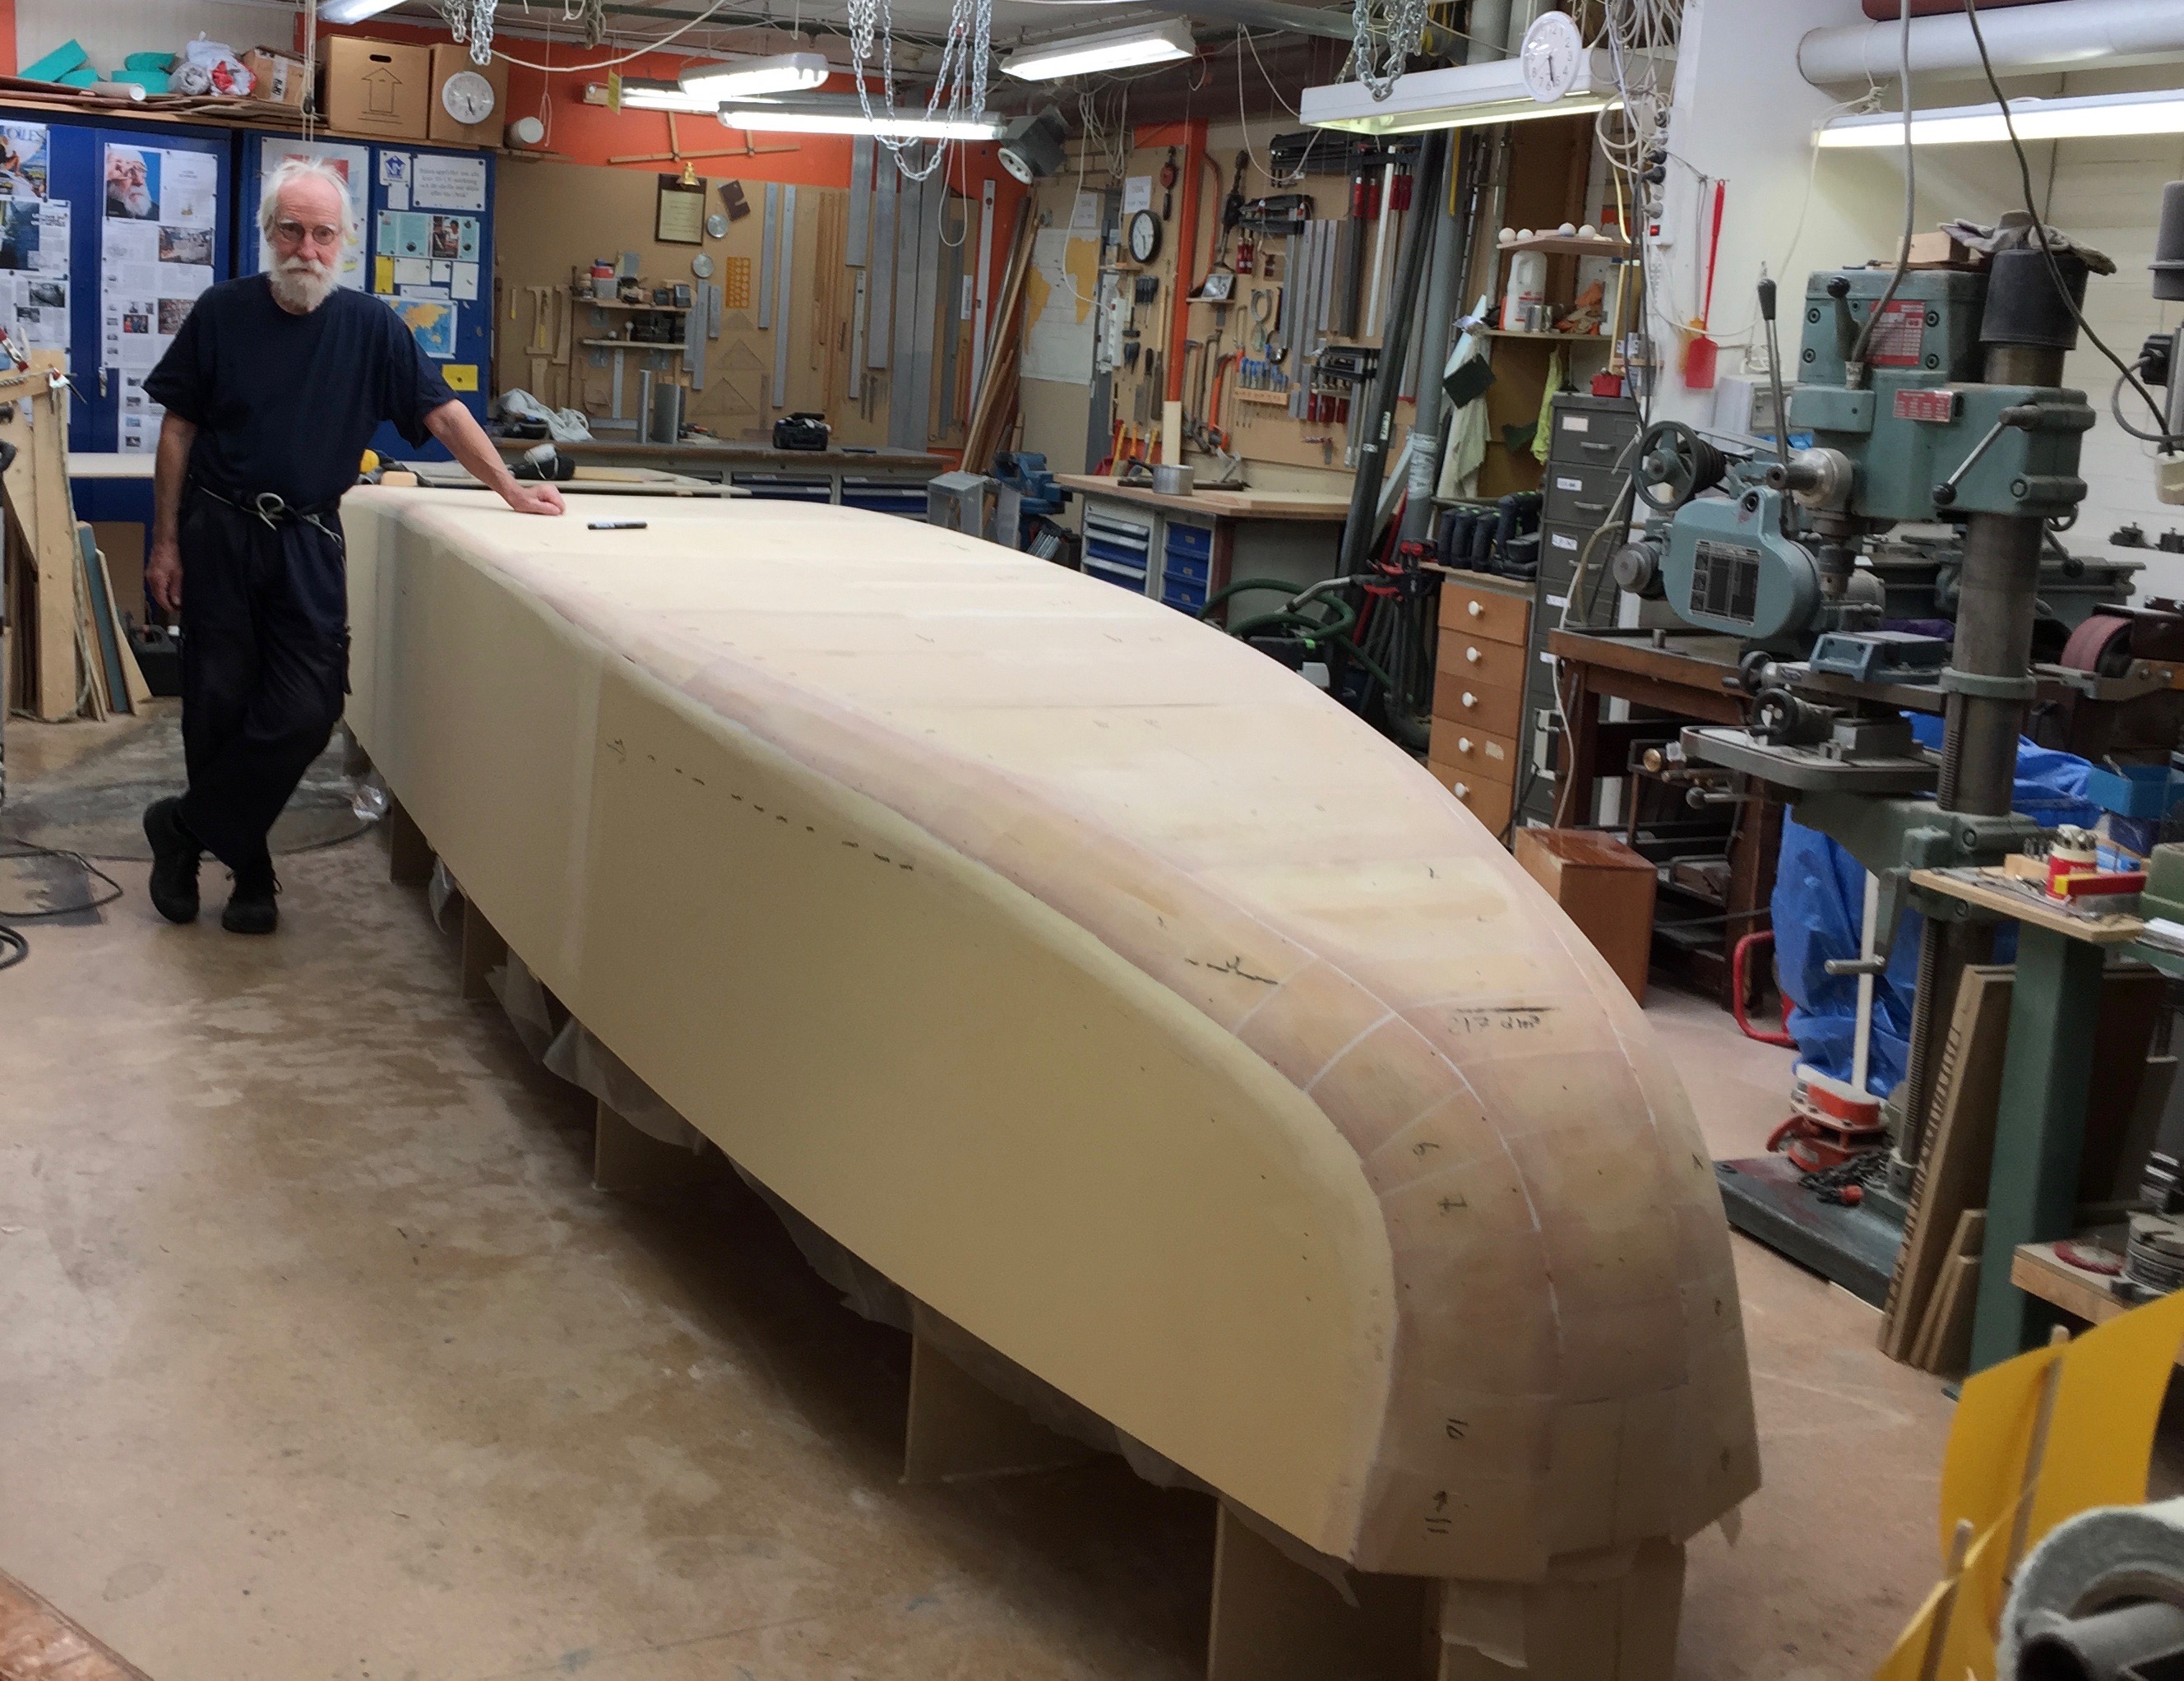
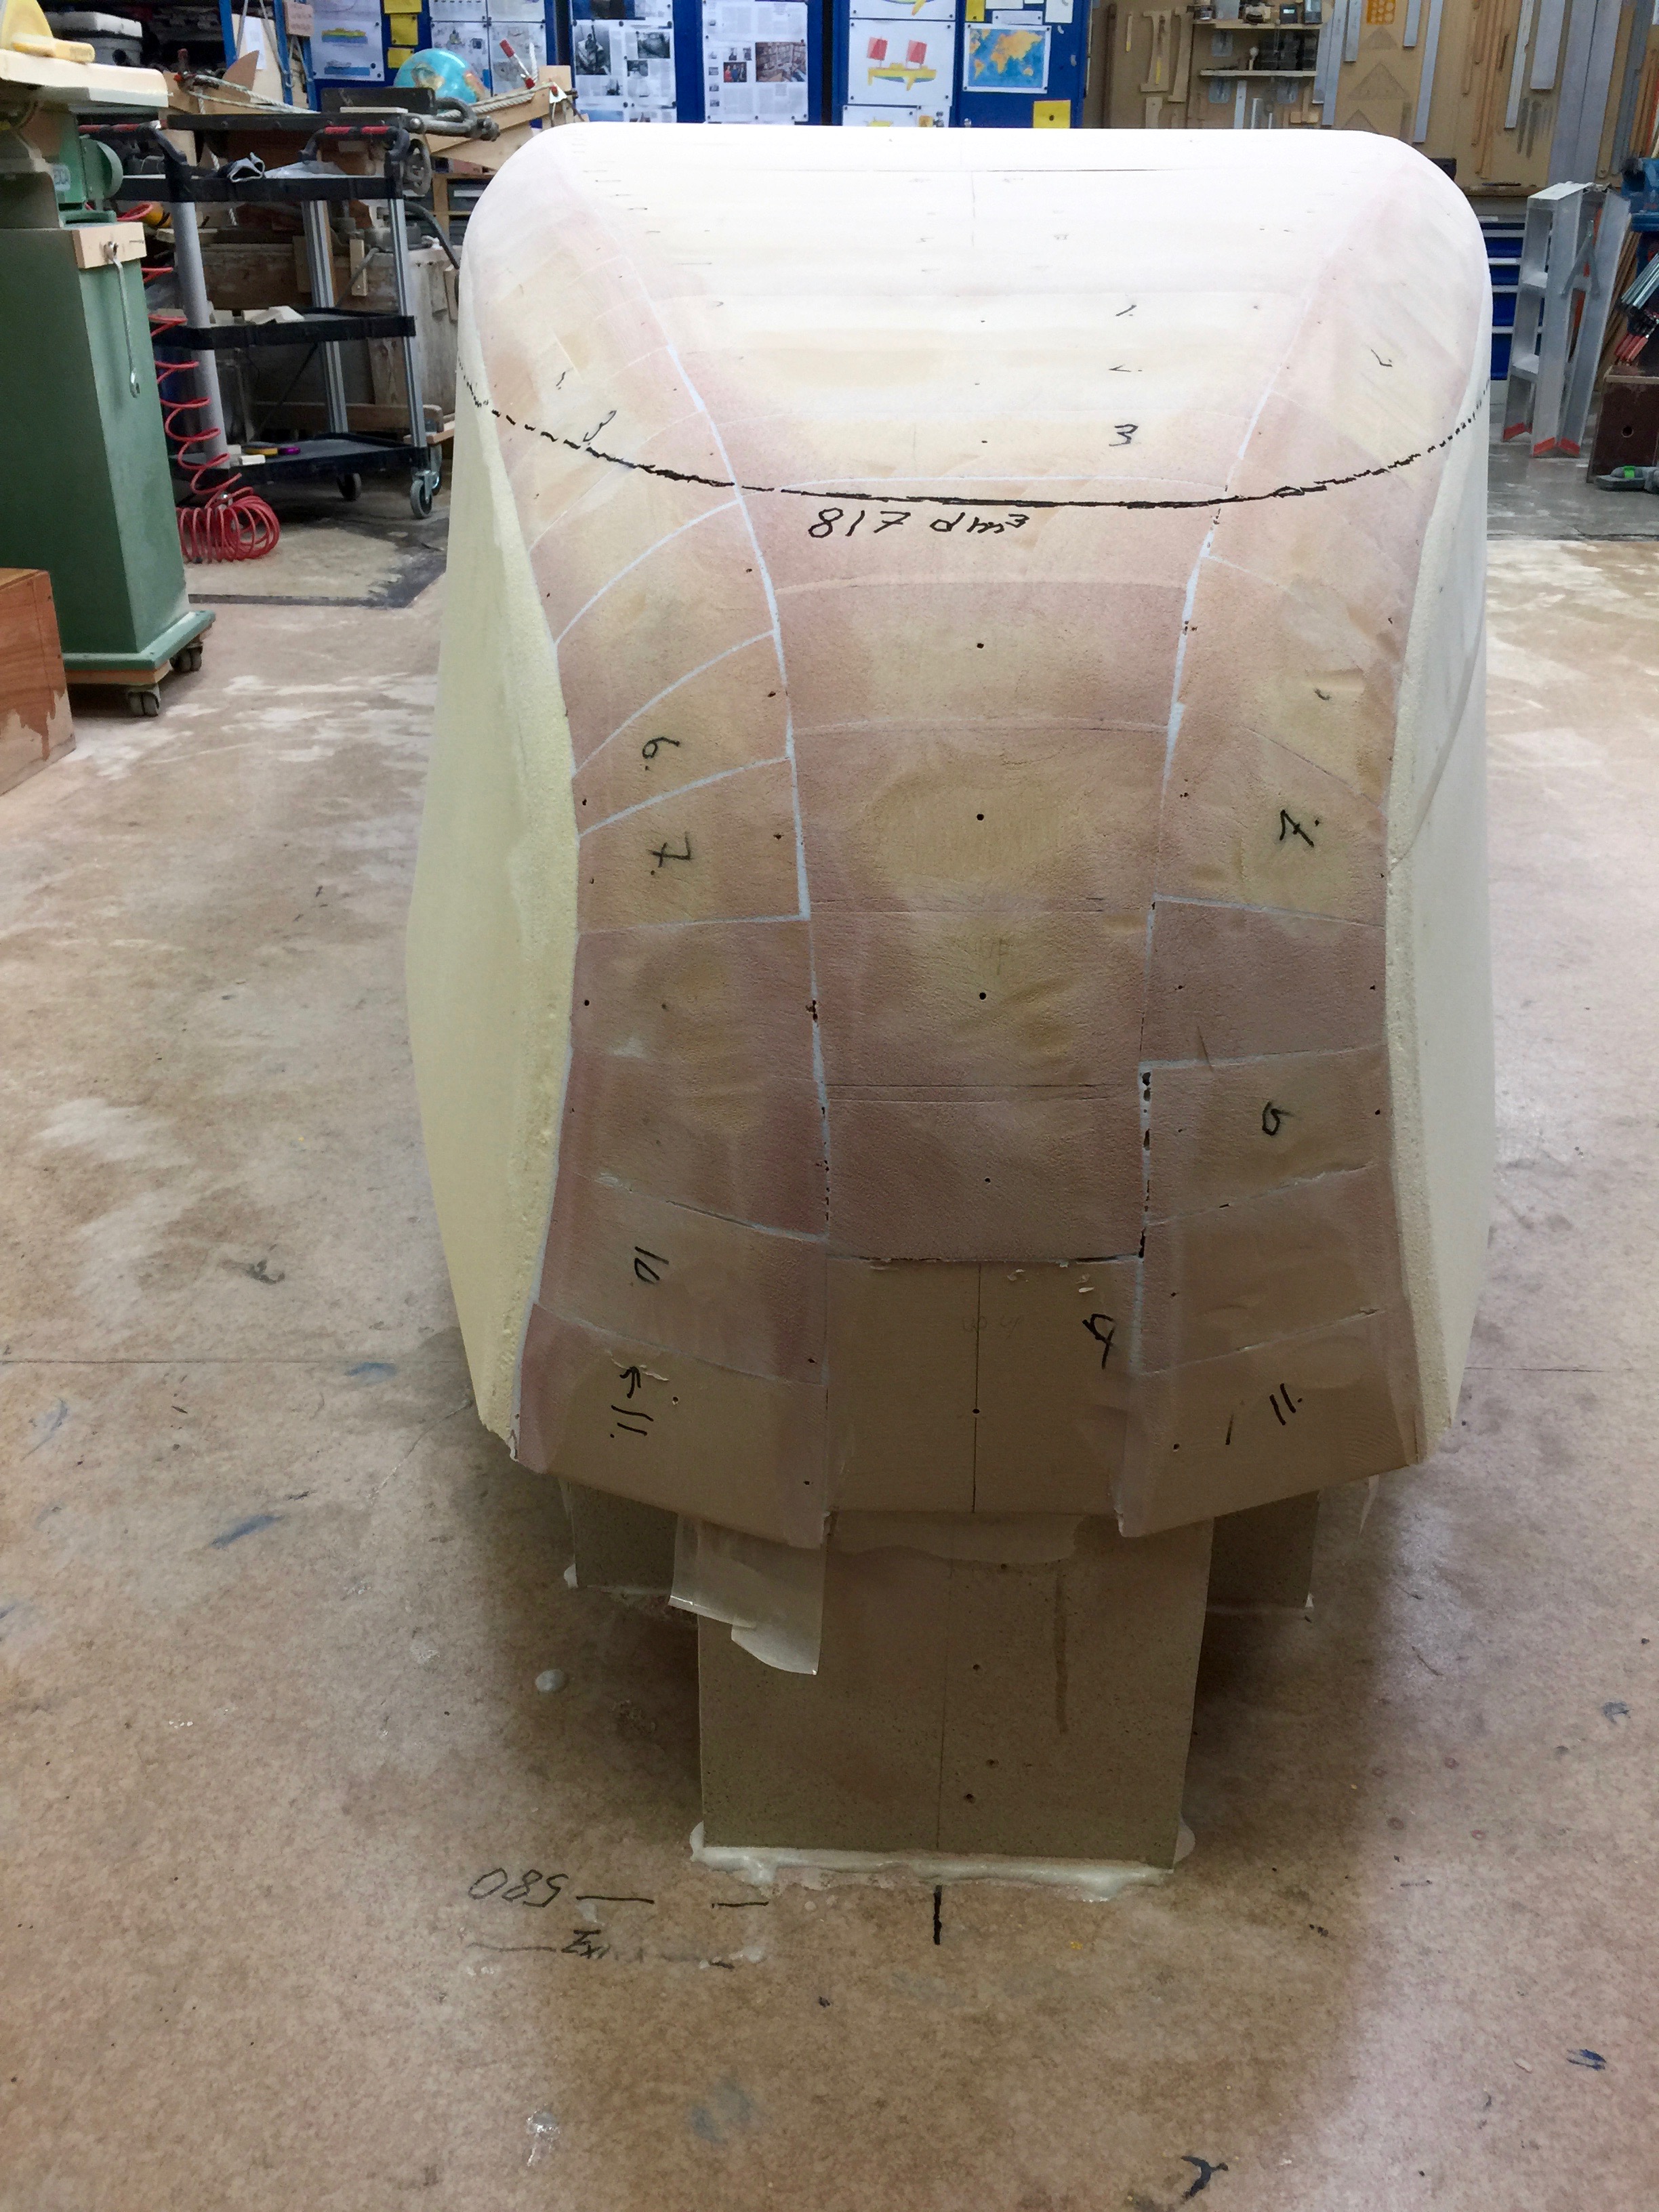
I am afraid that this picture is not very sharp.Exlex is now 579 centimeters long. Lamination will give about 1 more centimeter giving her 580 centimeters long. Her beam have grown to 122 centimeters. There is 21 centimeters overhang giving her an watertline of 558 centimetres at 817 kilo weight if her prismatic is 0.6. Ther prismatic might be more wich would be fine with me. 558cm is about 18 feet and 3 inches.Exlex stern is flat and square.
Next step is to laminate her outside. For that I need help of friends. I need 6 persons minimum 12 would be better. because there will be many layers of glass. Being a beach landing craft she needs a strong bottom.
Hard to say wich week end the lamination will occur so dear viewer be patient.
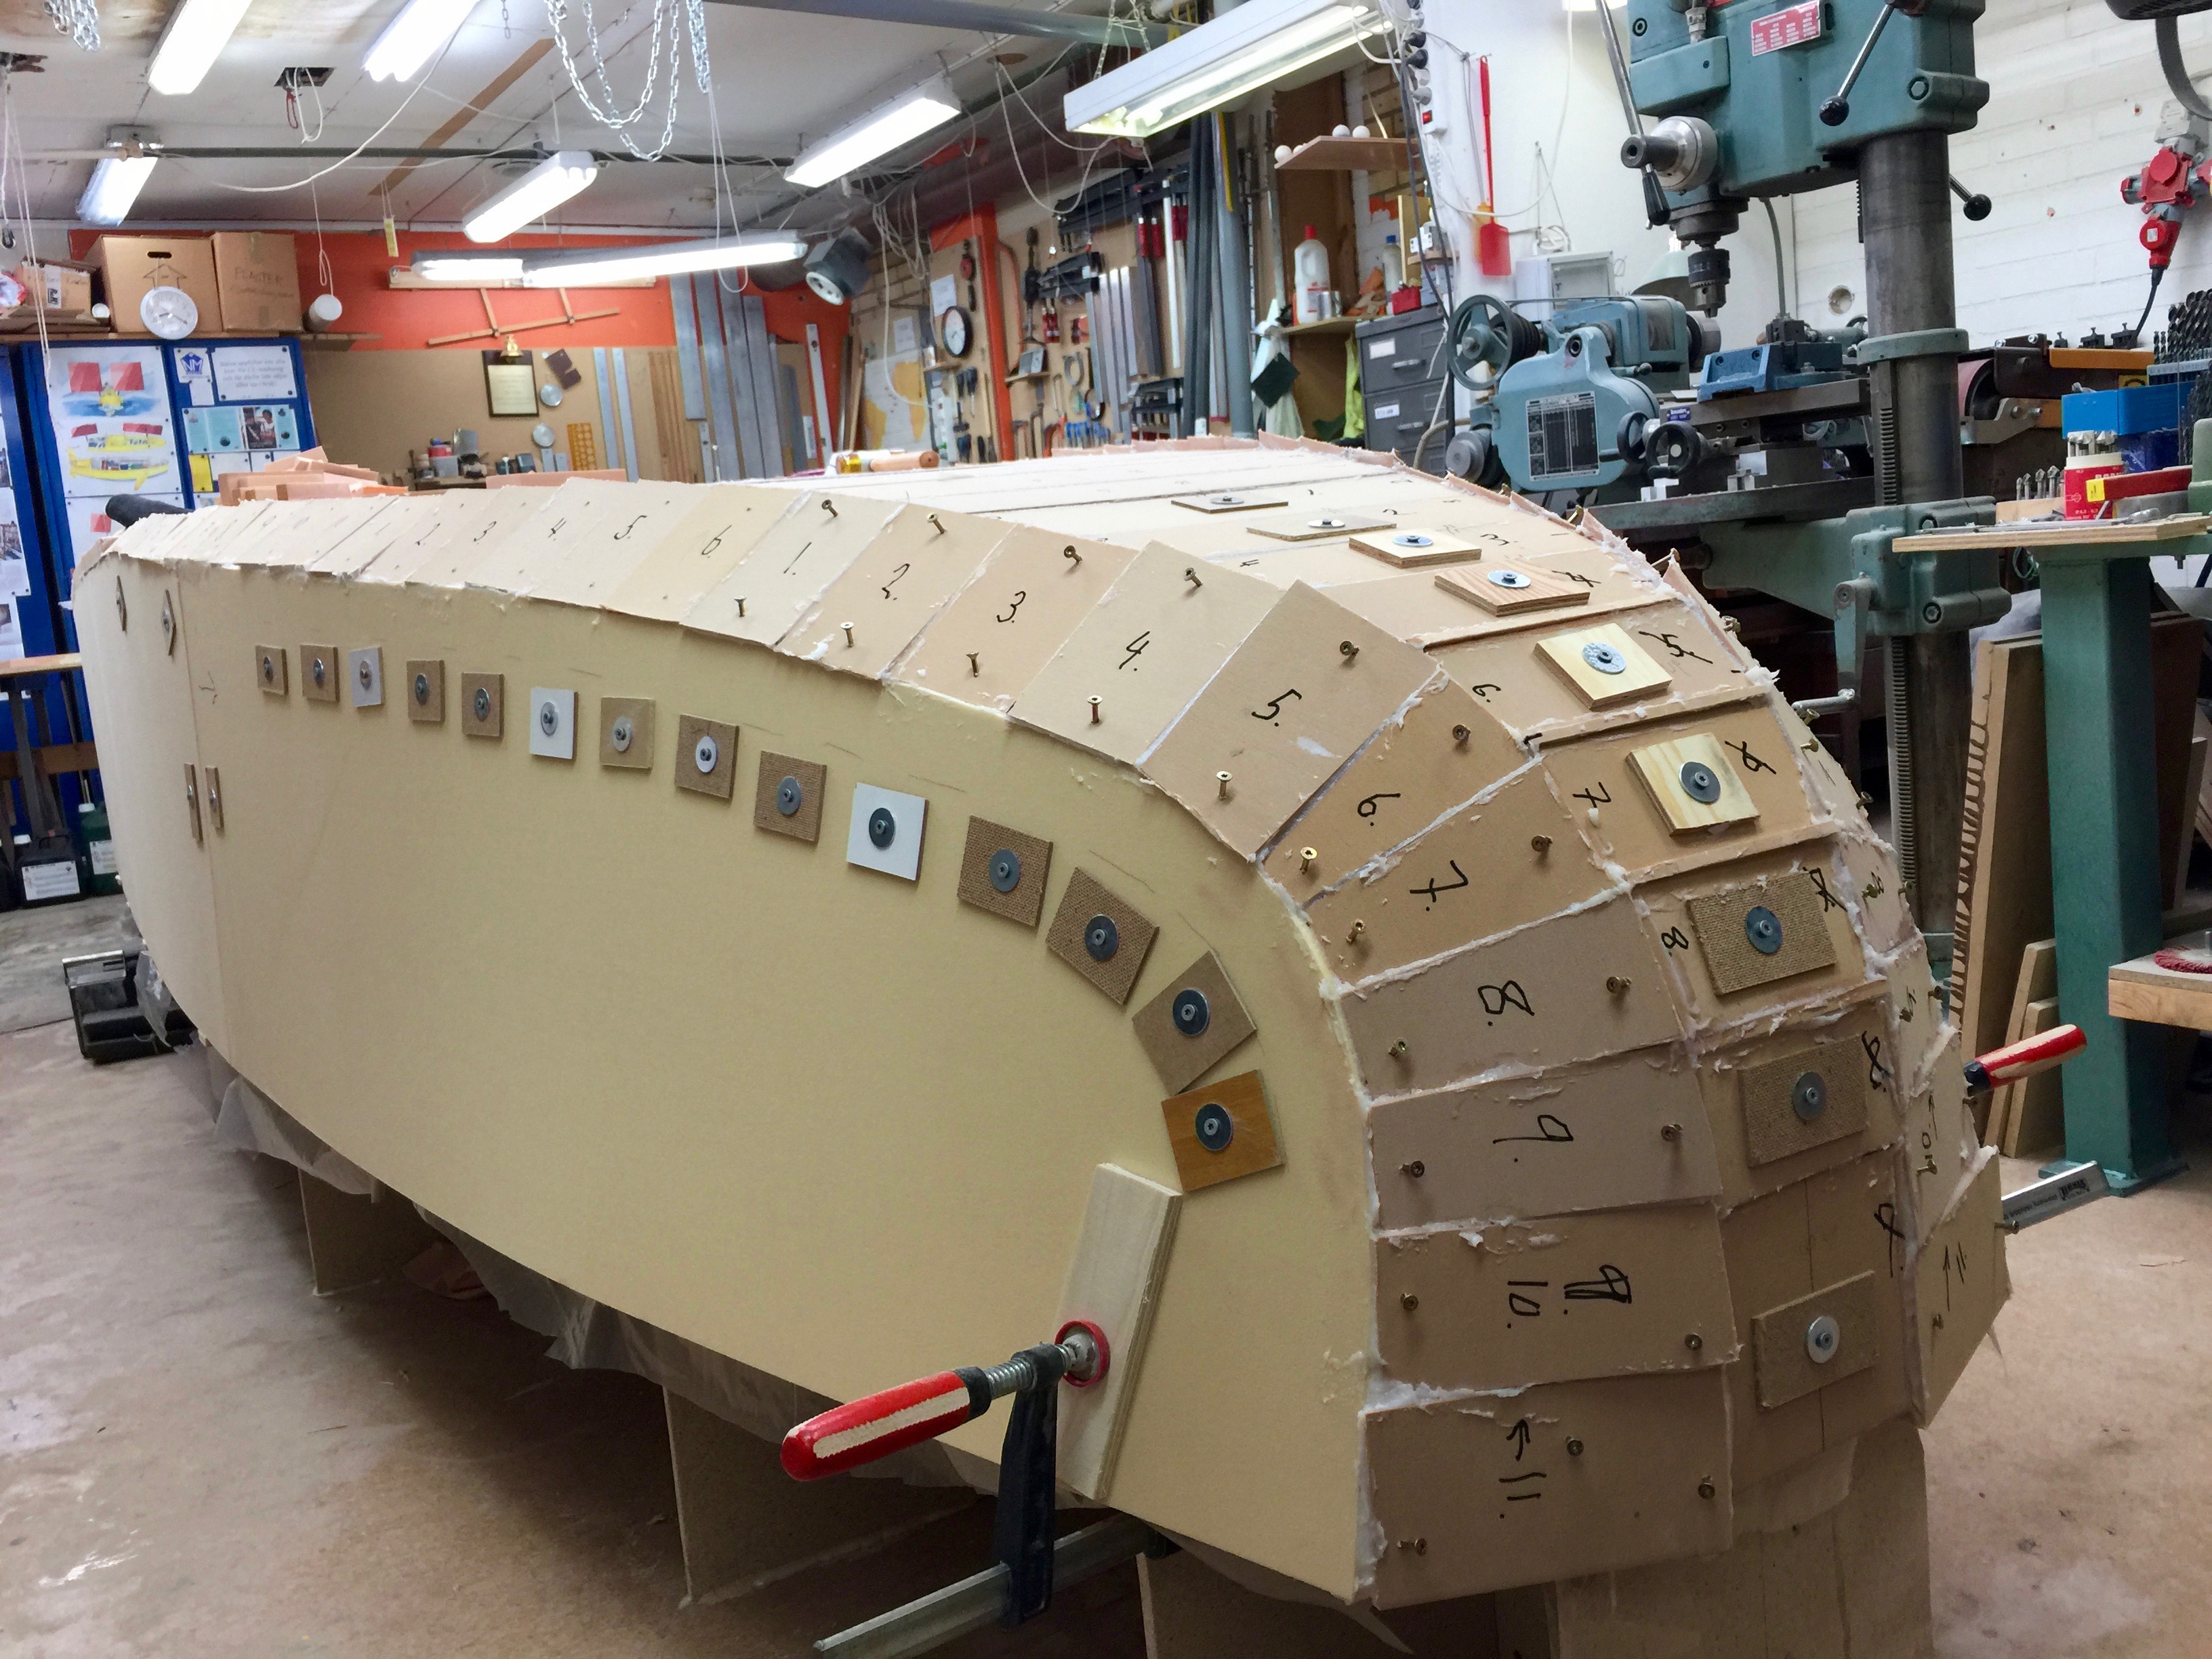
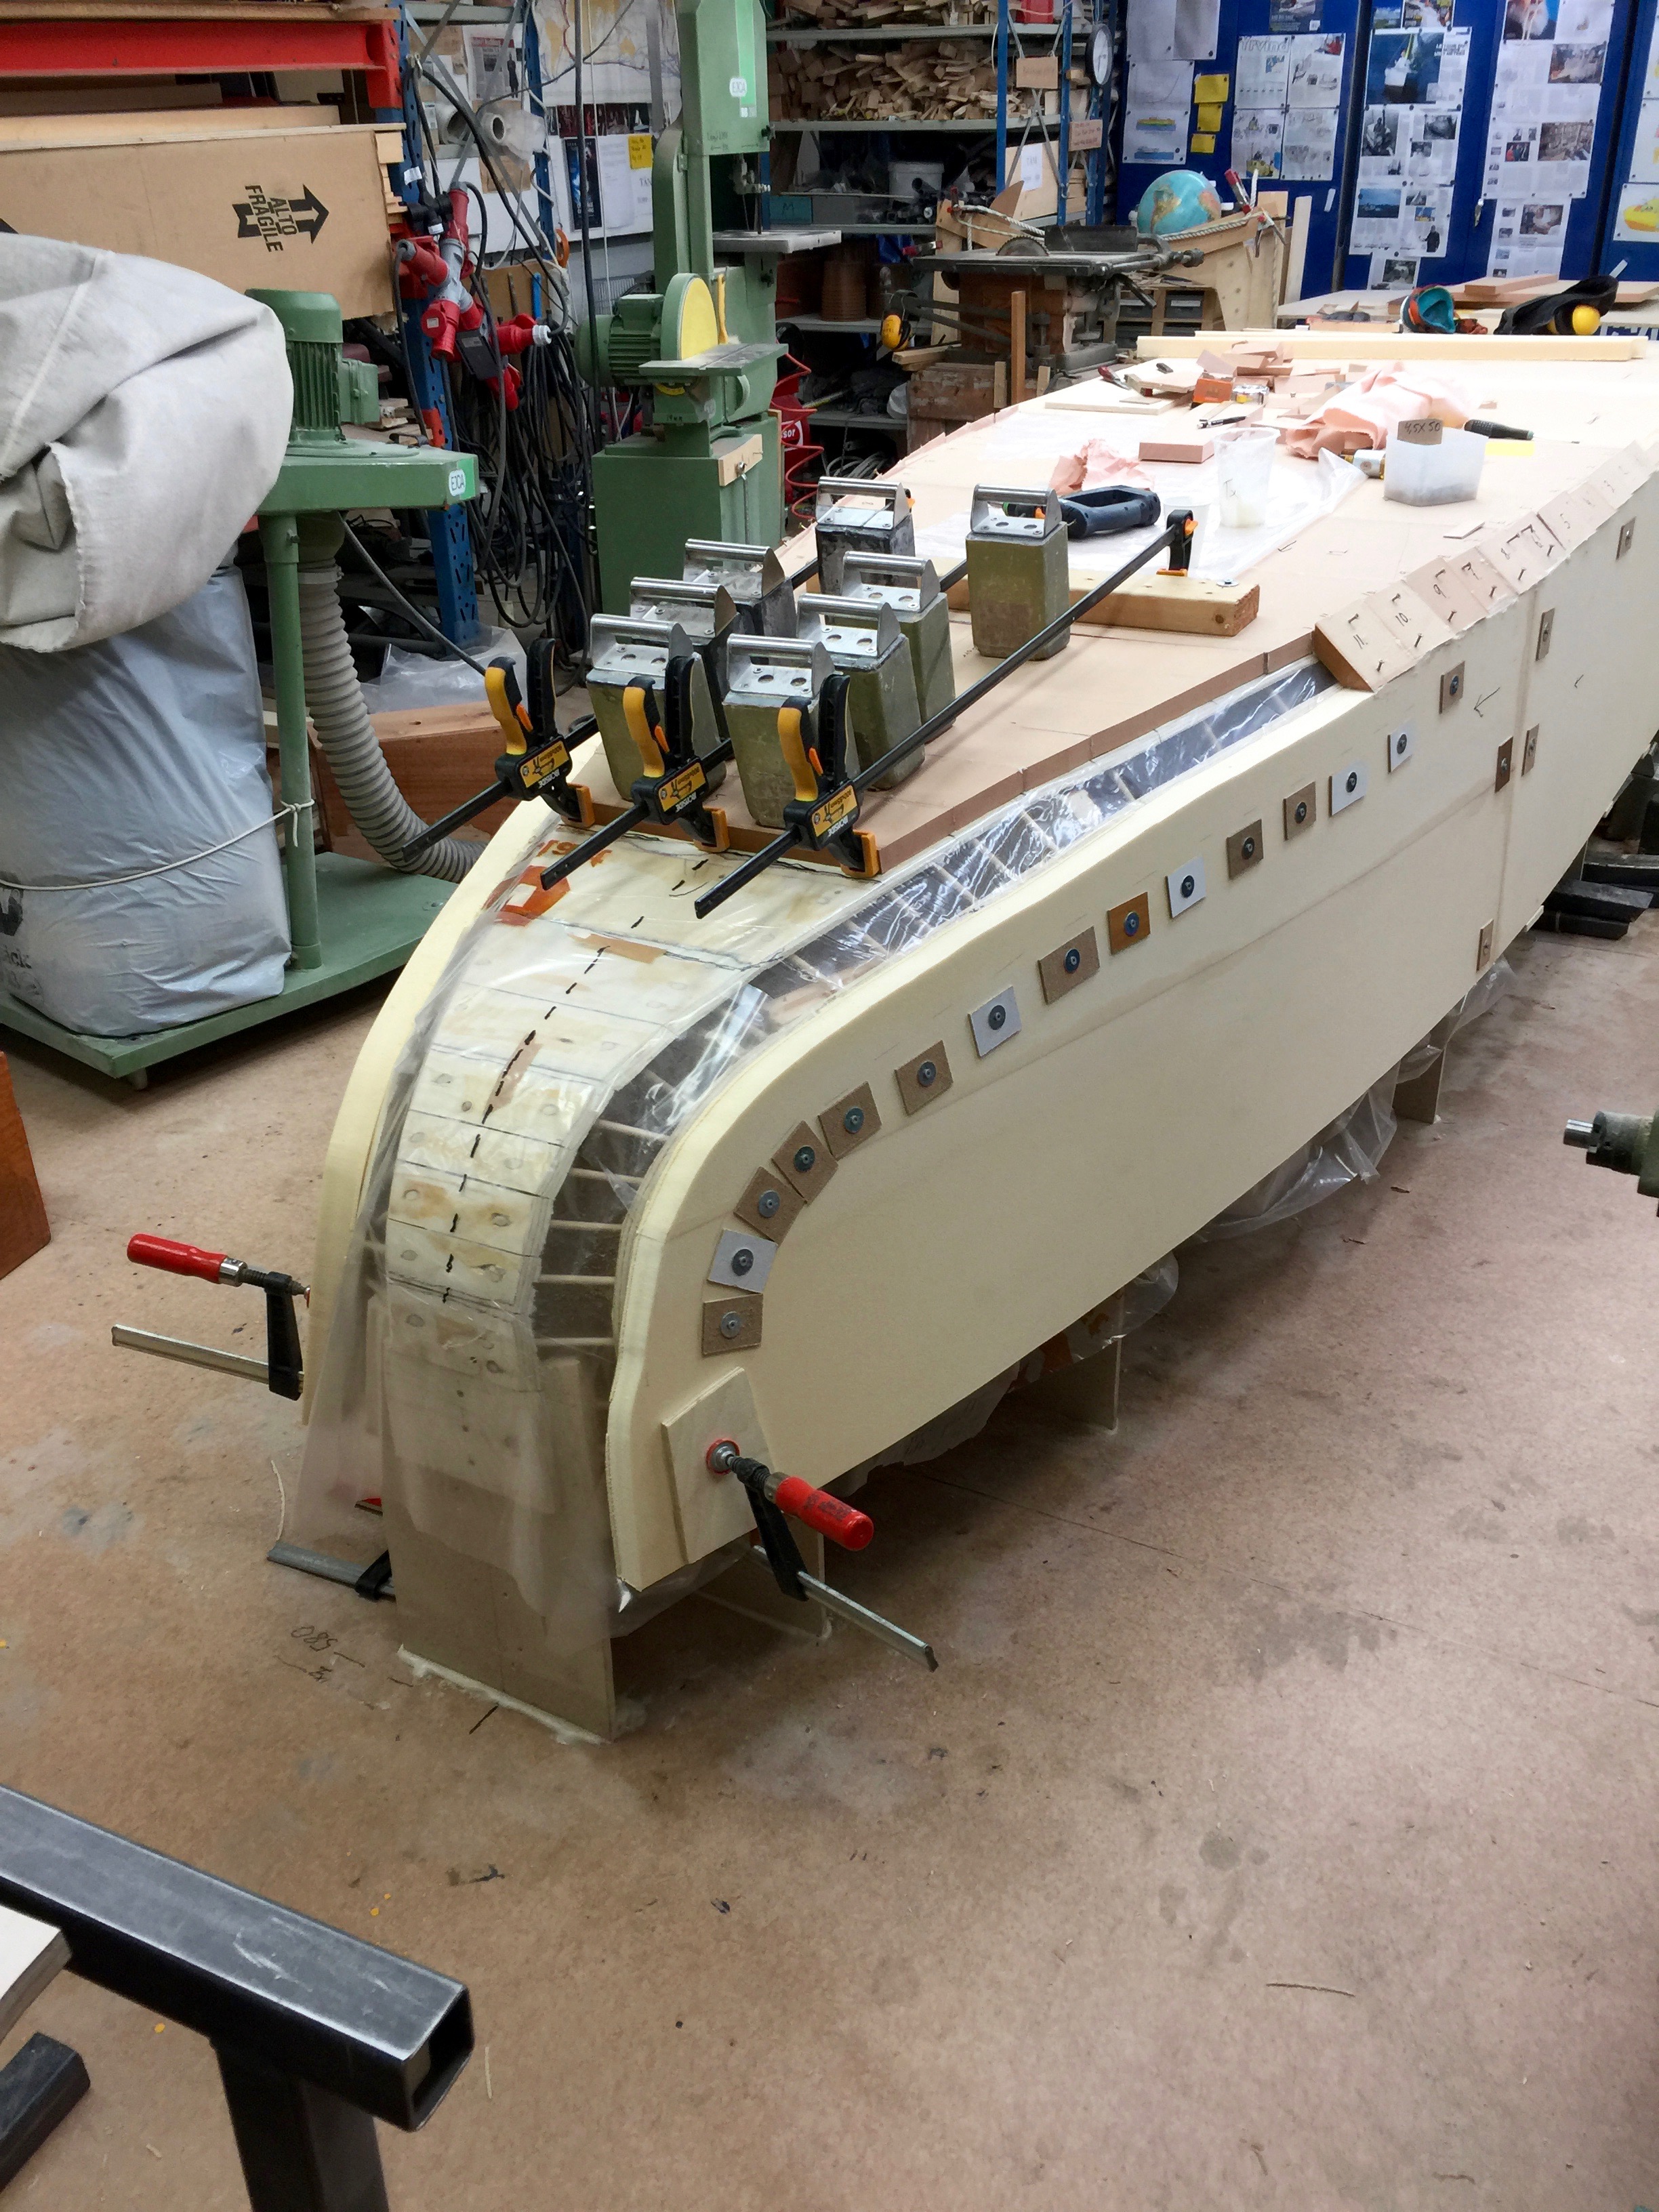
All the pieces that connect the bottom and the hull side are now in place.
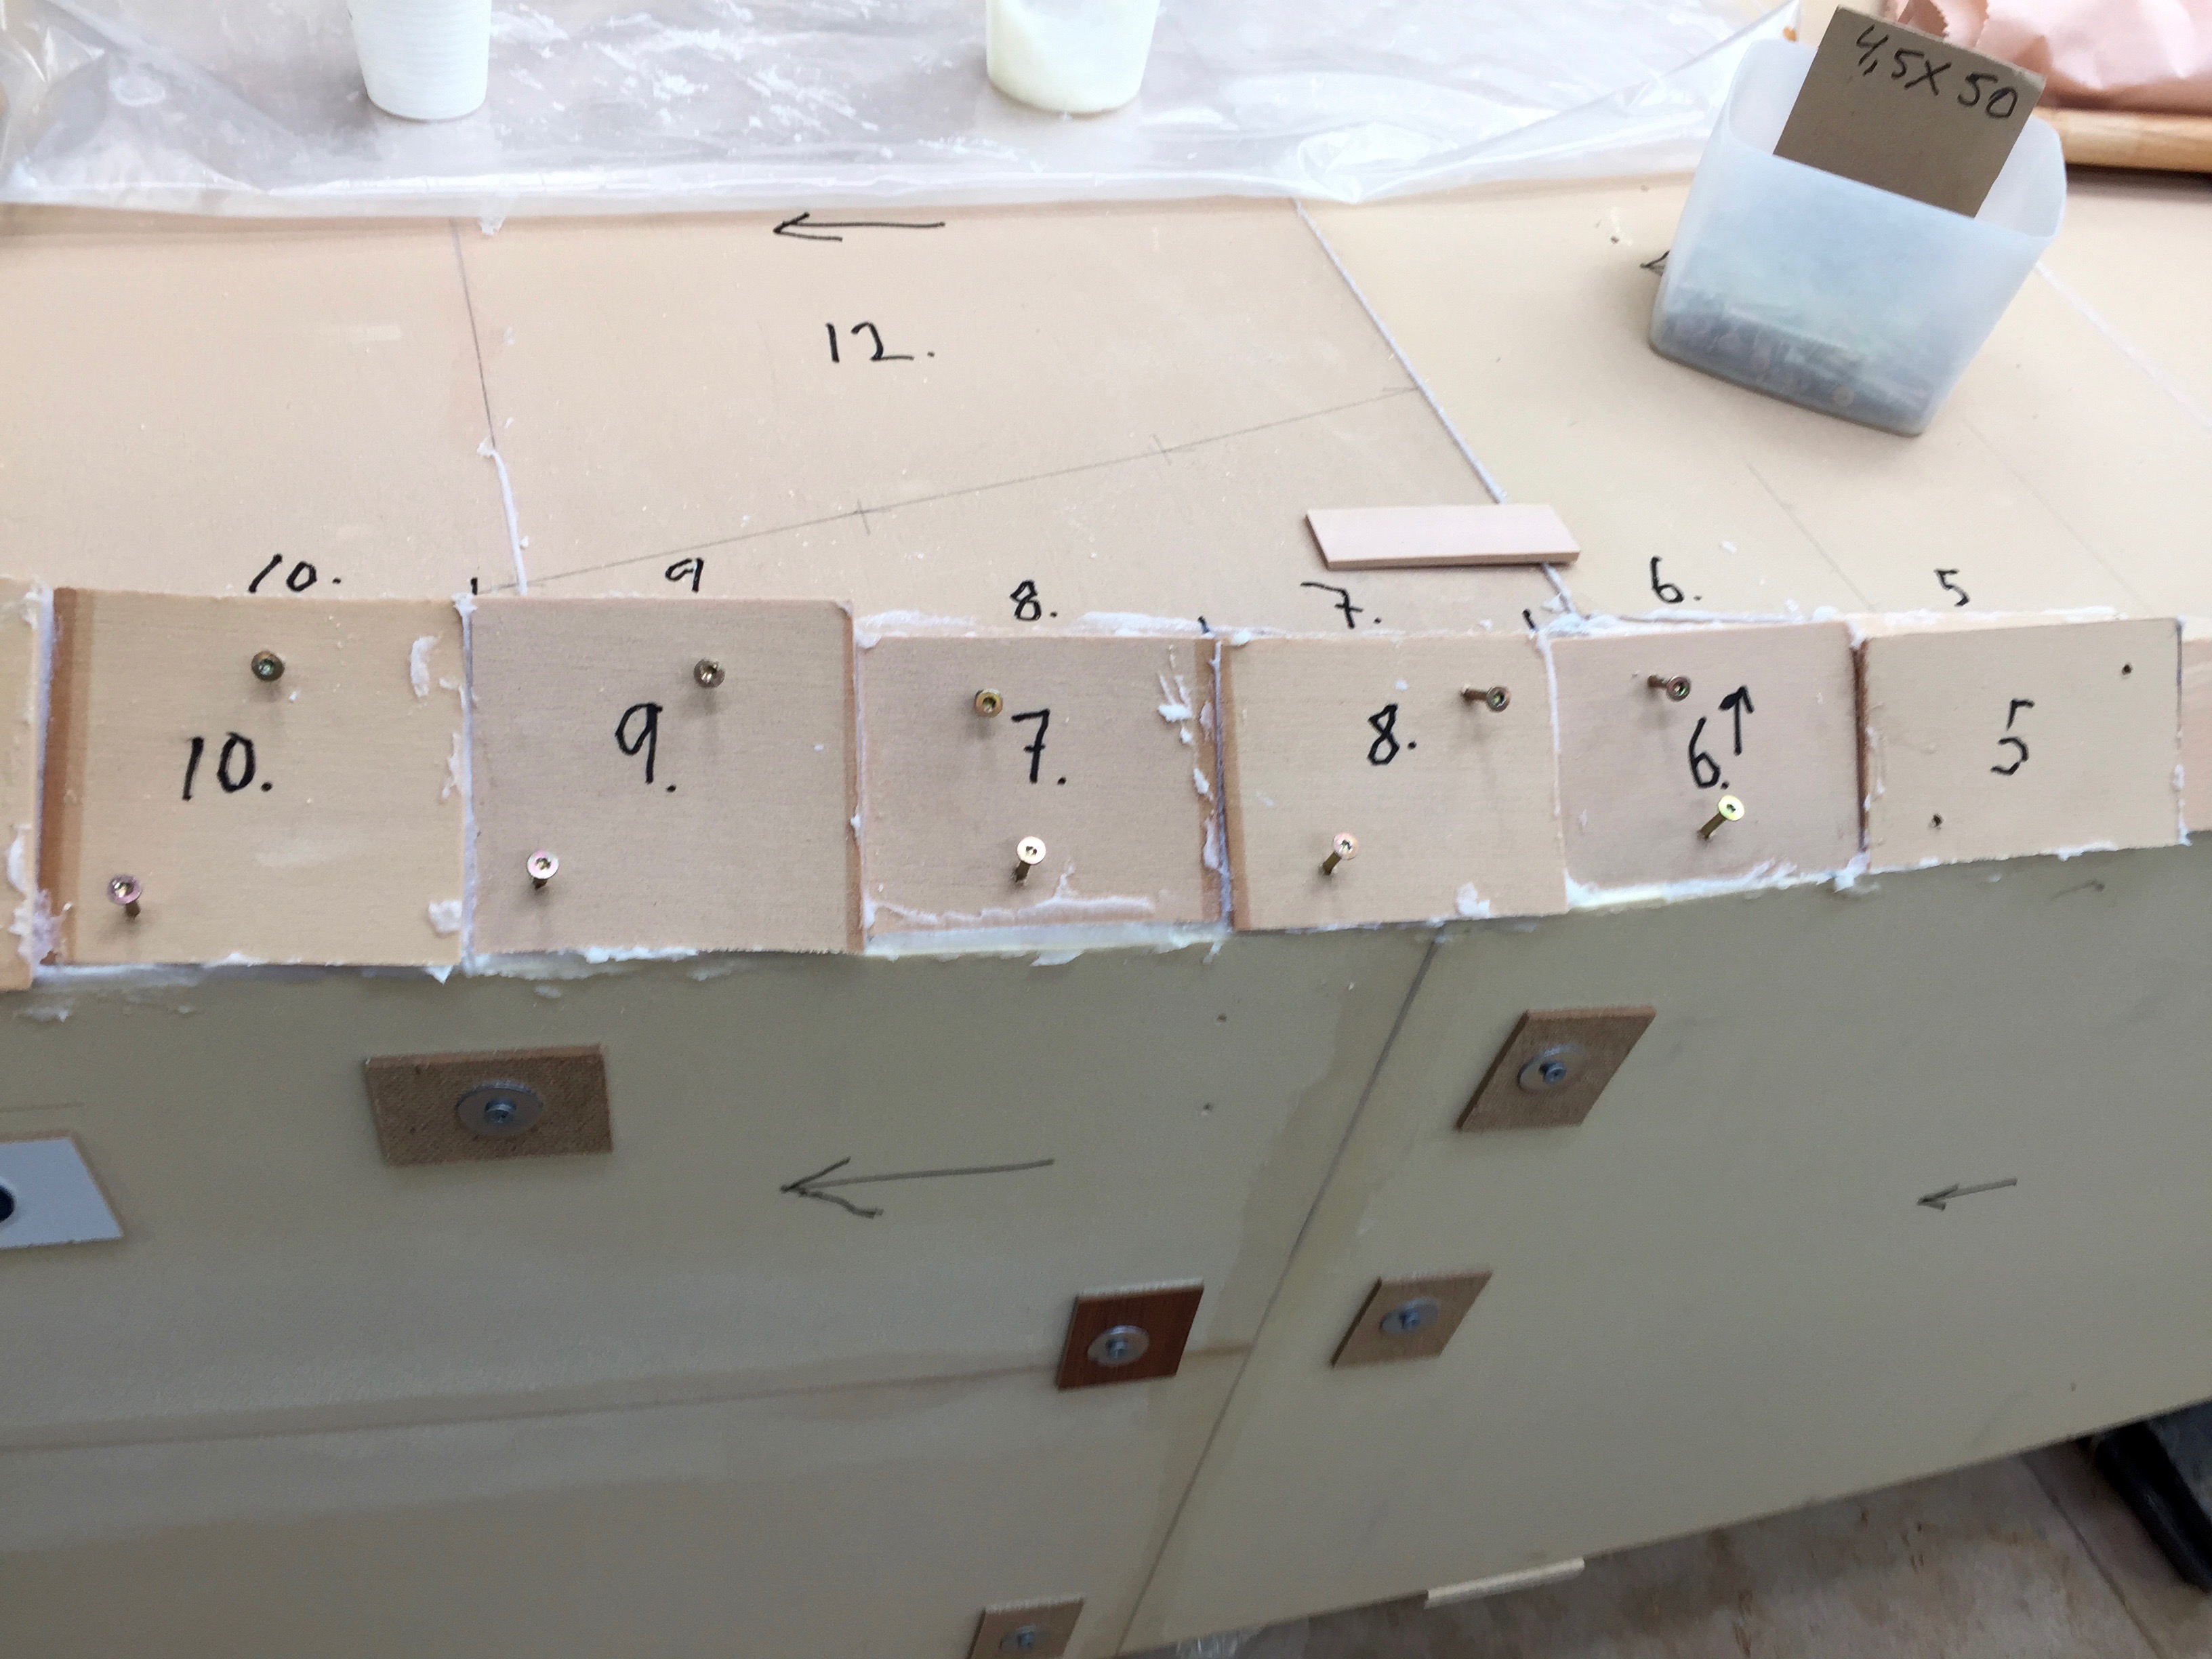
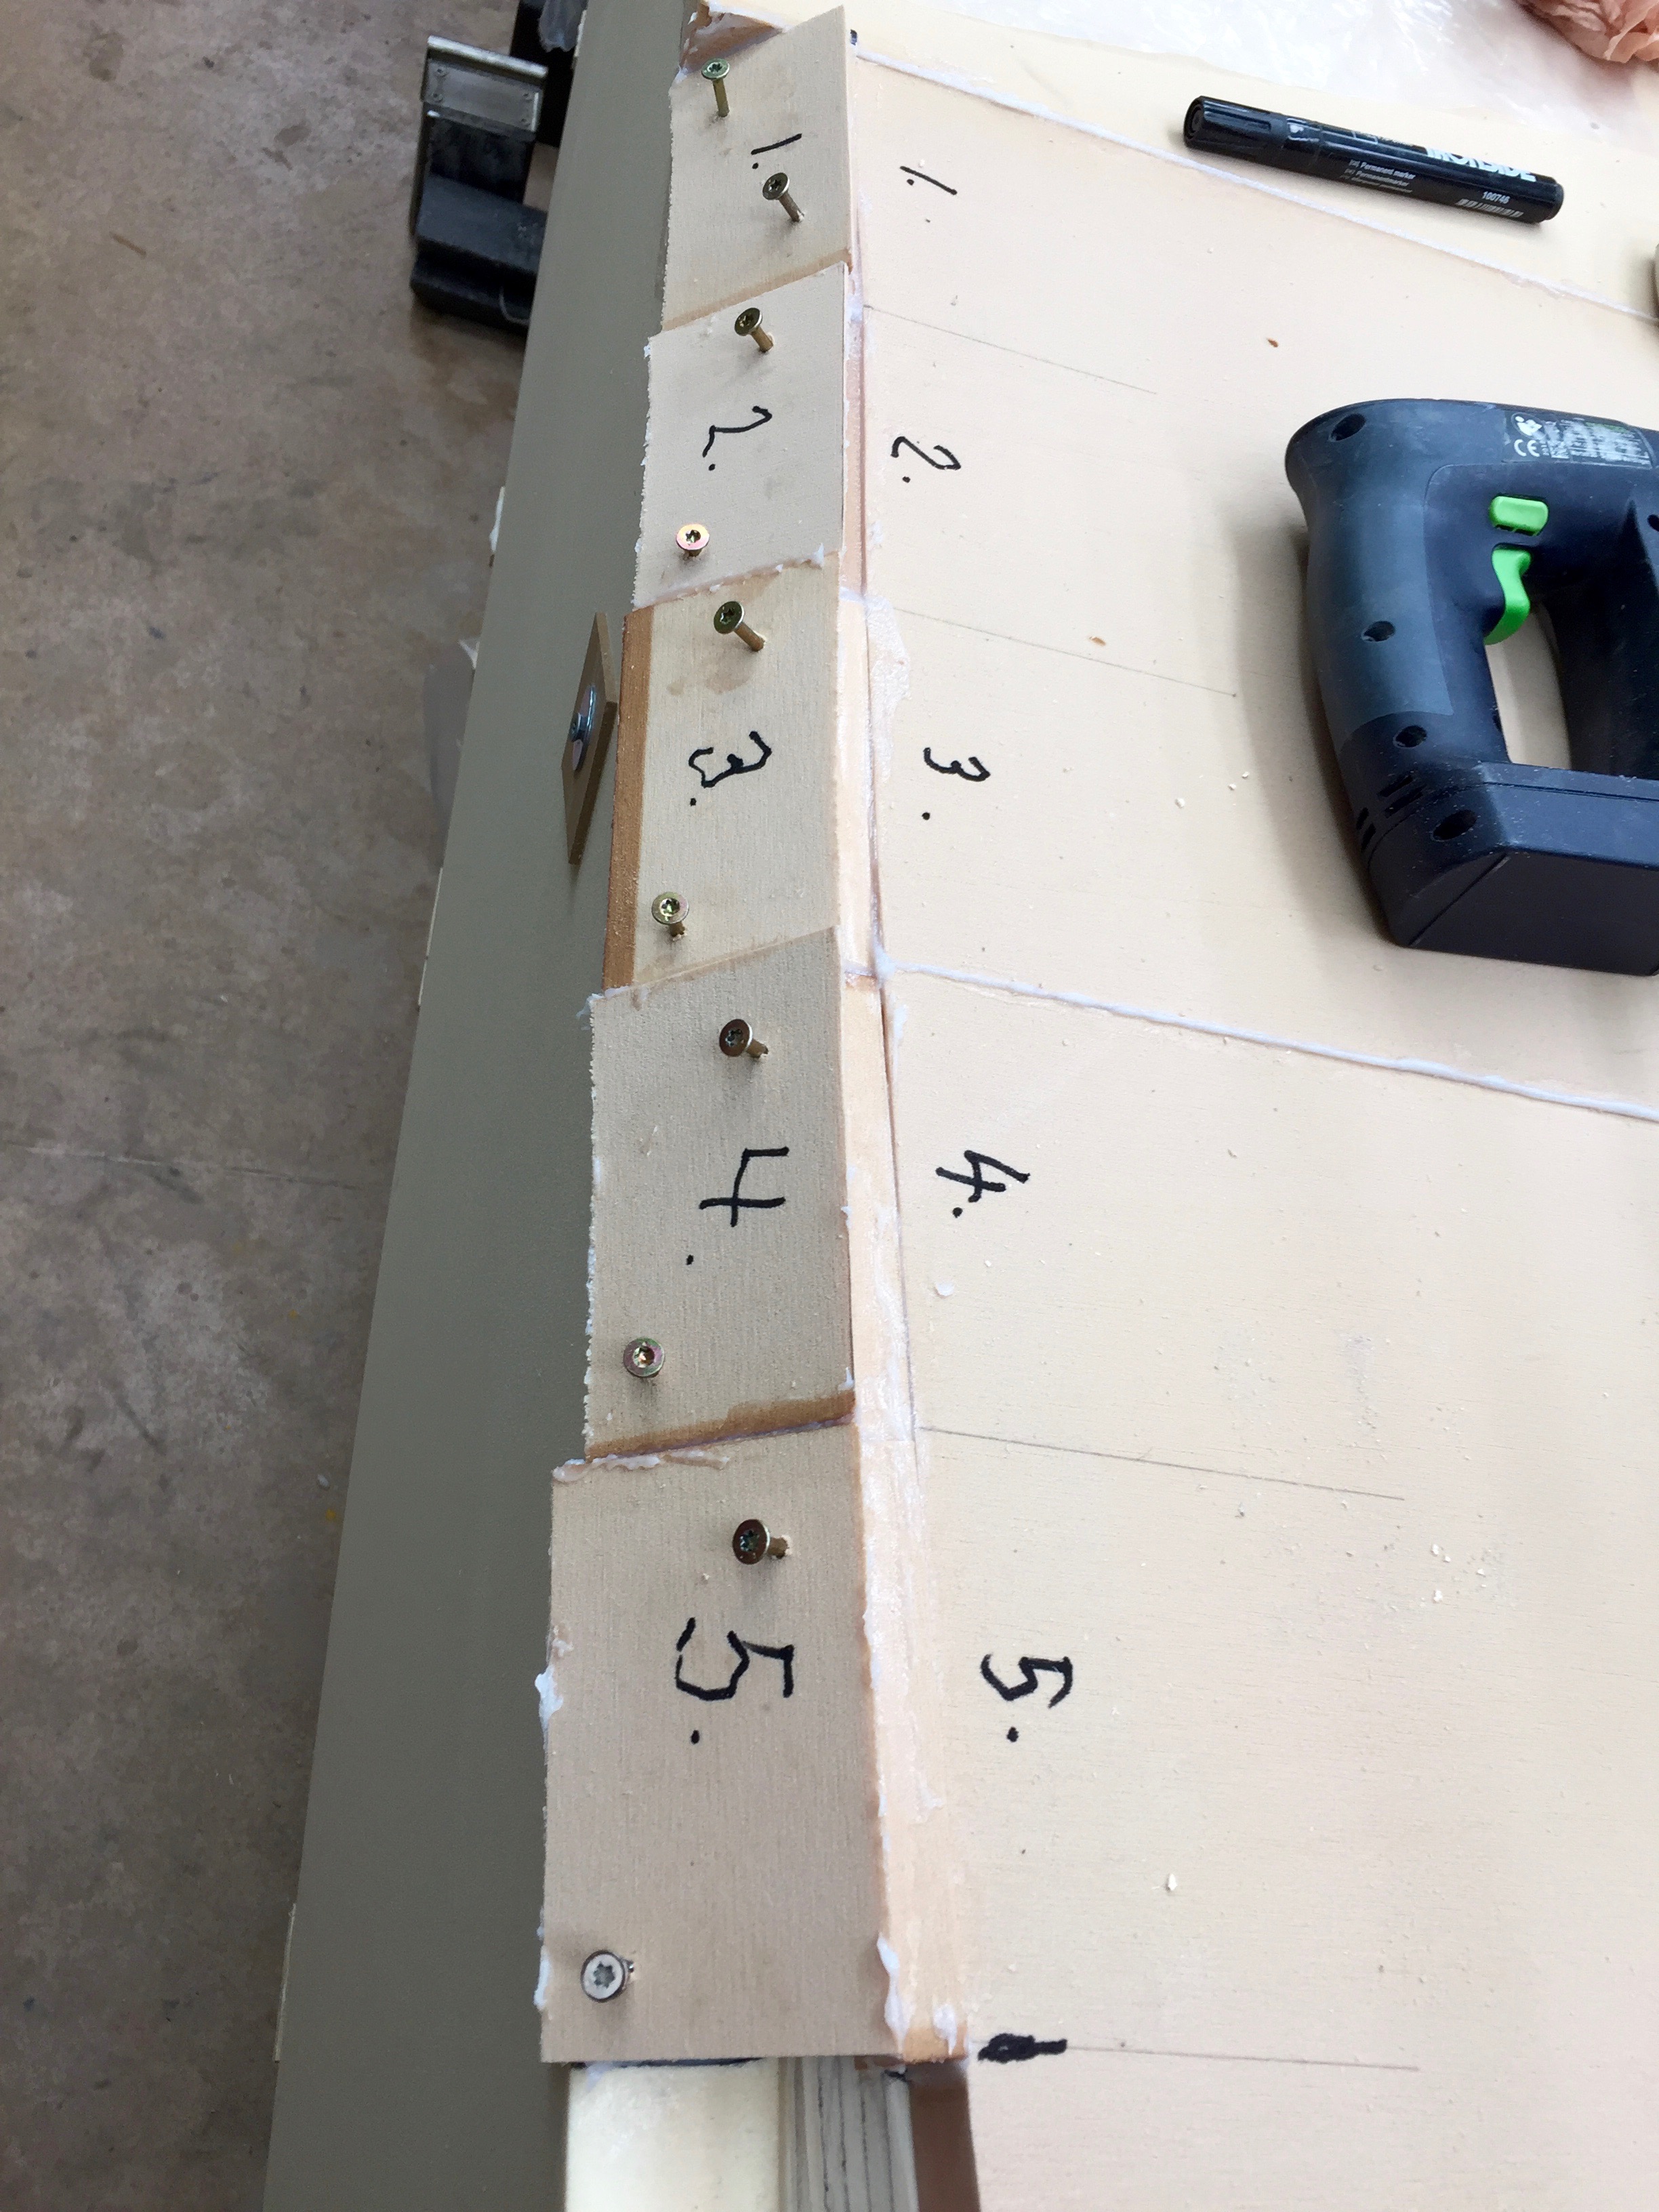
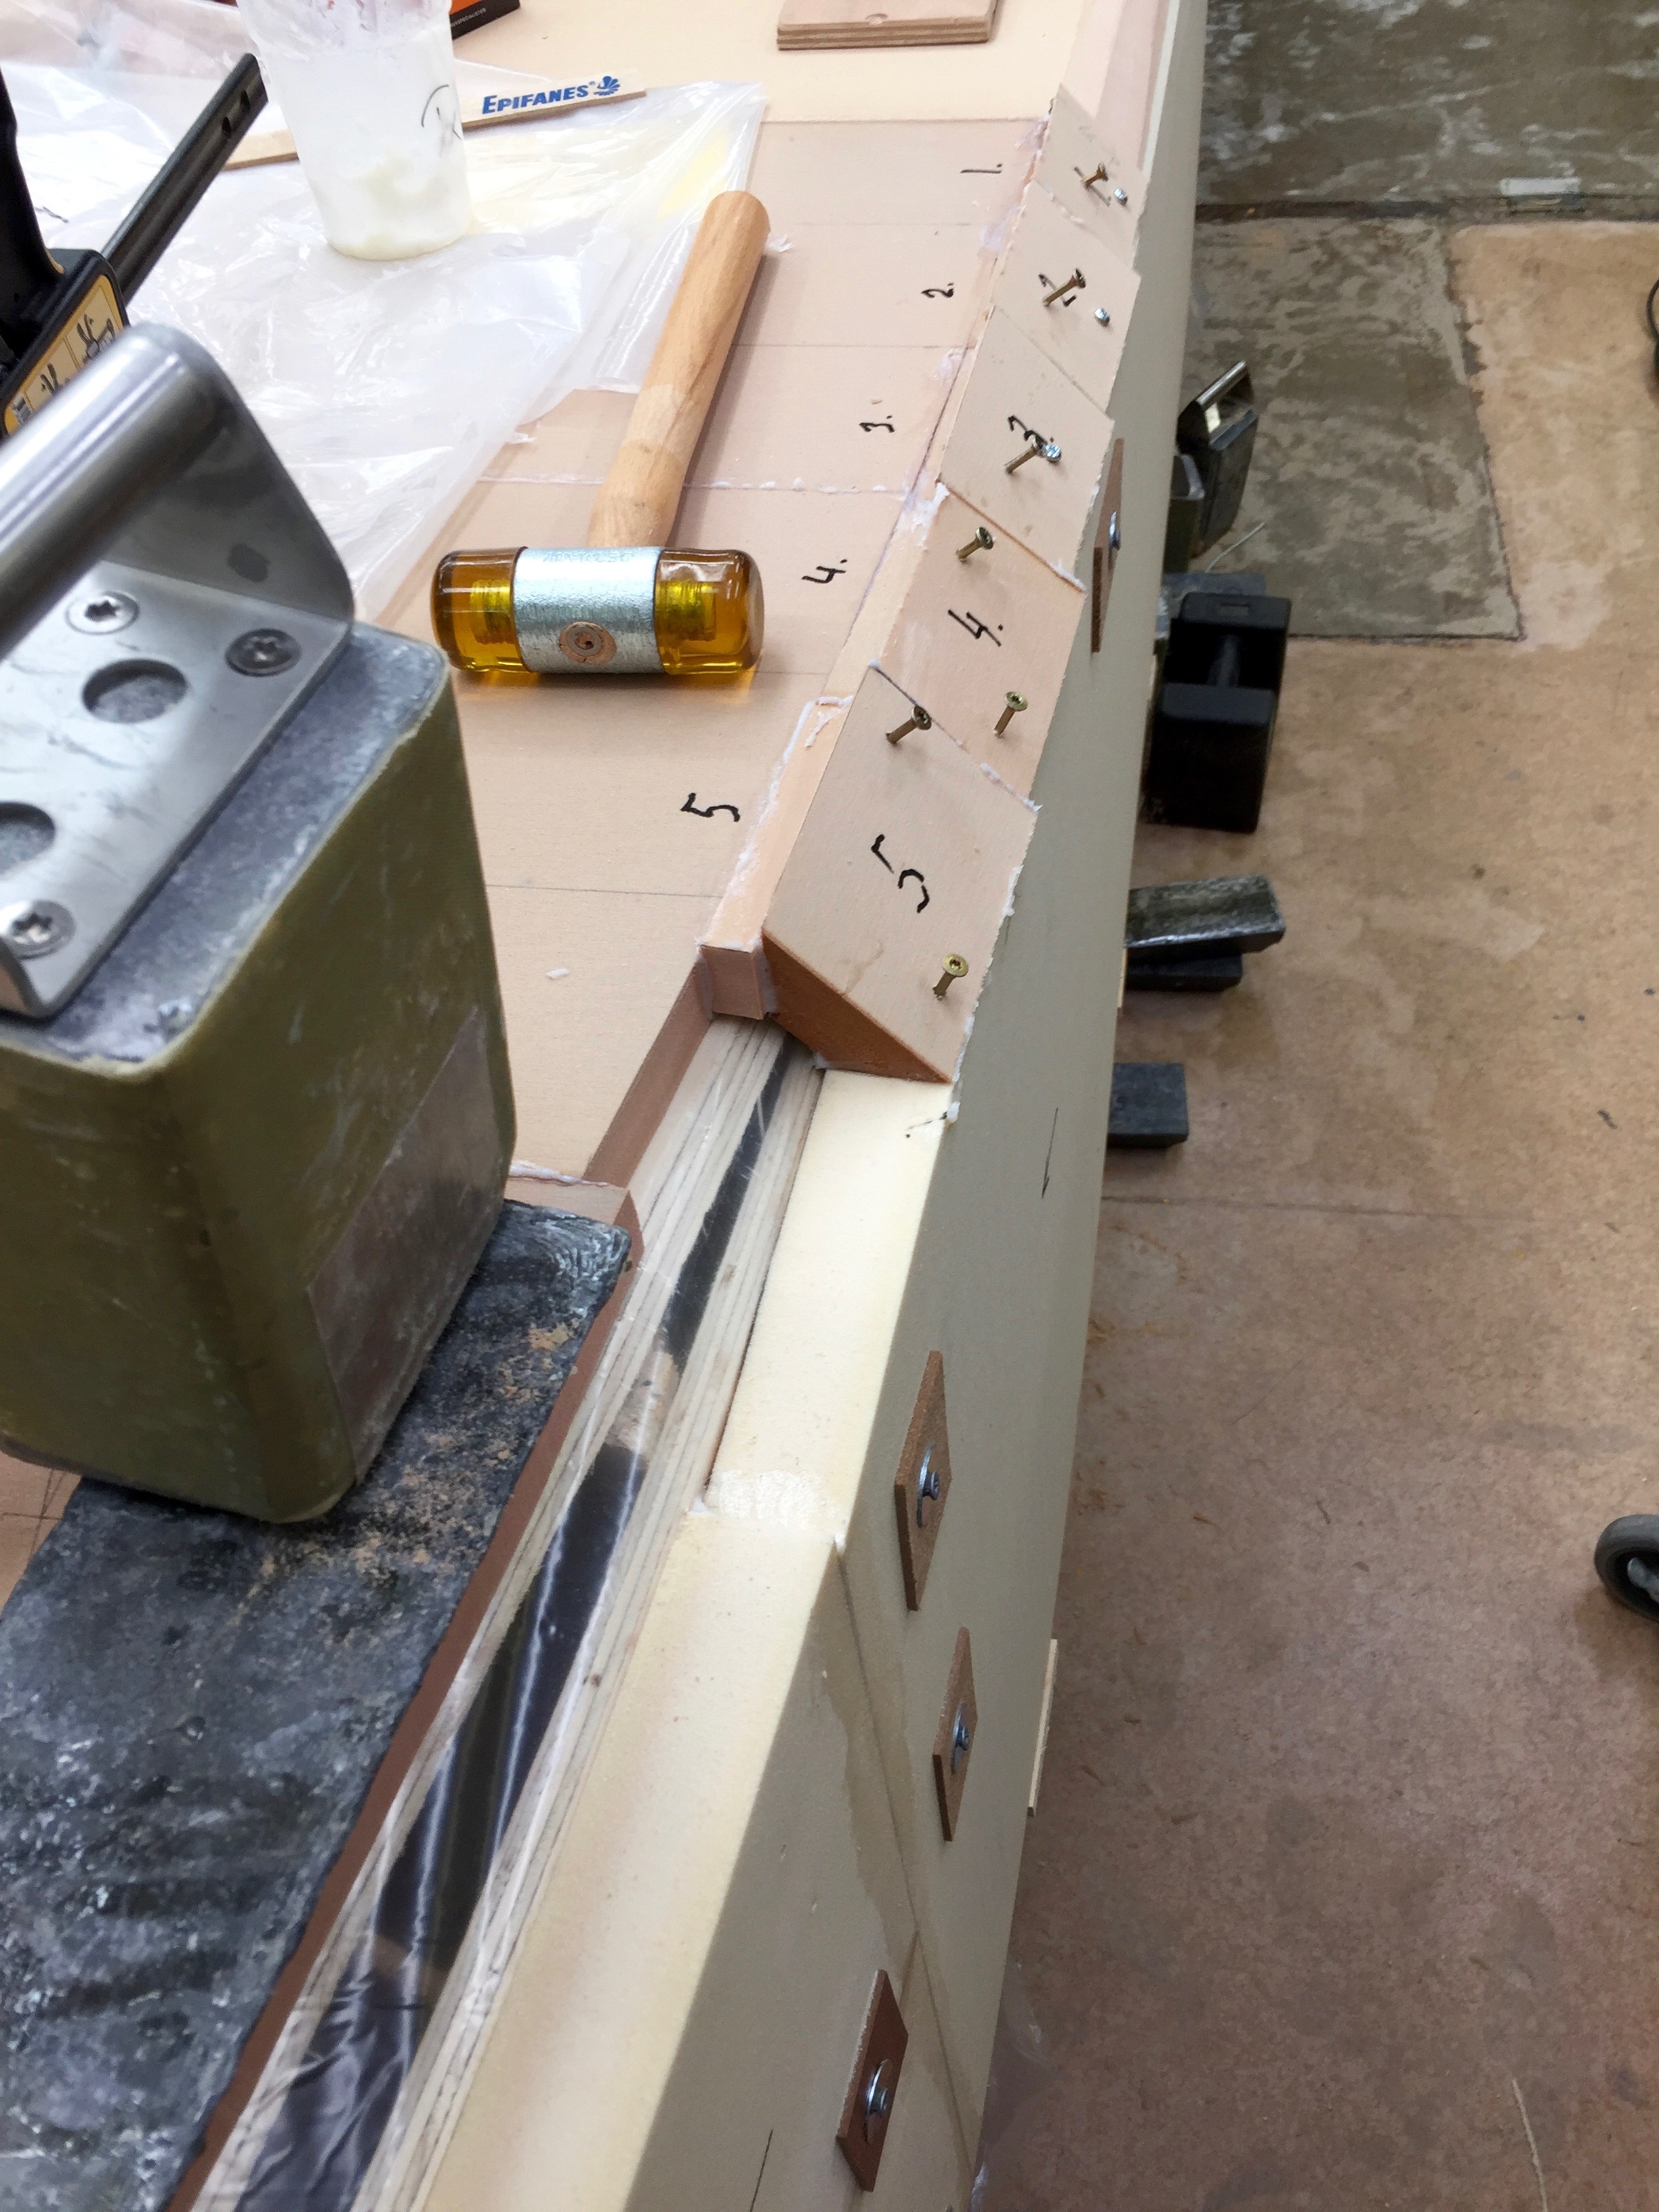
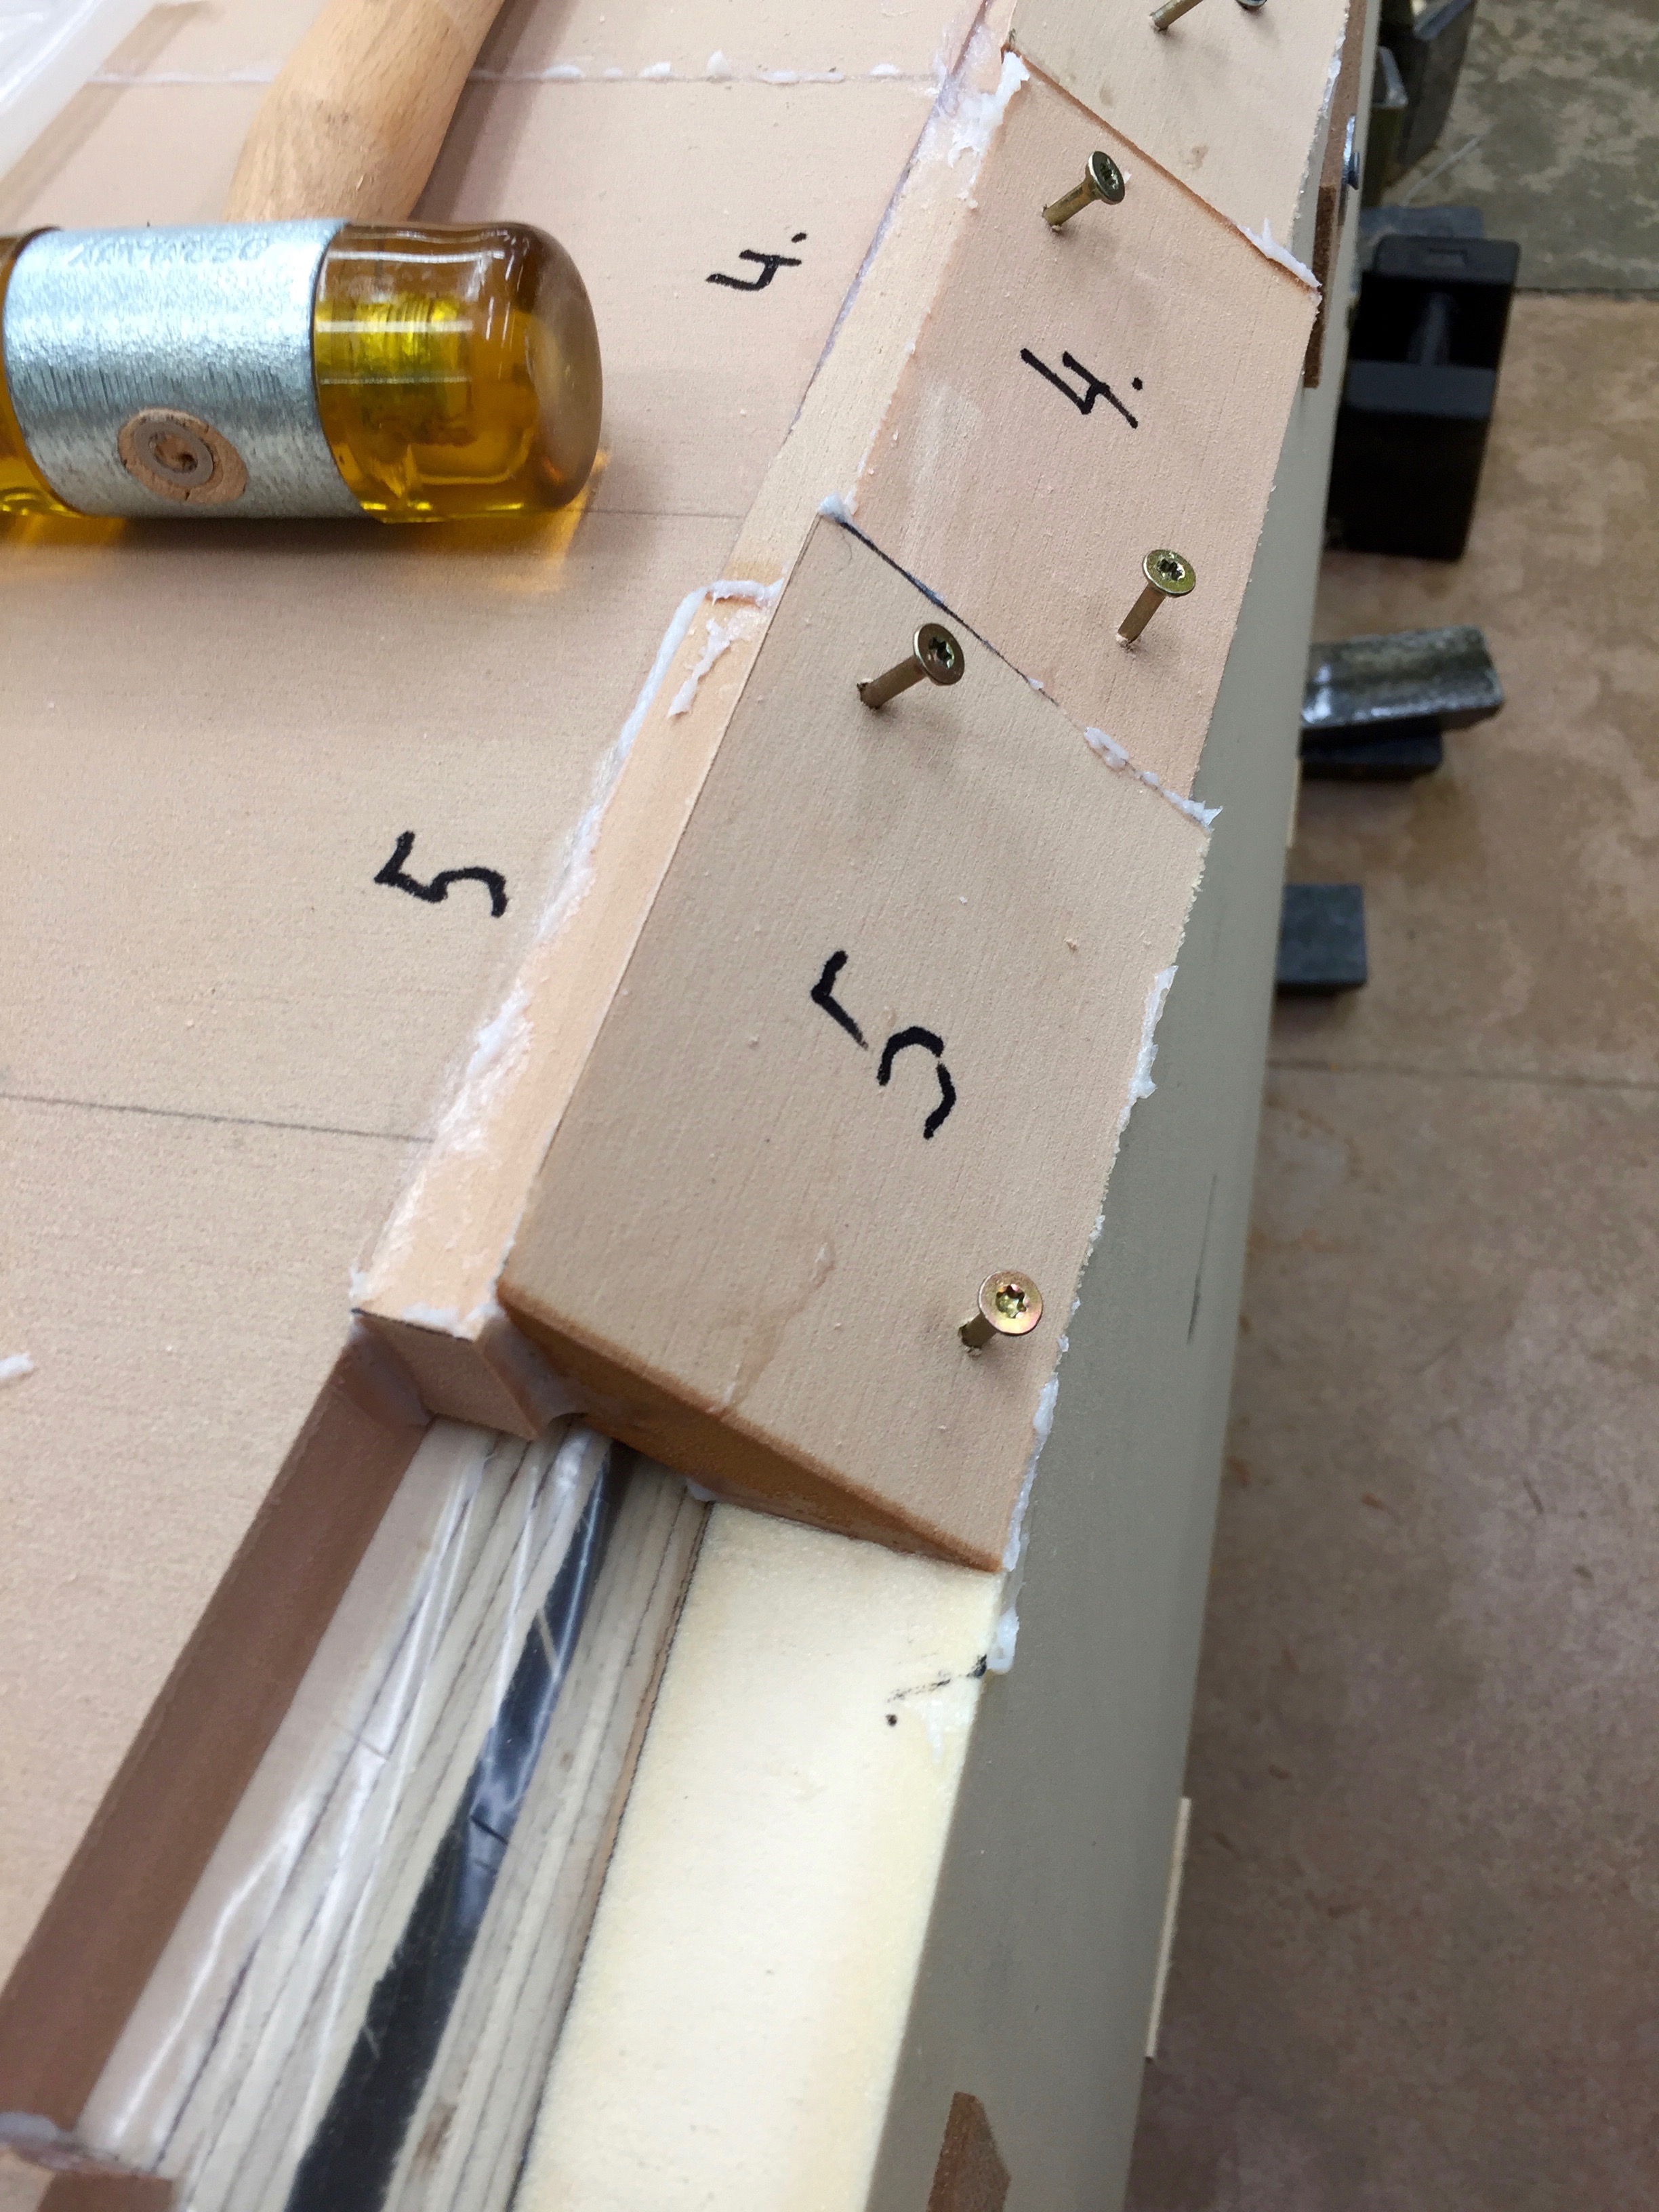
Luckily I was getting better and better att fitting the pieces becouse cutting them out got more and more difficult as I was getting closer to the bow. Piece number 6 and 7 was the most difficult because the the chine was bending inwards and downwards at the same time.
To my mind so far the bow looks good. That is kind of satisfying.Connecting piece number 6 and 7 was the most difficult ones, bucause the chine was bending inwards and downwards at the same time, but when there I had done so many pieces that I was getting good at it so it was OK.
The bottom pieces are now in place. Only a few connecting pieces are missing. However I have to take care because there is still some tension in the side pieces.
I have to do a bit of grinding on the mould down near piece 8 and 9 but I am afraid to release the clamps due to the tension in the sidepanels therefore I will do it in to parts. Glue on a few more connecting pieces to stabelize the construction before releasing the clamps. Click once or twice on the pictures to enlarge.
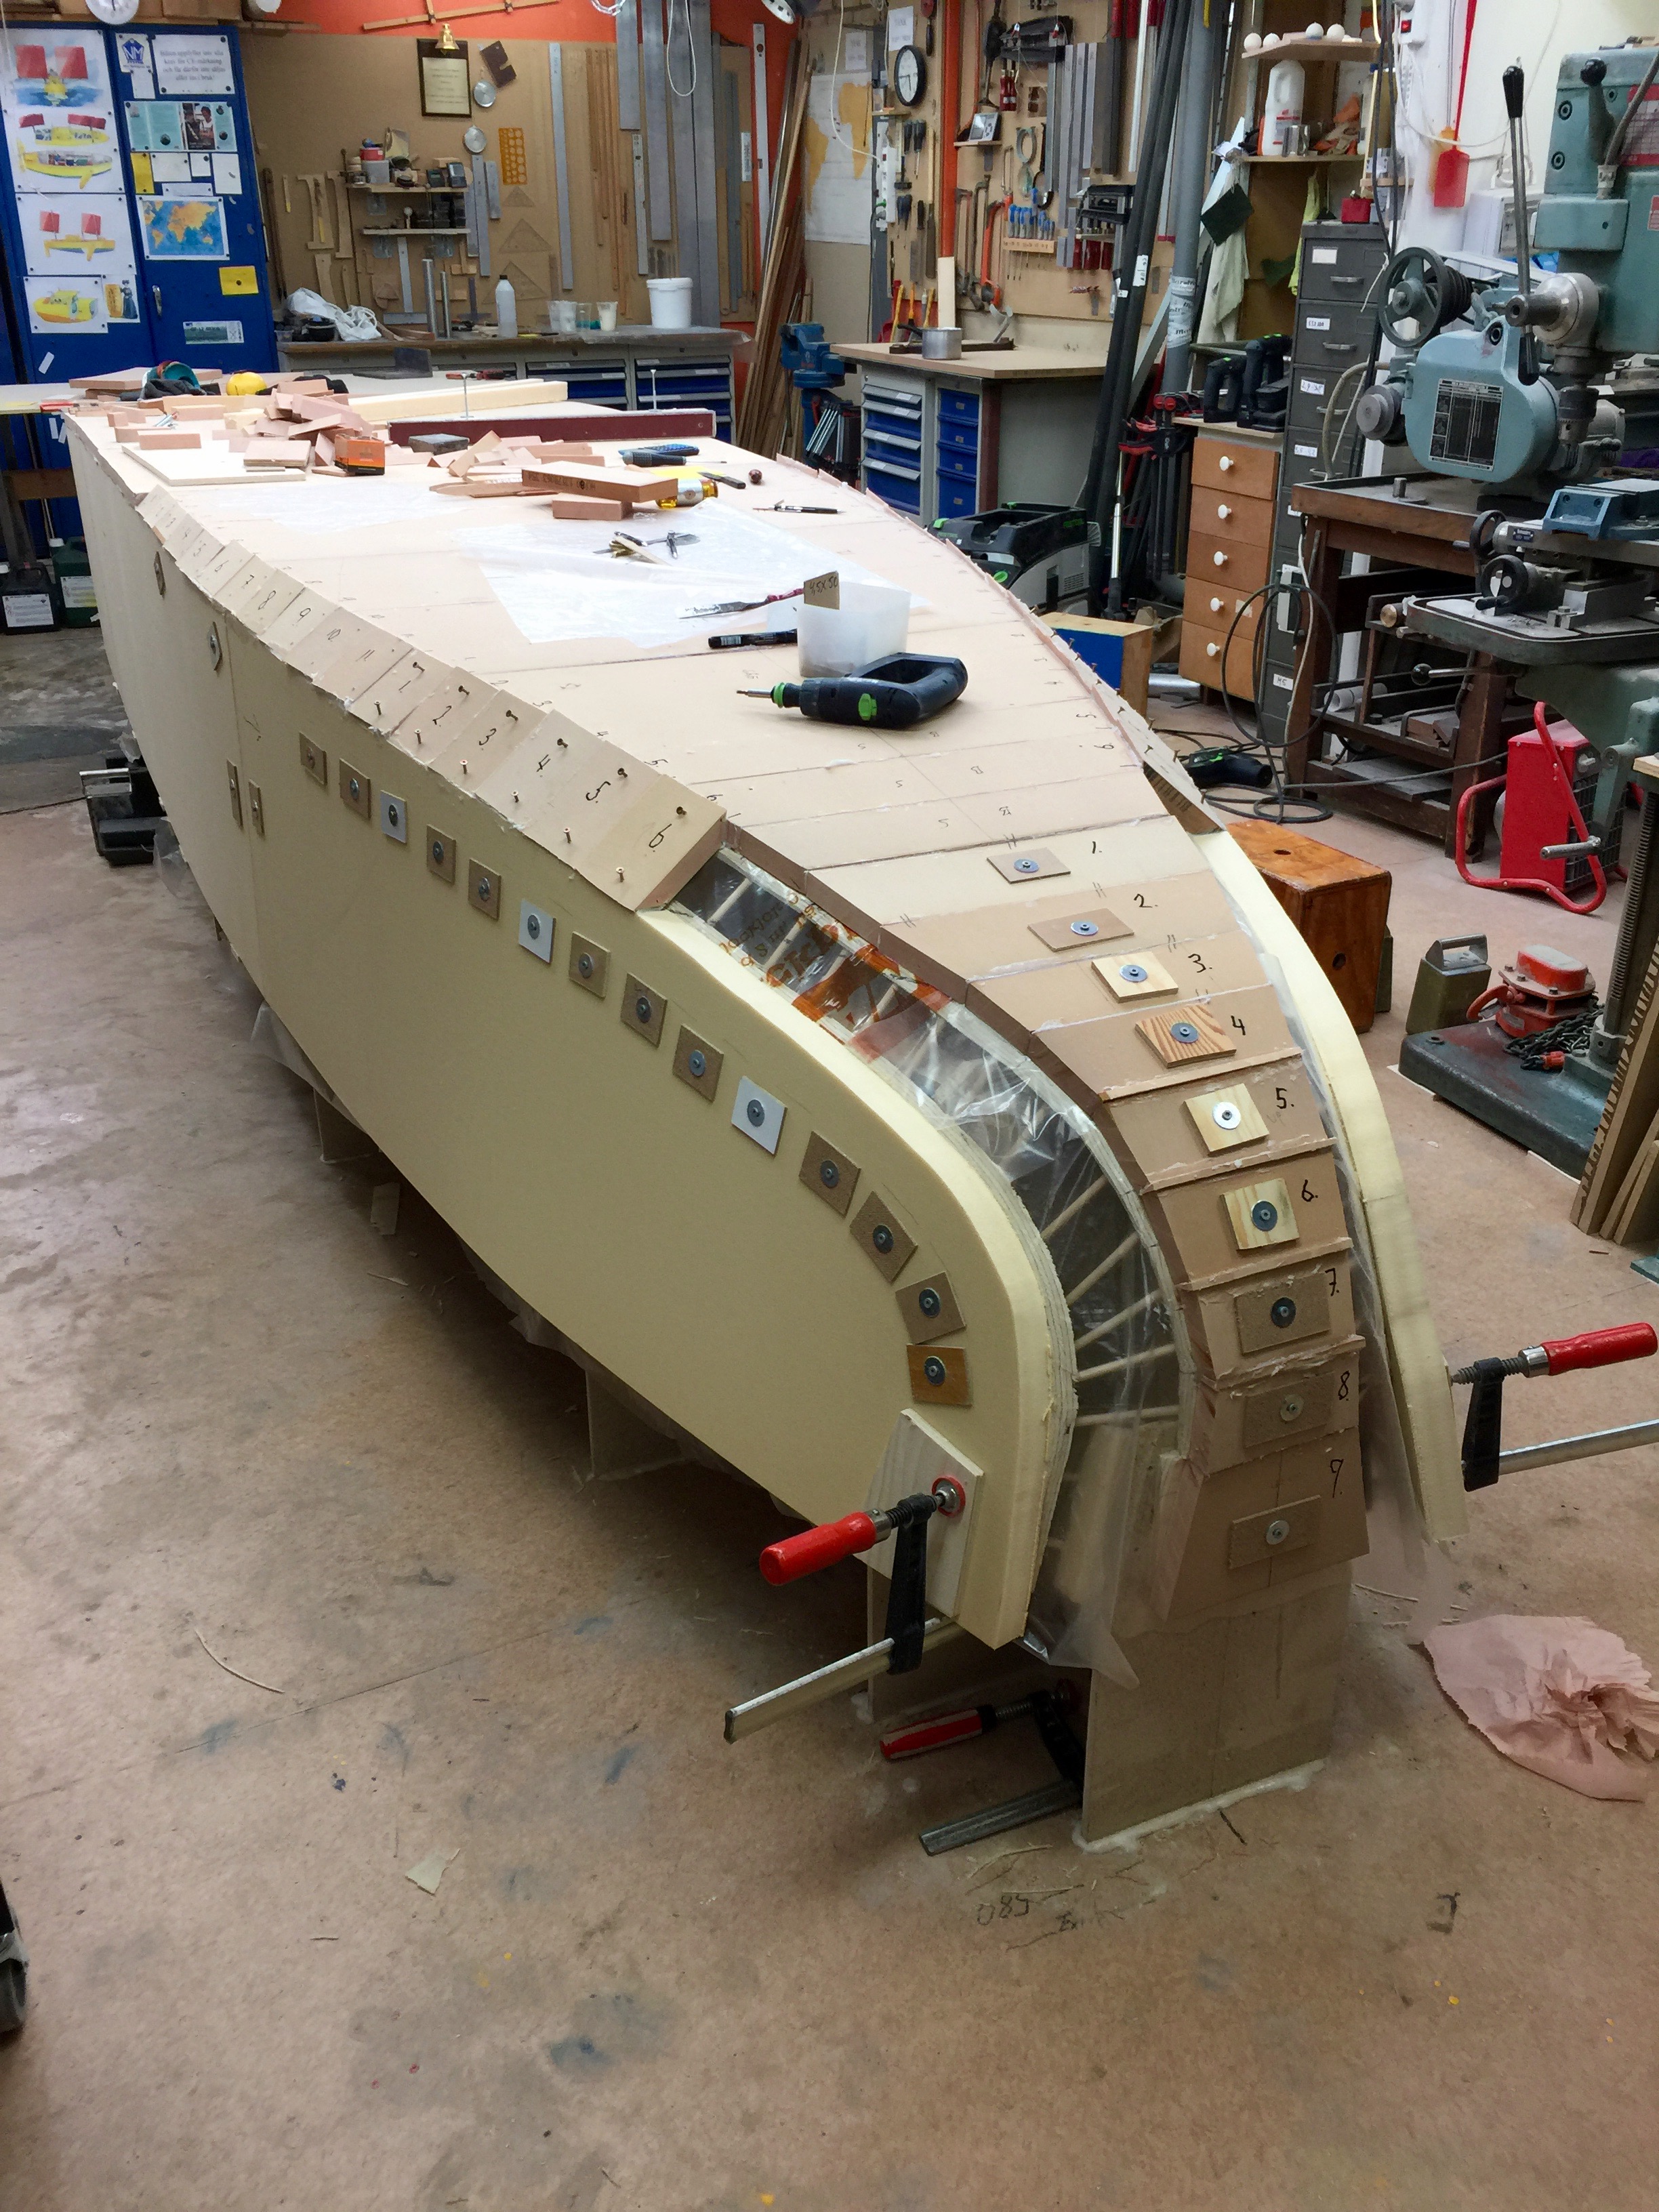
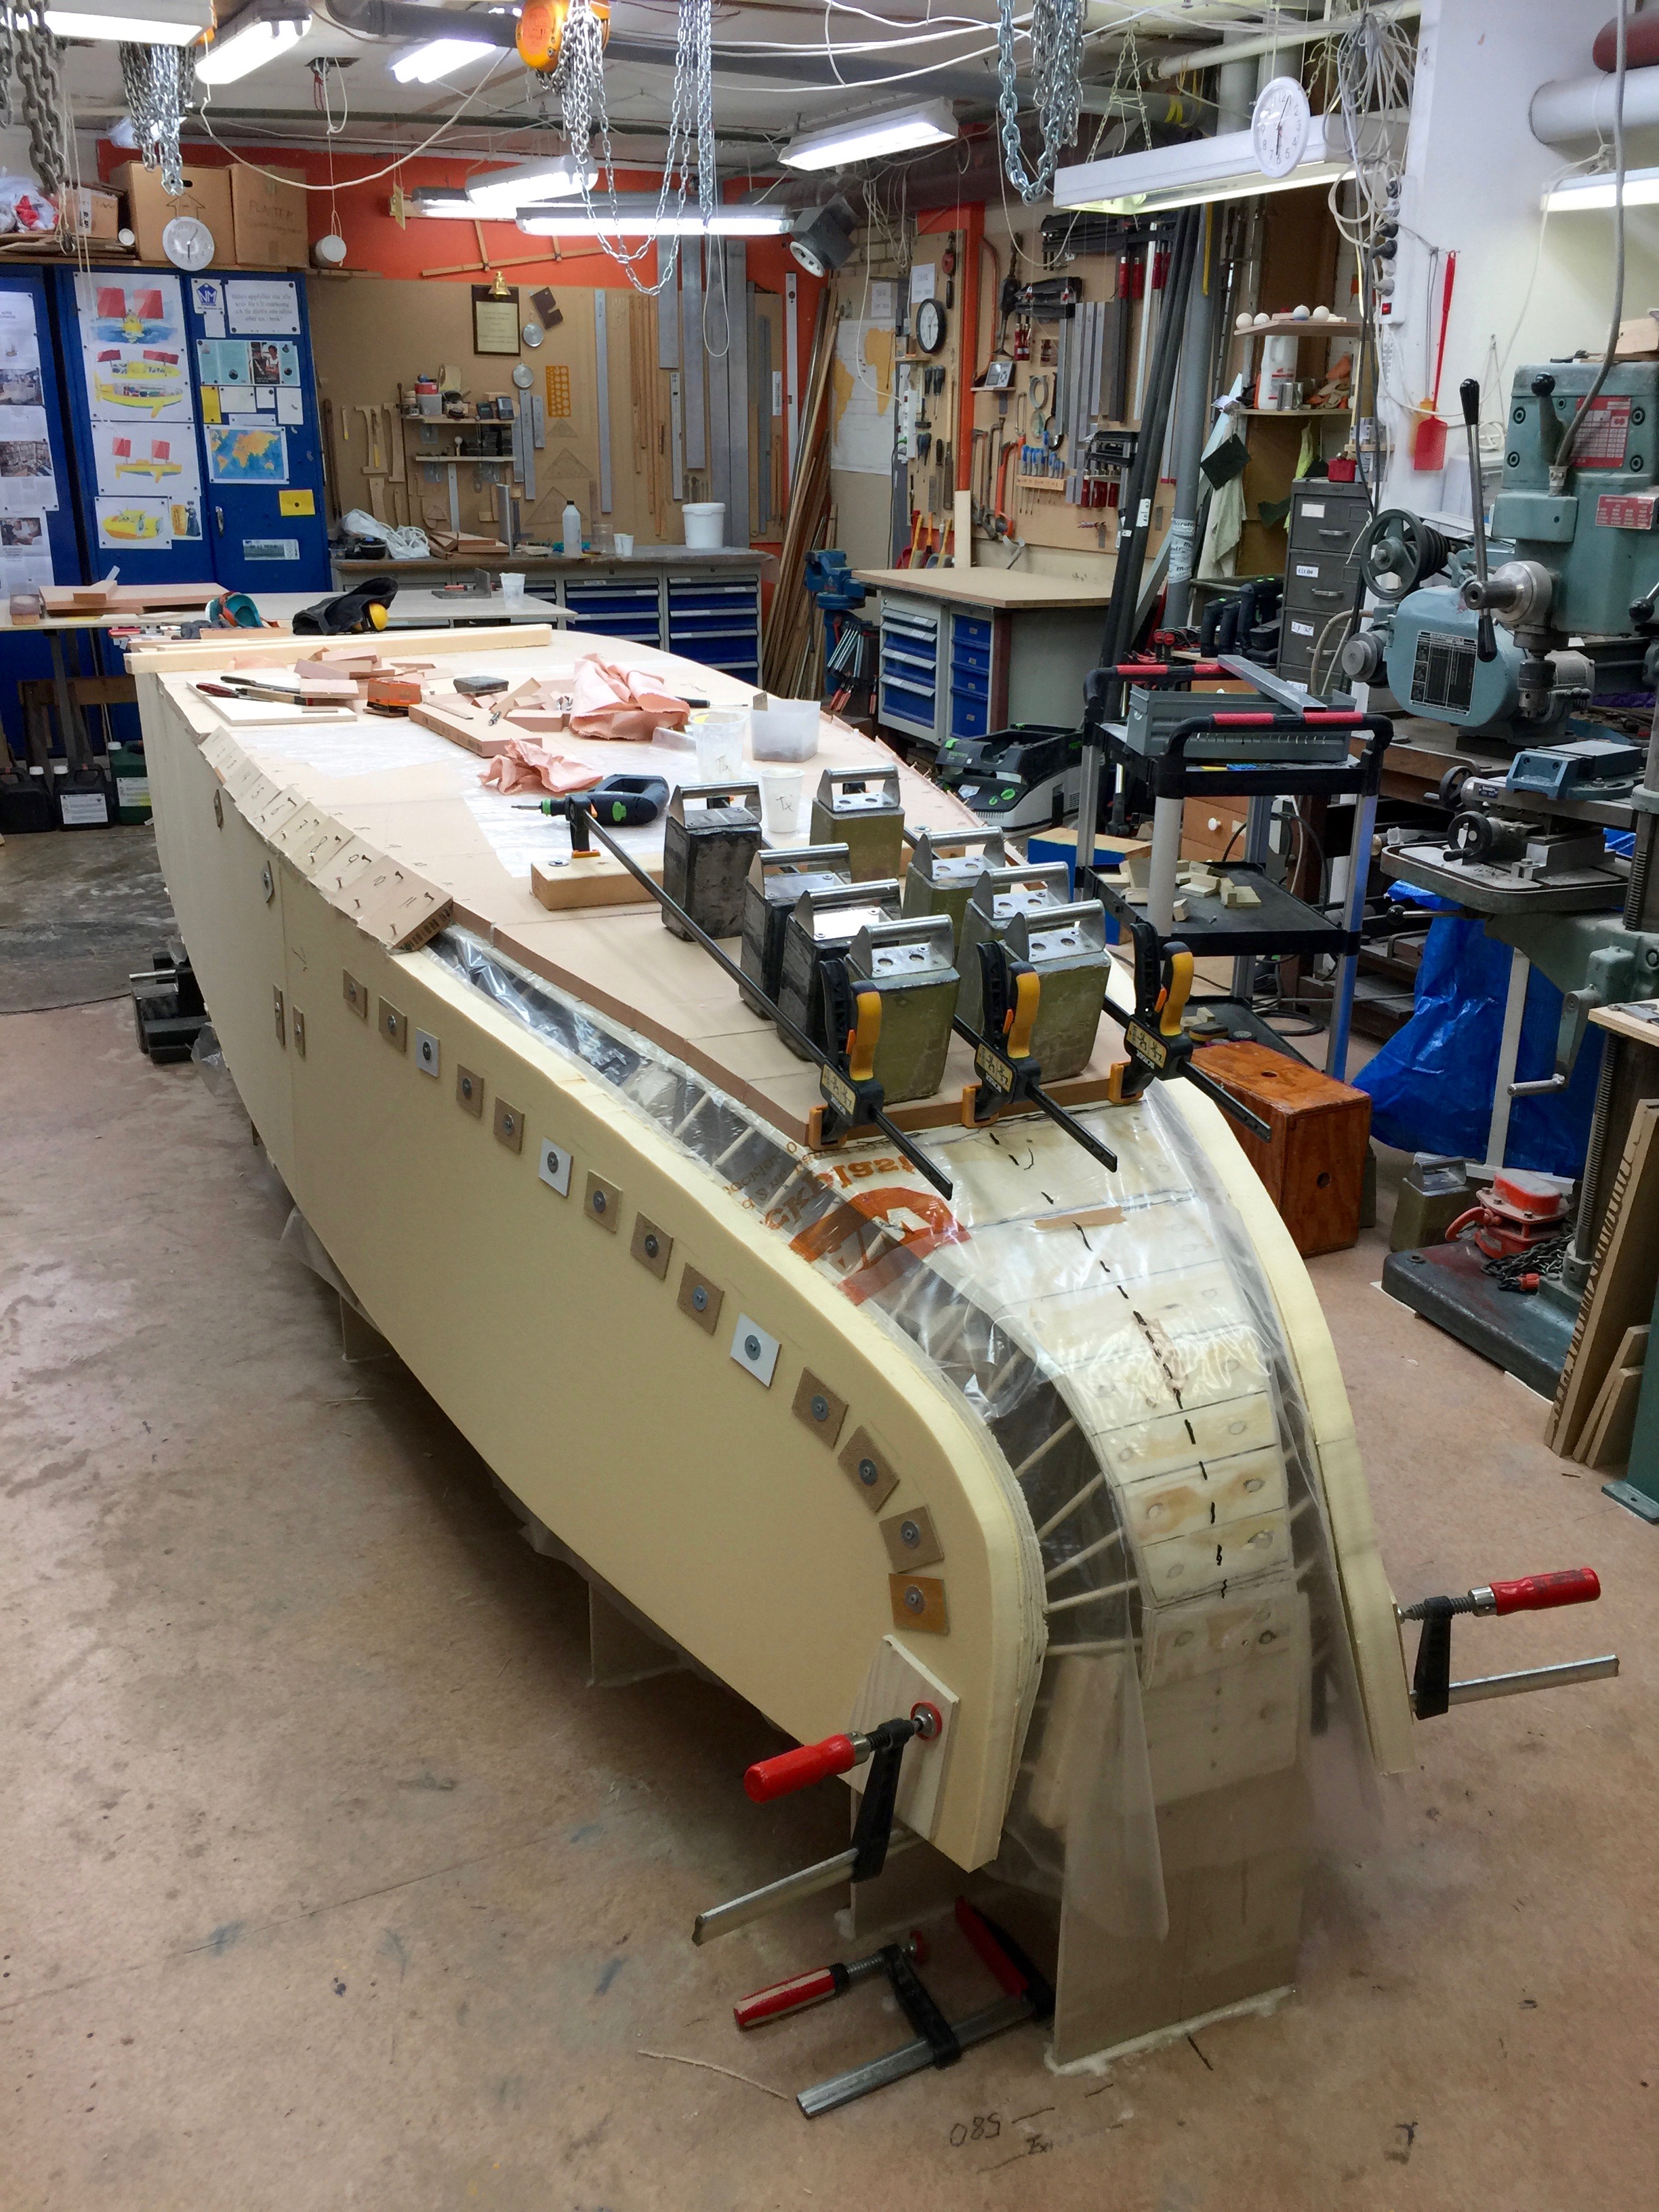
Today more pieces has been added and the end in form of a nicely shaped bow can be imaged.
The overshoot has been cut and it is possibel to imagine how the bow will look. Exlex has a gentel shape, still there is much tension in the hullsides due to the bending. Luckily they kept their shape even after cutting the overhang. Having keept them in shape for a long time I think was a good idea.The mirror image.The attentive viewer will notice that the sequence of pieces is 5 6 8 7 9 and 10 instead of intended 5 6 7 8 9 10. I was smearing epoxy on number 7 when I ran out of epoxy. I put number 7 on a safe place and mixed some more. When I was back with the mixture I had all forgotten pour 7 and started with 8. Soon I discovered the mistake. Luckily the pieces where so similar that the good NM-epoxy filled the gap. In this case nothing came to harm, ships have been lost due to lack of routine, bevare dear viewer.
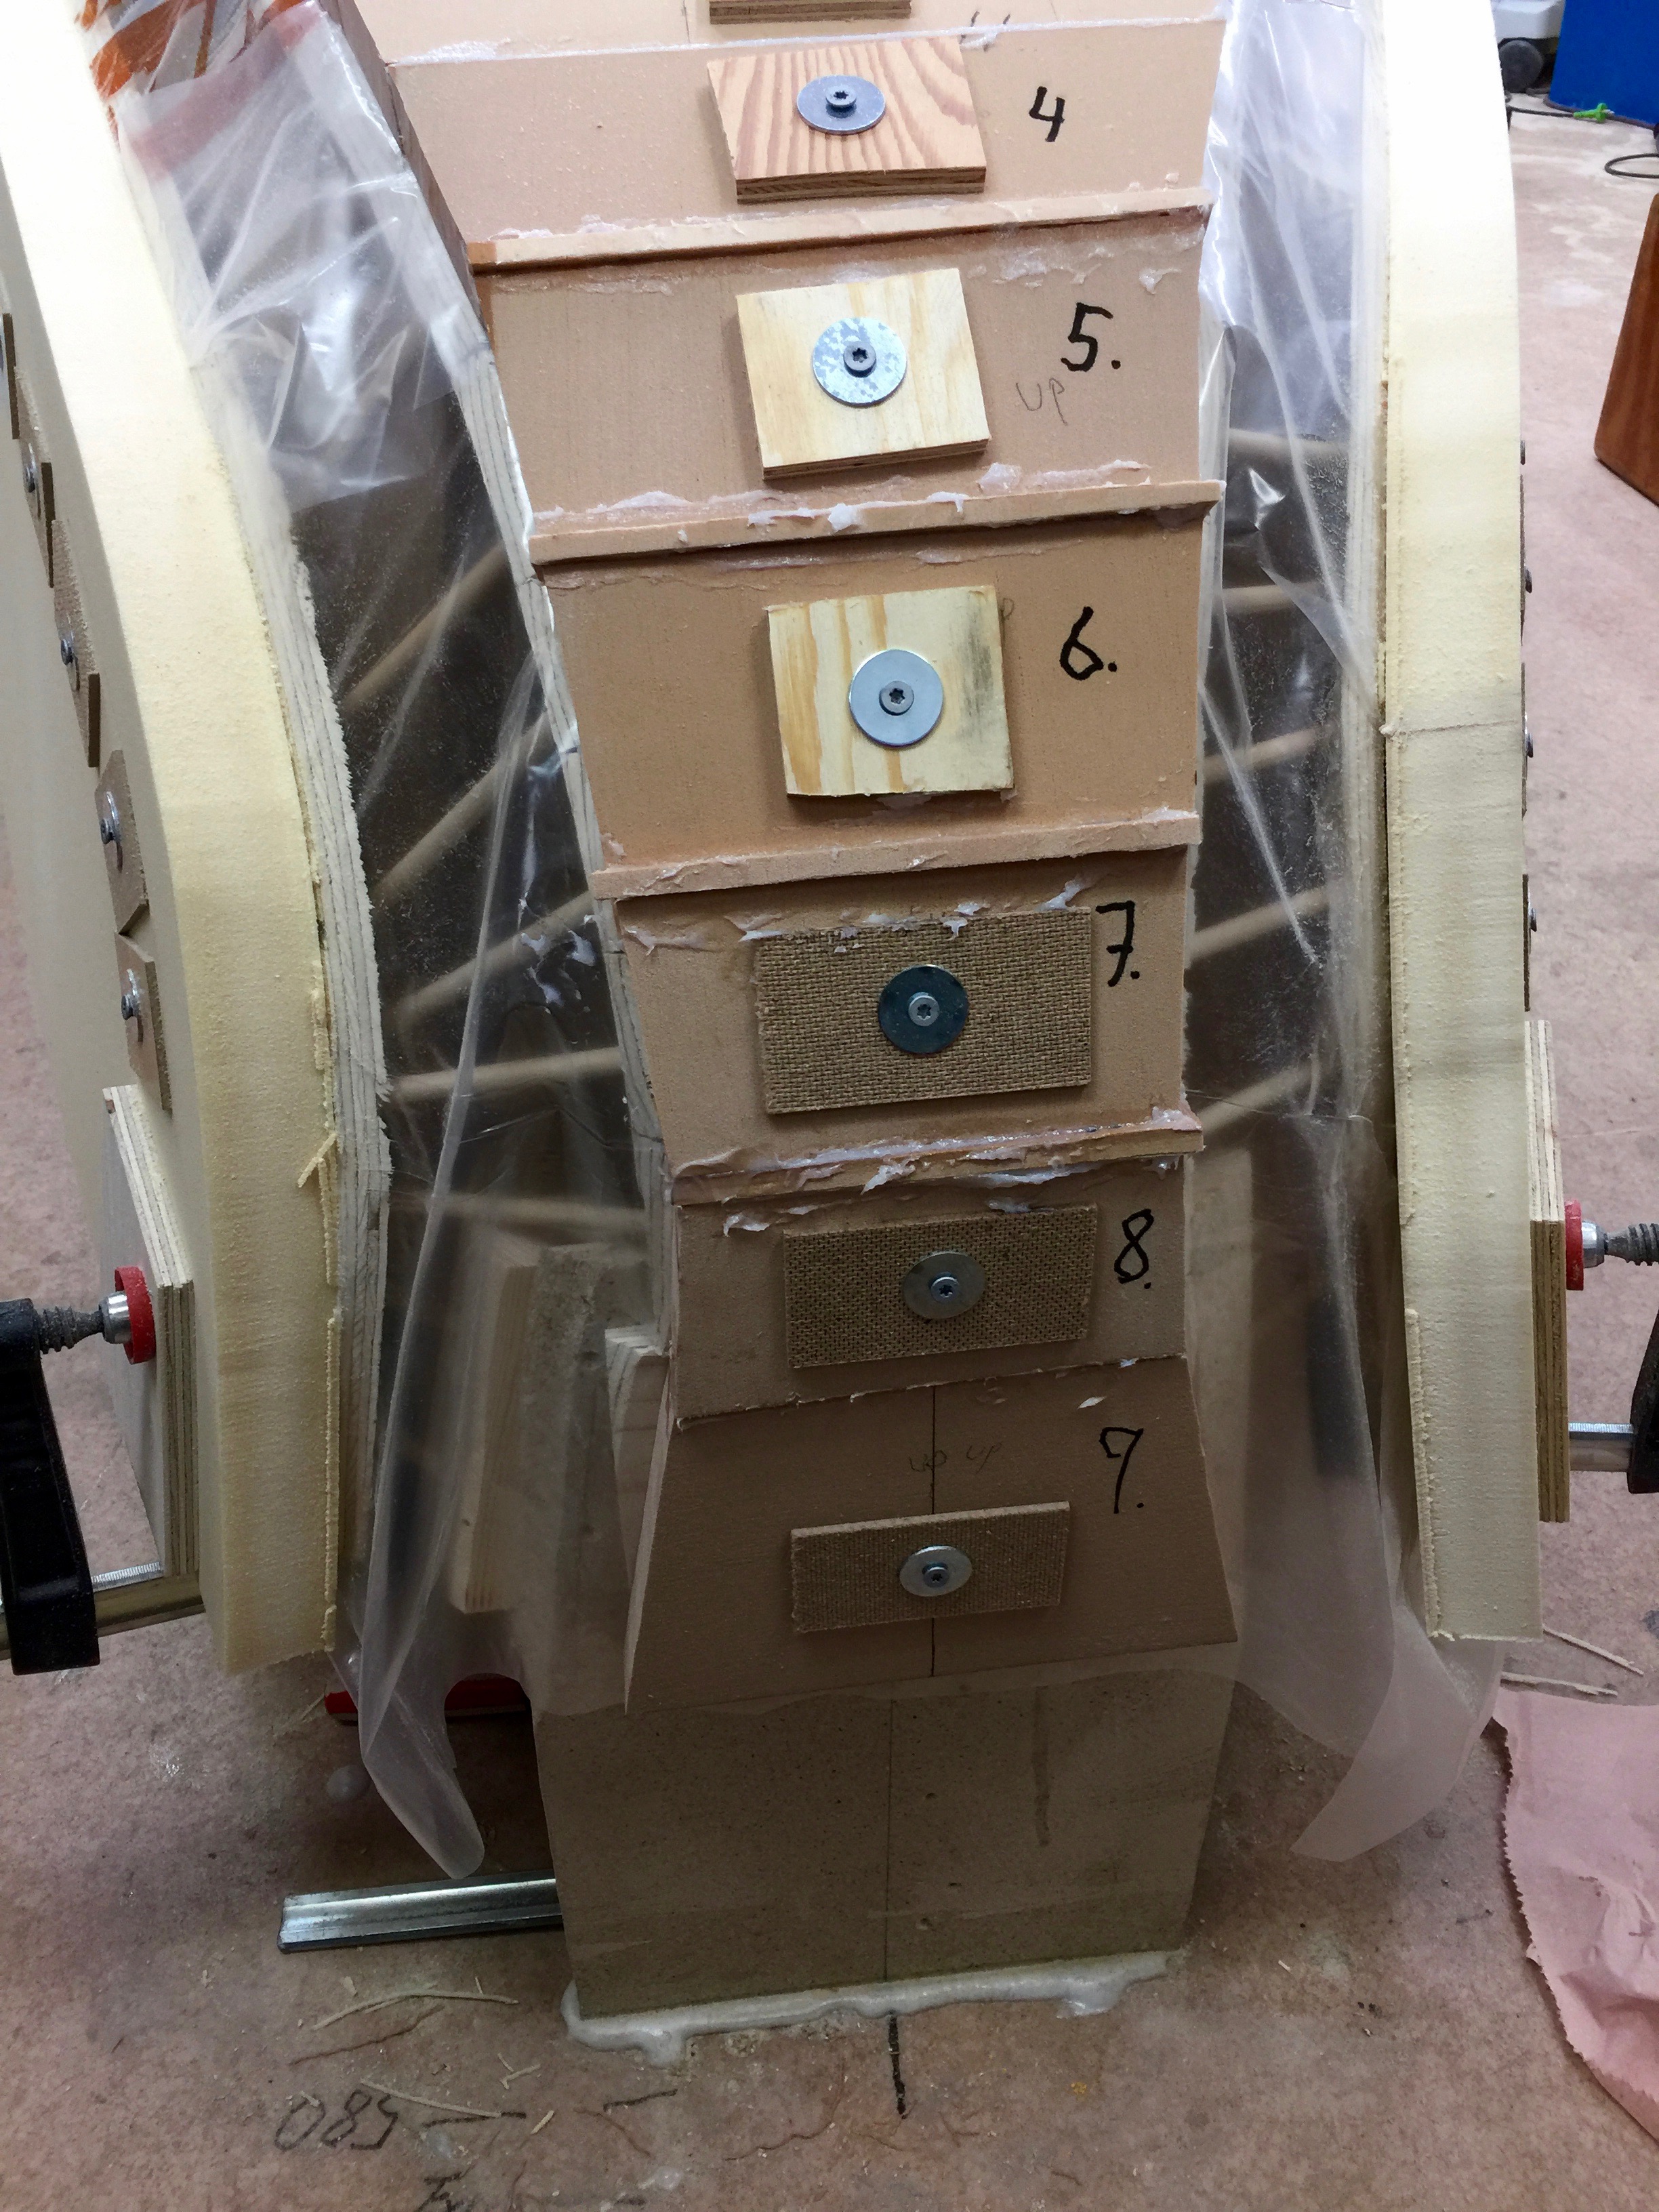
Today, besides doing two bottompieces I have started to glue the connecting bevel pieces.
Below are three pictures. Click once or twice to enlarge.
The ones on the port side which looks like starbord with the boat upside down. Each 10 – 11 cm piece is two bits one flat and one with 45° degrees. Its slow work. Still 50 cm on each is done and soon I am finished with it.
The starbord side.
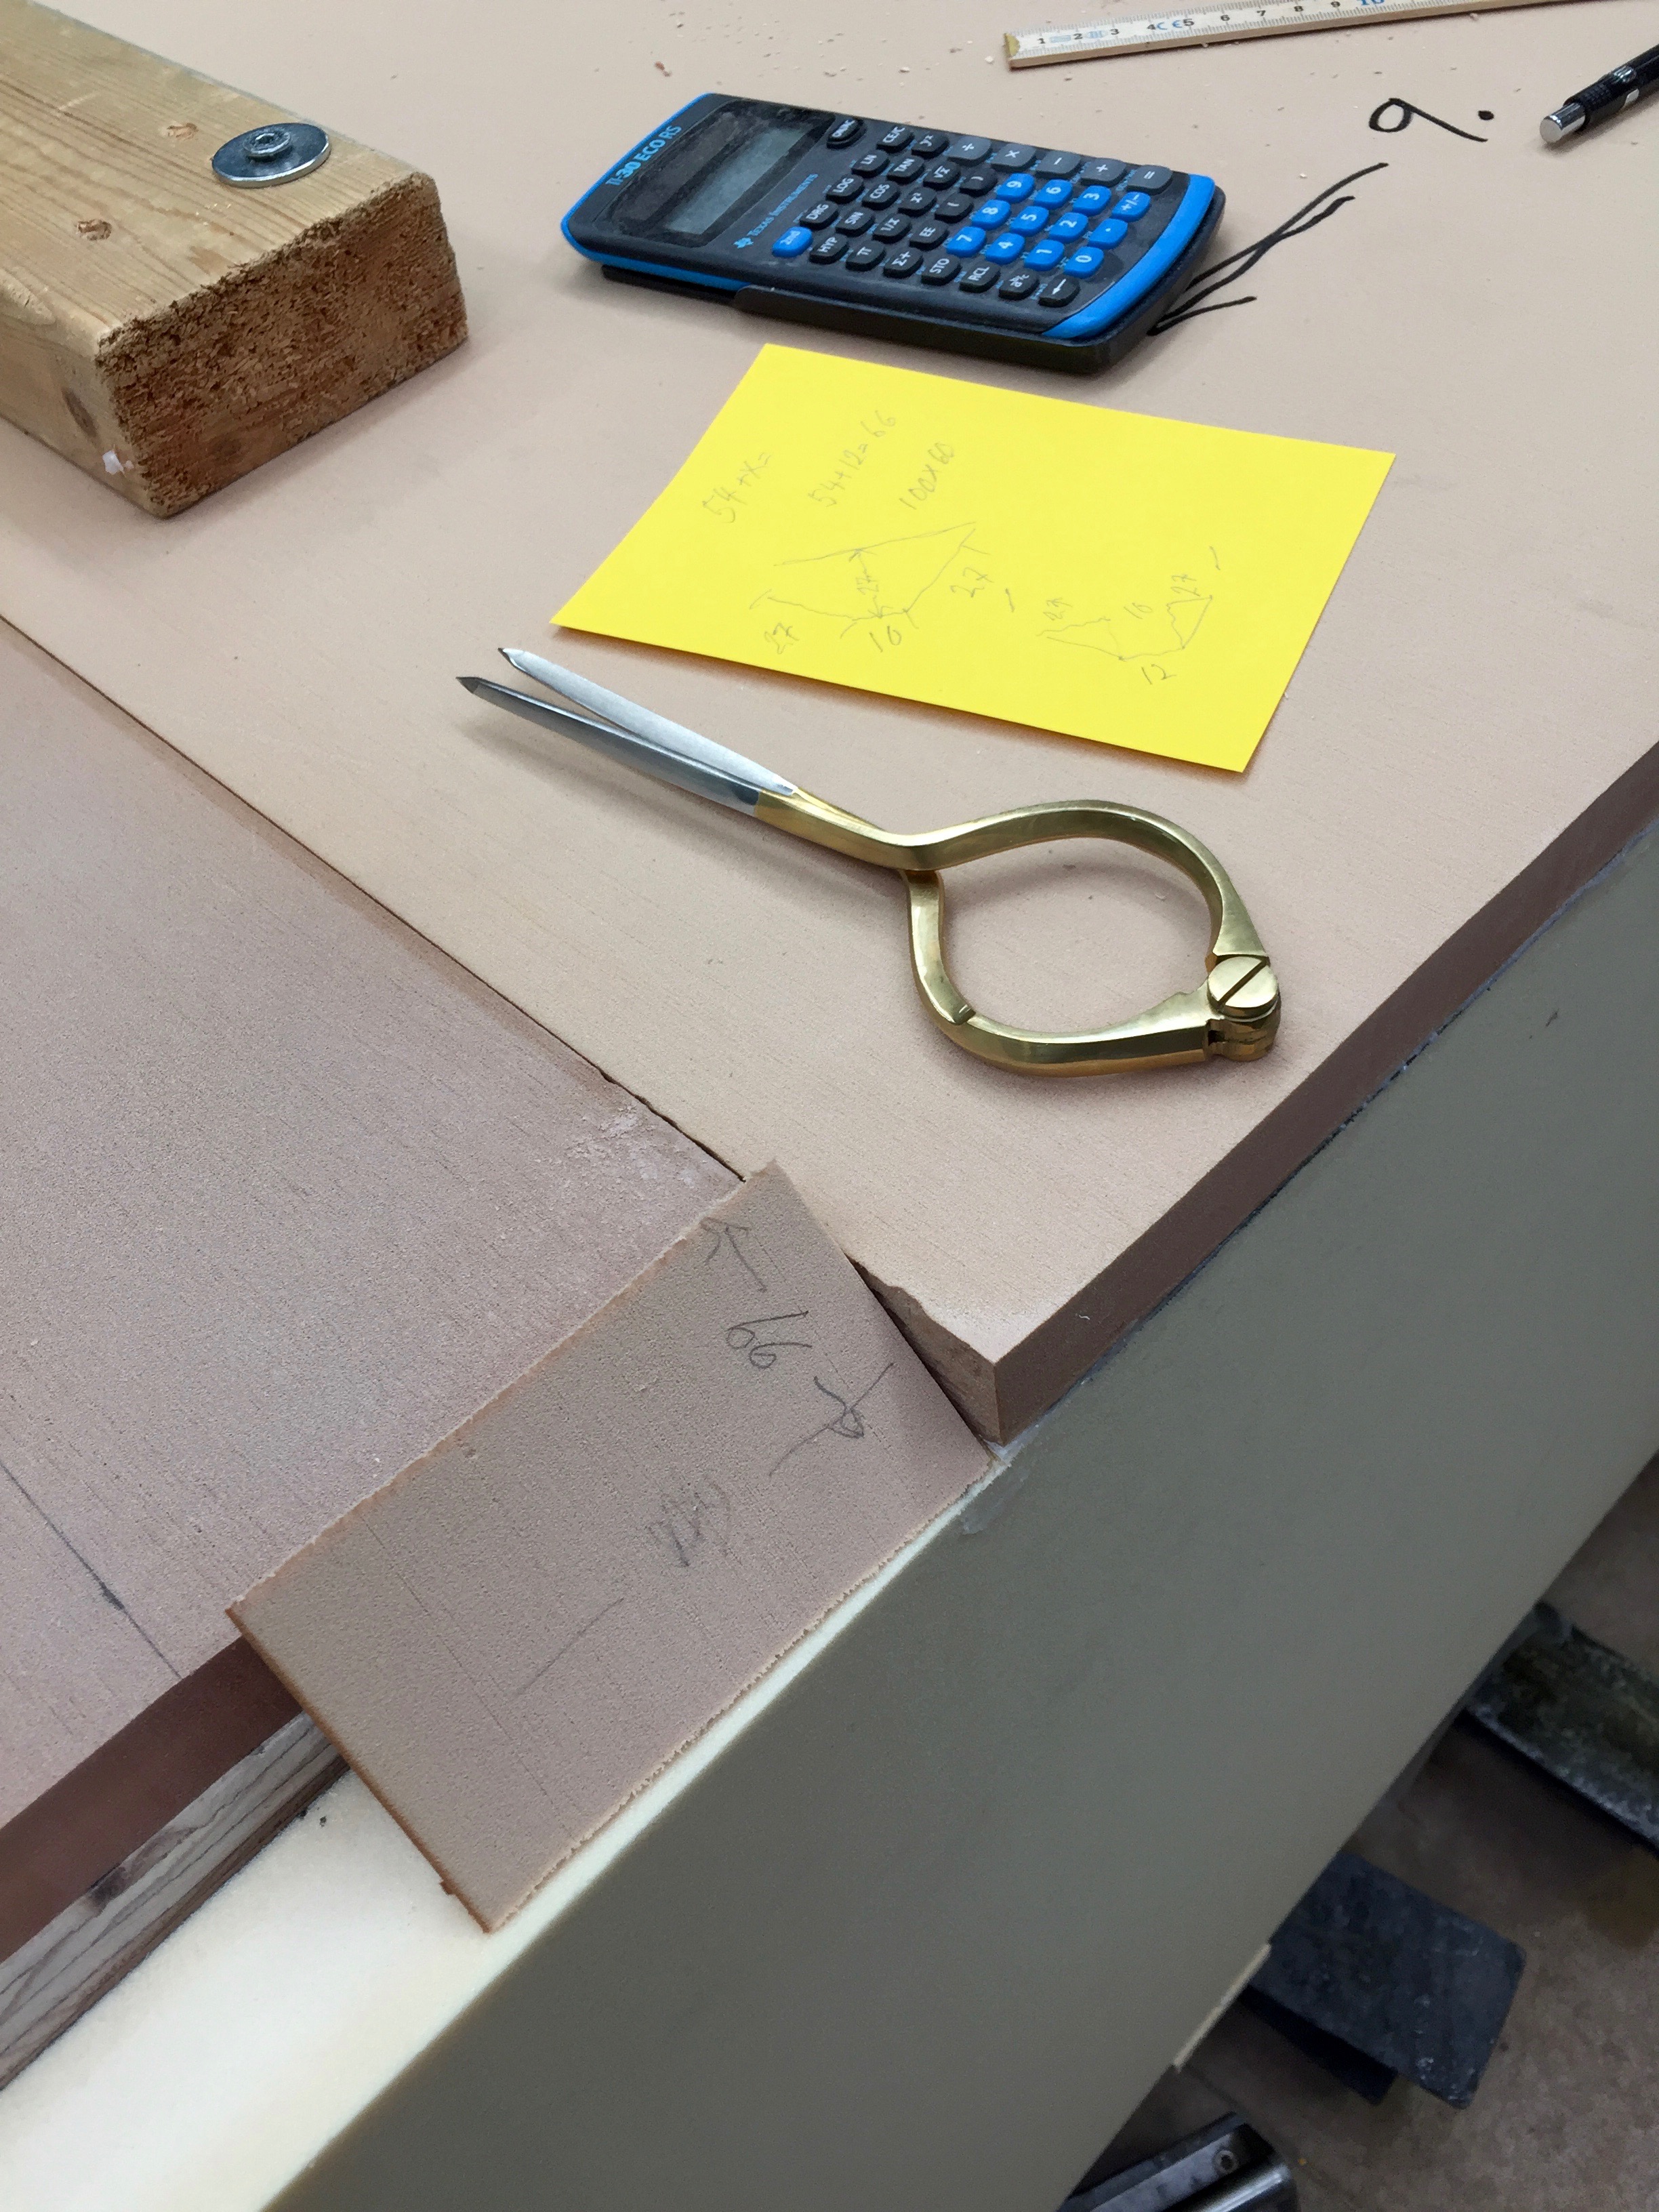
I use plenty of NM-epoxy so that it squeezes out in the gaps, filling all voids, then I recicle the squeezed epoxy on the next piece. This is good economy as well as its saves grinding.
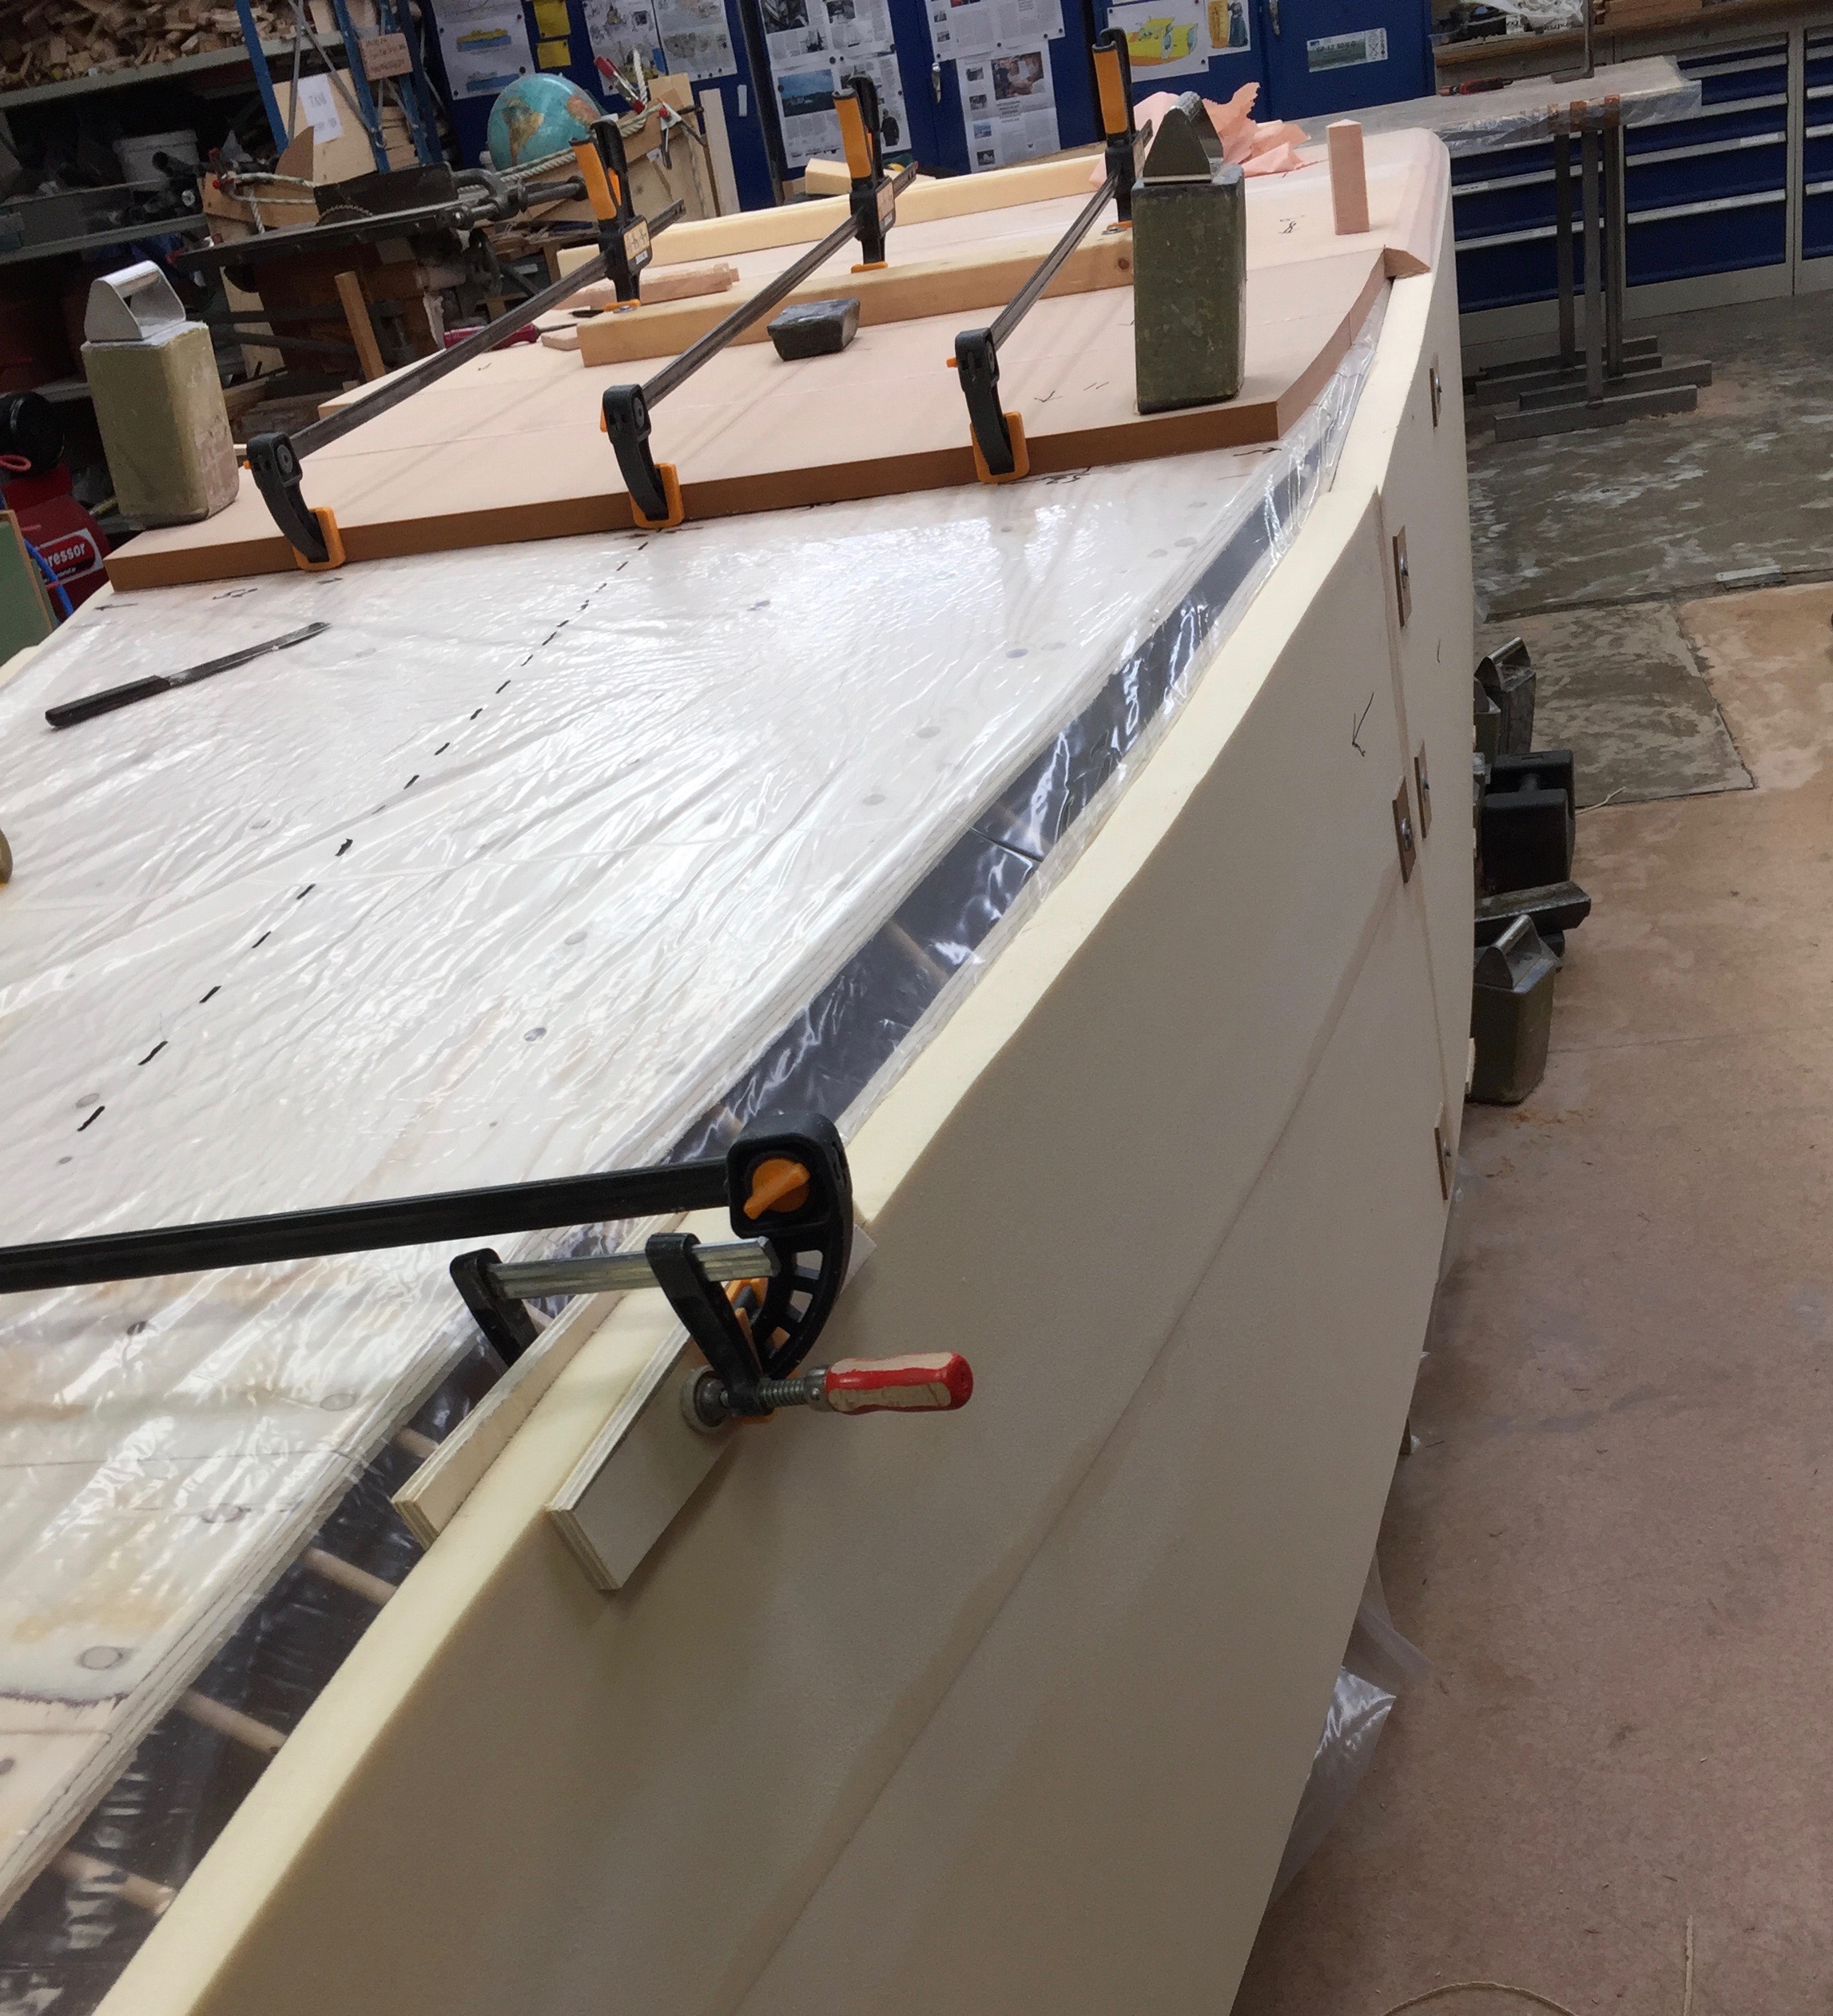
Now I am getting to the forward part av the boat leaving the square aft section behind and going to start the compound curvature. I have decided to do that by connecting the sides and the bottom with bevels of incresing length.
Leaving the sides as guides I shape the bottom part by taking the average of the bottom of the male mould.
Below are some pictures.
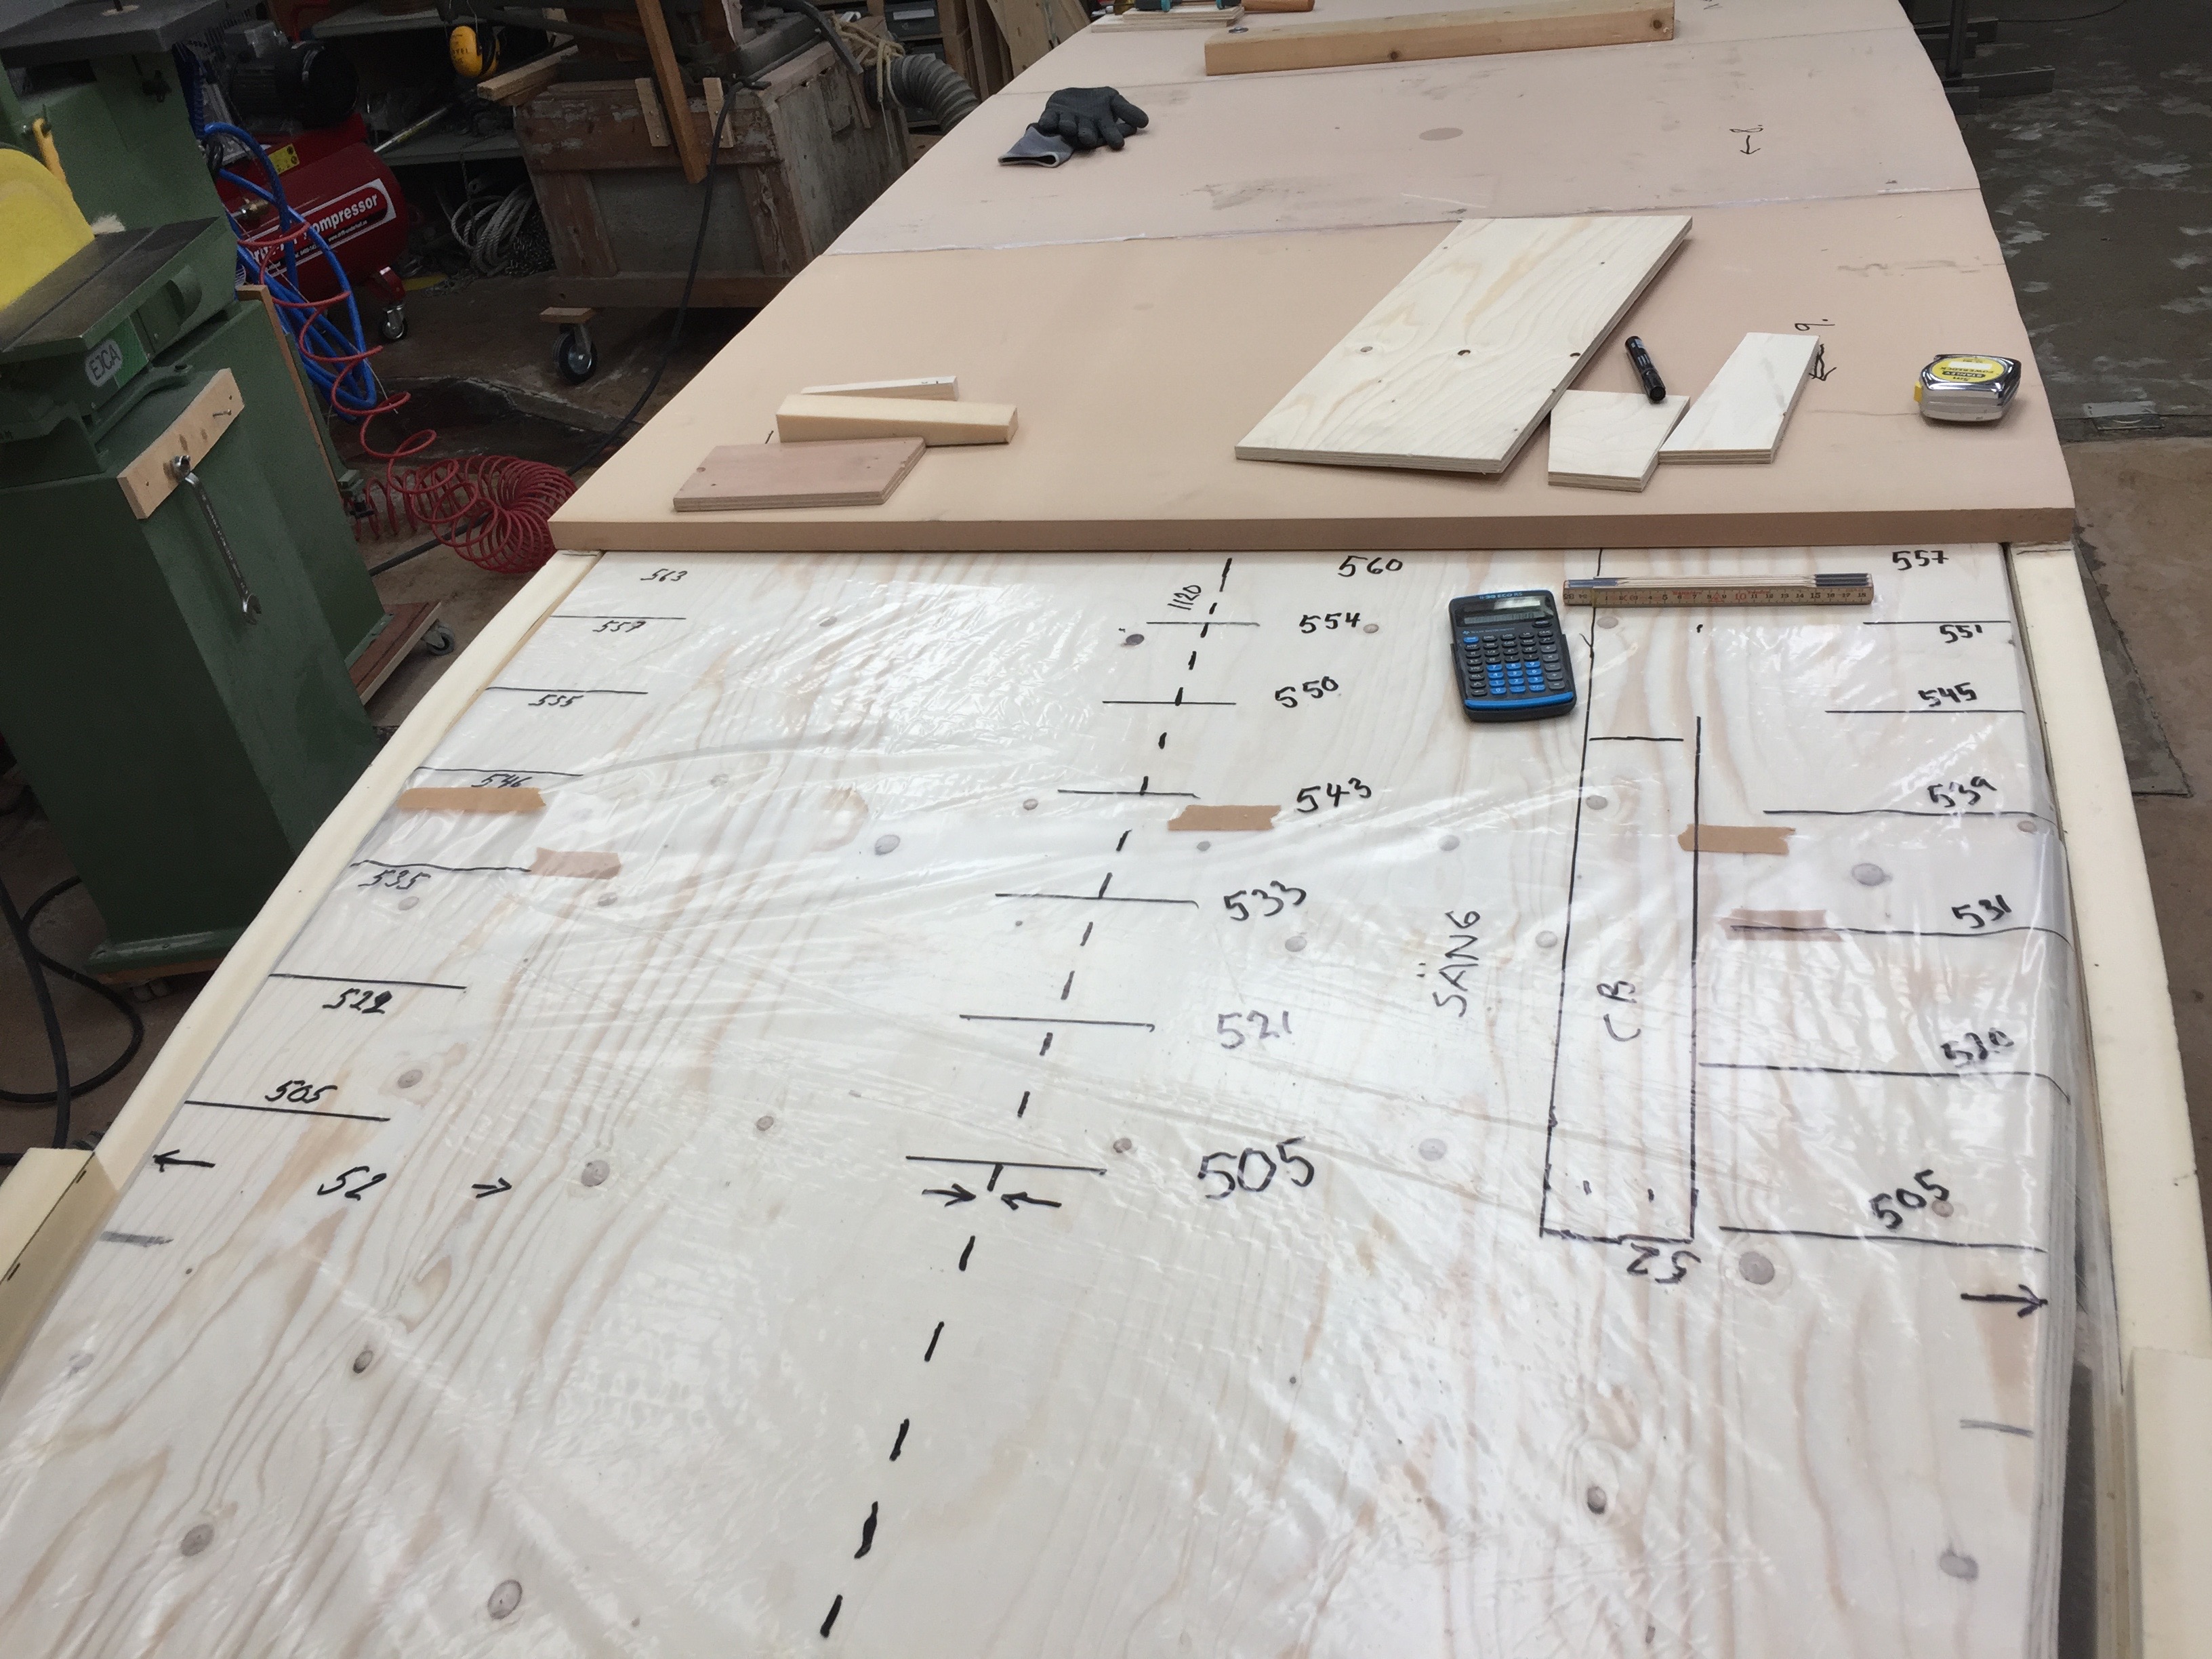
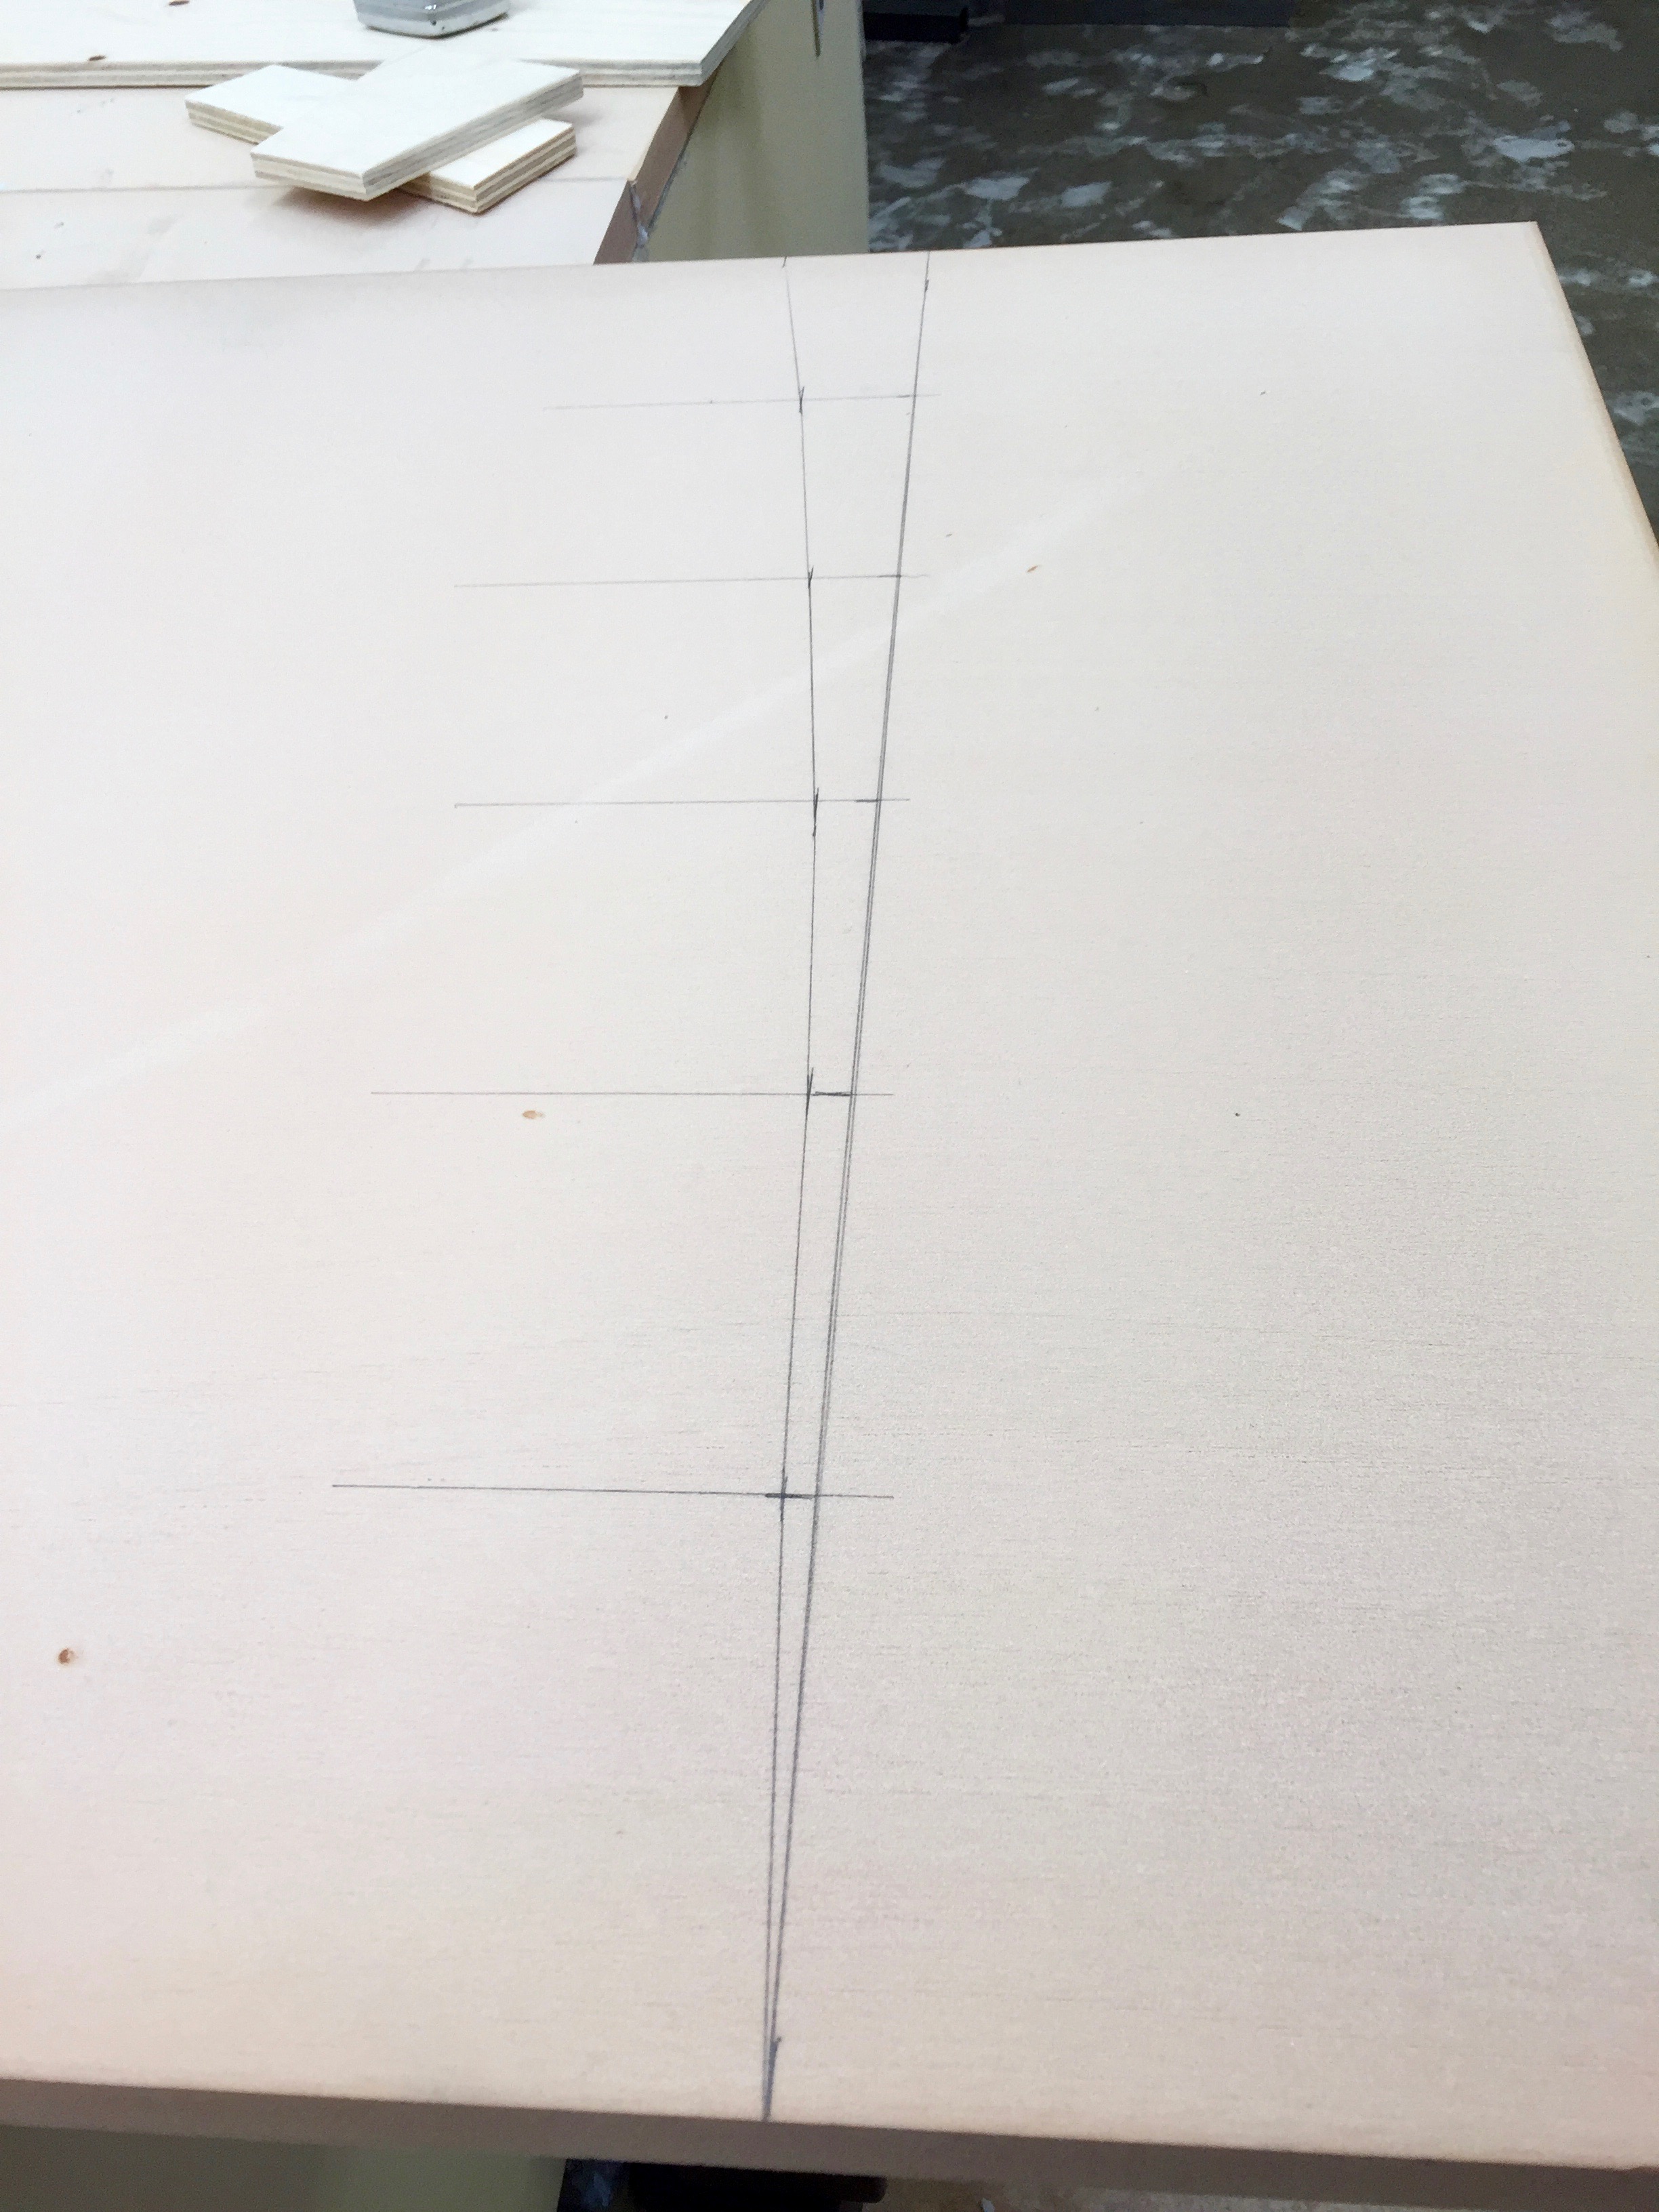
Having measured the half breths I take the average of them to get a symmetrical boat. the reason for the half breaths having different lengths is that I have done the shaping by eye.
The numbers plotted on the Divinycell.
The first of many bevels each 10 centimeters in length. As I progress forward the will span a longer and longer gap.
The gap to be filled with bevels seen from the bow. The gap between hullsides and bottom gets longer and longer helping to create the desired spoon shape of the bow. Such is the theory.
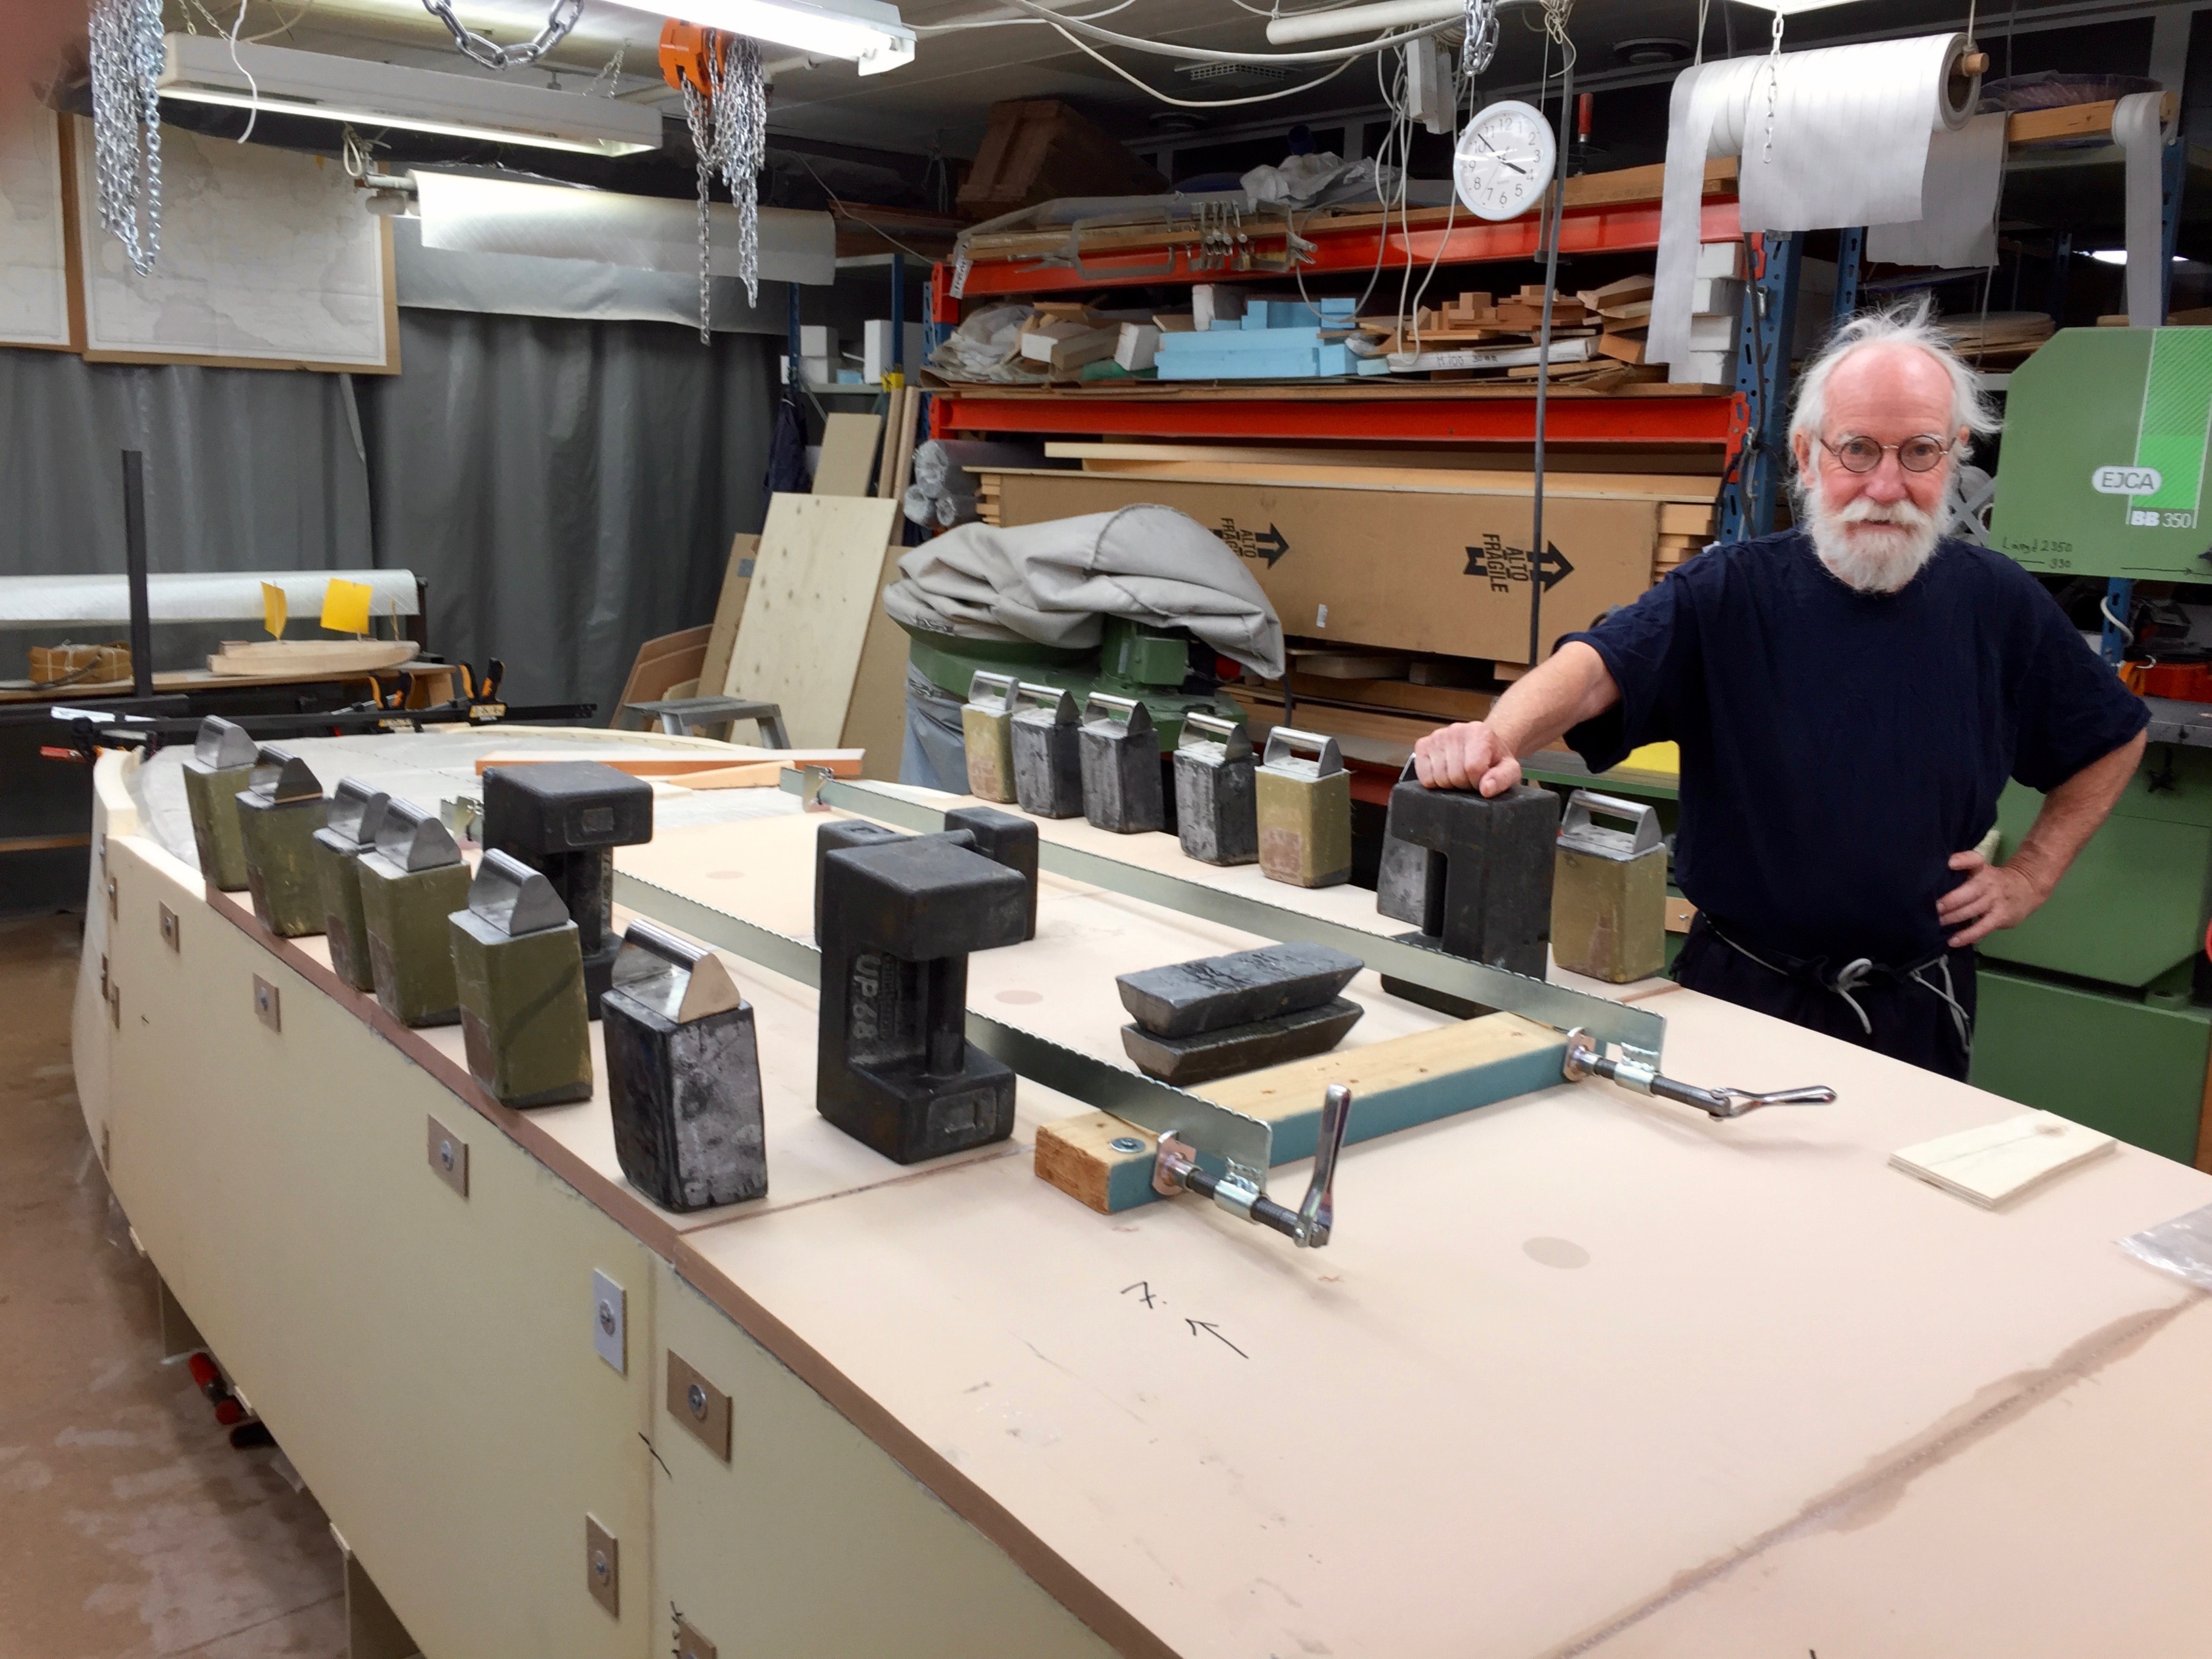
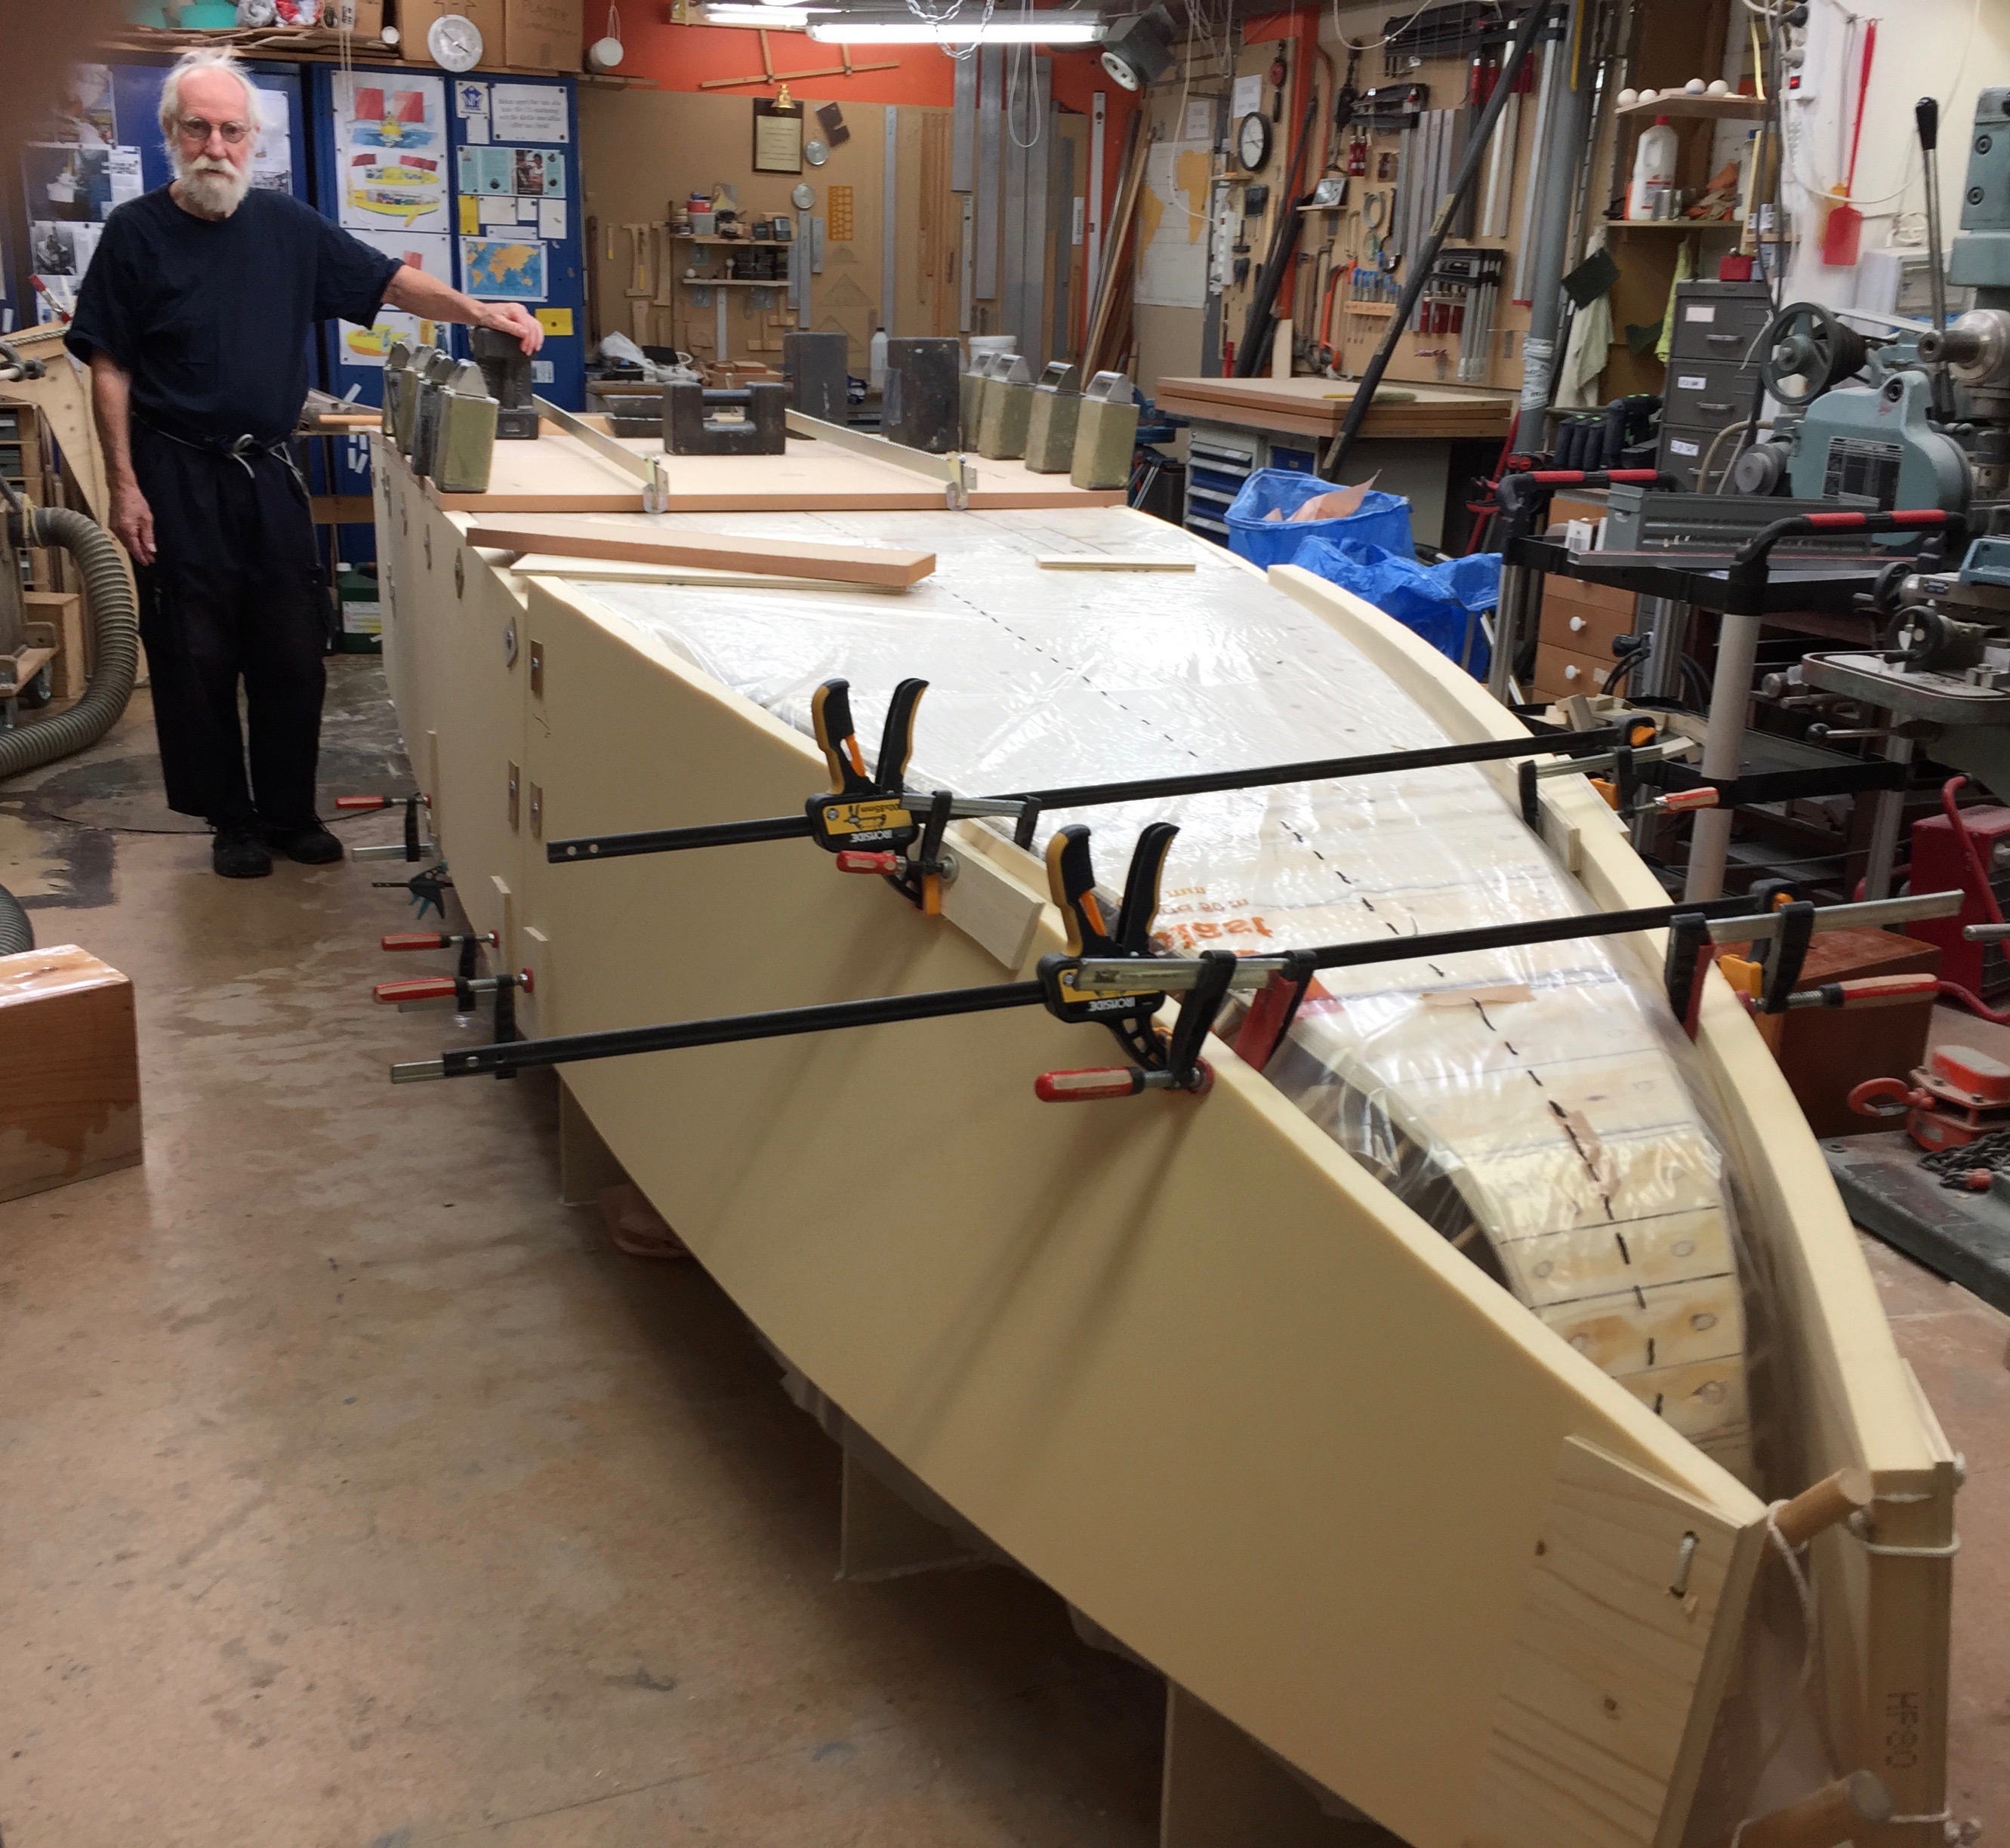
Today I have with the help of Håkan added two sheets of Divinycell on the bottom. I am now getting close to the more complex bow with its compound shaped curvature. I am not really shore how to solve that problem but I cross that bridge when I come to it.
Below two pictures from today.
One end of the two clamps (close to the camera) are attached to a piece of wood temporarily screwed to the very strong Divinycell. The weight of of the weights are mostly 14 kilos lead and 20 kilos the big cast iron ones. Ther are also several of 7,5 kilos. Weights are very useful to the boatbuilder.