BOTTOM PAINT

CROWDFUNDING WITHOUT MIDDLEMEN
PEOPLE WHO LIKE TO SUPPORT MY PROJECT ARE WELCOME TO SWISH DONATIONS TO 0706 200 550 OR USE THE DONATION BUTTON
ALL CONTRIBUTIONS ARE WELCOME
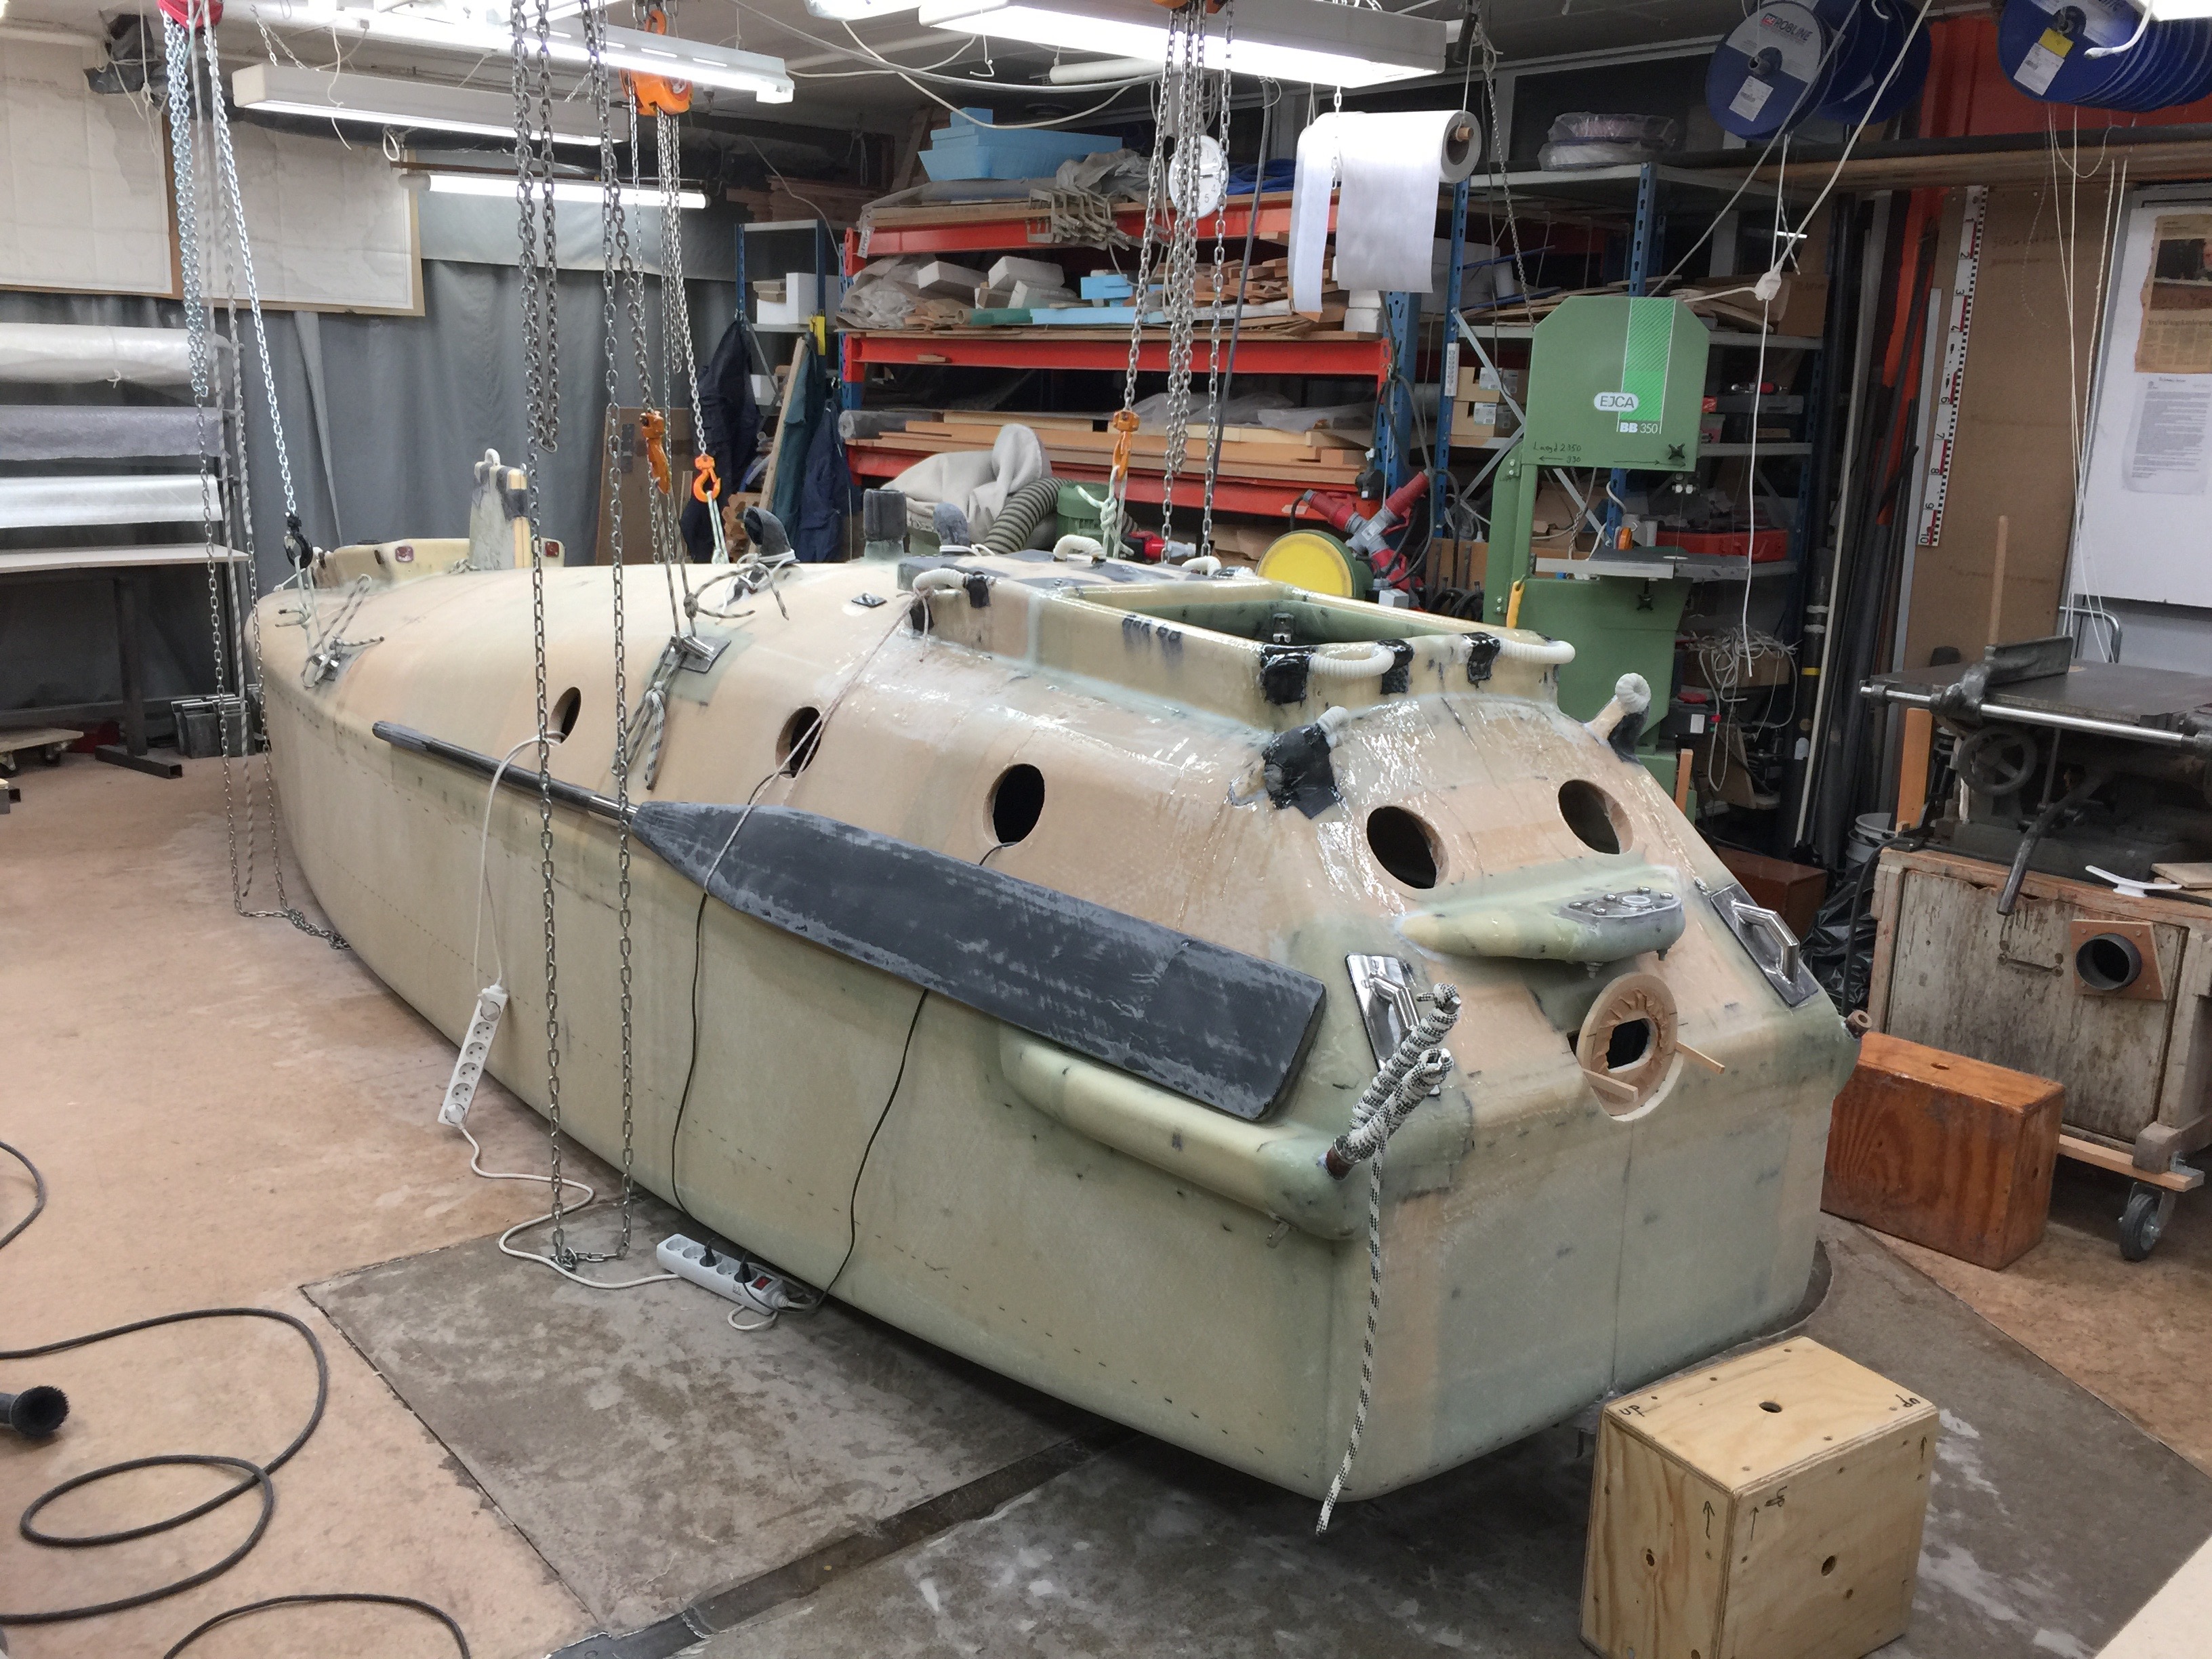
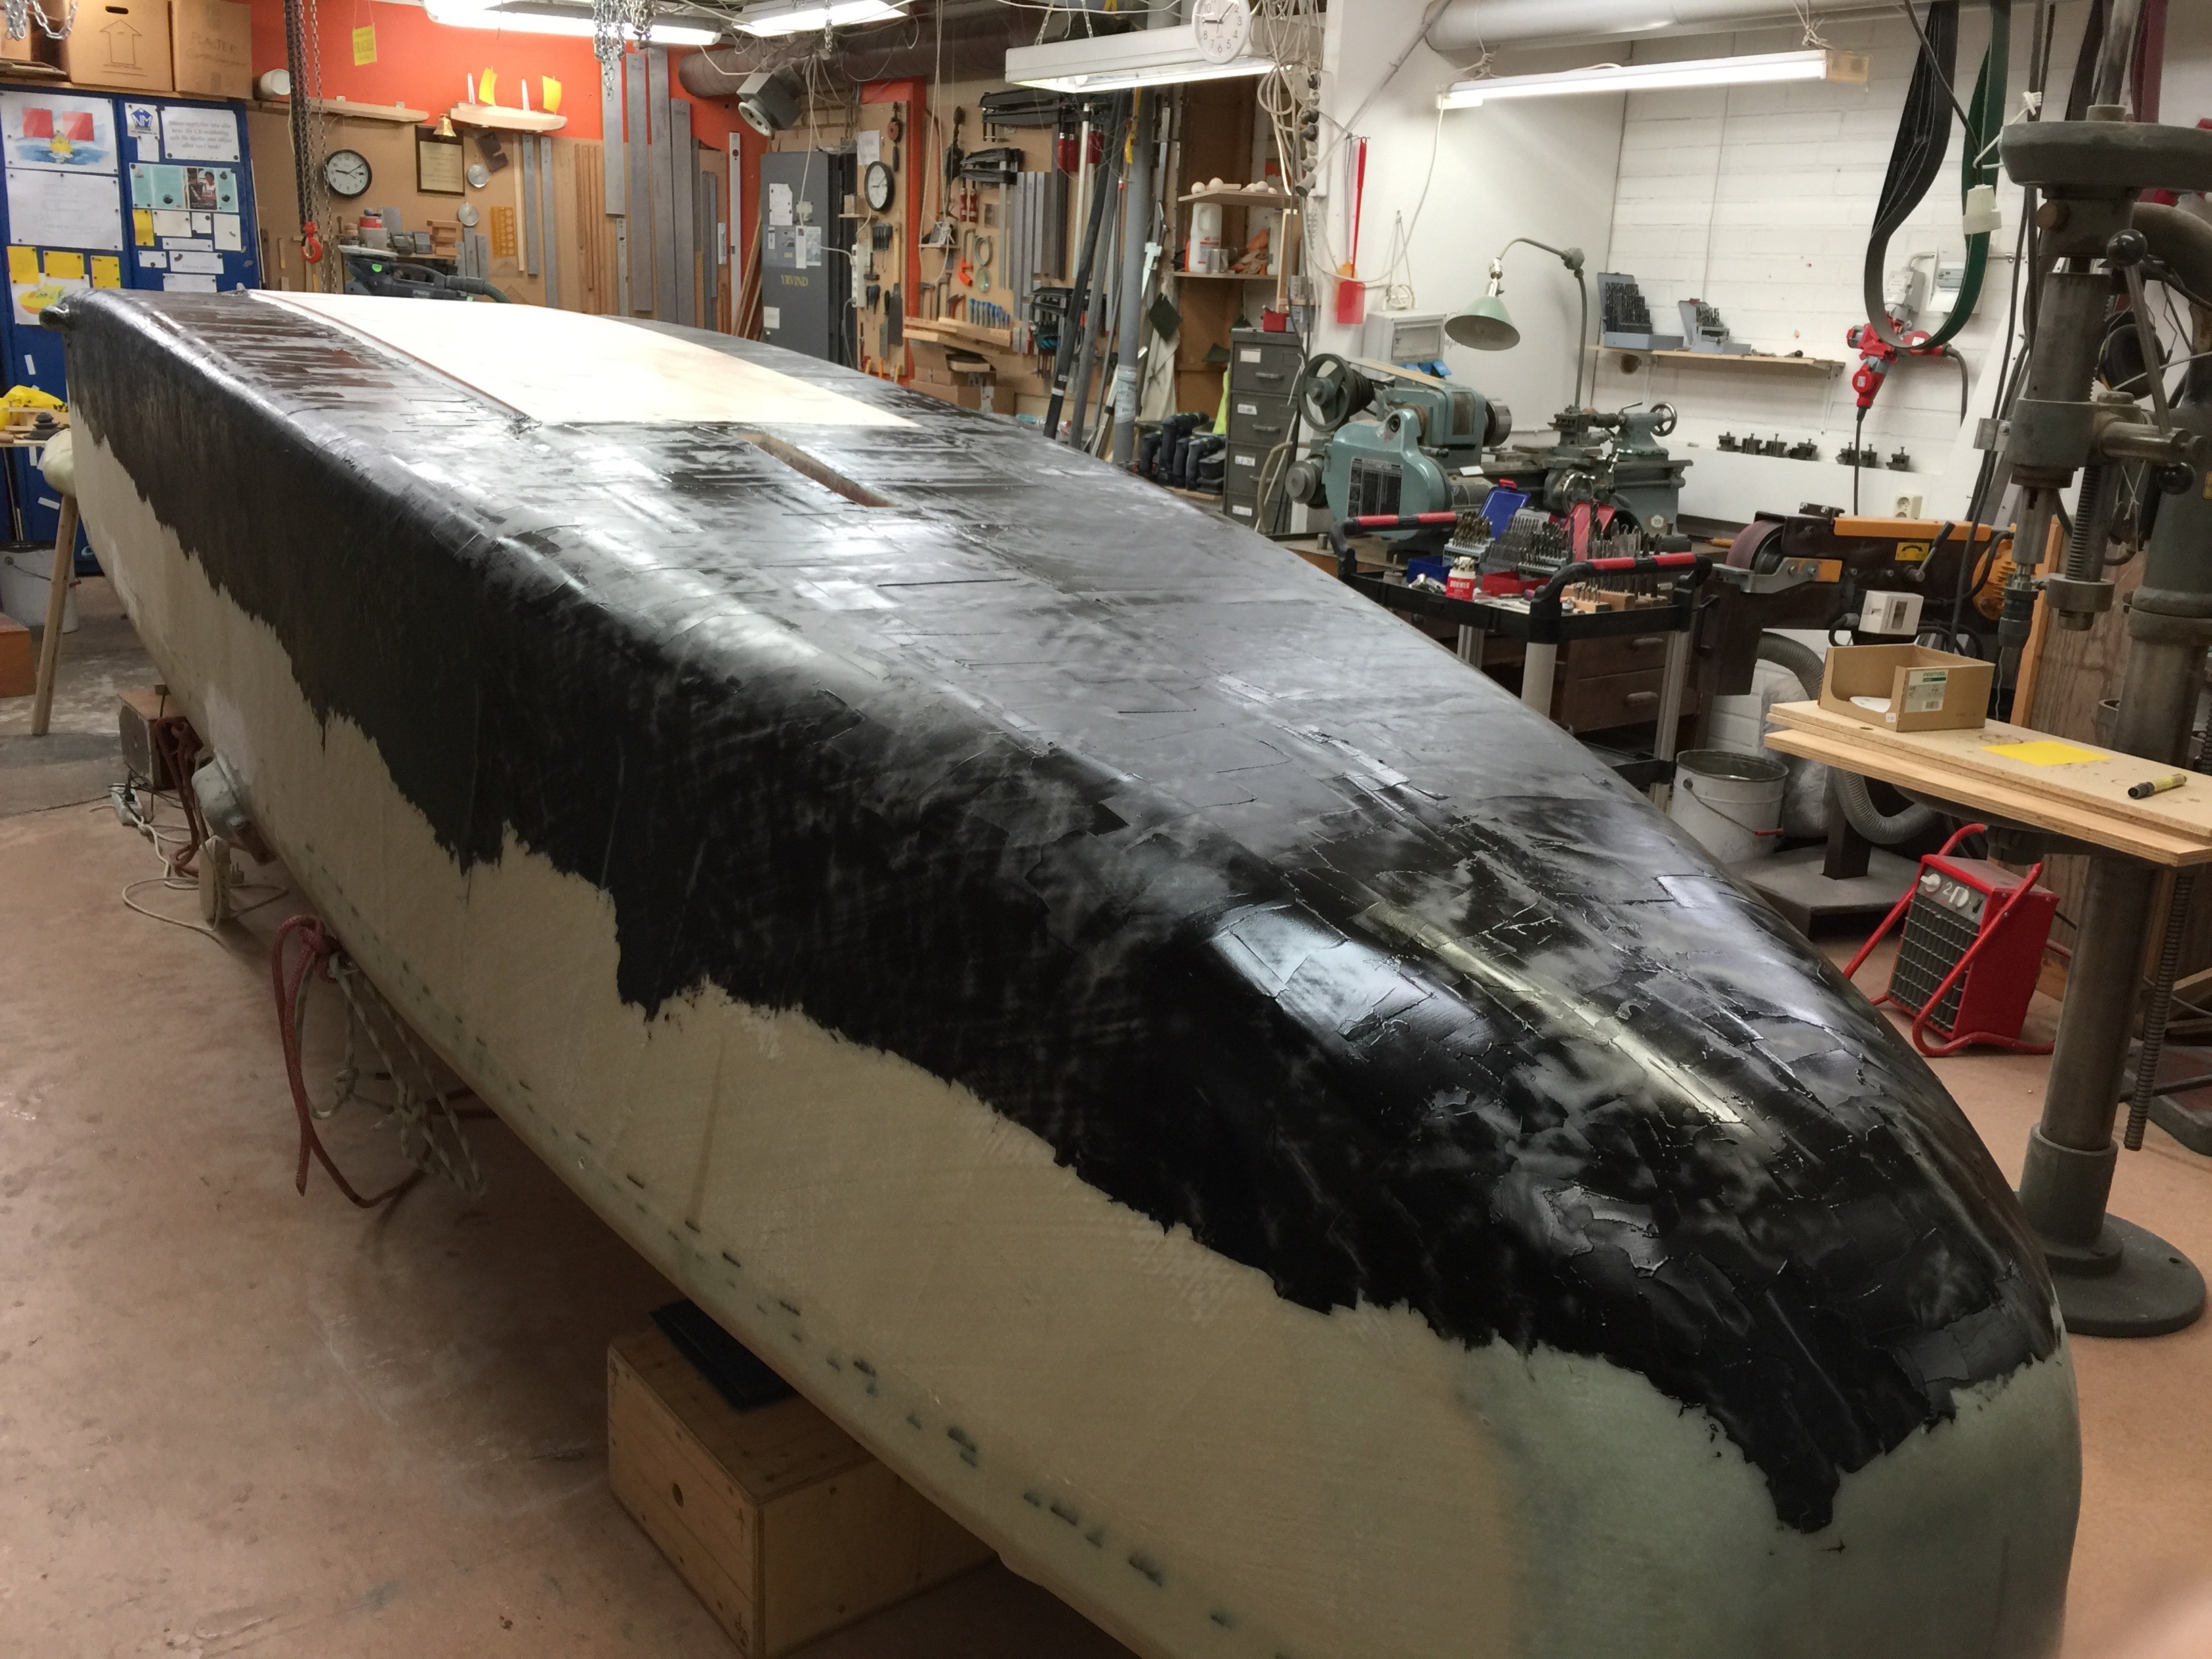
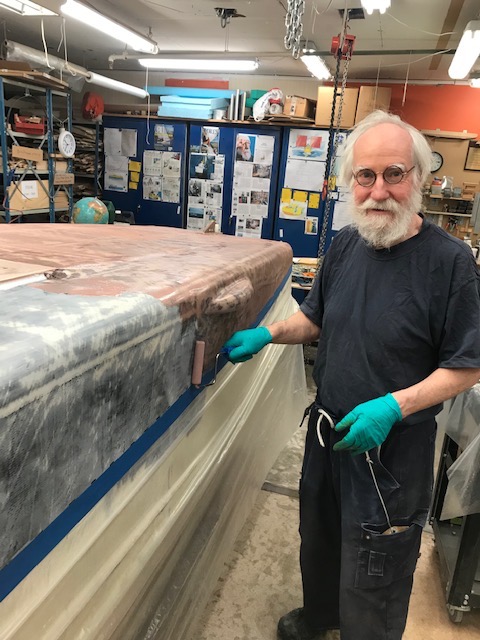
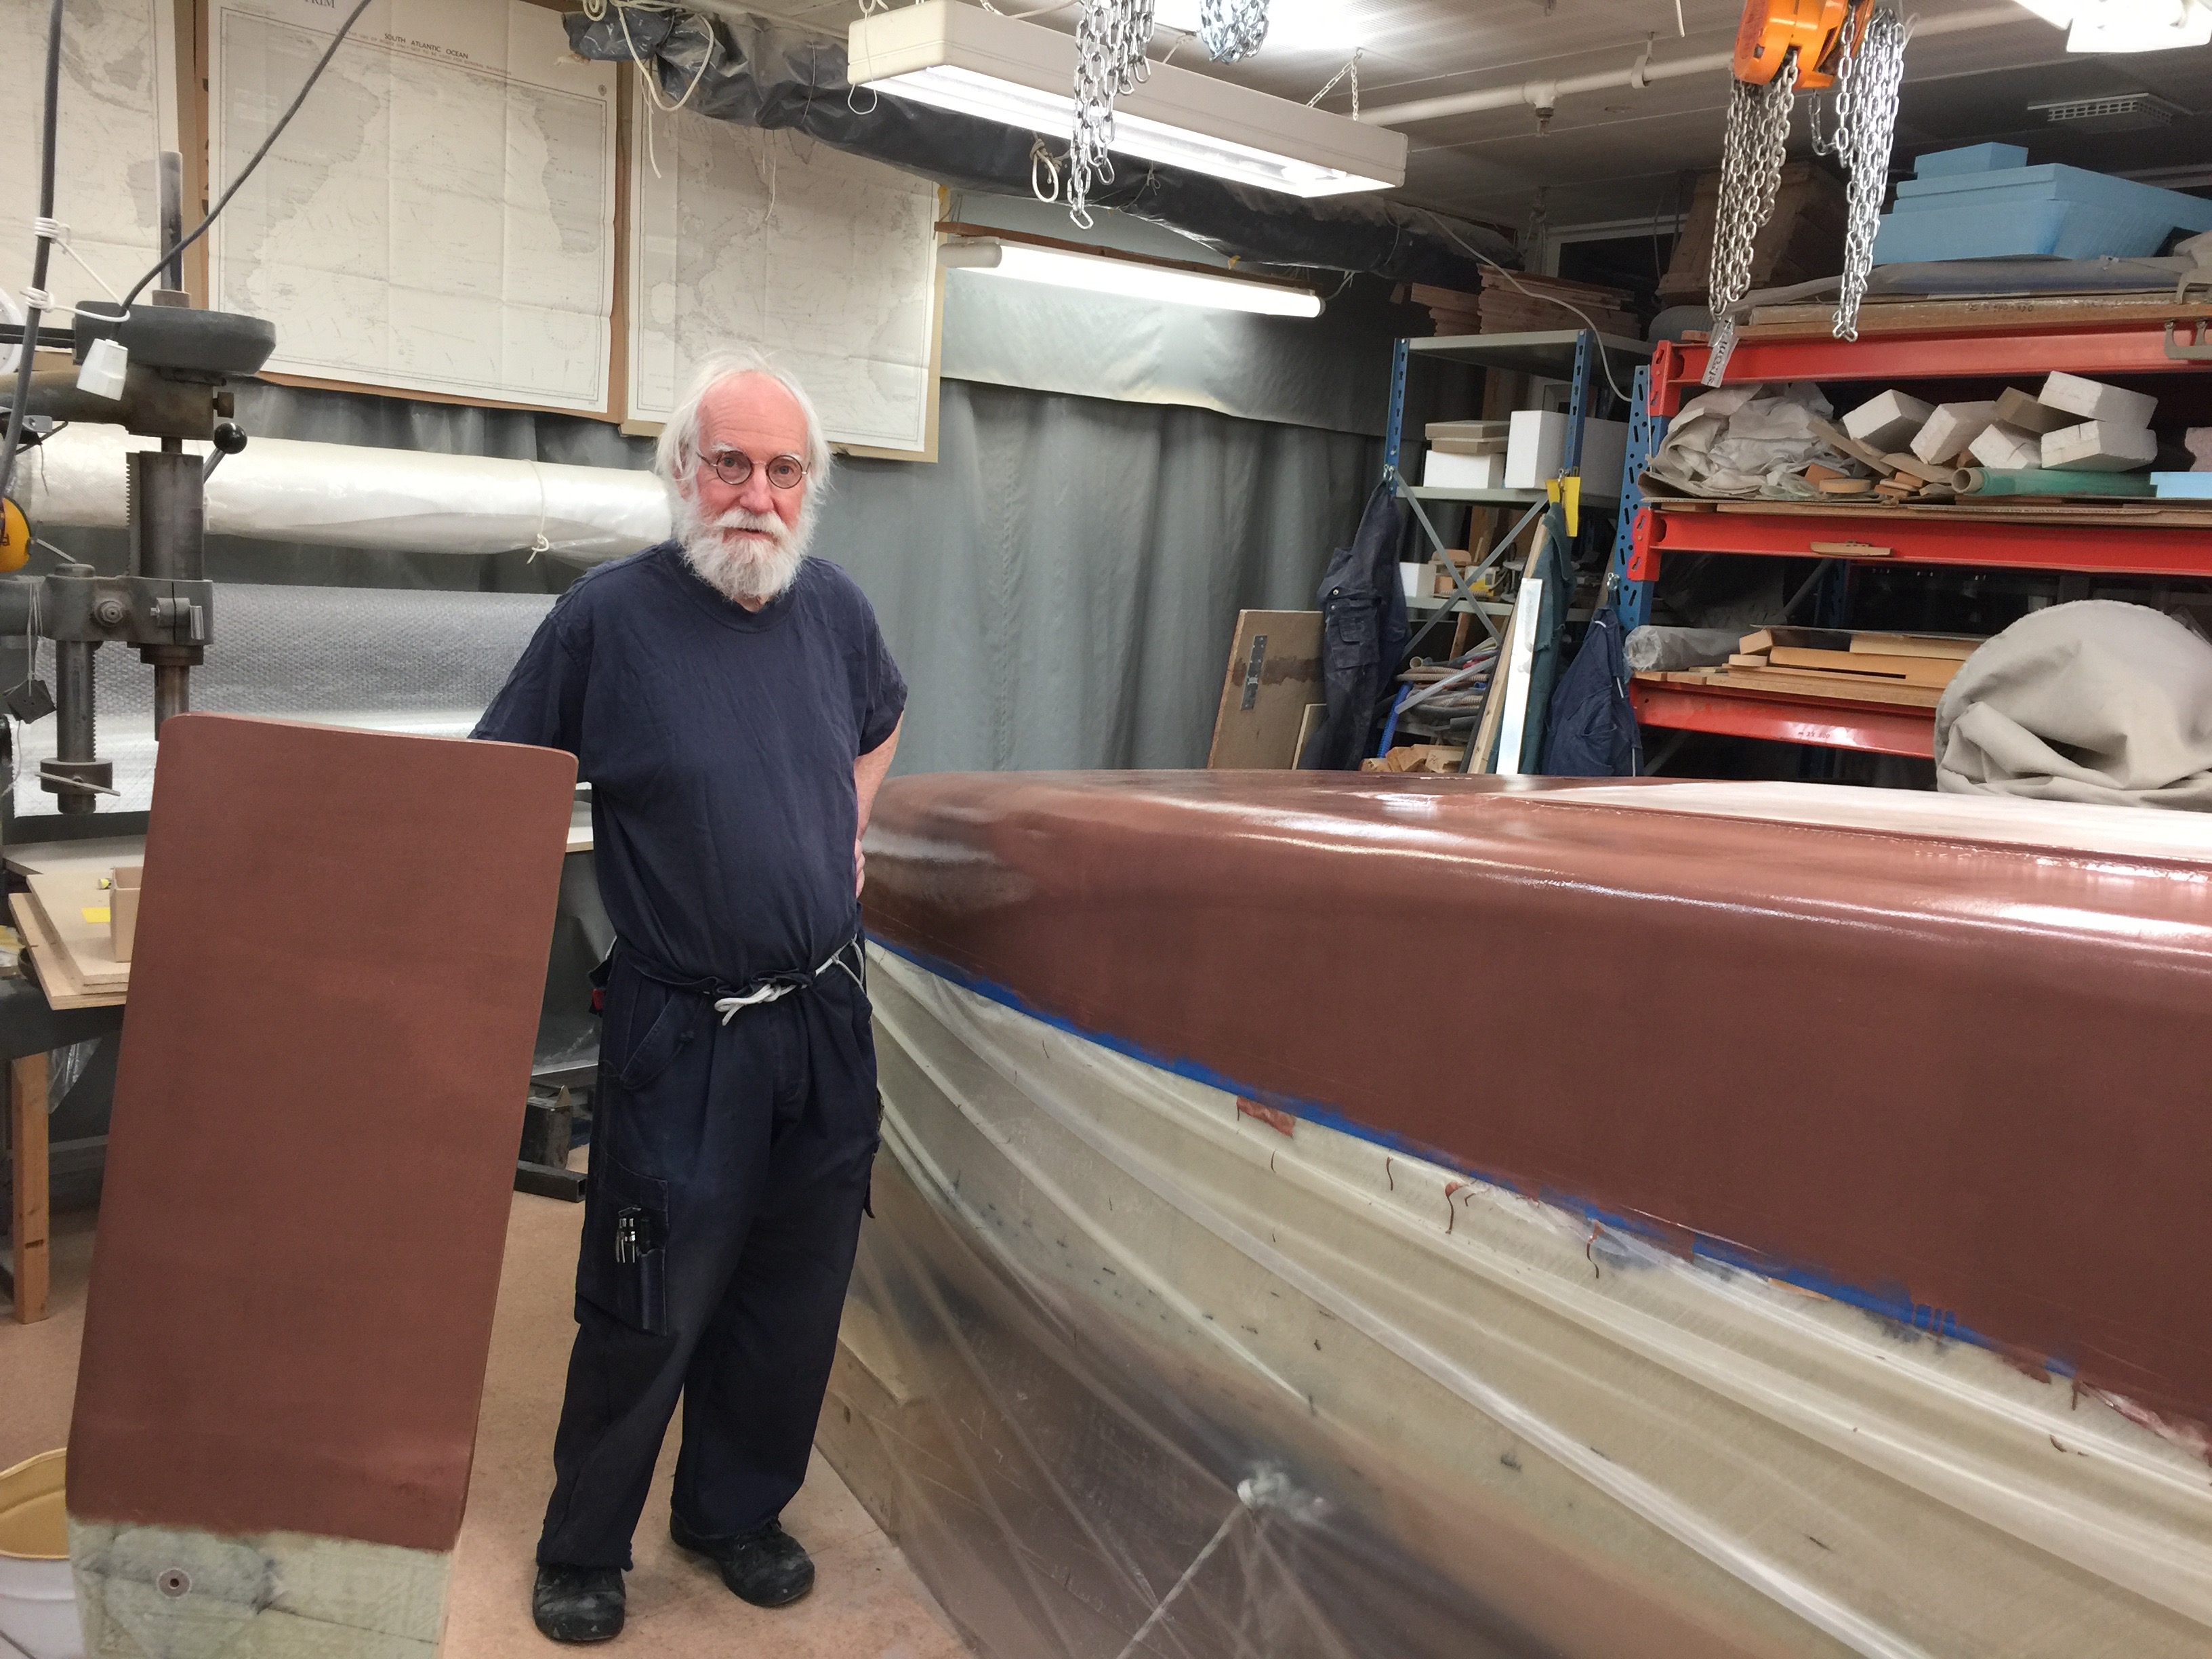
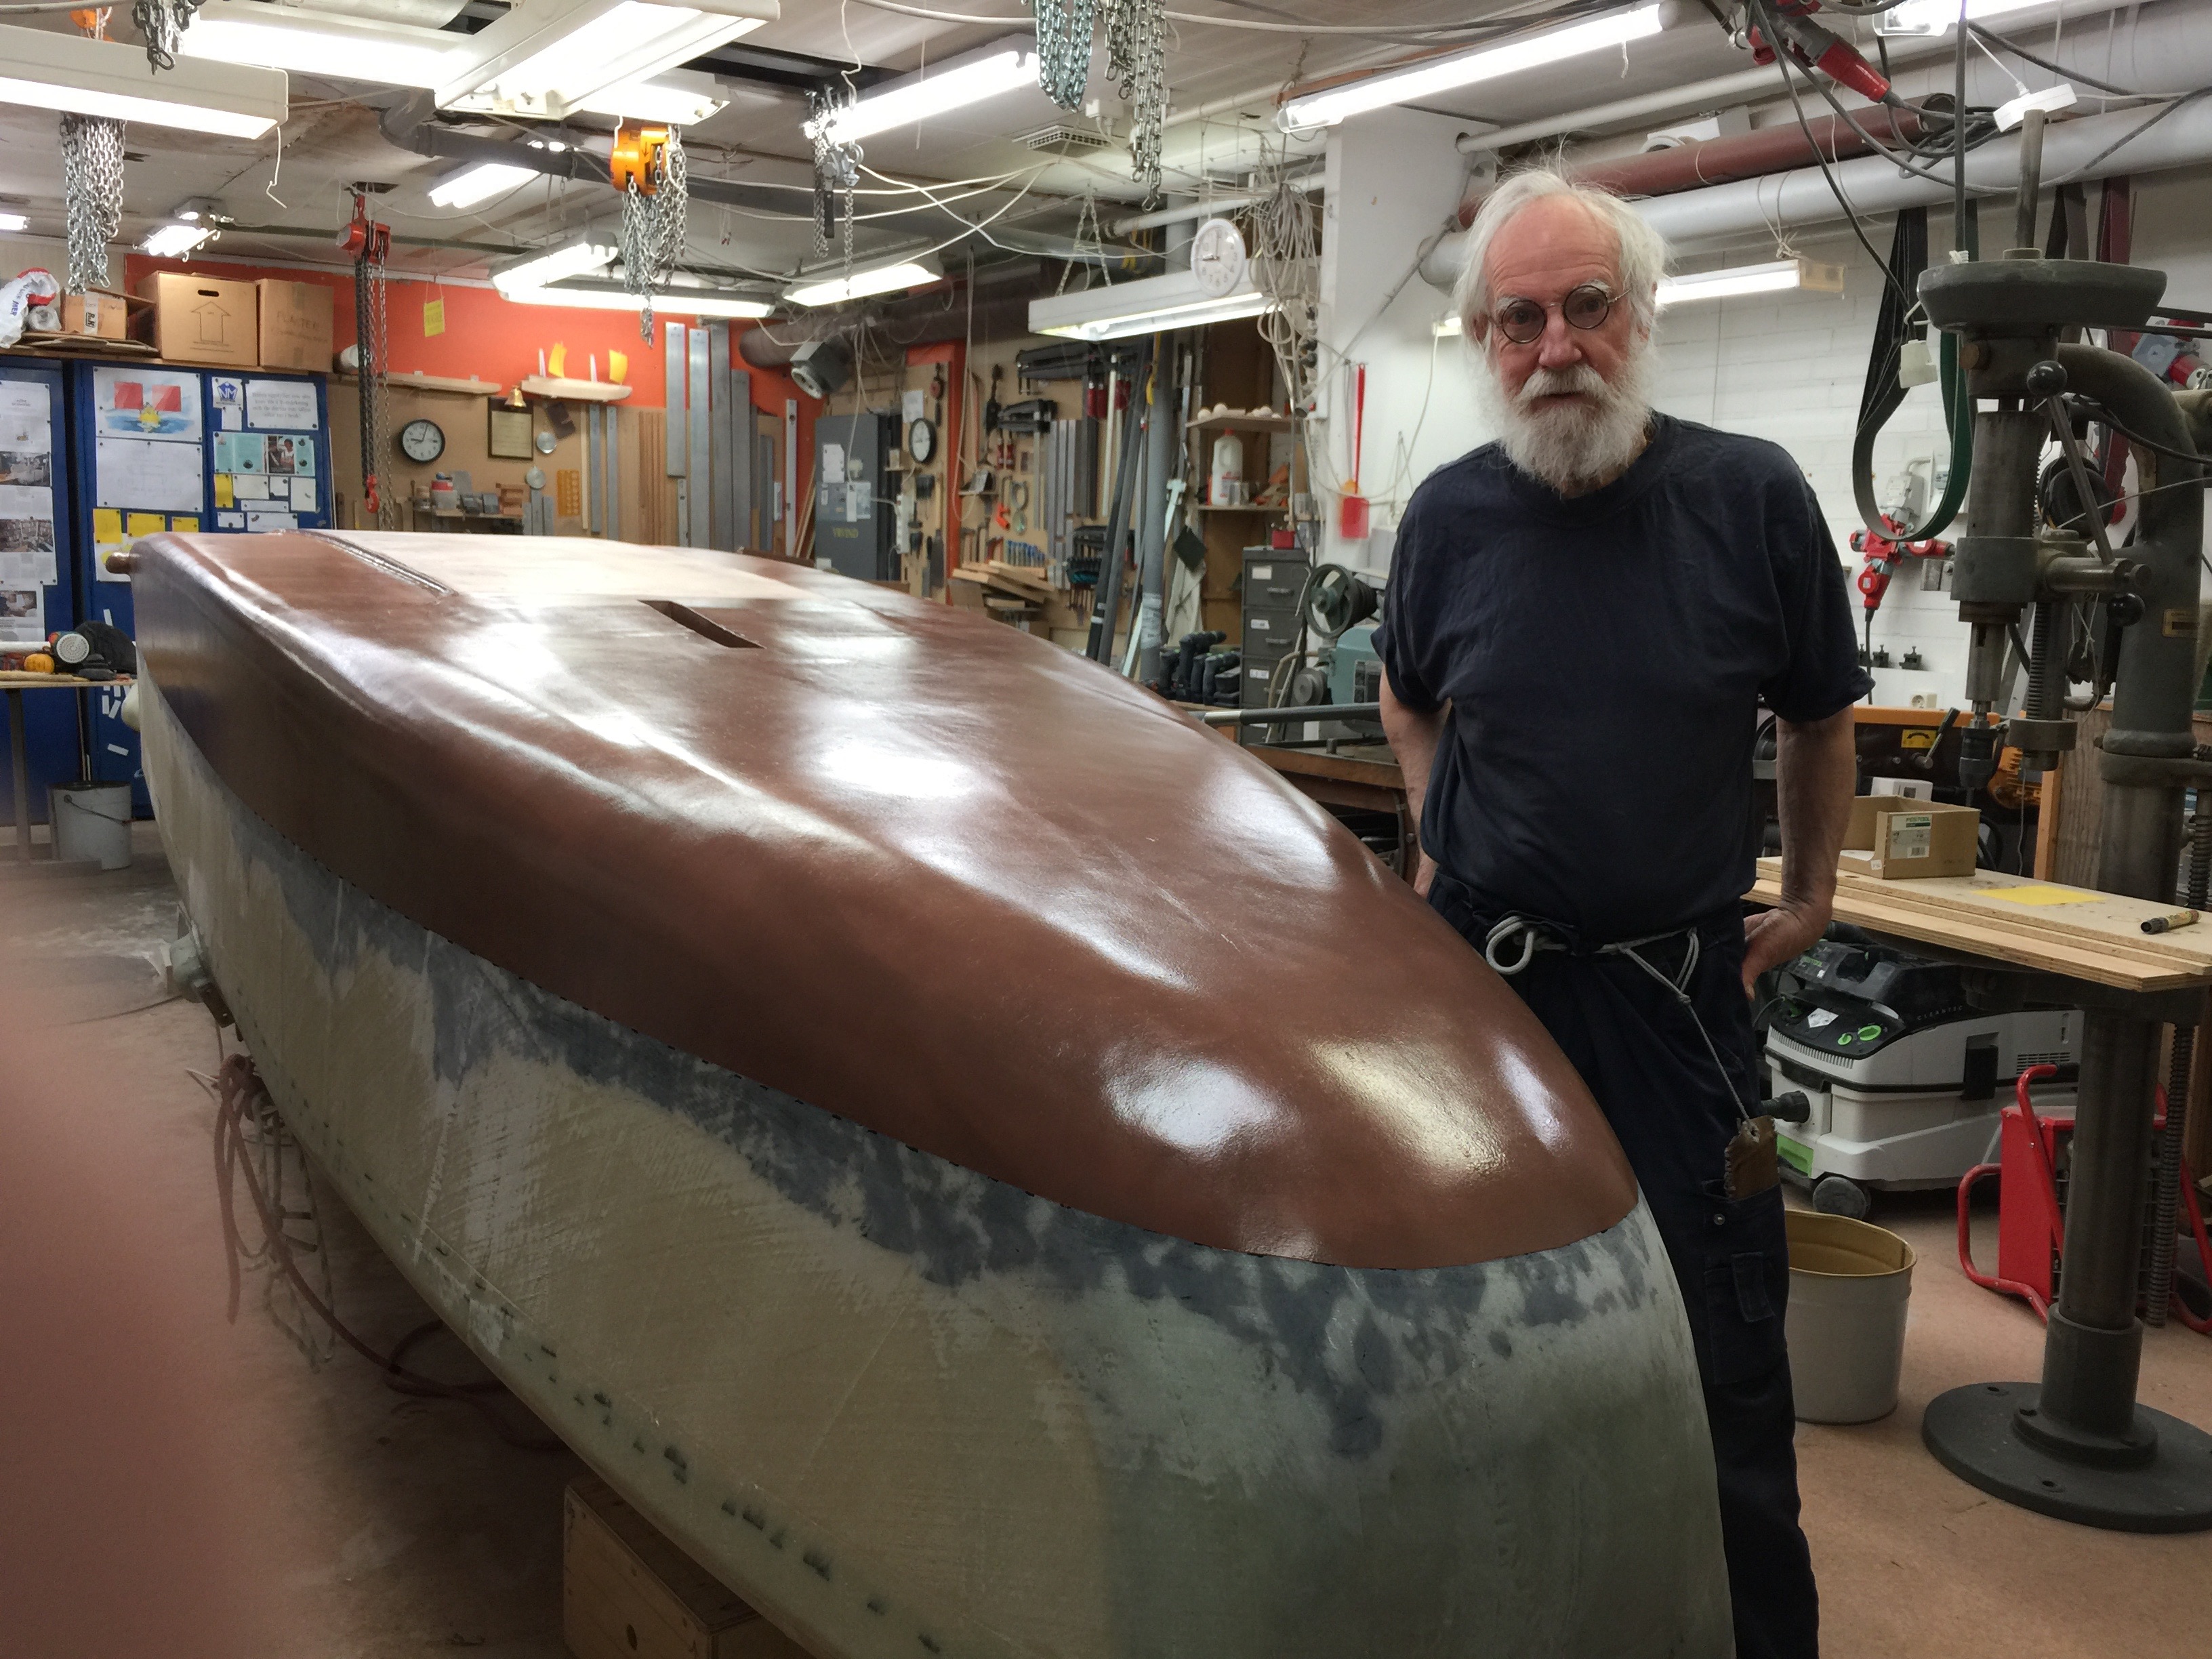
BOTTOM PAINT

Exlex bottom is now painted. The original idea was to use antifouling. But I have changed my mind. I had hoped to do a test sail to Iceland May 2019 but things, mostly the hatches and the steering system has taken longer than expected so the new dream is to launch in the end of this summer and do a bit of coastal cruising in home waters. But, before leaving for Cape Horn I like to sail the ocean to find out how she behaves offshore, how she rides out storms and if any modifications are needed. The new plan is for a test sail 2020 leaving Dingle Ireland early summer sail to Acores stay there for a month or two sail to Porto Santo Madeira stay there for a month or two, then sail out into the Sargasso Sea, the only ocean without shores a region of the North Atlantic Ocean bounded by four currents
It is distinguished from other parts of the Atlantic Ocean by its characteristic deep blue color and exceptional clarity, with underwater visibility of up to 60 m (200 ft). It is also a body of water that has captured my imagination. I have been there before and I liked it. Now I hope to spend the winter 2020 – 2021 there just drifting around living a simple life in a simple boat thinking about my life and about the world and just enjoing myself. When spring comes I will head north stopping in the Acores some time before sailing back to Sweden rounding Scotland.
In Sweden final preparations will be done for a voyage to the Southern Ocean and beyond. Well that’s the ambitious plan, but my present boat inspires much confidence and health and moral is good so please support my project and do subscribe to my YouTube channel because I hope to learn to do videos and post more once the boat is in the water.
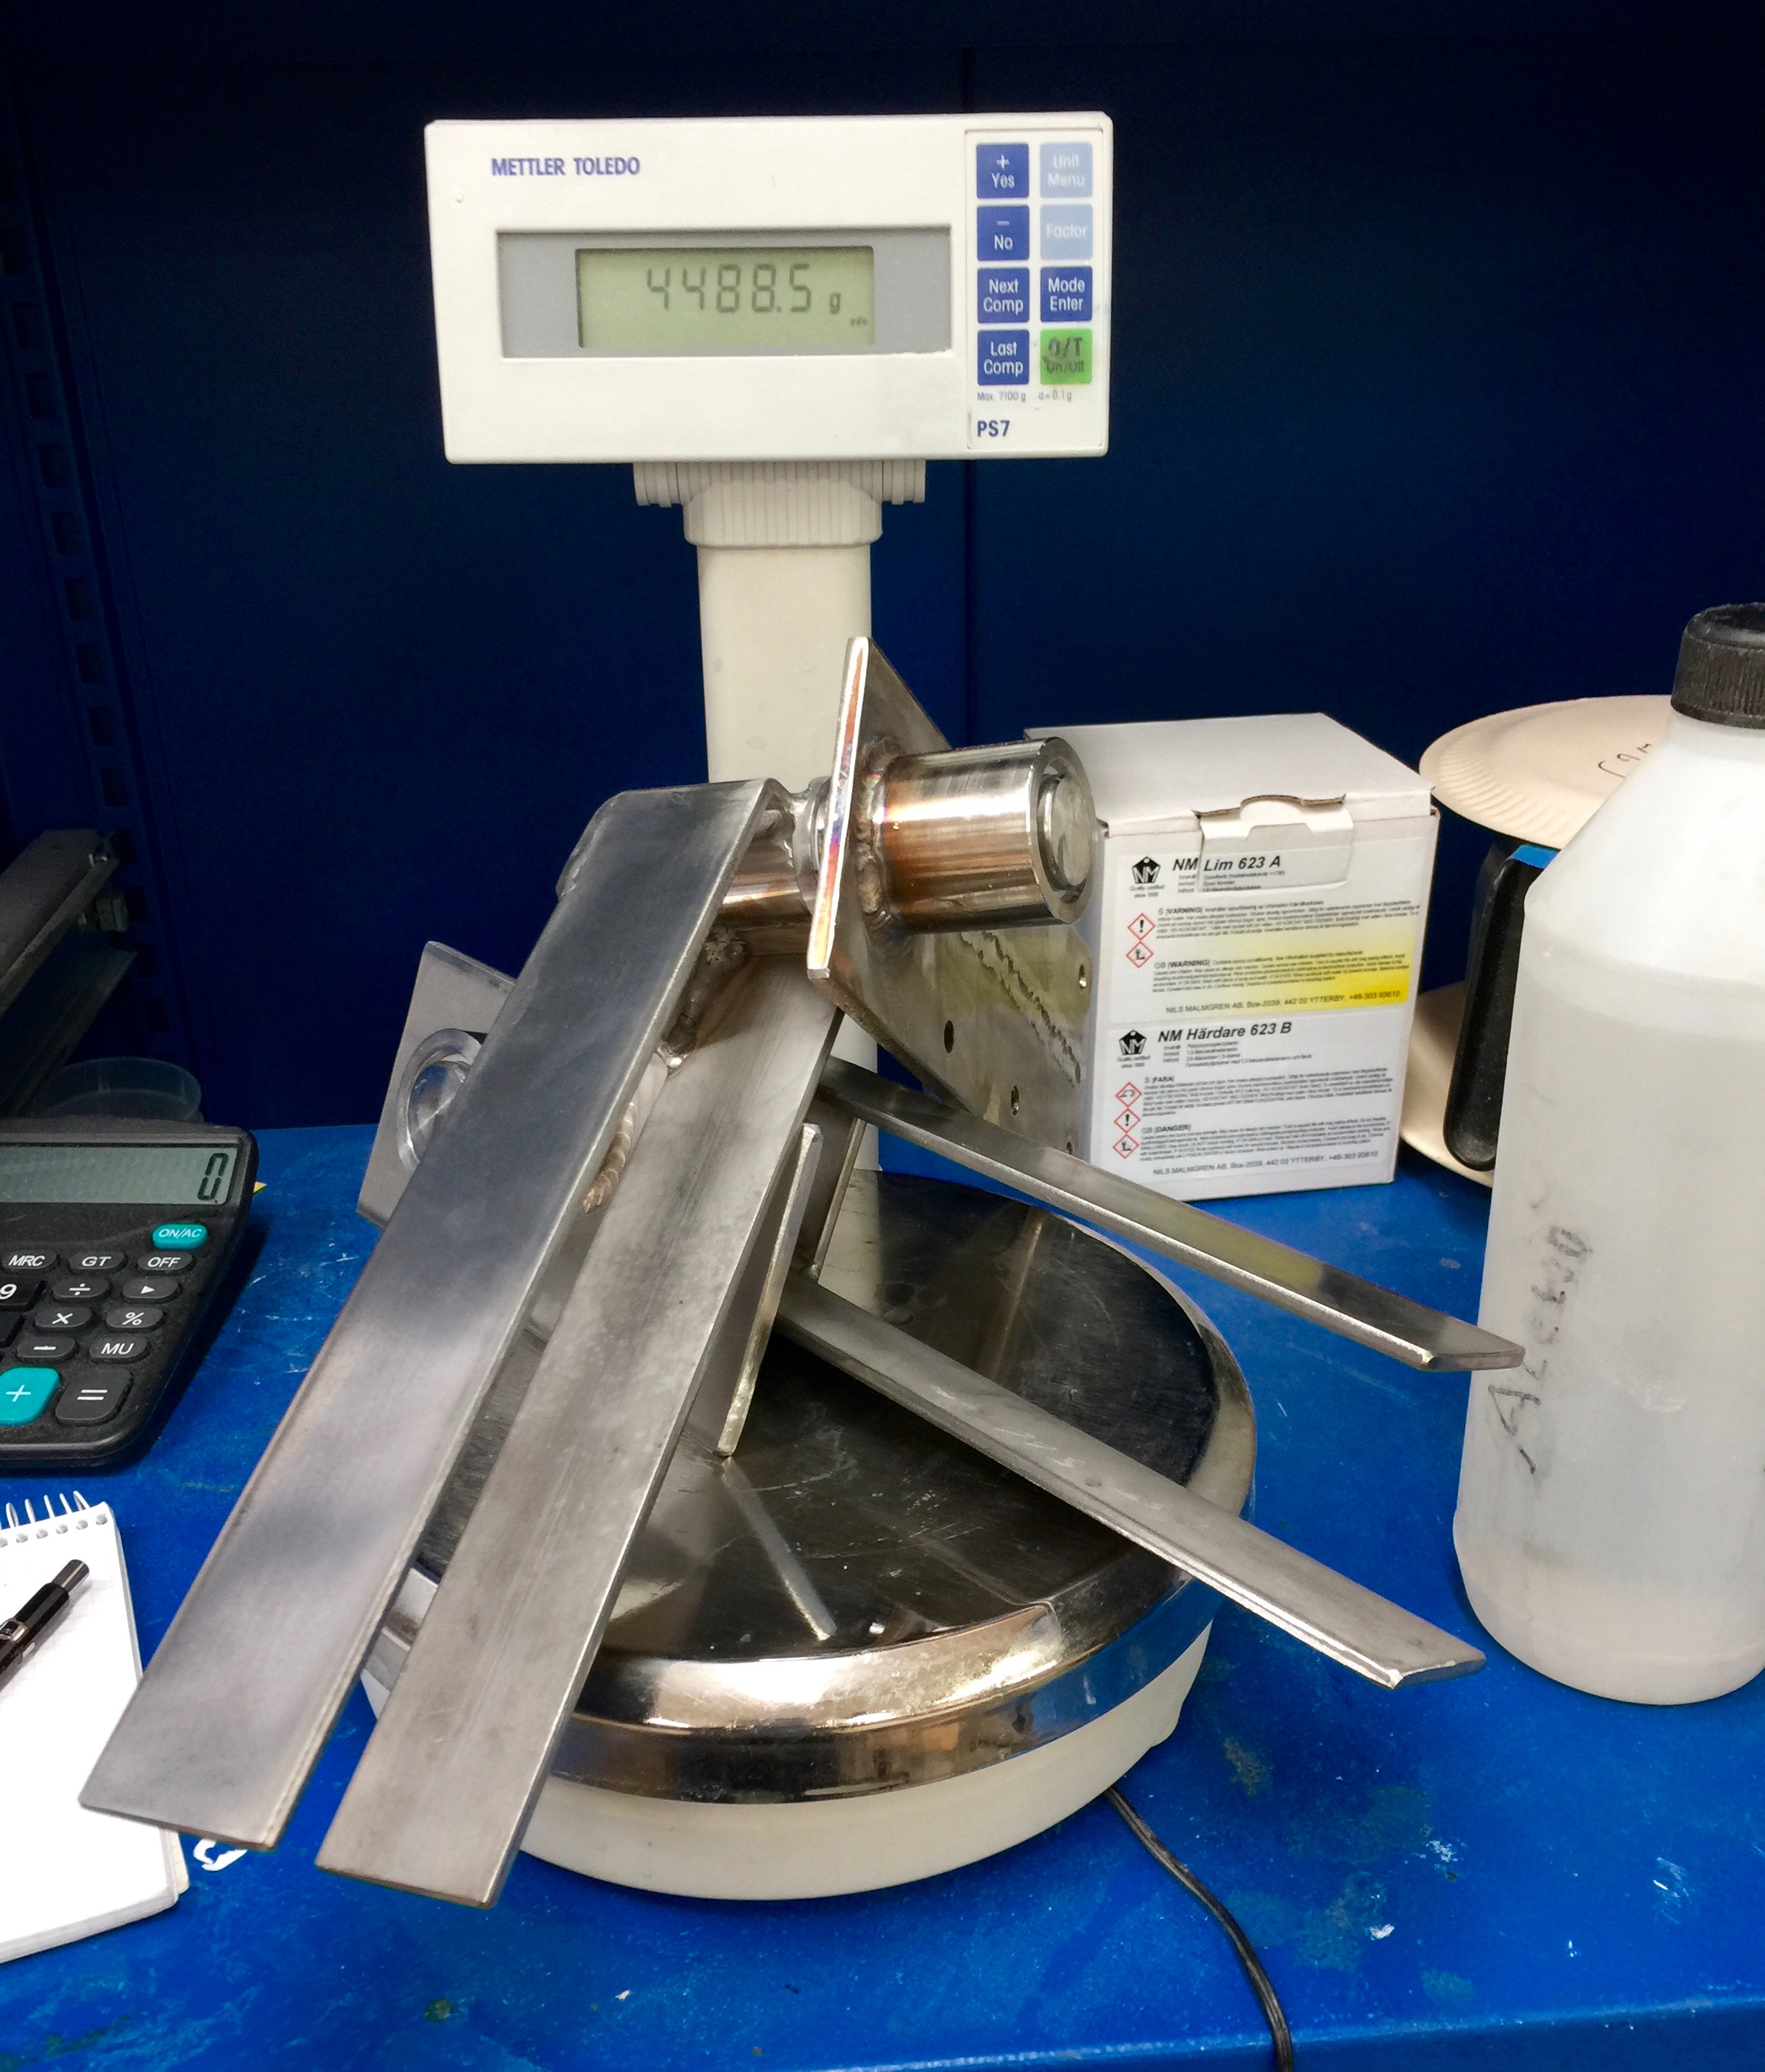
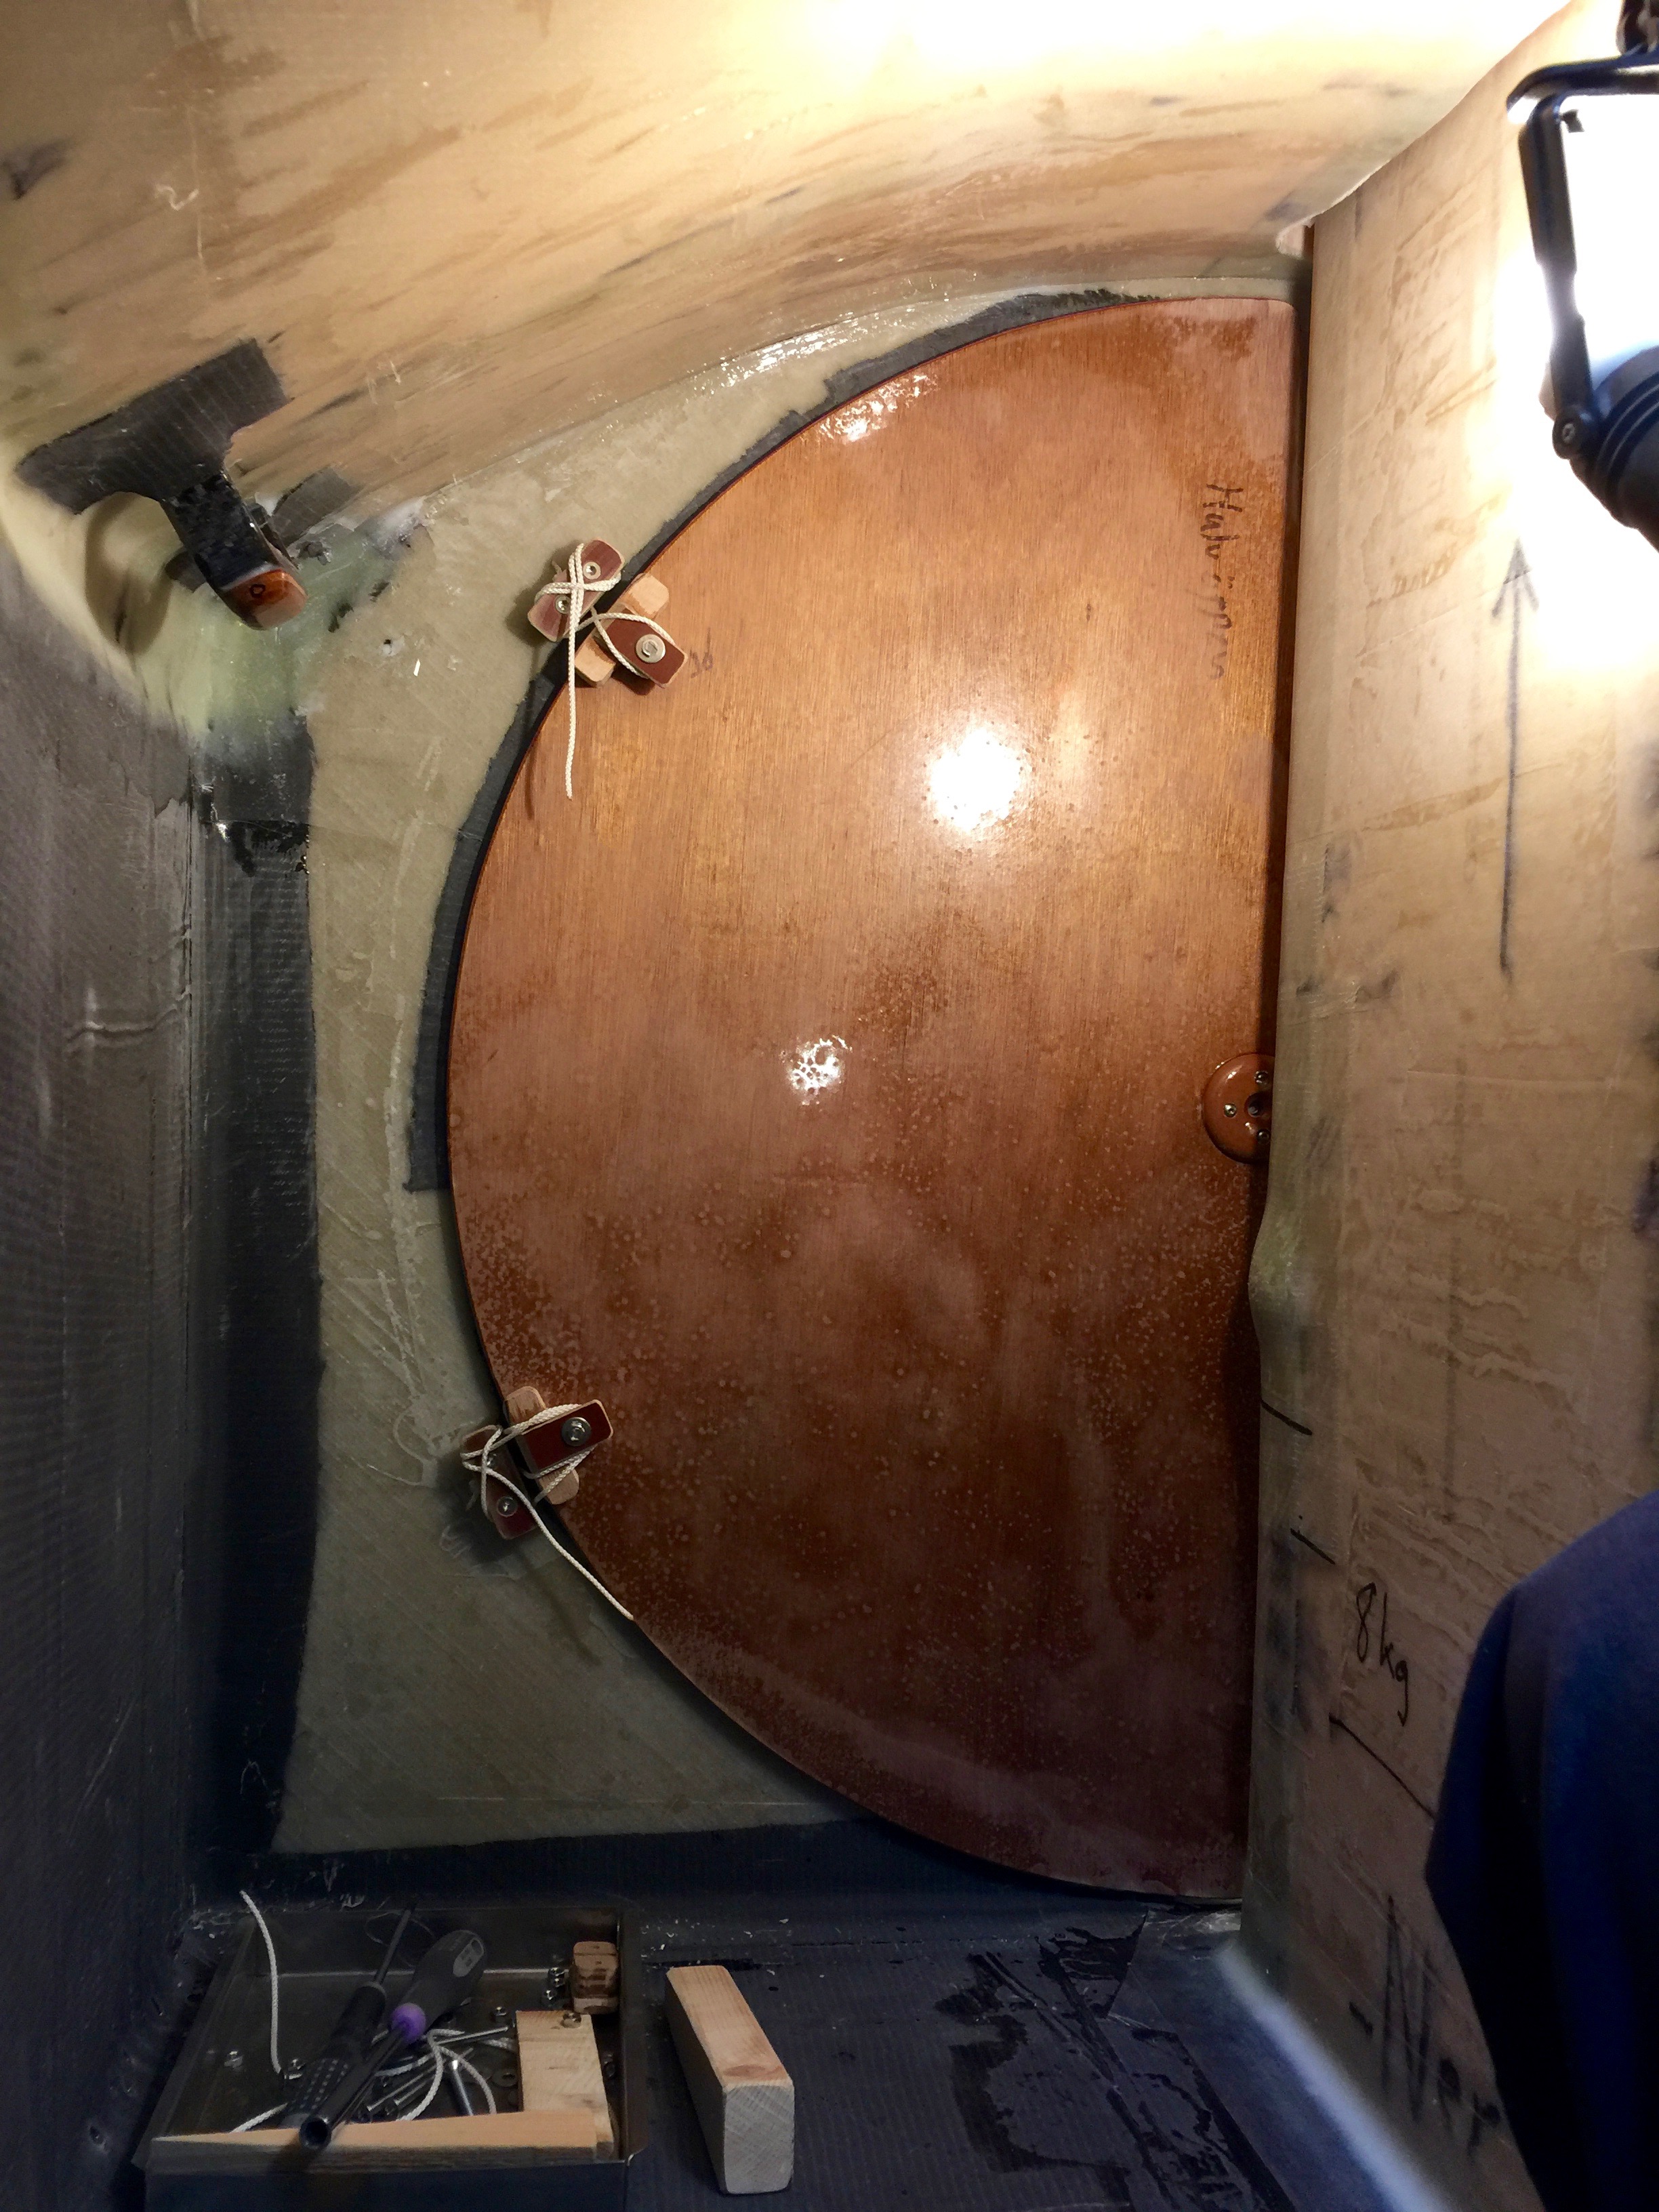
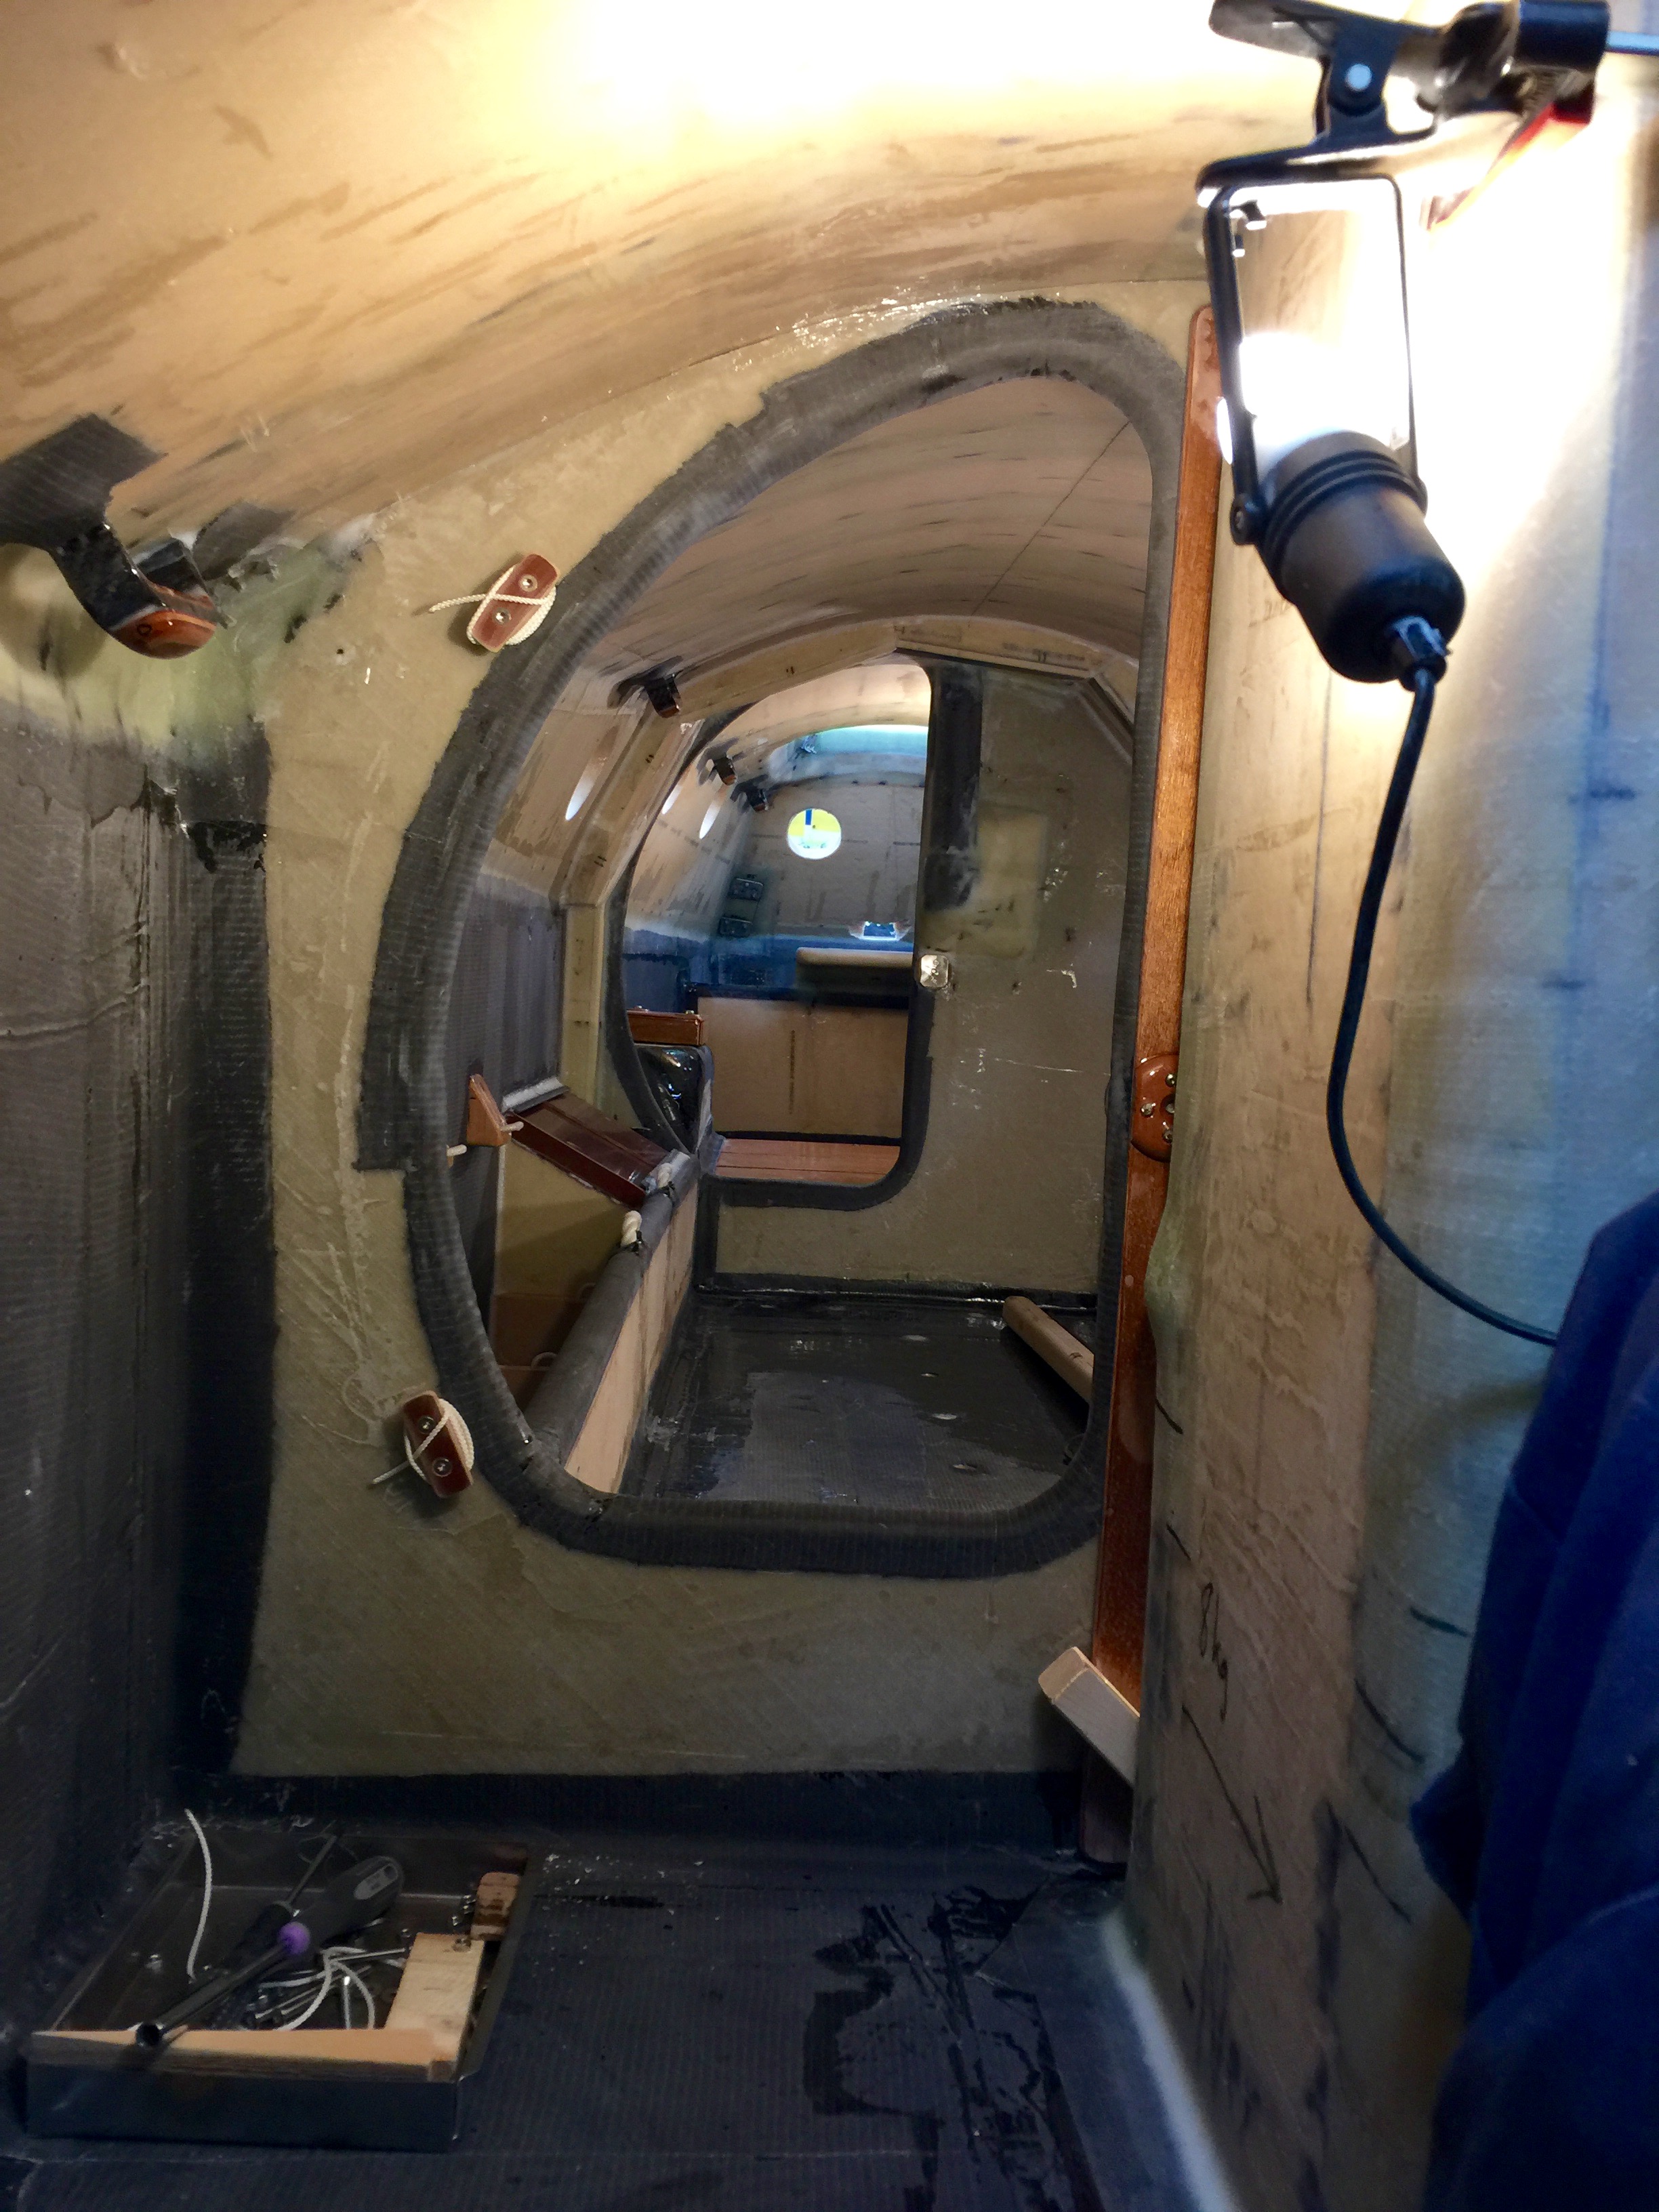
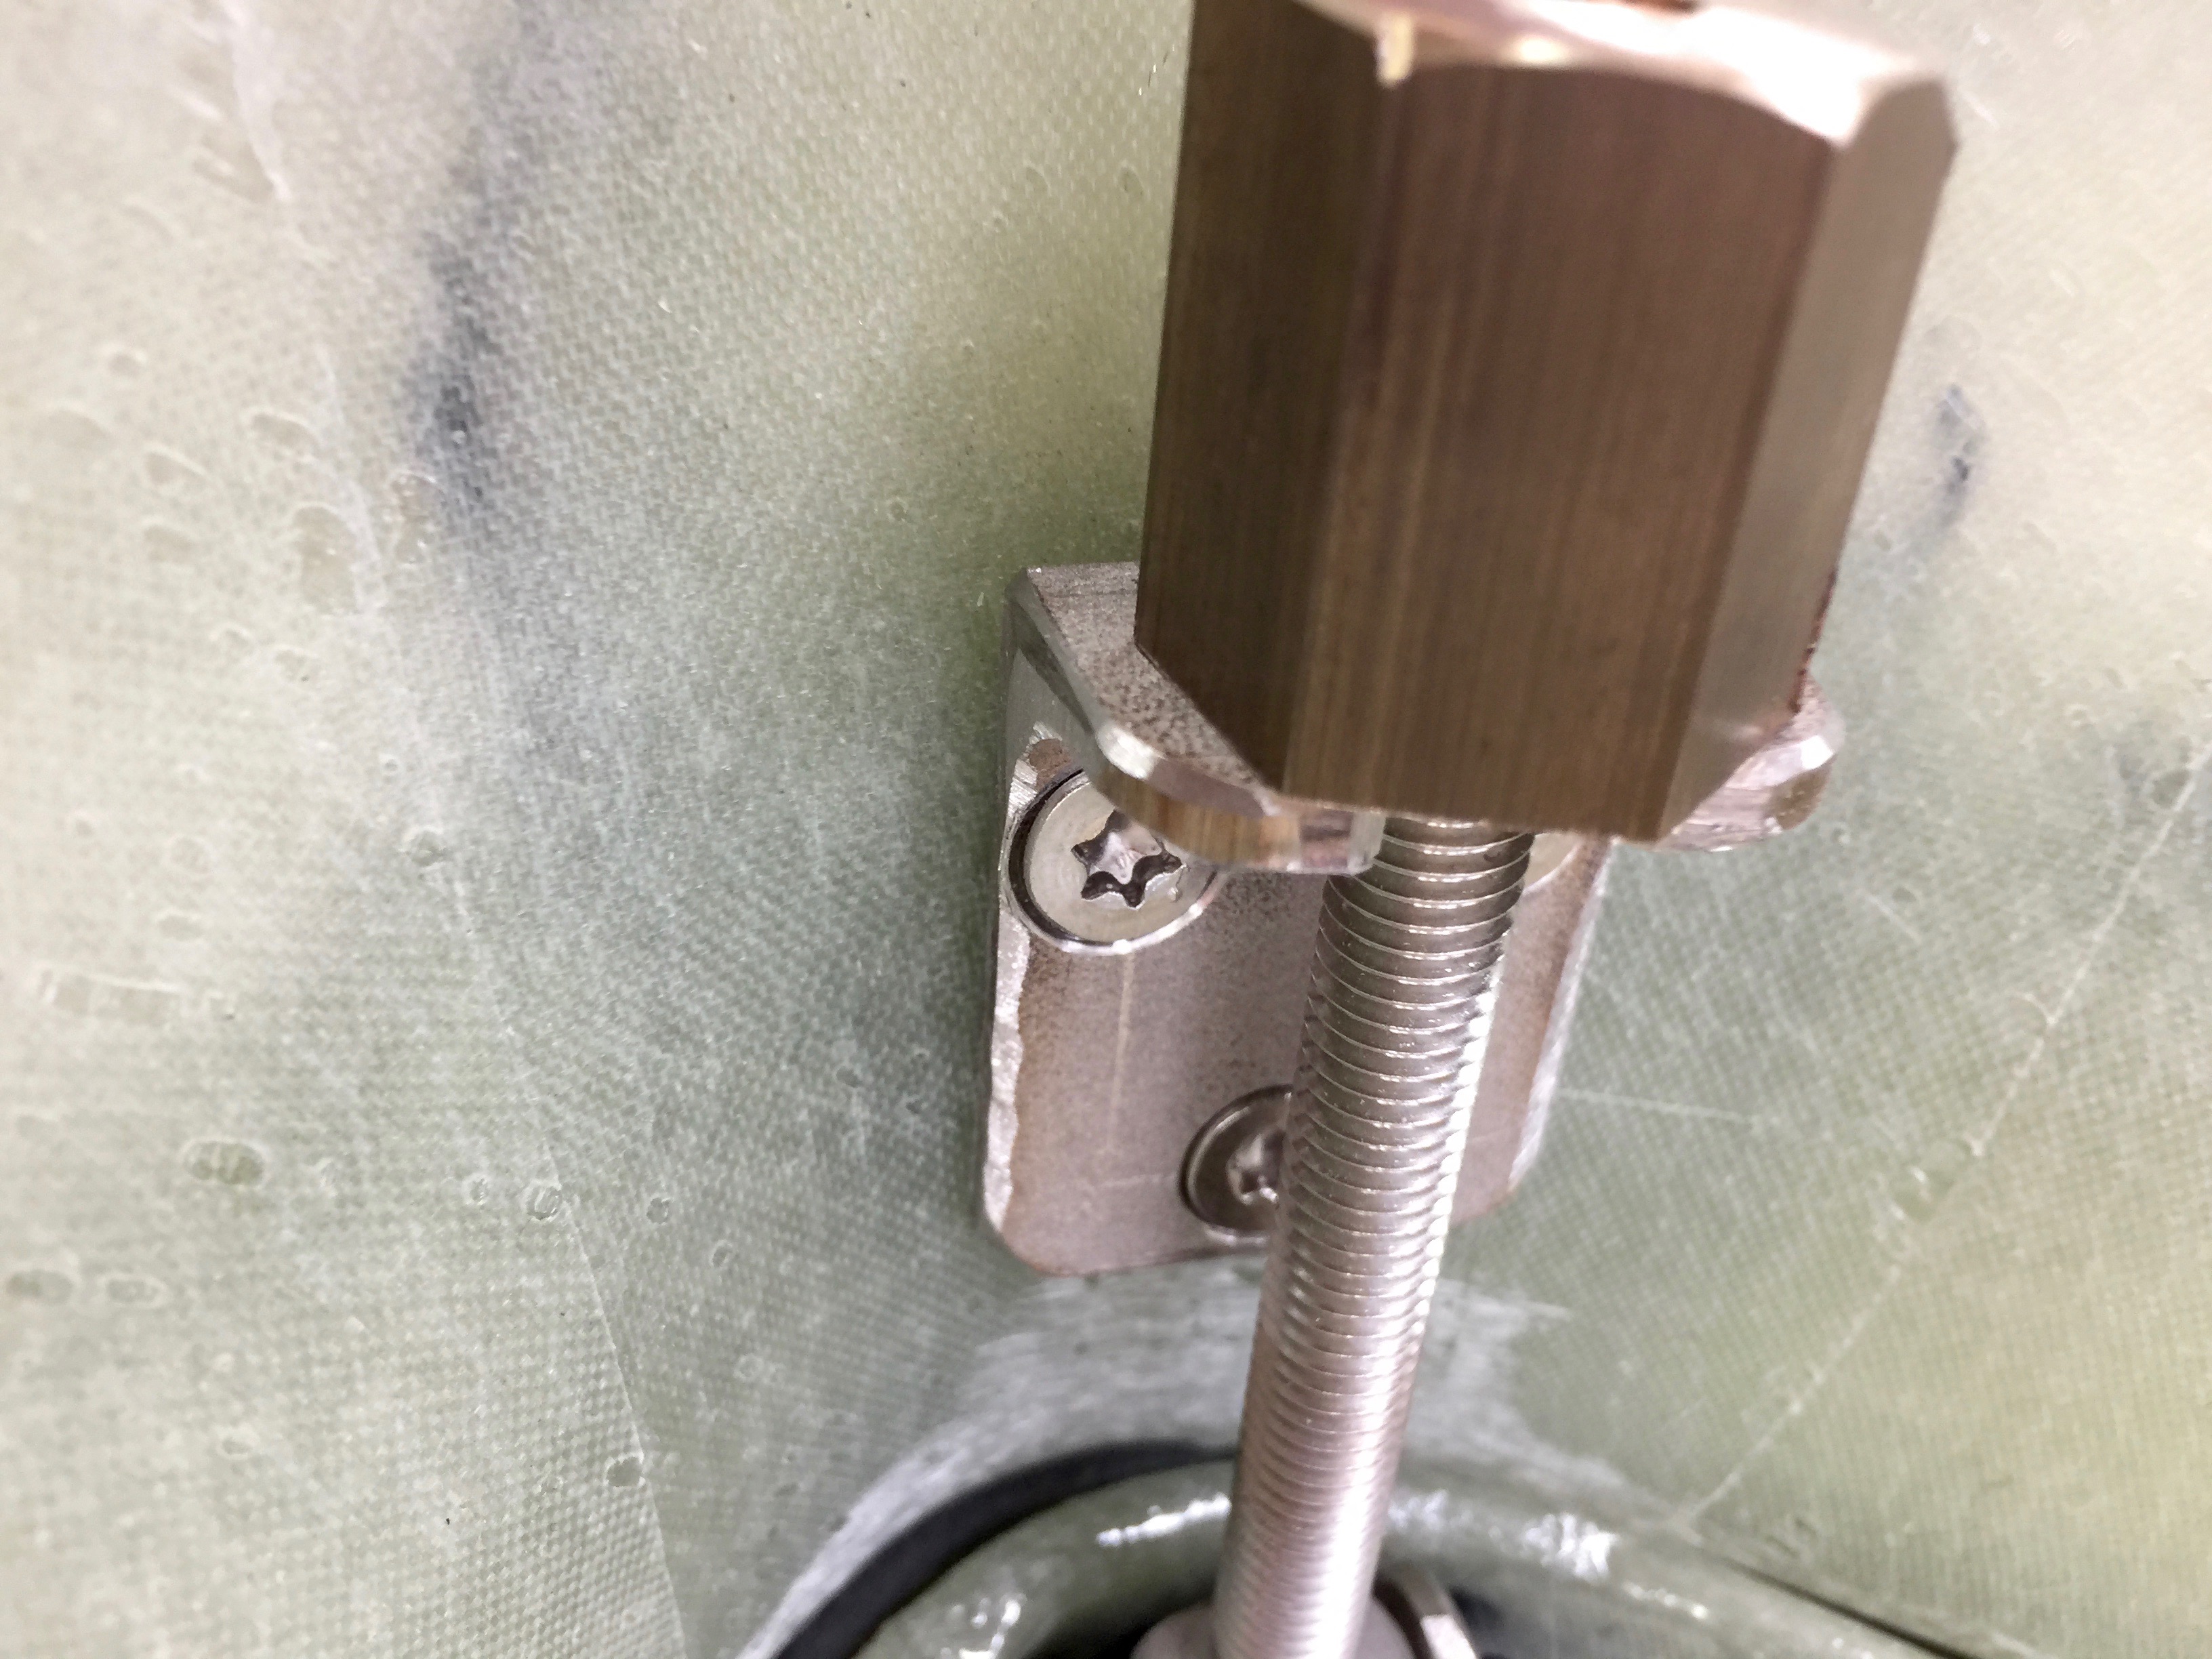
Back to the bottom paint. The Golden Globe Race has given the participants plenty of problems with marine growth. Exlex is a different boat, she draws only 20 cm or 8 inches and with a beam of 1,2 meter or 4 feet I can with my nose above the water reach her whole bottom to clean it. I have used Coppercoat. If that does not work to my satisfaction it is easy to paint it over. The reverse is not easy.
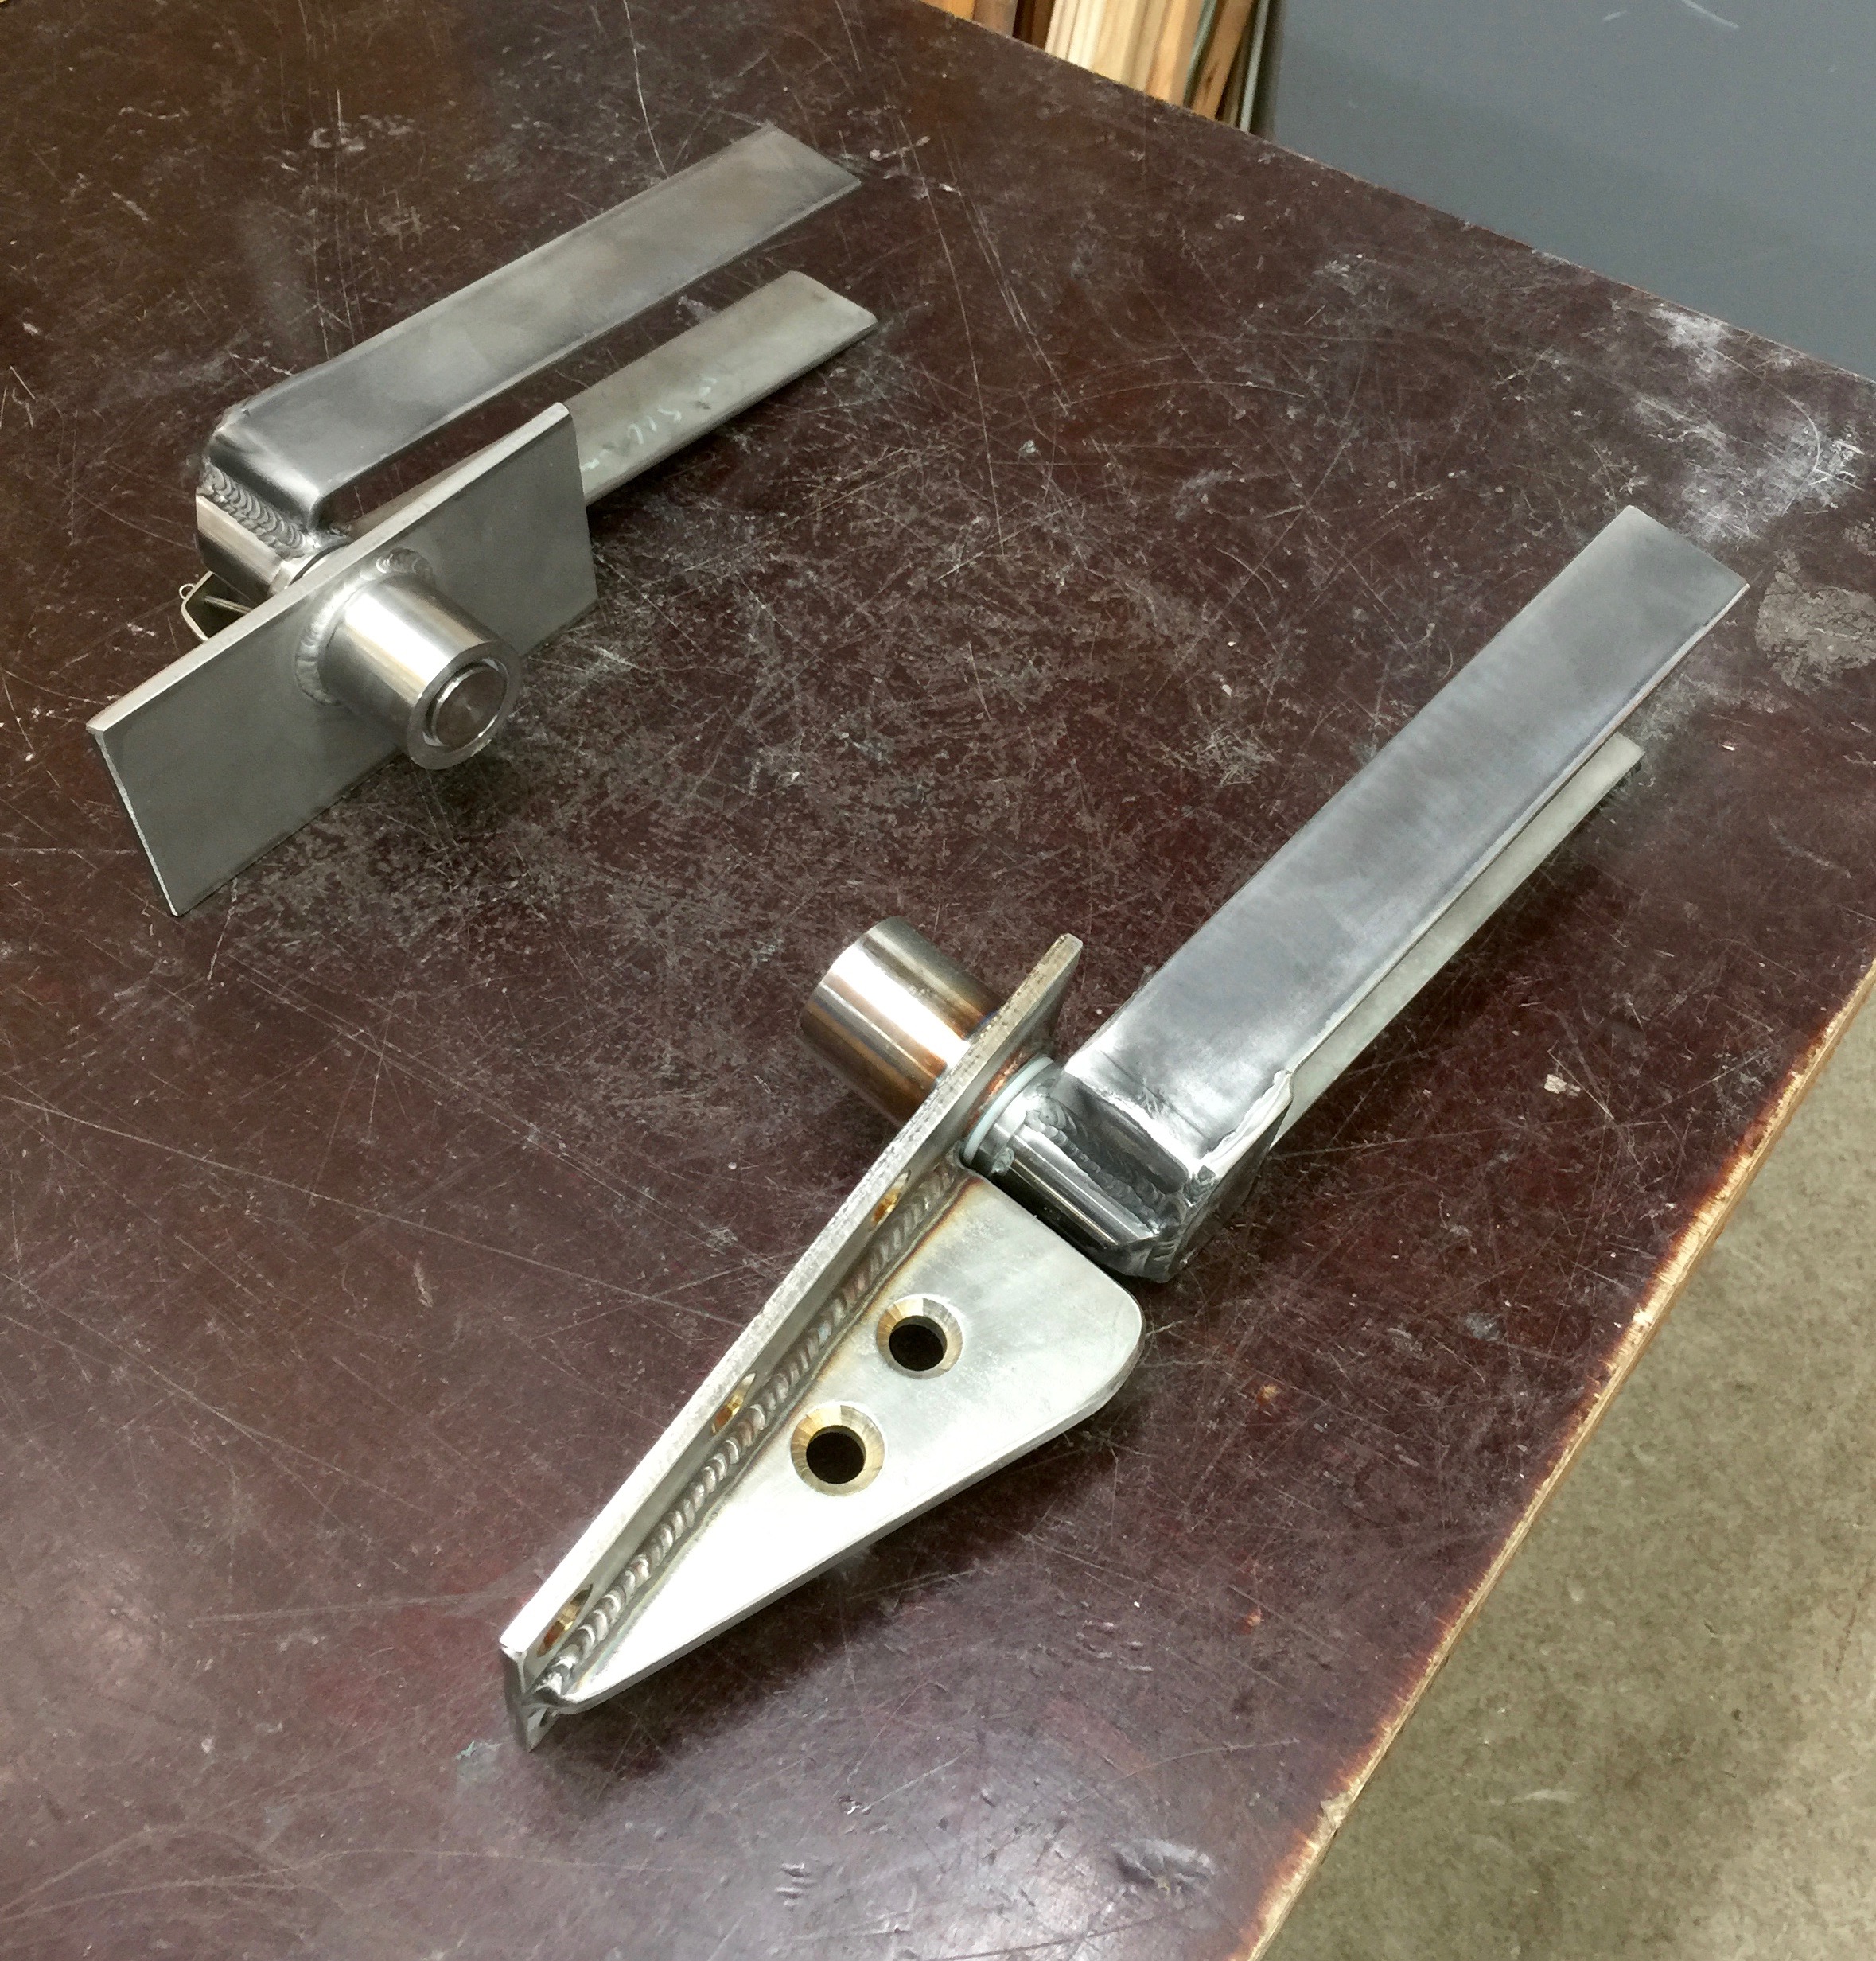
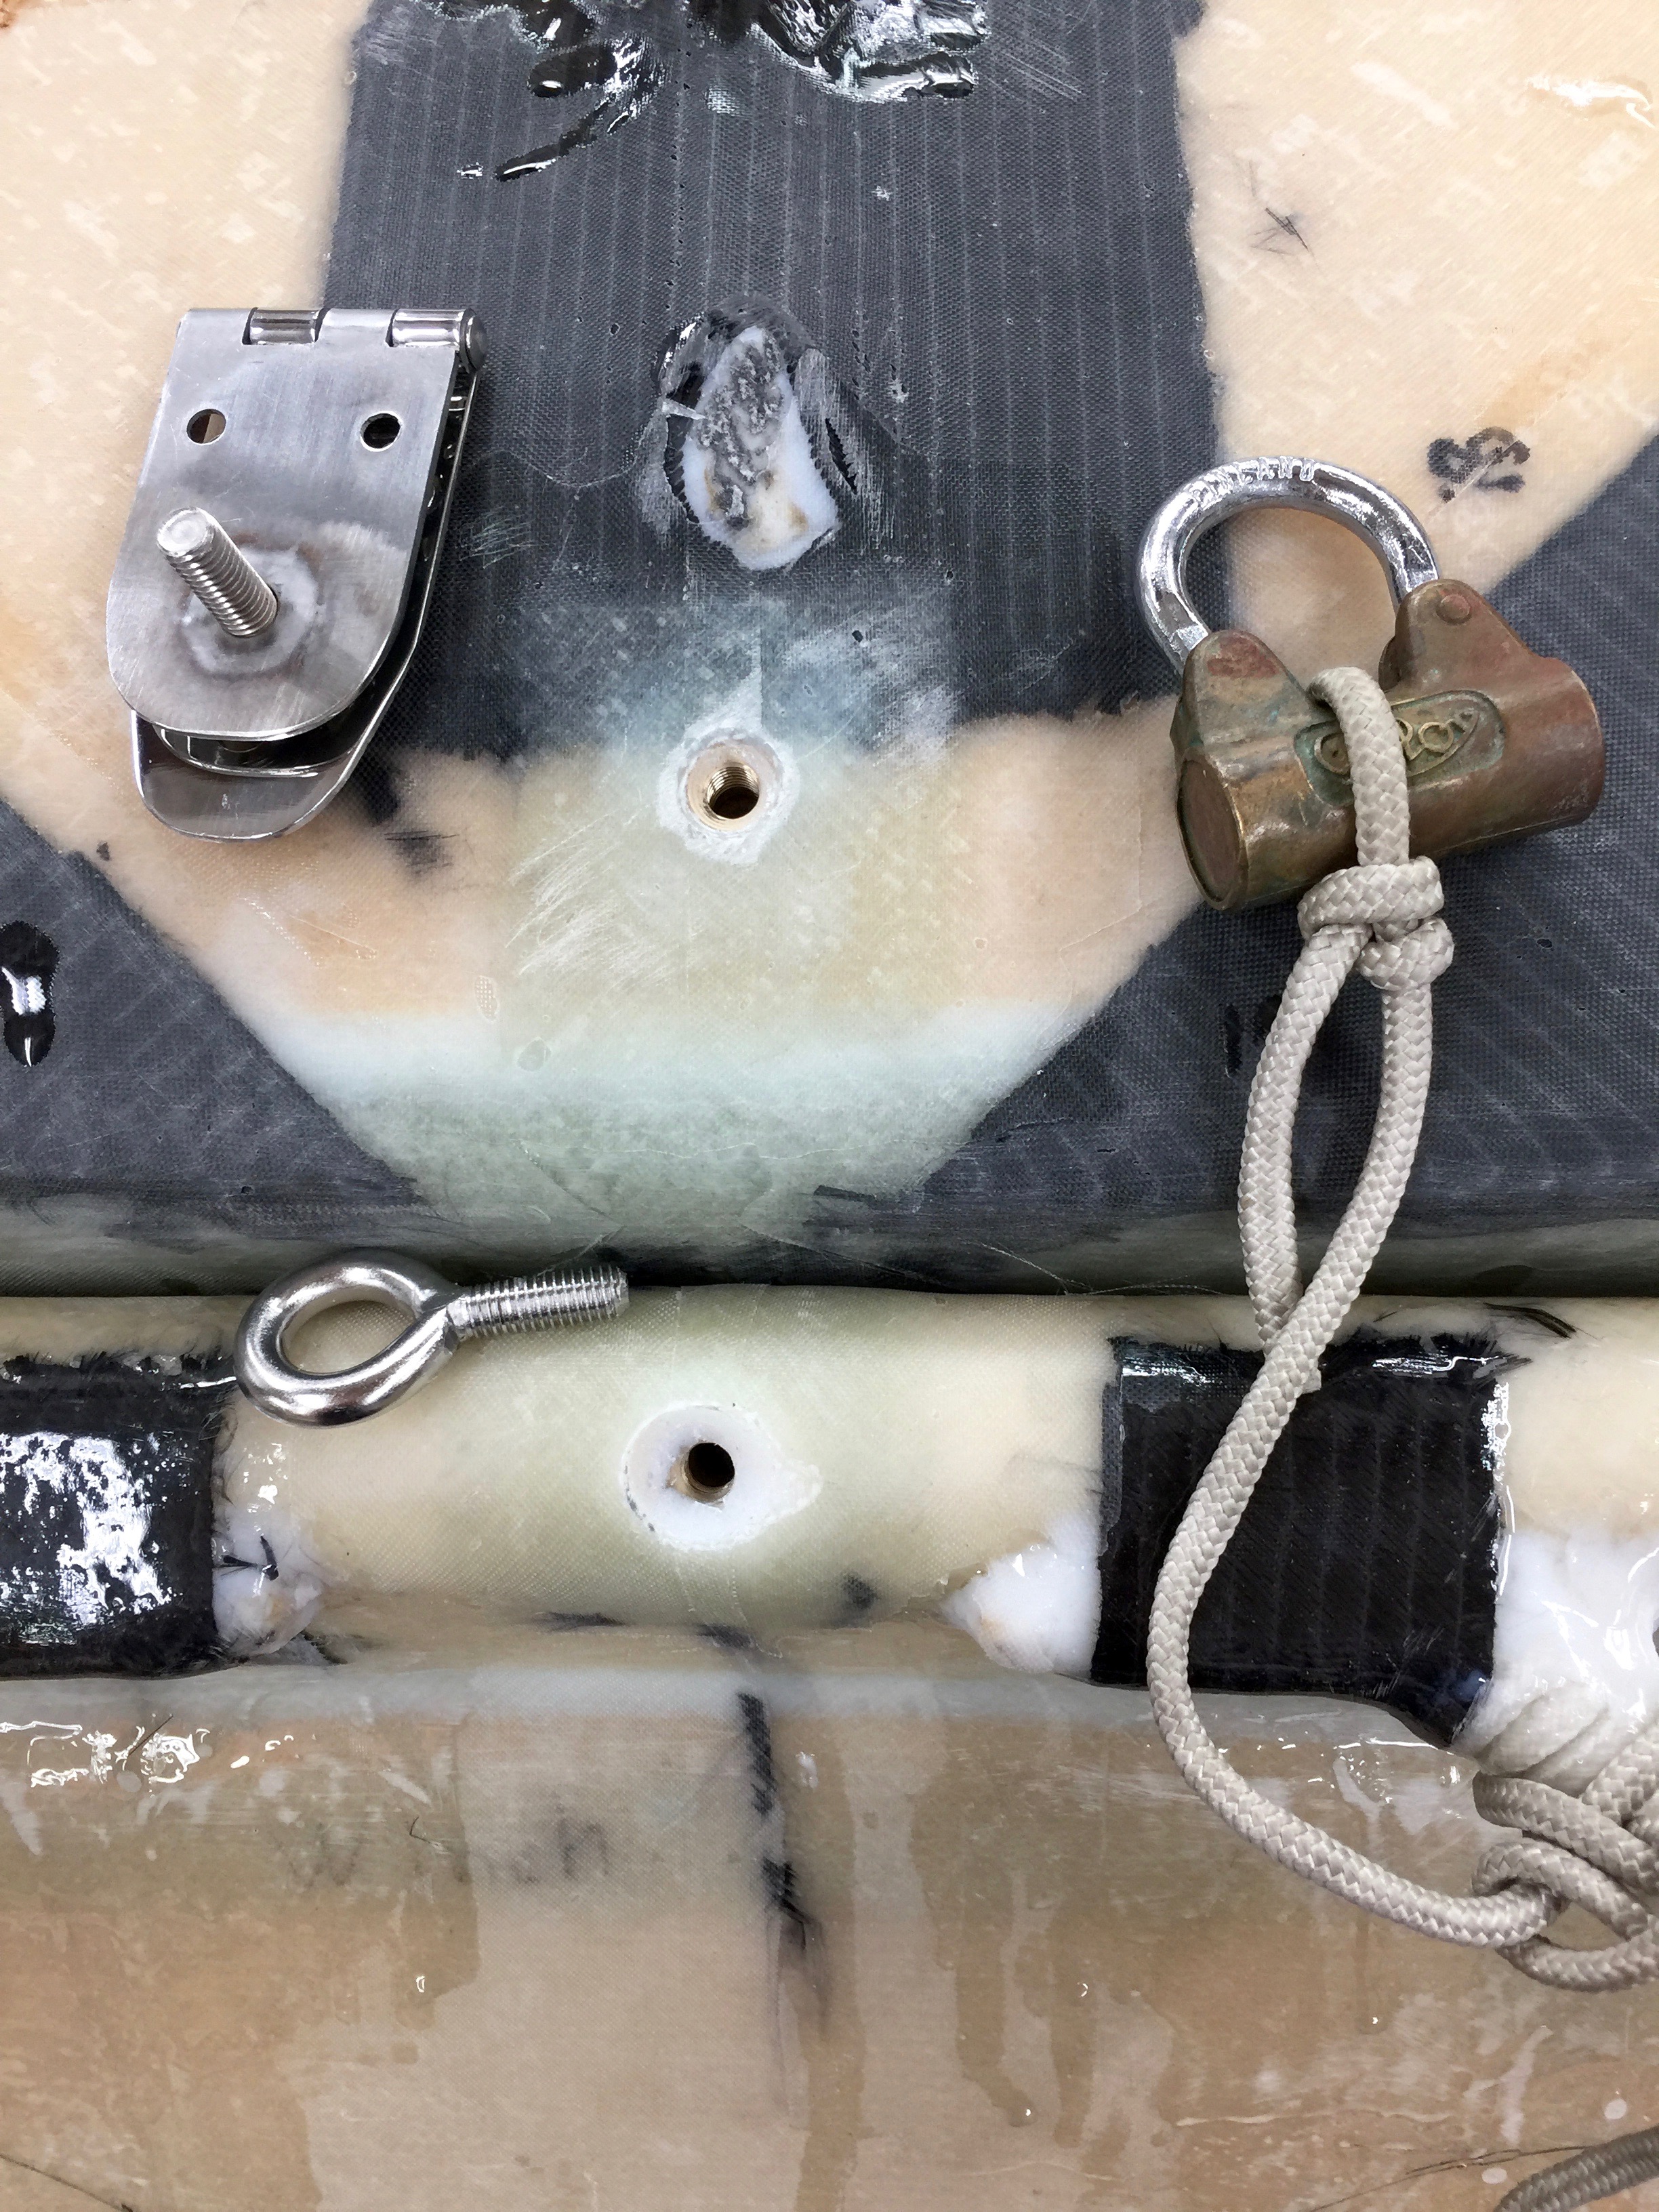
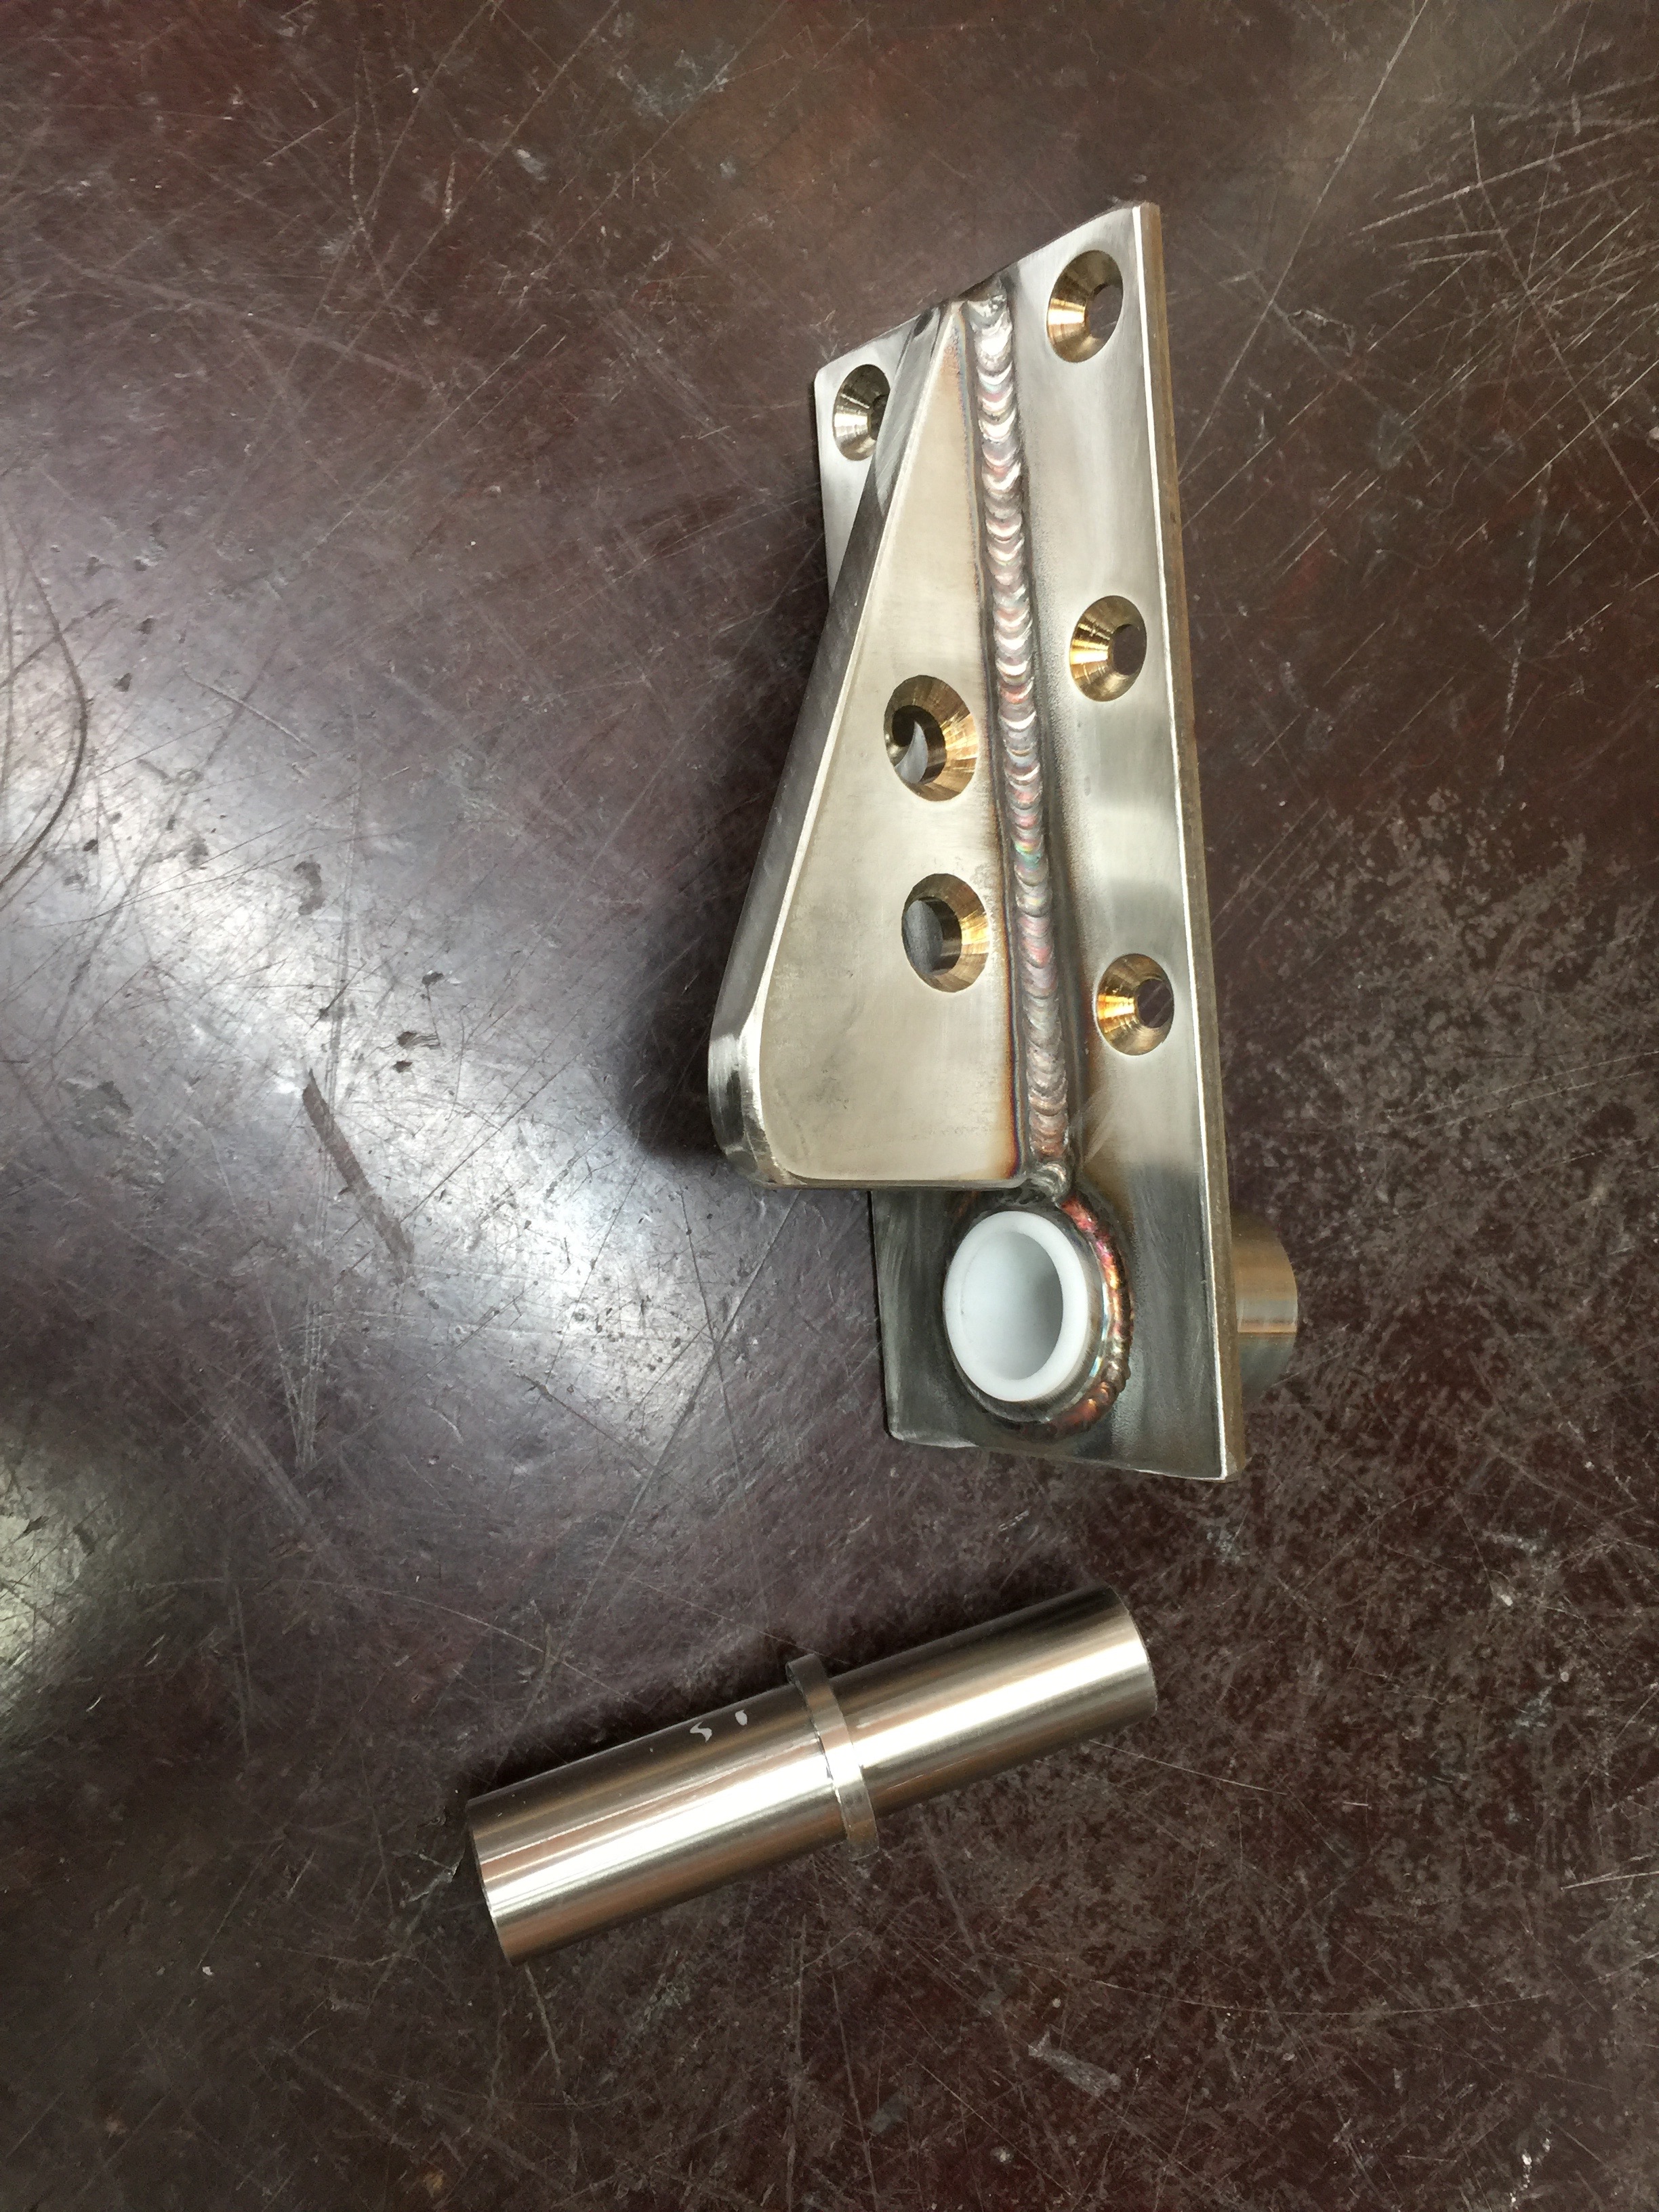
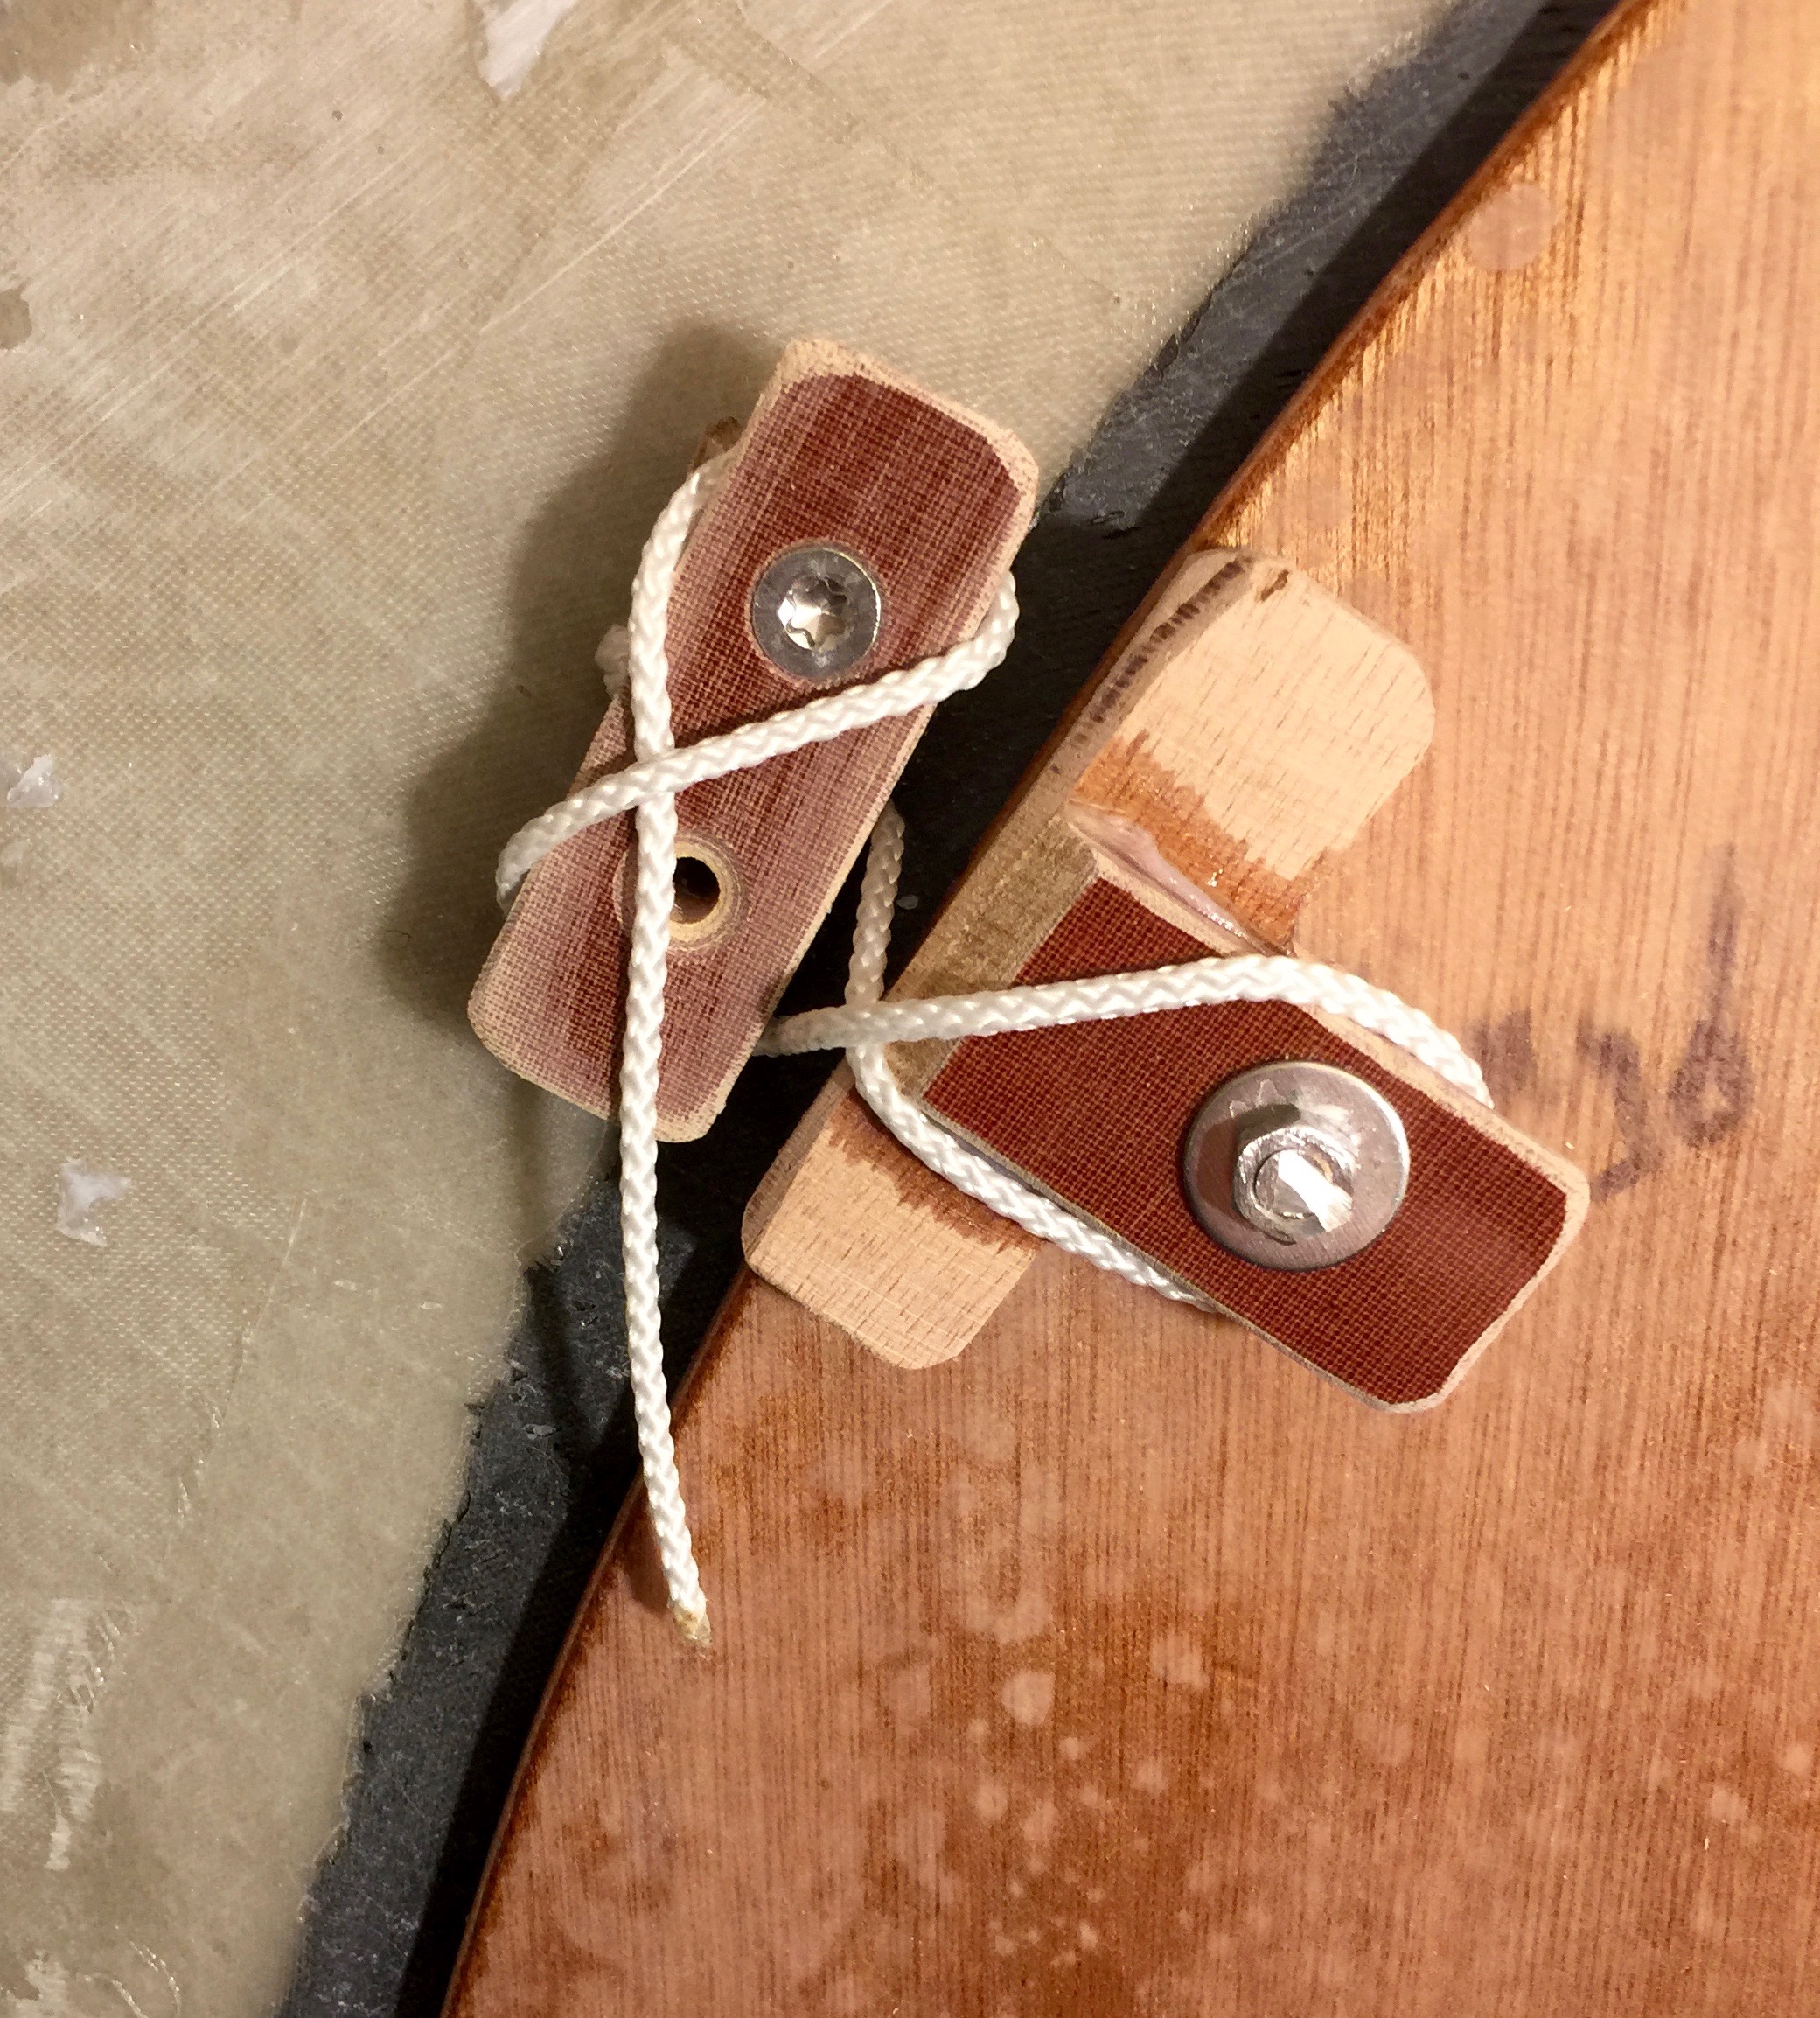
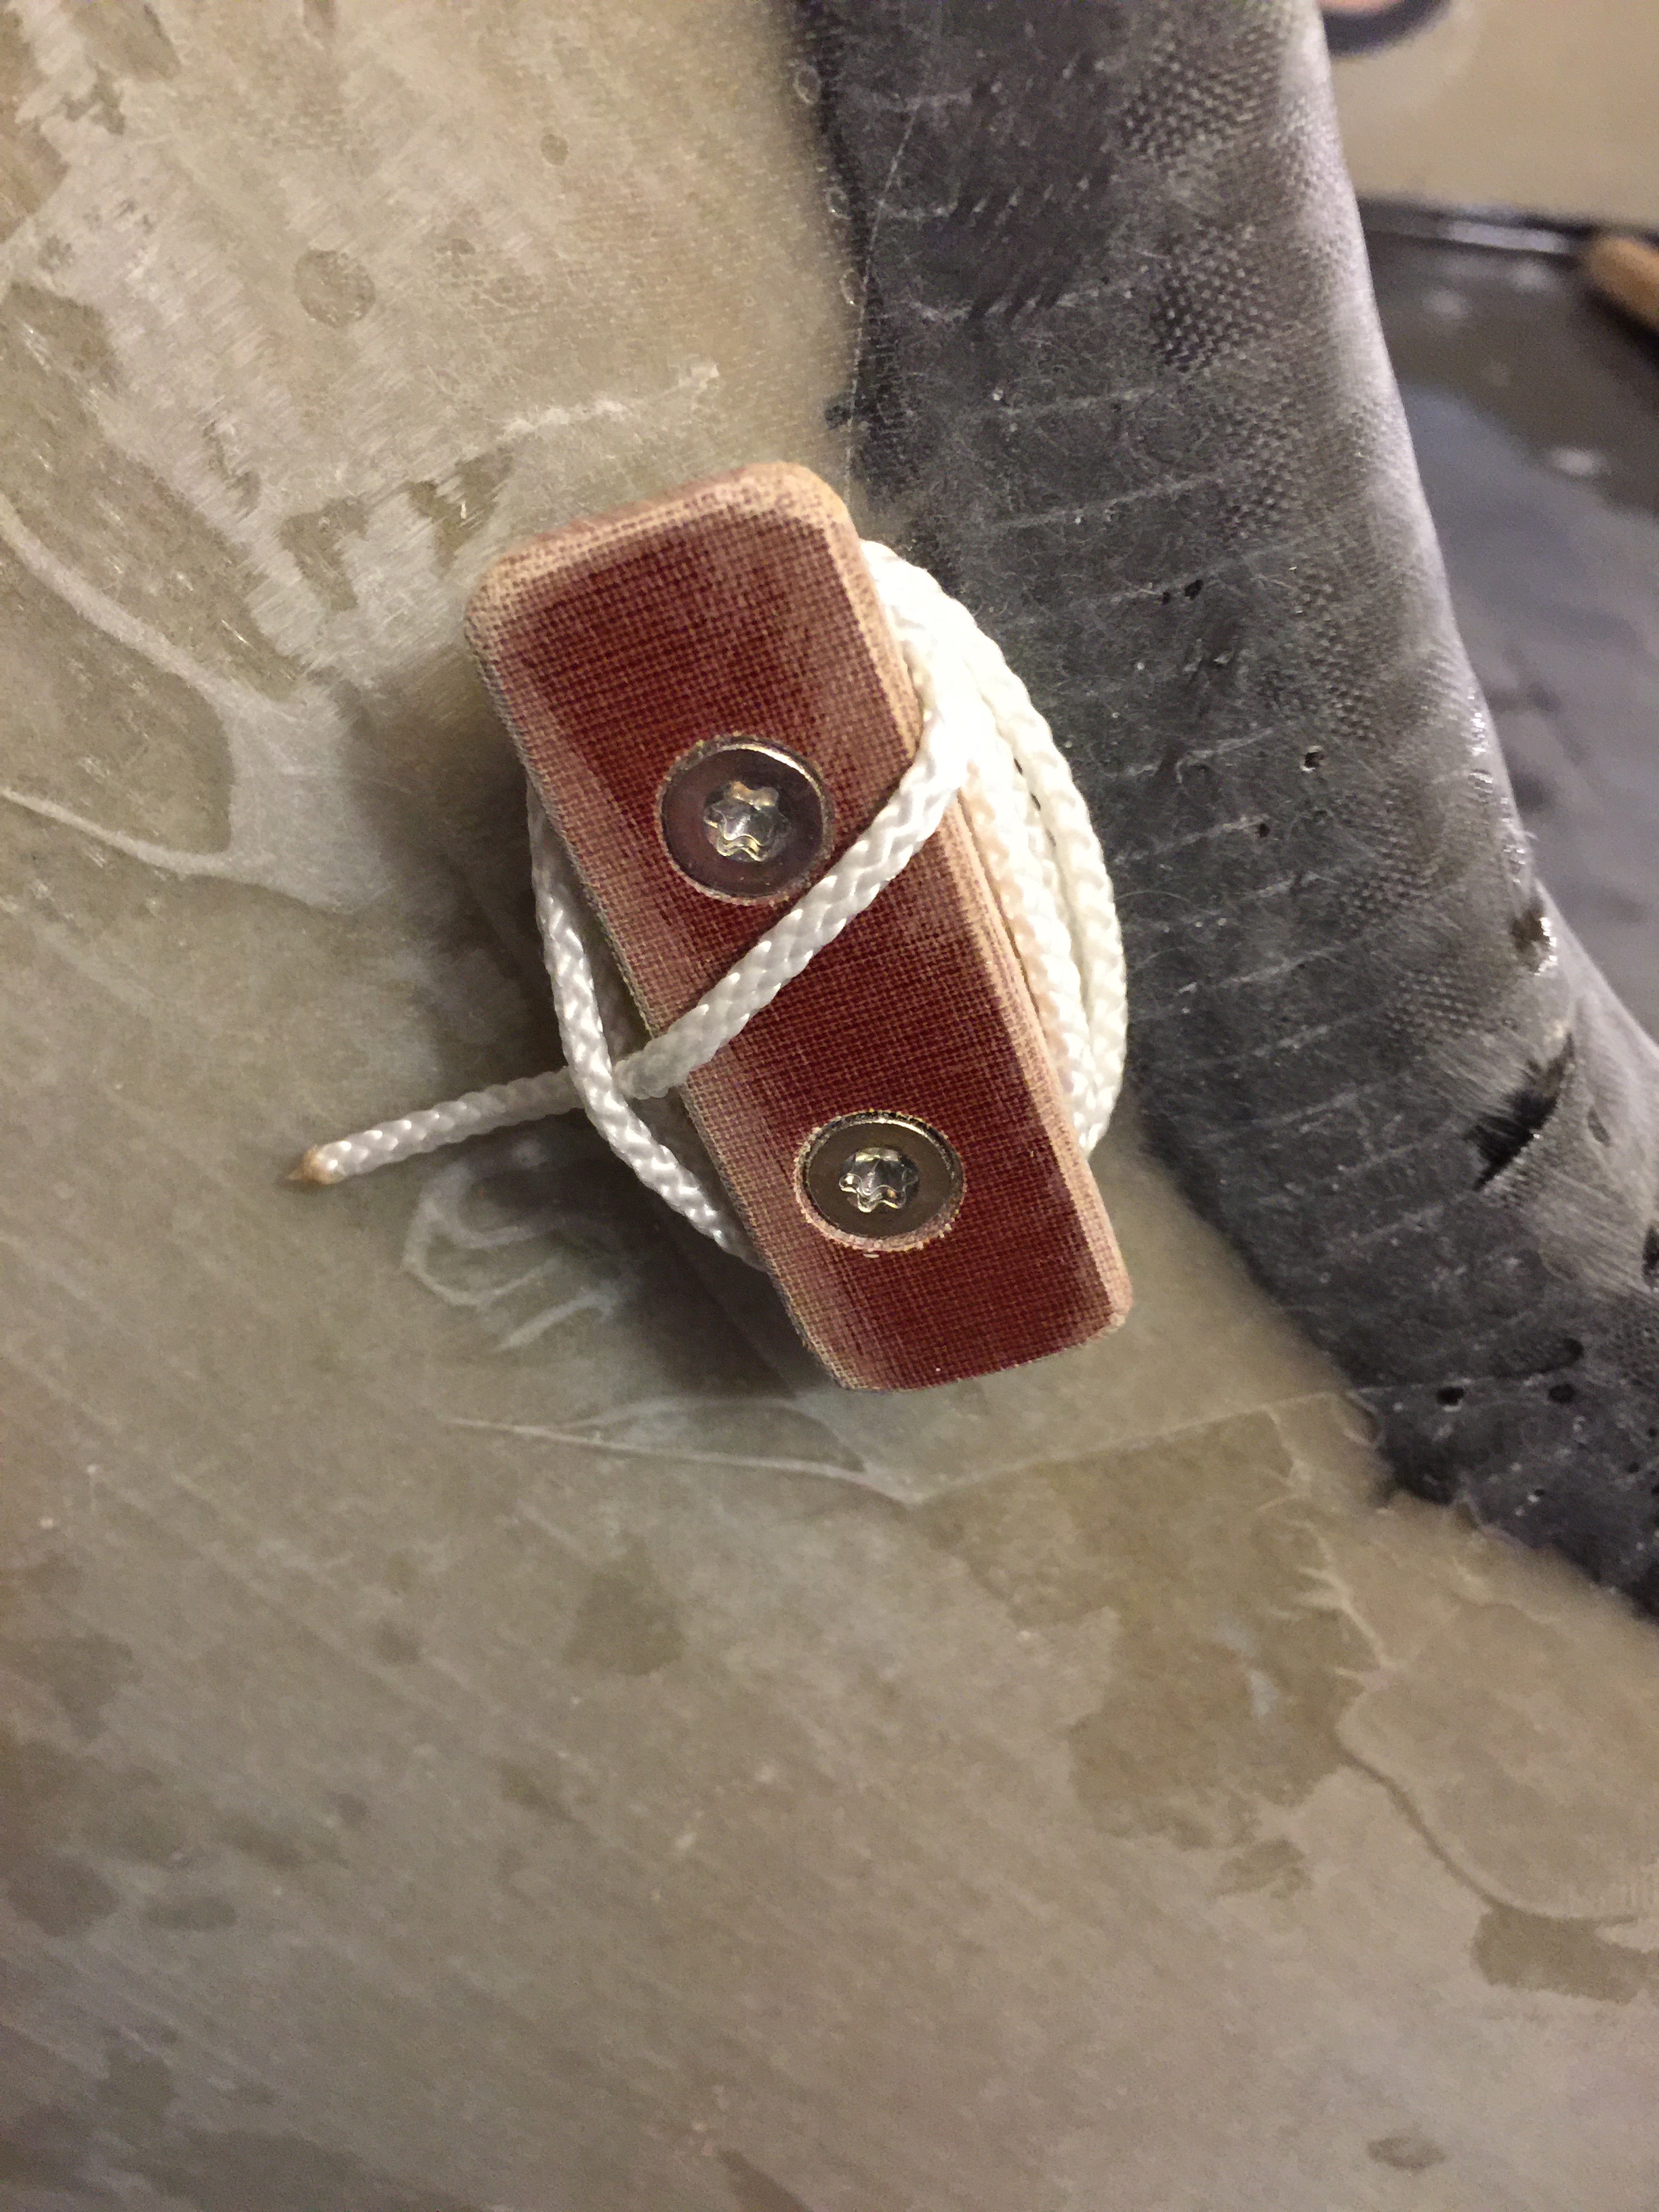
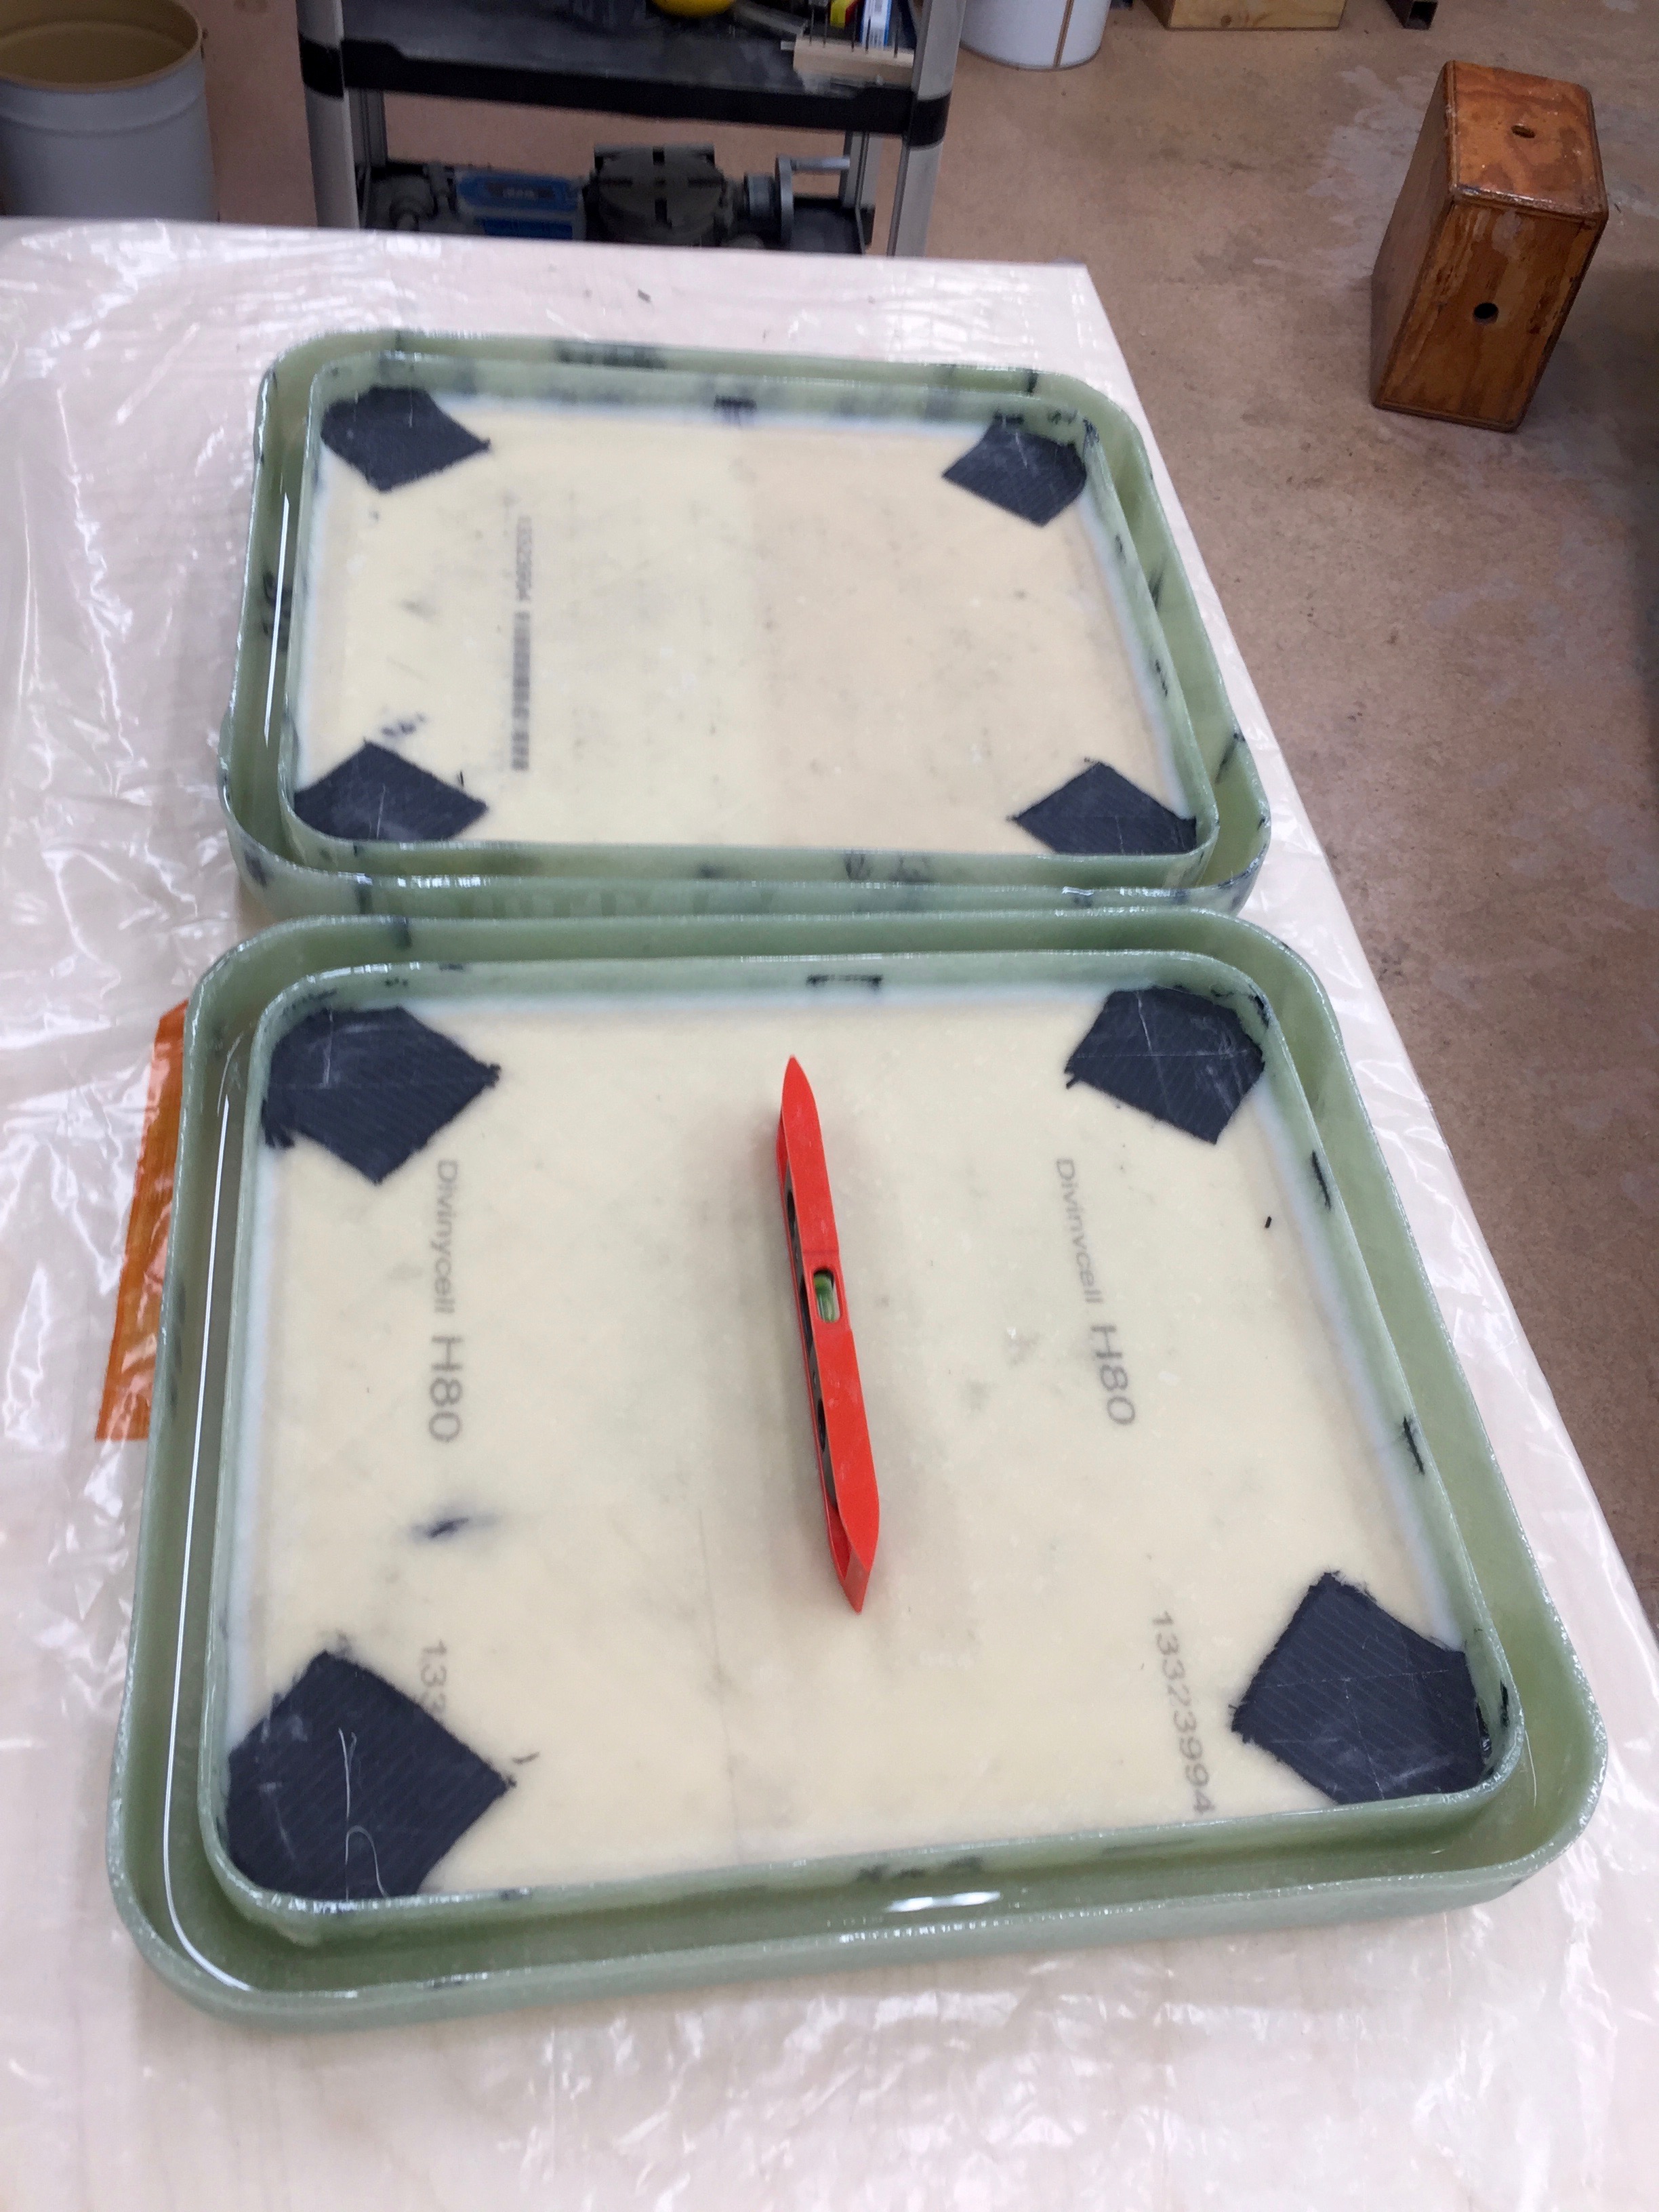
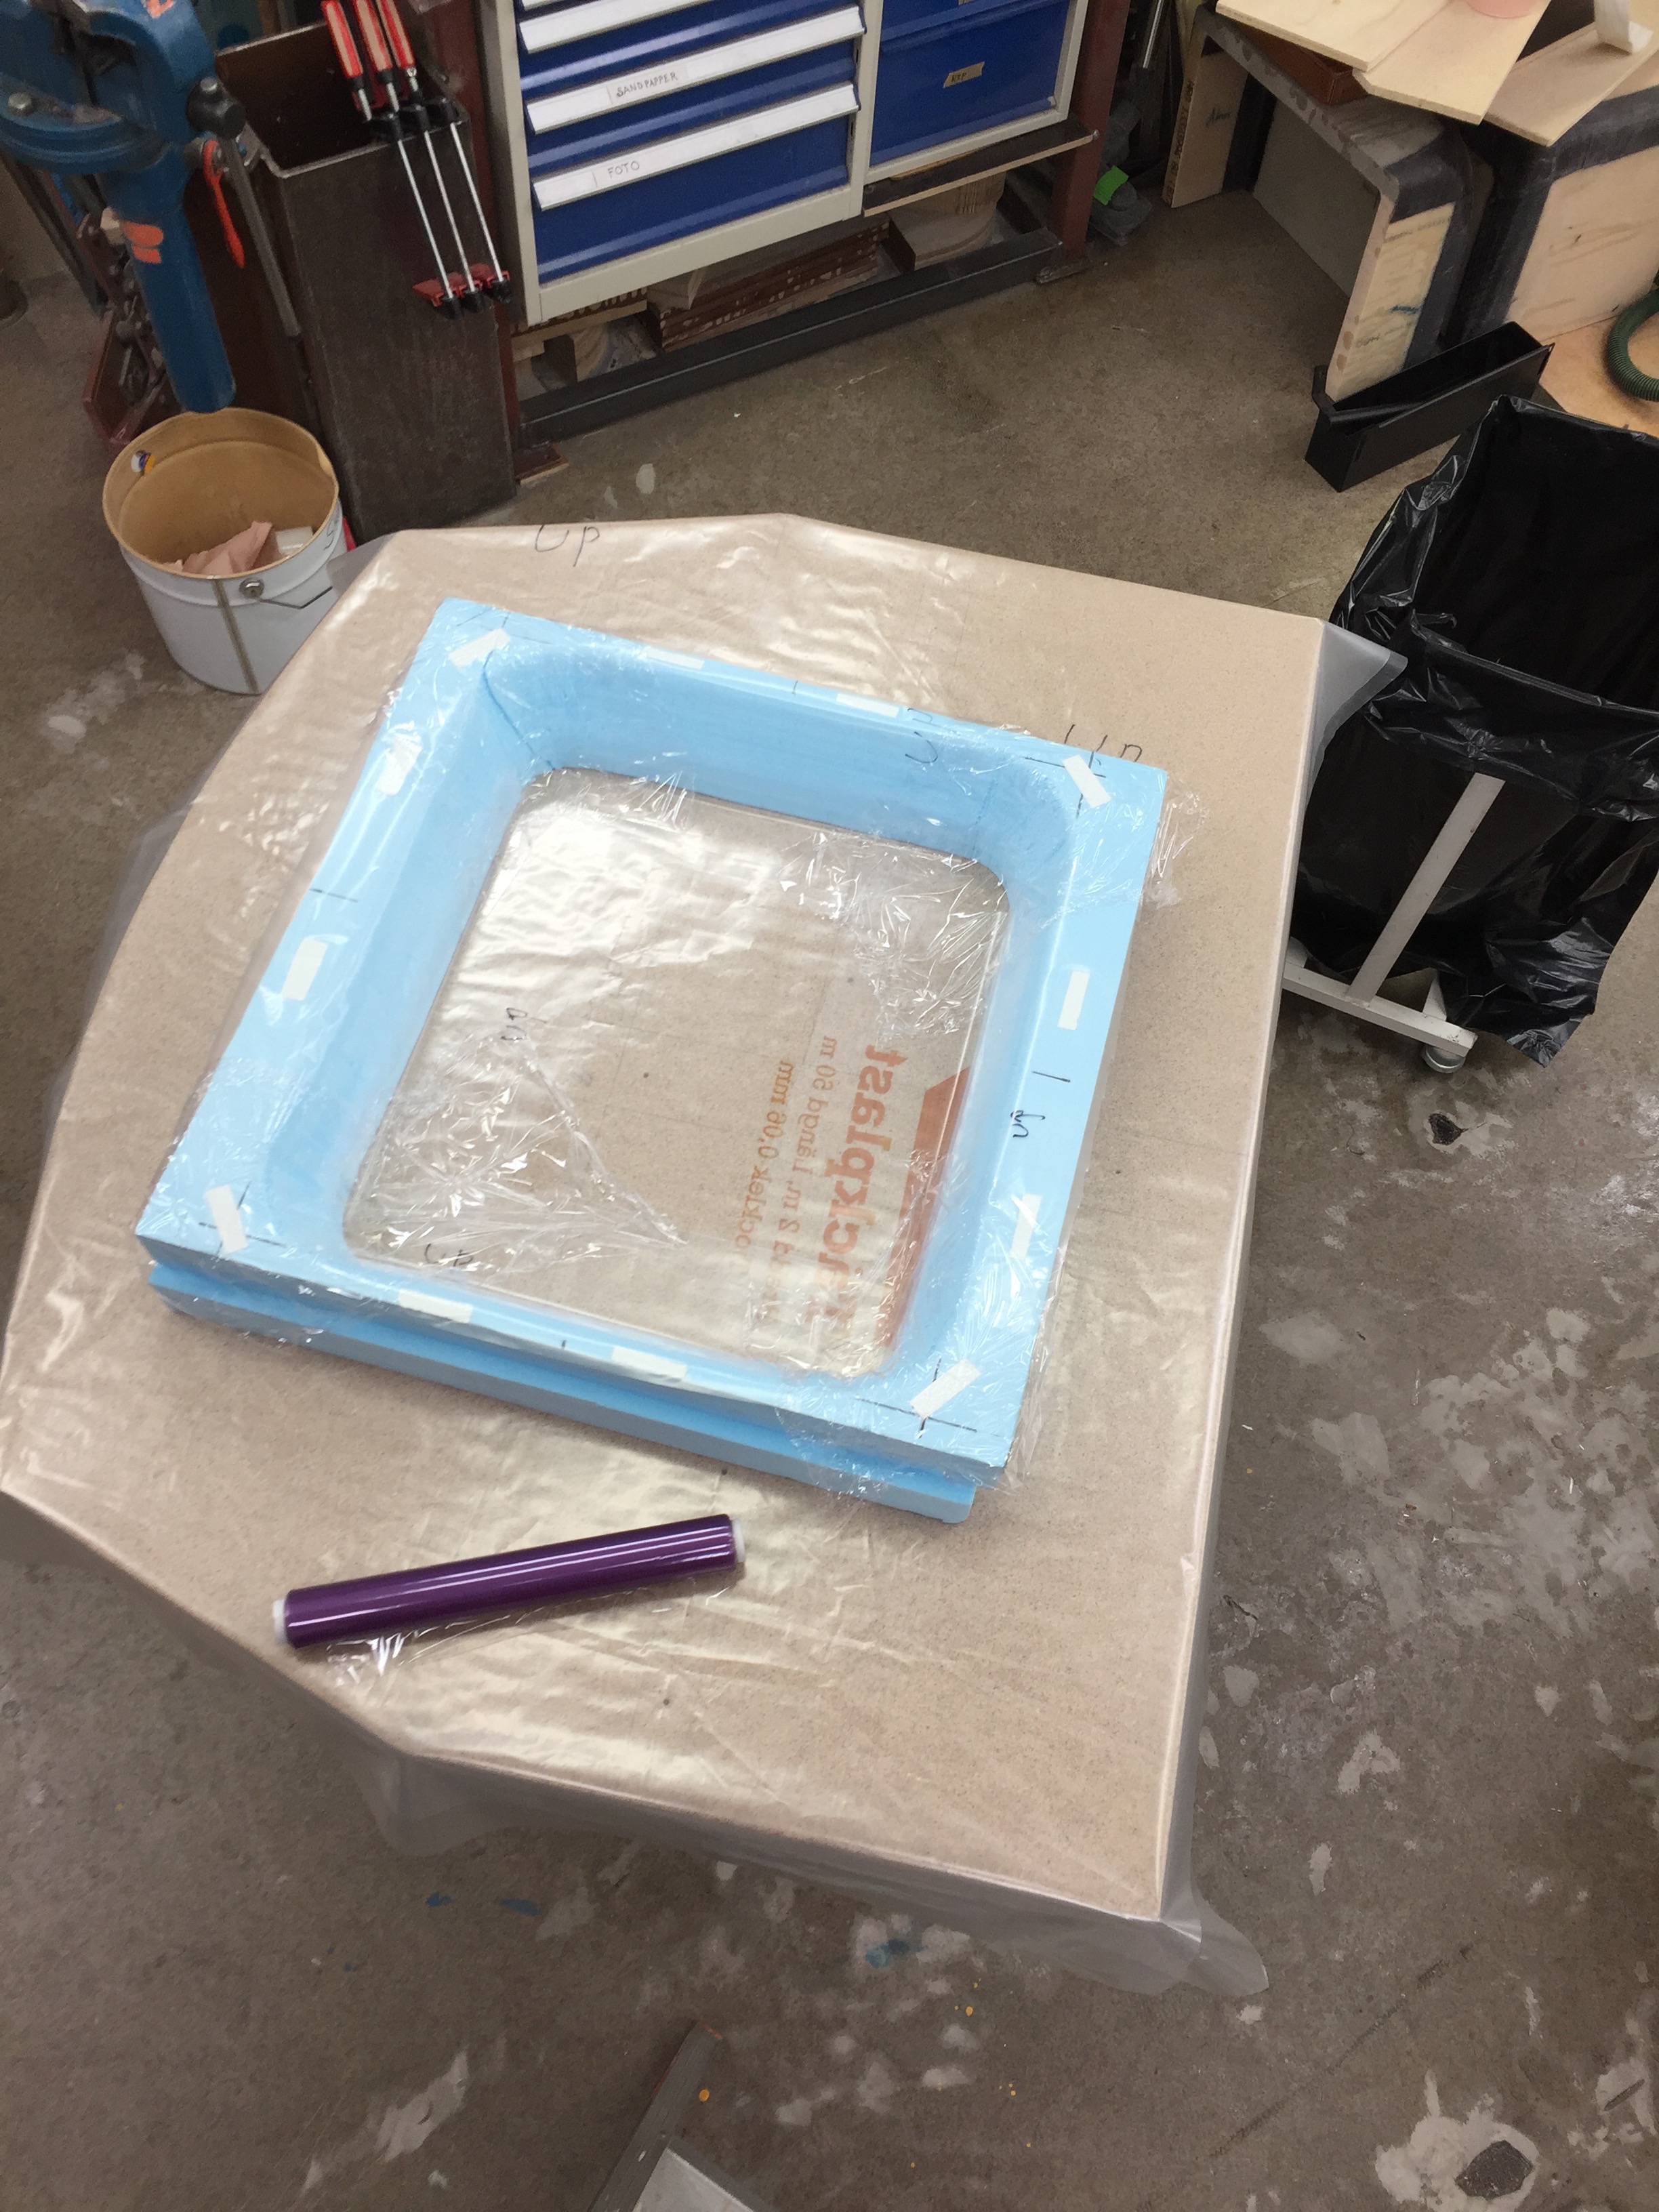
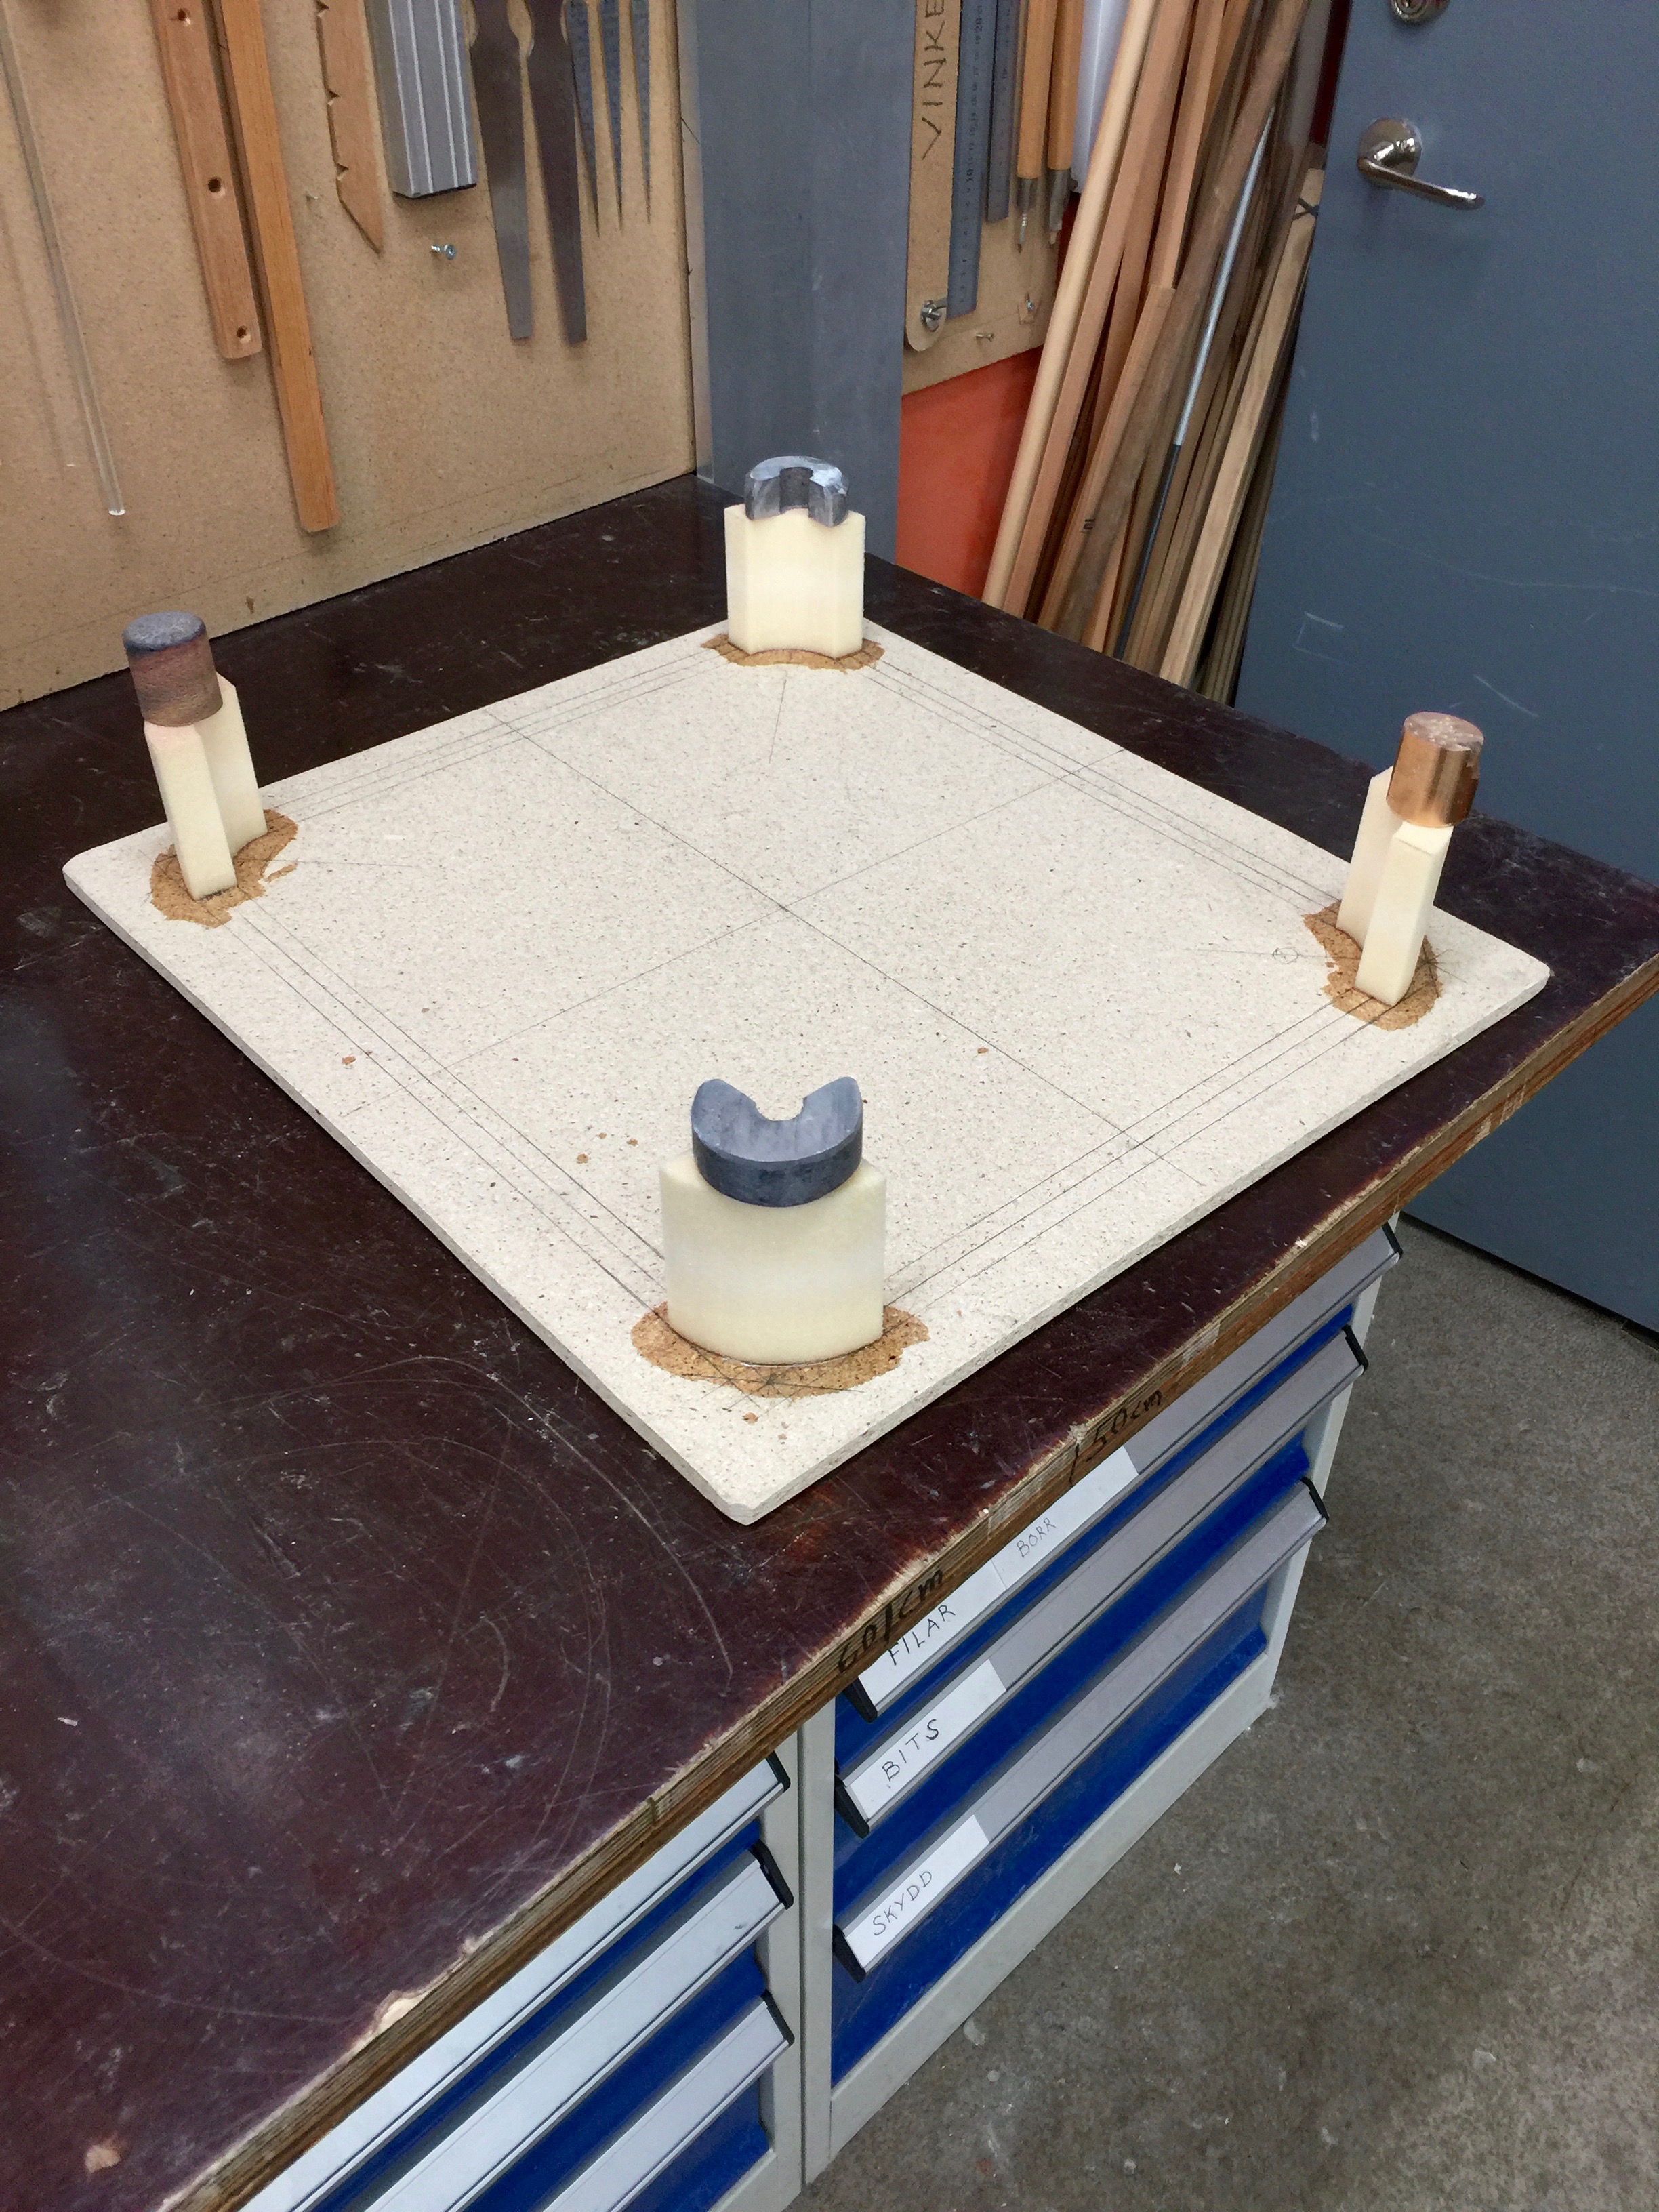
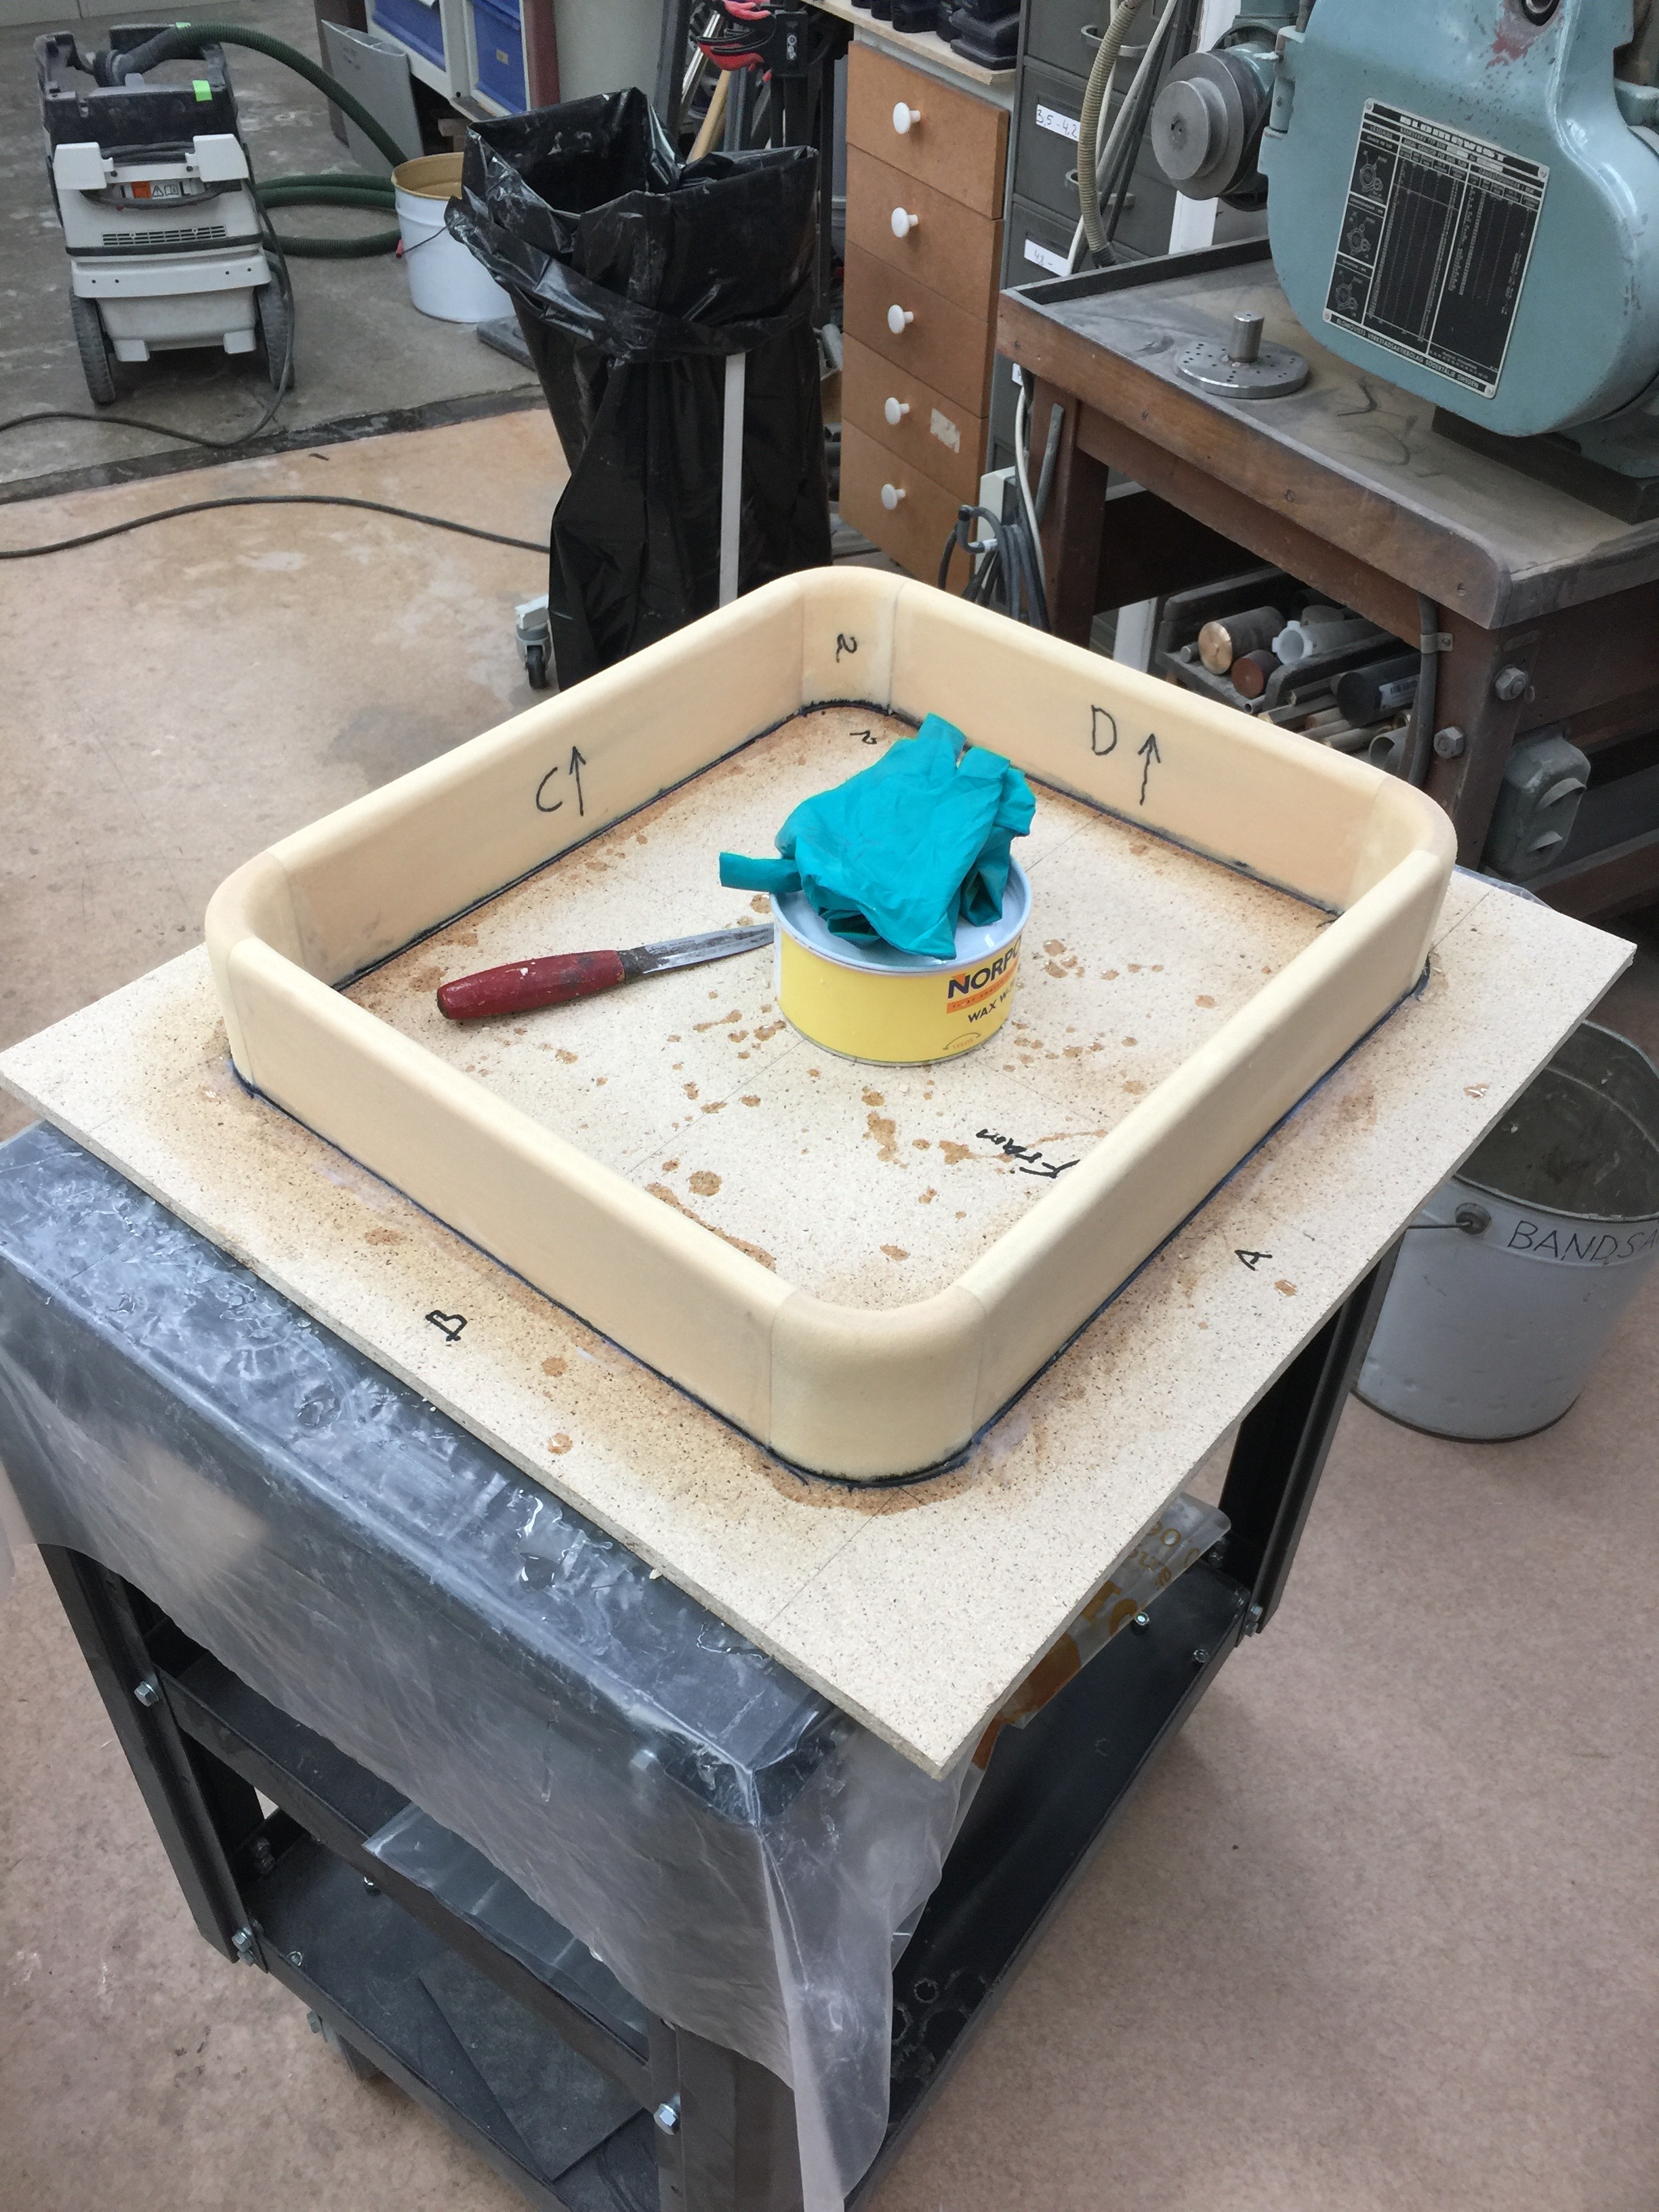
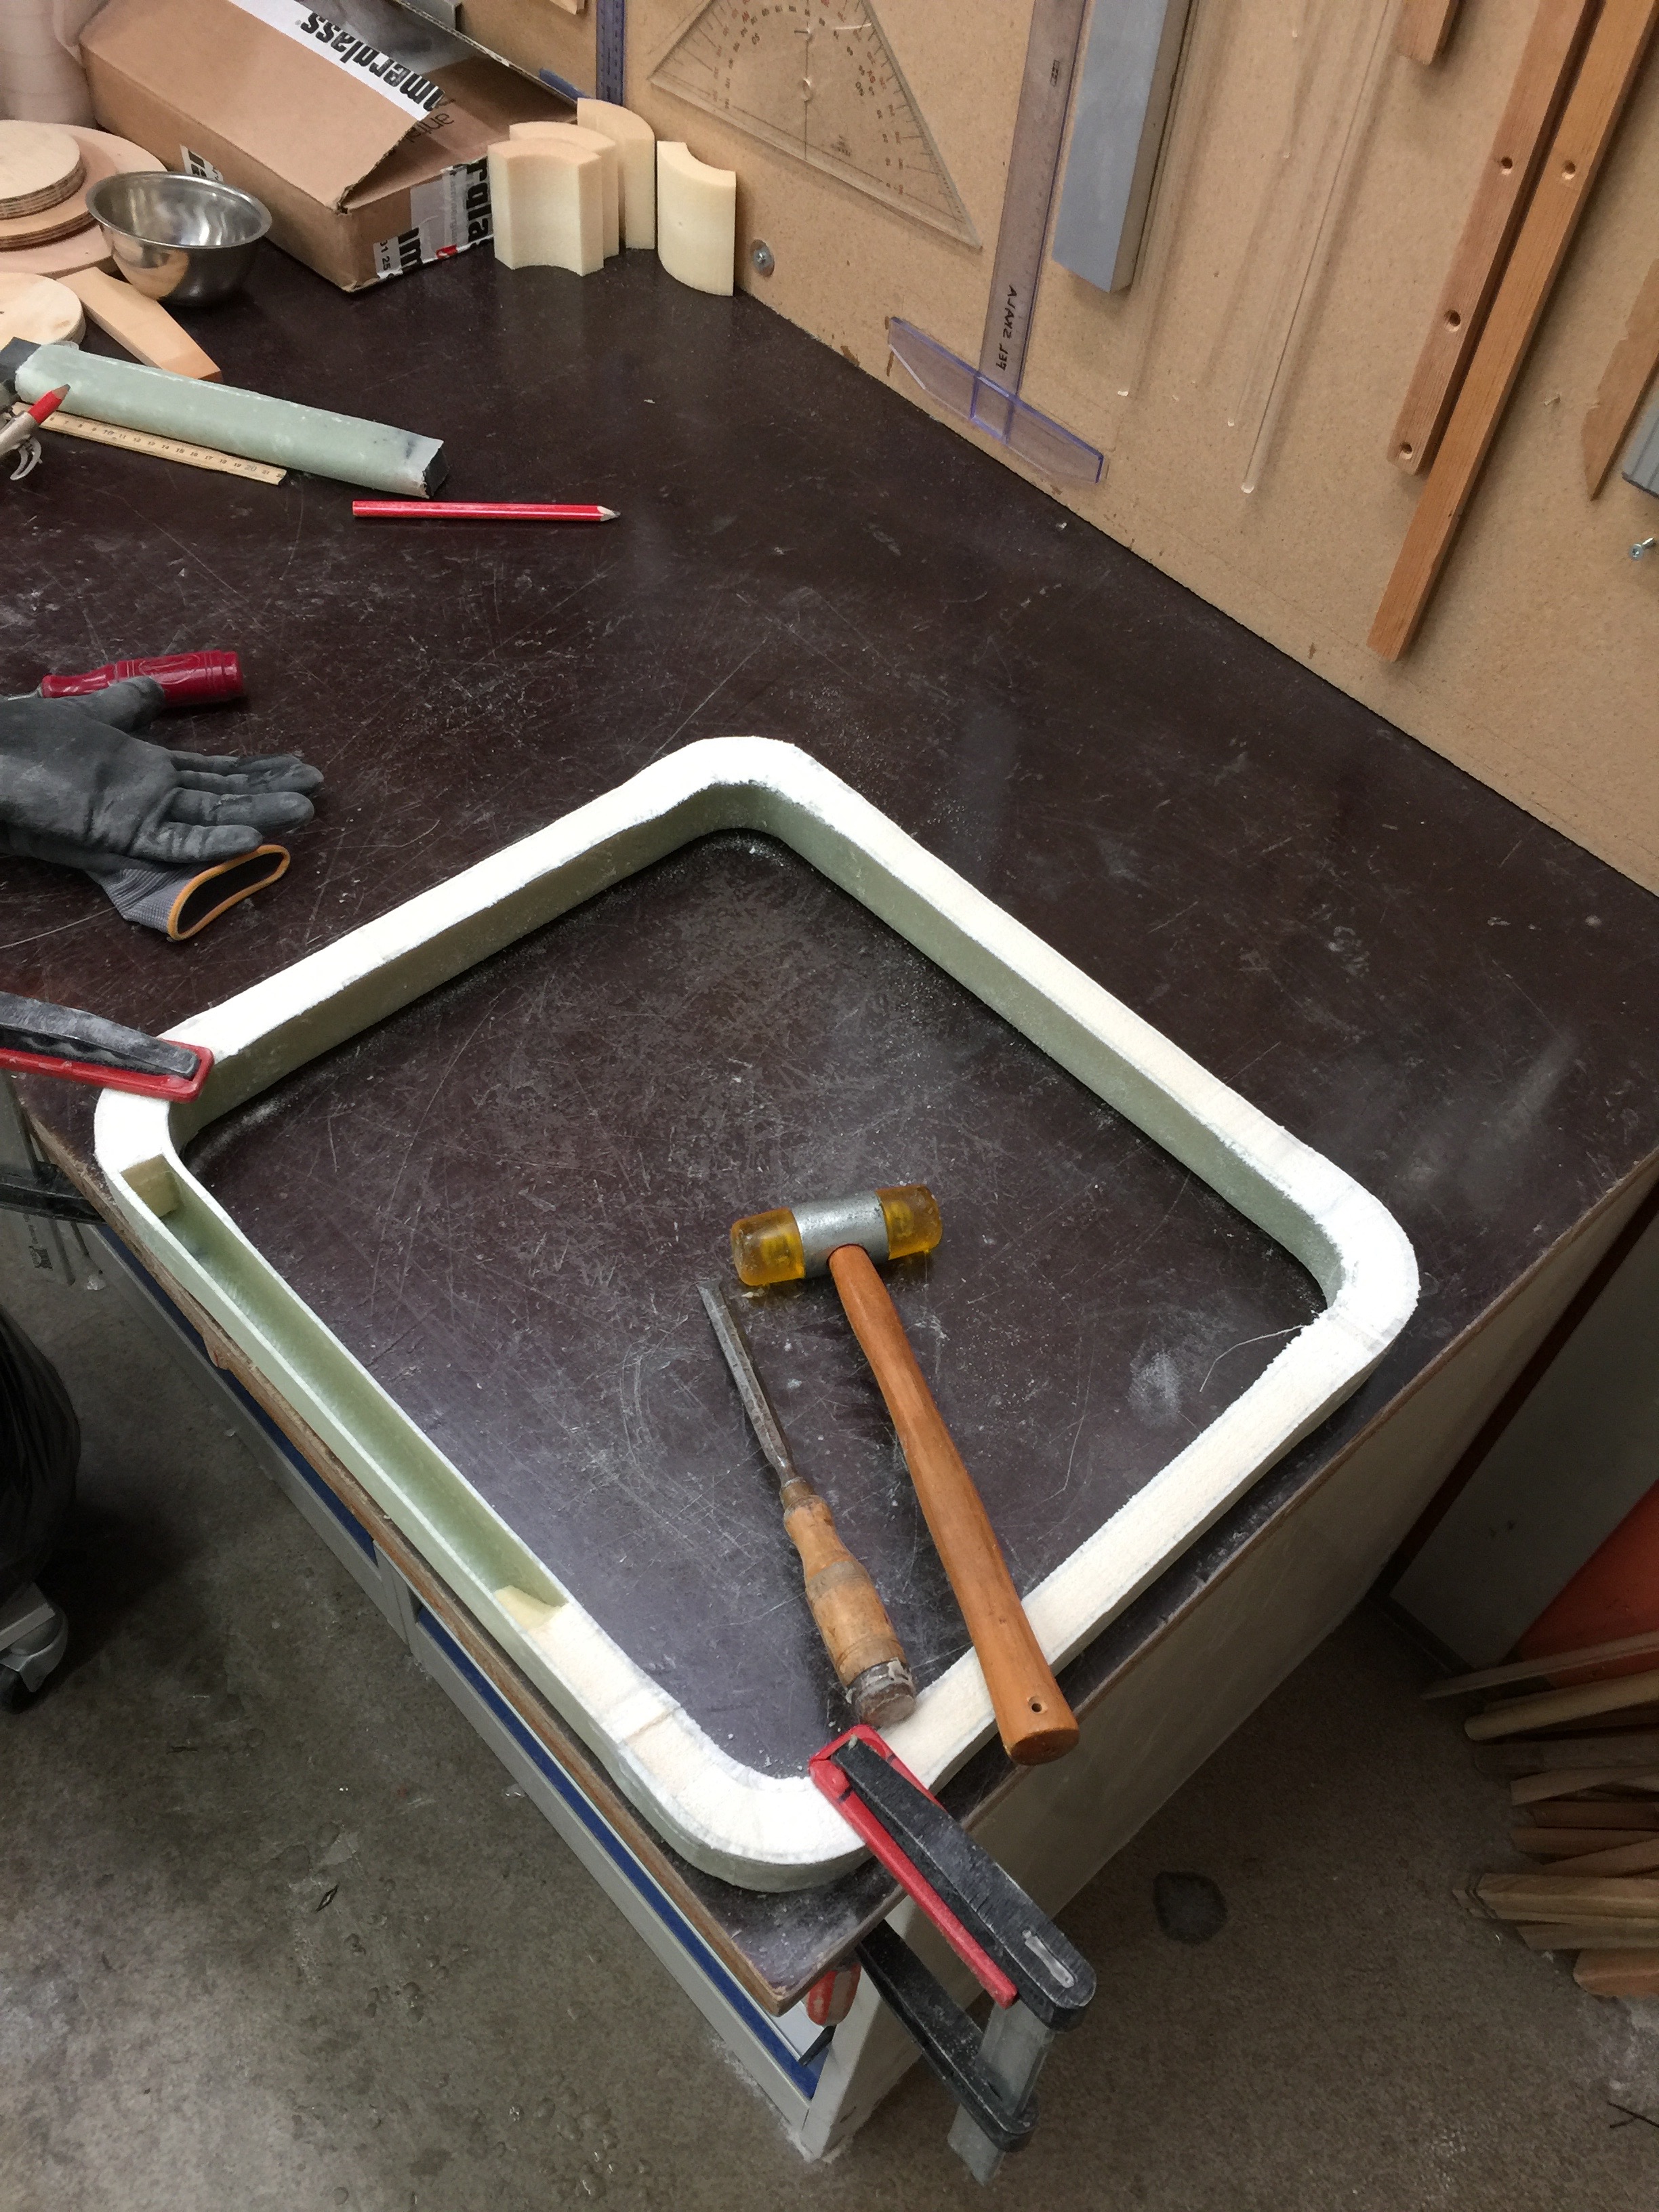
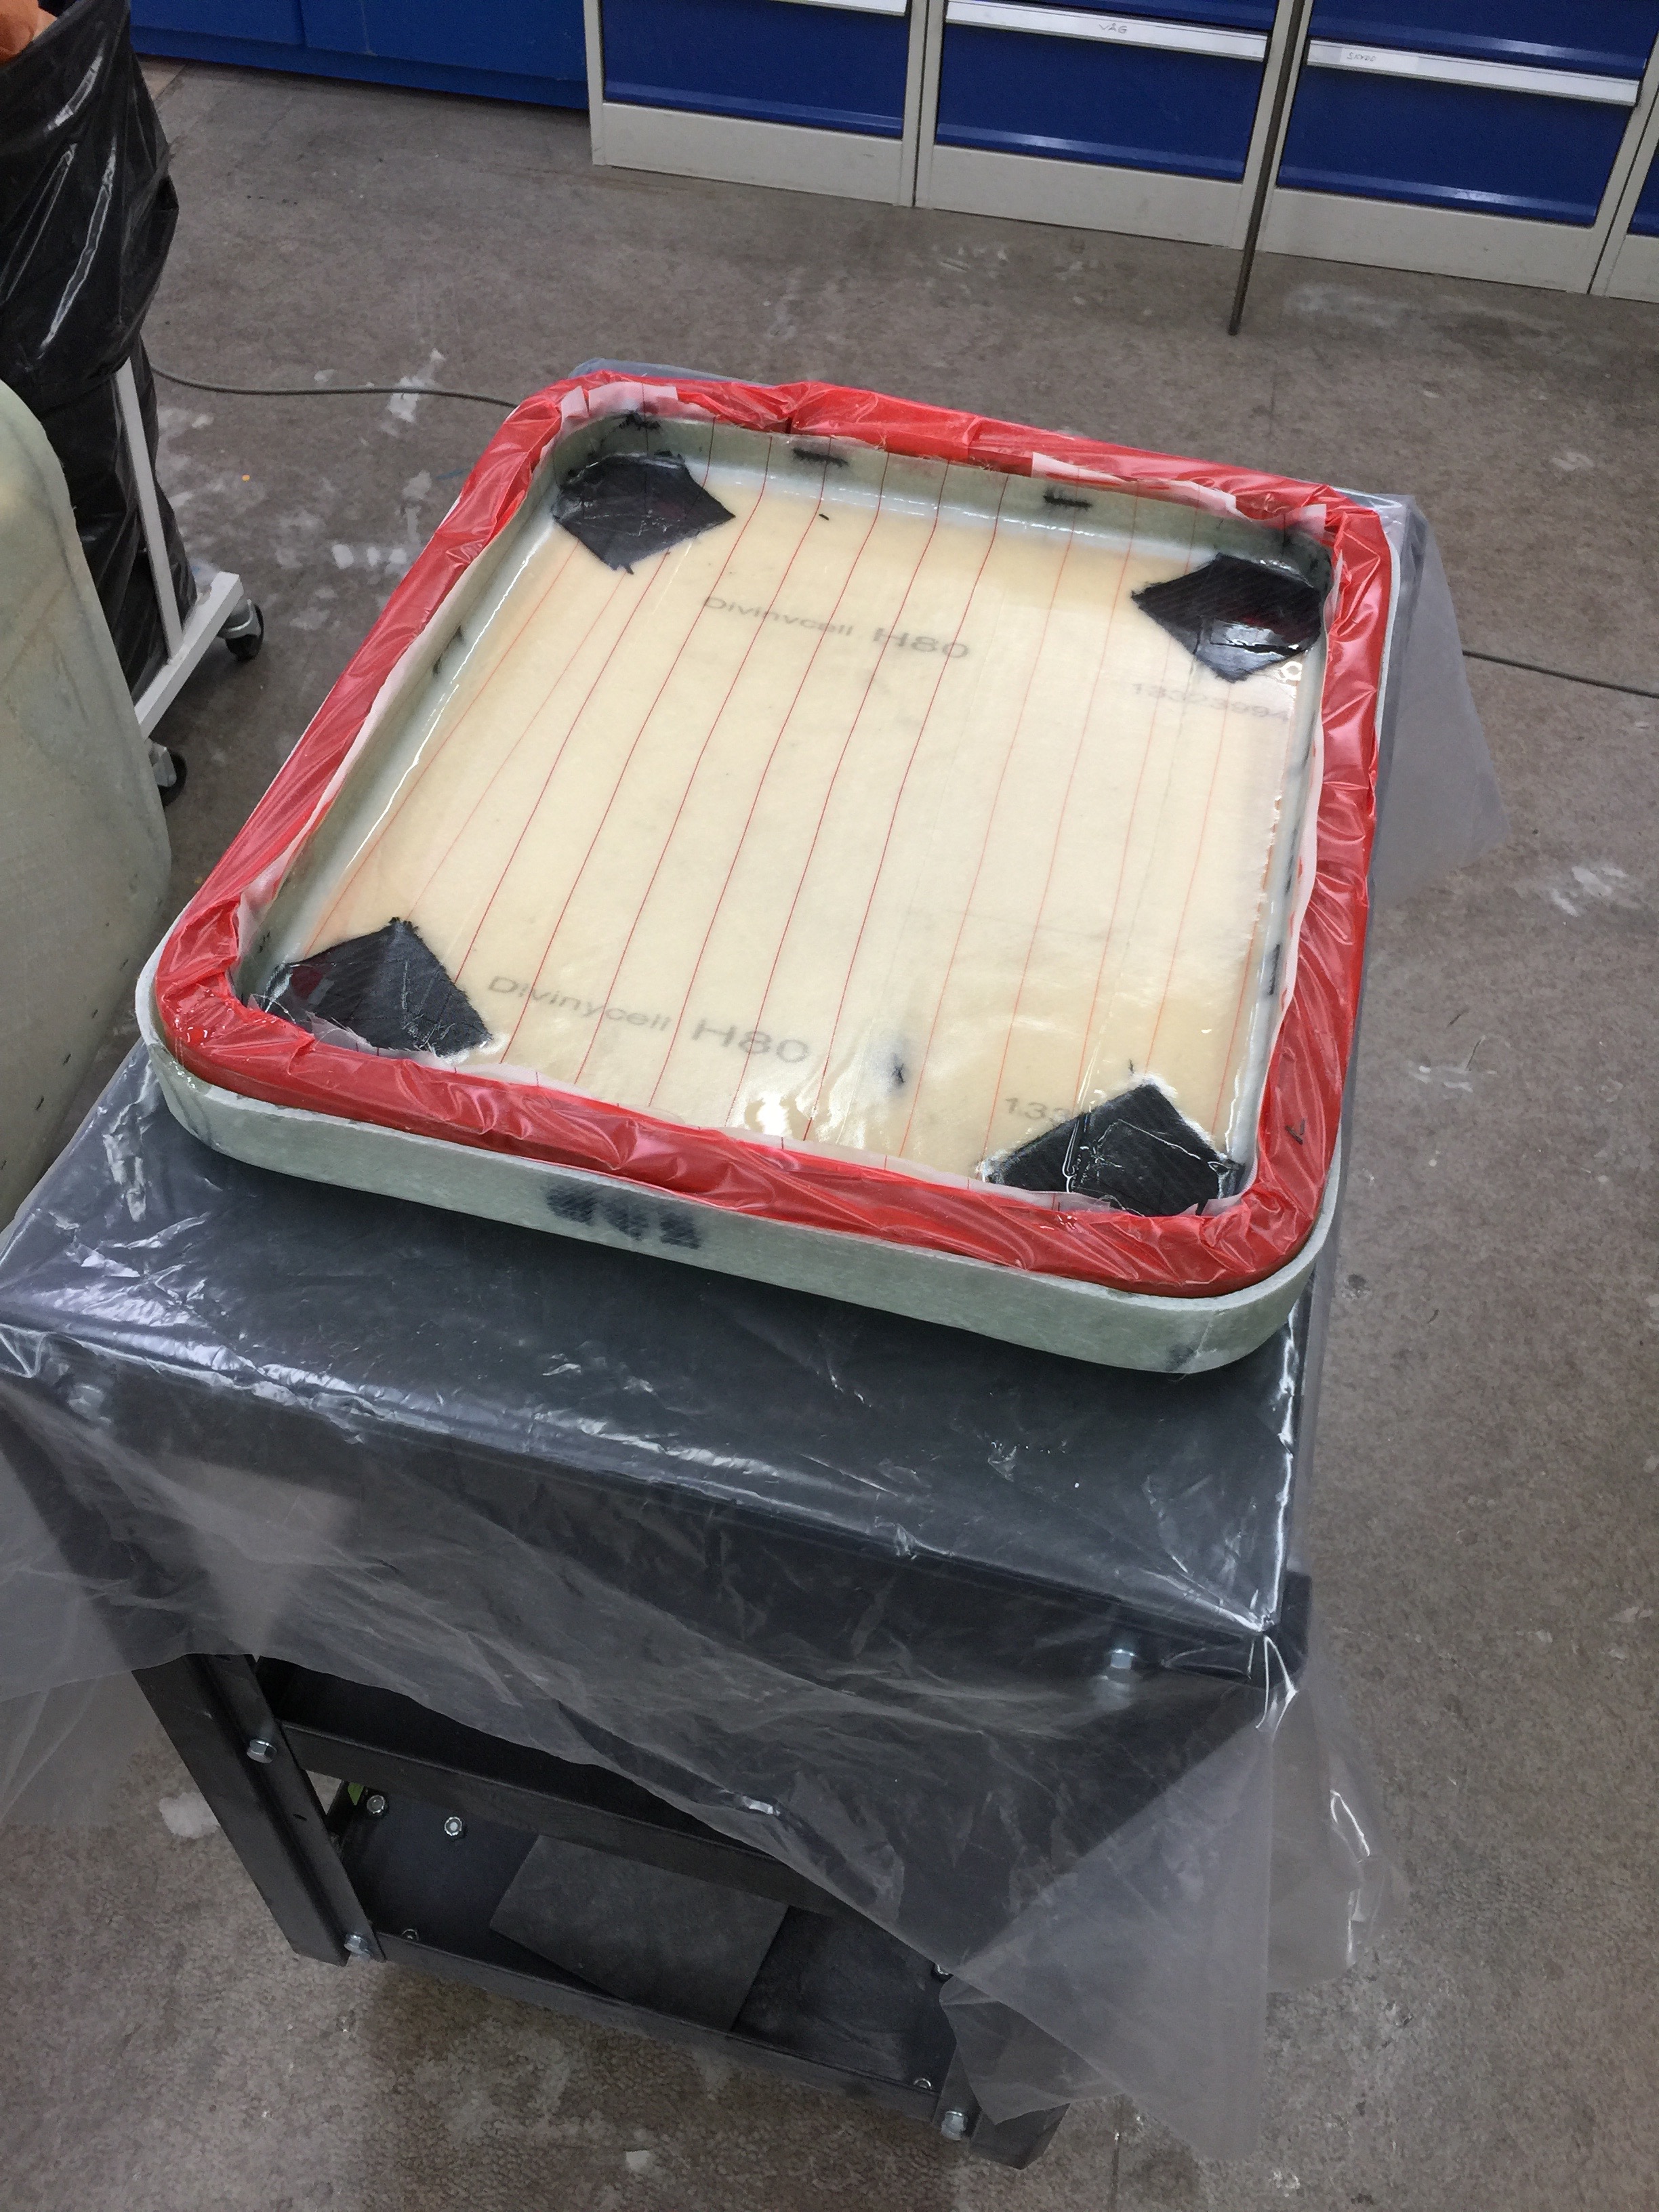
Some pictures below.

Exlex with yuloh
Fairing, boring work but important
Yrvind with the help of Peter Gevsjö applying 5 coats of Coppercoat
Paintjobb done. Hull centerboard and rudder all have five coats of Copperpaint.
The bow looking aft

To be continued…

Regards Yrvind

YRVIND 80

At 22 April I became 80 years old.
I am glad for that. During the past 80 years I have experienced a lot made a lot of mistakes and learnt a lot. The coming decade I will profit from that.
At an age of 80+ when most persons have stopped doing daring deeds I will go for a world record, a first. I plan to make an ocean passage in a yellow centerboard schooner rigged with balanced lugsails. The boat will be less than twenty feet with a draft less than one foot and there will be no selfstearing or autopilot. Also I will do it single handed unless a brave, petite girl will join the crew. That however will not make the venture less daring on the contrary. Will I succeed in this most difficult task? With your support my chances will increase so please use the donate button or Swish to 0706200550.
Help me make this new decade a great one for simple boats and simple life. Making a better world for us all.
Regards Yrvind…

RUDDER FITTINGS

Today the rudder fittings are done. They are very strong and very heavy.

The rudder is an important part of the boat. Many boats have been lost because to the rudder. One of the most dramatic loss happend to an acquaintance of mine. I do not know him well but met him a few times in Norway. His name is Staale Jordan when he lost his rudder he was only 23 years old. He had borrowed his fathers boat, 34 feet long and was on his way round the world eastabout non stop, 70 miles southwest of Cape Horn in a force 11 Beaufort storm a wave swept away his rudder. The wind was blowing from nortwest and he was drifting towards Antarctica. He had a sattelite phone and called the Chilian coast guard for help. How many aboard they asked. I am alone he answered. Sorry they said in this kind of storm we risk to lose more people than we can save. He tried the Norwegian coast gard. They contacted a ship that by chance was close by. Young and fit he was able to jump to a ladder they let down. Flyt Forlag Norway has a book: Våghalsen, about the adventure.

Below is photos of my fittings.

The two fittings on the scale. 4488.5 grams or close to 4.5 kilos.
The fittings on the work bench. The lower one has a little skeg in front of the pintle to prevent from catching lobster pots and such things. The two 13 millimeter diameter holes is to attatch a Dynema line to drag or lift Exlex.

Våghalsen. Forfatter: Trude Audny Ødegård. Flyt forlag.

To be continued…

Regards Yrvind.

LOCKING EXLEX

Locking devices gets damaged by salt water therefore its a good idea to put your locks in a place not exposed to the elements during a passage. During the years I have used several methods depending on the hatch. My hatches nowadays are sliding but they also can be clamped down into a gasket. Therefore they have to move not only forward but also a bit up and down. That complicates things a bit. To overcome that I use two padlocks, one on each side of the hatch. Of course it is very easy to break into a boat, even a small crewbar easily opens any hatch. The idea is to make the boat look locked. I think two padlock gives a better messages than one, but it is because Exlex hatch slides on ropes that I use two padlocks.

Pictures below.

One padlock in each end keep the hatch locked and hopefully deters undesirable characters.
A close up at one of the padlocks. These Finnish padlock has a robust mechanism. The string is to prevent the padlock from falling overbard when I am clumsy.
The two holes with nuts is to screw down the hardware in port when needed. At sea they are stowed below.

To be continued…

Regards Yrvind

FITTING BEARING IN RUDDER FITTING BY GRINDING

At present I am at work at the lower rudder fitting. There has been some welding on it. Welds tend to distort metall so also in this case. The Delrin or POM or Acetal bearing did now not fit. Best way would be to ream the hole. Reamers are expensive and I did not have one 29 mm that was required. As an alternative I grinded it down to size using emery tape wrapped around a stick. To help me I used my dear Blomqvist lathe. Now in general it is not proper to grind on a lathe, but Exlex is more important than the lathe. Also I very carefully vacumed the lathe after finished work.

Below photo and a video.

The lower rudder fitting with the Delrin bearing finally in place
The pintle inserted and it turns nice and smoutly. To the pintle will be welded 4×40 mm stainless steel plates 400 long to hold the rudder head. The bottom plate is 6 mm thick . The triangular 12 mm thick piece with two 13 mm holes is to protect the pintle. The holes is there so that me can insert a 10 mm Dynema rope if I need to lift the boat or drag it or handle it

To be continued…

Regards Yrvind

LOCKING THE FOREWARD DOOR

Today and yeasterday everything takes time, I have been working on cleats and hooks to fix the forward door in open and closed position ( there is also possibilities if so desired to fix the door in intermidiate positions, for exampel in rain or hard on the wind when spray is flying.

I use cleats and hooks and string or thin chock cord to get tension.

Abstract I like to have axial rather than radial forces. That is I like to have the string pulling the door towards the bulkhead.

Below photos:

The cleats and hooks are made by gluing Tufnol to plywood using NM-epoxy. The bolts are weights while the glue is setting
In this picture you can see how the string is pulling the rotating door towards the bulkhead. I do better knots later and use shock cord.
This picture shows the door closed. To the right is the dagger board trunk. Clicking once or twice on the picture you may also see the horisontal axis that the door rotates around.
The door is now open hidden behind the dagger board trunk, you may see a tiny strip of it and the pin. Behind the open door is my sleeping room, behind that one more rotating door, then the aft cabin. Exlex is very spacius and sympathetic. She bee very comfortable to live in for one or two persons.
The string, 3 mm – 1/8 inch, when the door is open stays on the cleat nicely coiled, ready to use.

To be continued…

Regards Yrvind

DAGGER BOARD

Abouve two short videos on the dagger board trunk.

I am trying to learn how to splice them together to make longer videos but so far no succes.

I spend my time on the boat so there is not much time for this activity but I thought better a bit than nothing.

Progress is good but time consuming. Luckily the result exceed my expectaitions so I am happy.

To be continued…

Regards Yrvind

PAINT AND YOUTUBE

Thanks to Anders Jessen Watski Denmark and Katarina Frisell International Paint Sweden I now have paint for my boat.
Here is a link to a video I have uploaded on Youtube.

I used imovie. It was the first time and I think I made most of the mistakes one can make, but like sailing, experience and knowledge comes by practice. Give me a few years I will be better. I know it should be landscape format I know there should be sound. The sound was there yesterday but it seams to be gone now. There was also some fotos attached. I try again to fix it, but there is also much to do on the boat. and thats priority.

Tomorrow I will cut a hole in the deck and an other one in the bottom of the hull. It is the daggerboard case that will be fitted.

My reference from International Paint Company 1954. Click on the picture once or twice to enlarge.

I used to work for the International Paint company, in their laboratory as an assitant. The year was 1954. Below is a picture an reference.

Below a leaflet from an boat show 1976.

Leaflet from floating boat show 1976 Göteborg Sweden.

I will try to do more Youtube videos, slowly improving their quality. Their you can leave comments that I might answer if I have time. At this point I do not know how to add an subscription button but try I think that there is a way.

To be continued…

Regards Yrvind.

GRINDING HATCHES

Here I get help of Stefan to grind the coamings flat.that will take the hatches, more precisely the gaskets of the hatches. The bottom of the  holders of the gasket is also flat bebouse I have poured NM-epoxy into it. Thus agot two very flat matching surfaces. That will make a thight hatch.

The hatch and the rim that will hold the gasket. Into the rim I have poured NM-epoxy that makes a leval surface.

To be continued…

Regards Yrvind

HATCHES

The hatches are on their way. Abouve is a video of me testing the waterproofness of one of the hatches.

No leaks not one drip even after 5 houers filled with water. In the video the hatch is upside down.

The hatches have taken a long time building, but for me this is part of a seawrthy boat. Together with the ventilation system and the well built boat this ensures that no water can enter the boat wathever the conditions even with the boat upside down. To have a boat that is always dry gives peace of mind, no reason to worry about storms, you know your boat can handle any weather.

Below are pictures.

The mold for the coaming is made from styrofoam.
Starting to build the mold for the part of the hatch that will hold the gasket.
The mold done and waxed.
The idea is that the gasket is not glued in placed. It just fits very tightly. Therefore no problem of changing the EPDM-gasket made of foam. The disadvantige in production no release angle of the moald. The mold is only good for one piece.
Now the hatch is getting nearly ready, the Divinycell is laminated with NM-epoxy. The corners are being reinforced with carbon fiber to hold the clamp down screws. The gascet is in place covered with a Nylon vacuum bag to prevent NM-epoxy to fill the place where it lives.
I am doing oversize bronze nuts to help align the gaffs that takes the M8 clamp down screws.
One of the gaffs being aligned.
To make sure that the bottom of the gasket holder is flat I have poured a bit of NM-epoxy in the holder. Nothing is as flat as hardened NM-epoxy.
Fitting and laminating the inner coaming of the aft hatch.

Hopefully more about the hatches will be on this website to make it more clear.

To be continued…

Regards Yrvind.

If you like my work please contribute.