WORK ON THE C.B.

At an other front I am working on the C.B.

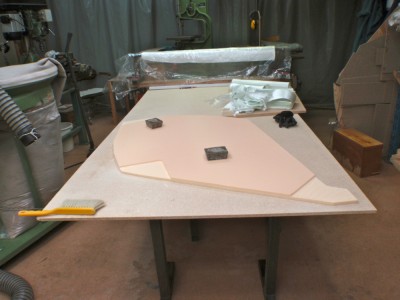
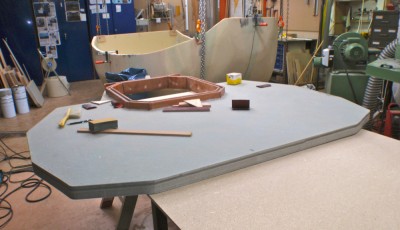
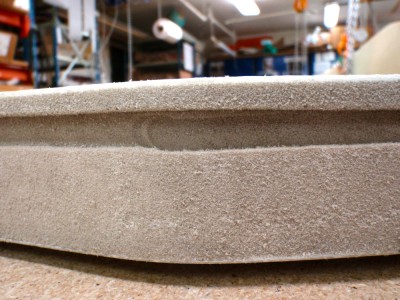
It is very easy to get an symmetrical profile working with plywood becouse you can use one of the layers as centerplane. Working with composite and Divinycell is a different matter. Au pif I decided that the thickness of my C.B. should be 4 cm. Instead of trying to shape 4 cm Divinycell I glued tvo 2 cm pieces together. In the middle I put three layers of 450 gram glassfiber. Also I made reenforcment for the axis, the up and downhaul and the lowest end, the one which are going to touch the ground being my echo-sounder sailing in shallow waters. Also By having glassfibre in the middle the aft end of the profile which is very thin will be stronger. Whith this layer in the middle I have a plane of reference when shaping the board.

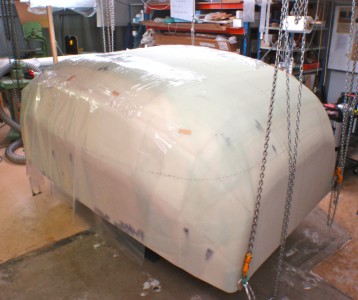
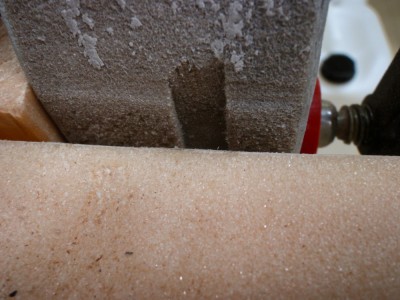
Below are some pictures. Click once or twice on them to enlarge. First picture I have used a router to create space for the reenforcement. Routing depht is 8 mm.

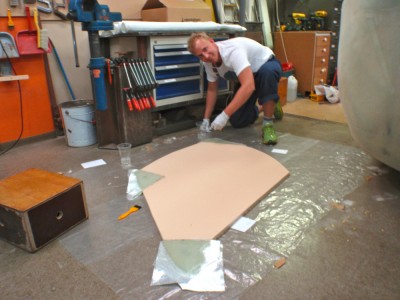
Petter, a young man just mowed here is helping me, here he is laminating the reenforcments.

We are using a lot of lead to put pressure on the surface. Of course the result is much better with vacum. I should realy using that instead. Still weights are good enough. We are using about 300 kilos of lead. Had we used vacum instead we would have gotten a force equvilant to about 10000 kilos (the area being about 80×120 cm) In addition the vacum would have gotten rid of all the small air bubbles.

To be continued…

Regards Yrvind.
BRONZE SOLES AND A NEW TOOL

I had made a rough calculation of the volume of the bronze soles patterns using an estimates prismatic coefficient etc. As the have compound curvature and consists of convex and concave surfaces I was not to shore about my estimate therefore I decided to do as old Archimedes one of my idols, submerged them and measure the overfloving water. I do not have a bath-tub so I asked around. Then a freind of mine said I have a better method, I have a 3-D scanner. It is realy amazing all the new things they find out.

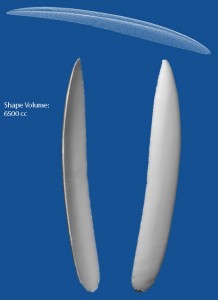
He kindly scanned my patterns. Each had a volume of 6.5 liters bronze density is 8.8 kilos per liter giving a total of about 110- 115 kilos just what I wanted.

Below is a picture. The top image is the scan the lower ones the crated surfaces. Click once or twice to enlarge.

By the way, the book comes in an electronic form E-bok. Se Bokus.com search for yrvind

To be continued…

Regards Yrvind.

A NEW BOOK

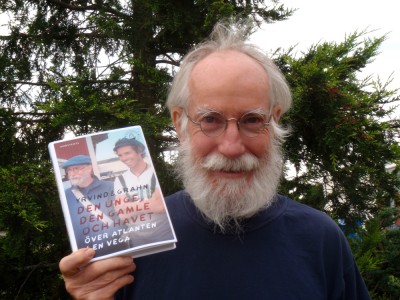
Click once or twice on the picture to enlarge.

The book: Den unge den gamle och havet, is now in print and for sale on internet in book shops and signed copies from me and my co-author Thomas Grahn.

It is published by Swedens oldest book company Norstedts. The text on the back cover reeds in my free translation.:

Nineteen year old youth and his freind calls on Yrvind a seventy year old experienced small boat sailor to get advise for their dream cruise. After a few houers consulting they part. Weeks pass. One day Yrvind phones curious about their progress.

My freind jumpt ship, says the Captain.

You must sail single-handed, says Yrvind.

I have never been away from home for more than a week, the longest I have sailed is across to Denmark, and I have never been sailing at night.

I lend you a sextant and an inflateble. If the worst comes to the worst I give you a hand for start.

A week later Captain phones back.

Are you serious?

If you give a hundred percent I will give a hundred percent, but we must hurry, soon the authum storms are here. We got a month.

Followed by calamity howlers the odd duo departs, the old man and the youth bearing the heavy burden of being the Captain. After enduring storms, a broken down engiene, blown out sails, a leaking boat they finally exultant reach Florida after a in many ways an unique sail.

It is a practical, instructive book for people with big dreams and small budgets, enjoy.

Regards Yrvind.

PATTERNS FOR A BRONZE SHOE

I have now decided to have the masts fixt side by side, not mowing them. In the masts there will be lightning conductors. They will be earthed to bronze soles,  one on each side below the masts. In addition the bronze soles will also give some weight low down about 100 kilos for additional stability when I am low on water and food. I chose bronze for its electrical conductivity, antifouling properties and chafe resistance. the latter is important when taking the ground and touching rocks and other underwater obstacels I may encounter cruising close to the shore.

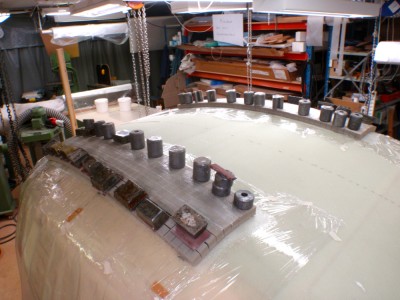
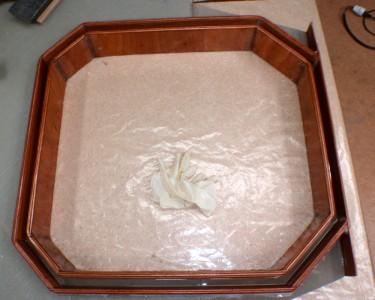
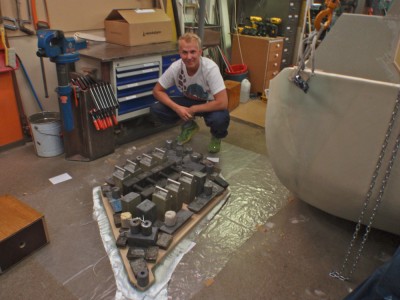
I have begunn to make the pattern from square-cut Divinycell glassfibre and NM-epoxy. I begunn by insulating the hull then putting a layer of glassfiber on top of that comes the Divinycell. I weigh it down with lead-weights. to prevent them from sliding I use sandpaper.

On top of the insulation made from household plastic wrap is the Divinycell and weights.

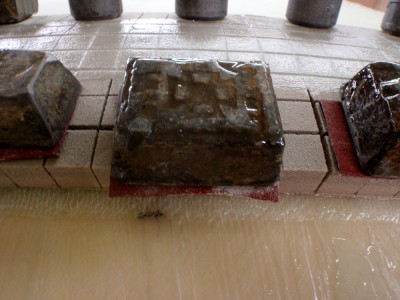
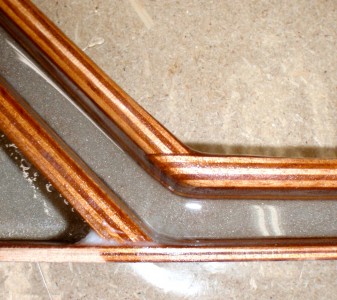
Here is a close-up. Click once or twice on the pictures to enlarge.

To be continued…

Regards Yrvind.

A NOTE ON THE BRIS MINISEXTANT

Several years ago i invented the Bris minisextant as a navigational toy and back up to the GPS. There is a video on youtube – search Yrvind.

Yesterday I got a thelephone call asking if the surfaces where coated .

There is no coating. Not on the production type nor on any experimental prototypes. It would not work on this kind of sextant.

I use ordinary flat panel glass. When I was a small child living on the windward side of a small island I noticed, and was intriged by the fact that the windows in our house was transparent in the daytime and mirrors at night when it was dark outside. I remember that I asked my grandmouther about about that very interesting and curious  fact but she could not give me an satisfactory ansver. I never forget it and thougt that one day I may have use of it. Now I now that windows are beamsplitters. 90% transparent and 10 % reflective.

In the 3-glass sextant one can see eight images of the sun. (in the 4-glass sextant many more). One of the glasses is a filter to reduce the strenght of the sun. It is very balanced not to bright not to dark. To enable the observer to see the 3 bright suns created by dubble reflections and the 5 dim suns created by quadrupple reflections at the same time. People have fat on their fingers. The fat creates fingerprints. If fat or dirt gets on the sextants optical surfaces it may reduce the transparency and only the bright suns may be seen.

If this happens the sextant should be cleaned. I use ordinary disch washing detergent. After rinsing I dry the surfaces with compressed air – oil-free compressed air. Like what people use for diving or cleaning negatives. If you do not have acces to clean compressed air try to centrifuge away the water use the cord attached to the sextant, attatch a little weight to it to gove more inertia, swing swiftly, do not hit anything.

The outer surfaces are easy. For the inner ones one can use a dentalfloss-houlder and cotton thread – do not use dental floss as it is waxed.

The sextant is glued with a specially formulated NM-epoxy that chemically reacts with the glass. You can clean with anything that does not harm epoxy and glass.

Regards Yrvind.

MAIN BULKHEAD IN PLACE.

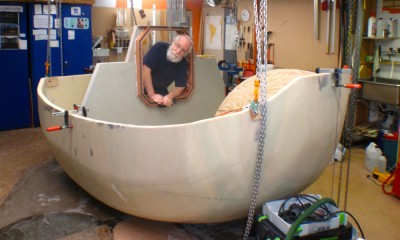
Today I put the main bulkhead in place. It was a good fit. Not as good as a traditional japanese boatbilder though. To get a better fit I will cheat. This is how I will get a fit perfect  down to the molecular lewel. I cut a groove on the periphery of the bulkhead with my router. The eagle-eyed reader can see it on the picture below. Click once or twice to enlarge.

Here is a close up.

Below is the bulkhead in place. Soon the wowrk of putting radius on each side and laminating it with 45×45 directional glassfibre will start.

Below is a close up of the intersection of the sheerline and the bulkhead. The groove can be seen. ( The different coulors of the Divinycell indicates its strenghts yeallow indicates 100 kilo/ meter cub grey indicates 80 kilos/ meter cub The Divinycell of the hull is 4 cm thick the Divinycell of the bulkhead is 5 cm thick)

After laminating the bulkhead in place I will suck in NM-epoxy with the healp of my vacum-pump into the groove. The epoxy will fill the space between the  periphery of the bulkhead and the hull to give a perfect fit. The periphery is 2.45 meter long and gives with radiuses and laminations a cross section of 10 cm about. This is a tremendous surface making the boat very strong. An other reason for making the bulkhead so thick is to give good insulation to my bed-room. The weight of the bulkhead is 20 kilo. The weight of the hull is 115 kilo.

To be continued…

Regards Yrvind.

WITH A LITTLE HELP FROM THE ANCIENT PYRAMID BUILDERS I CREATE A FLAT SURFACE FOR MY HATCH GASKET

When the archaeologist studied the pyramids they found to their surprise that the four courners of the base where in the same plane whithin millimeters. How that had been done thousands of years ago was a mystery. Finally they realised that the pyramid builders had digged a ditch around the pyramid lined it with clay and filled it with water. In that way they got the four corners exactly level and in one plane.

I always liked this tale so when I was going to create the neccesary flat surface for my hatch gasket I simply pured in a few millimeters of NM-Epoxy. Et voila a perfectly flat surface was created.

Below is a picture of the hatch frame. Click once or twice to enlarge.

Below is a close up.

To be continued…

Regards Yrvind.

GASKETS – OR KEEPING WATER ON THE OUTSIDE

Every housewife knows that her dishwasher and washing machine do not leak. Still yachtsmen accept leaking hatches. The technology to keep a boat dry in all weathers has been with us for nearly a hundred years. Its a question of gaskets. Not only that a yachtsman should be able to change a gasket even in wet and windy conditions in a few minutes.

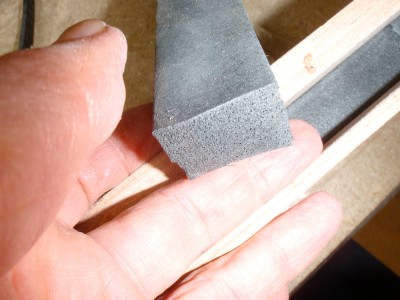
This is how I do it. Instead of trying to replace a gasket using primer and glue. I place the gasket in a slot. I use big sections 2 by 3 centimeters epdm cell-foam (ethylene propylene diene monomer (M-class) rubber). The gasket should be slightly thicker than the slot and have big radius. Then it will stay in place without glue and be easy to change. Epdm-rubber is difficult to glue.

You need a lot of pressure to close the hatch. The circumference of the hatch in my main bulkhead is 240 cm. If you like to have one kilo per square cm that is something like a quarter of a ton.

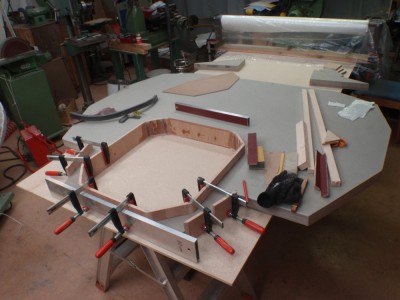
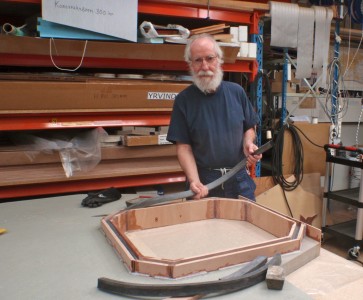
Below are some pictures. The first one shows my main bulkhead. For ease of working I make the hatch with the bulkhead resting on a table. It is tempting to put up the bulkhead first to see some progress, but in the long run this is the faster way.

Next picture shows the slot made and me putting in the gasket.

Here is a close up of a piece of the gasket. The slot with gasket can also be seen.

It only takes a few minutes to replace a gasket using this method and it contributes to make the boat completely waterproof. A skipper sailing a boat with details like this do not have to worry about big waves.

To be continued…

Regards Yrvind.
WATER STORAGE

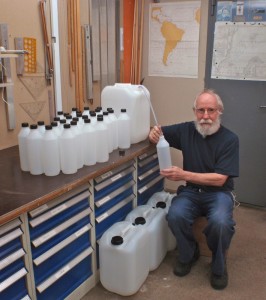
Most yachts store water in tanks and use pumps and plumbing to get acces to it. A smarter way is to store water in plastic jerry cans and once a week transfer water for daily use to one liter bottles and drink directly out of the bottles.  Before I picked a calm day and used a funnel to transfer the water. Now I use a piece of tubing and siphon it.

I use less than a liter of water a day, even in the tropics.

Using plastic jerry cans and plastic bottles makes it easy to keep track of how much water is on board. It is easy to keep the containers clean by rinsing them. Also it is a fool proof system. It is also light and cheap.

Below is a picture with me and plastic bottles and jerry cans supplied by Emballator in Mellerud. I demonstrates how to siphon water, but of course even a child knows how to do that.

To be continued…

Regards Yrvind.