EXLEX TRANSFORMED

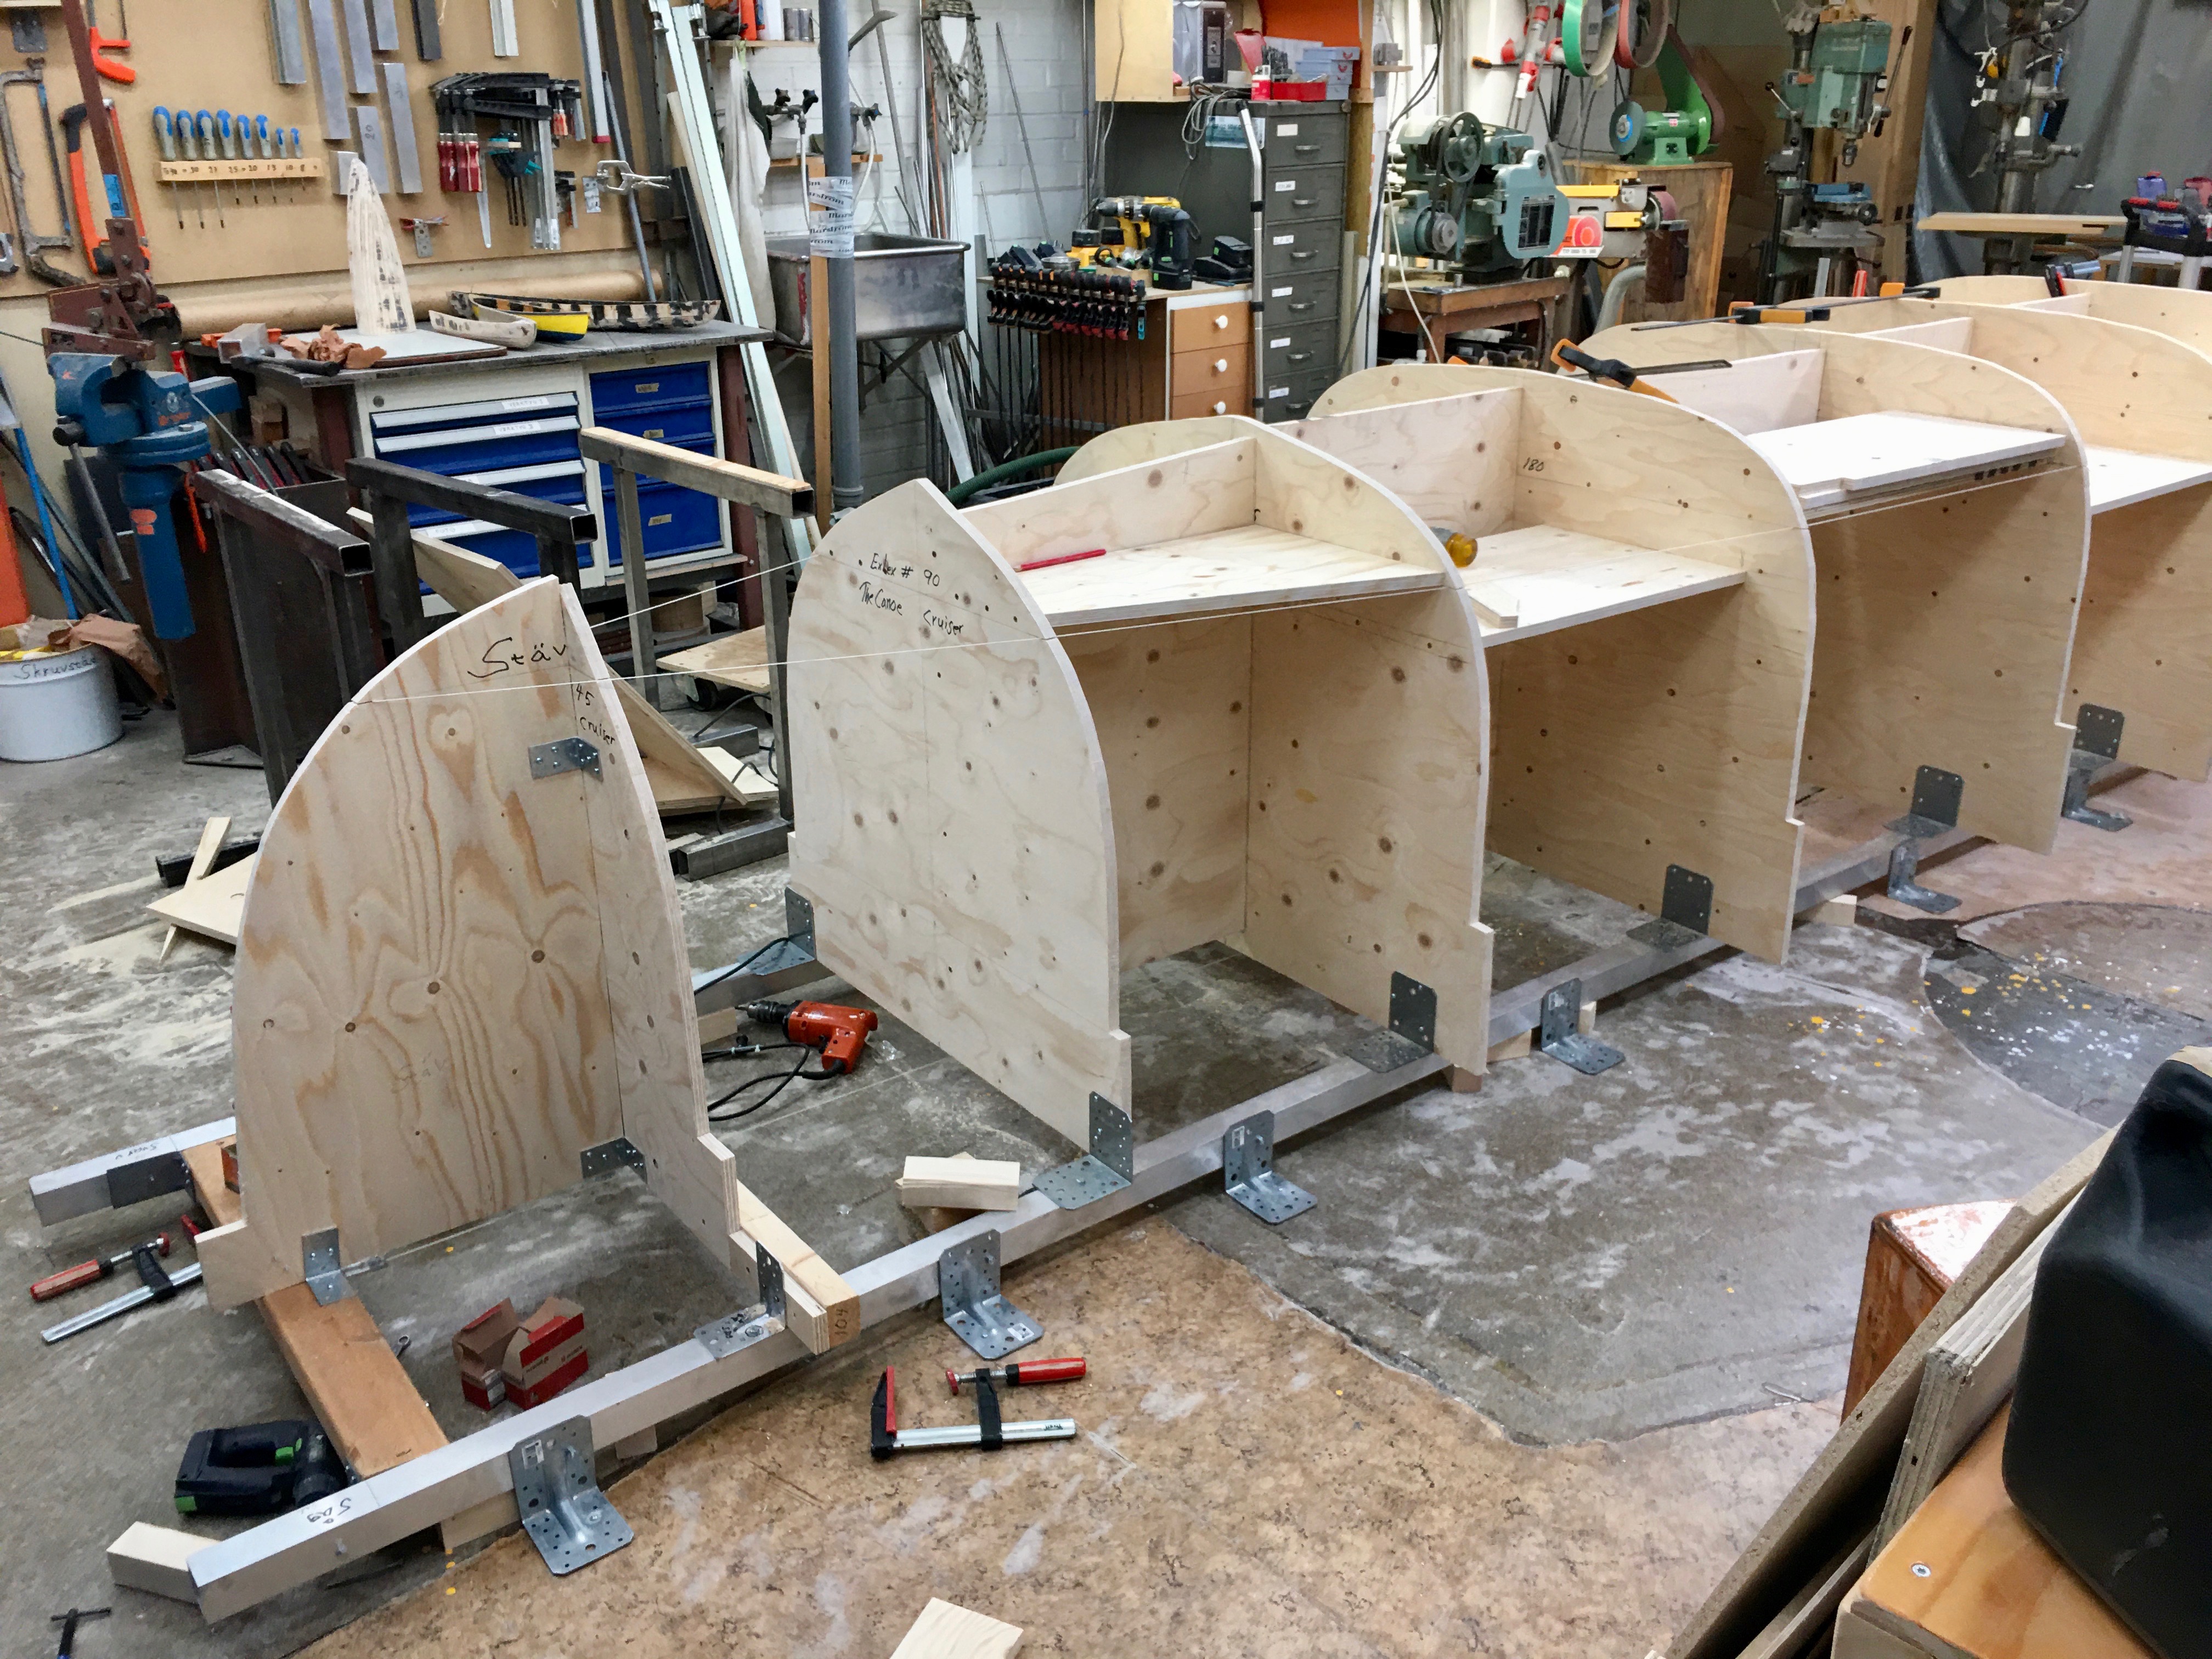
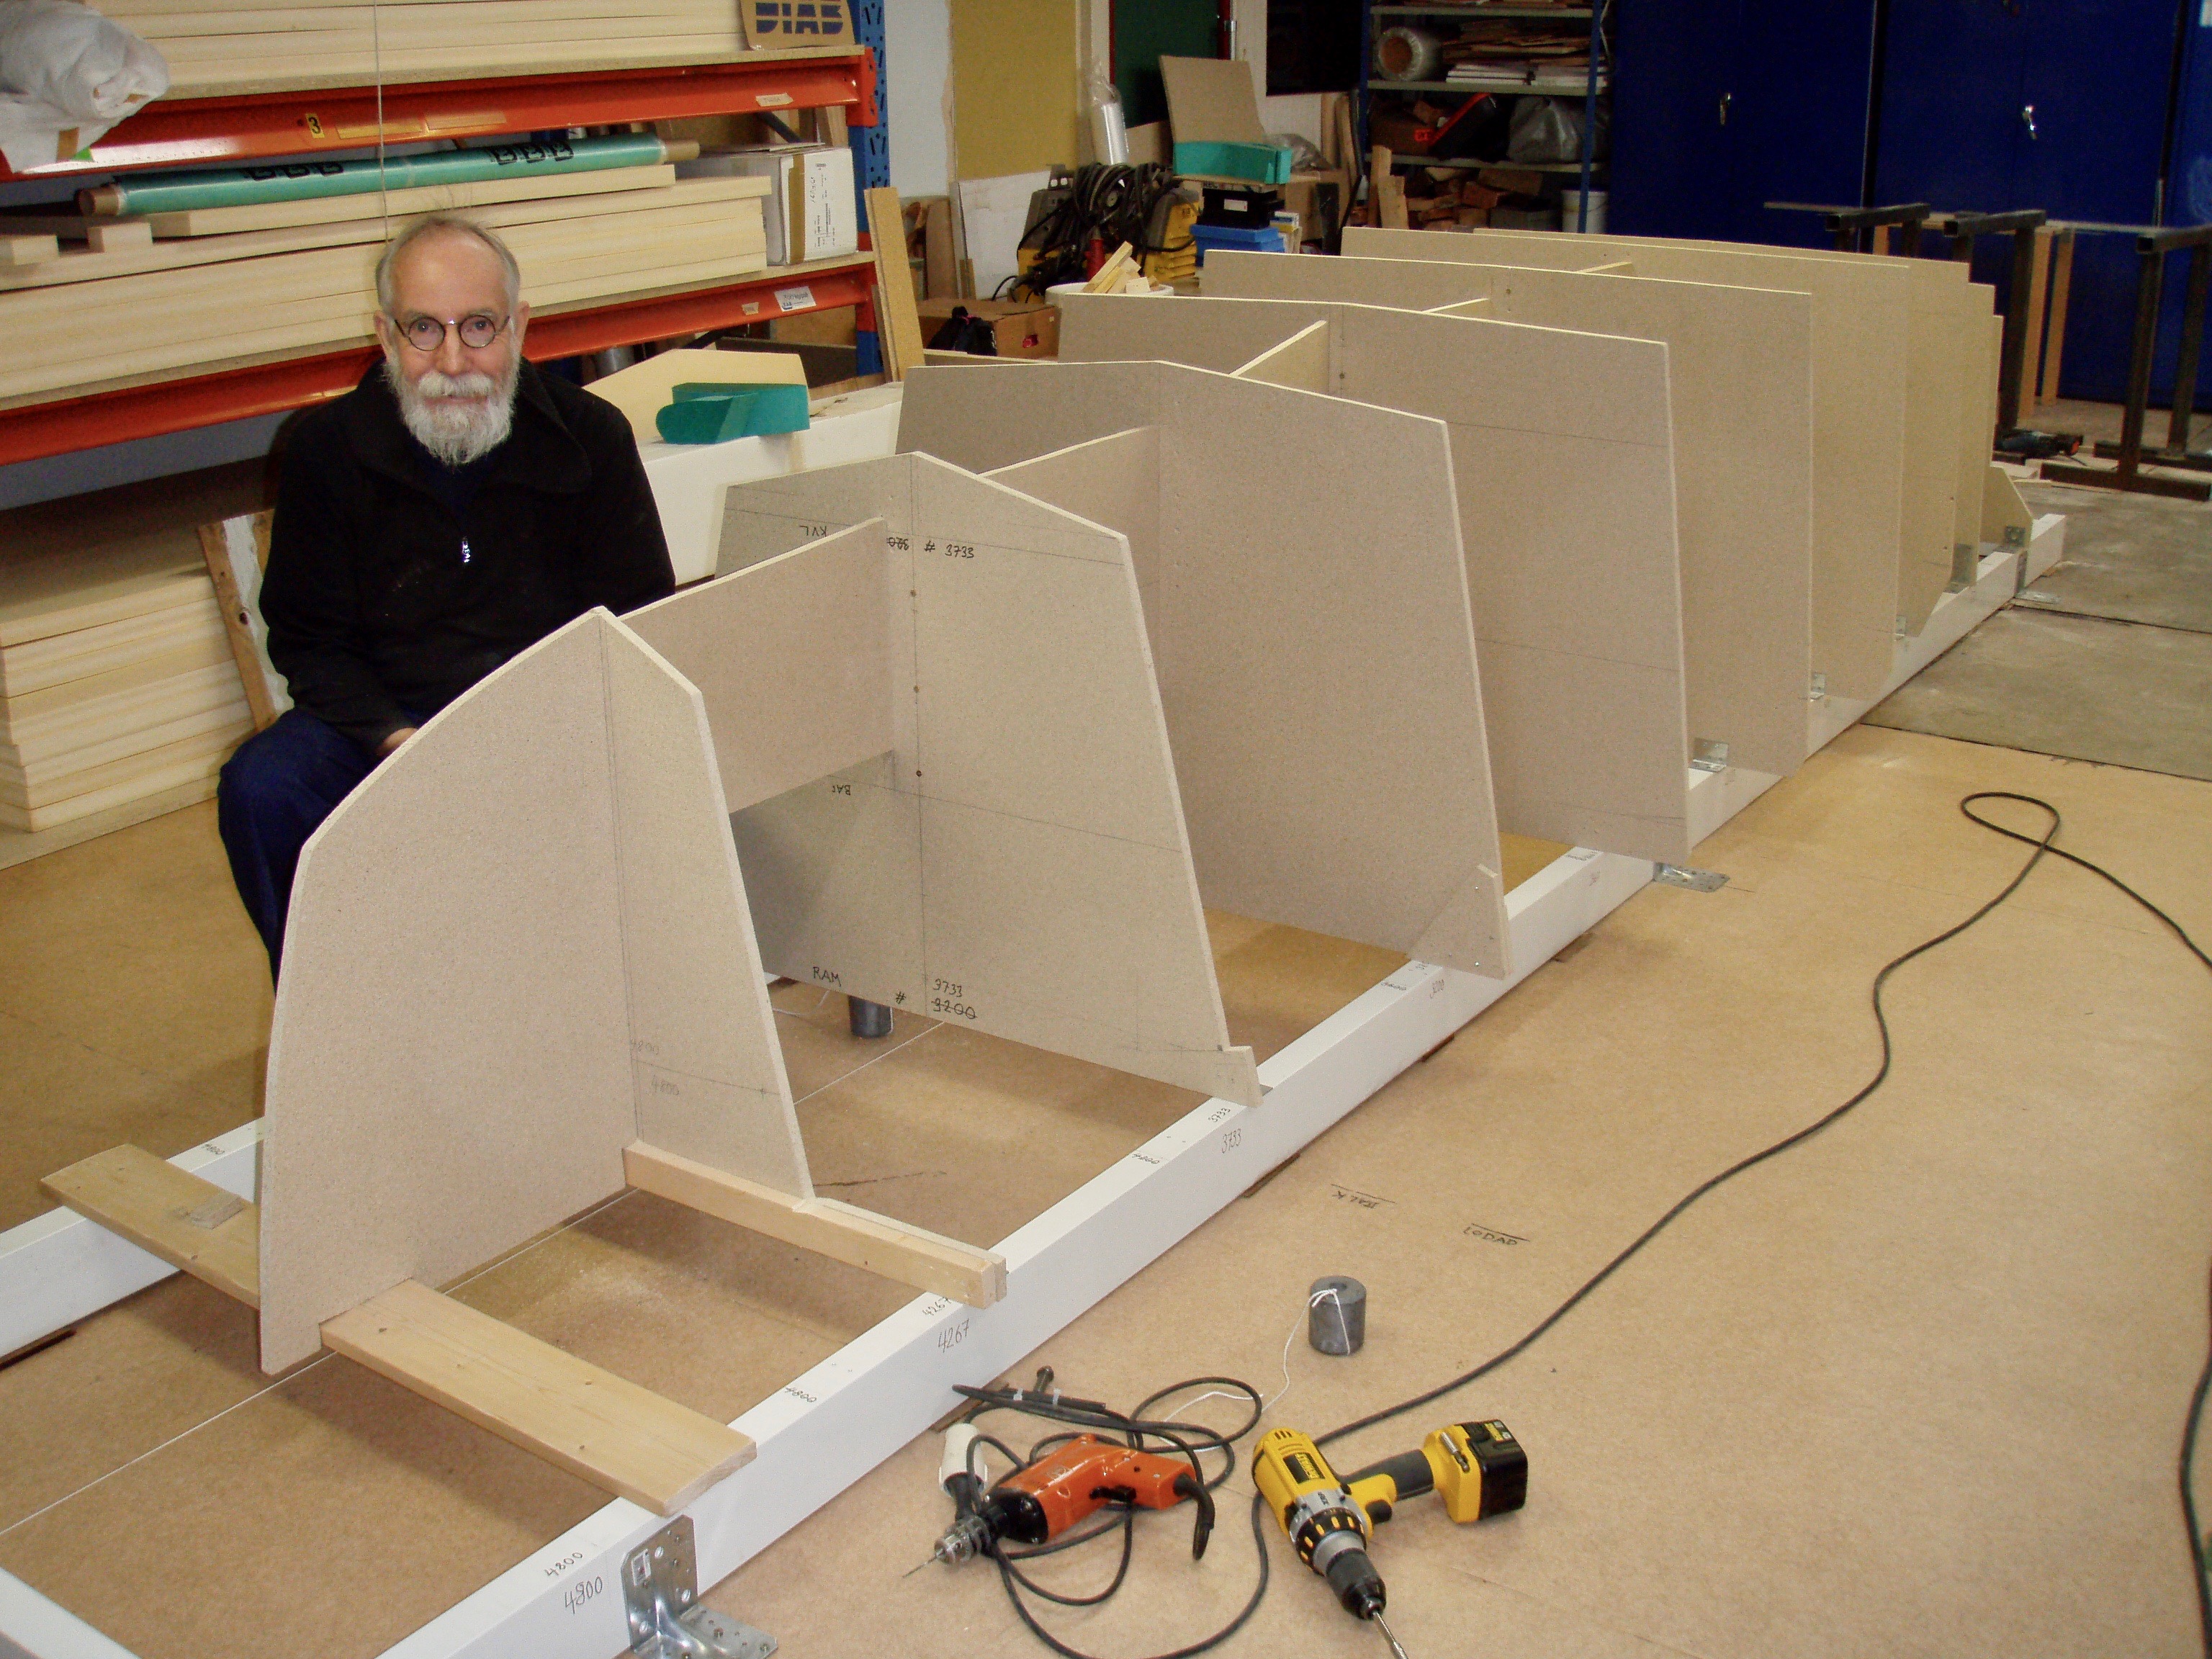
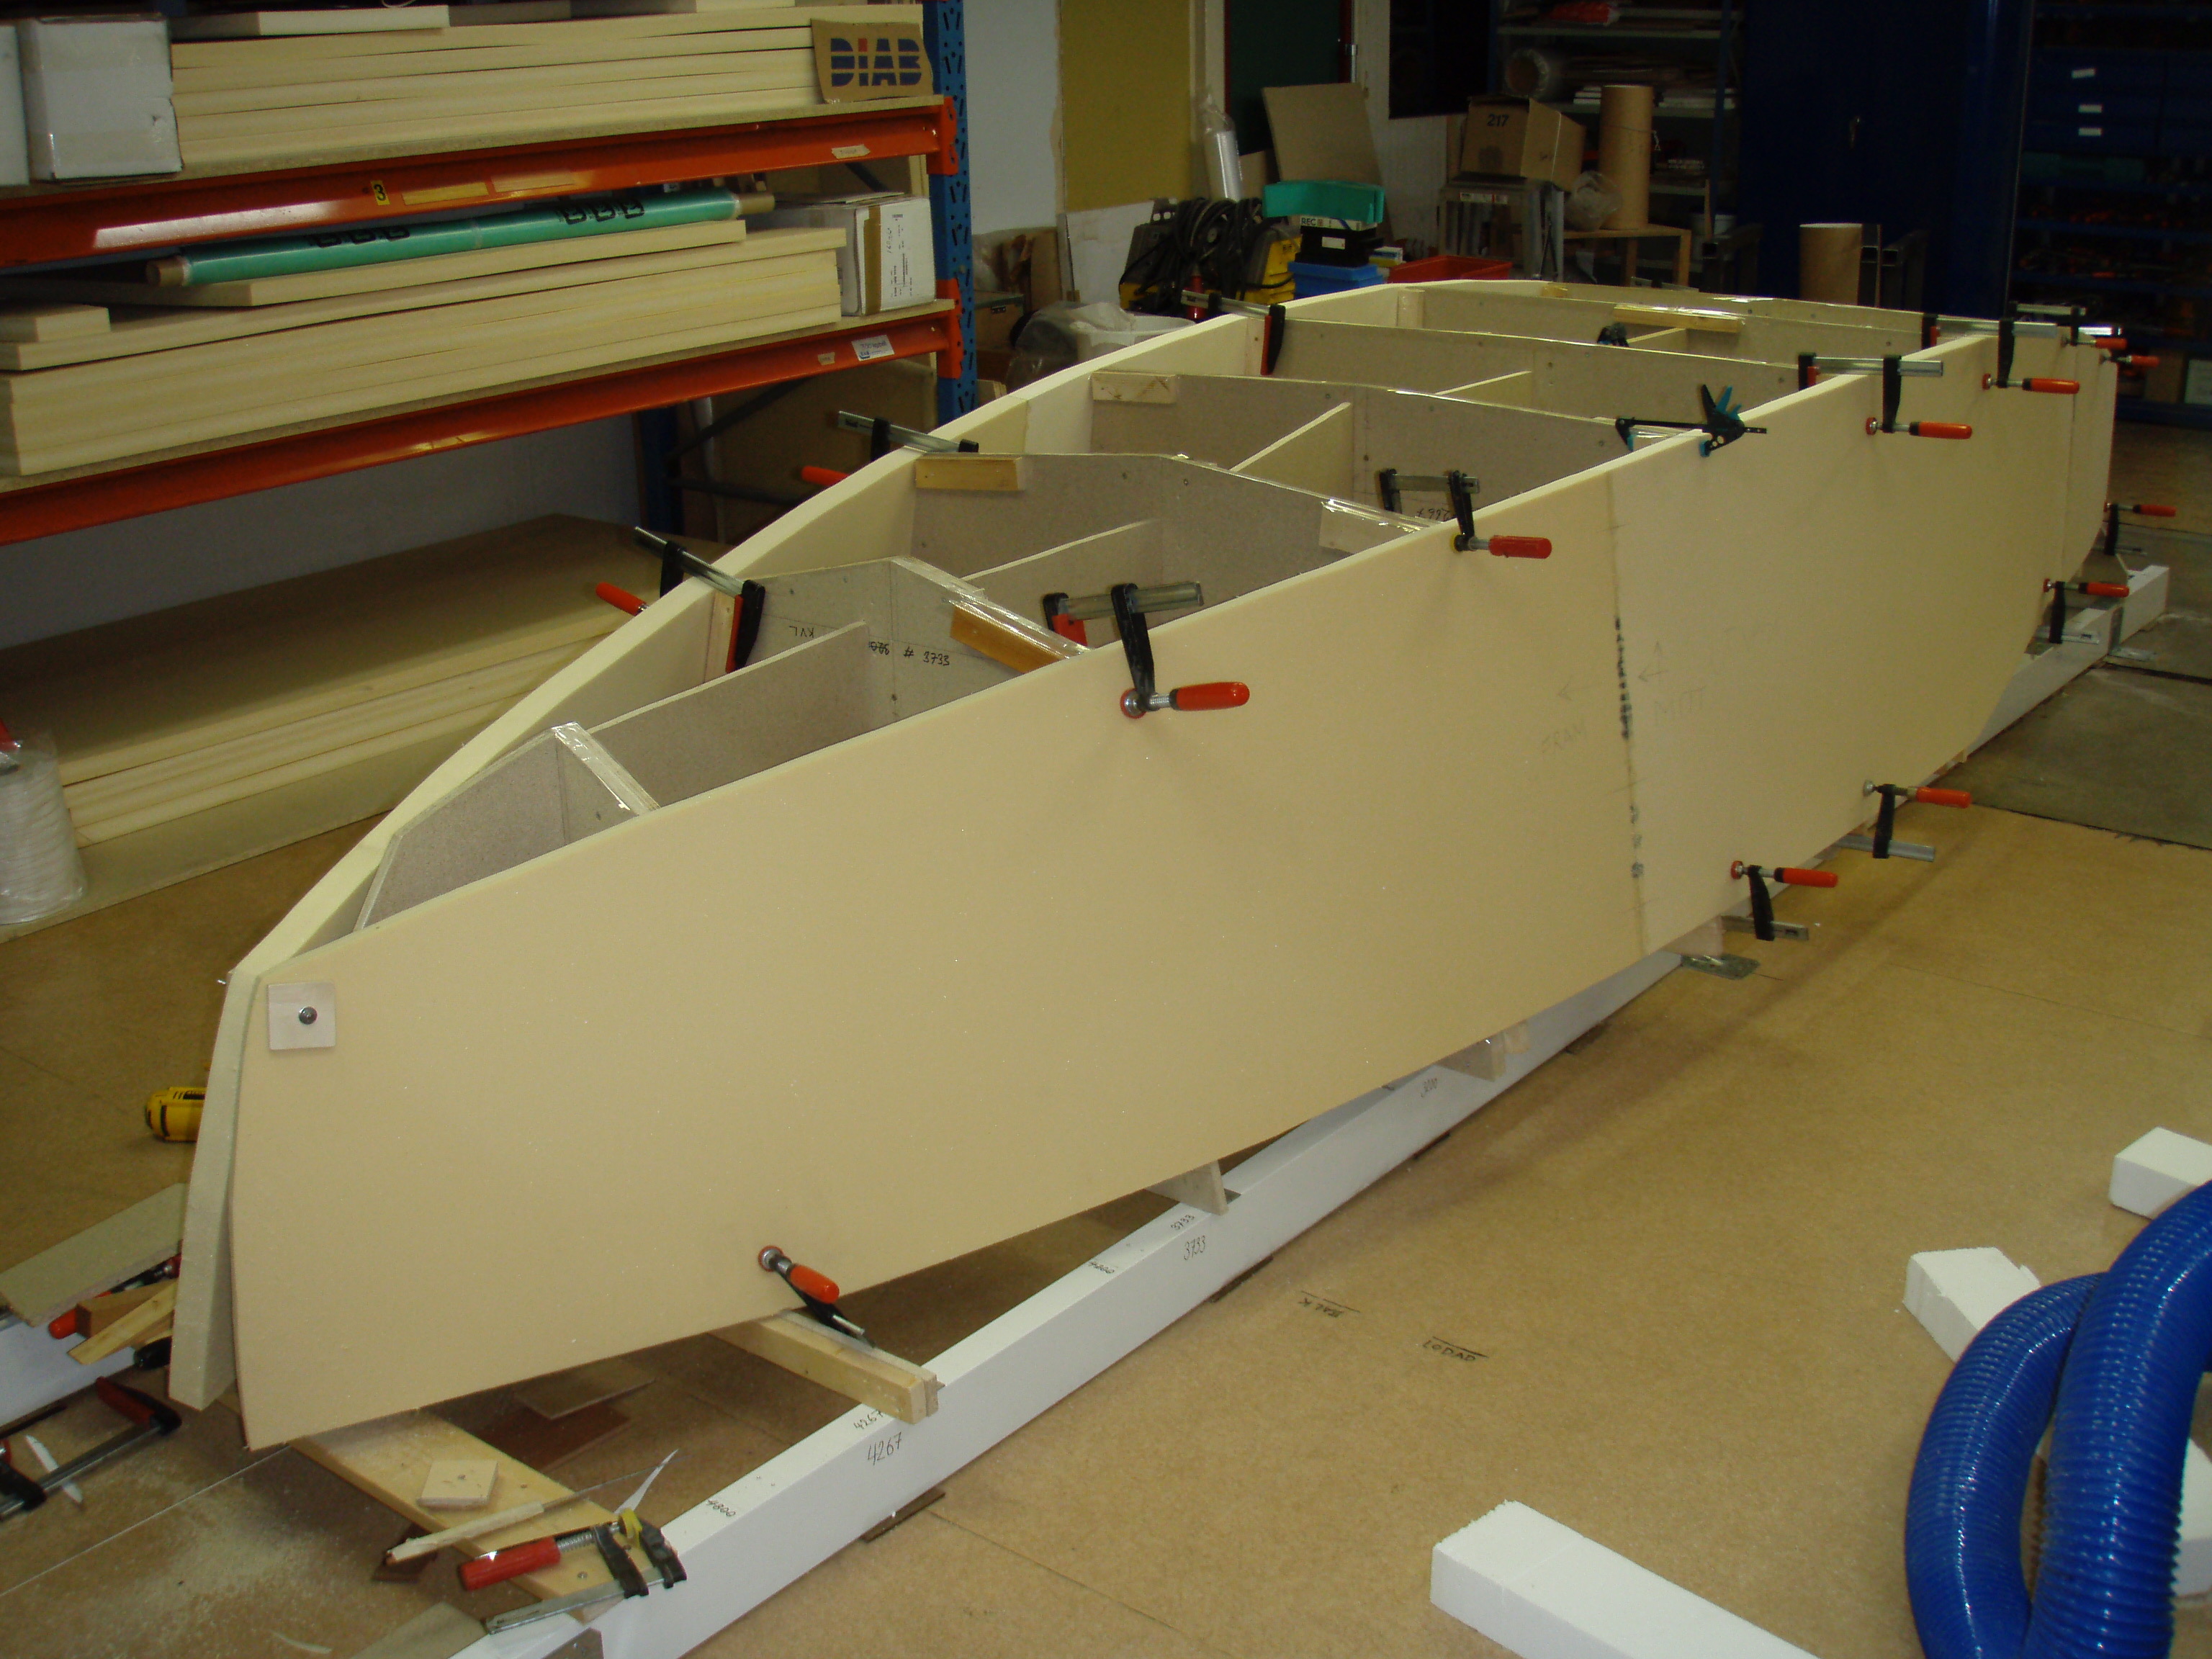
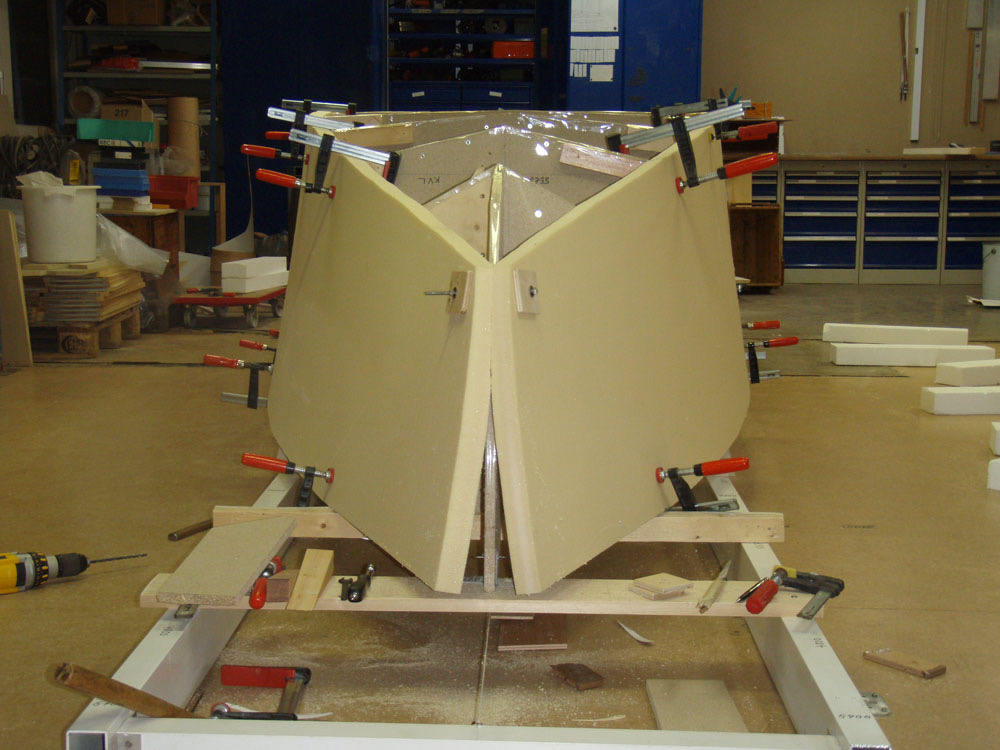
During the time I was building the mock up of Exlex I had plenty of time to think. At first things went well but as time passed I realised that not only there would be an awful lot of gluing but that that would make the boat more heavy and decrease insulation.

An mock up is a very good thing. Having the boat on even keel and being able to move around in her made me realise that I could do very fine with much less boat. With much less boat I could also reduce the sail area from 12 square meter to 9. Three sails on three masts.

2011 I sailed a small boat 4.8 long with a beam of 1.3 meter to Martinique. Matt Layden had helped me to design her. She had chinerunners.

Now I had the idea of transforming her into a double ender as I had gotten them into my head.

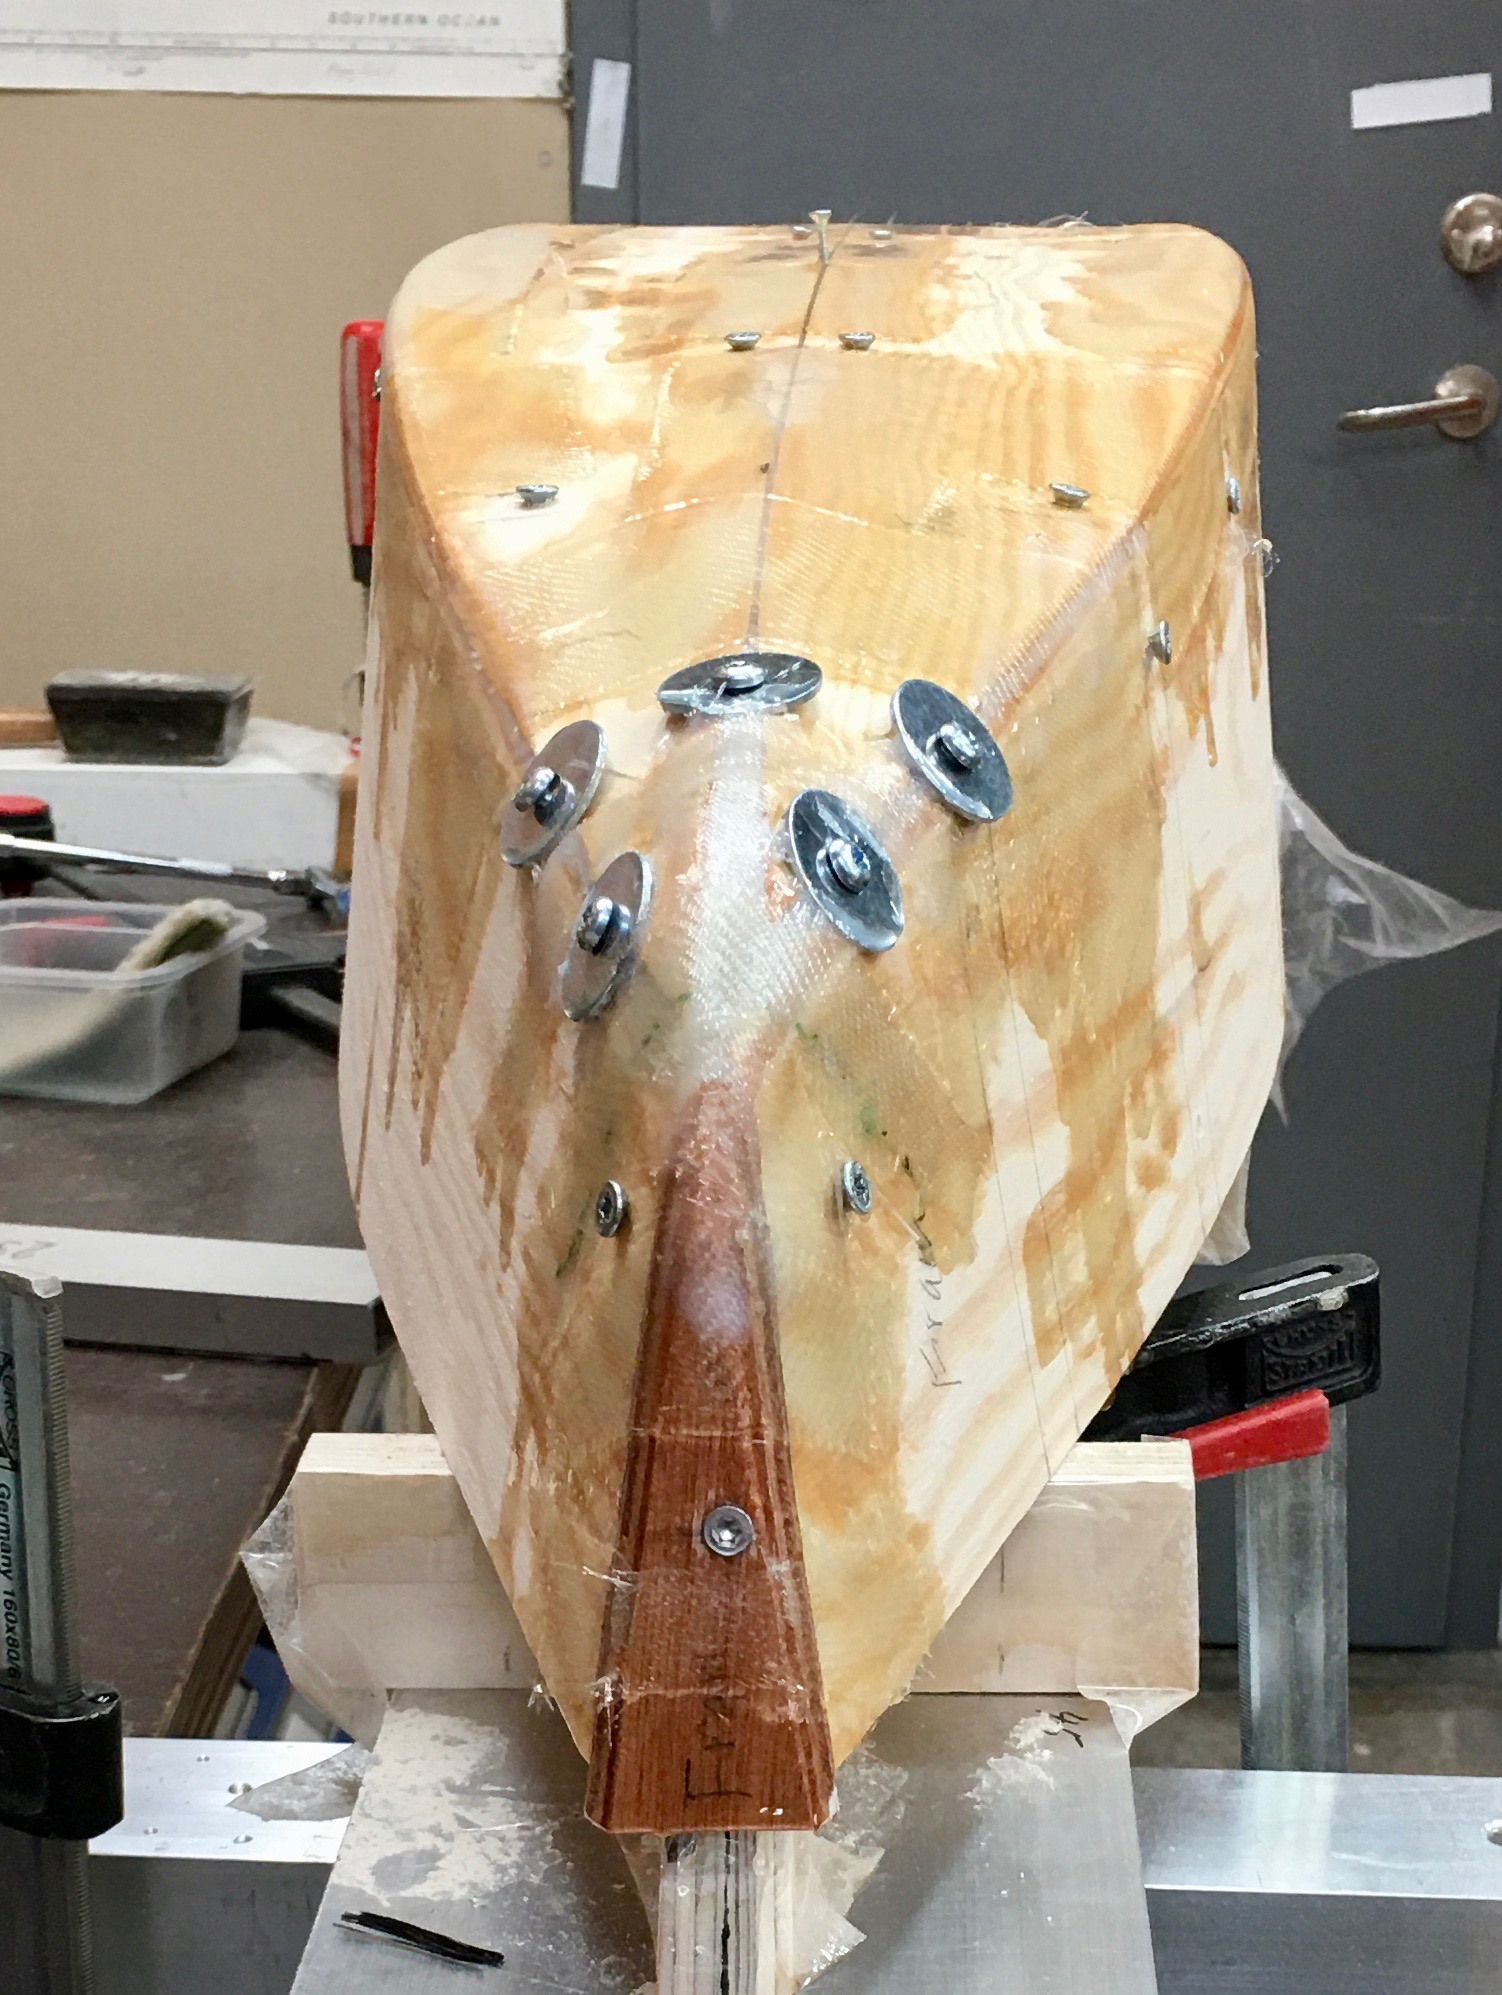
Mentaly I mirrored her for part in her maximum beam. I made her bow a bit more boyant for big waves and to increase the wave creating lenght.

In the early sixties I spent a lot of time studiing mathematics. I learnt about transformations conformal mapping in the complex plane and such thing even if I did far from understand it fully I found it fascinating.

I also read On Growth and Form is a book by the Scottish mathematical biologist D’Archy Wentworth Thompson on transformation in nature.

I relised that almost anything caneasily be transformed.

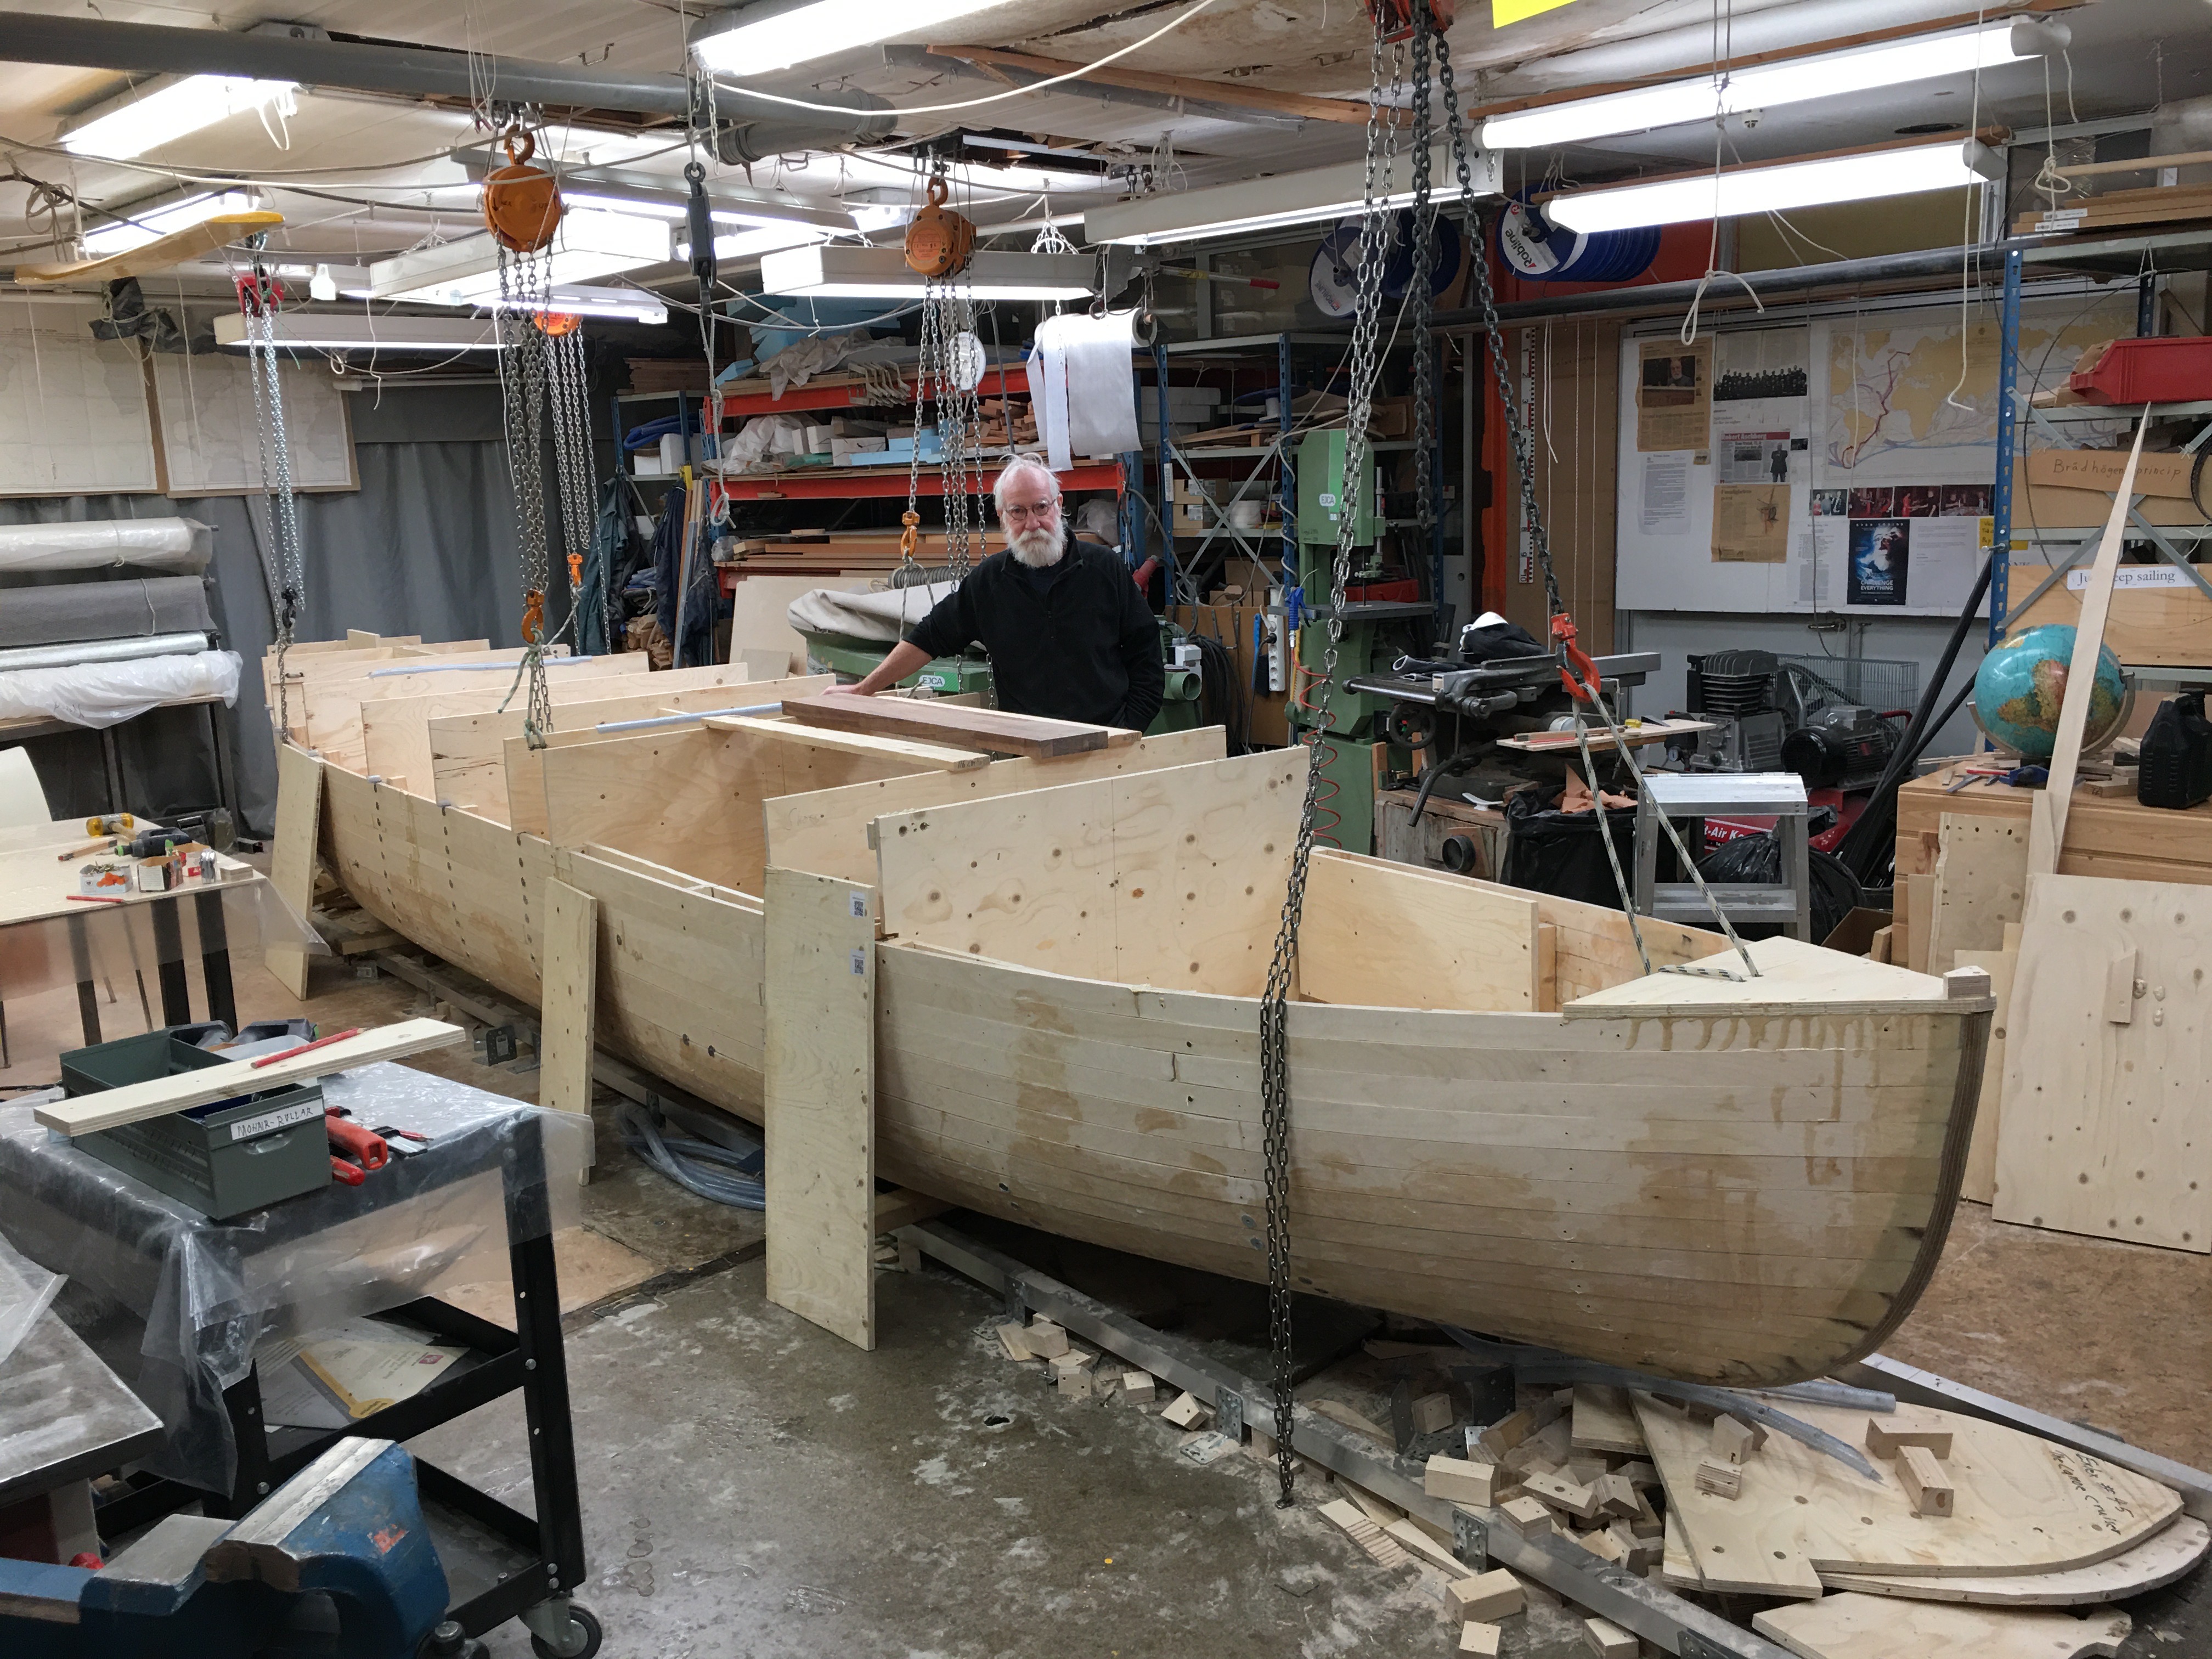
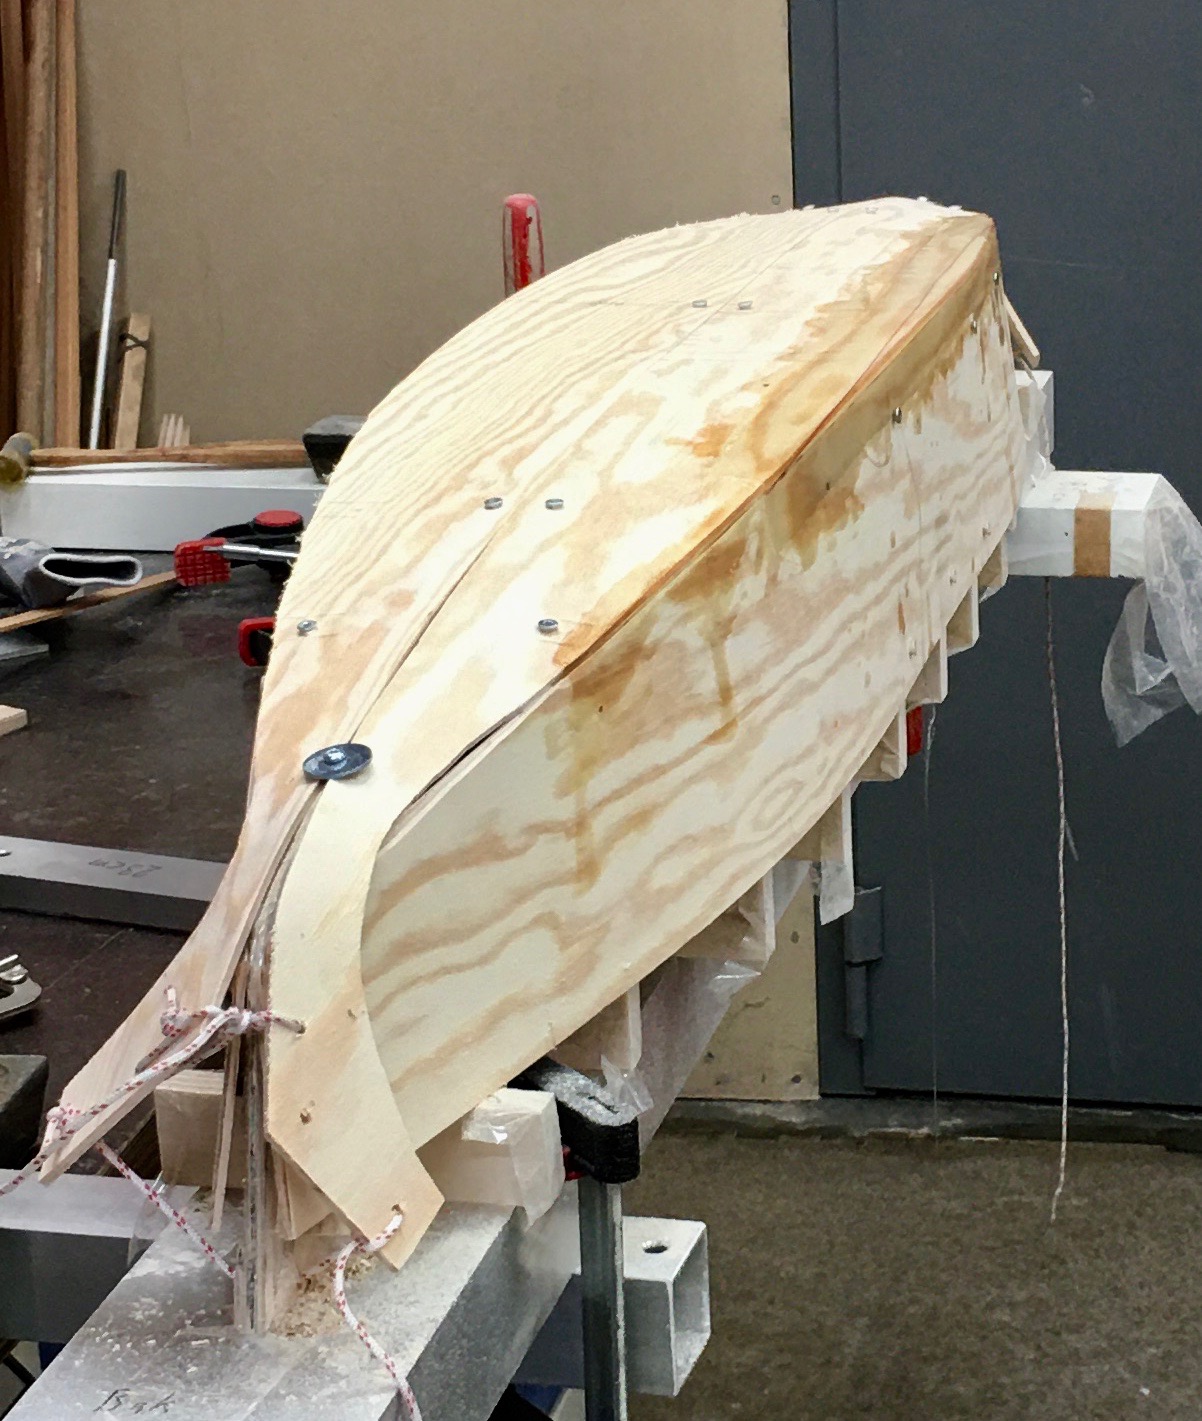
So Exlex the Canoe Cruiser changed form with the help of the boat I sailed to Martininique.

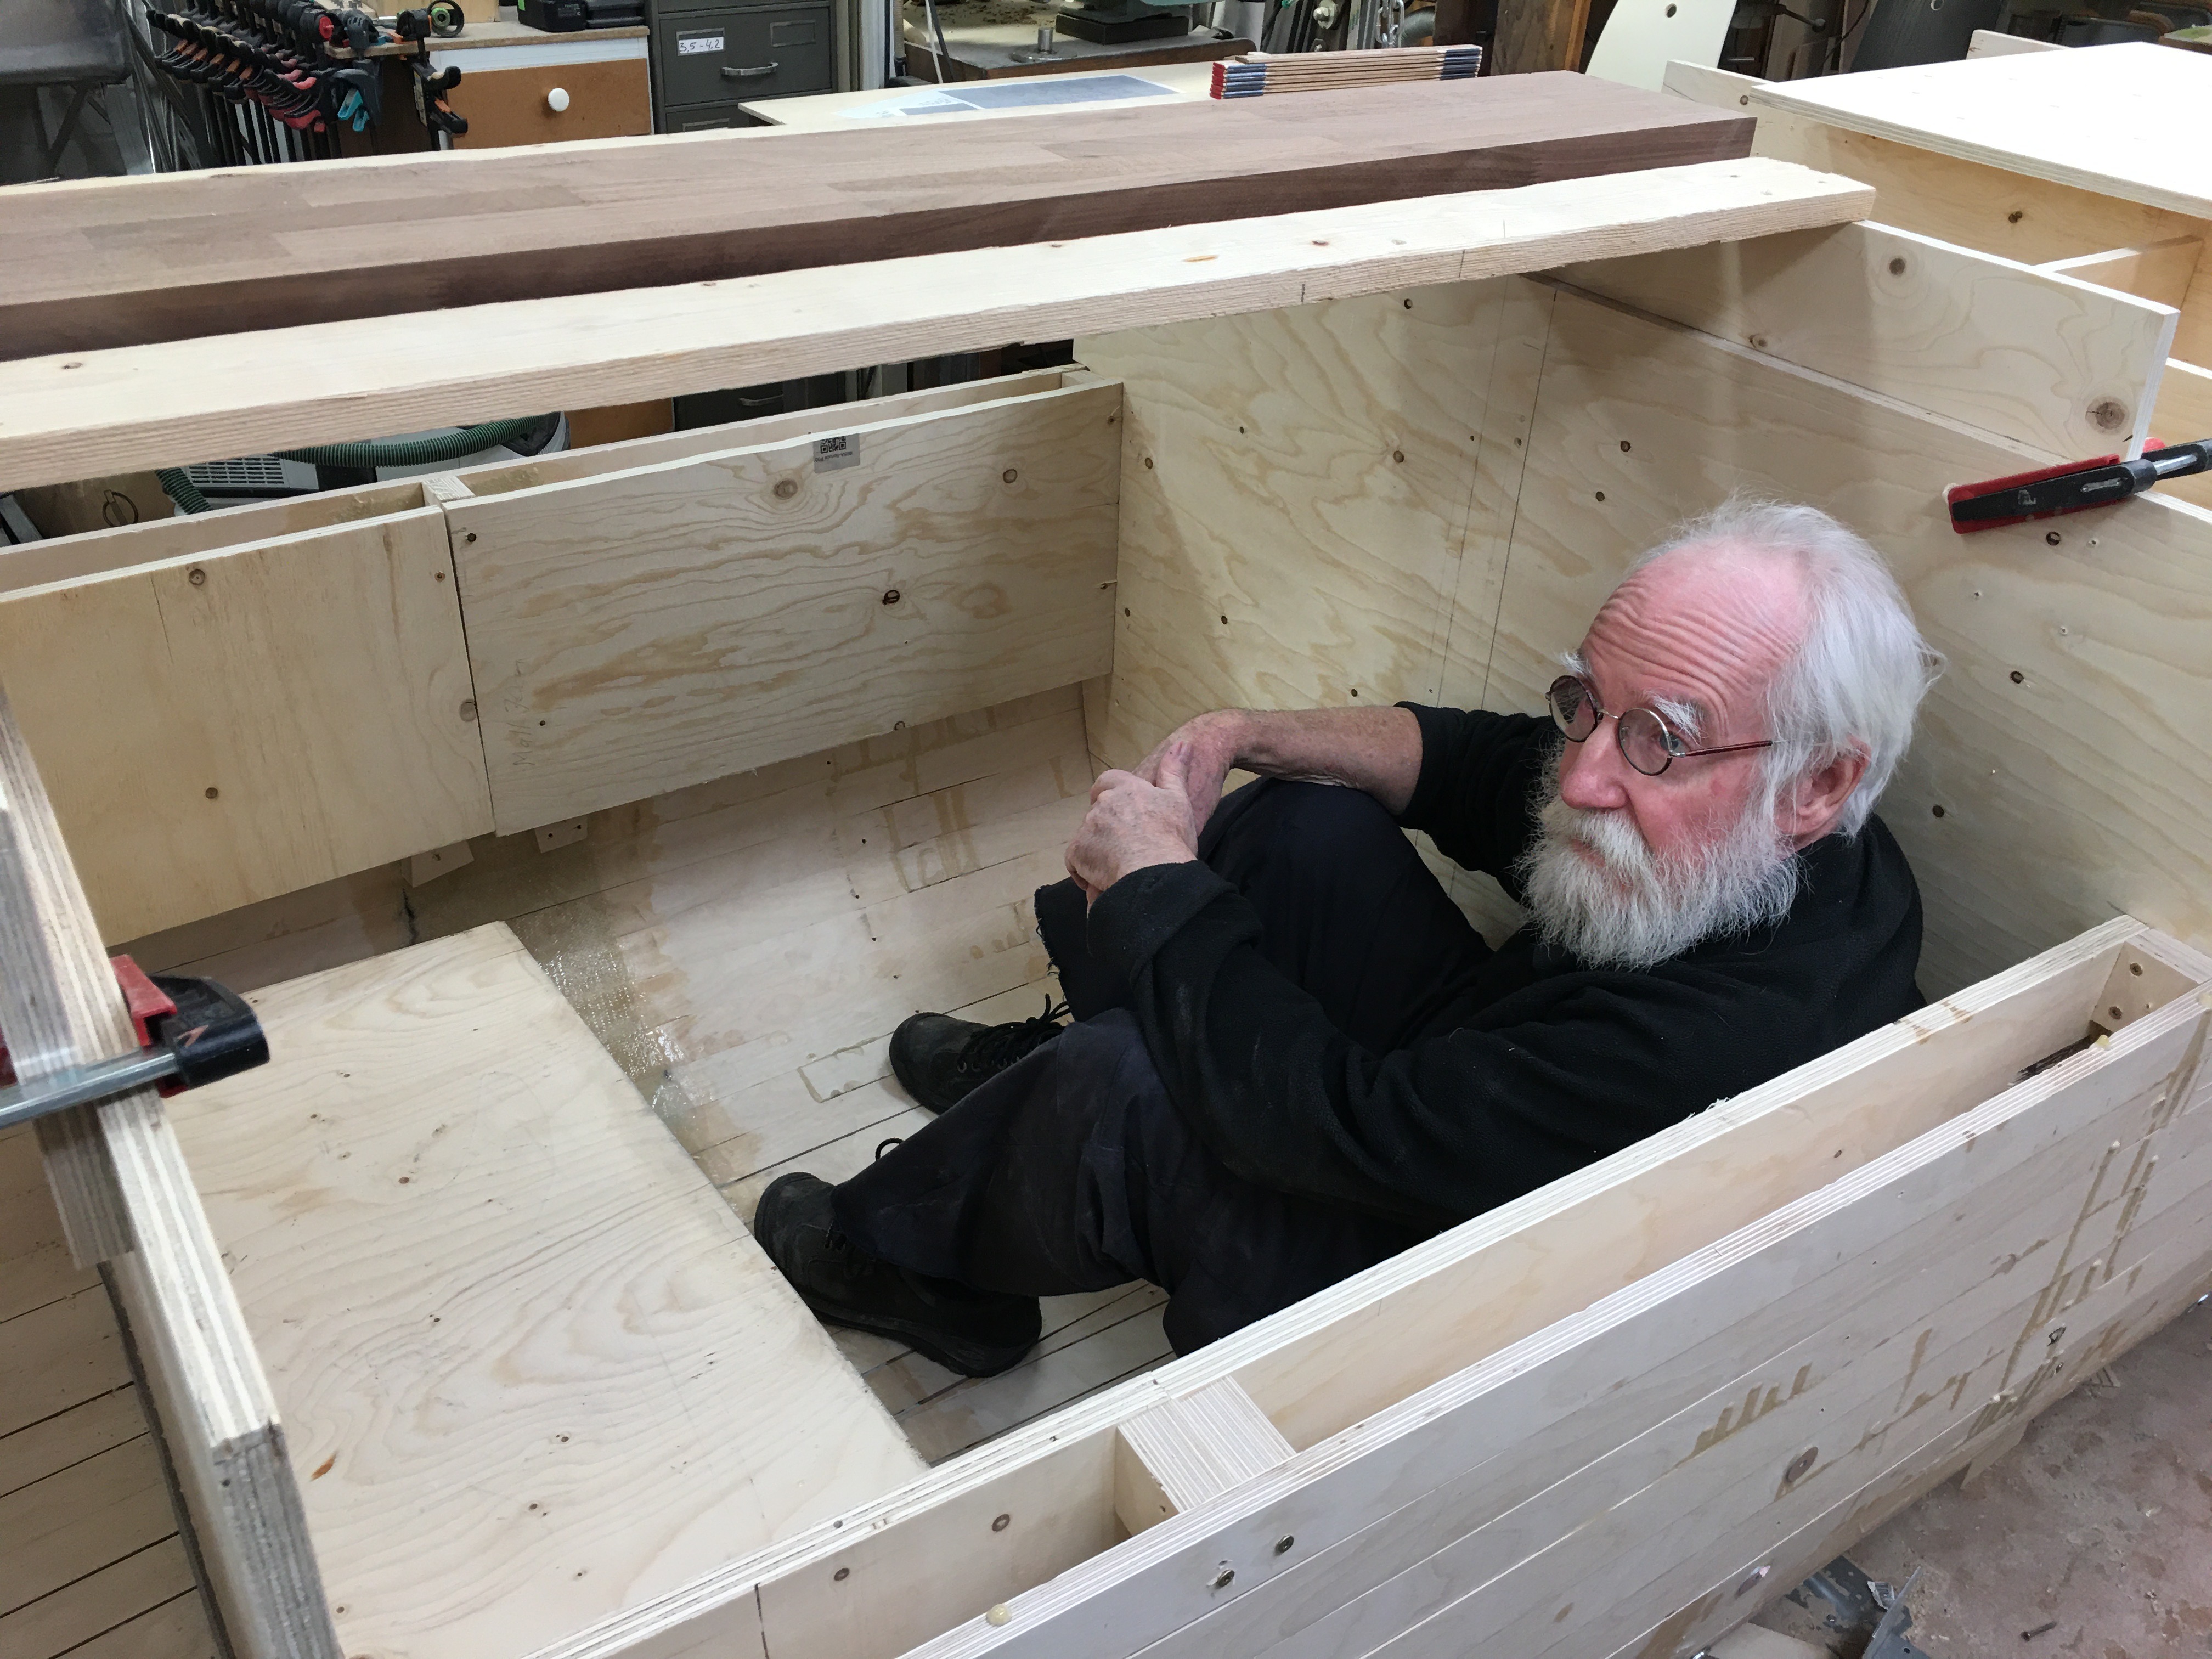
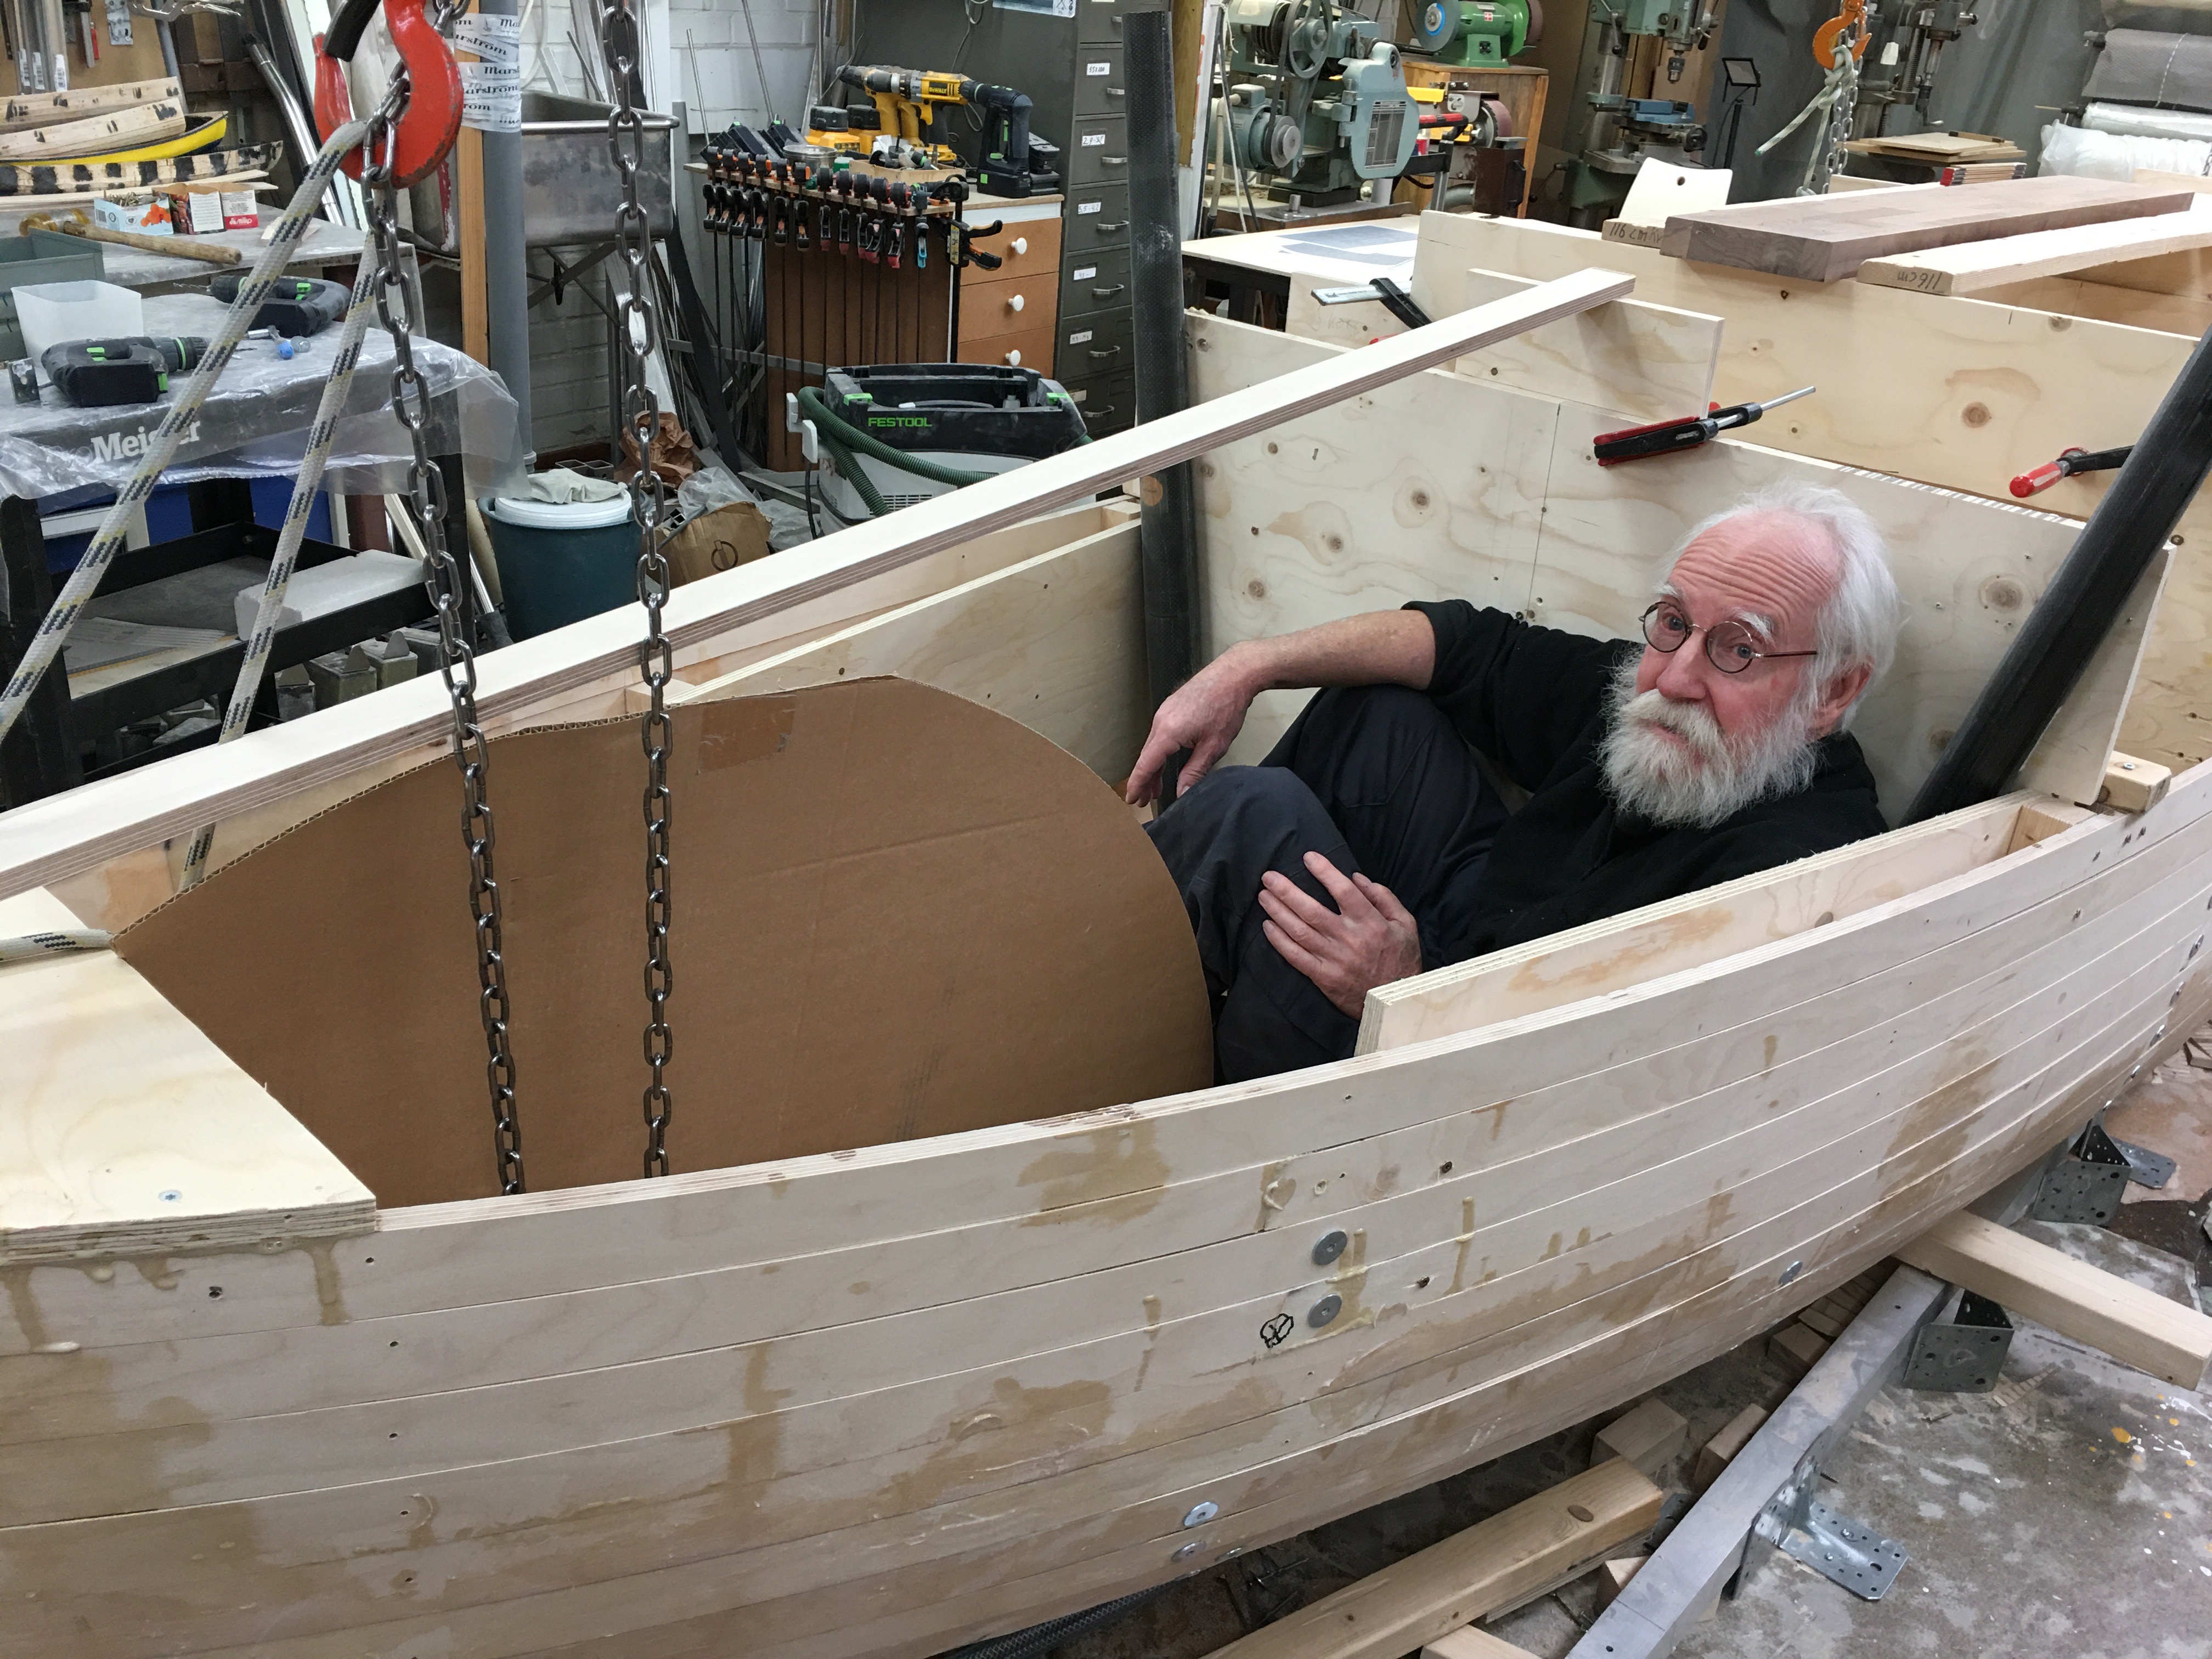
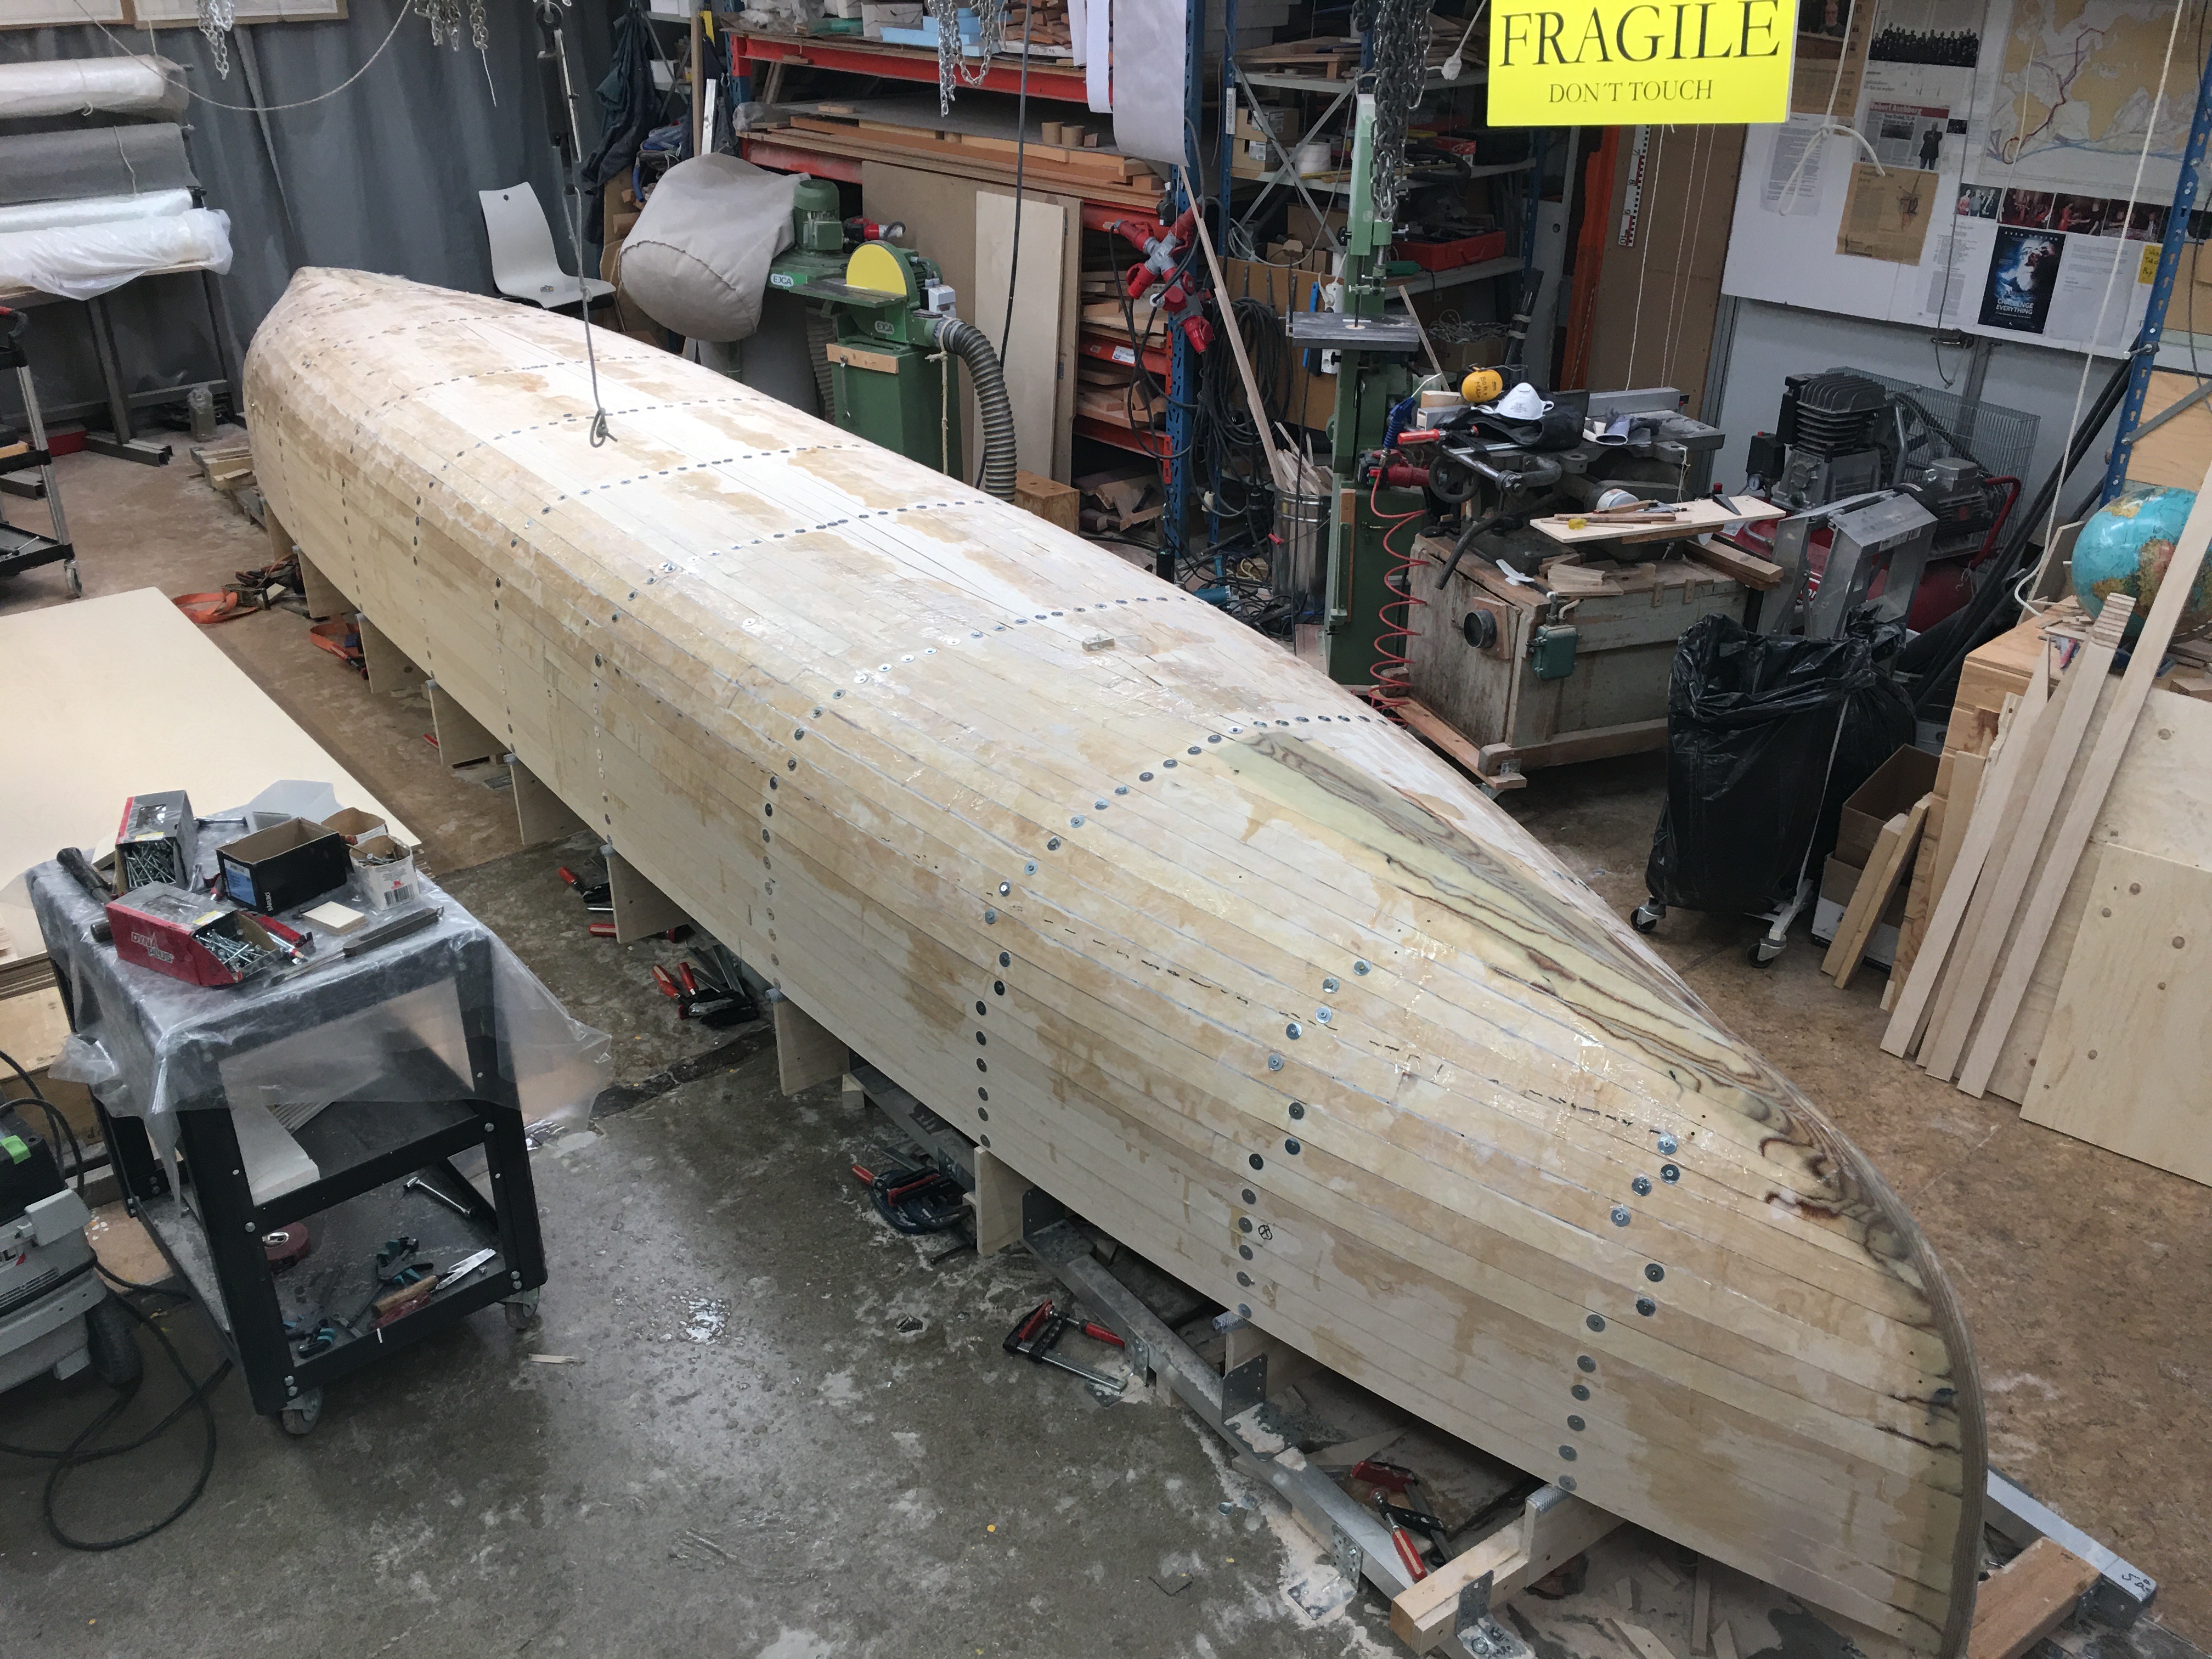
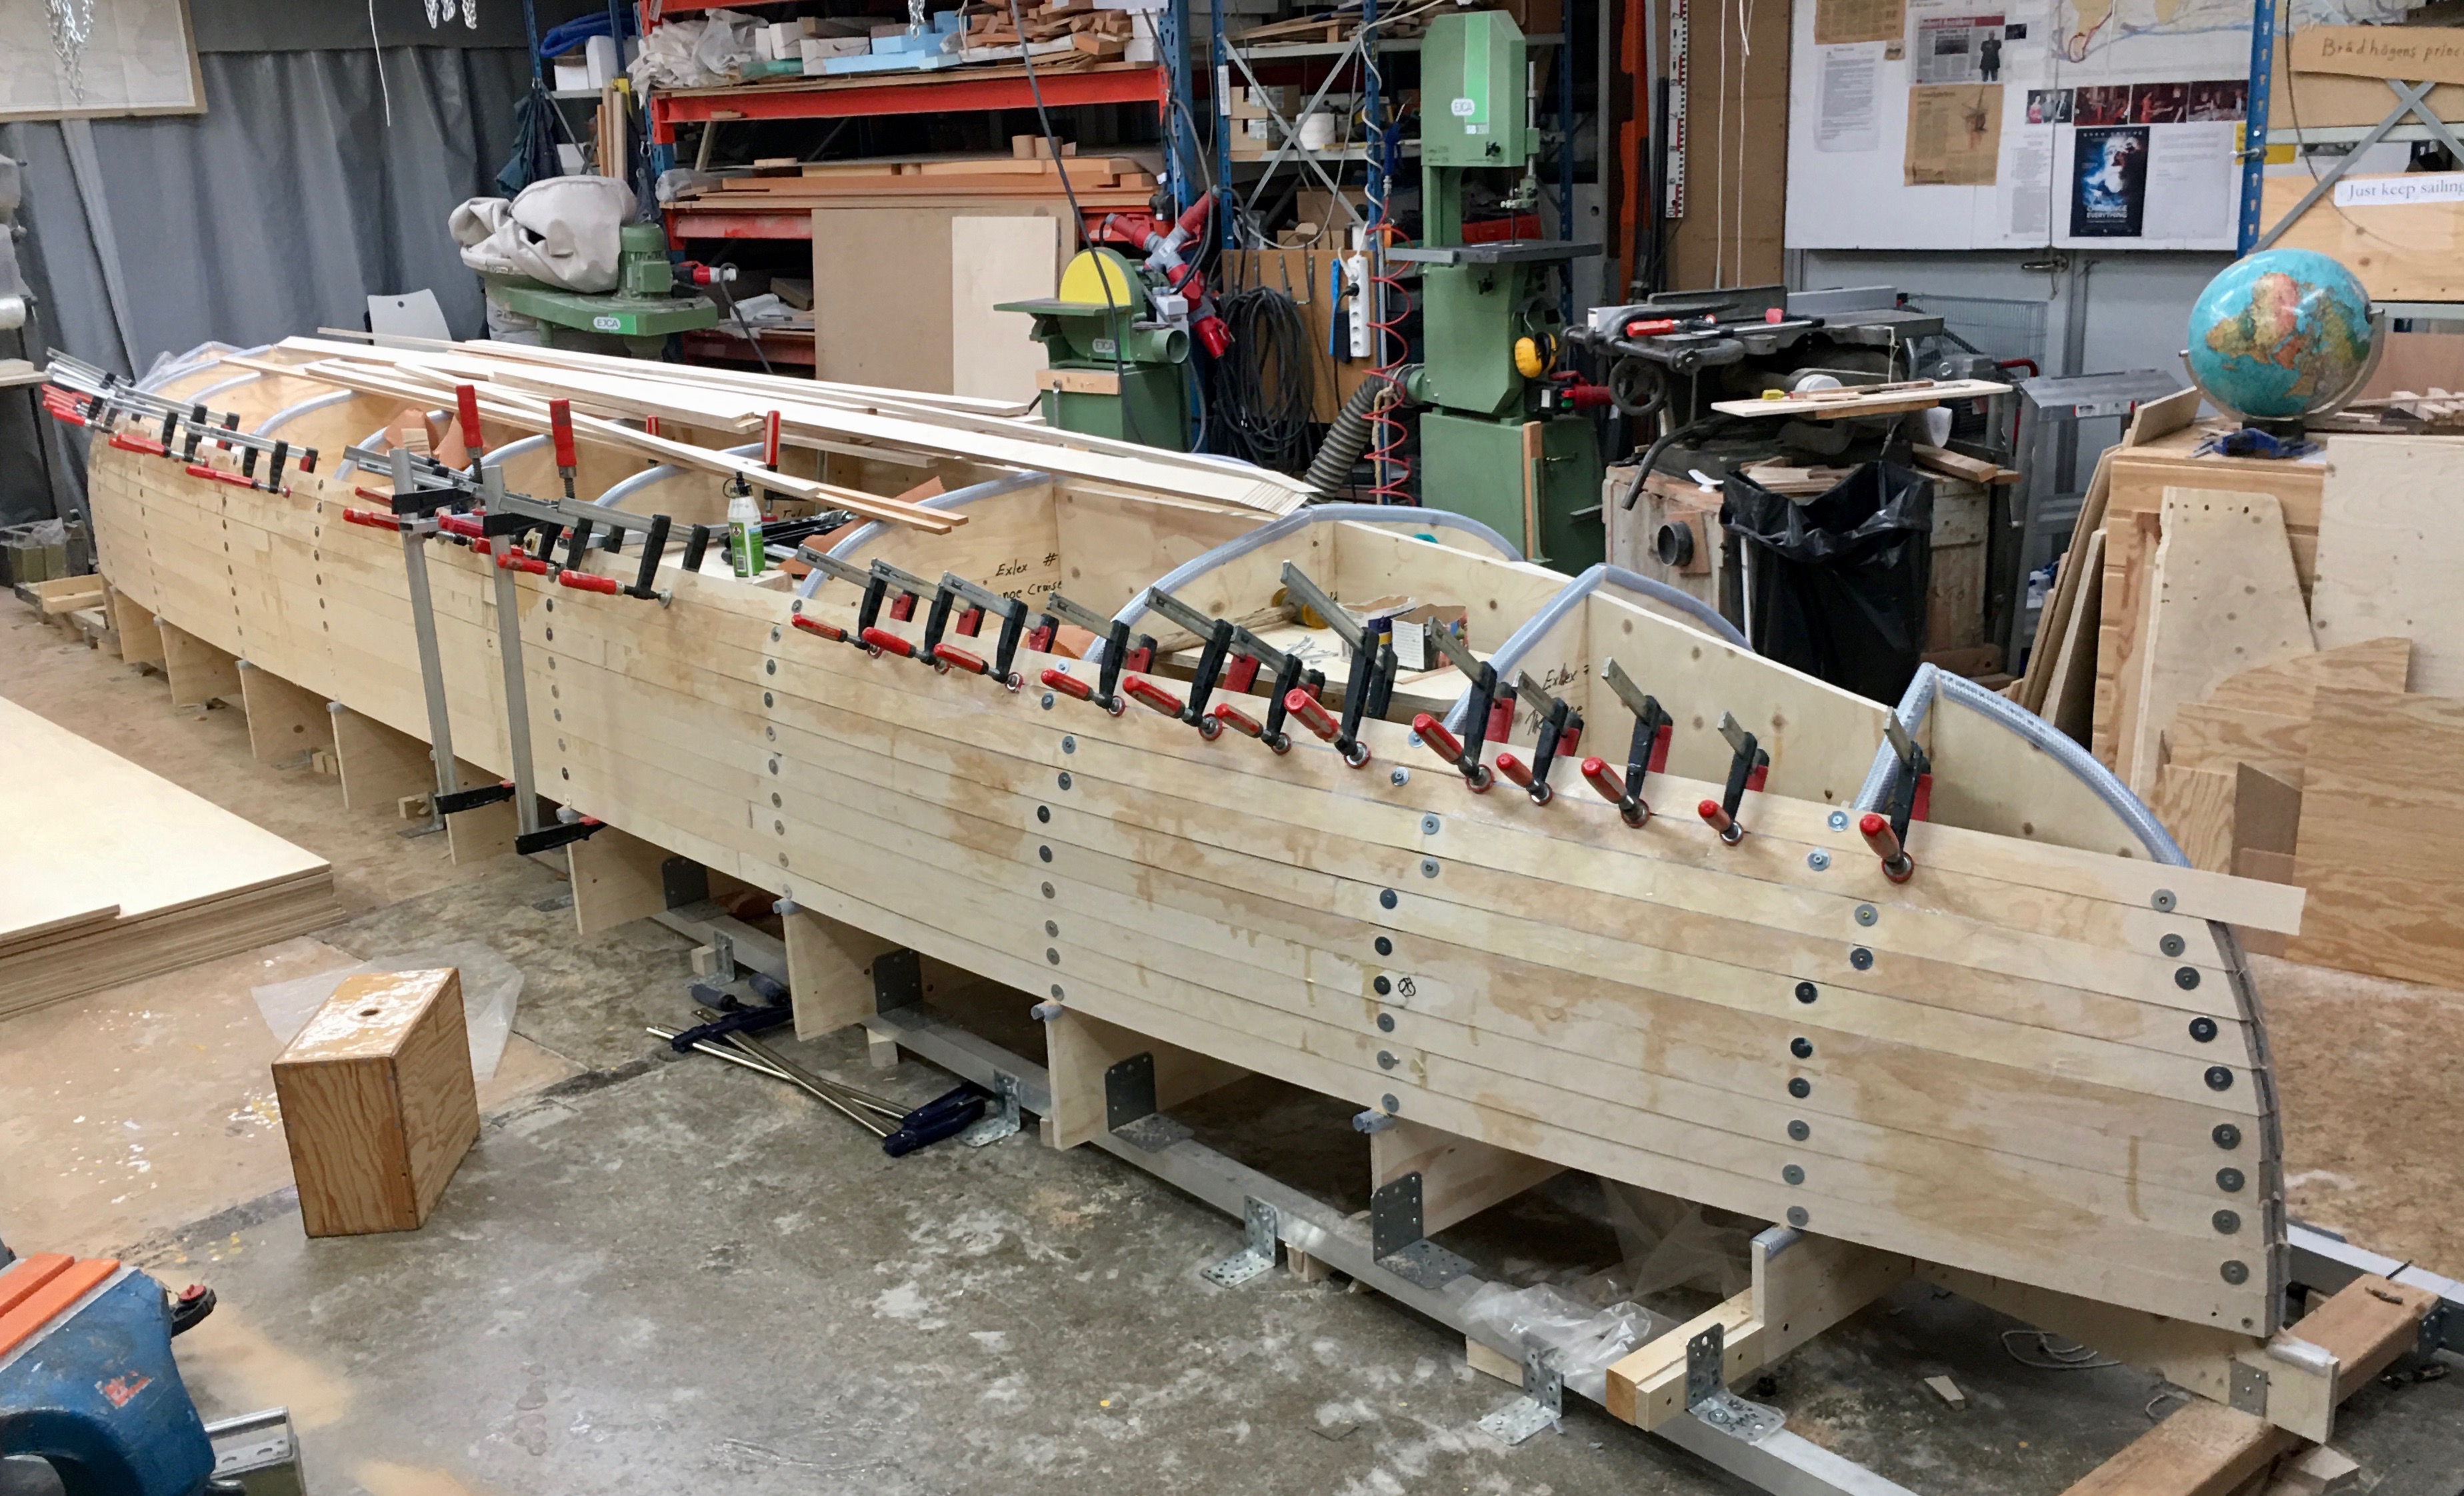
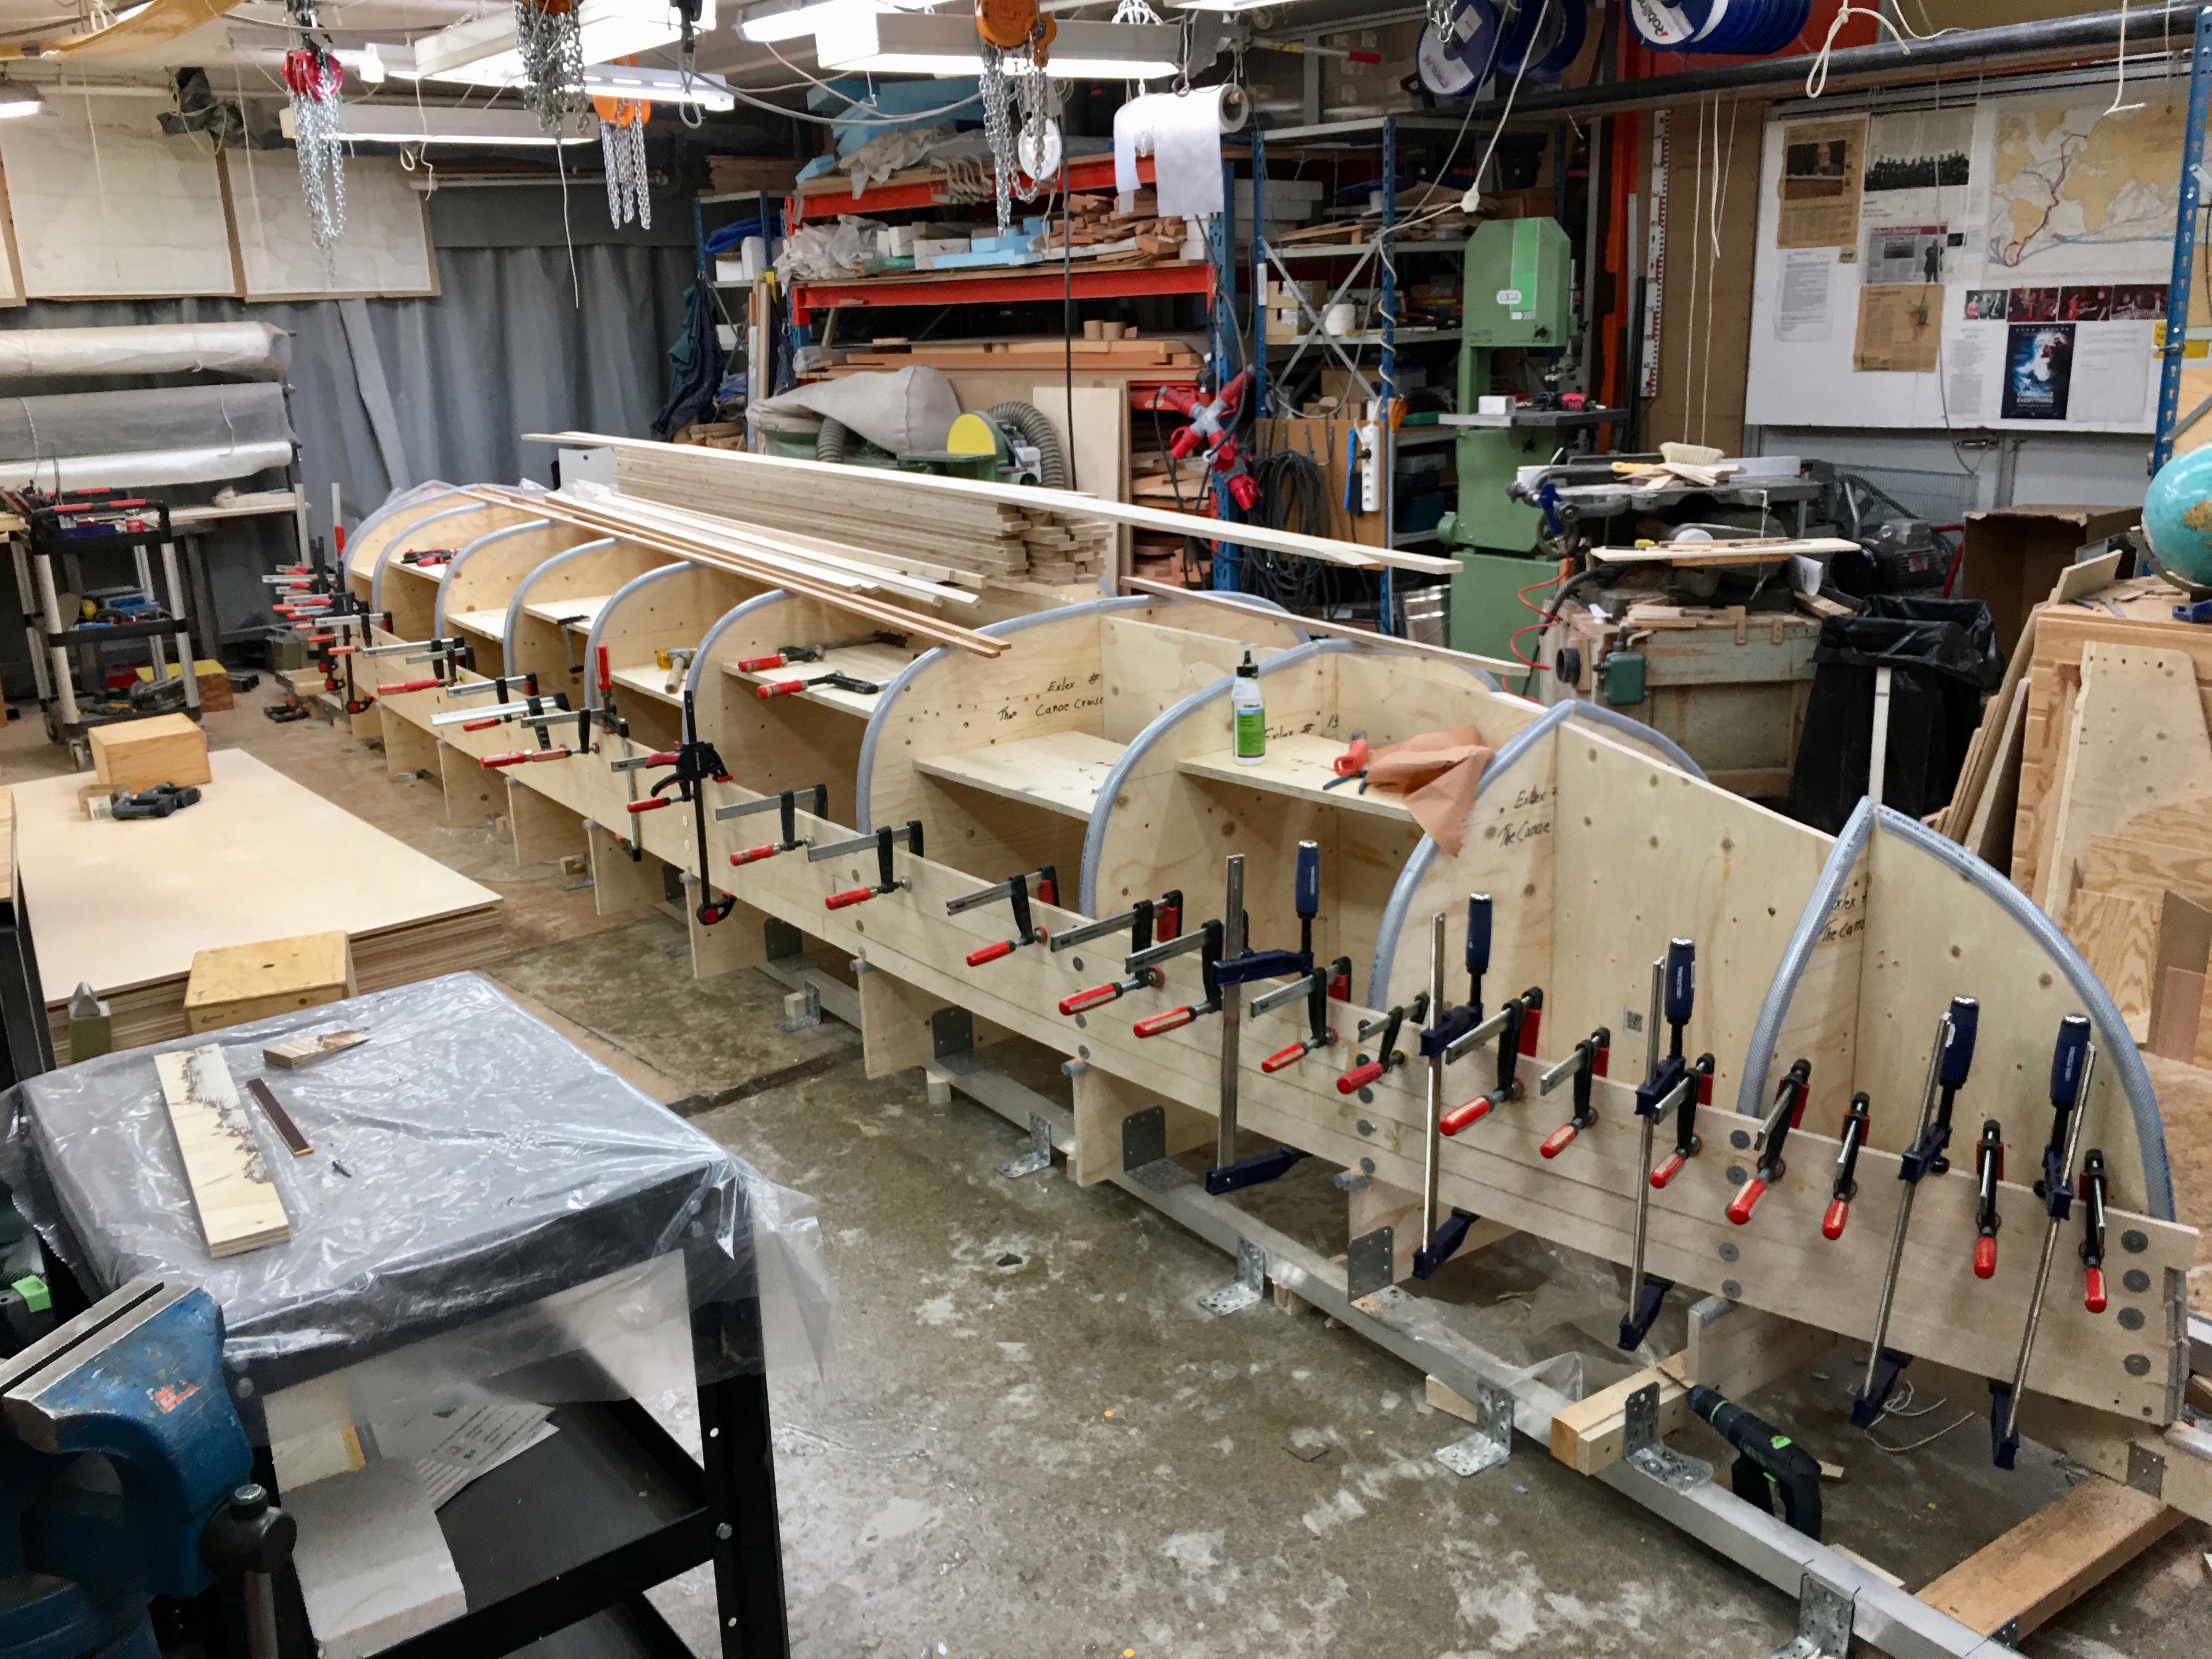
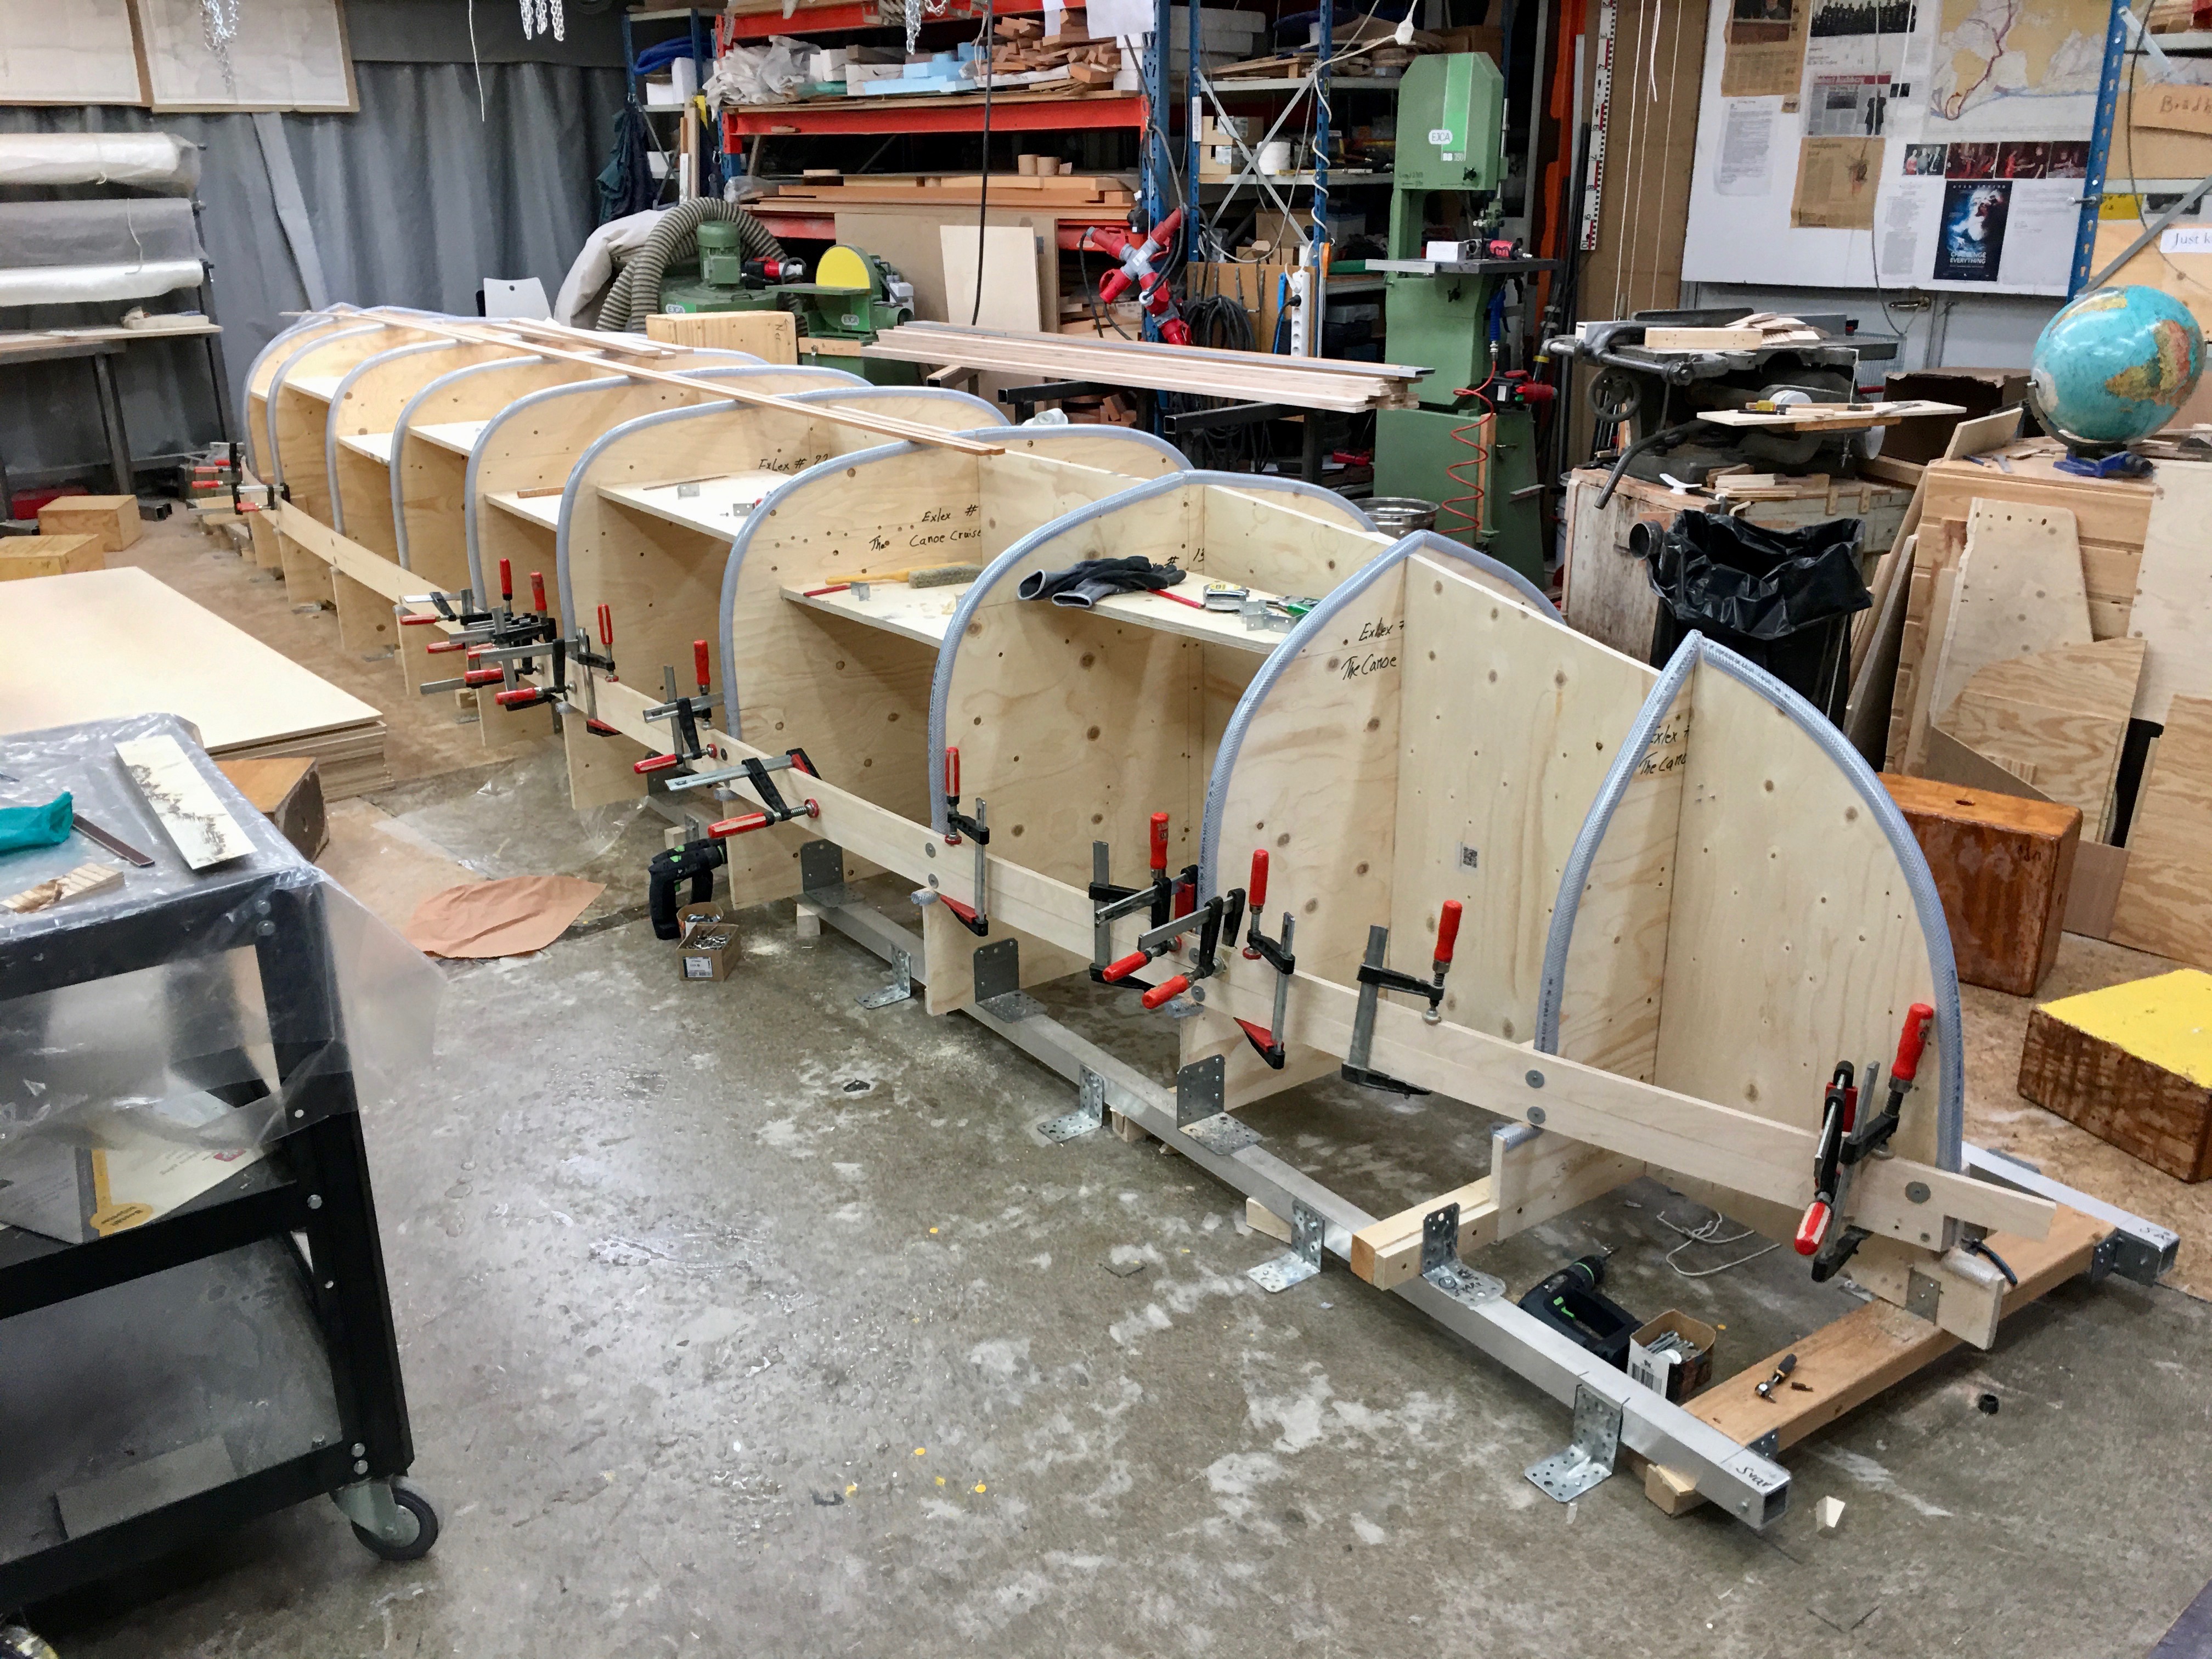
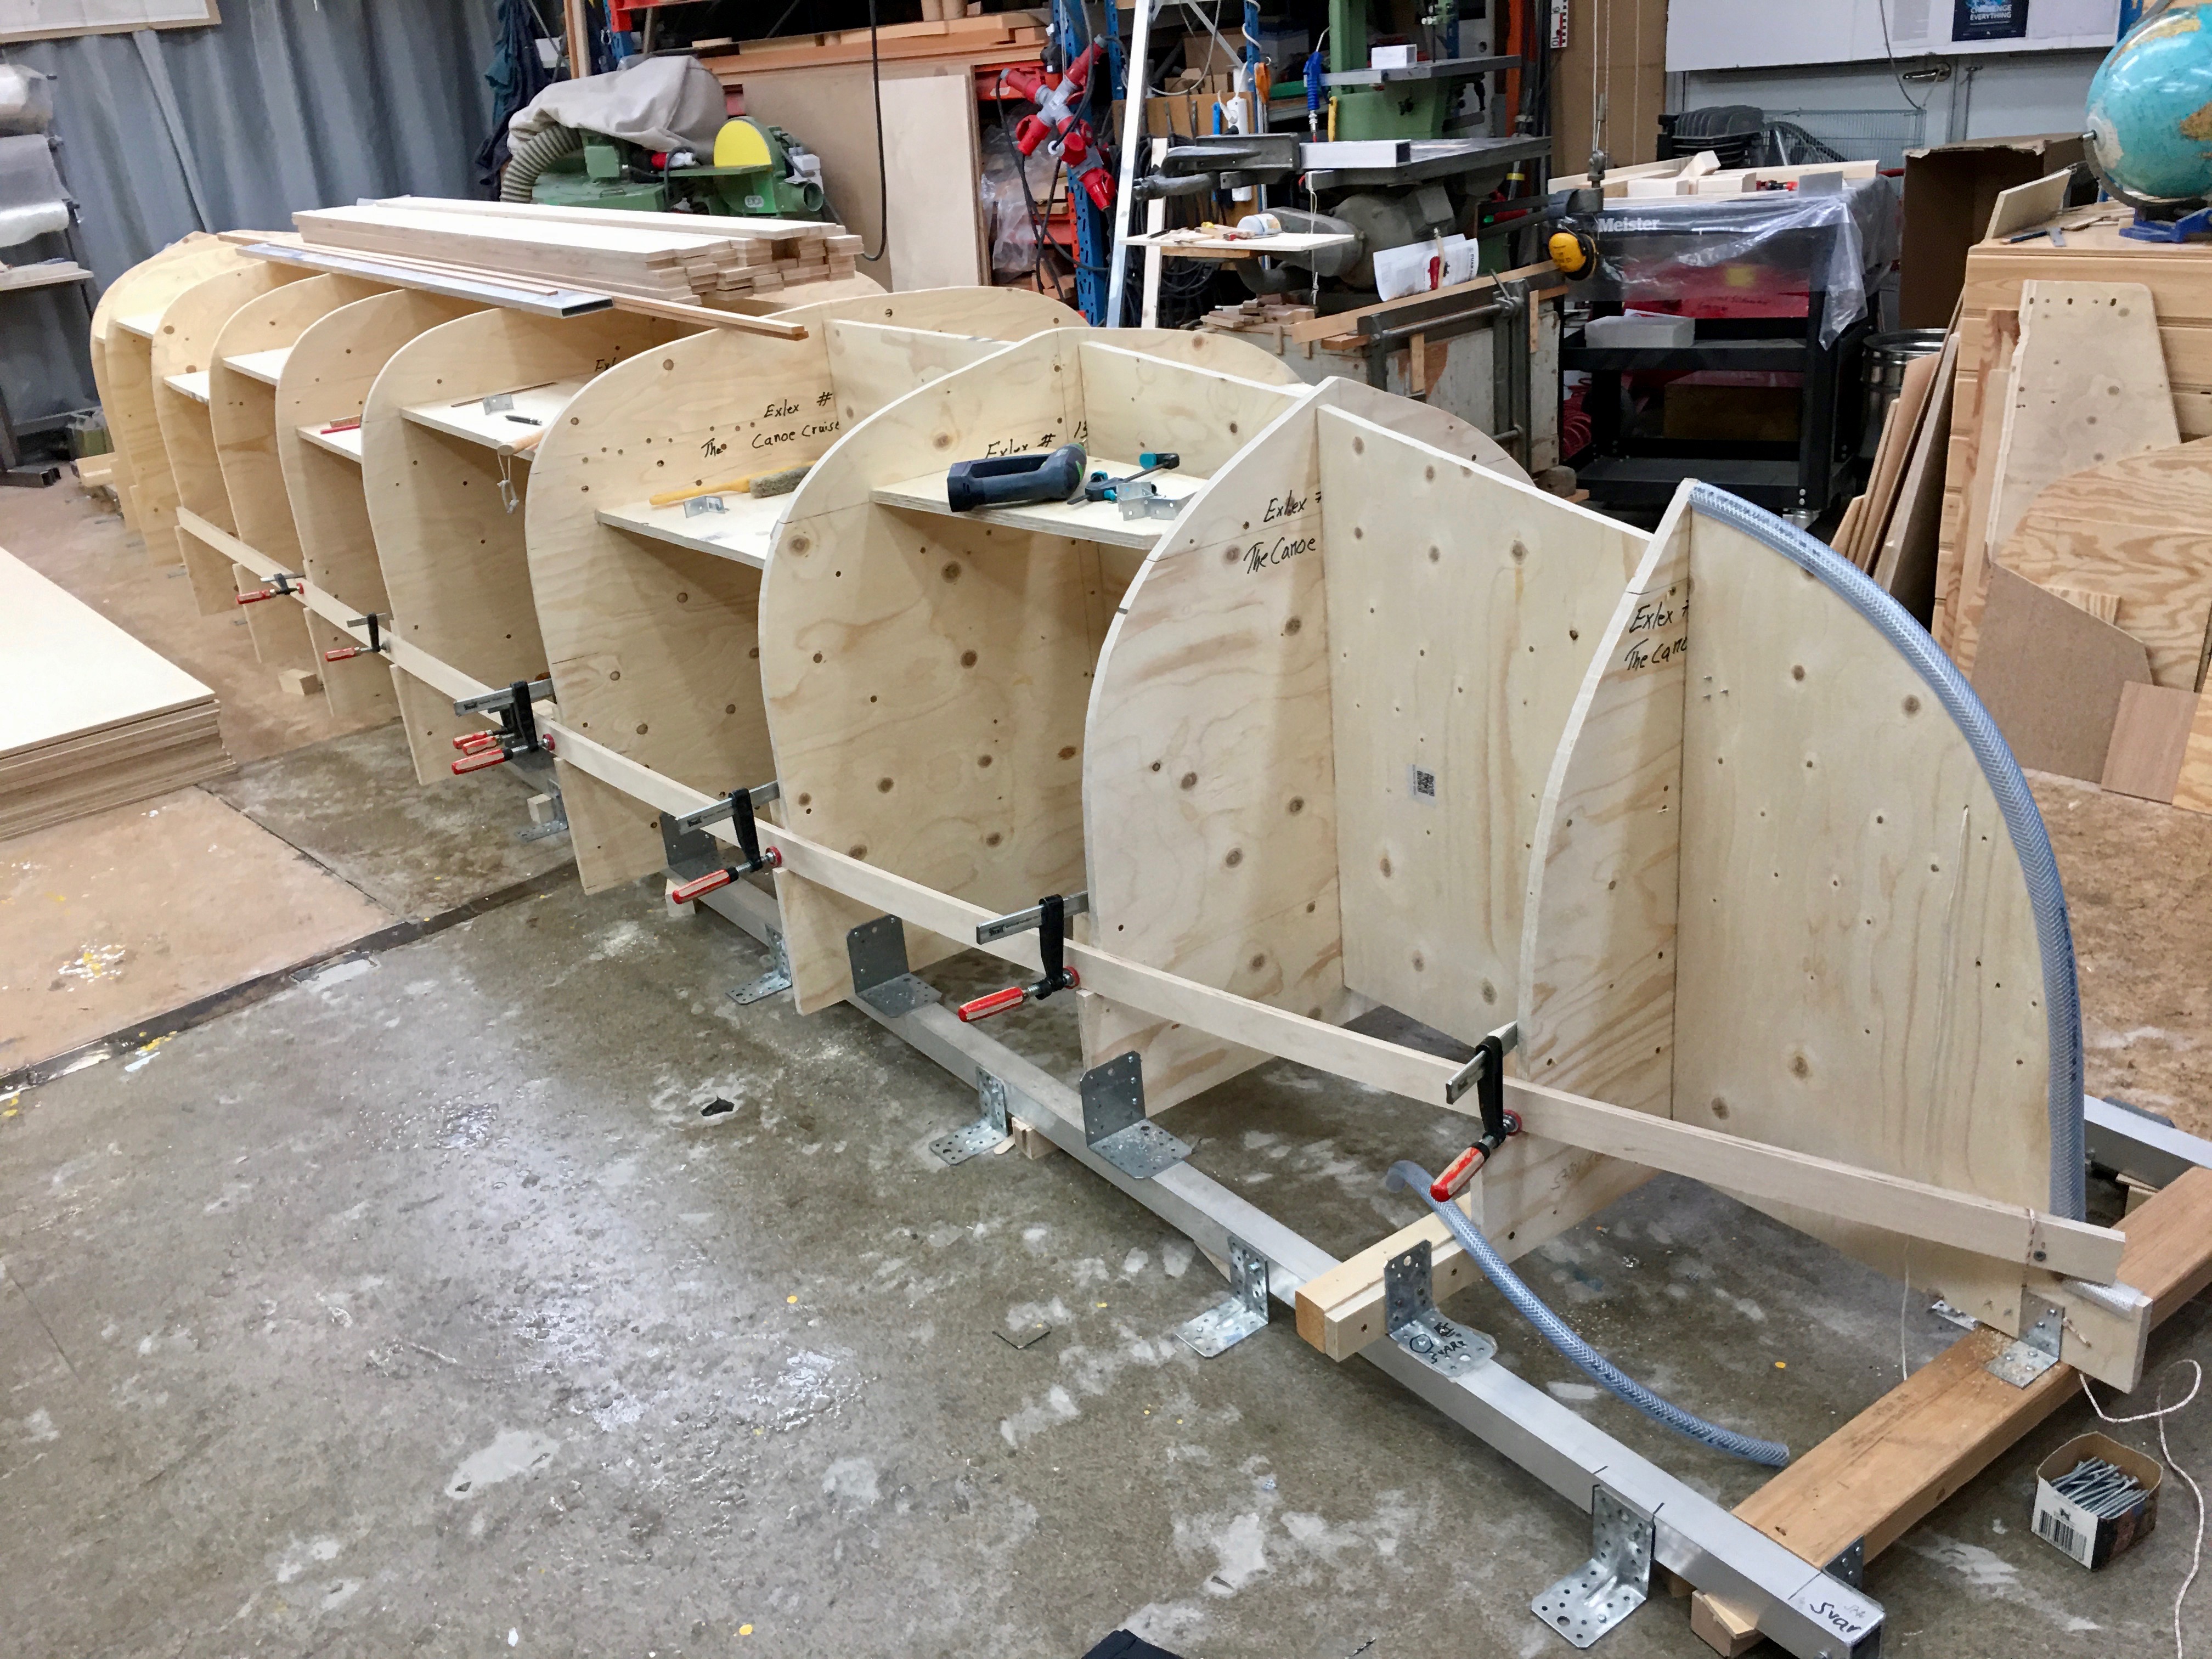
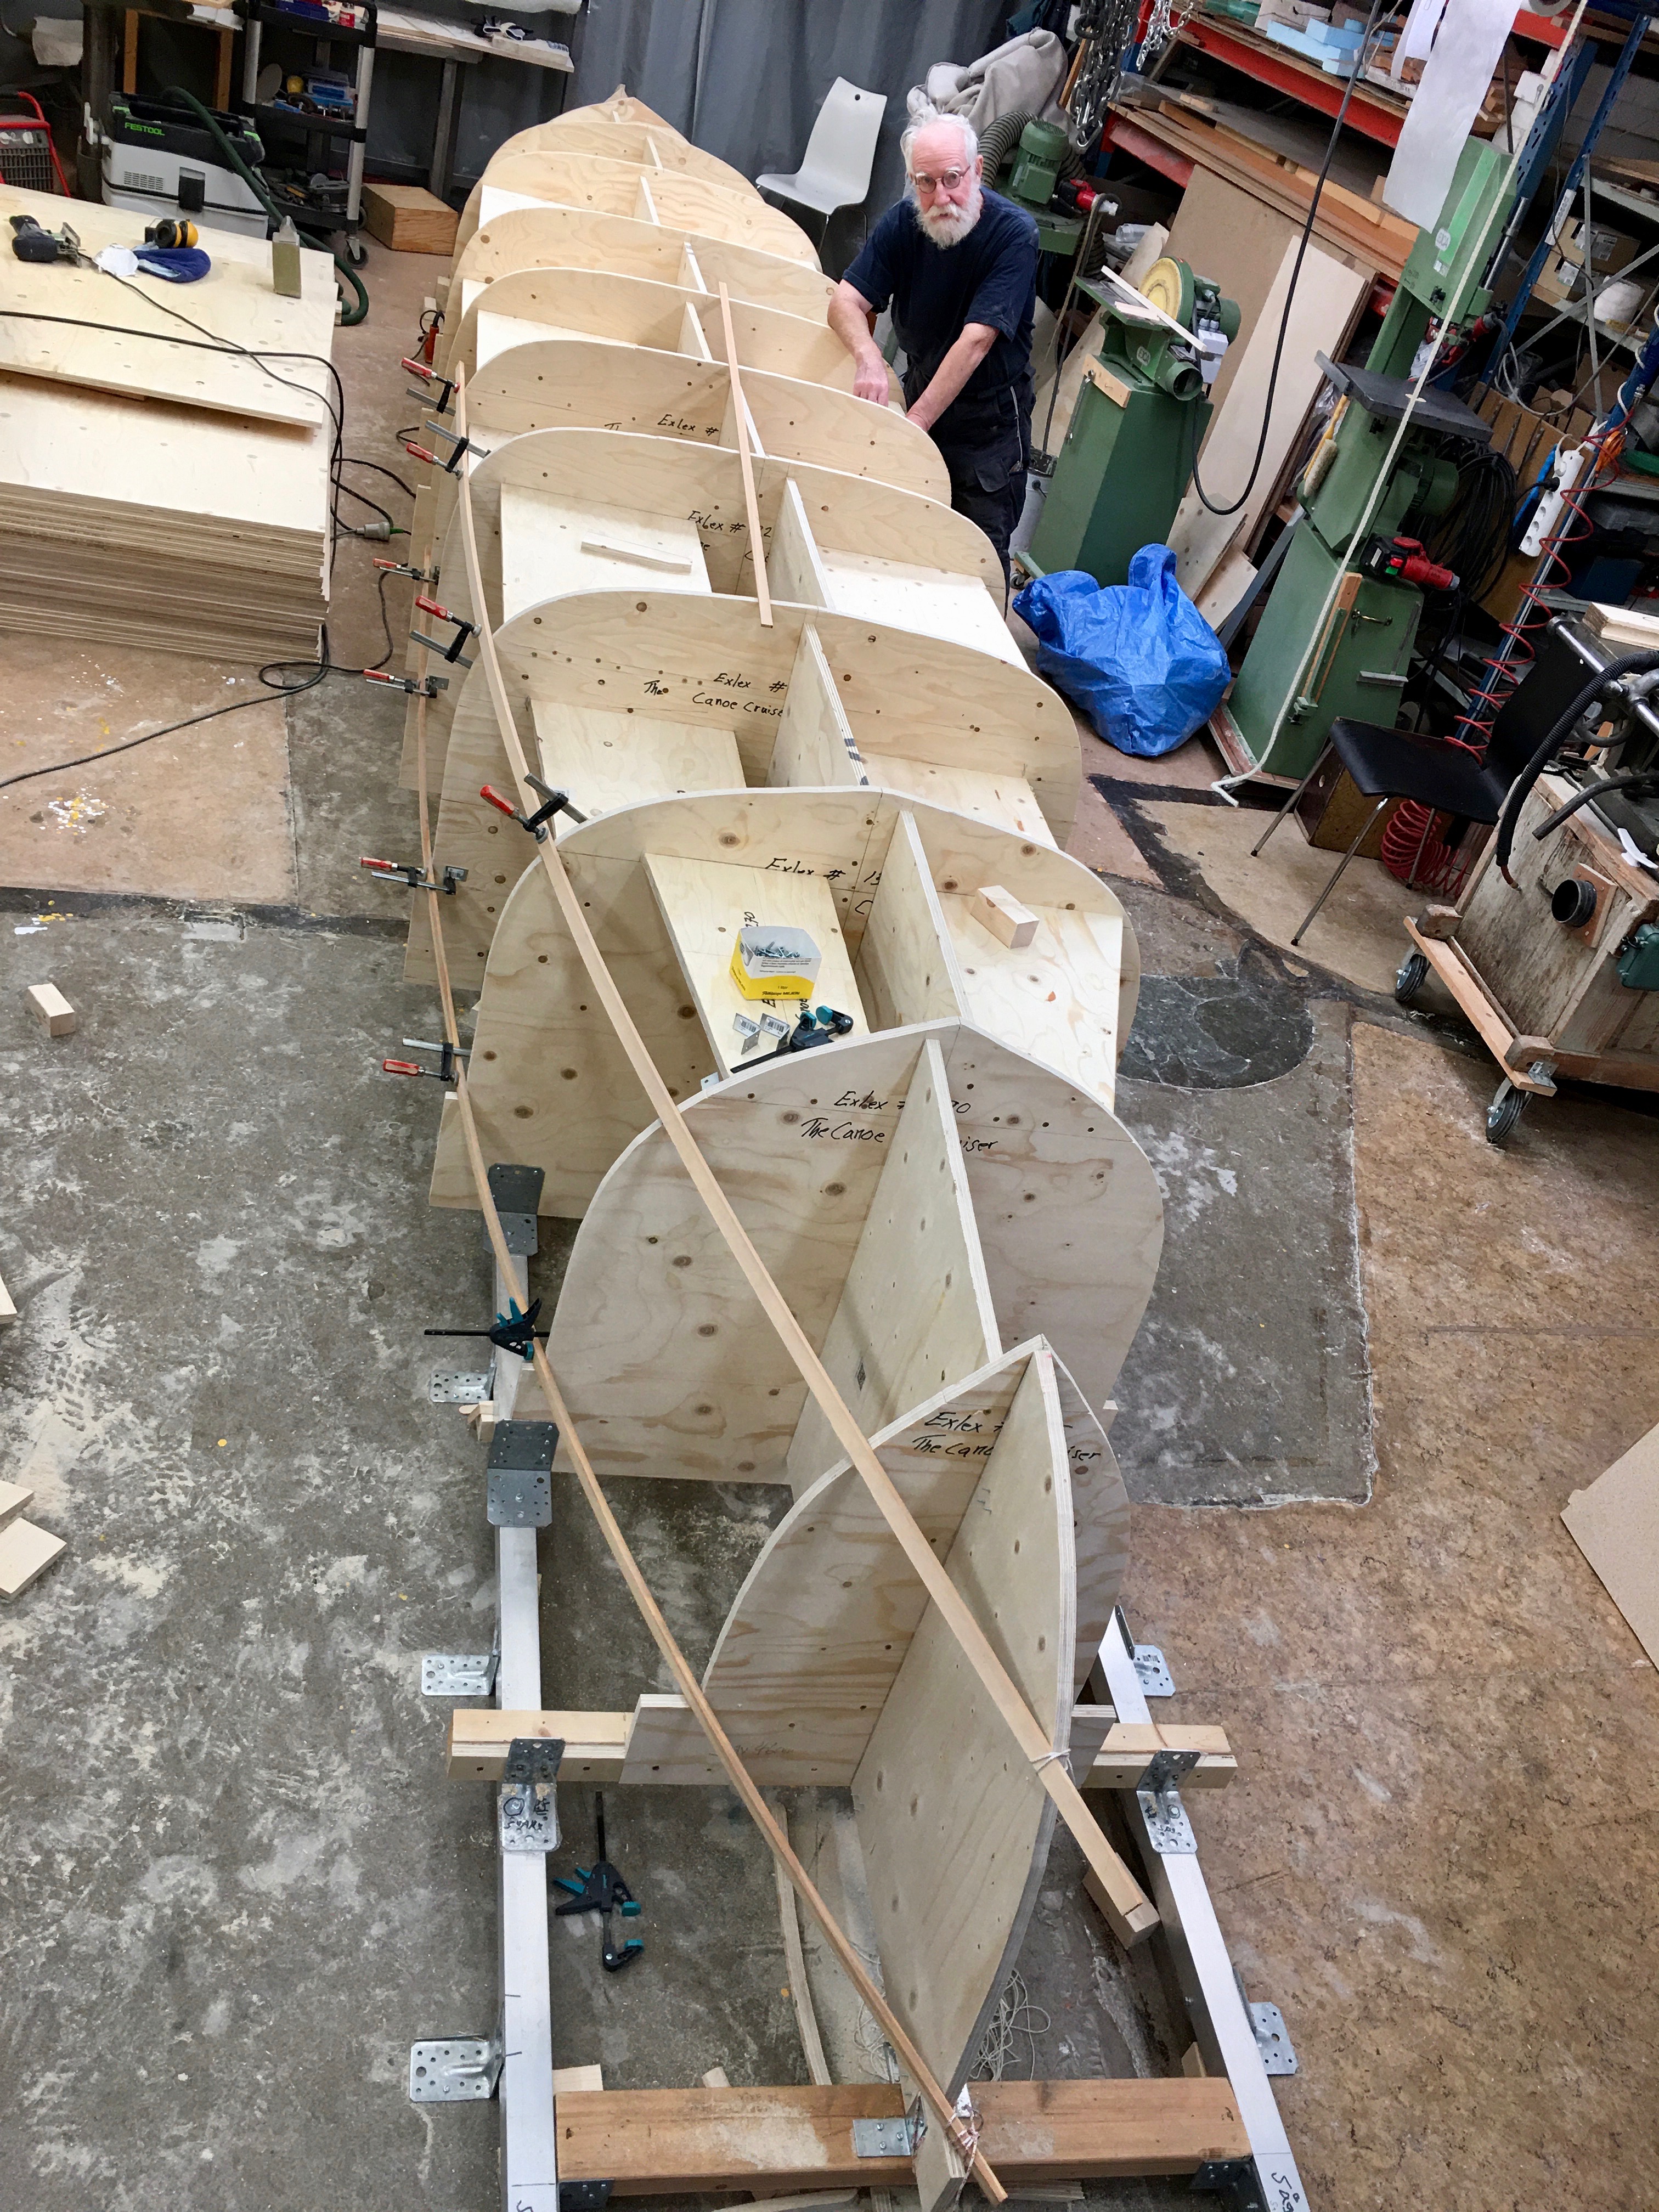
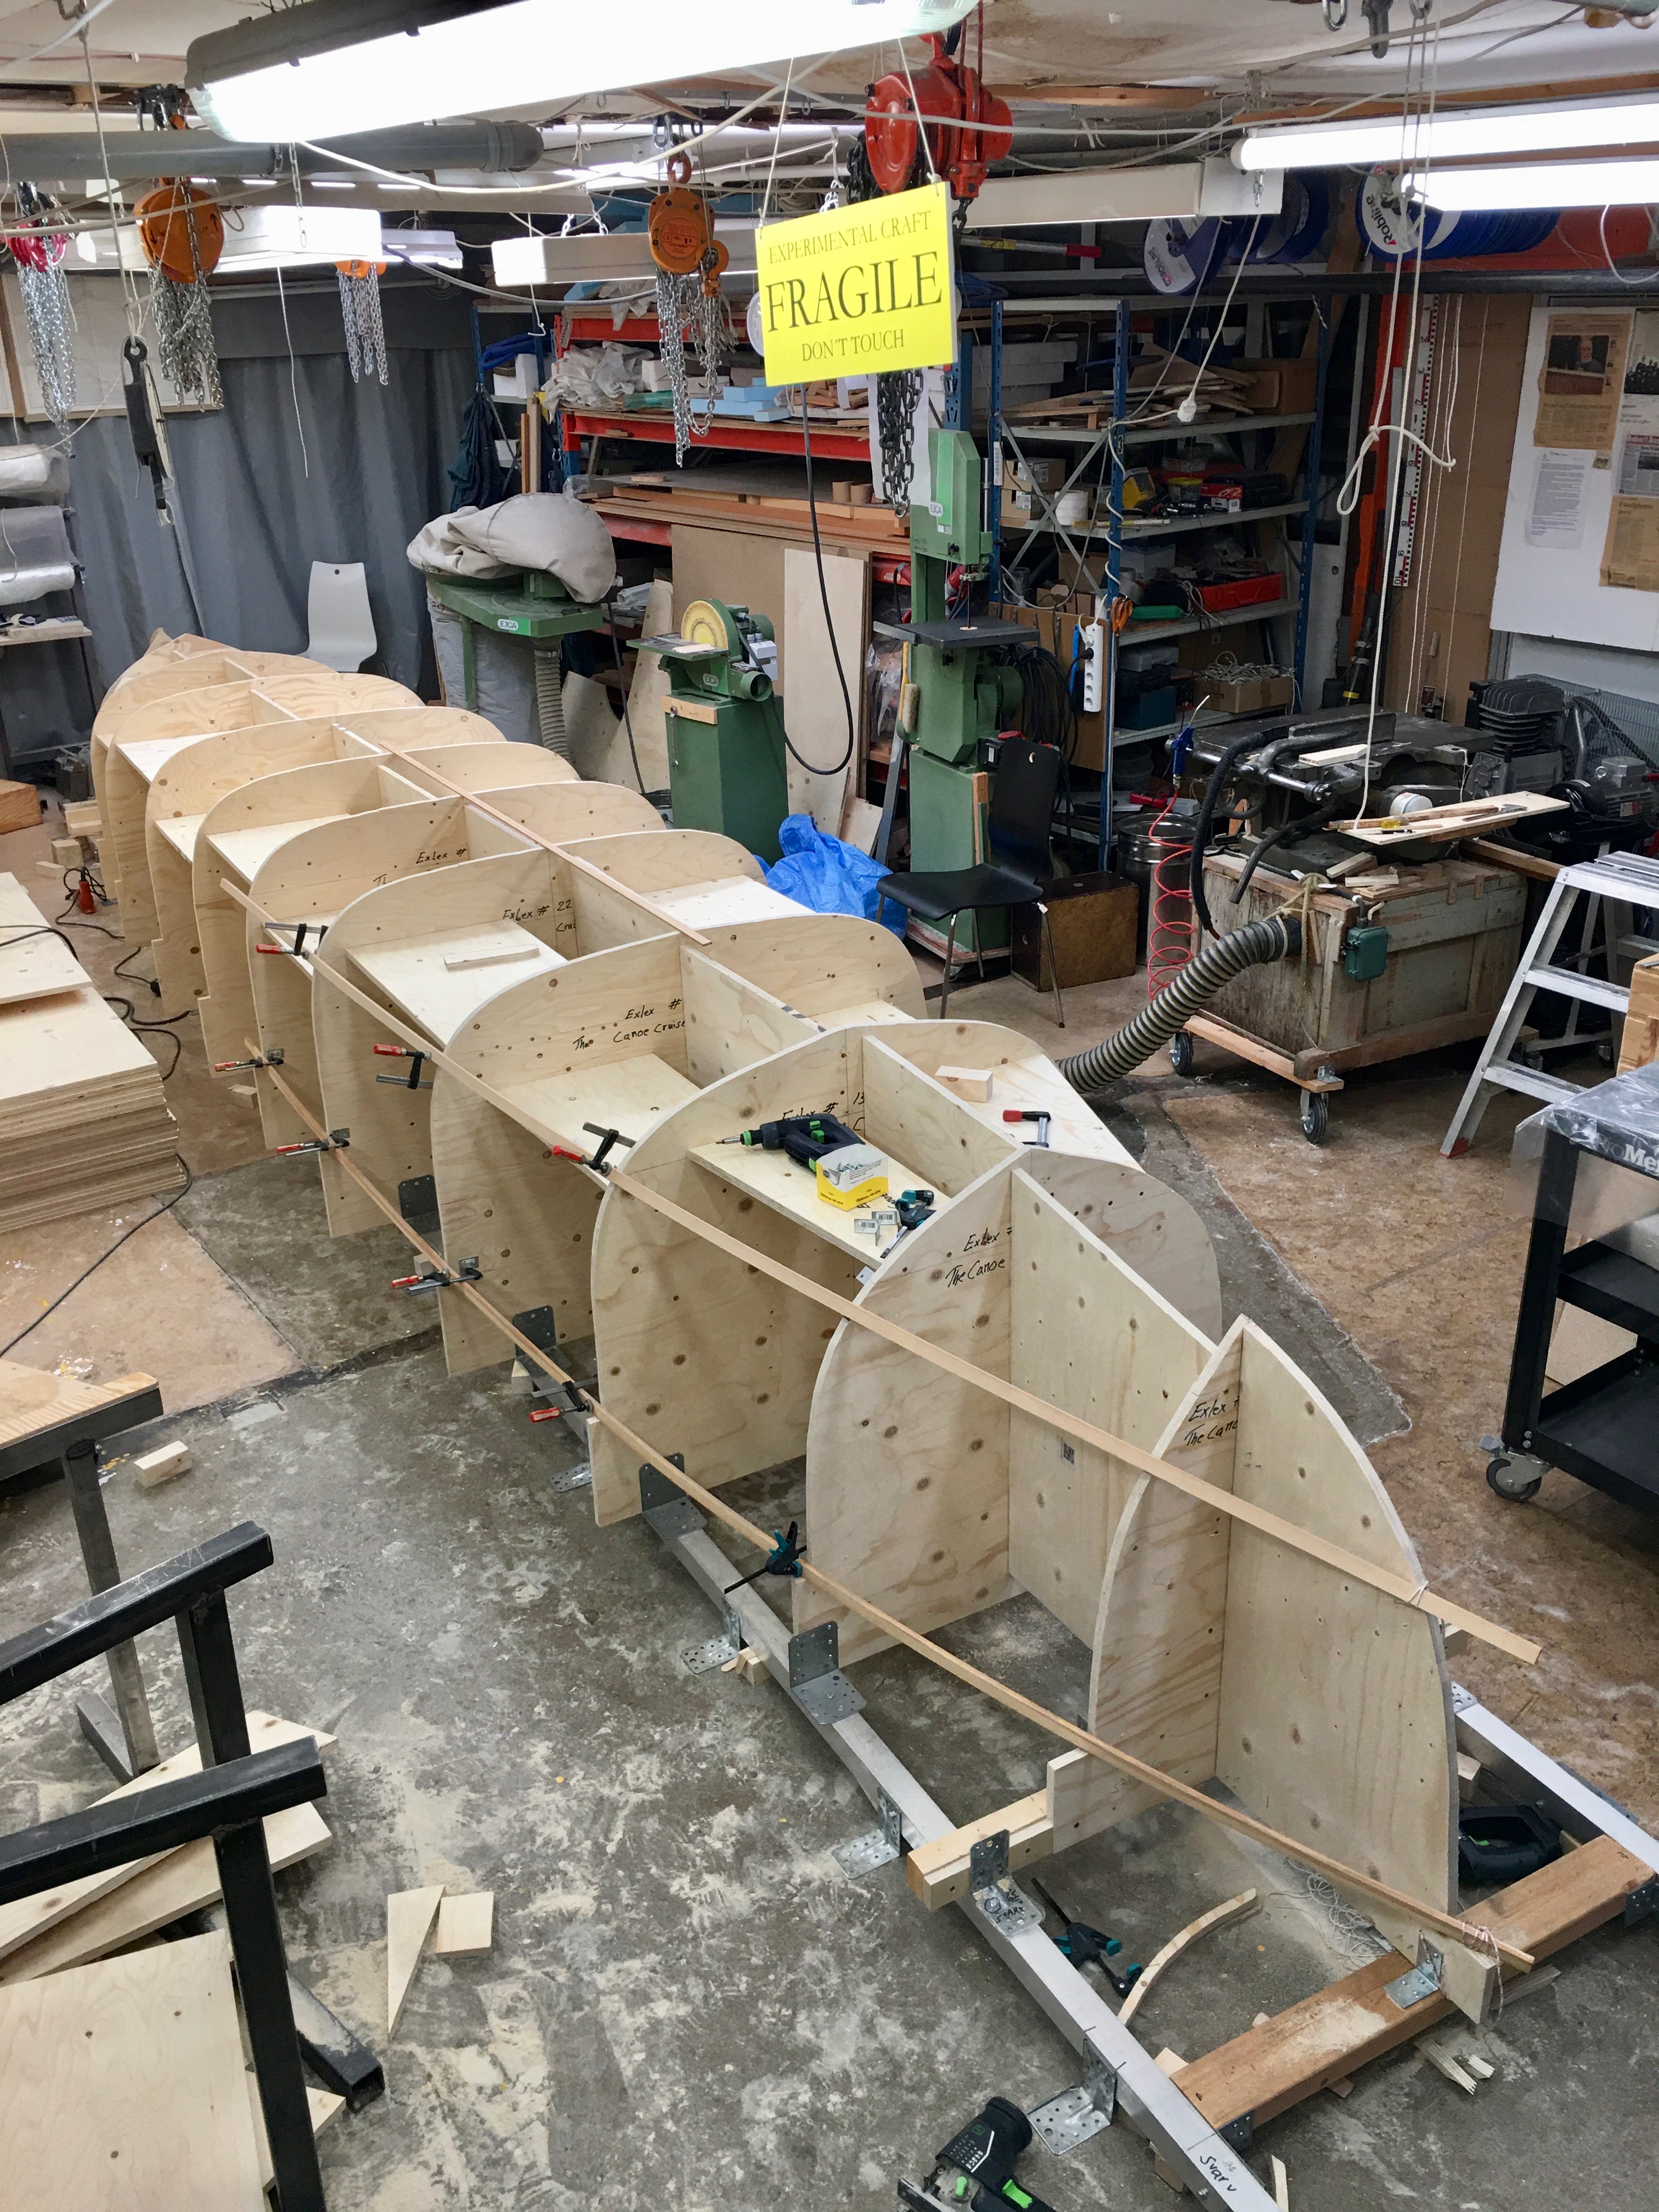
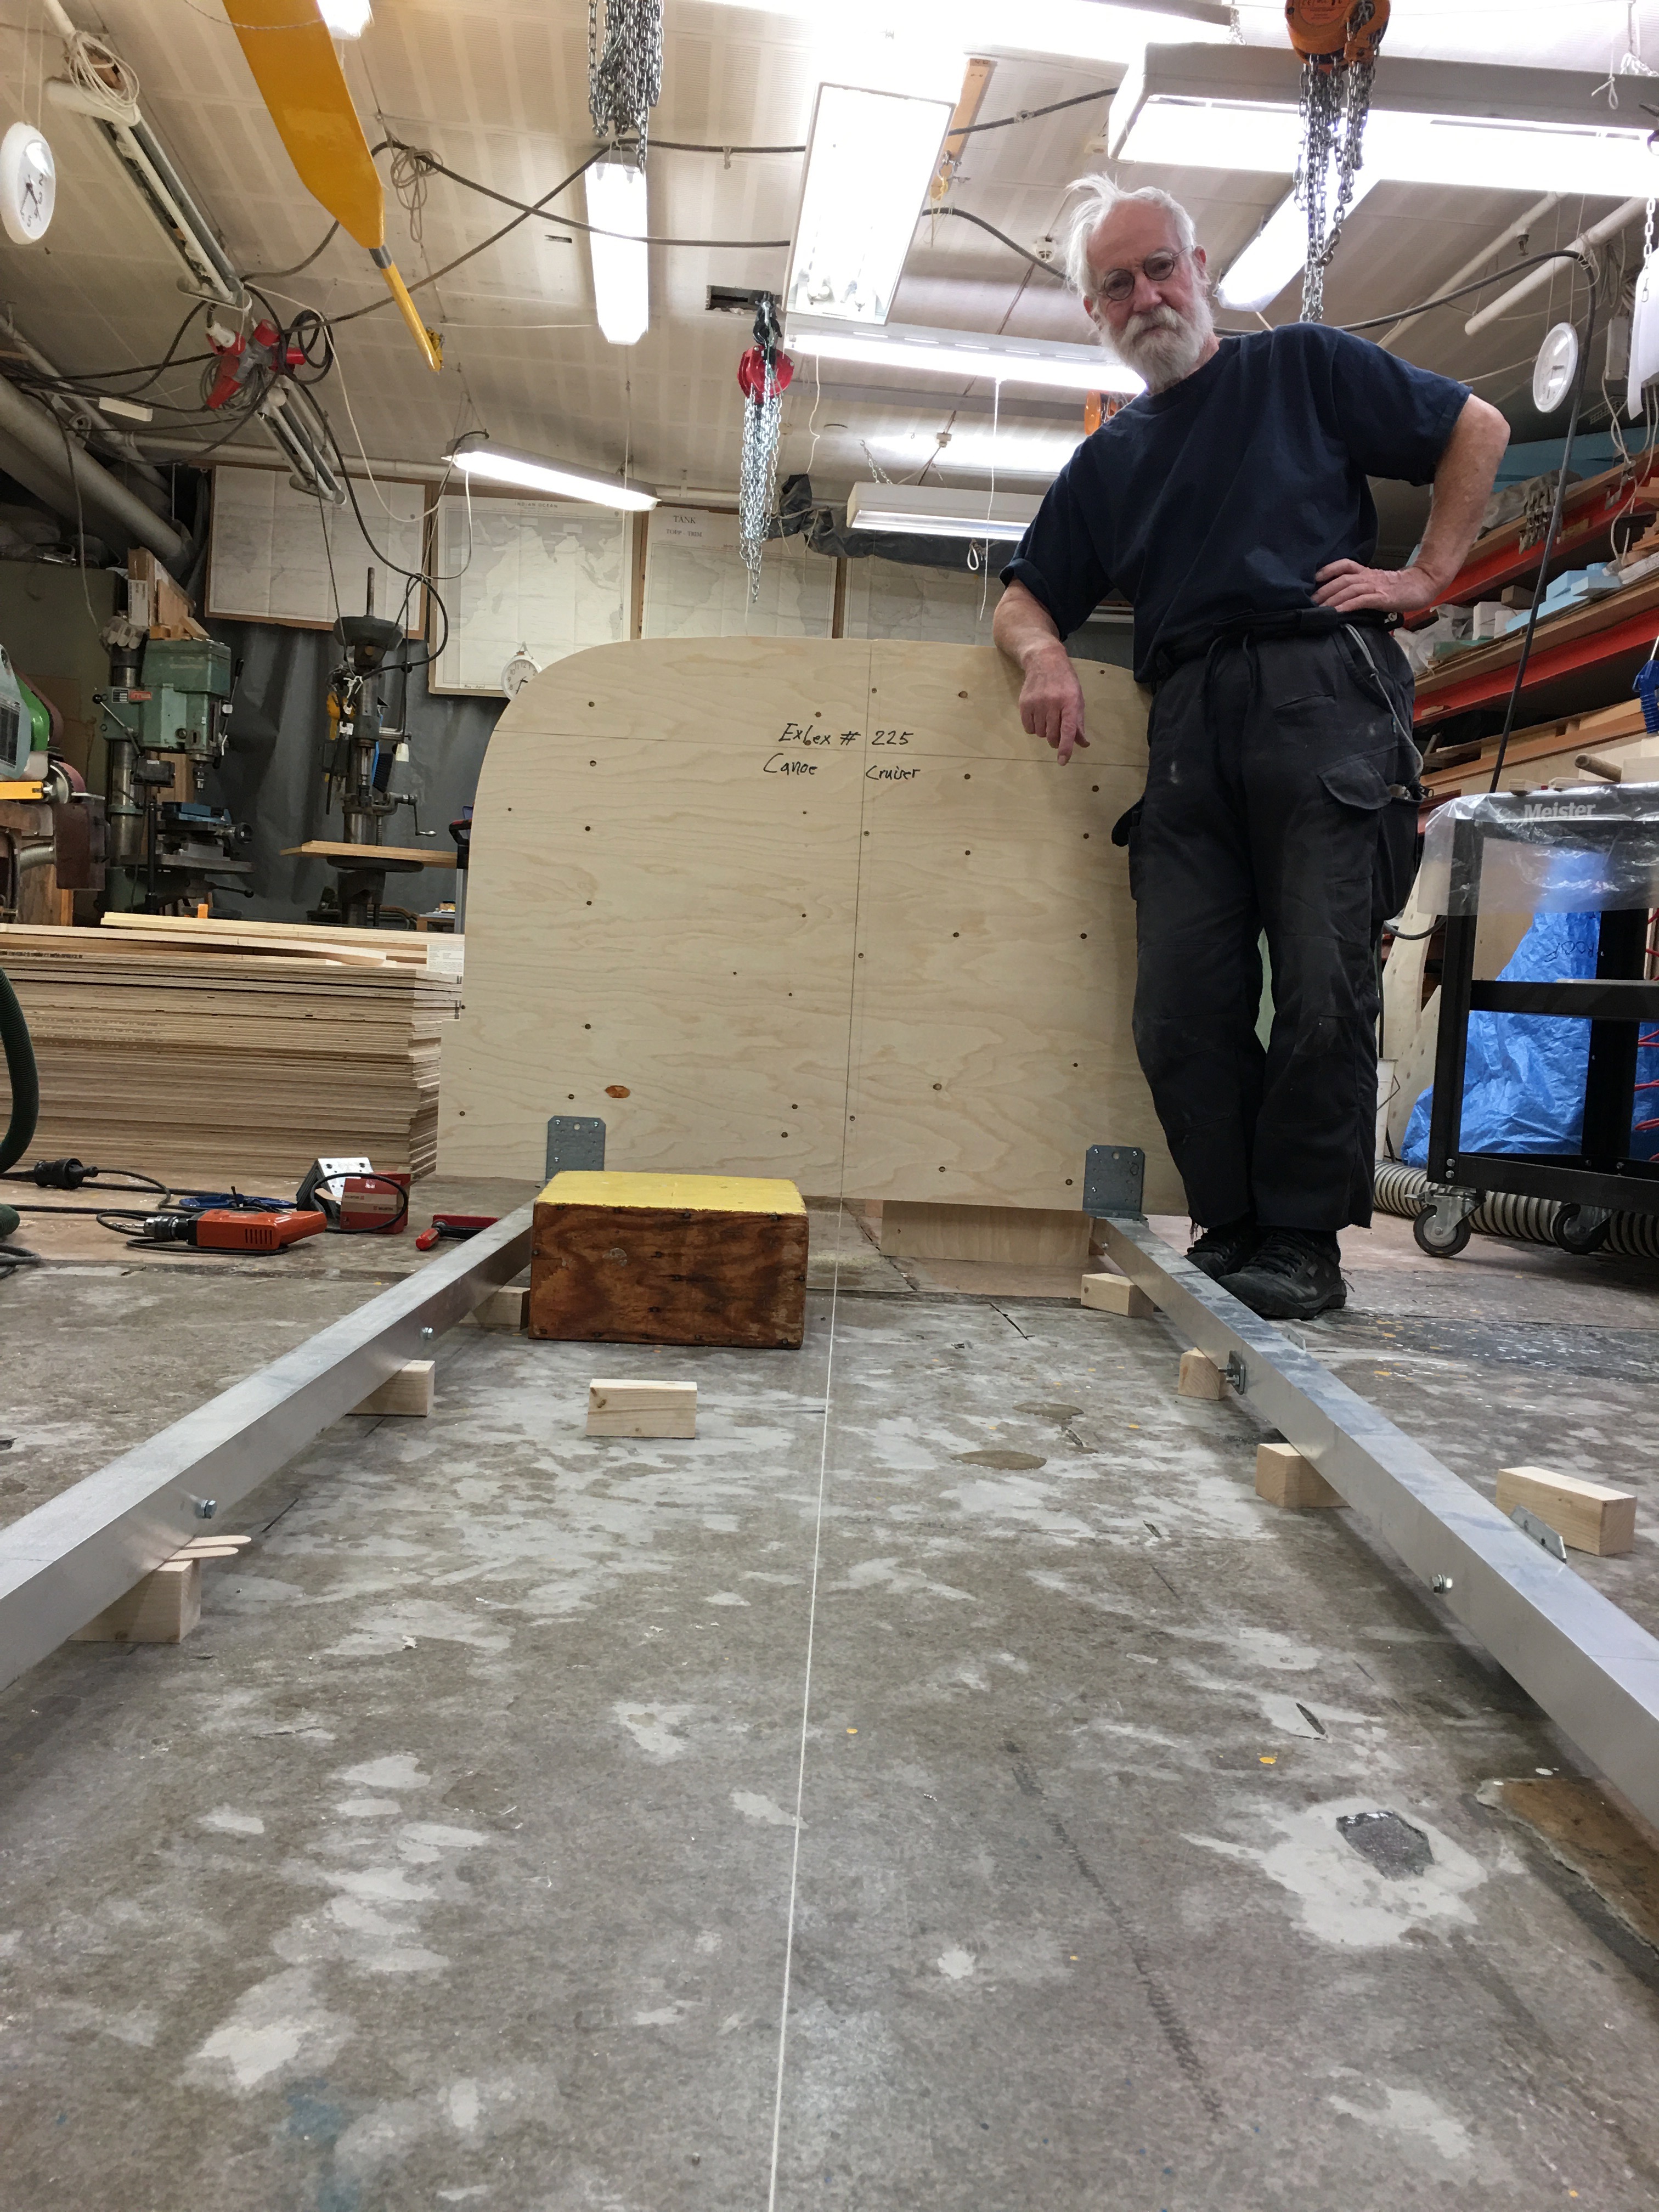
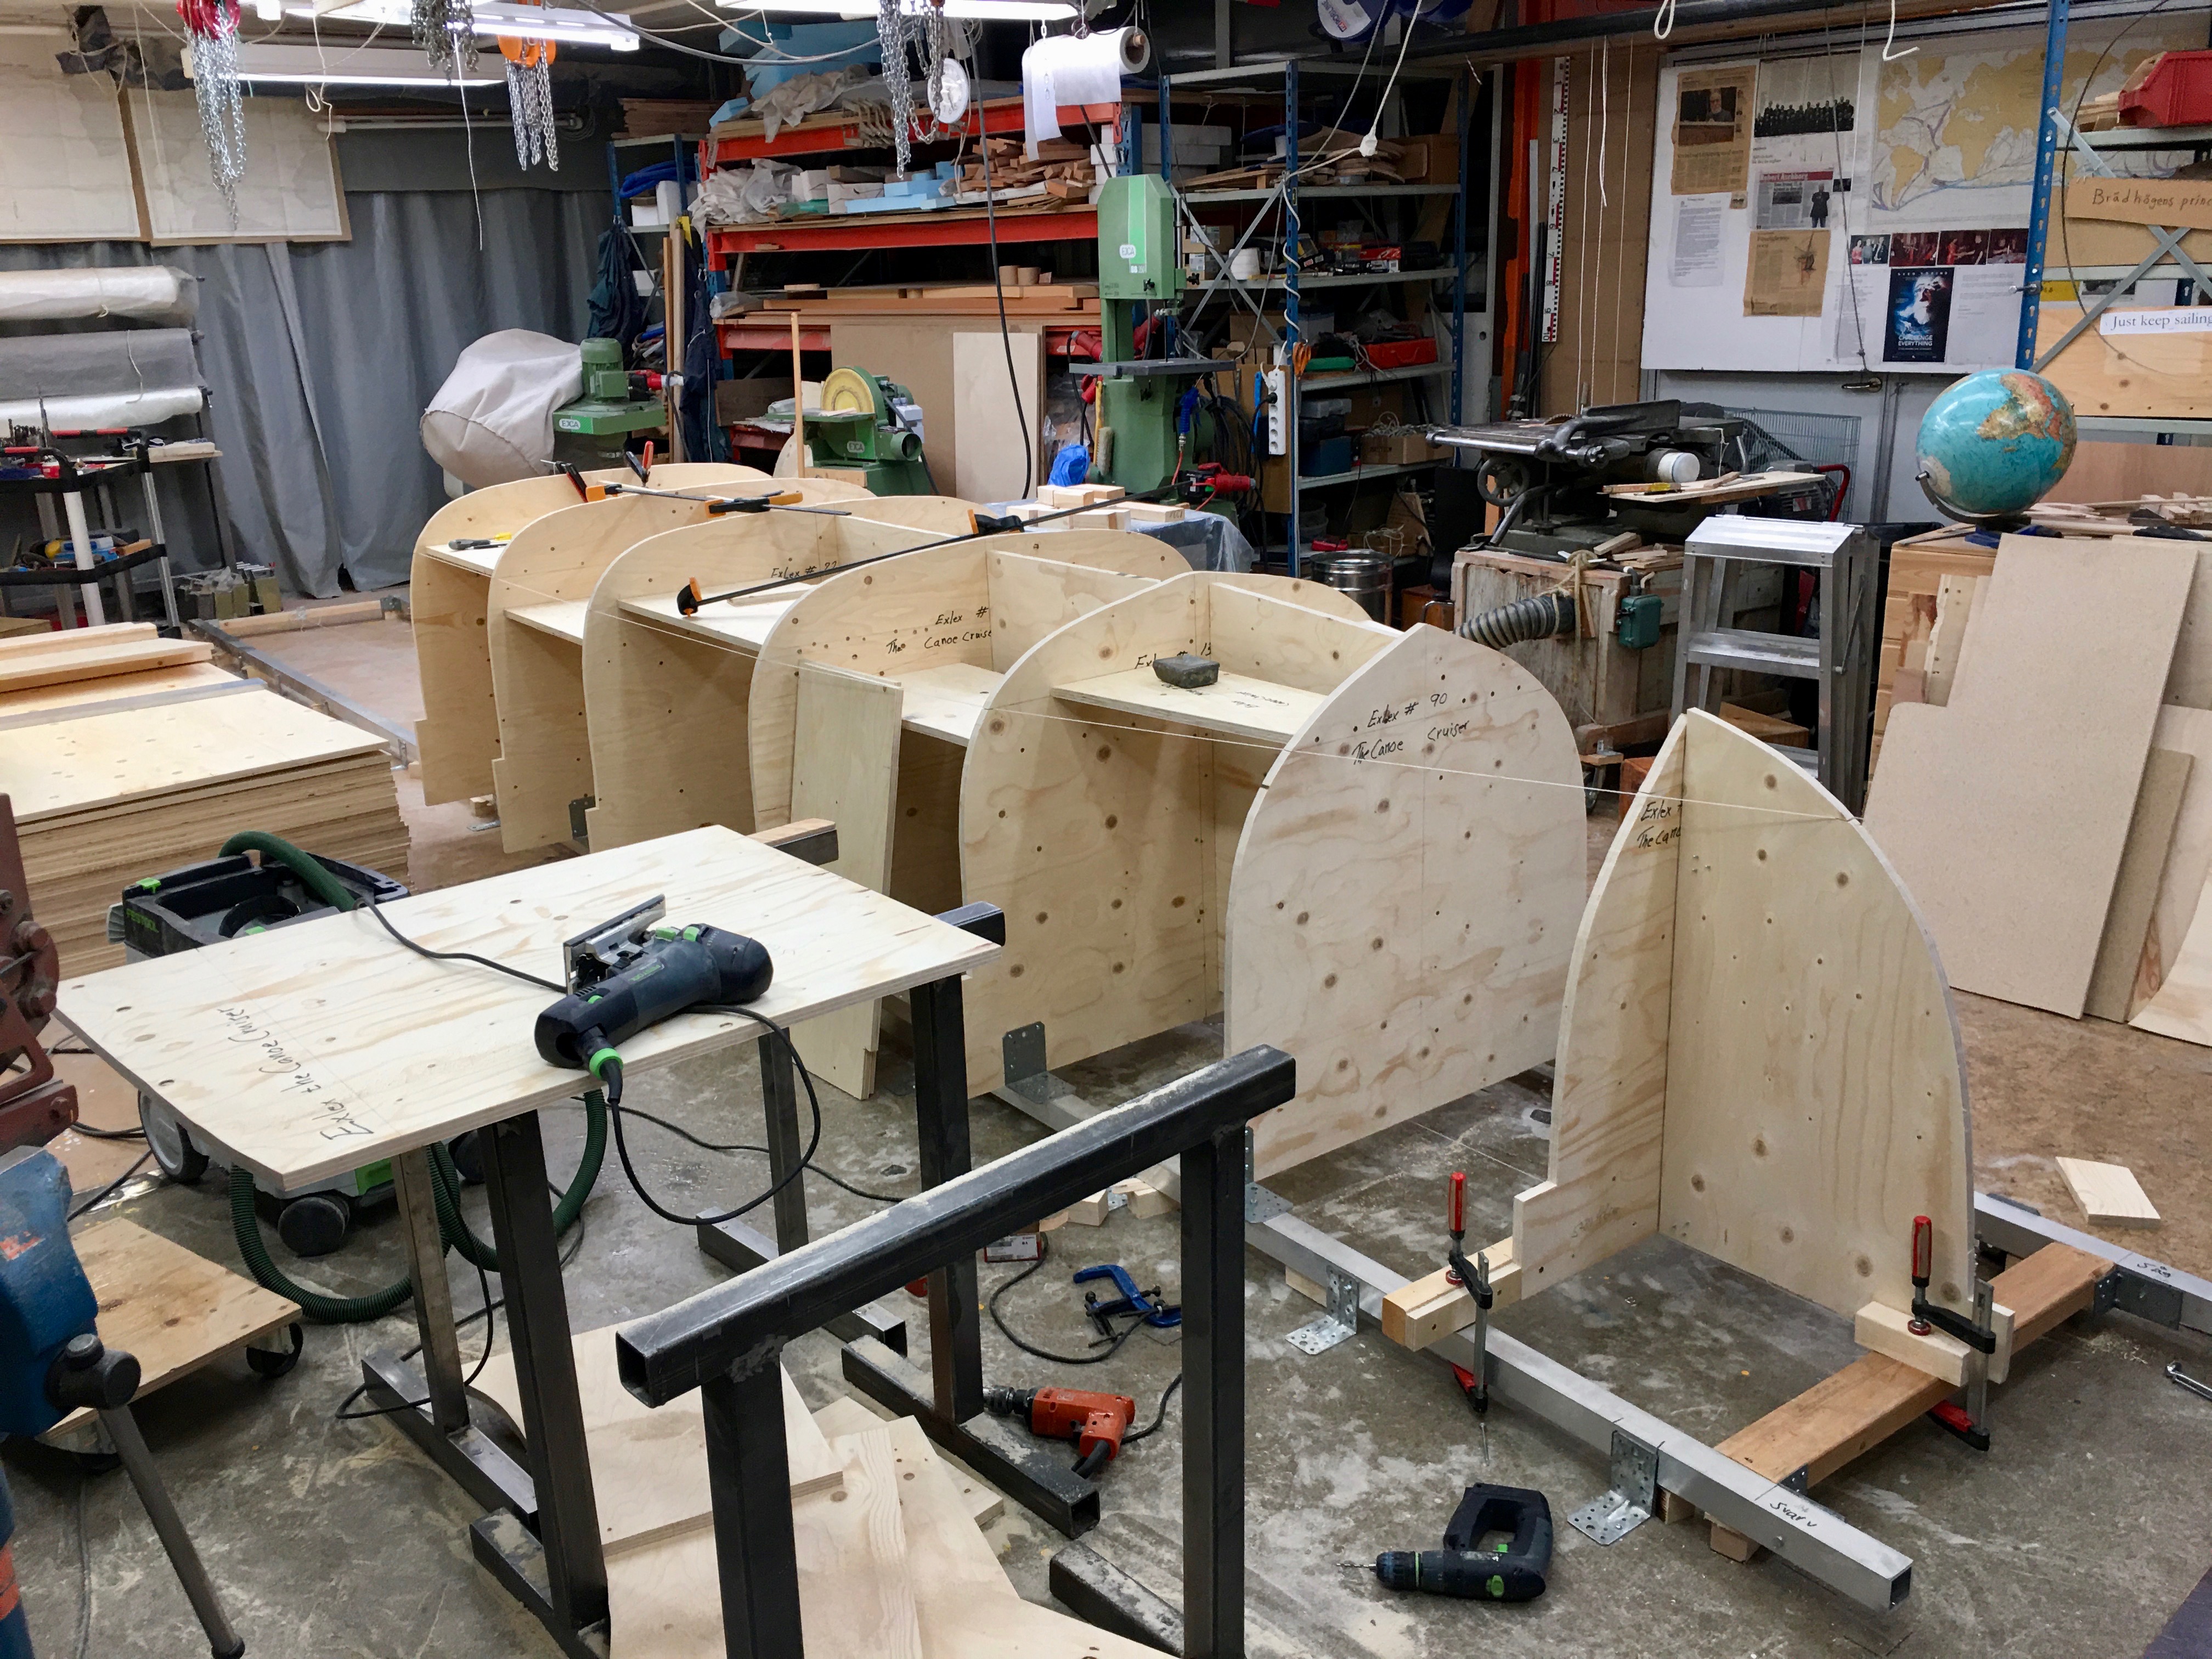
Below are some illustrations.
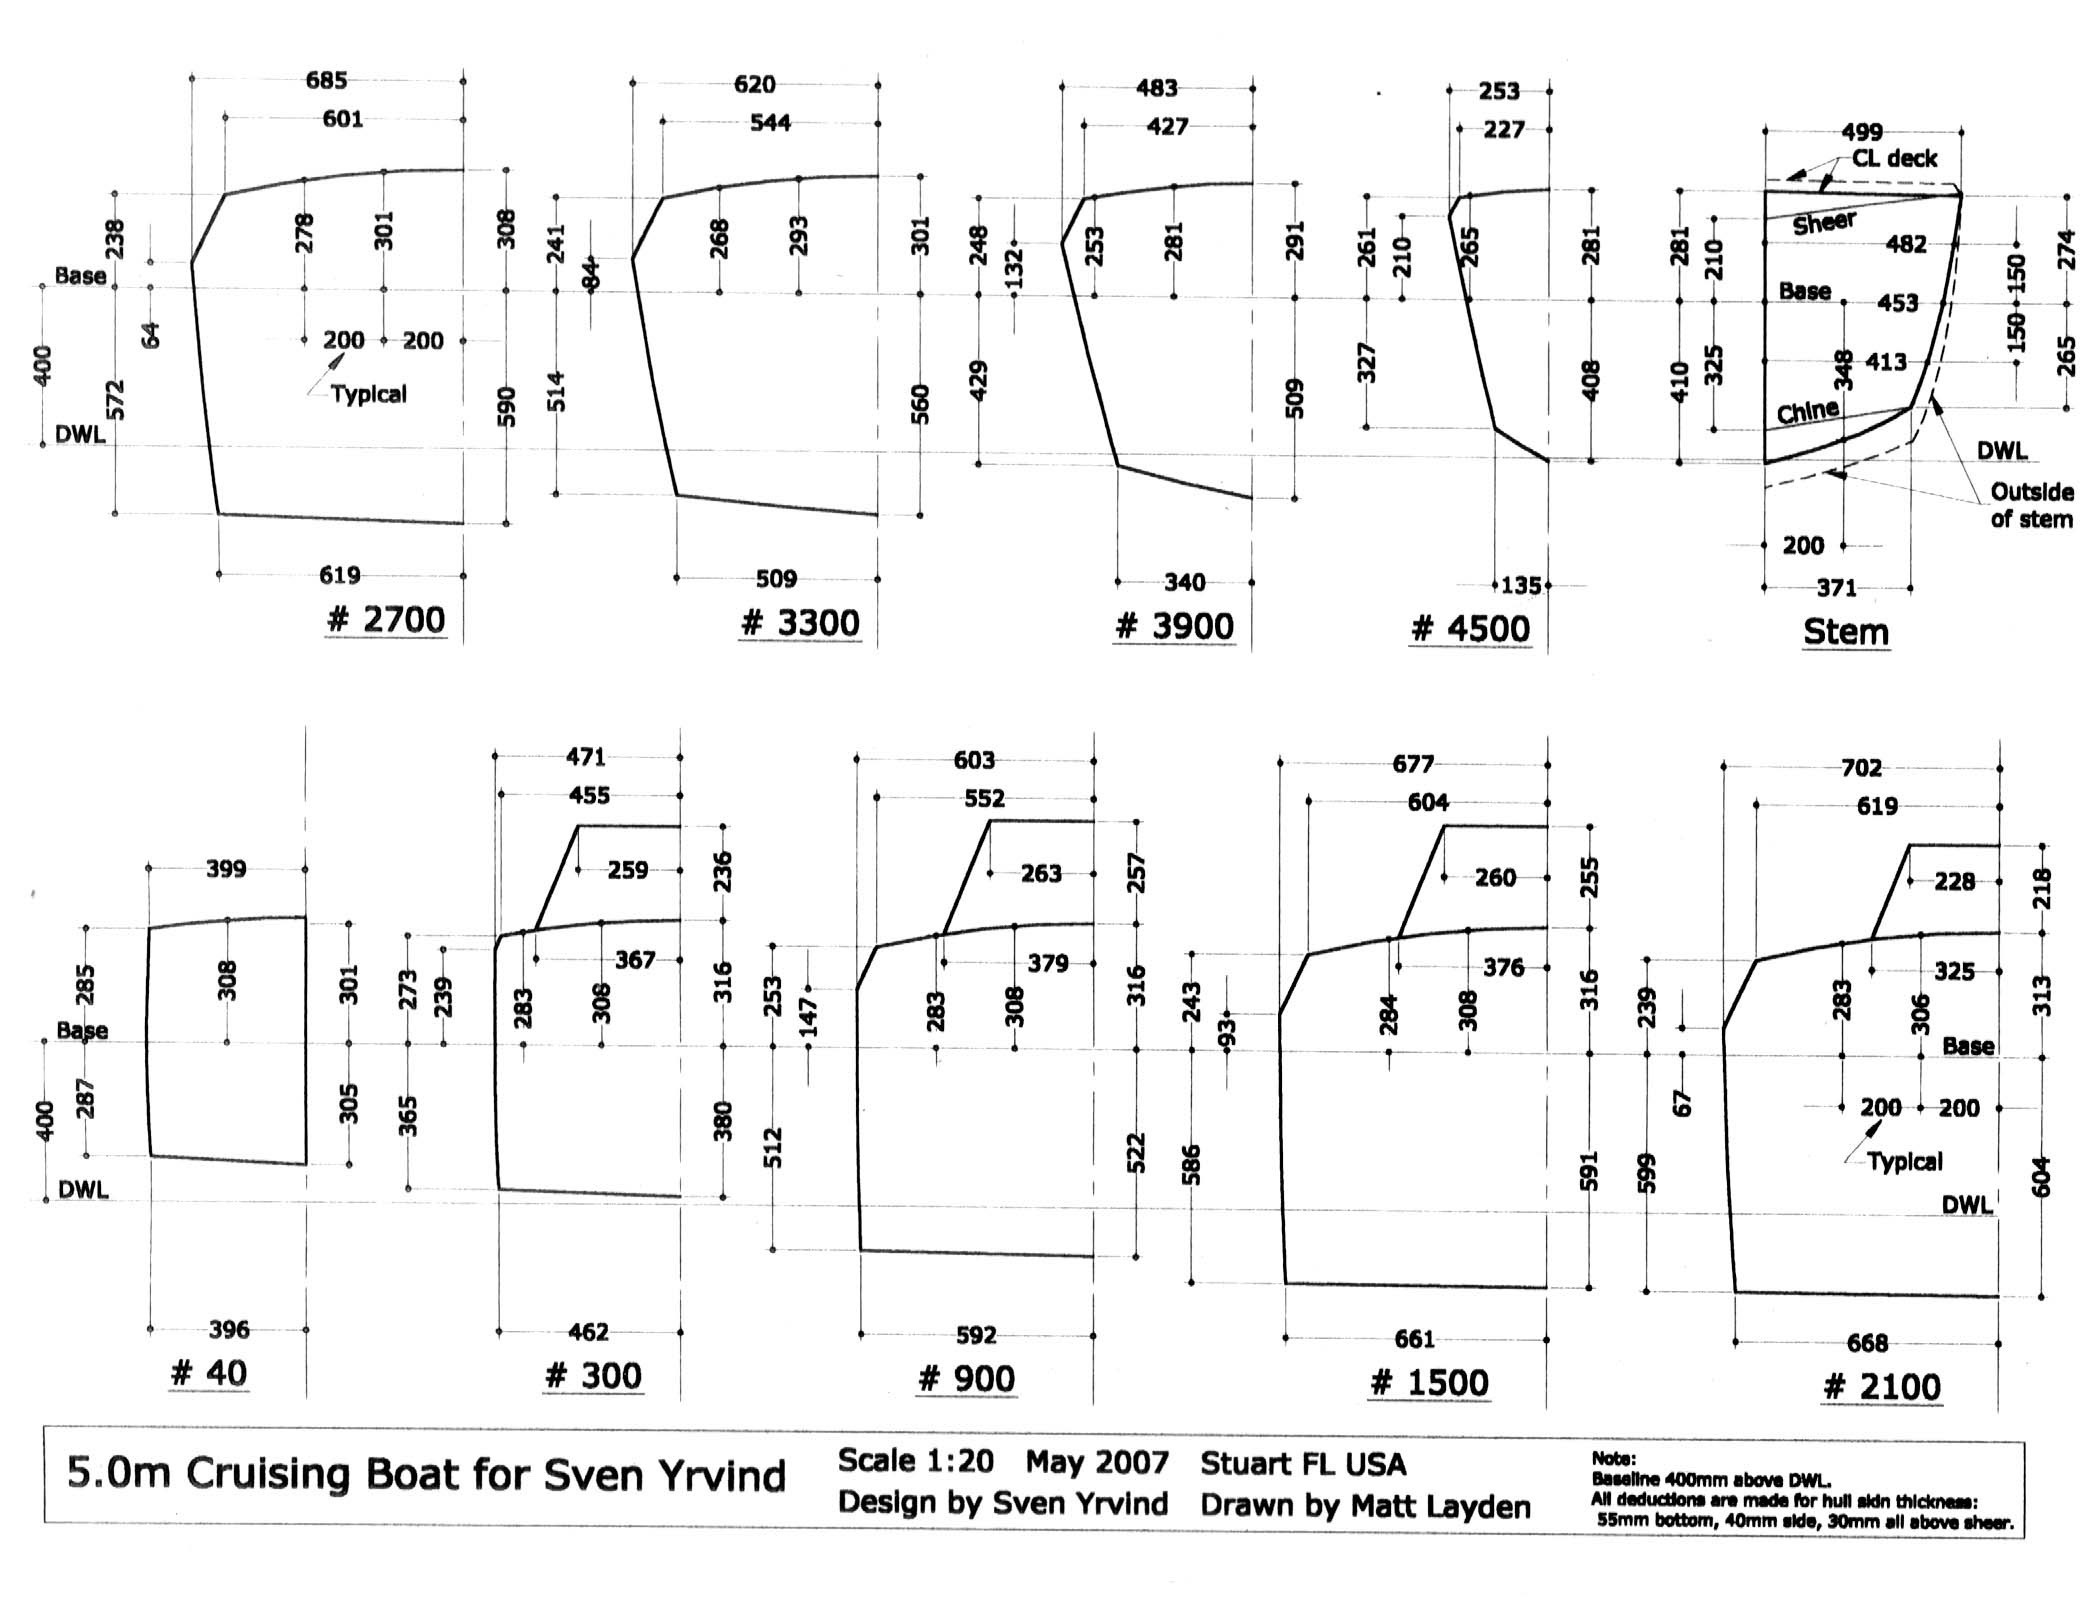
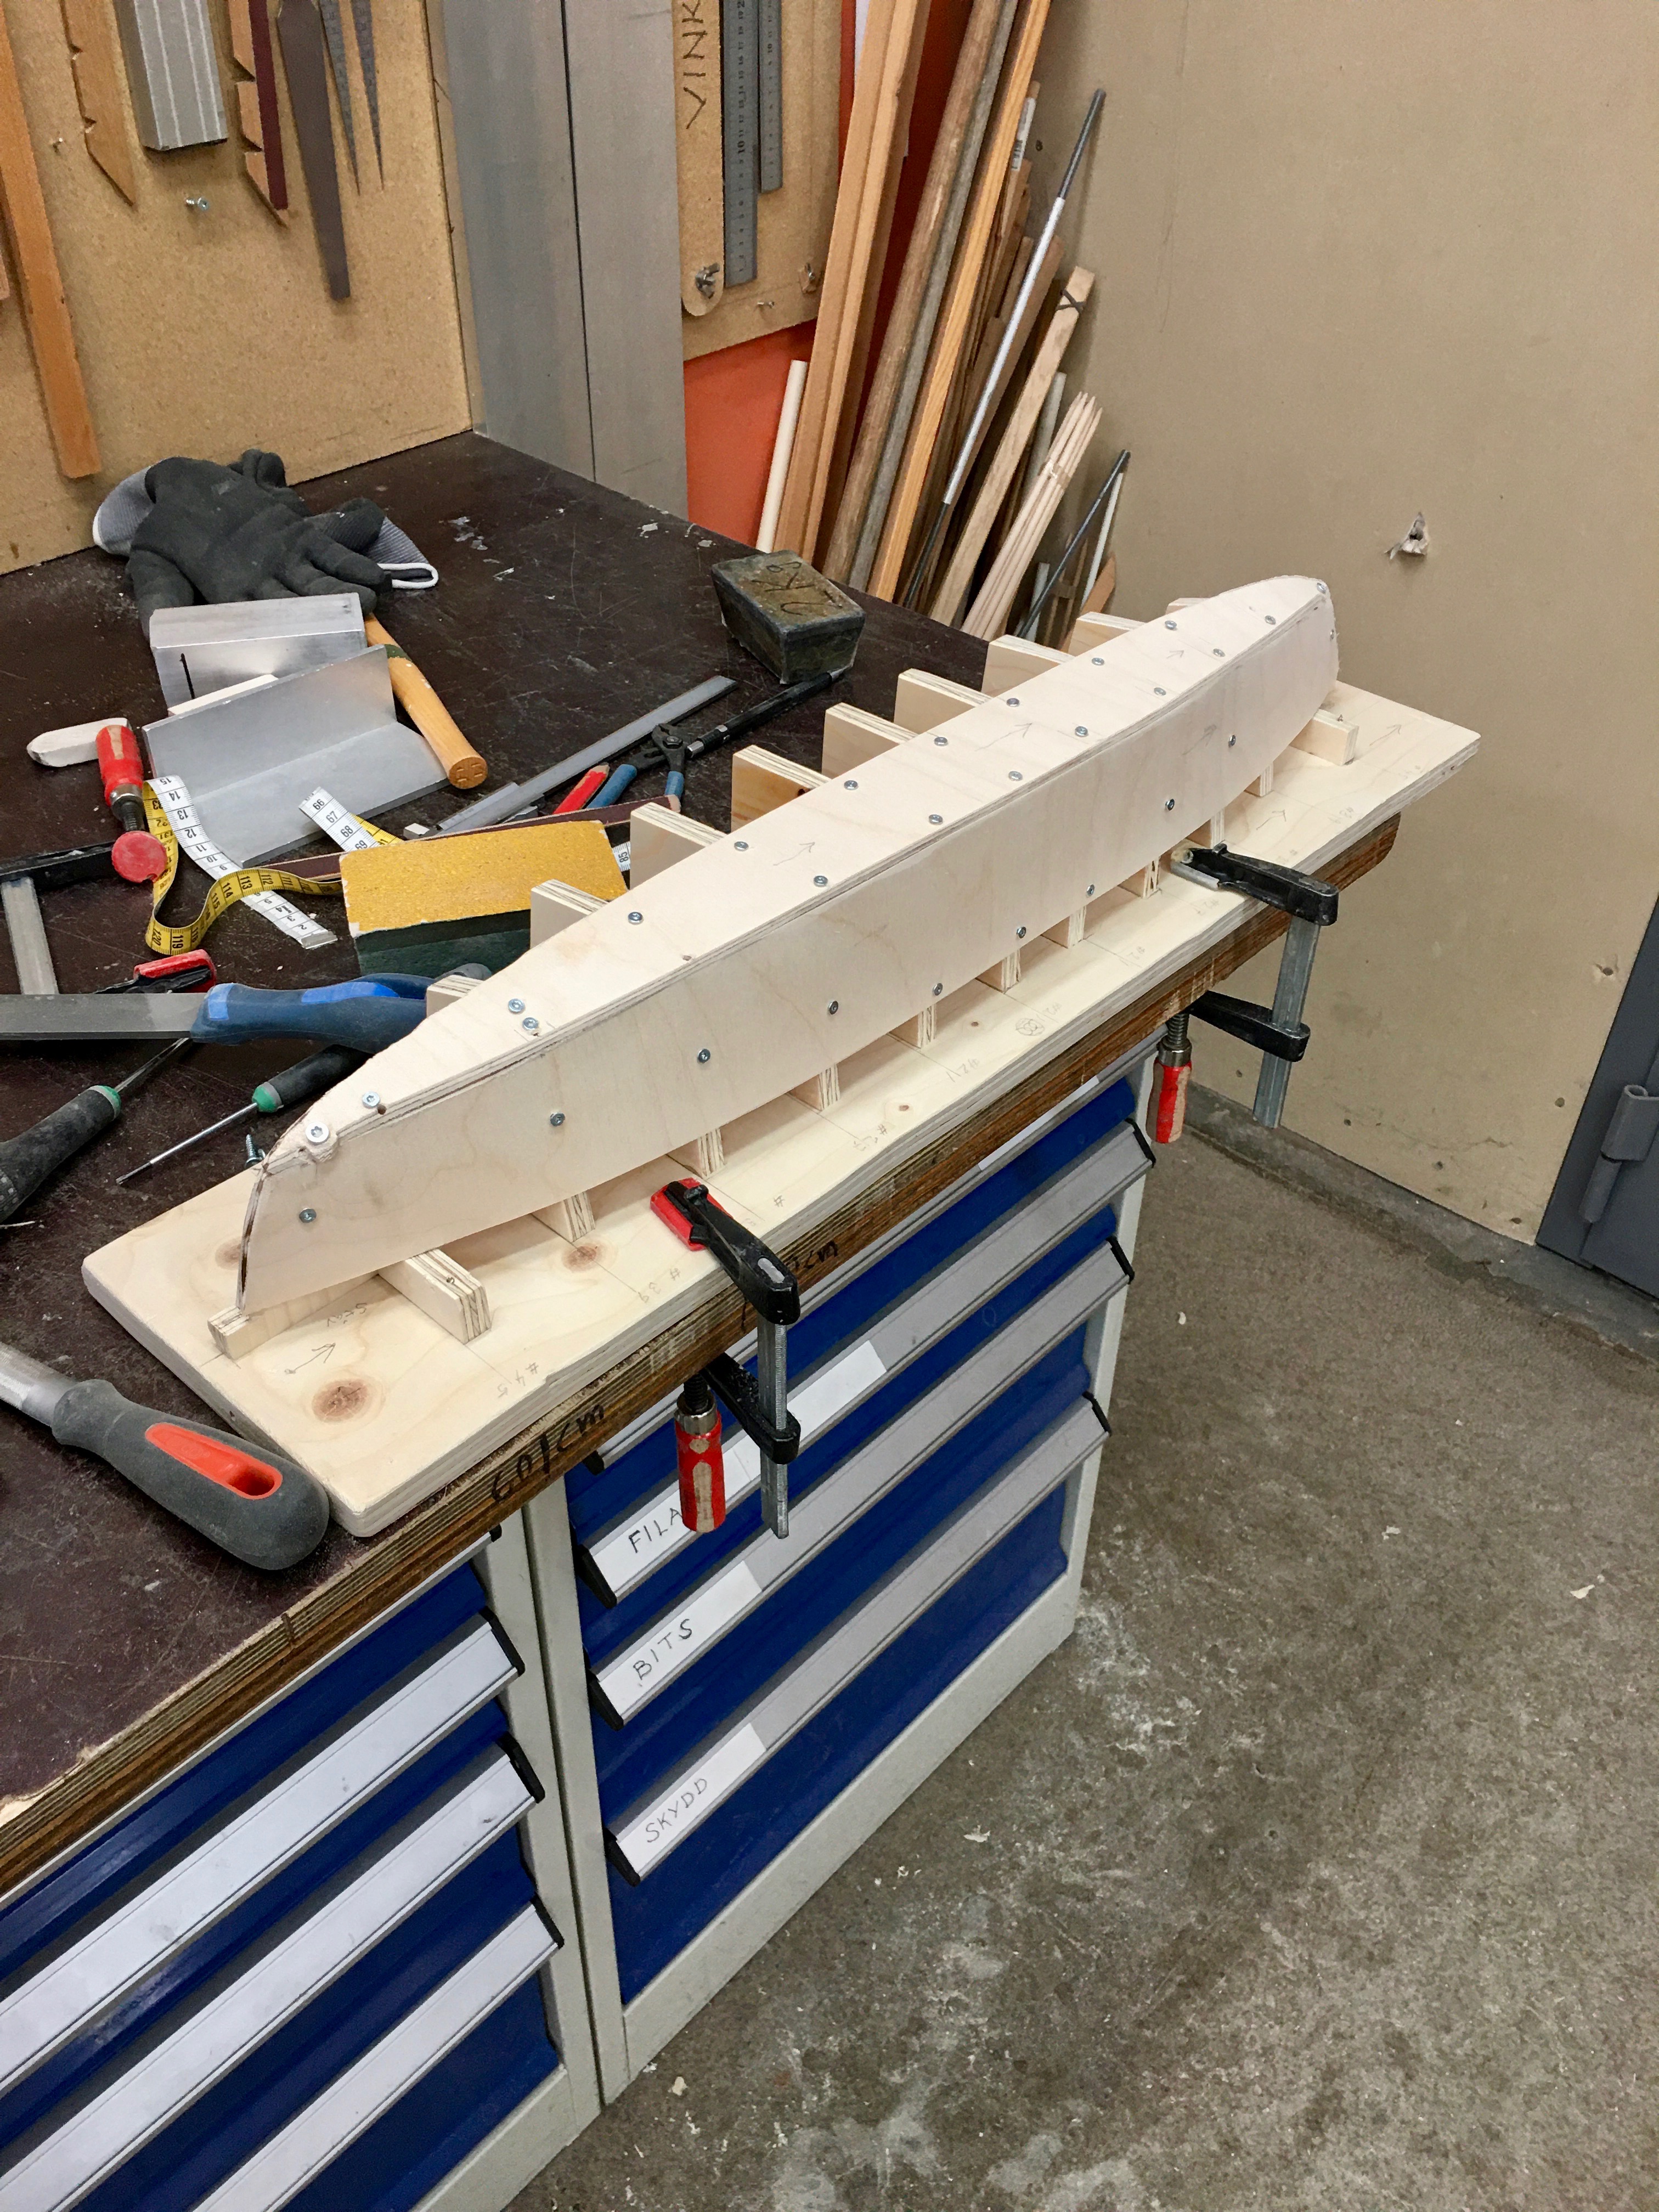
With a transformation a circle can be transformed into an airfoil
One of the transformations in On growht and form
The drawings from 2007 Matt helped me to do. The boat ended up 4.8 meter instead of 5.0 meter. I had previusly 1997 sailed a lot on Matts Paradox by myself and with Matt. I had also later sailed on Enigma.

I will use frame

Stem, 450, 390, 330, 270, 210, 210, 210, 270, 330, 390, 450, stem. Spacing them 60 centimeters. Horizontal numbers will be reduced by multiplication by 0.8 to get a narrower boat. Vertical numbers are the same for the hull. Modifiying a bit as it pleases my eye.


The molds for my chinerunner of 2008.


The molds with Divinycell core
The bow. Now there will be two such bows, one on each end.
model scale 1:10
Building model scale 1:5. In this scale I can better do the ends twisting the bottom panels with help of the horns.
Fixing the shape with help of NM-epoxy and glassfibre.

Six  beam long double ended plywood boat 7.2 X 1.2 are not common but, 1975 in New England I saw an International 110 designed 1939 – the same year I was born – by Ray Hunt. It was quite a succes and is still racing. My boat will not be a daysailer. It will have balanced lug rig and its lateral area will consists of near vertical, ballasted chinerunners complemented by a bow centerbord as on my Amphibie Bris of 4.8 long that I sailed to Newfoundland 1989. The two forward masts will be side by side as in my 2018 sail to Madeira. It was an excellent rig.

https://en.wikipedia.org/wiki/International_110

If you enjoy my site please support by a donation.

To be continued…

Regards Yrvind.

THE MOCK UP TOLD ME TO BUILD SMALLER

The mock up of Exlex the Canoe Cruiser is now on even keel and I have started mocking up the interior. When  moving about inside the boat I realised that there is more space than I need. I thuse made an inner planking reducing the inside beam by about 7 cm on each side. I also moved the bulkheads closer. This is the glory of mockup. Like a writer doing a draft. There is nothing like mowing about in three dimensional space. Therefore I will reduce the size from 7.8 X 1.3 to 7.2 X 1.2 meters about.

Below are 3 pictures.

I am standing close to the planned saloon
Me in the saloon. The bench to my left is for for and eating tools. The inner planking to reduce space can been seen behind my back and on the opposite side.
Me in the bow. The brown shape represents the centerboard case. In the middle of the boat there will be some sort of ballasted near vertical chinerunners.

To be continued…

Regards Yrvind.

HULL PLANKED

Today I fitted the last strip or plank to the mock up hull.
To celebrate I took a gulp of water from my bottle. It did not take me long to realize that I had taken the wrong bottle and that it was acetone. It was a mistake. I spit out most of it.
I do make mistakes, an other one was to use strip plank construction. Now after having worked with it for some time I do realize that it will be to much cutting up of the Divinycell and gluing. That will make the boat heavier and create bad insulation. I will go back to developed surfaces like Exlex minor. Strip planking worked well for my smaller boat 4.9 meter long and 0.96 meter beam and 3 cm Divinycell of the year 2003. The planned boat will be about 8 meter long and about 1.3 meter beam and the Divinycell 5 cm. Scale makes a difference.
Anyway yacht design is an iterating profession and the next part will be to explore the living arrangement and find out how to place centerboards masts etc. It will be  instructive.
Below are some pictures.

Al the stripes or planks in position
The water and the acetone bottle. The taste is different.
 The small boat 4.9 meter long and 0.96 meter beam. 3 cm Divinycell strip planking worked well.
Exlex Minor under construction.
The modell I used to create Exlex Minor. The lines of the planned boat will be similar but finer bow and and a double ender symmetrical fore and aft. Again I will use a moddel to get the lines.

Please! If you like my work, support it with donations.

To be continued…

Regards Yrvind.

FRIENDS VISITING

Friends been visiting 16 January 2021 bringing lead from Peter Ny and Epoxy from Nils Malmgren

Here are two videos Petter made one Captain Grahn made one. Captain Grahn and me sailed an old Abin Vega to Florida 2007 Captain was 19 at the start. We are still friends.

Video by Captain Grahn

Video by Petter Robert.

To be continued…

Regards Yrvind

MORE STRIPES

Hi Friends.

Progress has been strightforward so far but now I have reached the bilges and building speed is slowing down.

I have been clamping the stripes down and inward but for down I need longer clamps and its at a slant so they slip. I solve it by help contraptions it just getting  a bit more interesting.

Before I made 1 stripe on each side every day now its one stripe on one side a day.

Soon I be over the bilge and then speeds pick up again.

Below a picture.

To be continued…

Regards Yrvind

SCARFING PLYWOOD

Hi friends.

Here is a video showing me scrafing 5 cm strips of 2.4 meter long plywood.

I do it on my table saw. I use a piece of wood to get the desired glue angle. After some initial trials I found the way.

8 stripes build 5 cm of the planking. So far I can do the boat round in one day. In 5 days its 25 cm high.

Below one picture. Click once or twice to enlarge.

The table saw used for scarfing behind Exlex to the right of the green bandsaw. A pile of stripes rest on the jig redy to be used for progress

To be continued…

Regards Yrvind

A BEGINNING

I have now two stripes of 5 cm planking all around Exlex the Canoe Cruiser. The second was a bit more easy as I had the first one as support. Also I had learnt a bit how to handle the pieces. The plywood is 2.4 meters long hence a lot of scarfing, 3 on each stripe on each side. 12 scarfing so far, but I am learning. It goes better and better.

Below a photo, click once or twice to enlarge.

To be continued…

Regards Yrvind

BENDING 15 MM BIRCH PLYWOOD

Hi Friends.

Today with the help of Peter we cut 2 sheets of 15 mm birch plywood into 5 cm strips. 6 cm was the original idea. I cut one 6 cm strip with the jigsaw to test the bending. It worked and I cold have bent it more with some force but take it easy. Therefore 5 cm was decided. It was easier to twist and less angle to twist.

Not a good idea to glue the planking to the molds. Previusly I put tape on the frames to isolate from the glue. Today I split PVC hose. That will also be kinder to the real composite boat so I thougt I might as well test it now on the mock up.

Below one picture.

The photo shows one 5 cm strip of 15 mm birch plywood temporarily attached with clamps. Also a split PVC-hose on the stern to insulate from glue. On top of the molds the 2 sheets of plywood cut into 5 cm strips

To be continued…

Regards Yrvind

THE JIG DONE

Today I completed the jig.

Paradoxically, its seams that the boat going to give me lots of space at the sme time it do not take up very much space in my workshop. The is plenty of space for me to do good work.

I am very happy with the lines so far.

Now I am going to clean the workshop and sweep up the sawdust before cutting up the 15 mm birch plywood into 6 cm stripes.

Below are two pictures. Click once or twice to enlarge.

And one without me.

I am going to try to get a phone that has a camera with a wide angle lens that better can show my new boat that is longer.

To be continued…

Regards Yrvind

PROGRESS ON THE HULL JIG

Hi friends

There is good progress on the hull jig.

Half of the molds are now on the strongback and me I think it looks fine.

Below are some pictures, click once or twice to enlarge.

A tiny string helps me to center the molds left and right.
The molds one side
The molds the other side. The hull will be symmetrical fore and aft. I will put the rudder on this side for no special reason than that previus boats had aft this side. The lines seams to be sweet.

Also Sailing la Vagabonde have published a video interview with me done in the Azores. We also spent some time together in Porto Santo. There is many comments.

To be continued…

Regards Yrvind.