BACK ONE STEP

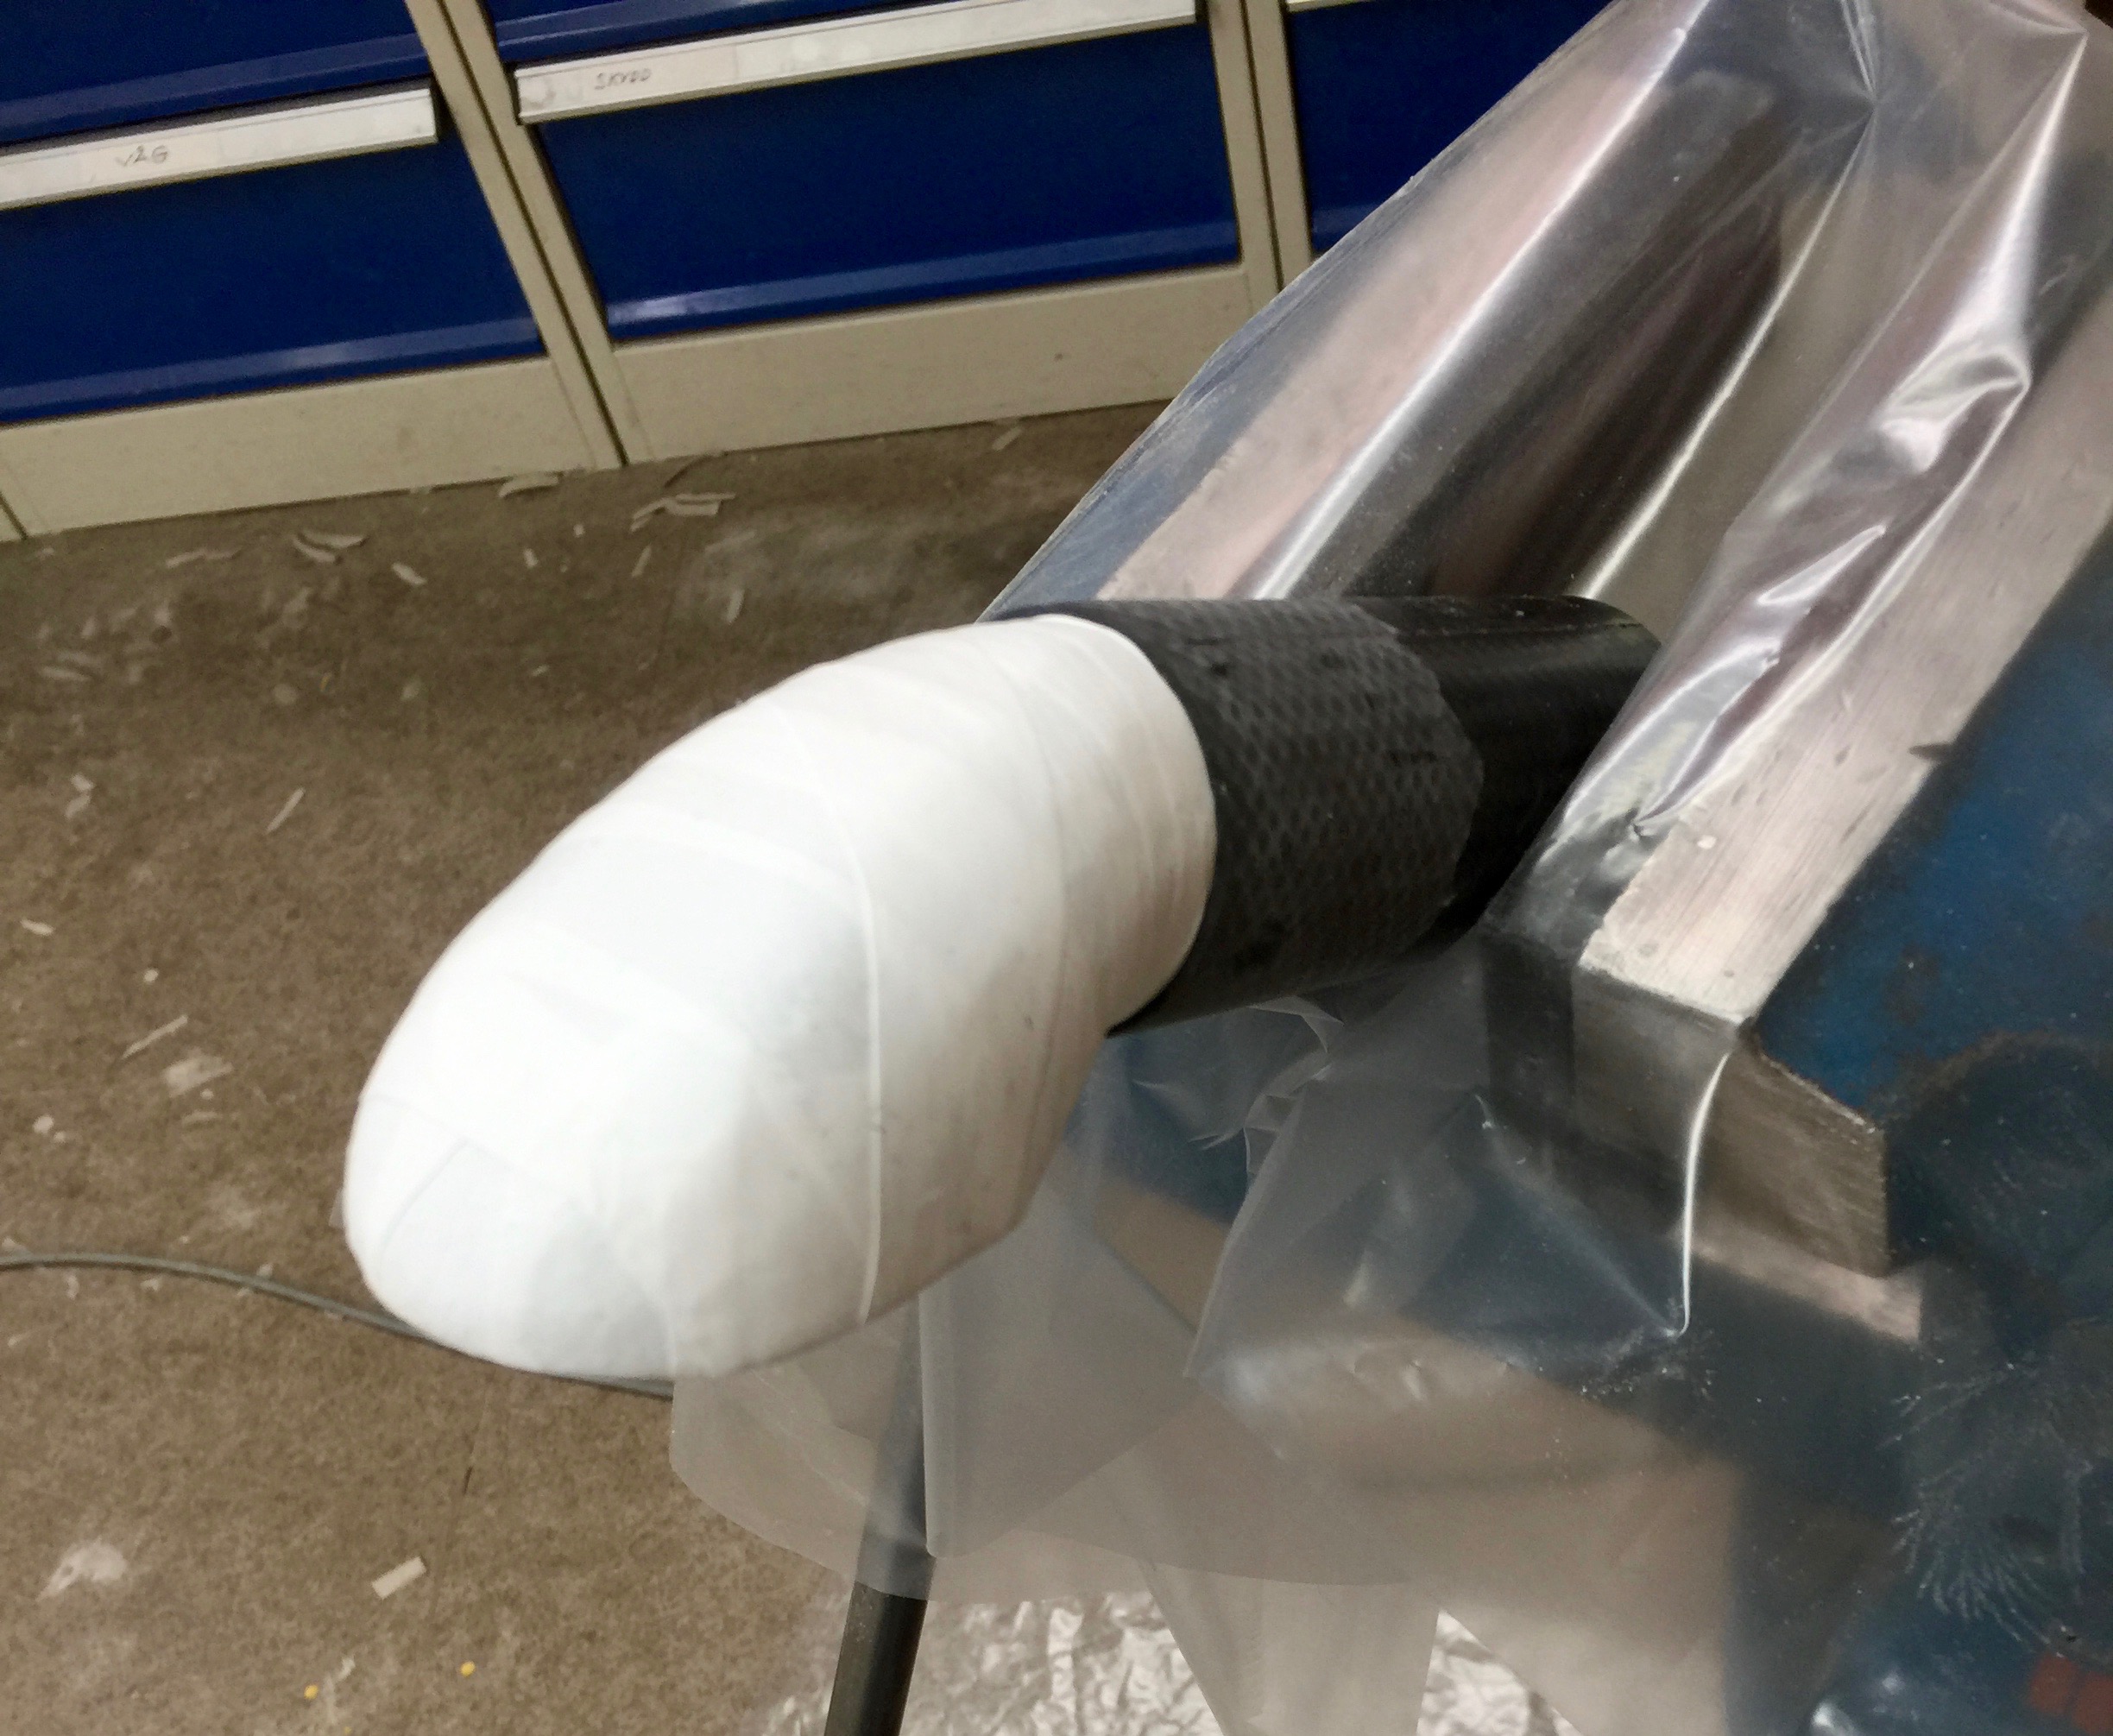
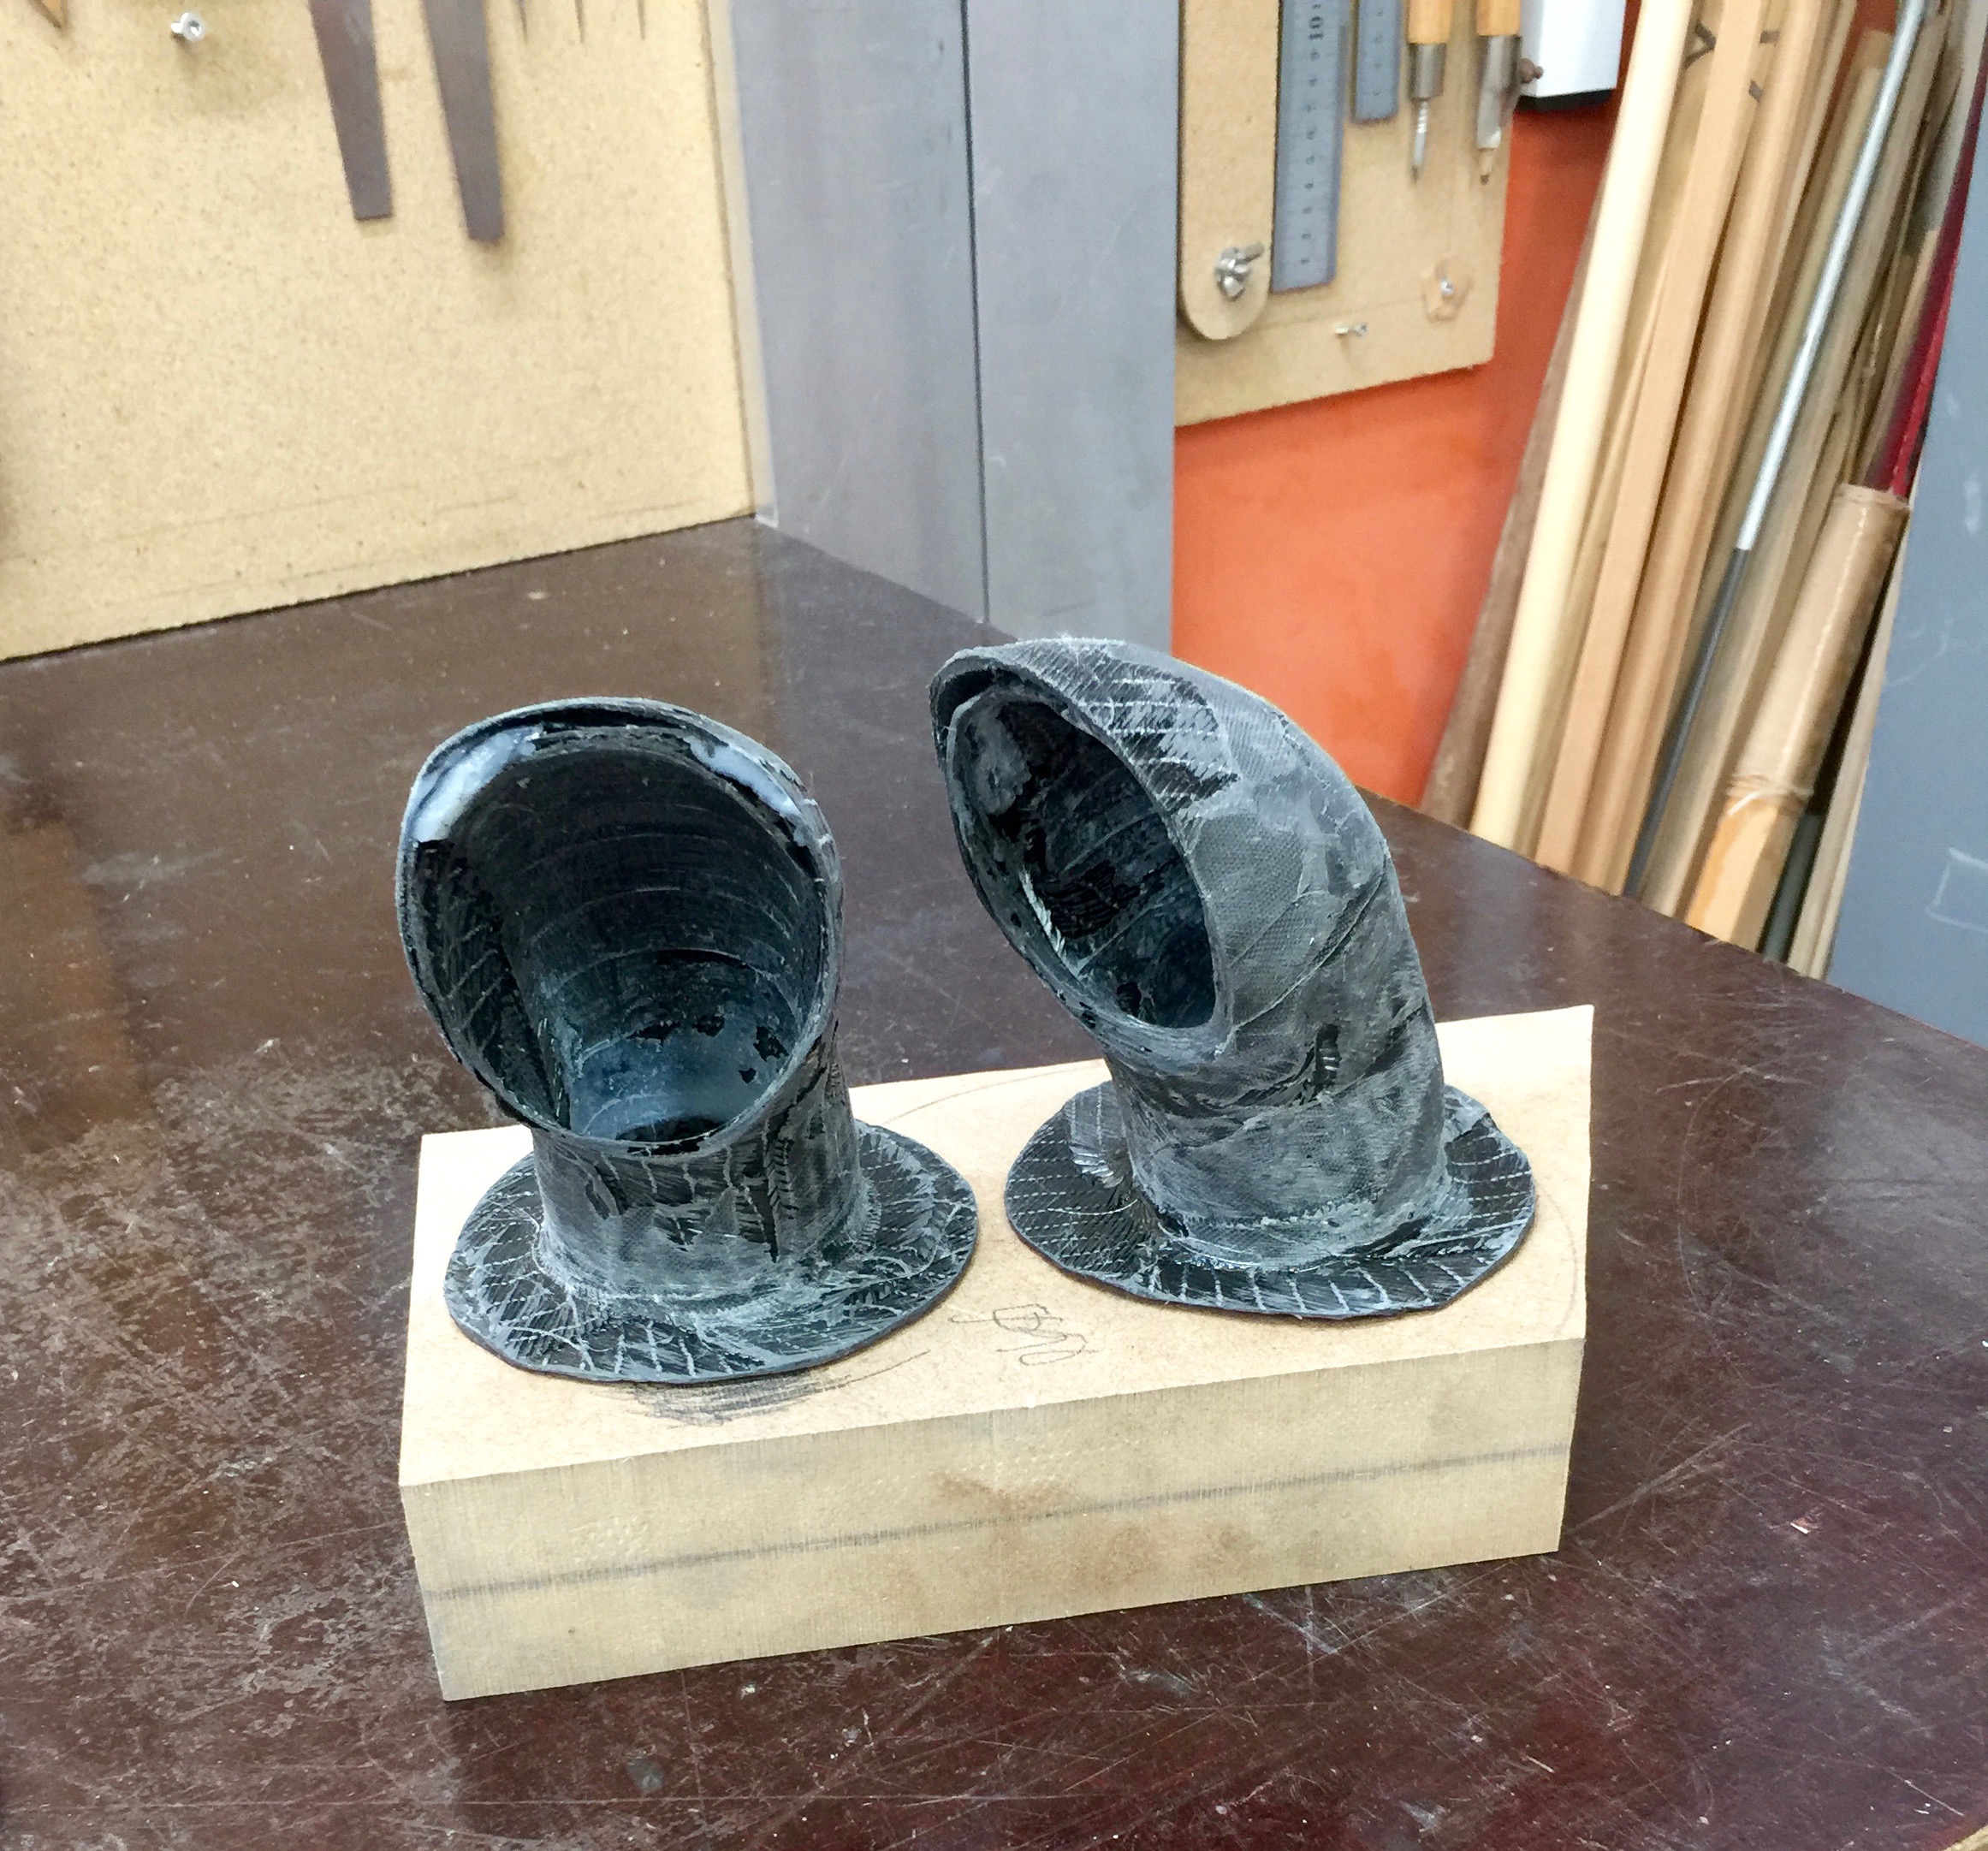
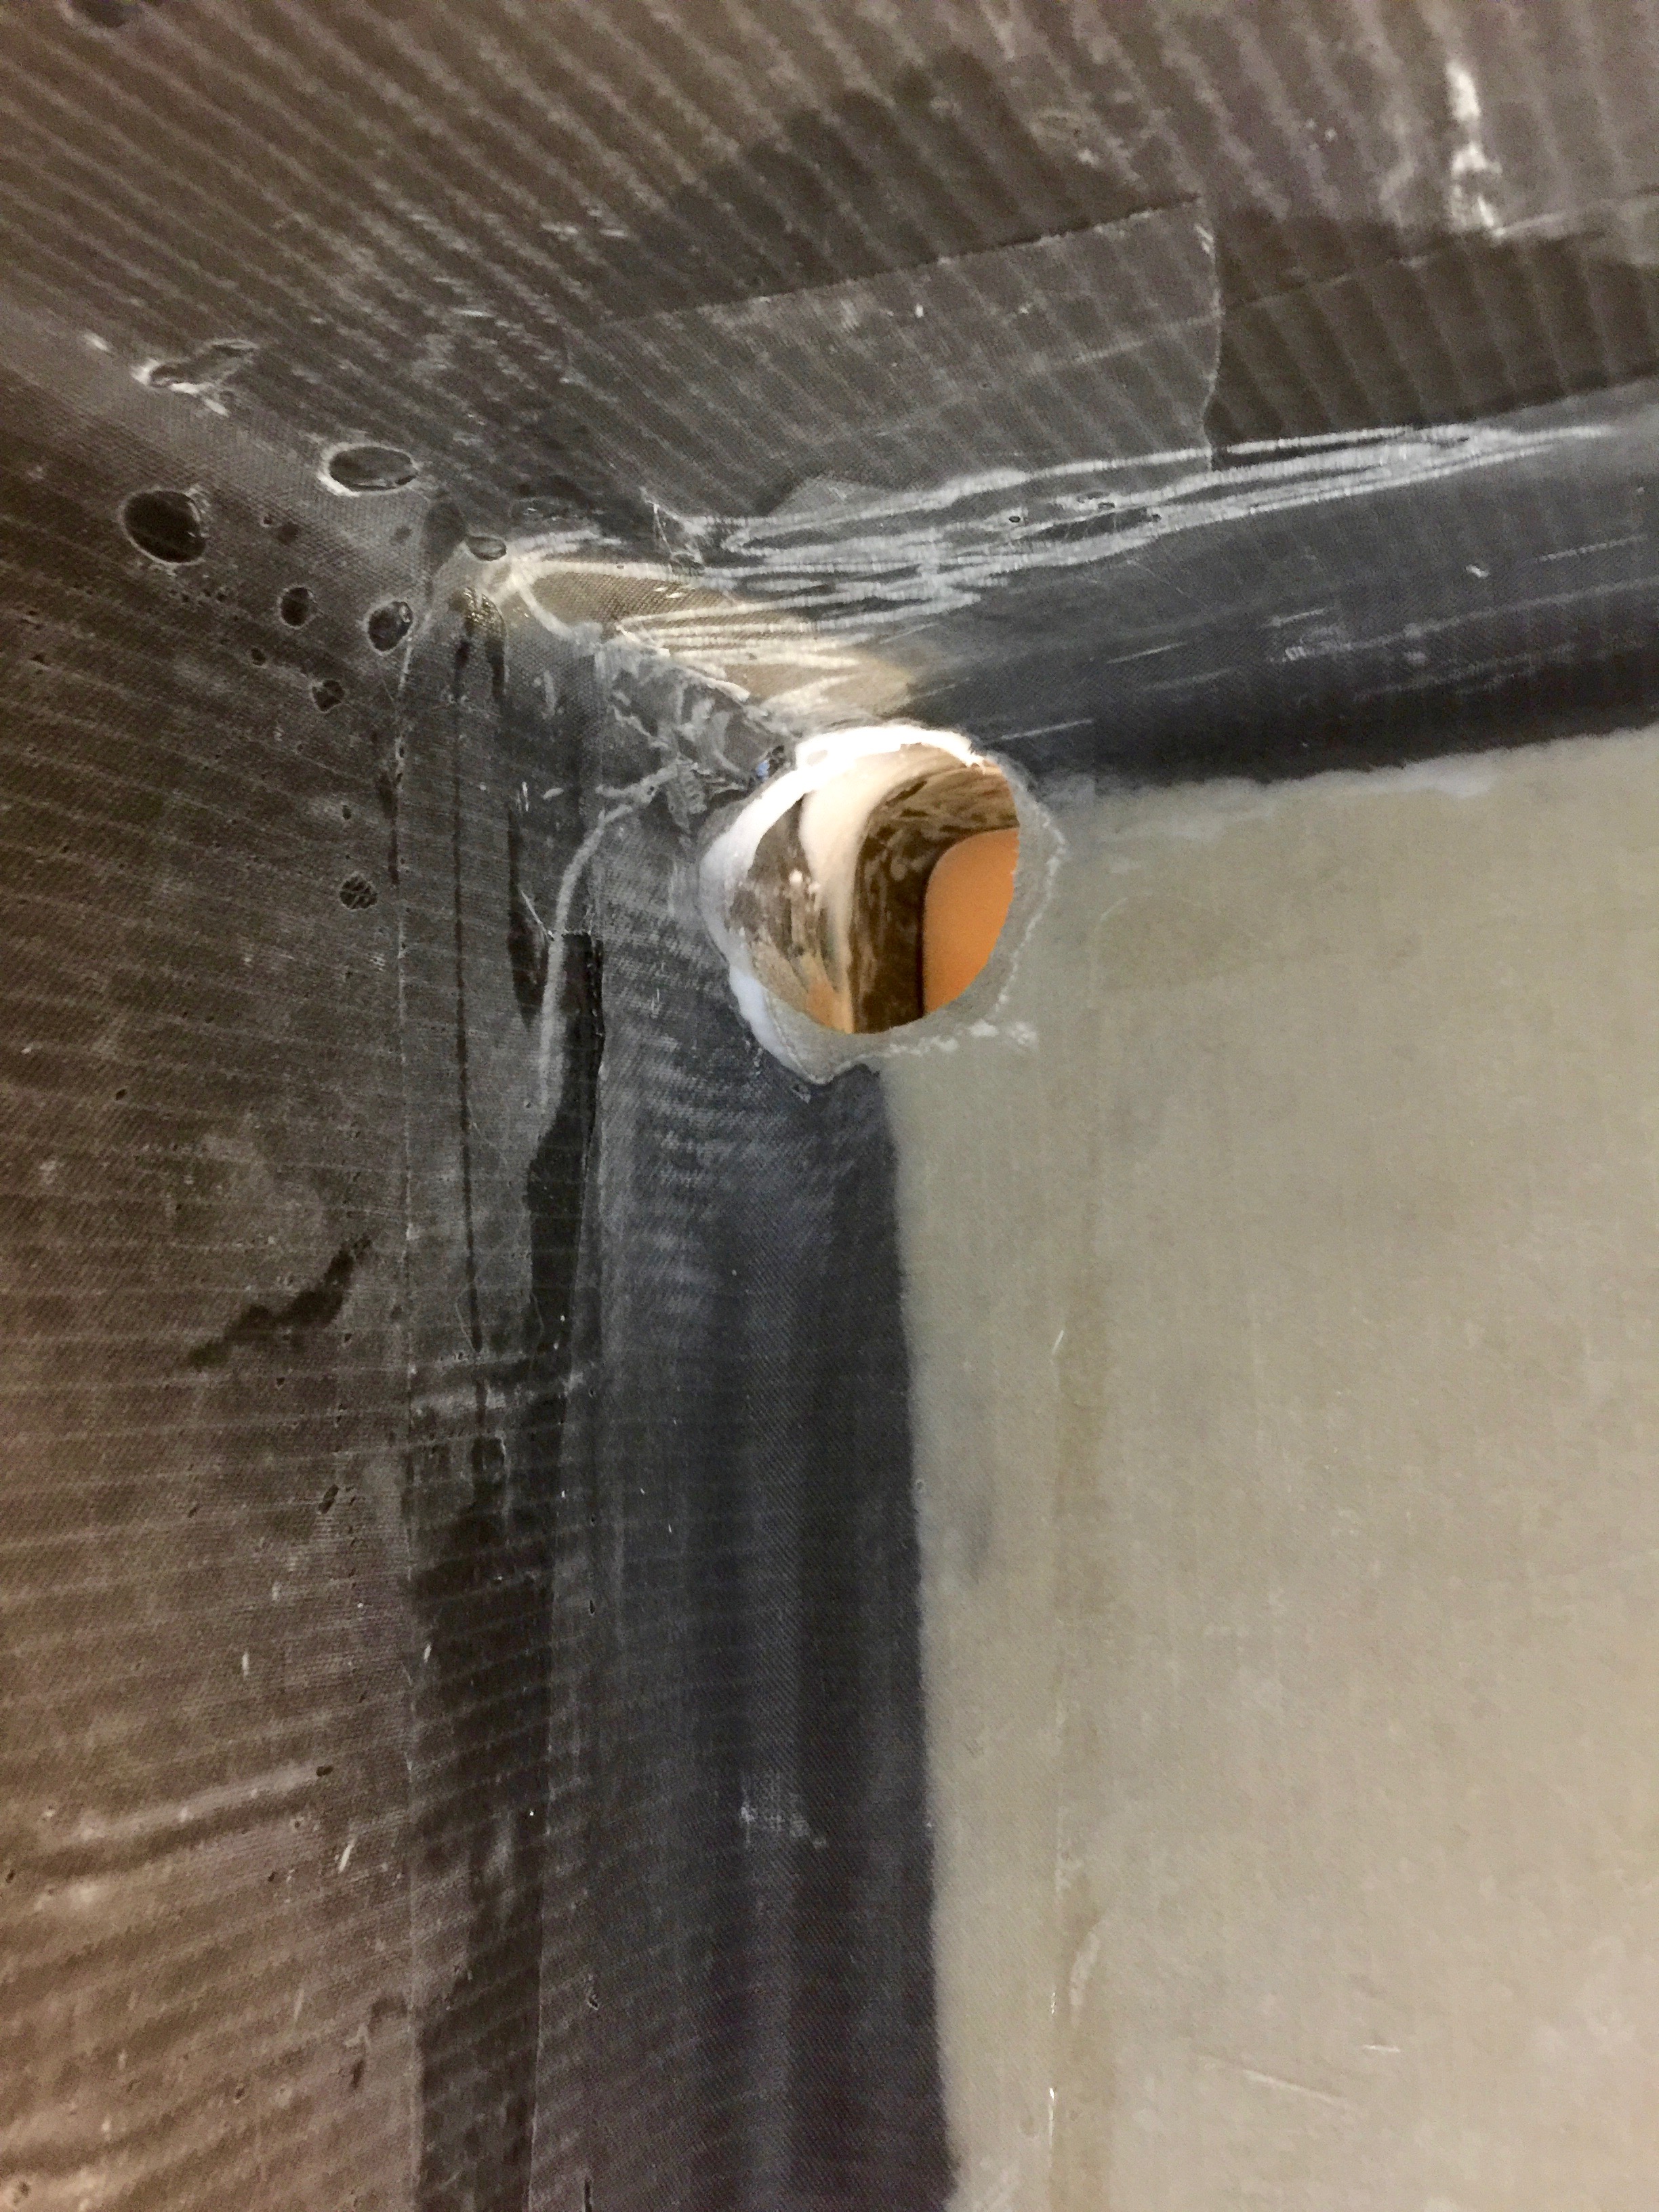
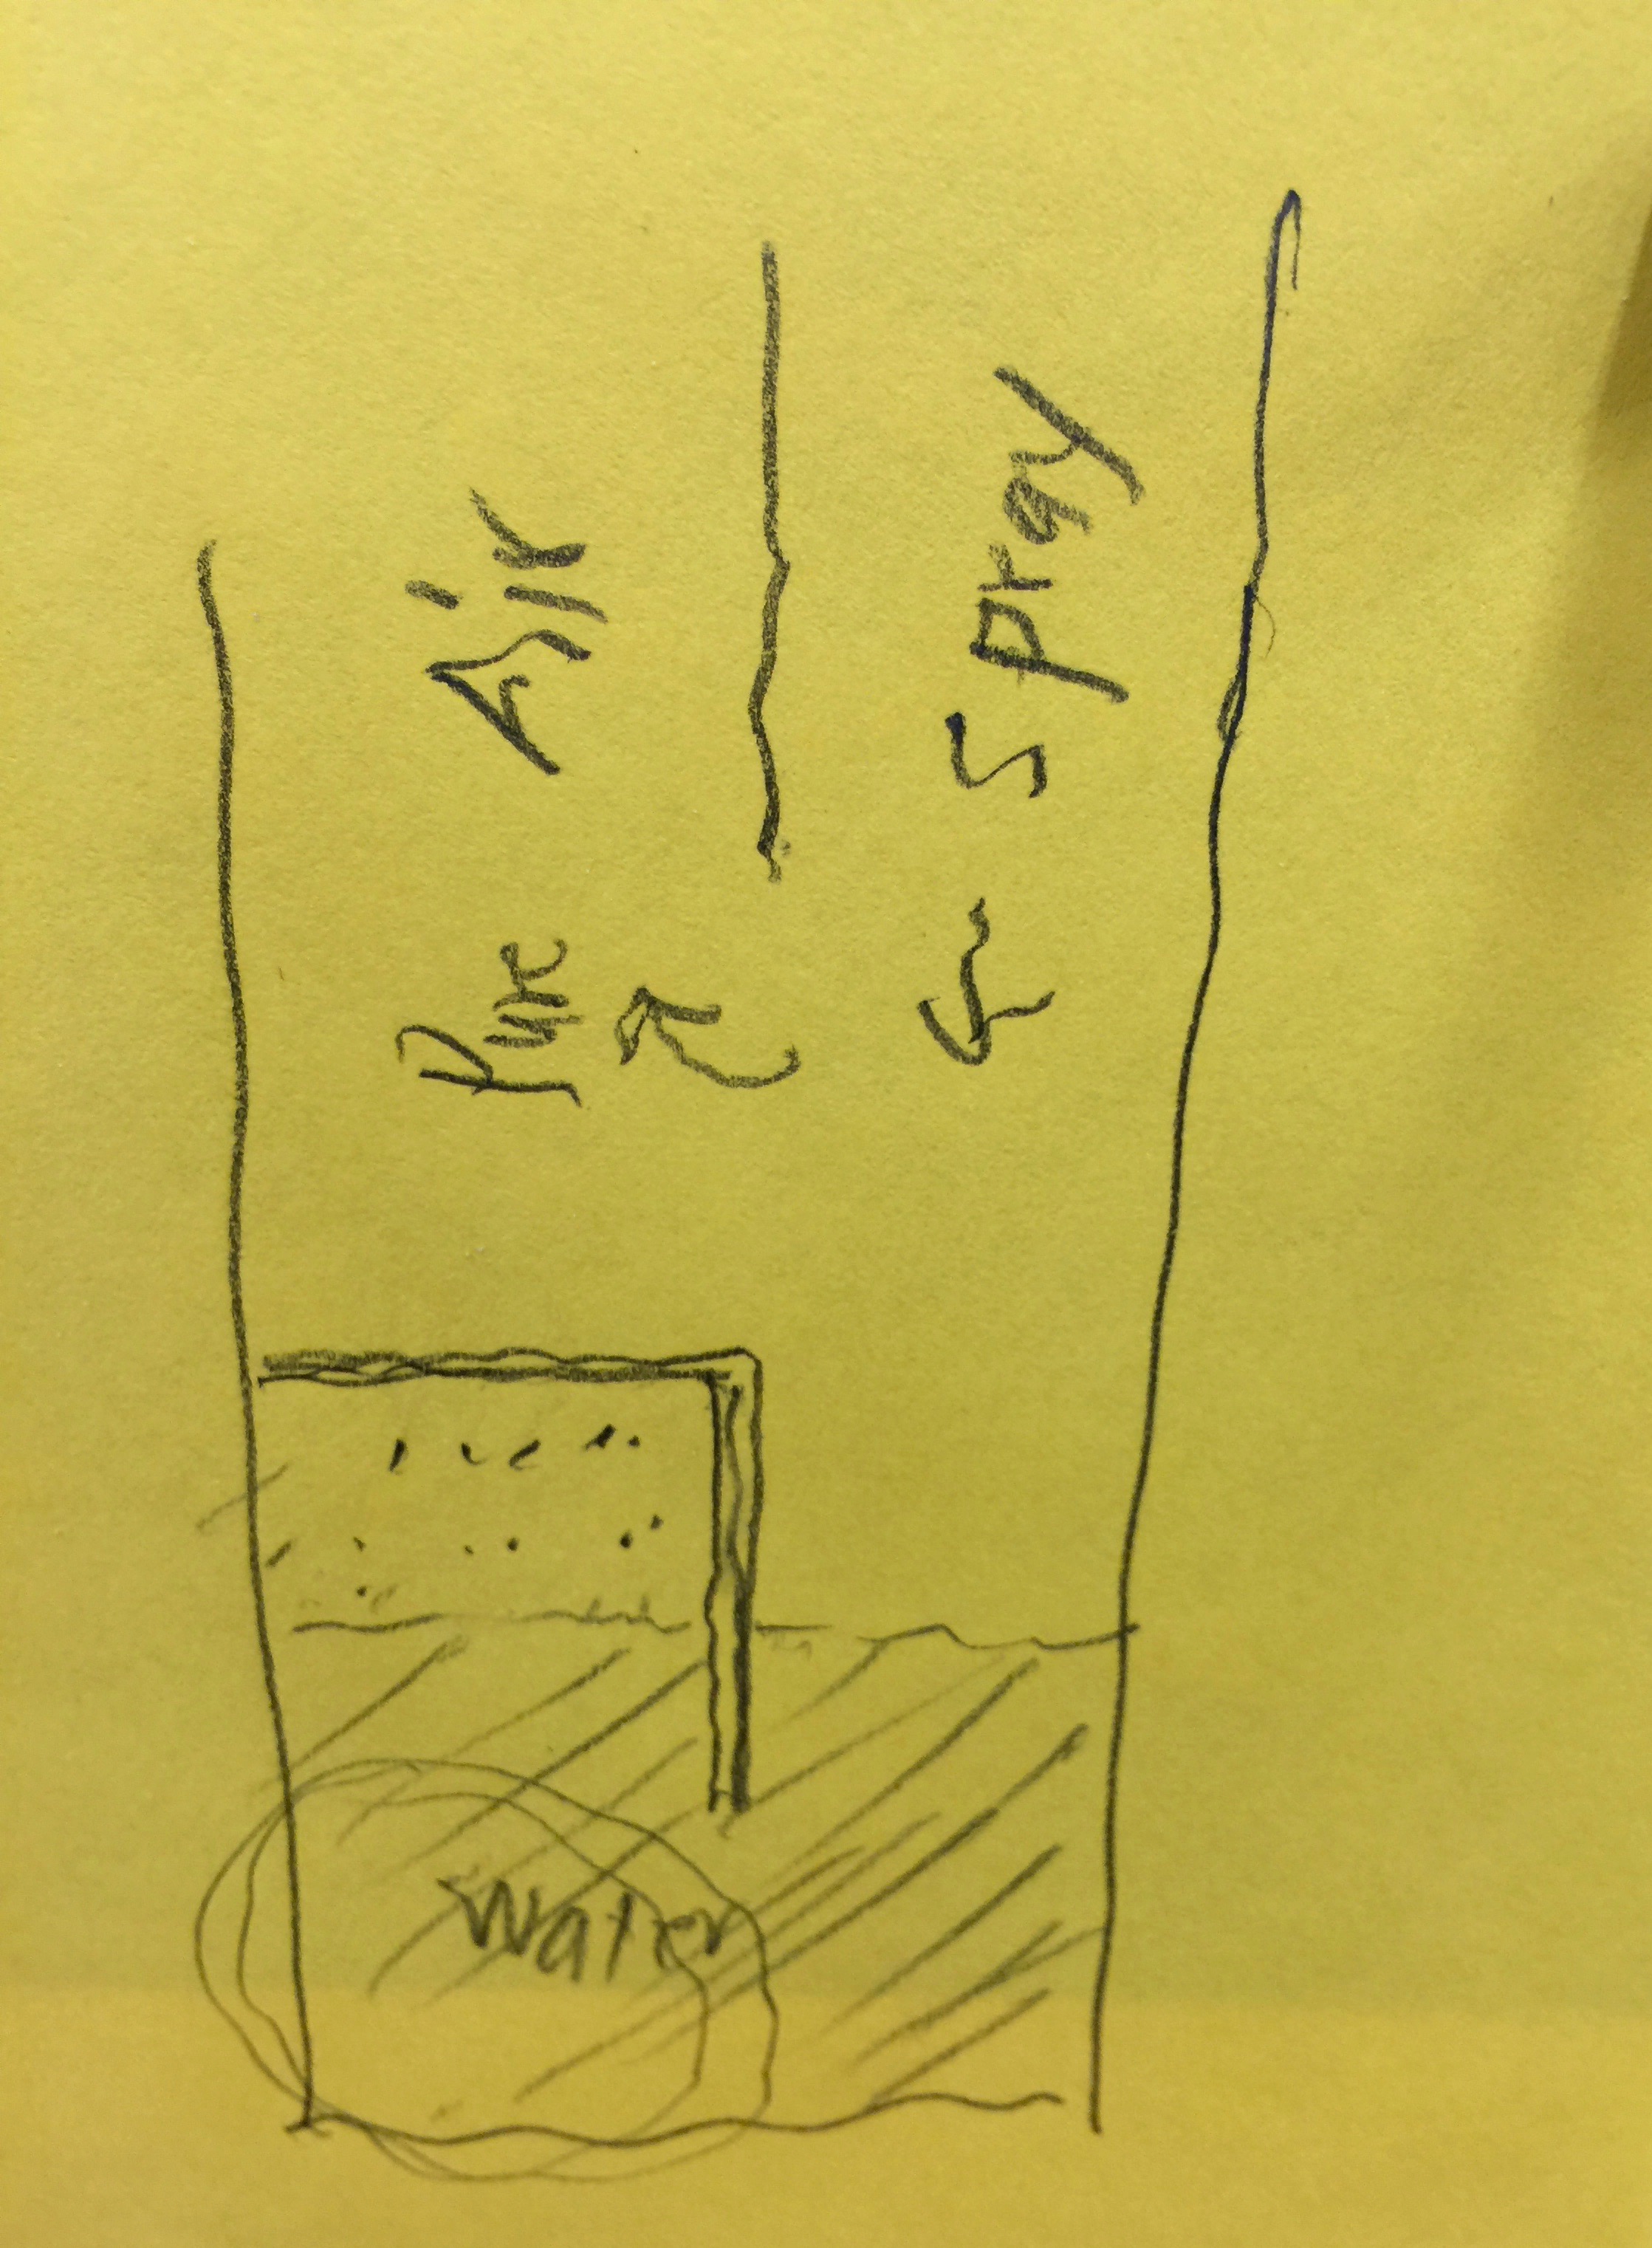
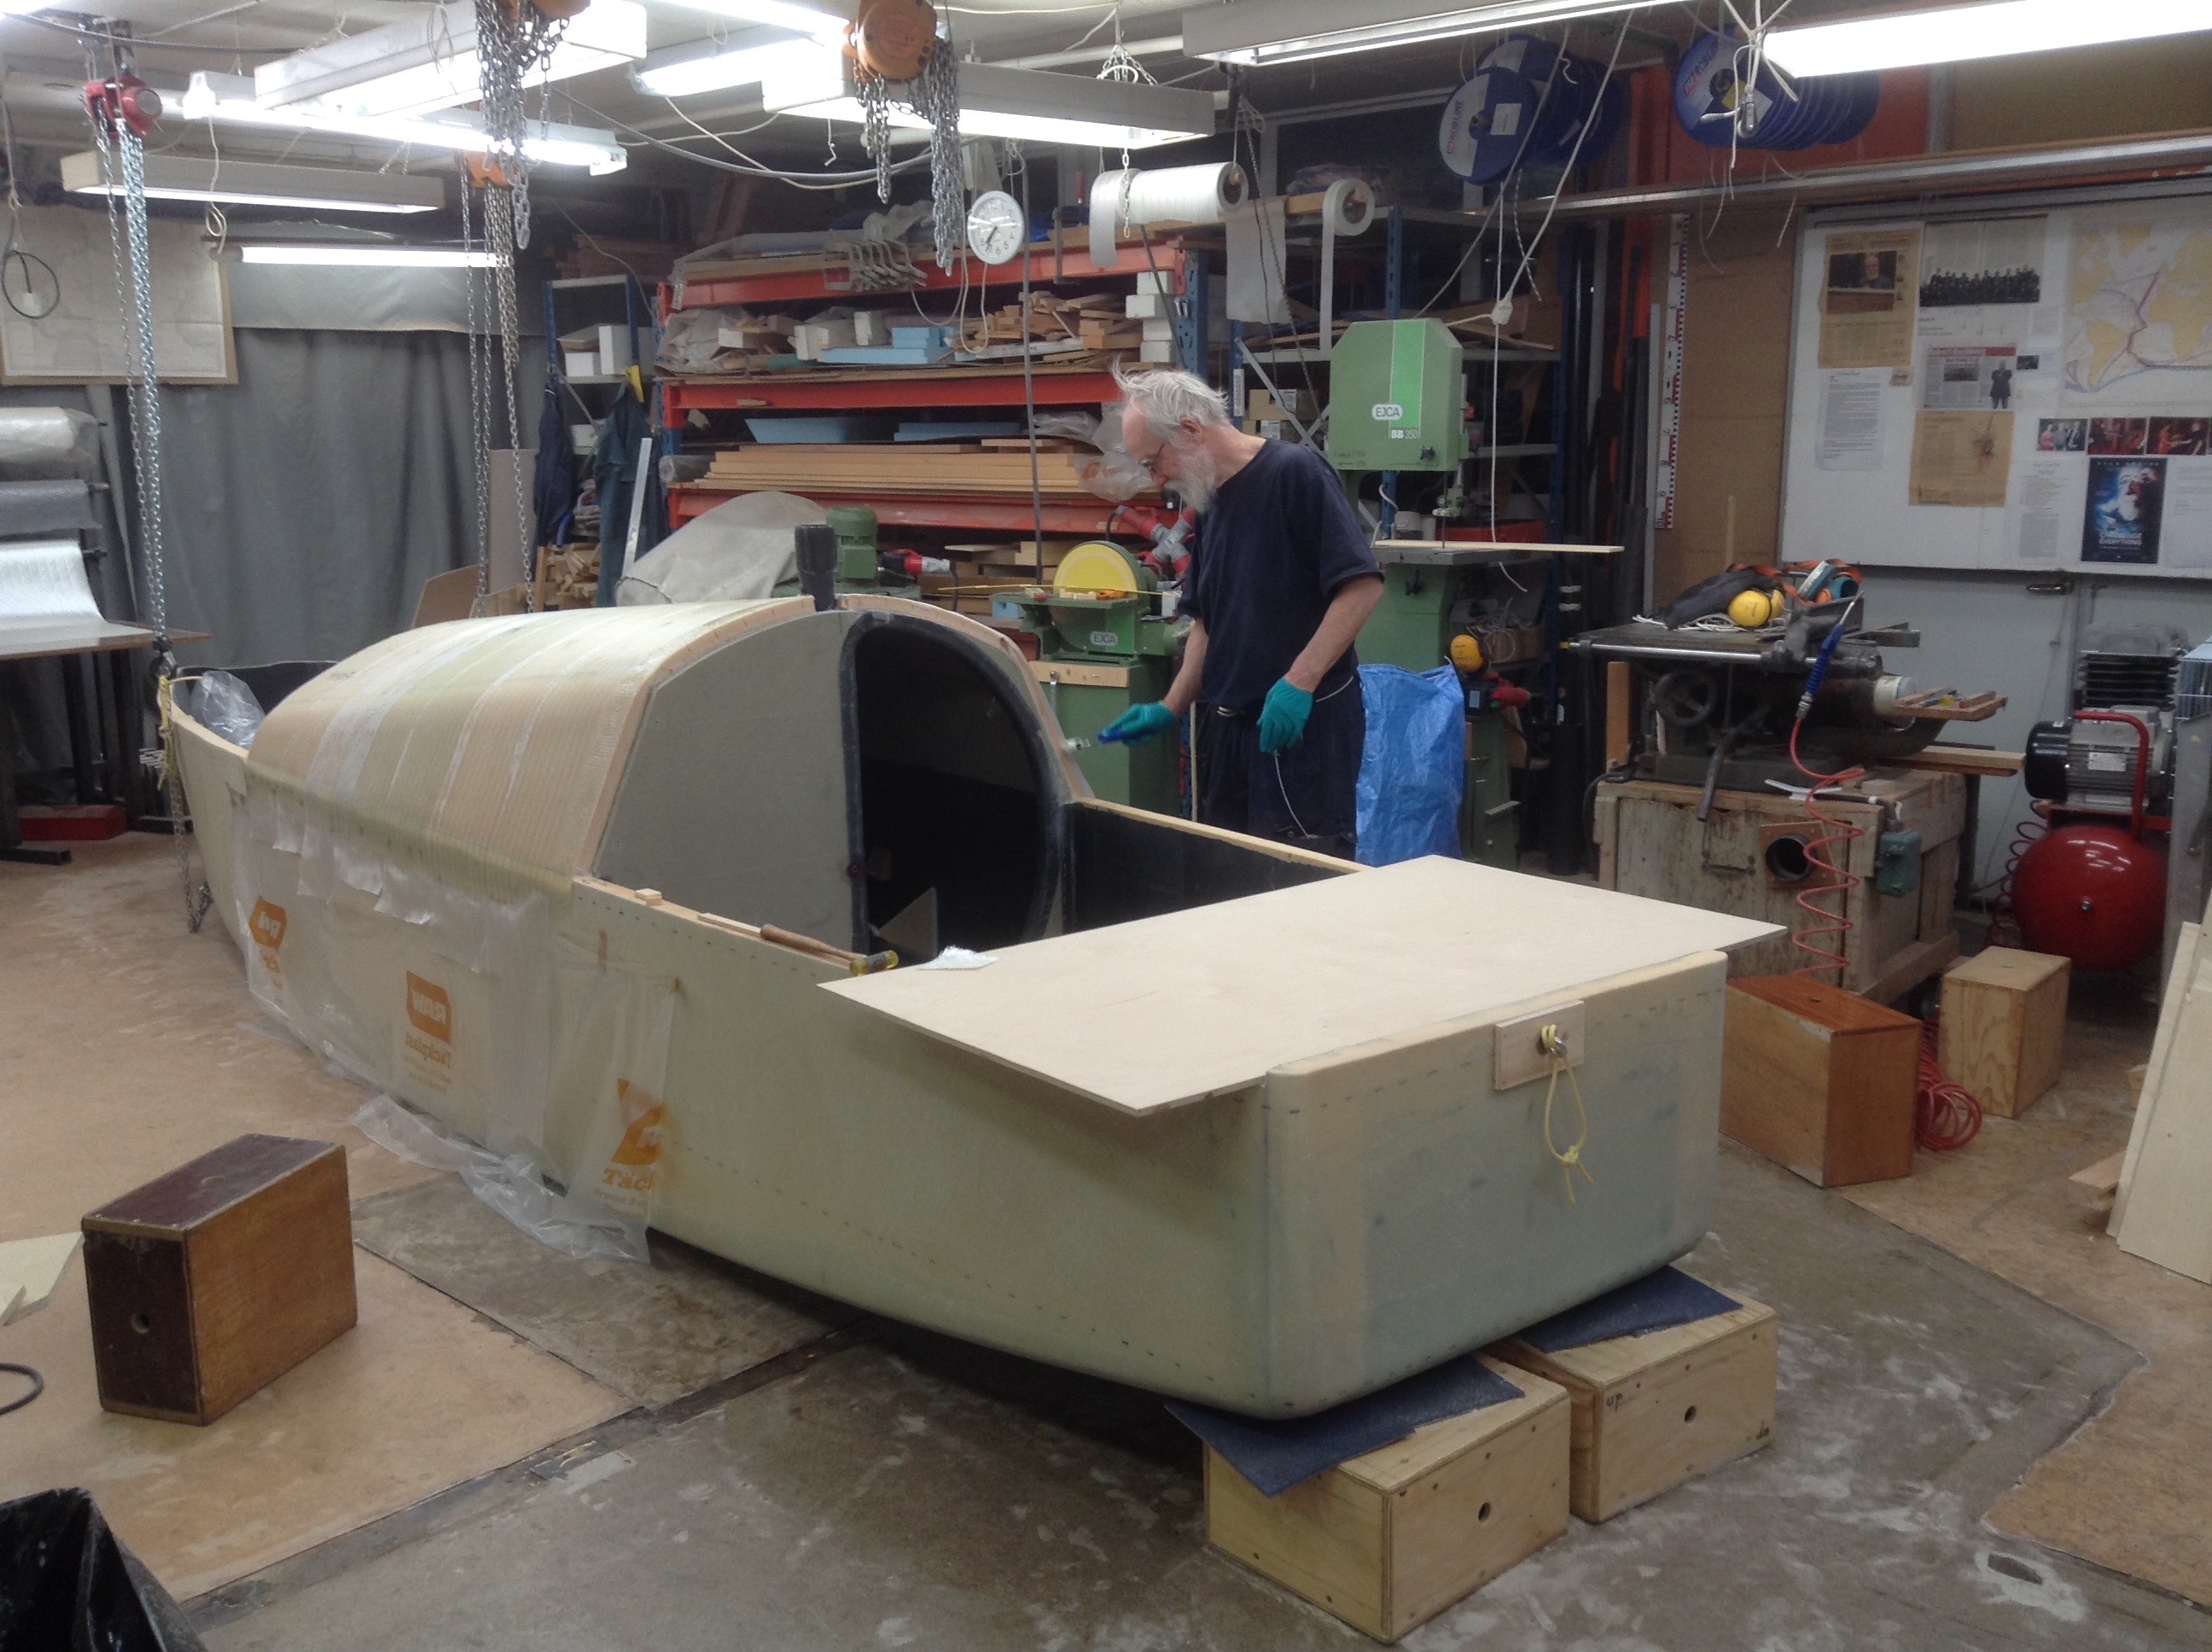
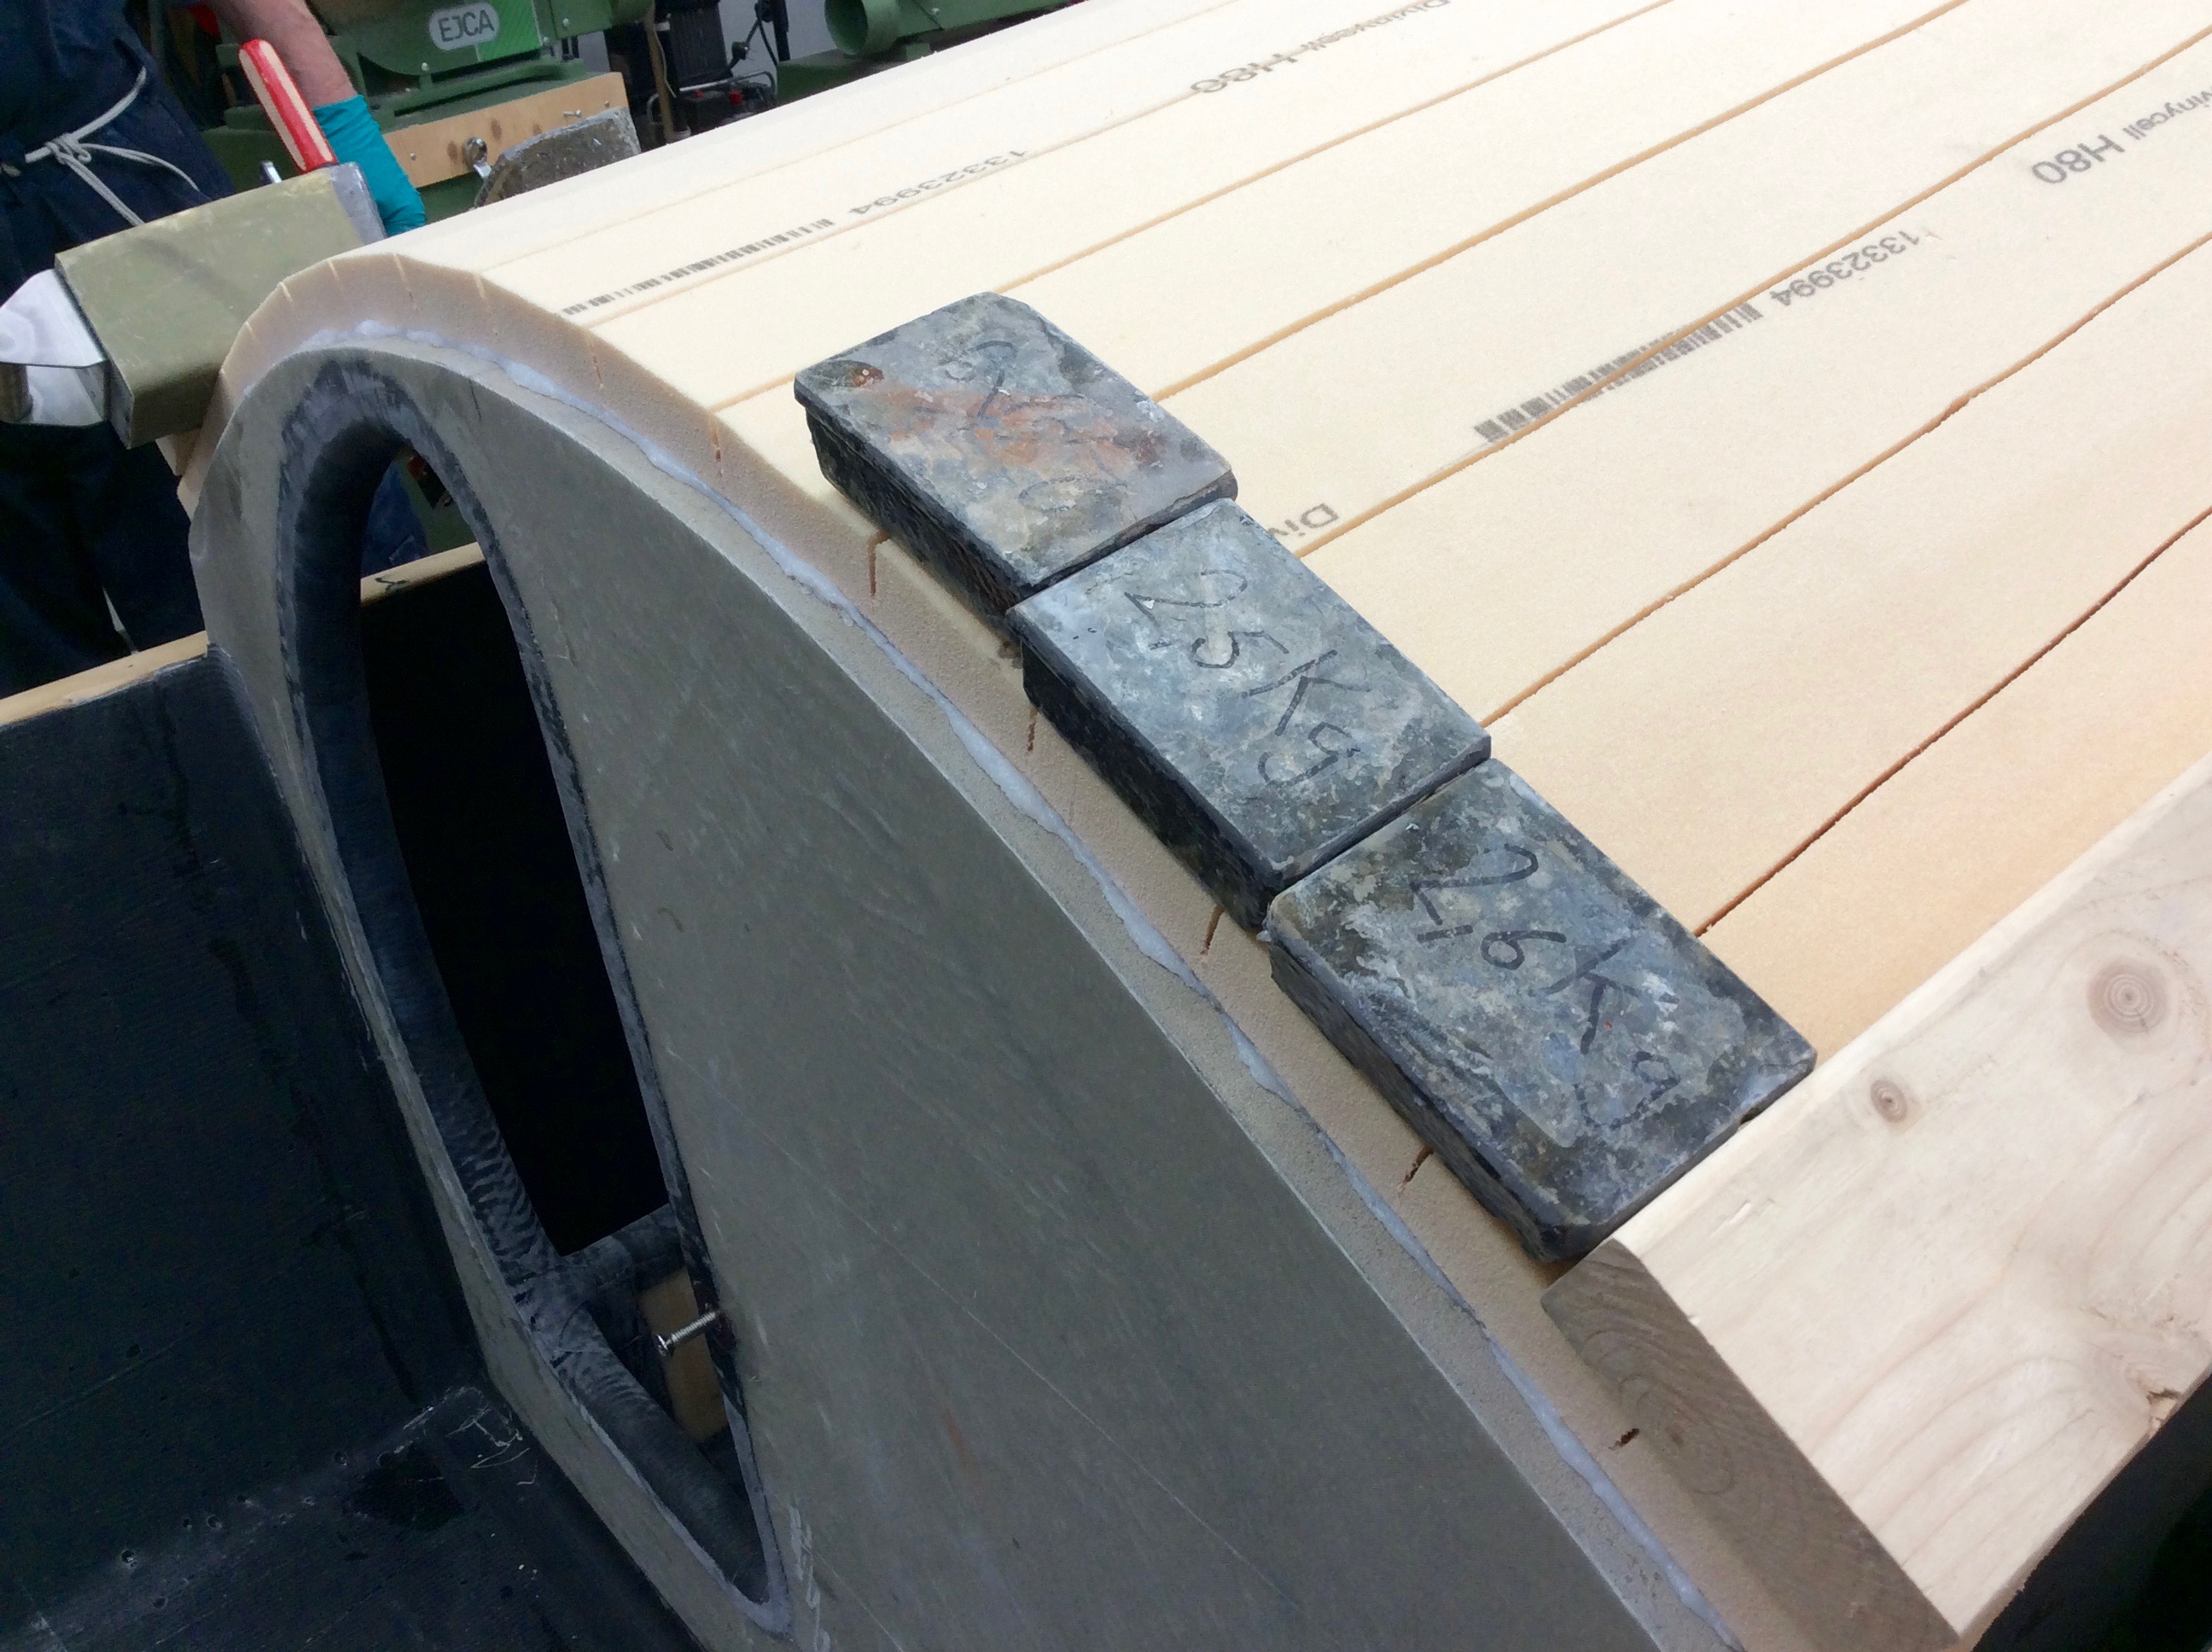
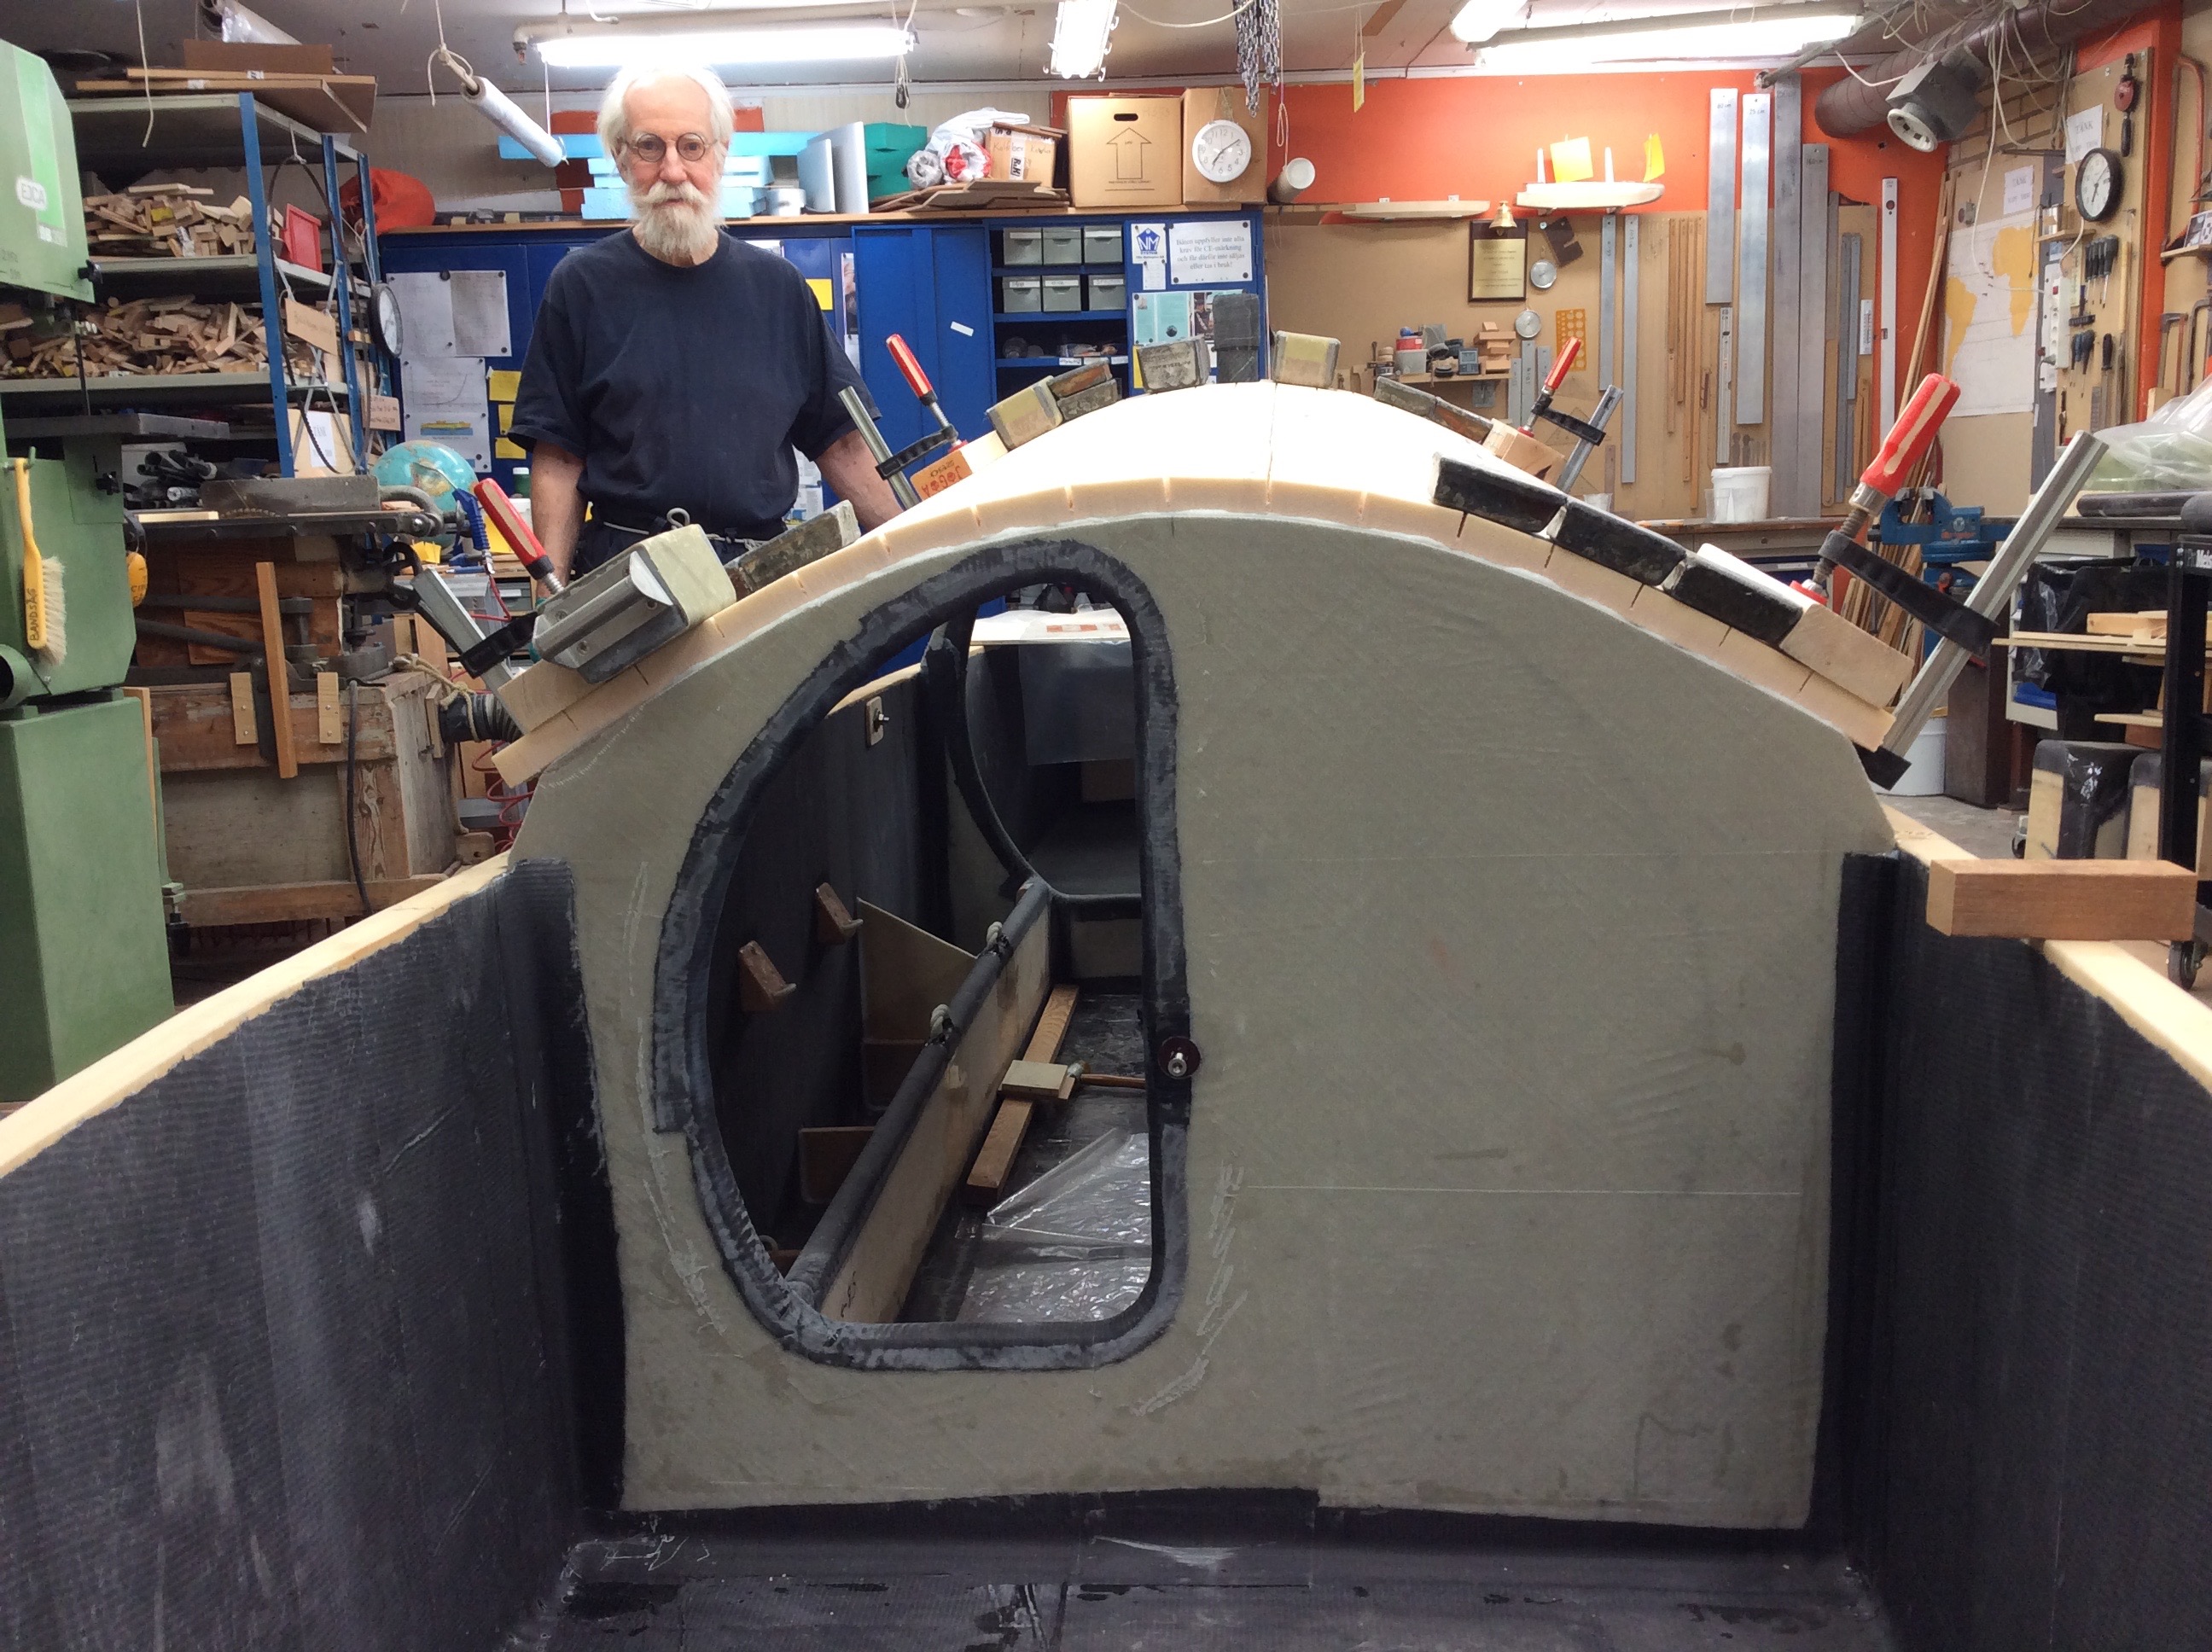
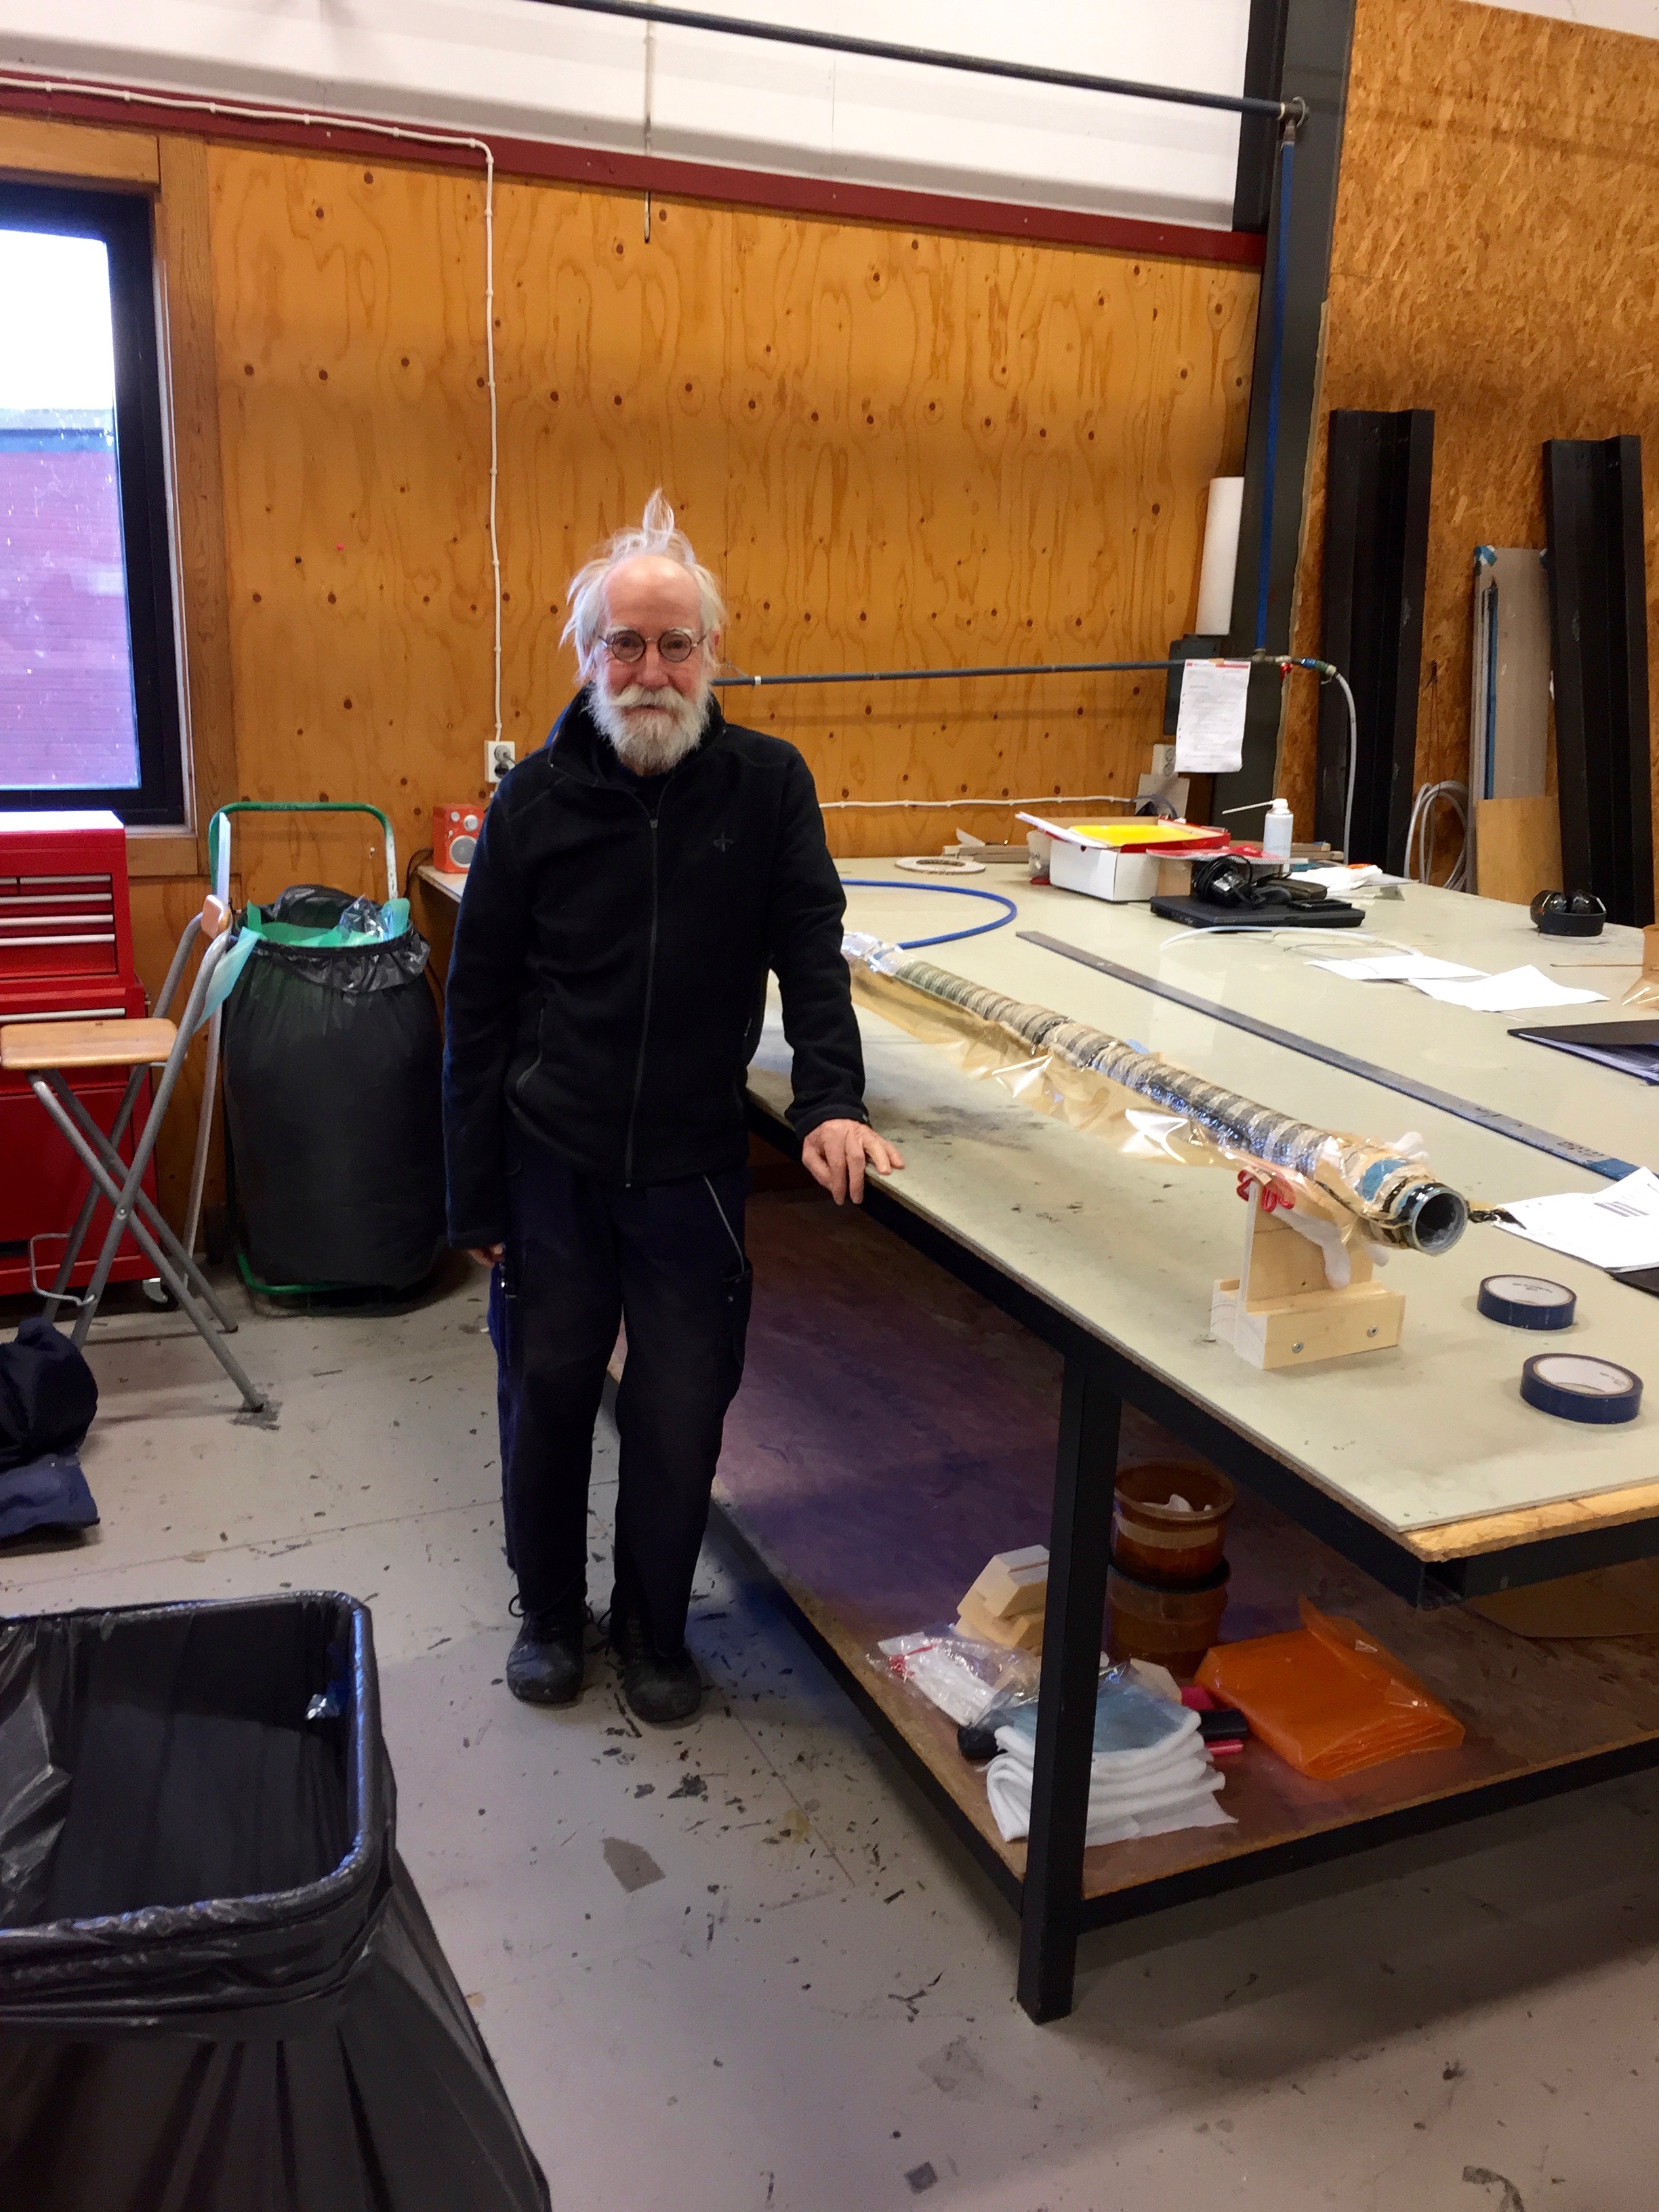
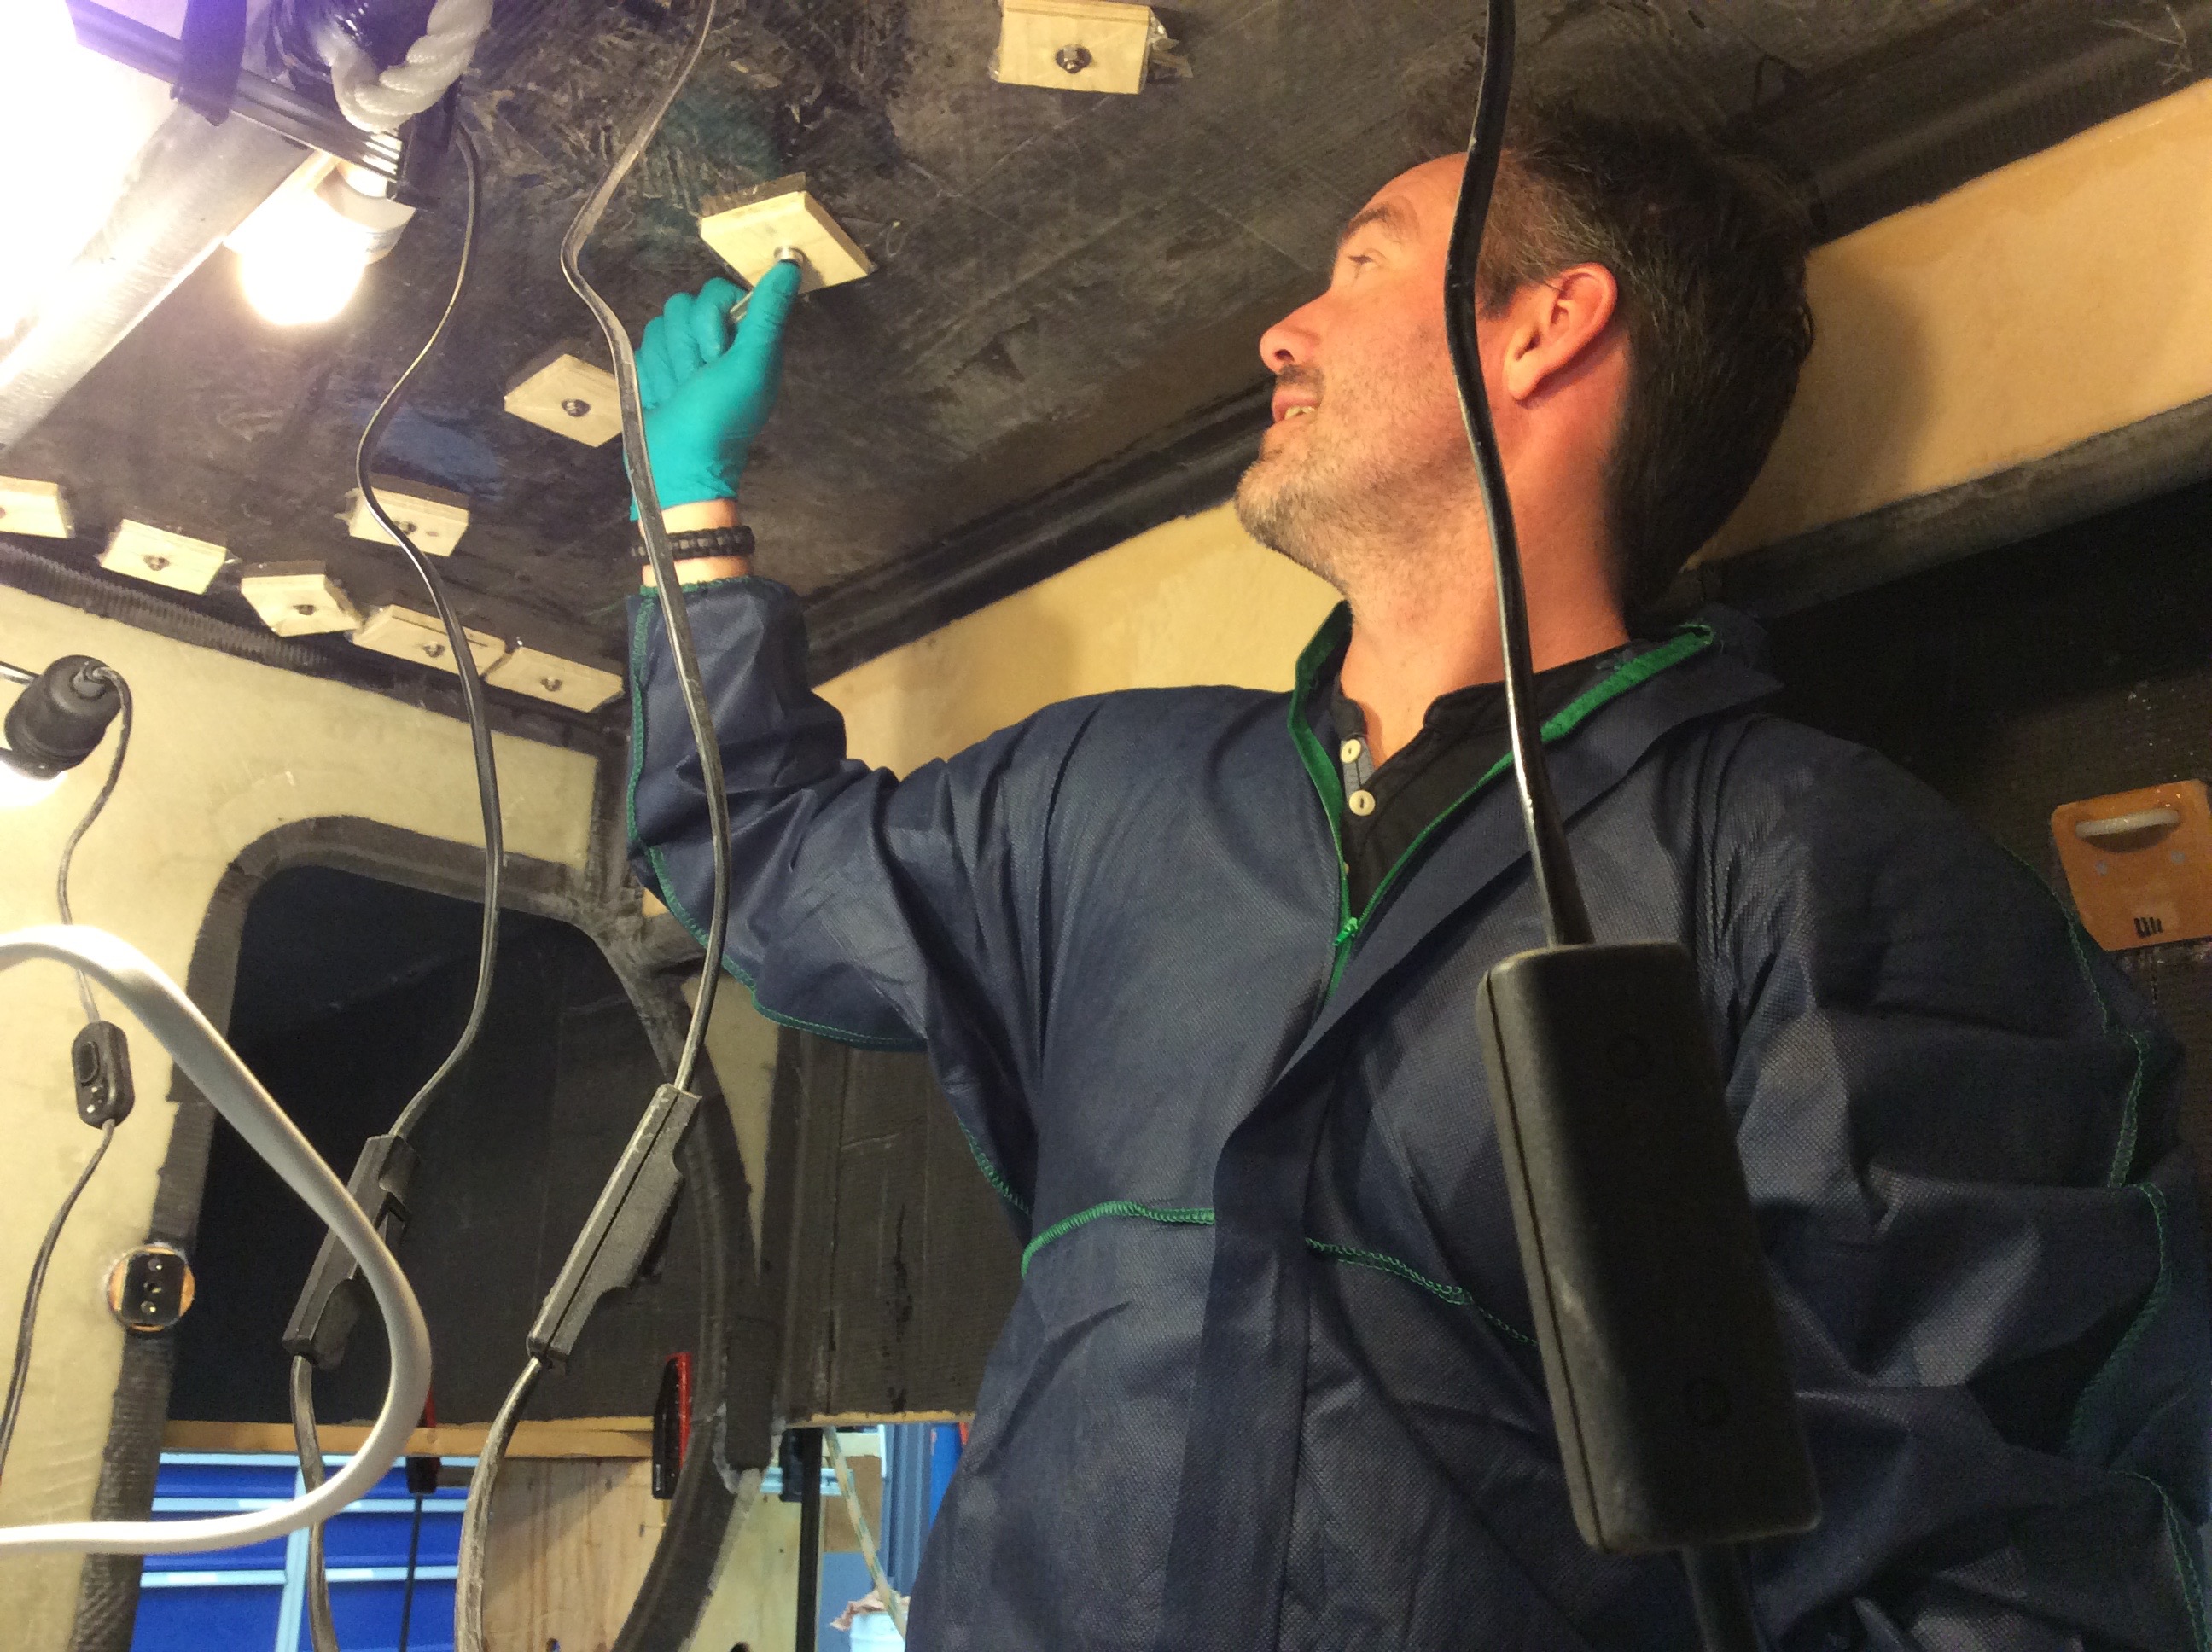
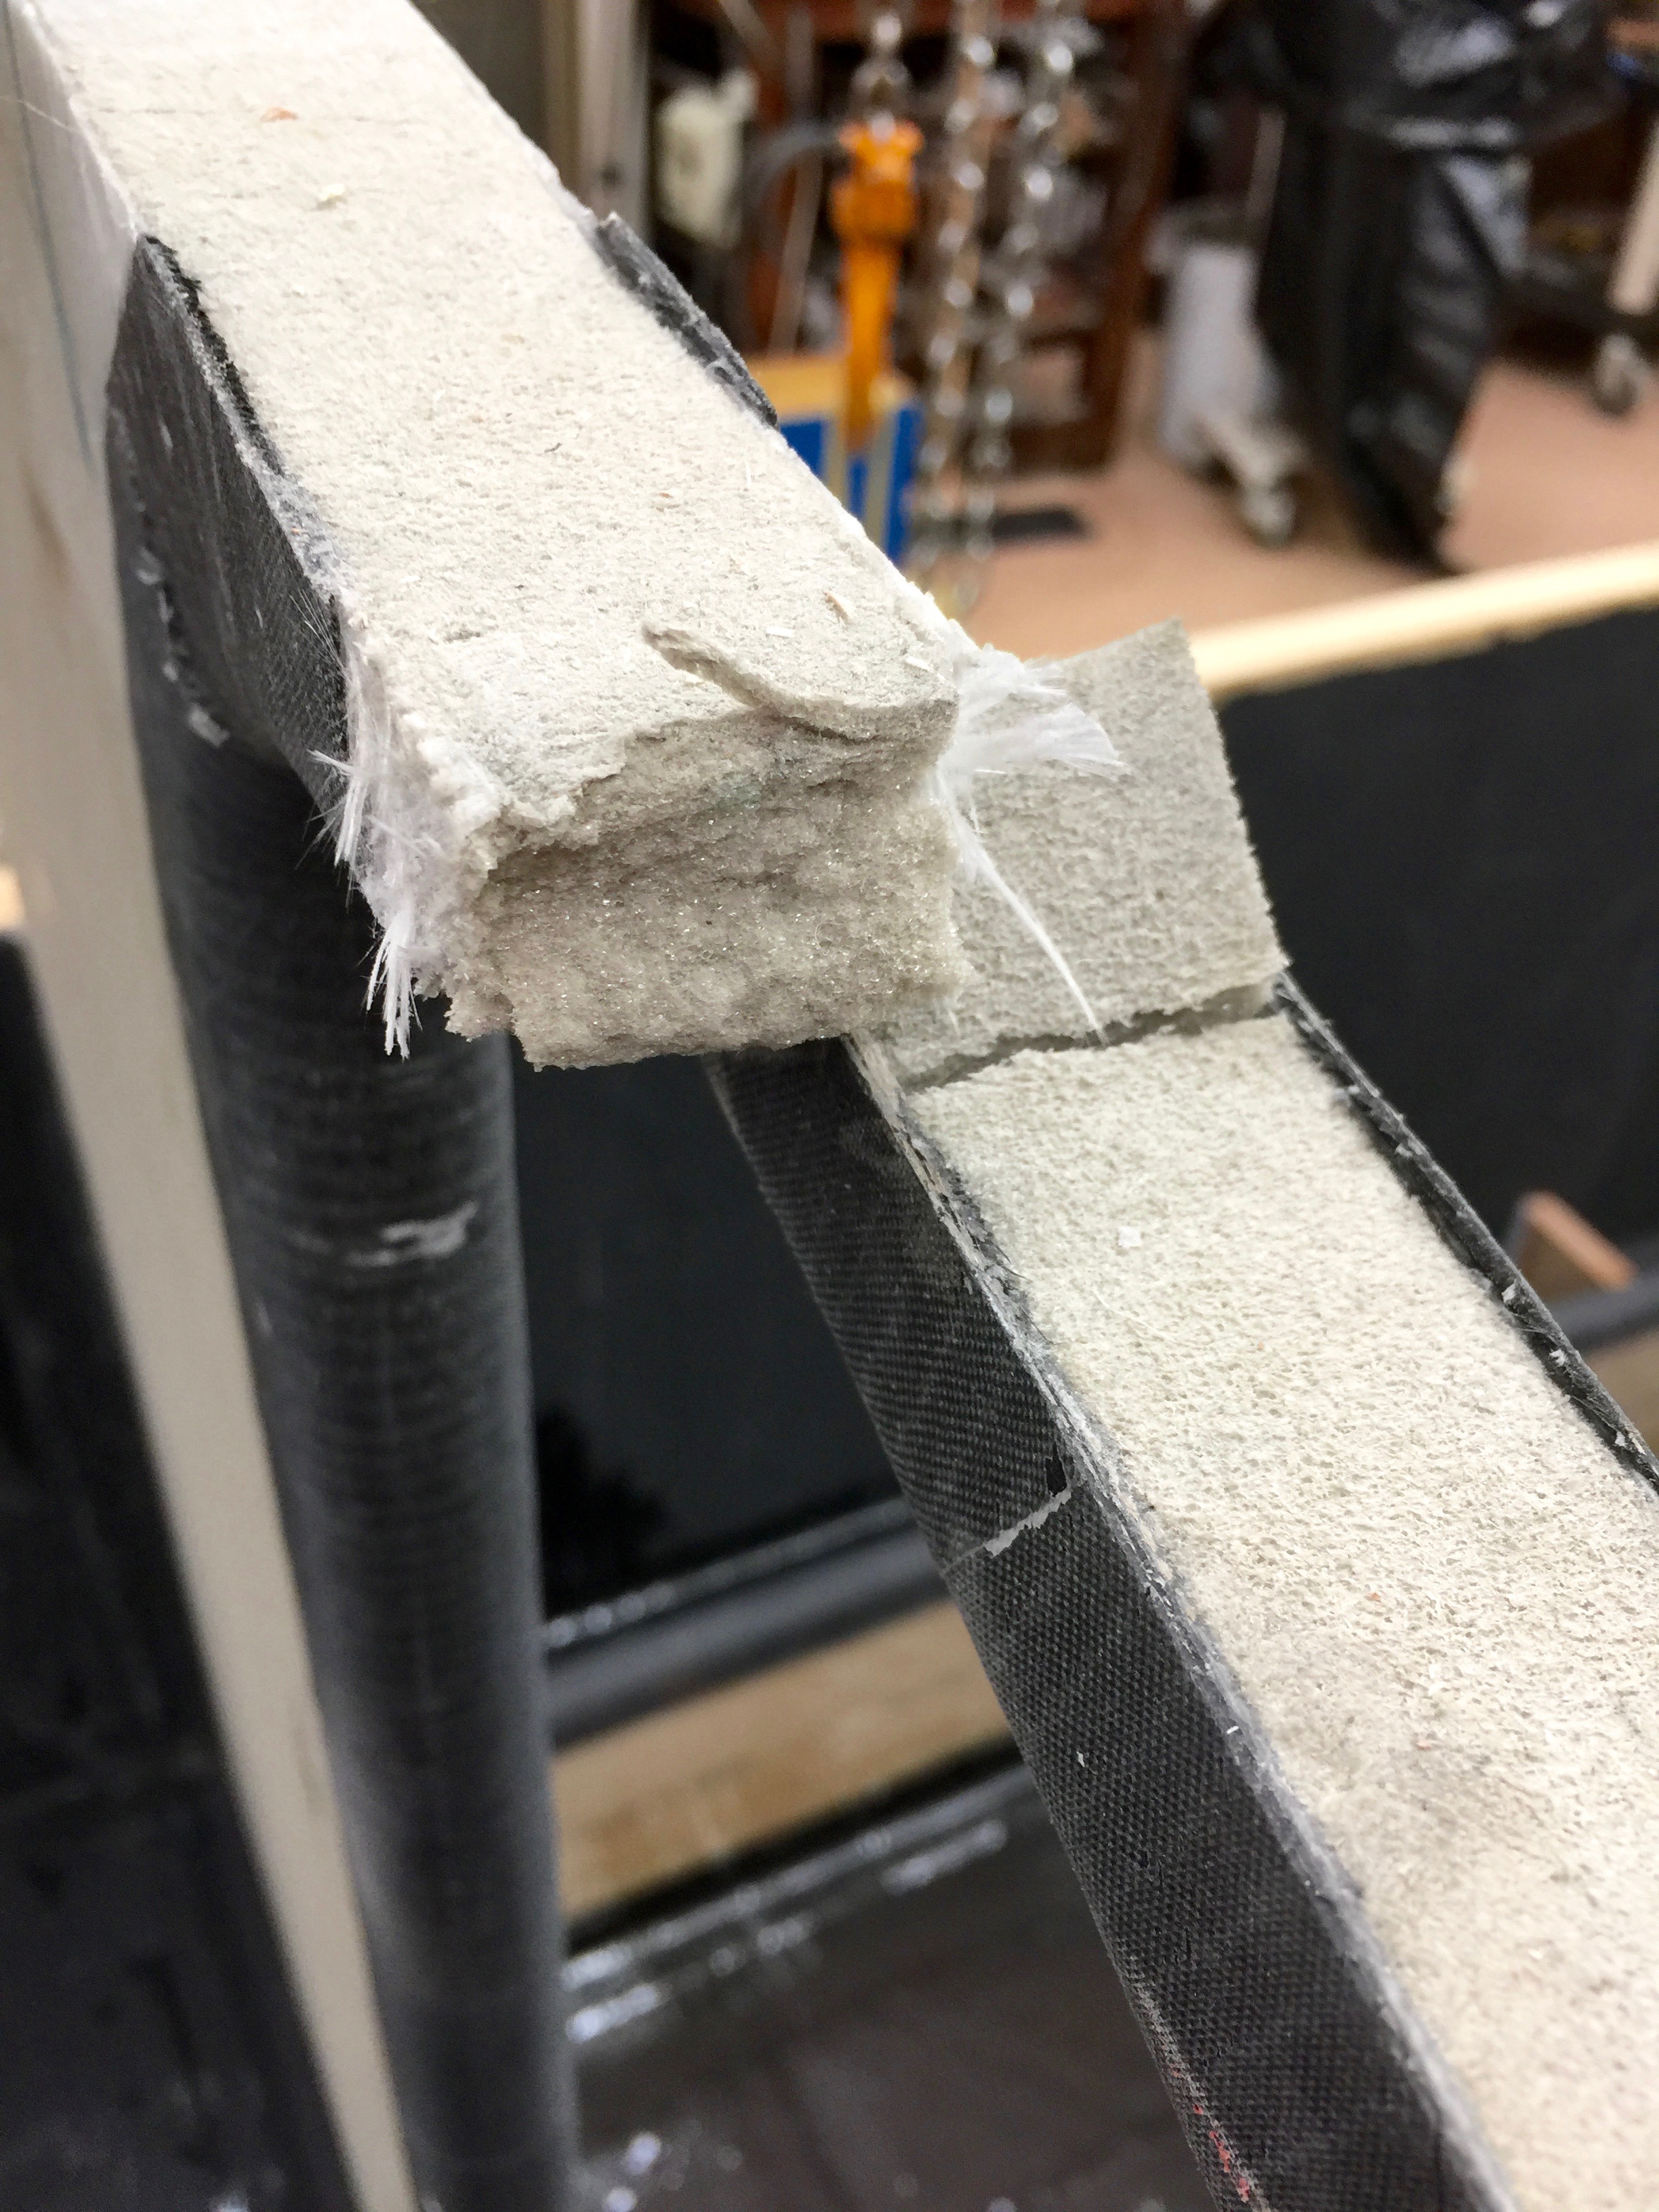
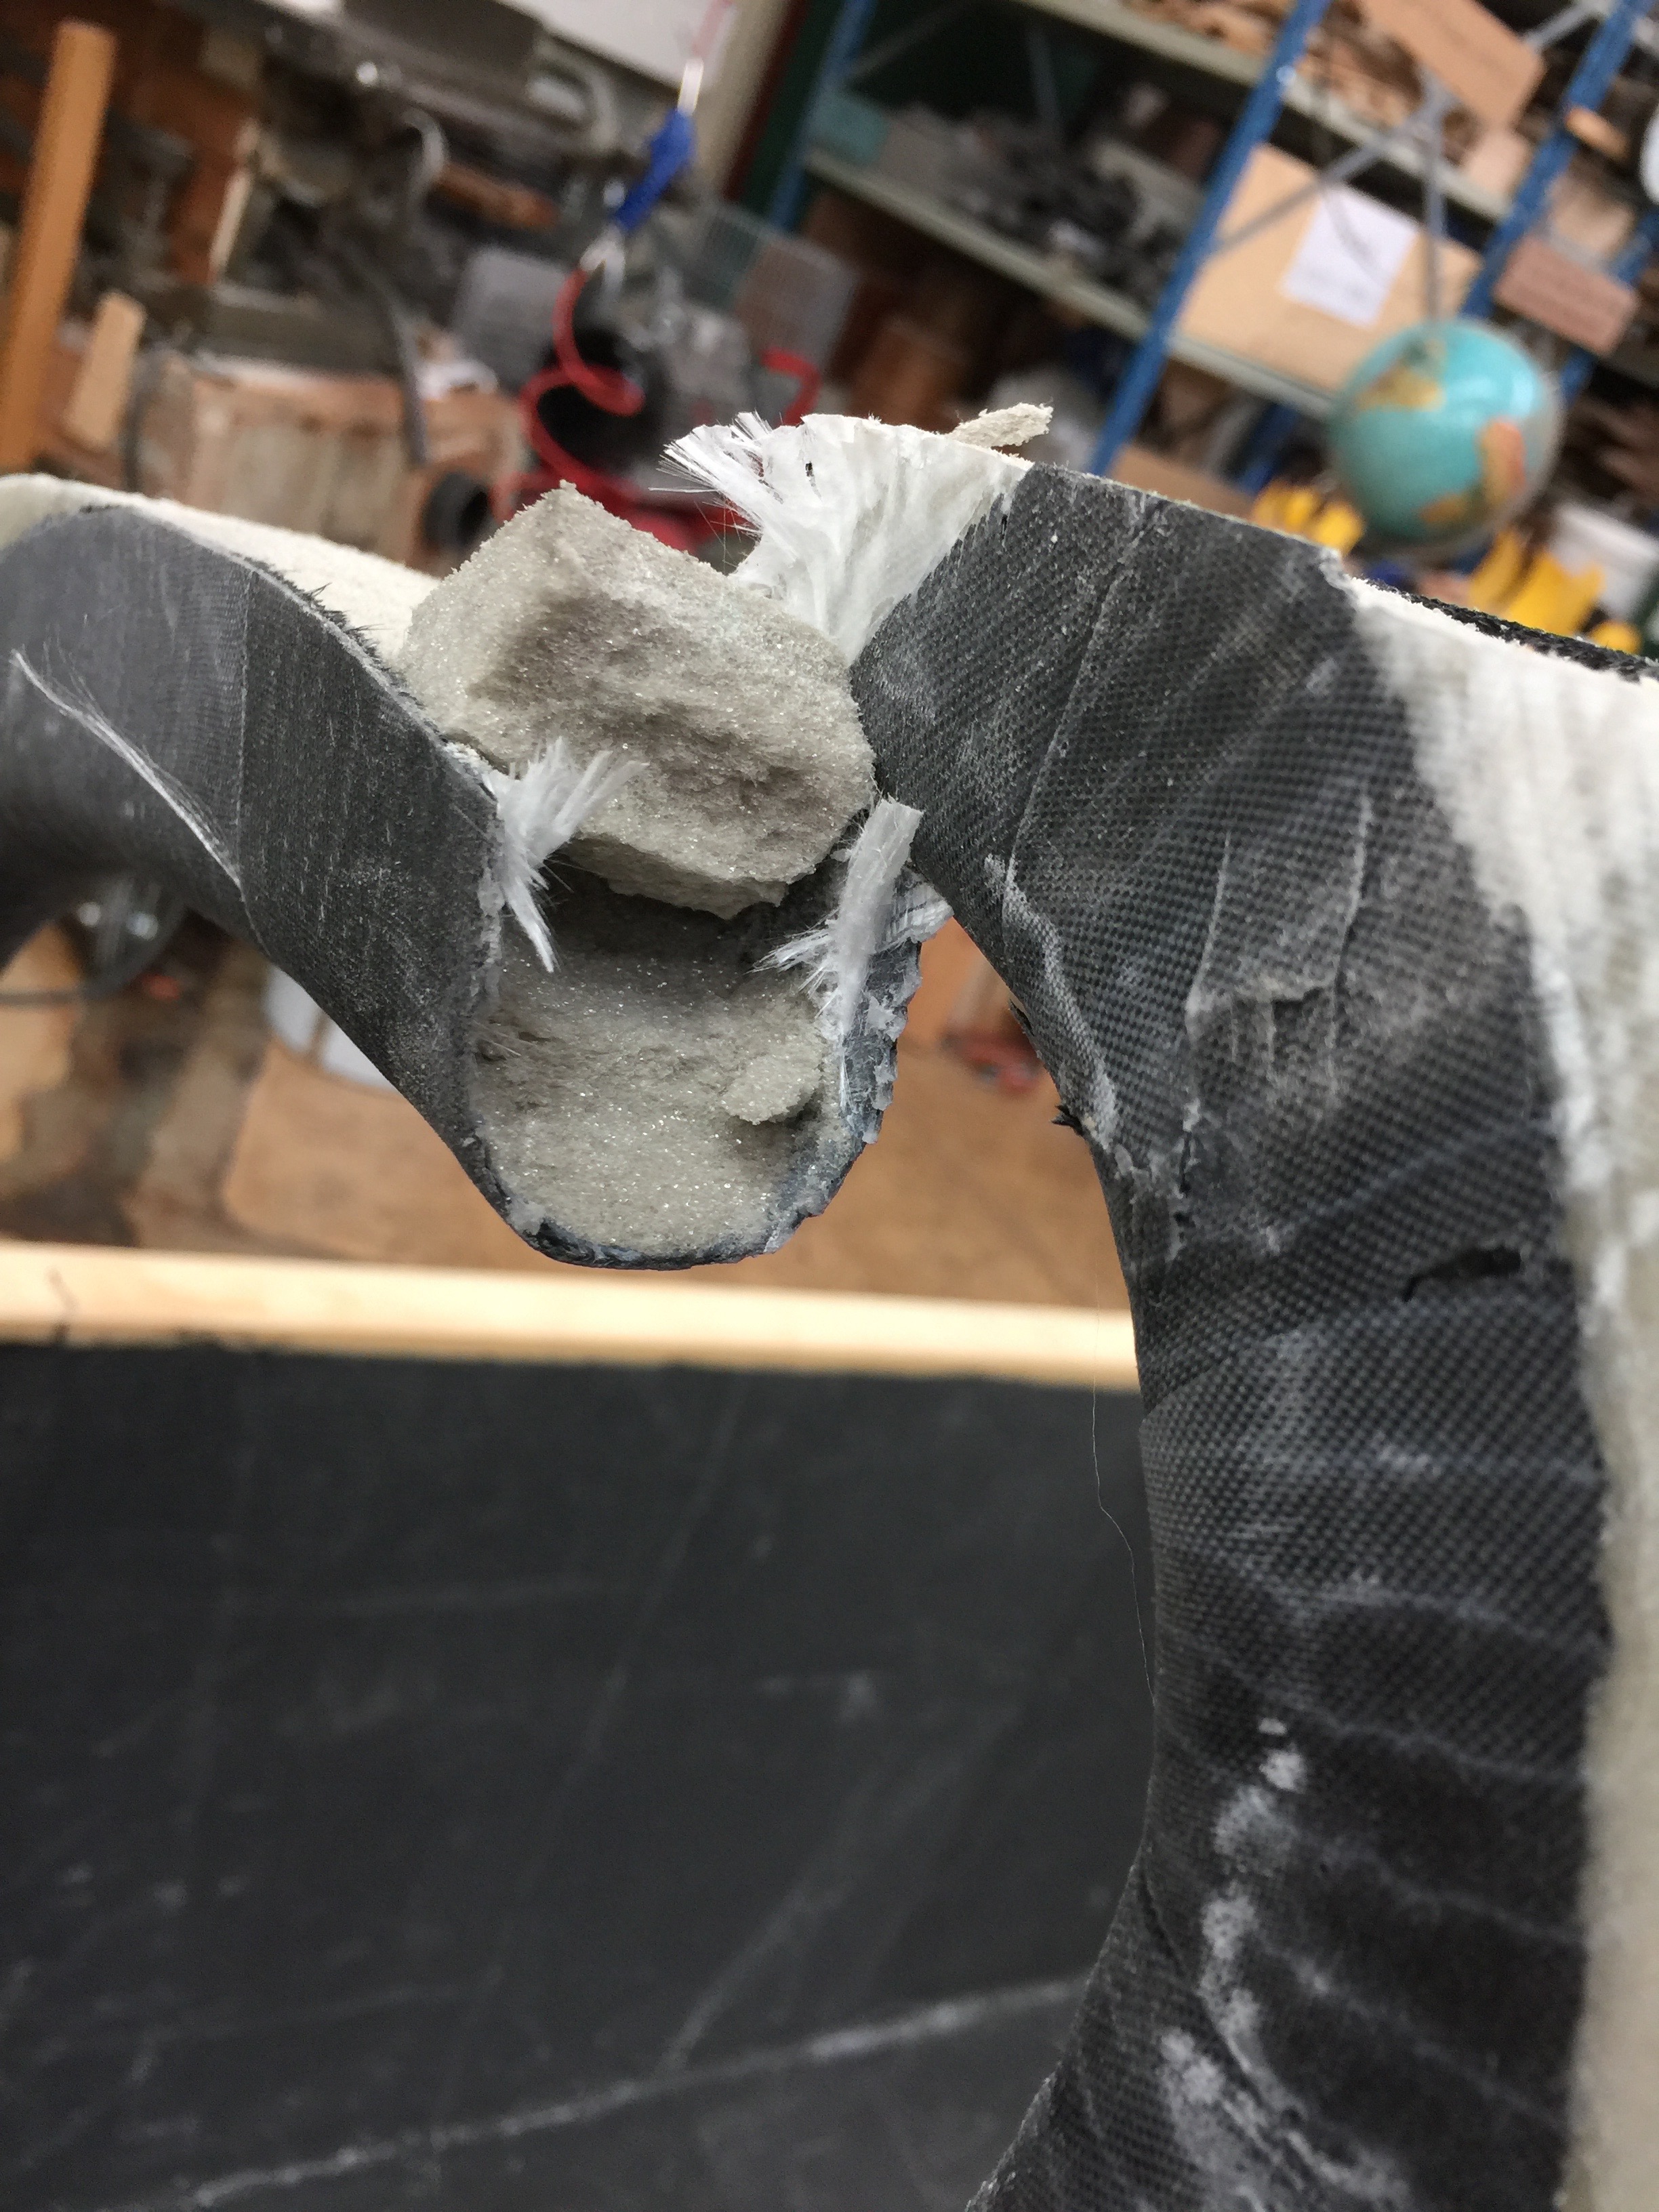
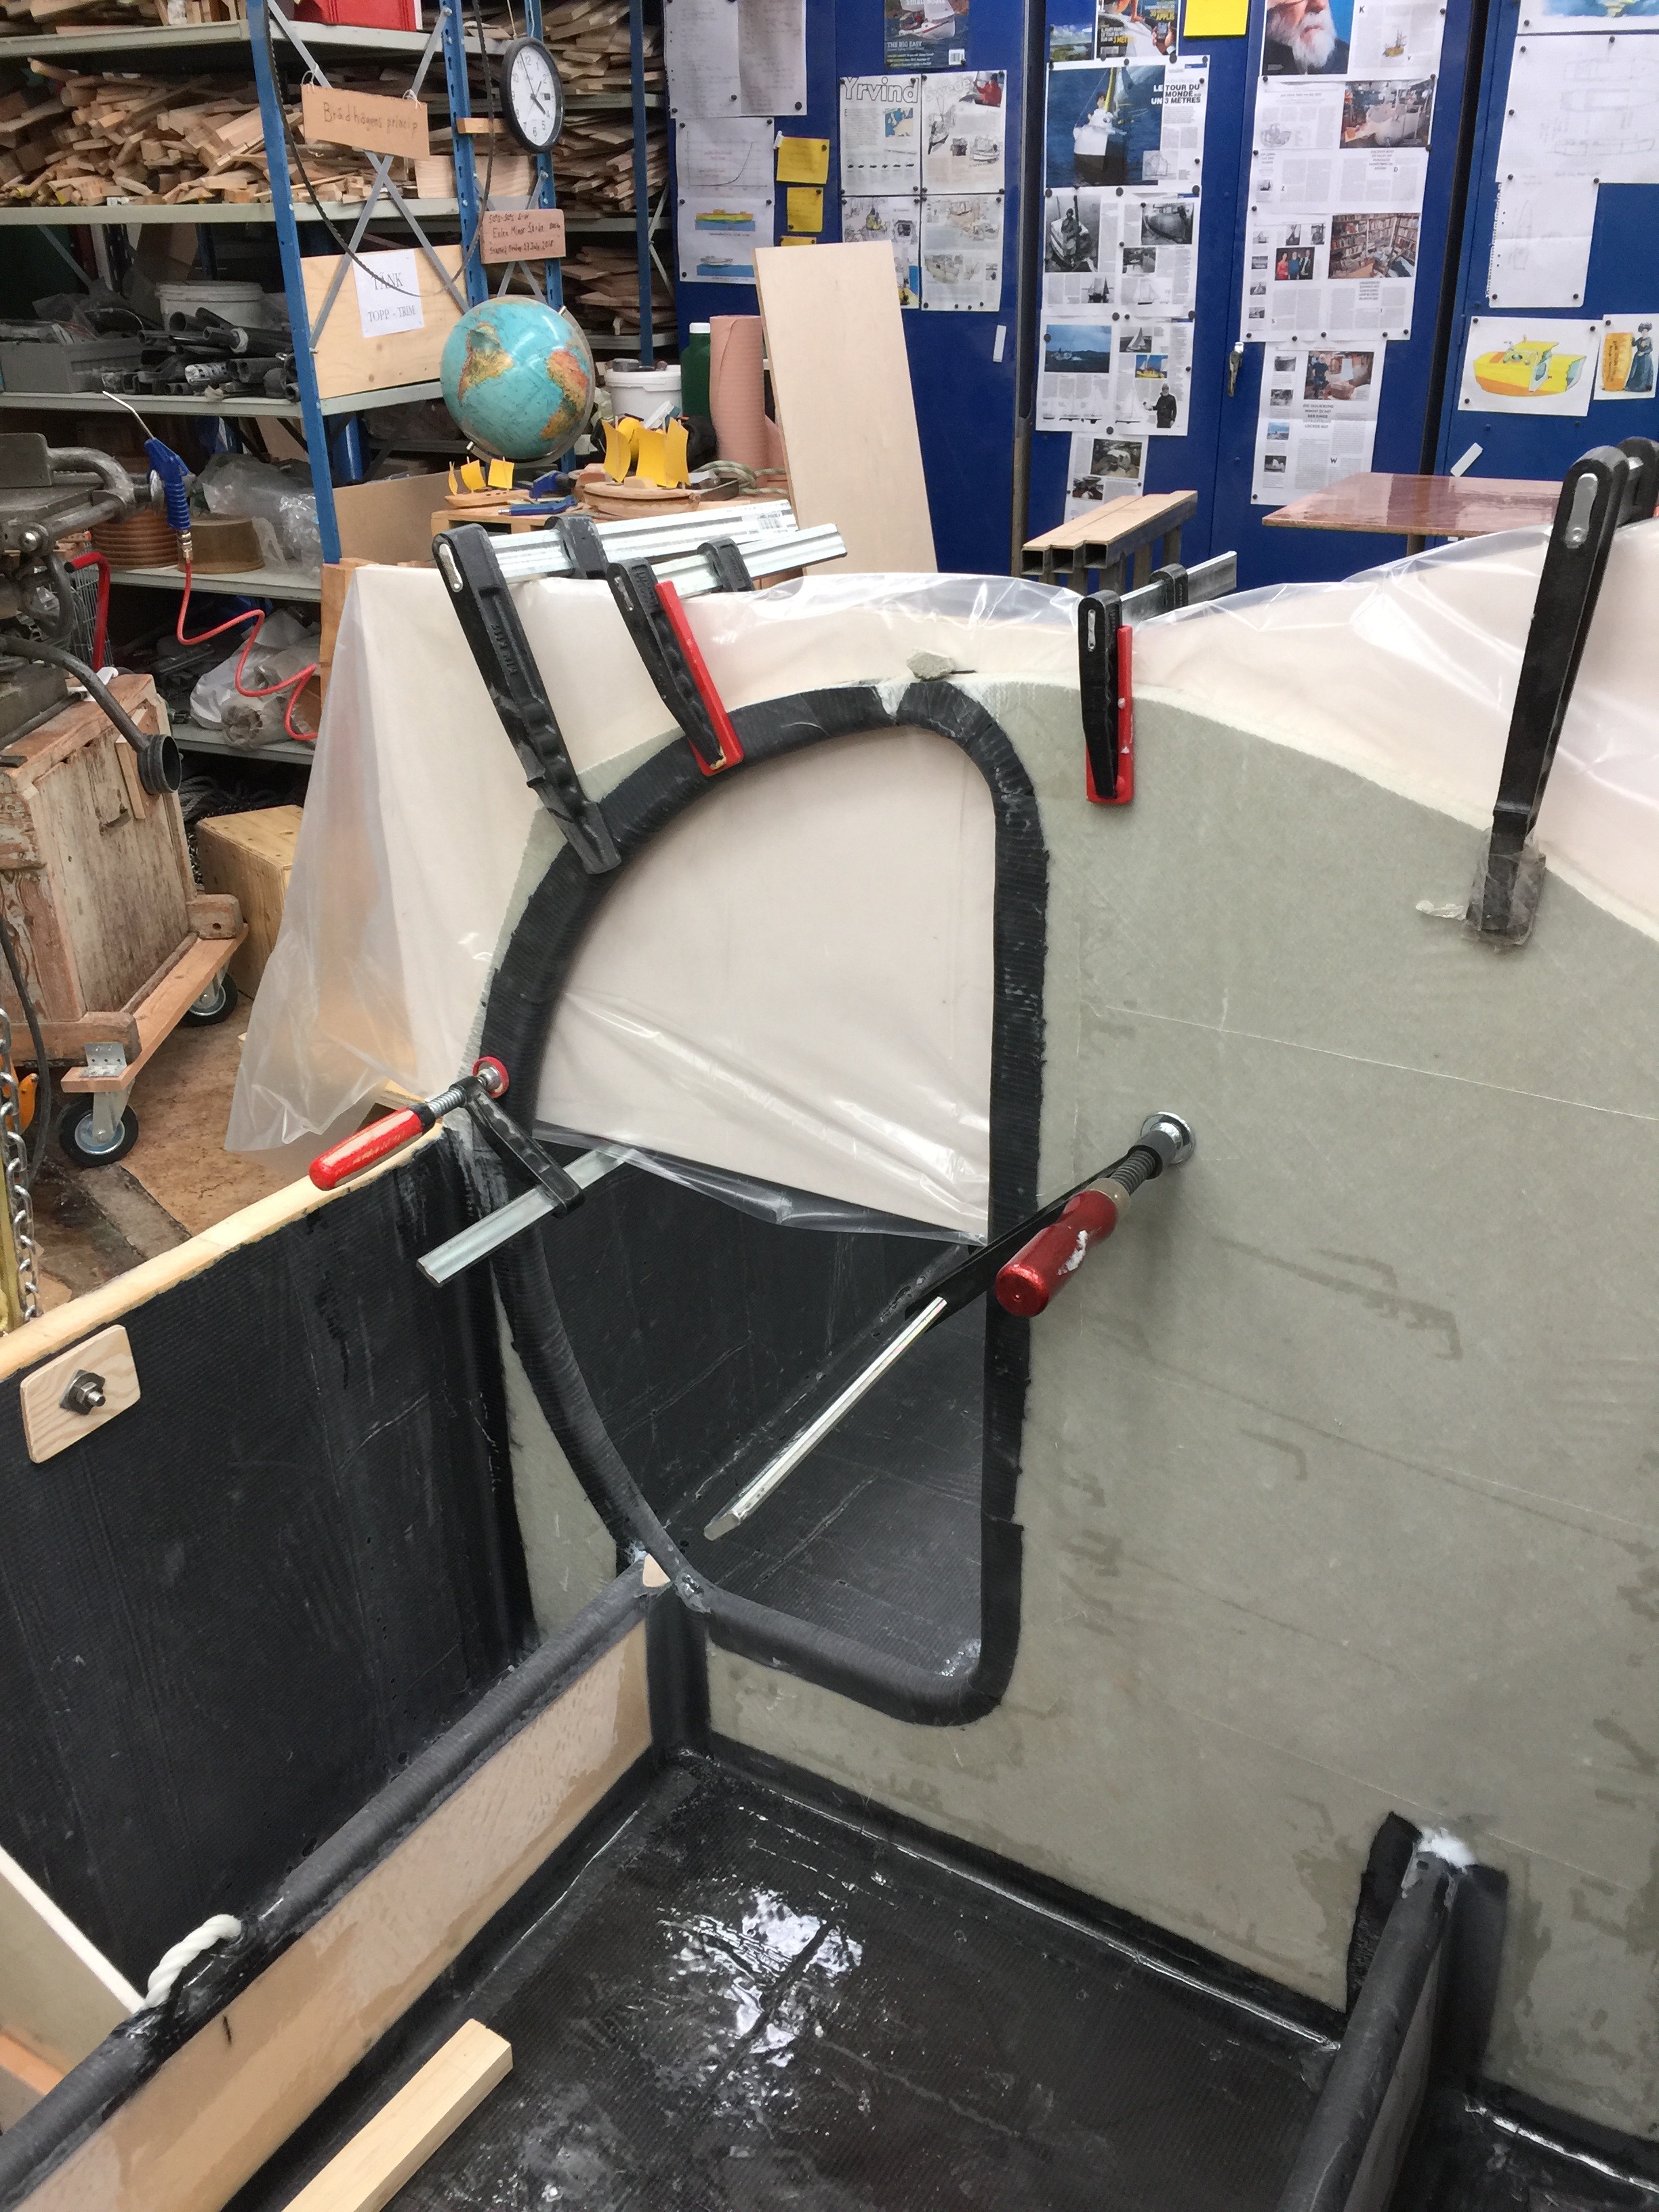
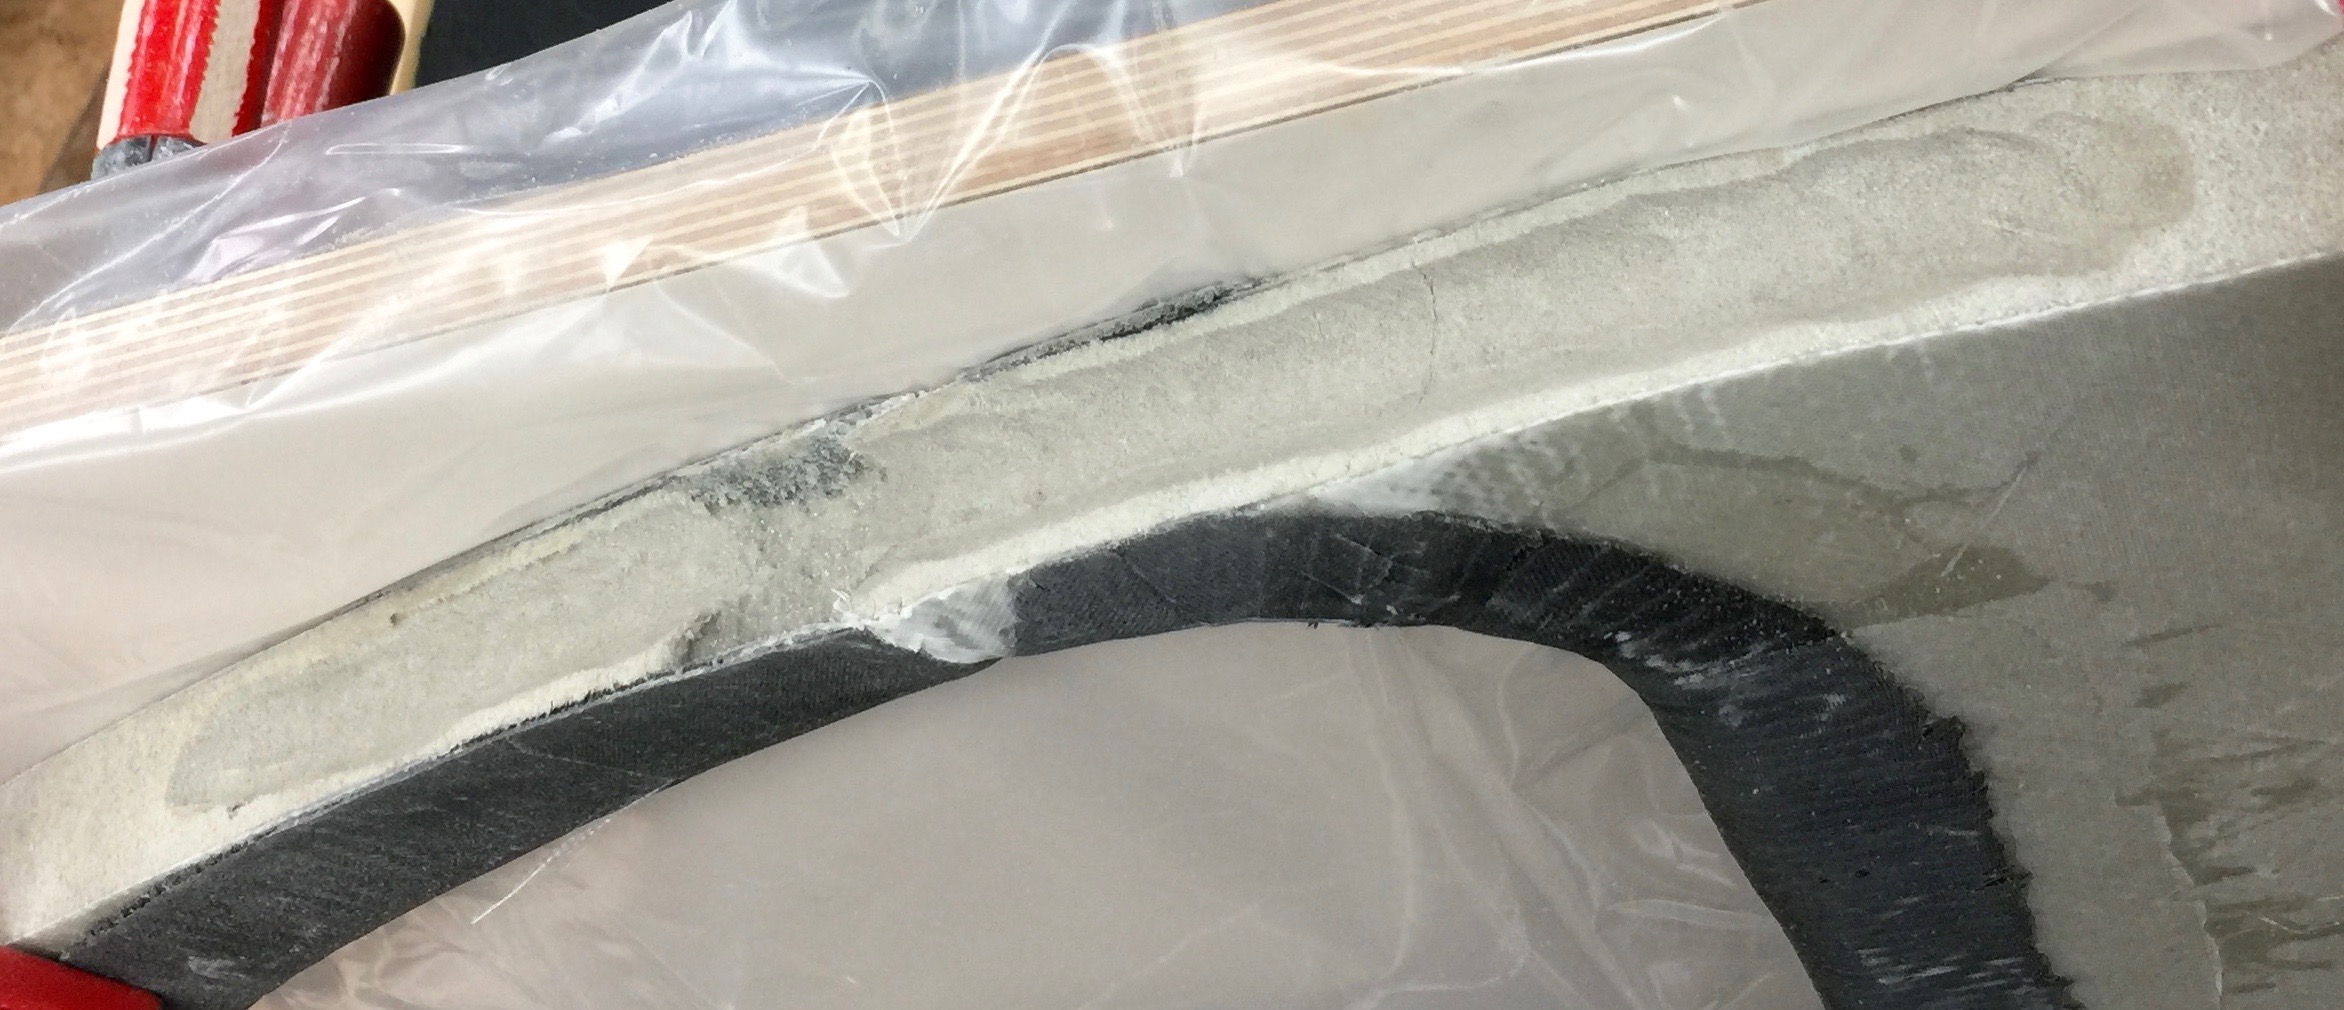
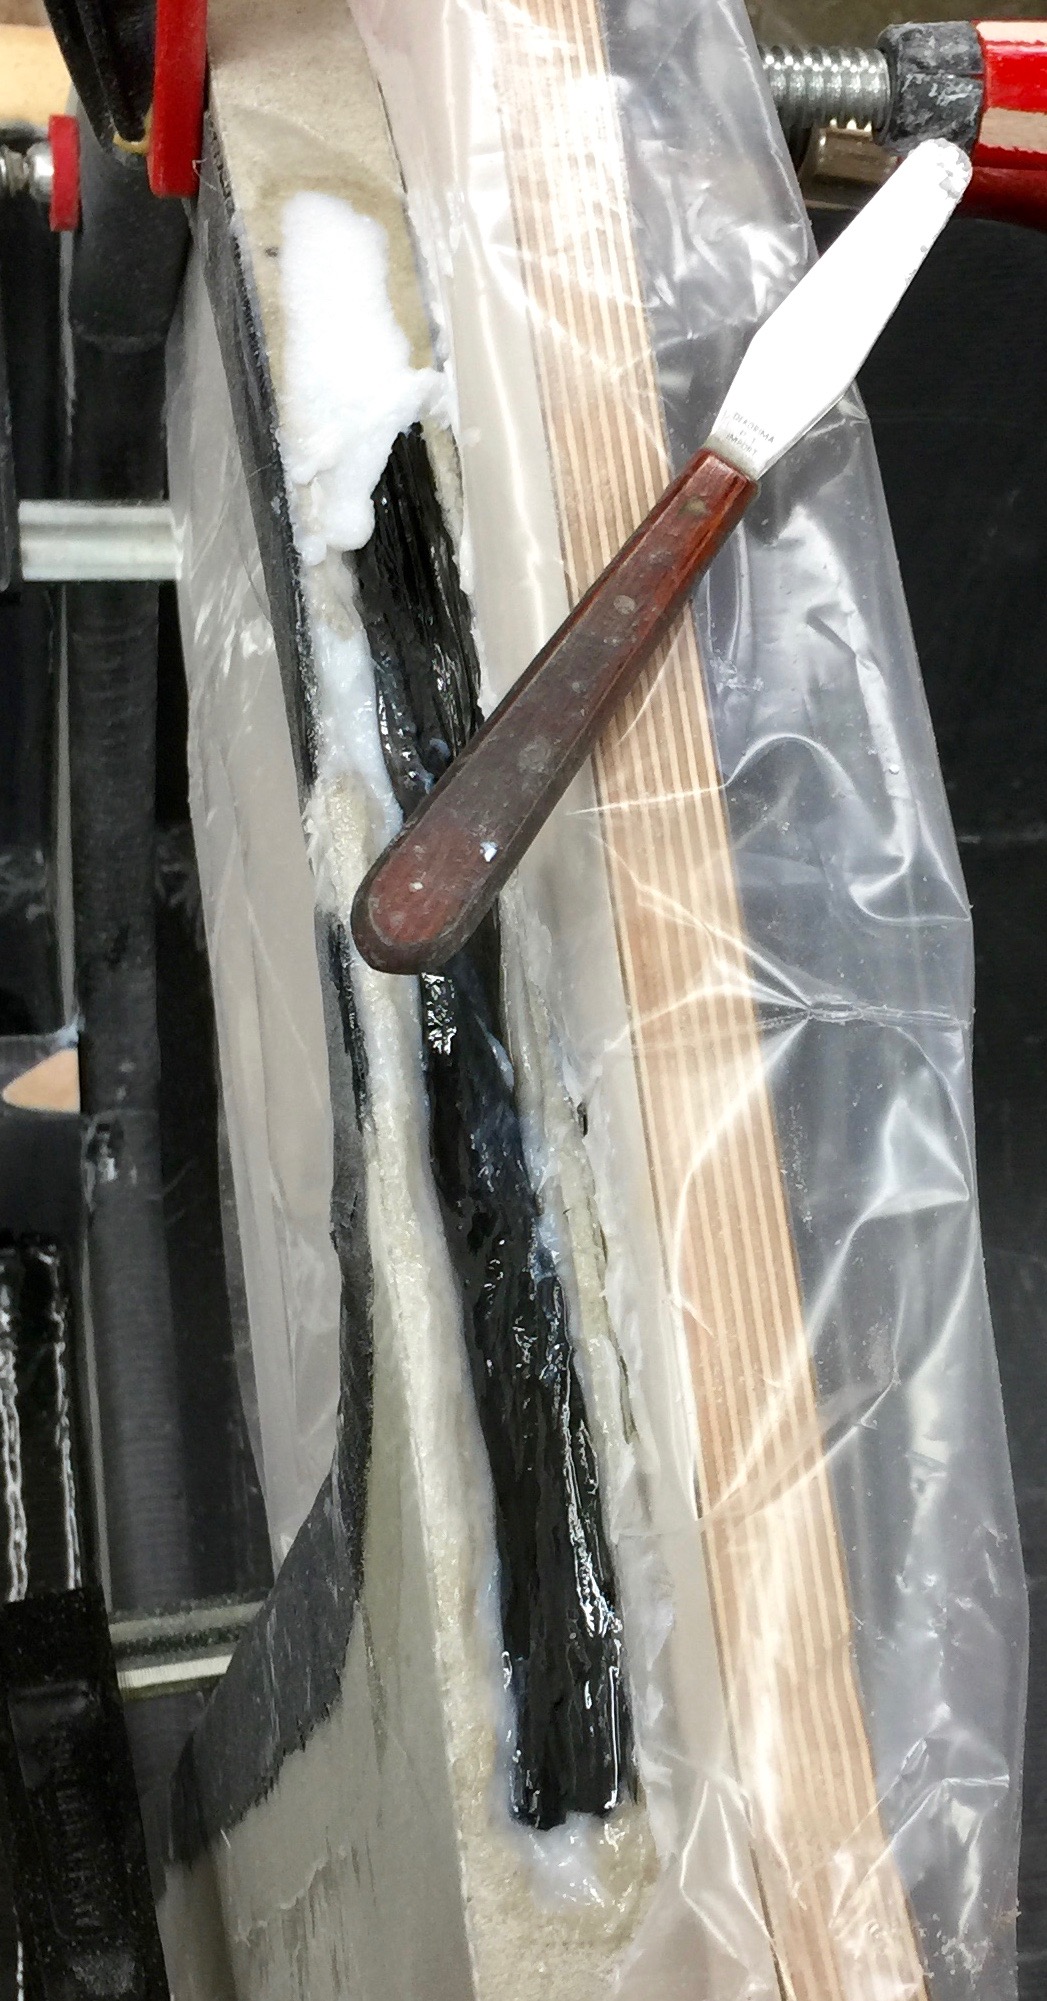
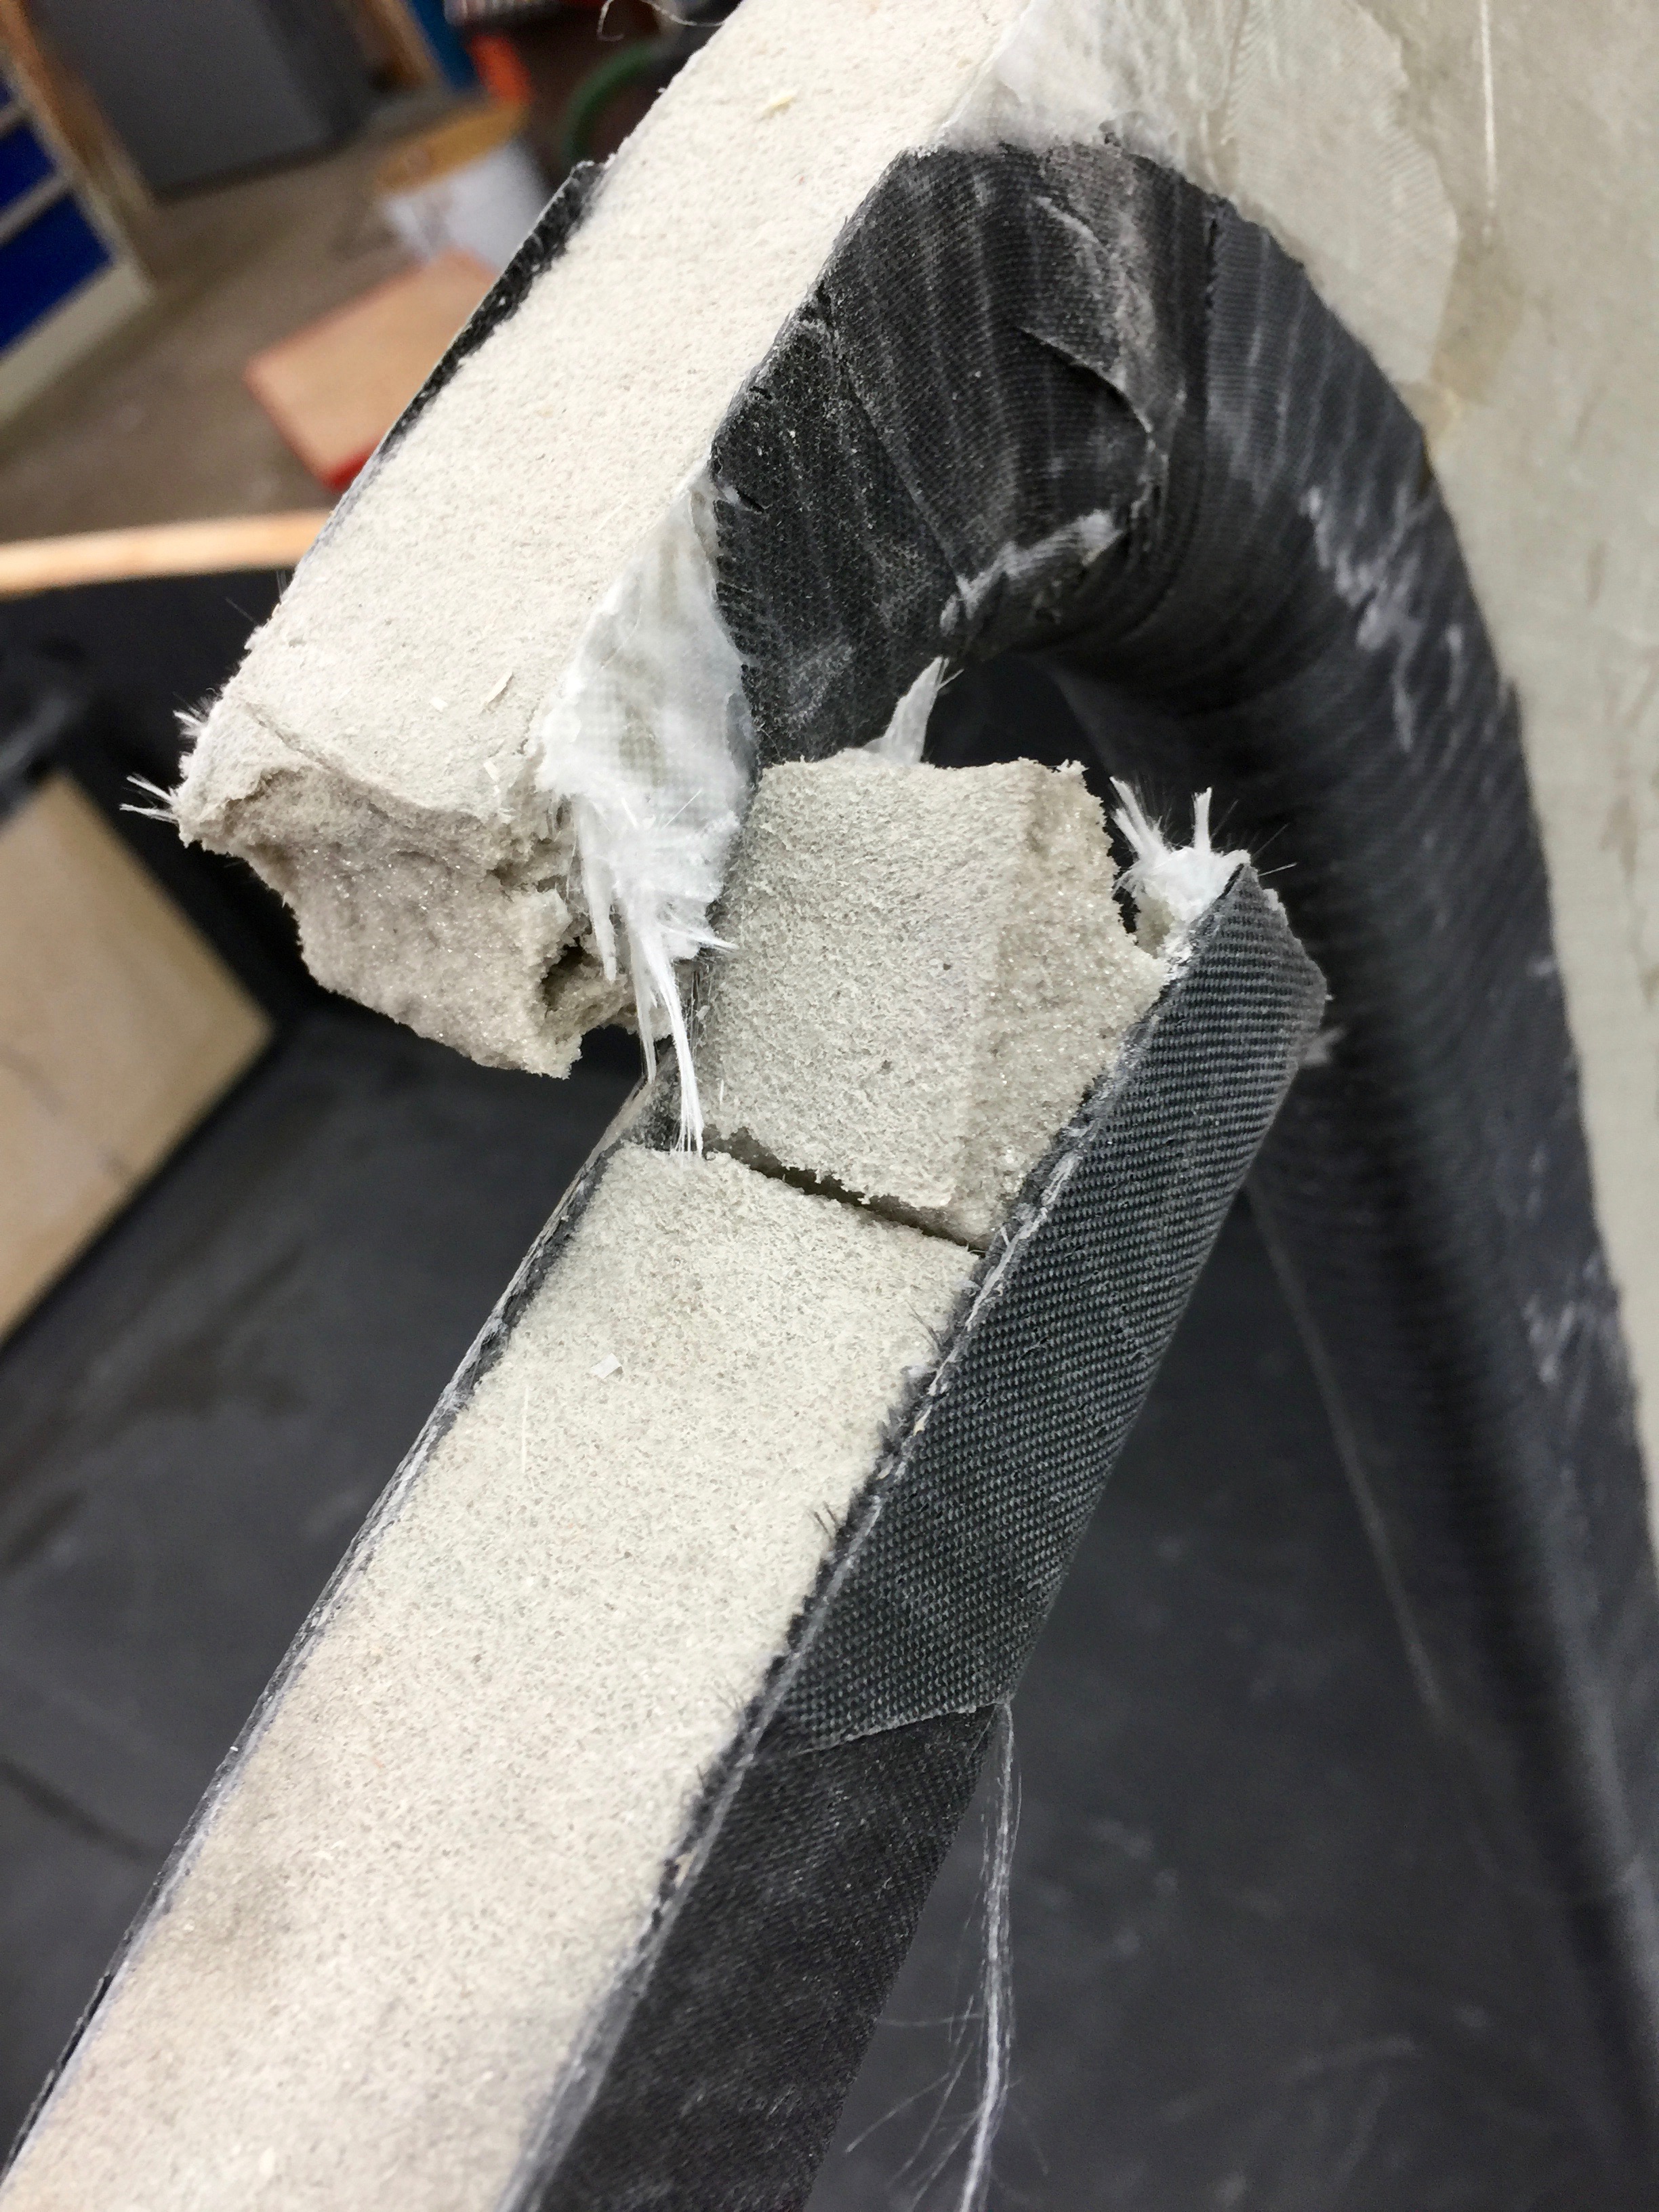
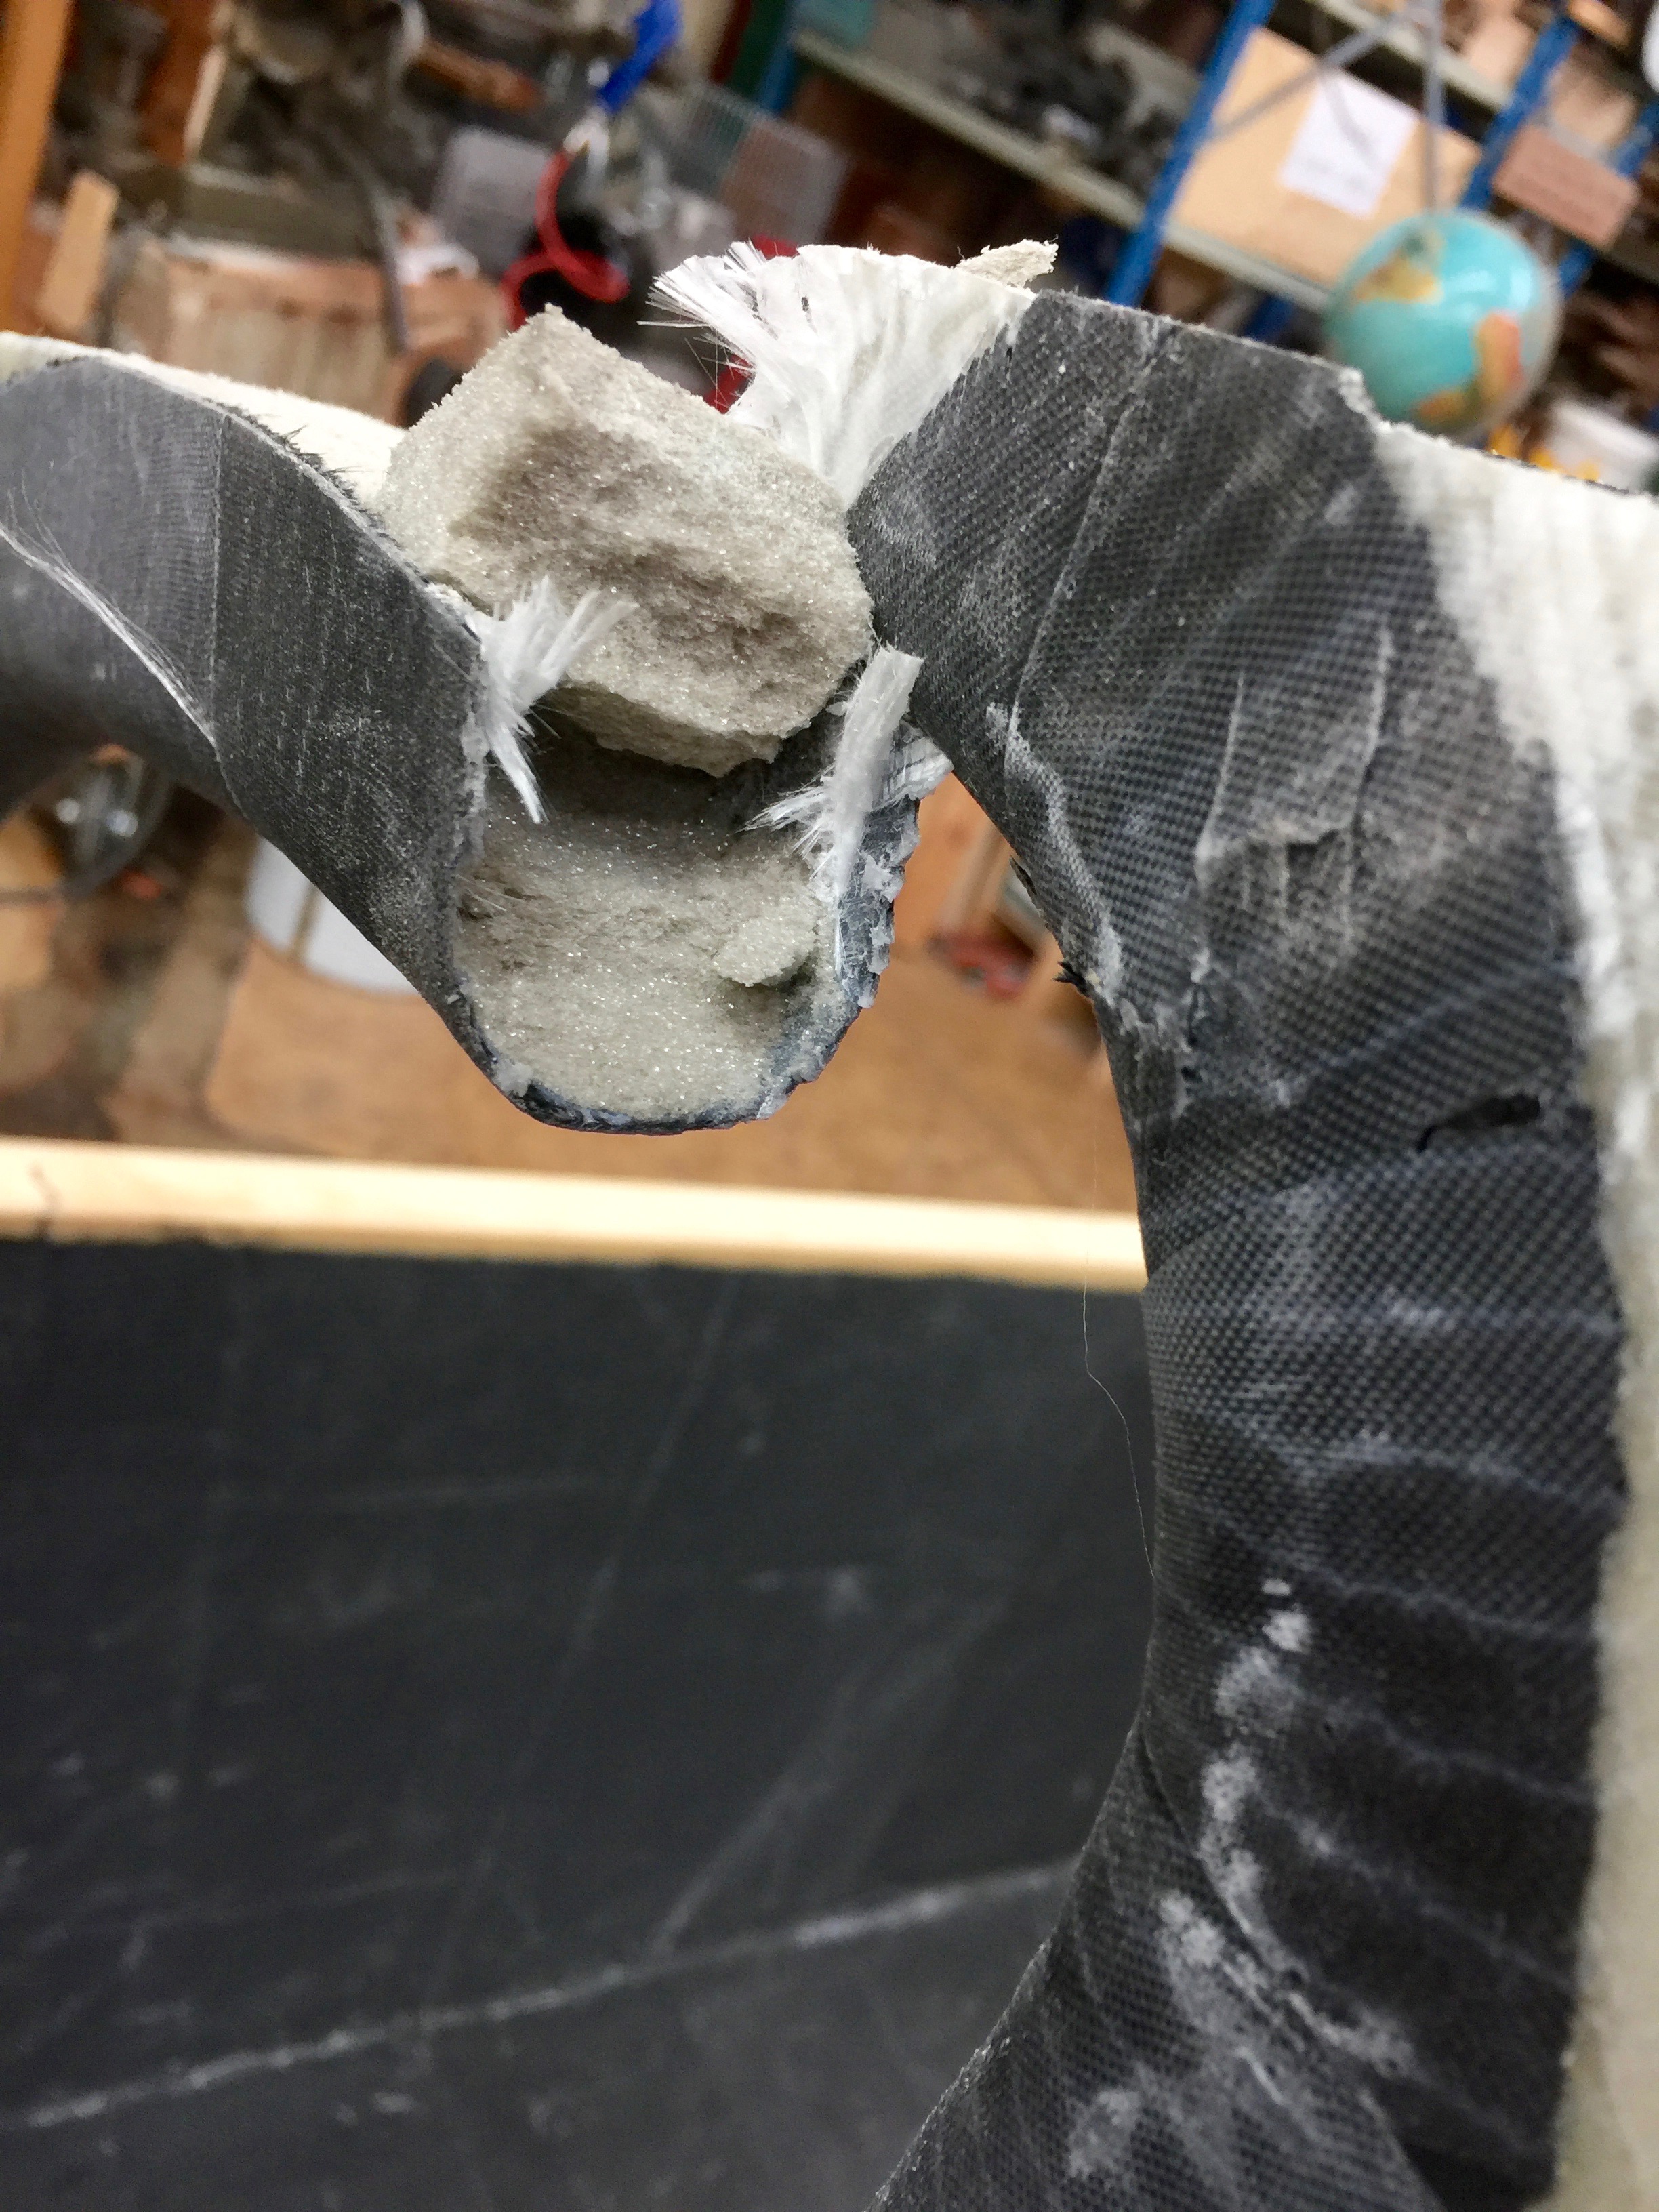
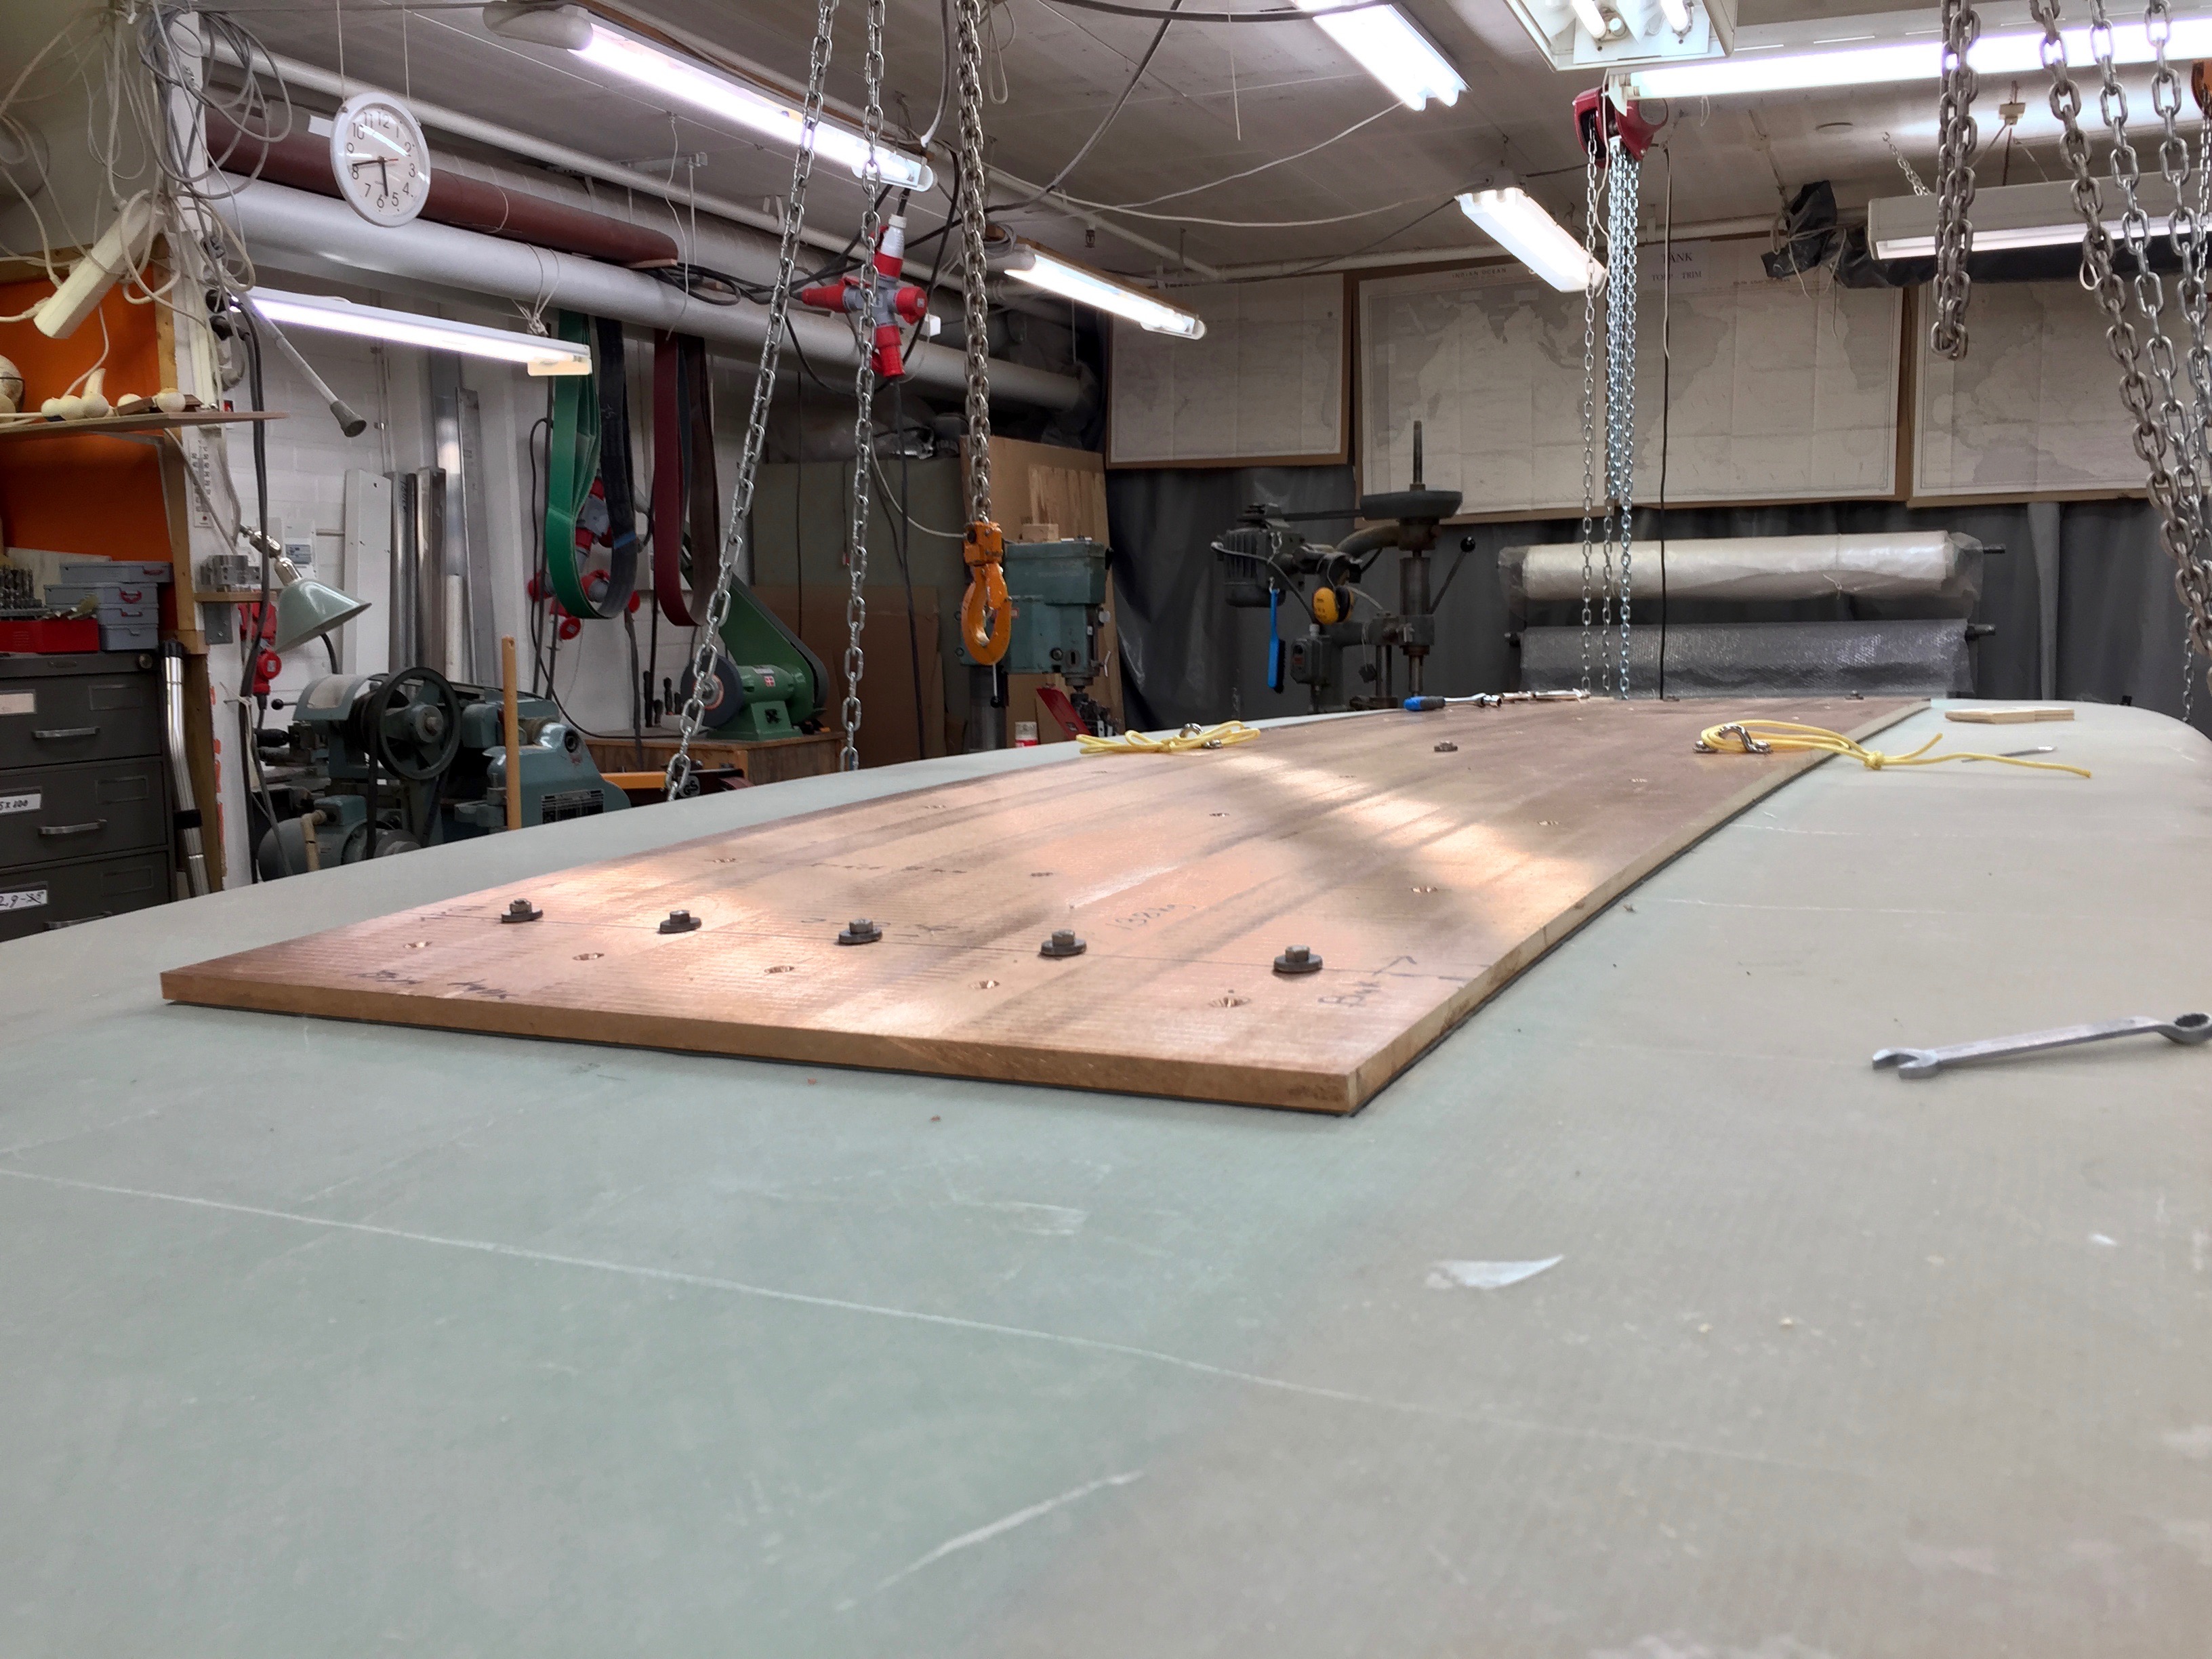
Working on the ventilation ducts, the one for incoming air and the one for outgoing I had forgotten  the interferences that always cases problems. Luckily in the last minute I noticed a note telling me not to forget the stearing ropes and a deck fitting. This was on the port side.  Then silly enough doing the starbord side where there is no stearing rope I forgot that there is a deck fitting bolted to the inside. I have to cut up the starbord duct later to fit it. That cannot be done before the aft deck is in place. It would be more easy to do it now.
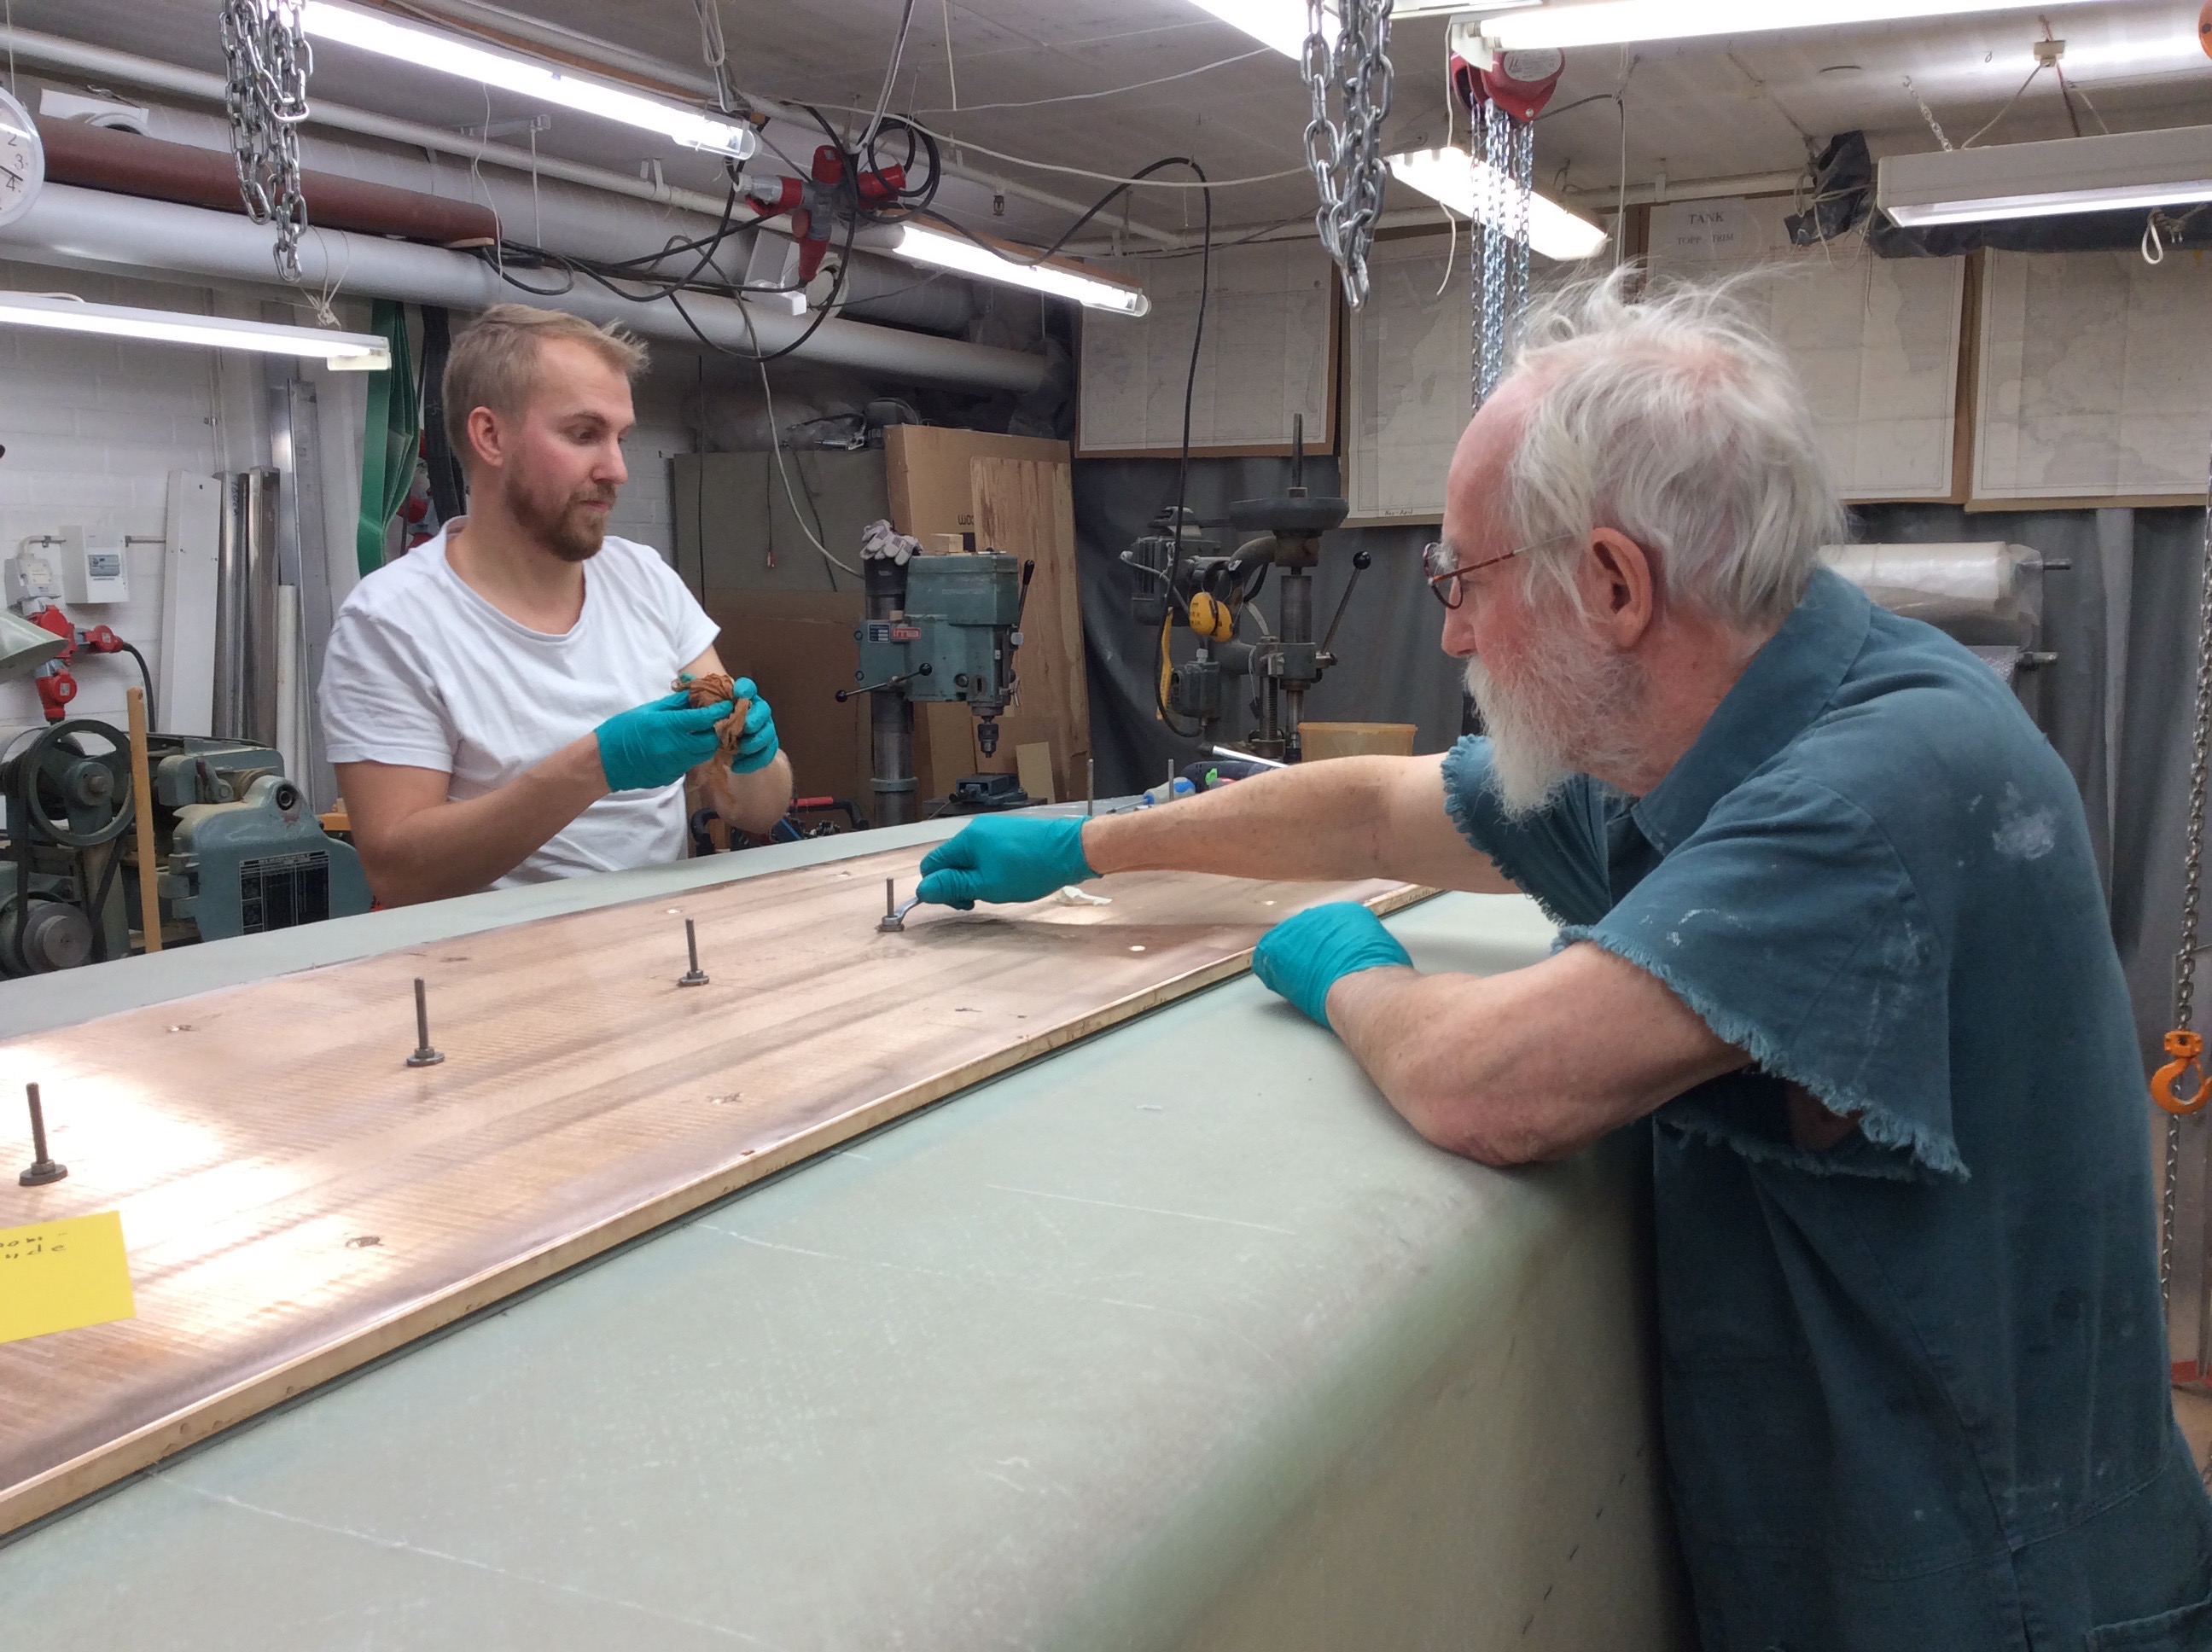
Below two pictures.

Building up the ducts piece by piece. The boat is upside down.
The boat is still upside down. The picture have been rotated. Its on the left side on the edge where the bolts holding the deckfitting enter. I have to cut a hole to put on nuts and washers. The nuts will slightly reduce air flow. I have to live with that. I have to try to remember to next boat. When you are experimenting, when you are the first to try something, boatbuilding can only be understood backwards.

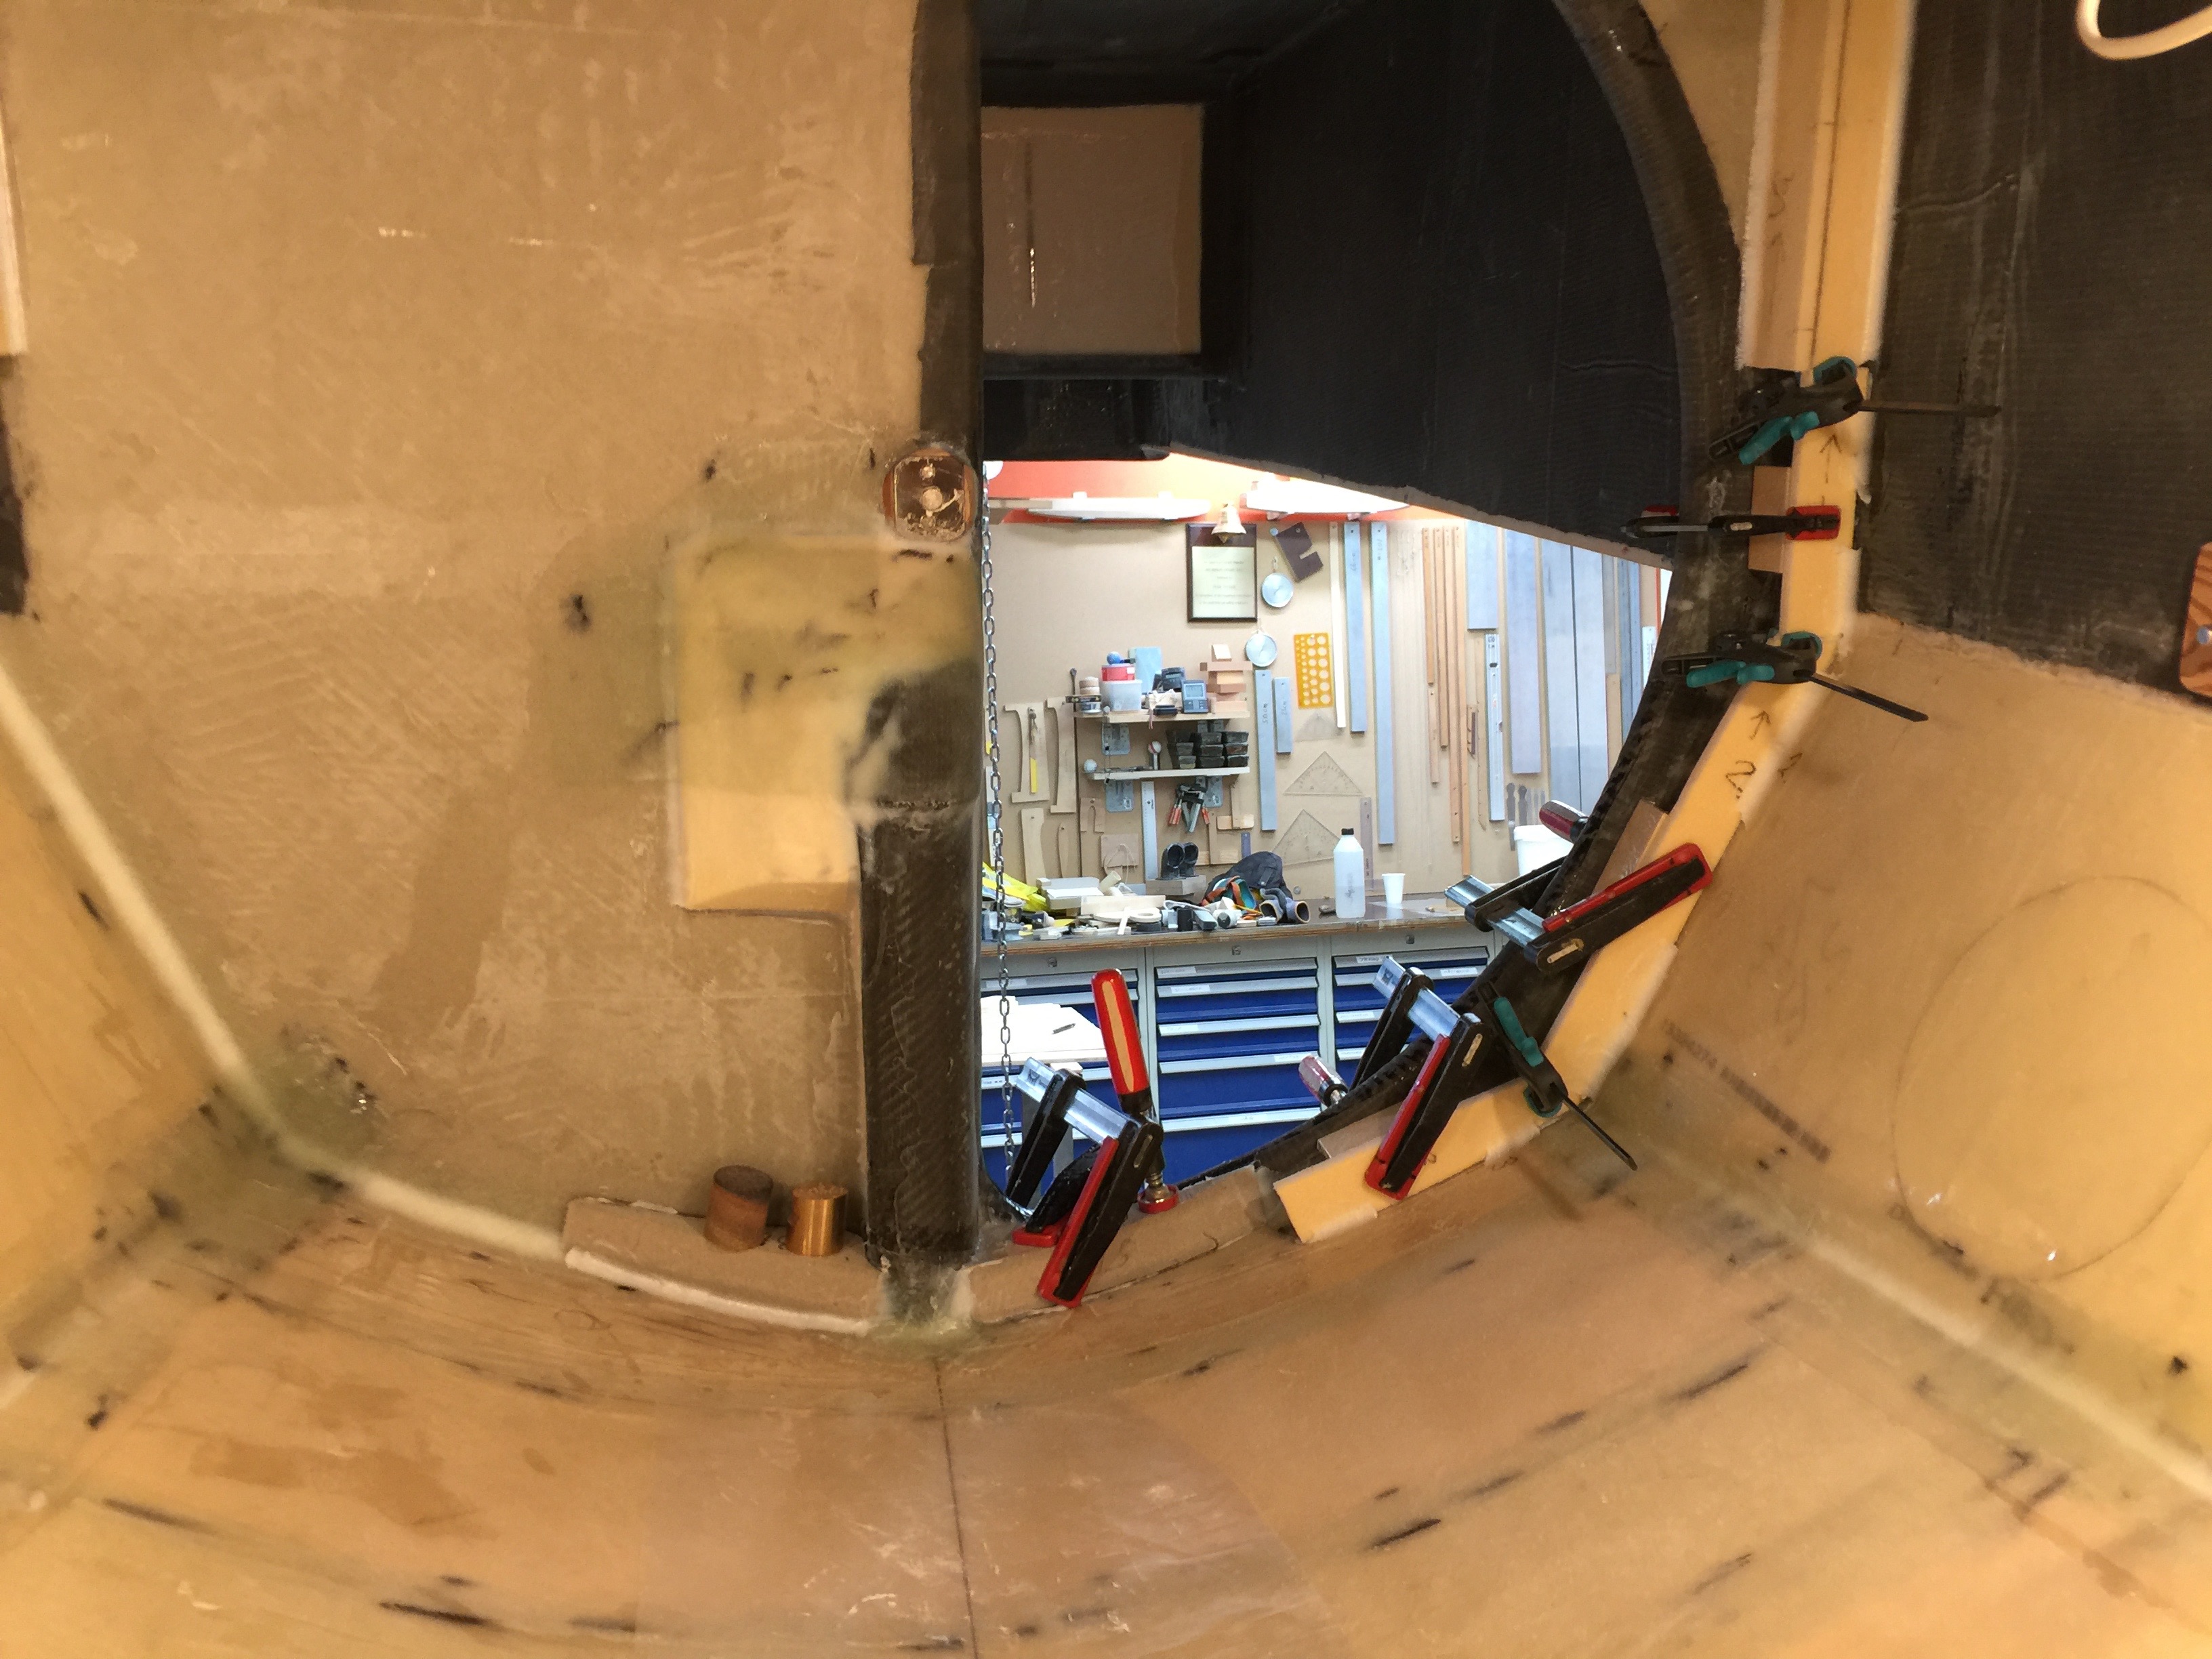
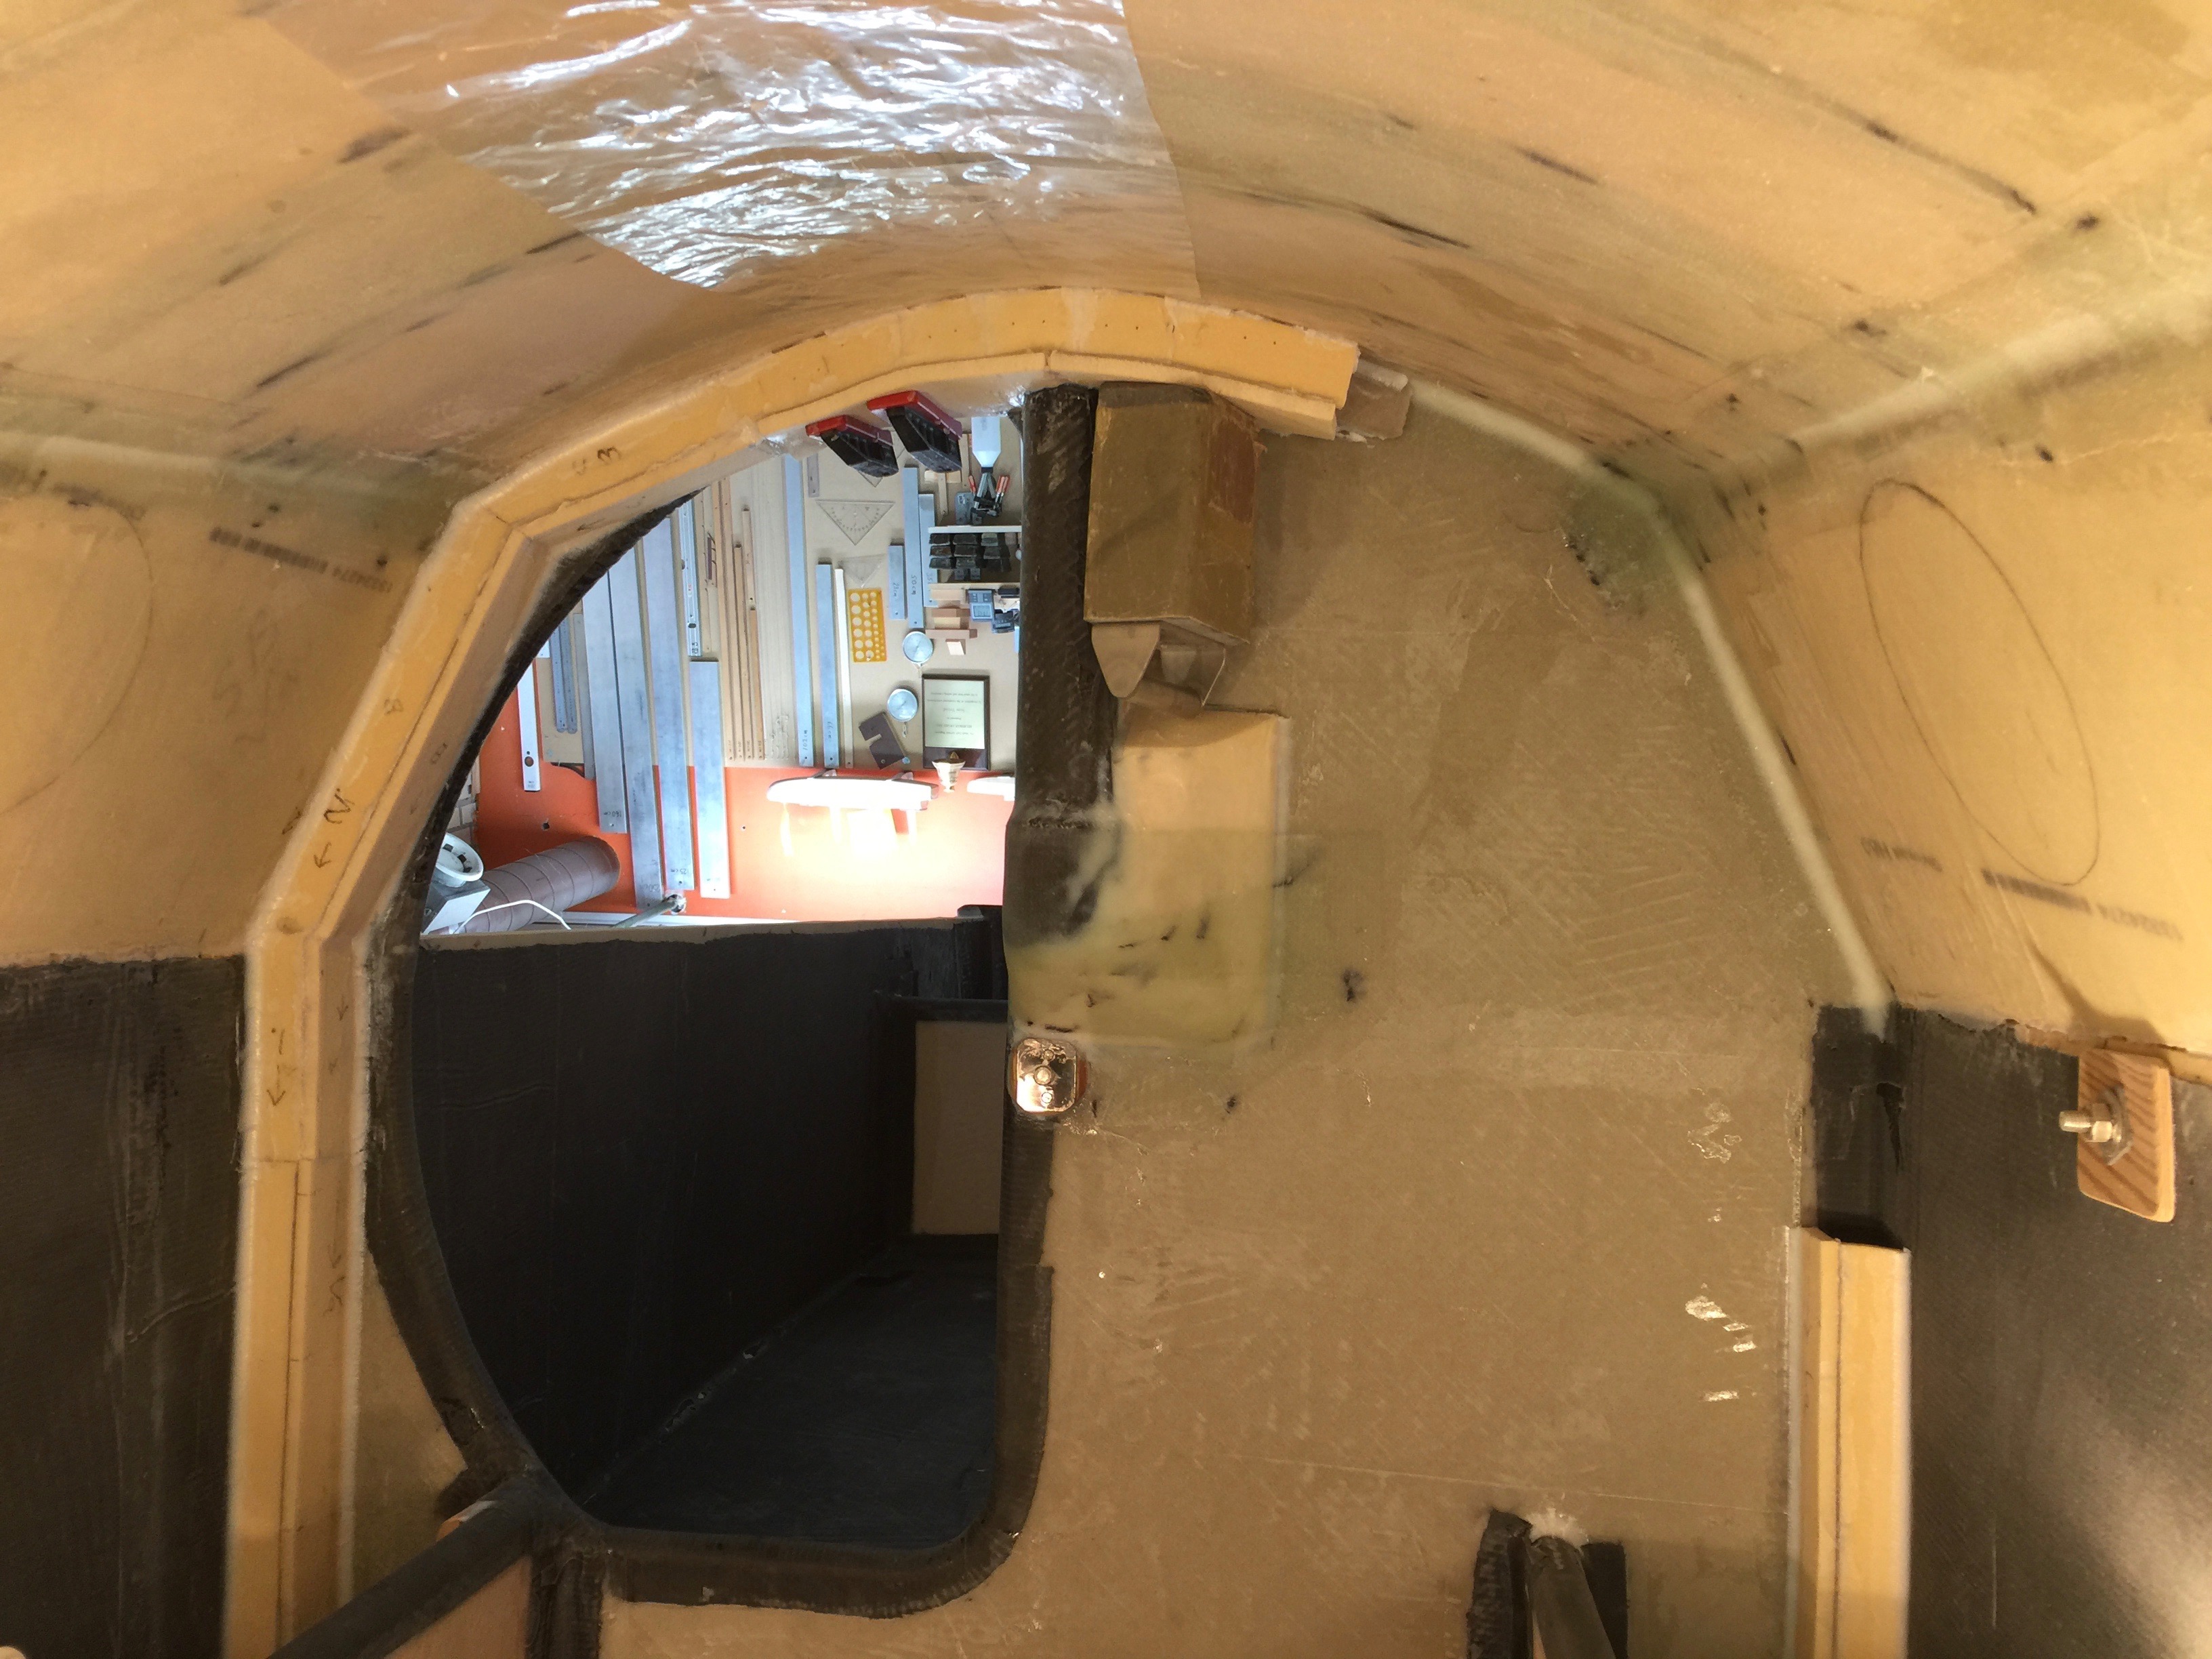
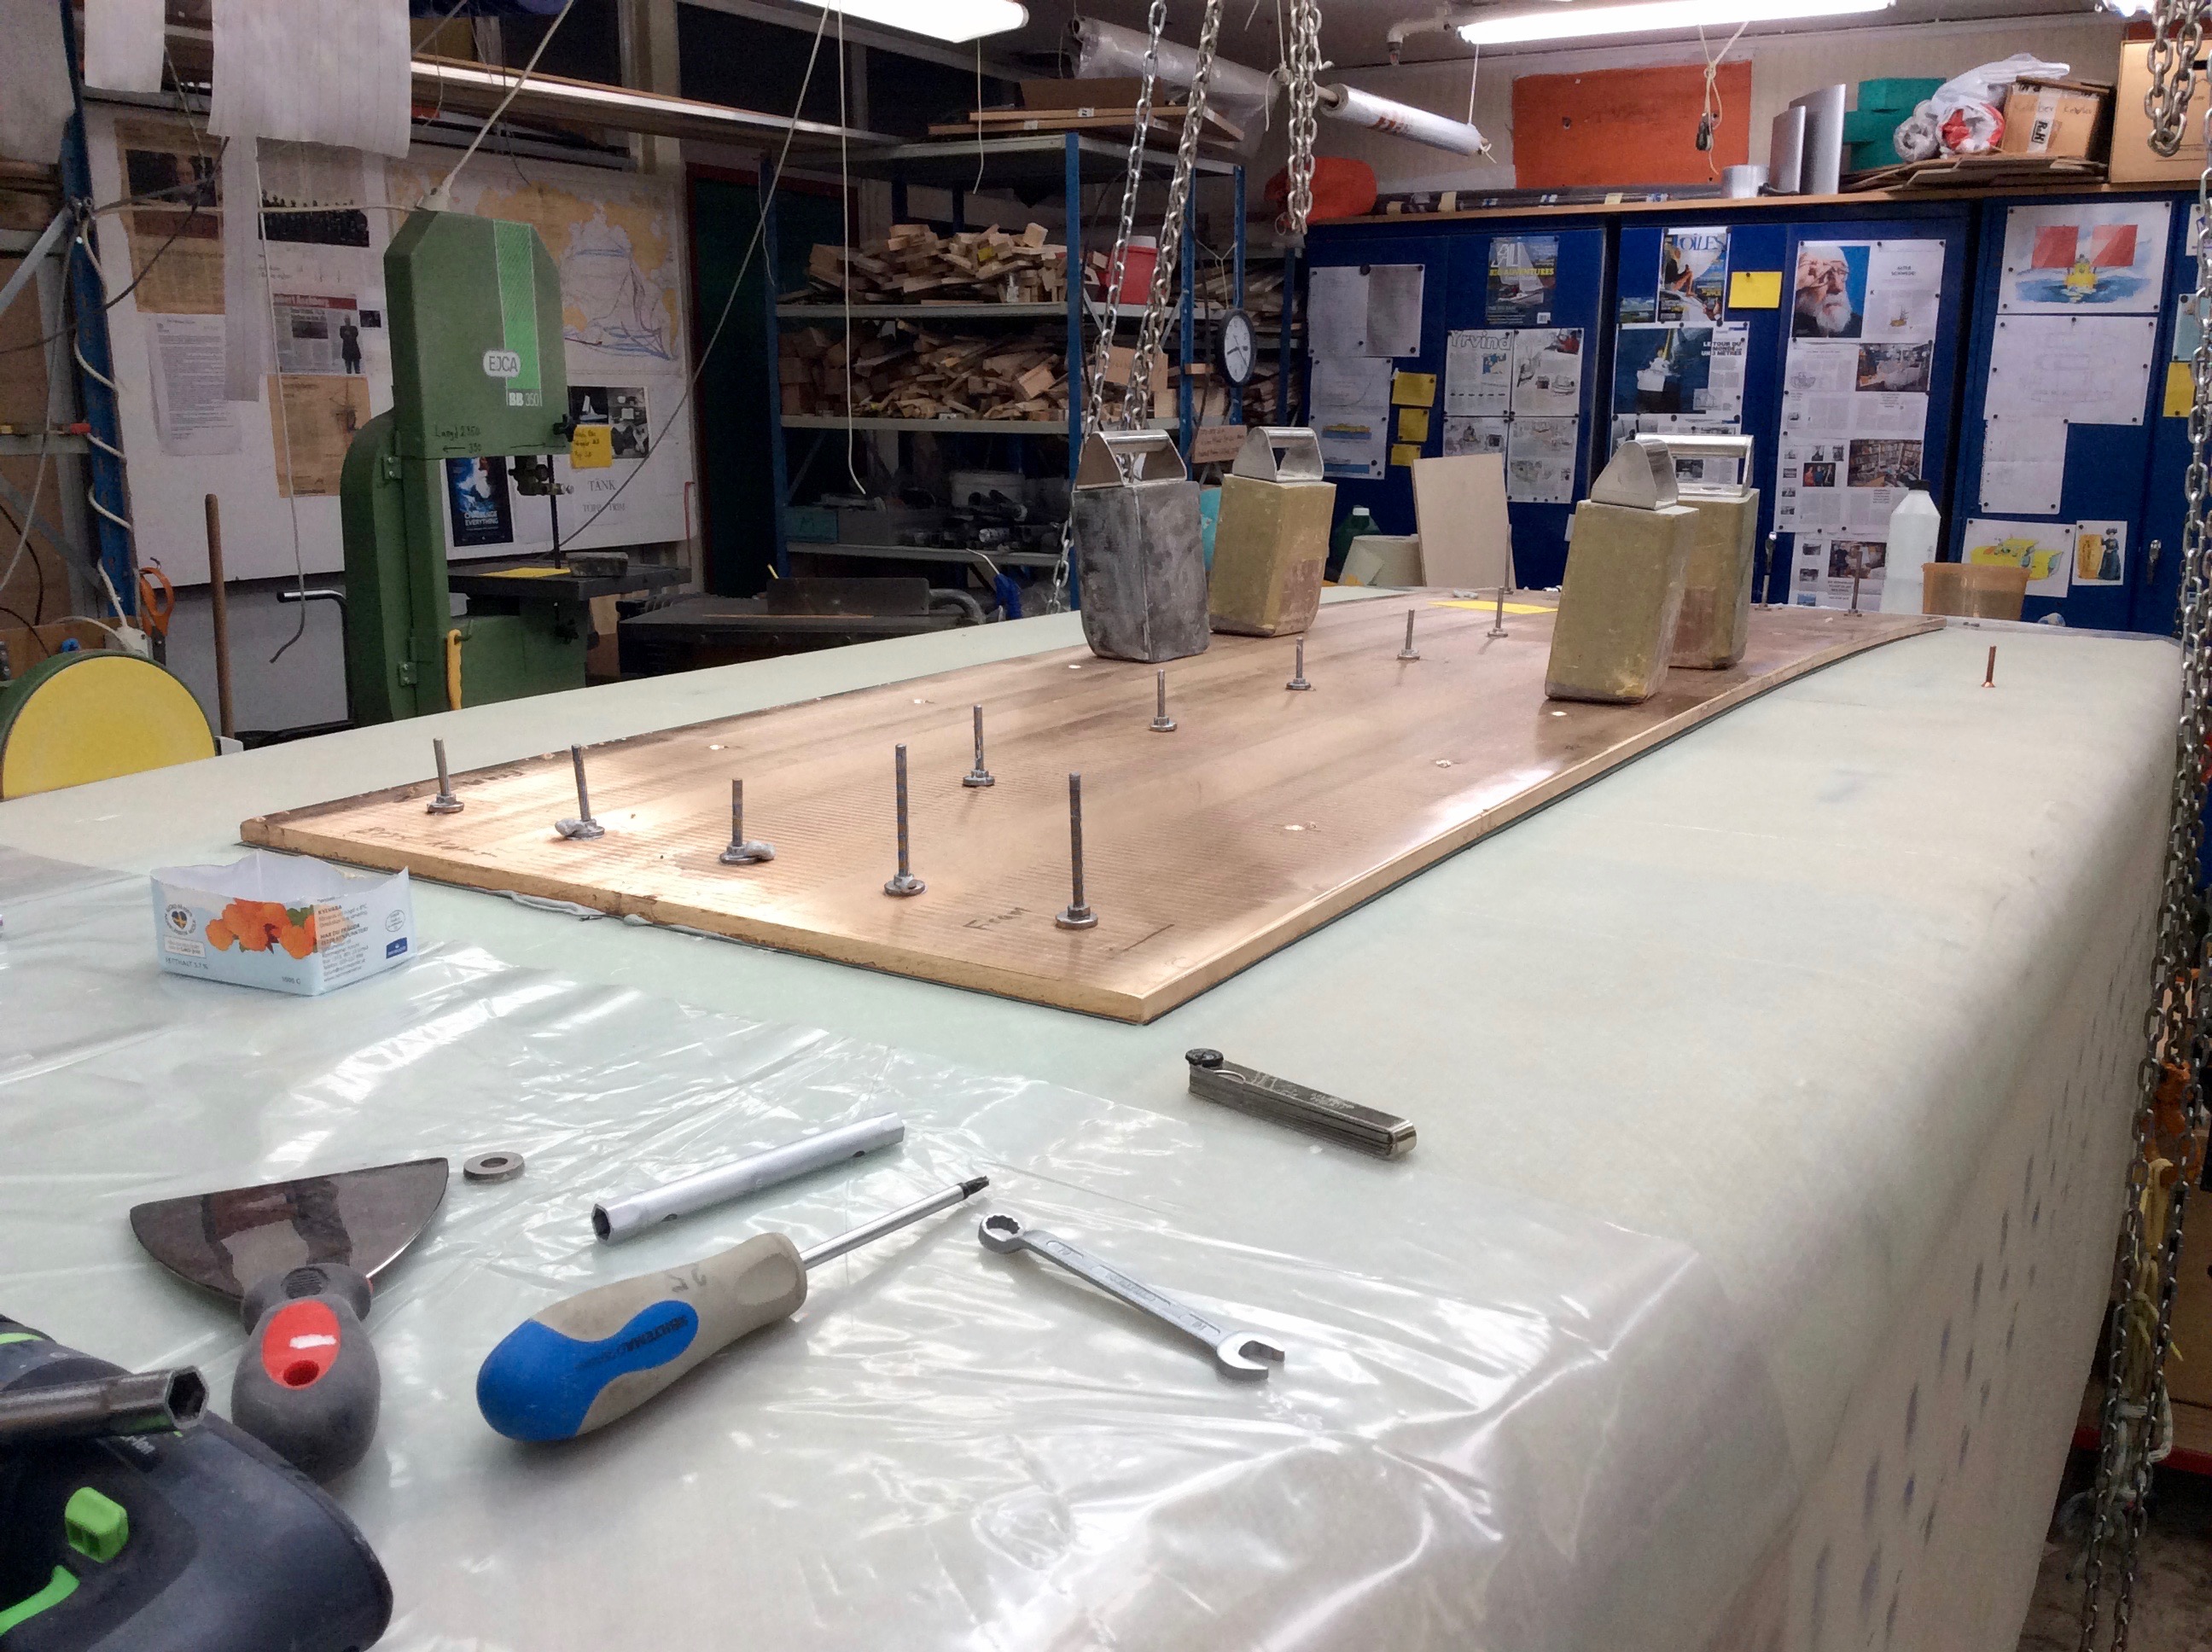
I will now cover the ducts done with glassfiber, turn the boat on even keel and continue elsewhere. Later I come back to the ducts. It will be more difficult to make them then becoause the aft deck will be on, but I do not build this boat because I like to have something easy to do. It will be a very good boat that will sail a wonderful voyage, so will be the next project as the previus ones have been. This life keeps me happy. Please donate that I can continue this wonderful life. If you enable me to do mistakes it will safe you from making them.

To be continued…

Regards Yrvind.

THE VENTILATION COMPLEX

A boat should be dry inside even in heavy weather, and even after having been capsized and pitchpooled. At the same time it is a good thing to have a functioning ventilation system. Fresh air is a good thing.

1974 while attempting to round Cape Horn, I and the 20 feet boat I had built in my mothers basement the boat was capsized. A weak later in some of the strongest winds I have ever experienced she was pitchpooled.  Water had entered through the ventilaters and created a mess. To avoid a repeat I figured out a system that would keep the boat dry. Two years later working with multihull designer Dick Newick on Marthas Vineyard I built my first system. It was provisional, just two hoses I put up when the waves started to break. On the boat I built 76 – 79 I made a permanent system, a aluminumtube from the deck to the bottom of the boat.

On Amfibie -Bris 85  – 89 I added a transverse duct so that intake an outlet was diametrically opposite.

On the yellow boat that I 2011 sailed to Martinique in I added a trap to the Doradebox thuse all the incoming air separated from water went into the cabin.

Now on Exlex Minor there is no deckhouse there is also stearing ropes that passes through the bulkhead with the two ducts of incoming and outgoing air and the door rotating around a horizontal axis is also there to add to the complexity in the region. This makes thinking necessary. However by slowly approaching the problem I now see a way. To simplify the problem, I have started with the given, a hole in the boulkhead and later I will do holes for the cowl vents in the deck. Then I will connect them with ducts that do not crossing each other.

Below some pictures.

I made a mold for the cowl vent of Divinycell then wrapped it in Teflon thread seal tape that the NM-epoxy would not stick to the Divinycell.
The mold ready to take the carbon fiber. I stypidly made the error of using long tapes and wrapped it in peelply. It became a mess. Later I fixed it a bit with smaller pieces. Next time I know better. One learns.
If having time after test sail I will making new ones more beautiful. These ones are strong enougf.
The start on one duct. This will take time. The hole in the bulkhead can be seen as white dot.
The hole from the other side
A sketch of the trap -water seal
A sketch of the developed system to let see that the two ducts dont cross. The reason I do avoid crossing ducts is that they steal to much headroom.

There is plenty to do Christmas and New year will be spent working on the boat. If you have any money left please donate to my project. It is good for mankind with smal safe shallow draft ocean going boats propelled by sail and oar.

To be continued…

Regards Yrvind.

MORE ON THE DECK

Tonight I have with the help of Stefan and Håkan laminated the outside of the deck.

I asked Stefan if he could give me a hand. I have 30 minutes he said after that I must go to a consert. Work took much longer after over an hour he had to leave. Lyckily Håkan turned up and stayed to the end, thuse rescuing me. It was filling the gaps I had cut to be abel to bend the top part of the deck that was the problem. The gaps used upp a lot more NM-epoxy thickend with silica than I had estimated. I had never done that before and sometimes new thing takes longer than planned. In the end thanks to my friends evrything went well. I am now ready to start designing and build the important ventilation system. Boats do capsize and pitchpoole. Whats happening in the Golden Globe race 2018 amply demonstrates that stormy weather do capsize boats that sails in high latitudes and causes a lot of damage. I belive that only a small boat well designed can come out of bad weather with no damage.

Below are some pictures.

Me inside Exlex Minor. With my left hand I am holding a cut out of the window from the 2011 boat I sailed to Martinique in. It would be nice to have a window that size on that spot. To the left in the picture, to my right is the mastholder. There is plenty of headroom in this boat.
Me putting peelply on the laminated surface. Håkan took the picture.

To be continued…

Regards Yrvind

STARTING THE DECK

Today I have with the help of Håkan started the deck abouve my bedroom.

Here are some pictures.

With the help of lead weights the preshaped deck is pressed down on the bulkheads. NM-epoxy with silica is used to fix it.
The foreward buklhead, me in the background.
Almost the same picture.

To be continued…

Regards Yrvind

DEADLOCK

There’s a Hole in My Bucket” is a children’s song, based on a dialogue between two characters, called Henry and Liza, about a leaky bucket. The song describes a deadlock situation: Henry has a leaky bucket, and Liza tells him to repair it. To fix the leaky bucket, he needs straw. To cut the straw, he needs an axe. To sharpen the axe, he needs to wet the sharpening stone. To wet the stone, he needs water. But to fetch water, he needs the bucket, which has a hole in it. Harry Belafonte made a famous record of it in 1960 well worth listening to.

After finishing the hull and I started to make the lunch boxes, but before installing them I had to do the ventilation system so I started in my bedroom with the stovage, but before finishing that I had to do the ventilation system but before doing that I had to do the deck, but before doing the deck I had to do the mastholder.

I have also started on the coamings for the two hatches.

Now the mastholder is done ready to be installed, the deck is laminated on the inside ready to be put on, in other words the deadlock is broken. Soon there will be some progress.

Below some pictures.

Marstöm Composite have kindly let me using prepreg carbon fiber and acces to their autoclave to do the mastholder. Here the product in a vacuum bag ready for the high temperature and big pressure. The pressure is outside the vacuum bag.
Me next to the mastholder it has a 60 mm inner diameter.
Here are the molds for the deck abouve my bedroom
The Divinycell on the molds. The reason for the big curvature of the deck is to get a shallow draft boat selfrightning without a big deep ballasted keel. To bend the 3 cm Divinycell 2 cm cuts vere made lenghtwise in the Divinycell. The Divinycell is then loaded with lead at the molds, between it is laminated with NM-epoxy.
When the NM-epoxy had cured I could remove most of the lead and put some at the ends. A deck with this much curvature is not to difficult to walk on besides I use my bedroom as a tunnel between the aft hatch and the forward hatch pretty much eliminating the need to go on deck.

To be continued…

Regards Yrvind.

THE BRONZE PLATE IS ON

Today 18:30 we started to mix the NM-elastic epoxy. Helping me were Håkan Stefan Peter and Petter. All went very well although my original plan had to be changed for a better one suggested by Petter. One should always chose helpers that are smarter than oneself.

Below are some pictures taken by Håkan. The reason you cannot see him is that he is behind the camera.

The 138 kilo plate is hanging abouve the hull. From left to right Stefan, Petter and me.
The plate boults were inserted from below, Petters idea, that made it easyer to tighten them and have control of the plate.
Peter is below with a spanner keeping the bolts from turning
The plate is now hold by 17 stainless steel M6 bolts and the NM elastic epoxy. However the bolts will be replaced by 1/4 inch UNC silicon bronze screws becouse of corrosion and inside they take up space in my bed. More about that later
Me regarding the bolts watching how the NM-epoxy like worms under pressure is oozing out through the drilled holes.

I like also to thank Lagermetall in Örebro who supplied the bronze plate and Wevik Maskin AB here in Västervik who bent the palte to shape.

To be continued…

Regards Yrvind.

REPAIRING DAMAGE

Below is some pictures of me repairing the damage I inflicted on the main bulkhead.

Some of the damage
Same damage different view.
To restore the plane surface of the bulkhead I clamped it to a thick piece of plywood.
At the fracture I hollowed out a piece of the Divinycell core to give place for NM-epoxy and carbon rowing.
The carbon rowing in place being covered with epoxy putty.

The pictures shows the rupture. There was also damage in a secound place. Later the deck and side deck will be attatched to the bulkhead. The parts together will give plenty of strenght.

To be continued…

Regards Yrvind.

Wet Grinding Bronze Plate in Epoxy

These pictures show me wet grinding the bronze plate.

The purpose is to keep out air/oxygen from the boundry between epoxy and bronze. When bronze is grinded wet oxygen cannot reach the newly exposed metall. This makes for better adheasion.

Later the epoxy will be grinded to get rid of carbonates just before it is set in elastic NM-epoxy to be glued to the hull

To be continued…

Regards Yrvind


DETAILS

The plate is removed. The hull is not upside down any longer. The dry run is completed.

Below some pictures.

the damage done to the bulkhead.
Same damage different view. The dammage happend on an inconvienient place because this is part of the pereferi that the rotationg door should seal the entrance to my sleeping room, but the plan is to it up by a flat surface I will get a good enough fix. The deck will be on topp and give sufficient strenght.
This is the concave side of the plate, the side that will take the NM elastic epoxy. I have rughend it with the angle grinder and number 36 grit paper. Later I will wet sand it with epoxy. That way no oxygen will reach the freshly sanded bronze surface. Mora about that later.

To be continued…

Regards Yrvind.

MORE WORK ON THE PLATE

Today was spent on improvements. The results was very satisfying. I was able to reduce the space between the plate and the hull to about 2 – 3 millimeter at the worst places. Yesterday it worst place was 9 millimeter. To achive it I drilled holes through the hull and tightend them considerabel the 12 mm plate yealded and the gap closed.

Below two pictures.

Me being happy with the result. By clicking once or twice you can see tha gap on the depth gauge.
Some of the stainless steel M6 boults in place. When the elastic NM-epoxy have set they will be replaced by 1/4 UNC silicon bronze countersunk screws. Silicon bronze screws and phosphor bronze plating is the ideal combination regarding marine corrusion silicon bronze ist very close to phosphor bronze but slightly more nobel. That means that if any corrosion should happen phosphor bronze is transported to the silicon screws. There is much more of phosphor bronze than silicon bronze so this is according to the book.

This is the dry run. For the real stuff I need 4 or 5 friends and more NM-epoxy. Monday I will start to organise the event. Intill then there is other stuff to take care of.

To be continued…

Regards Yrvind