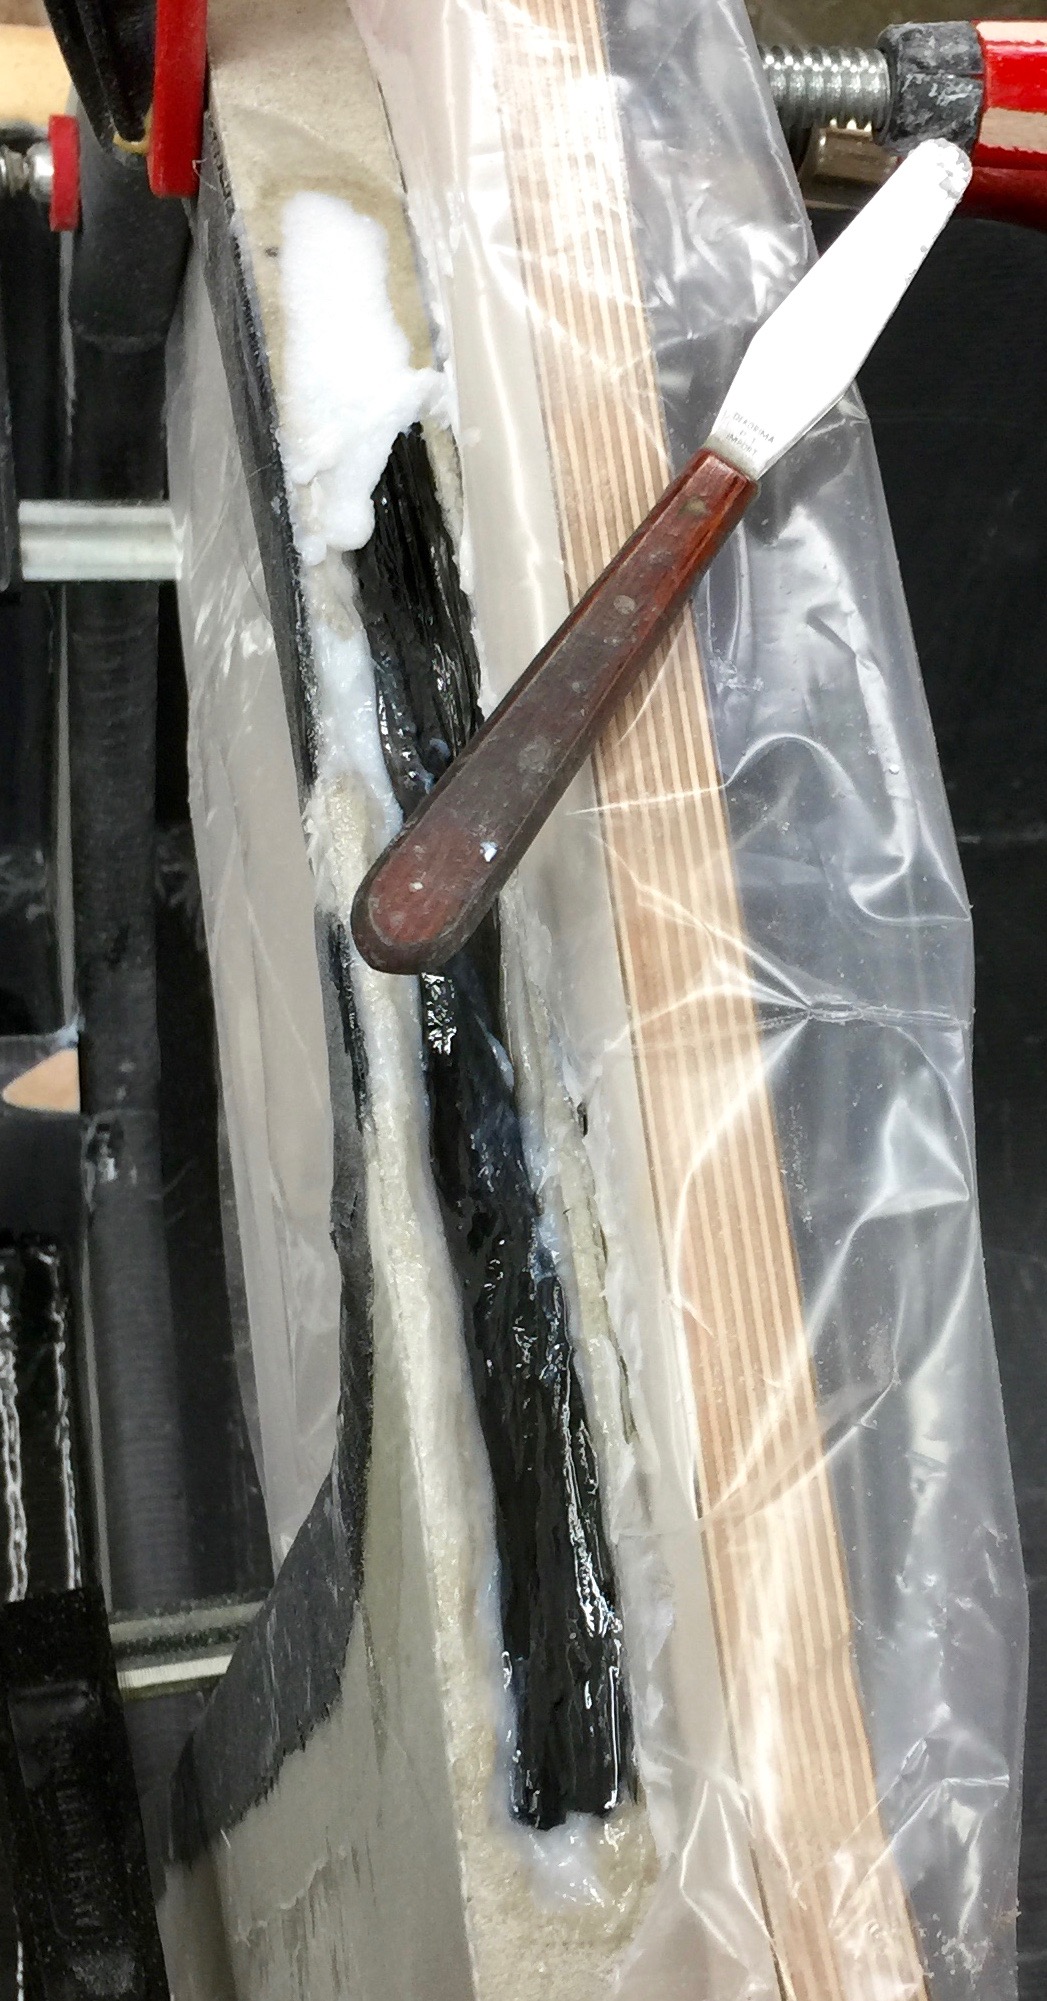
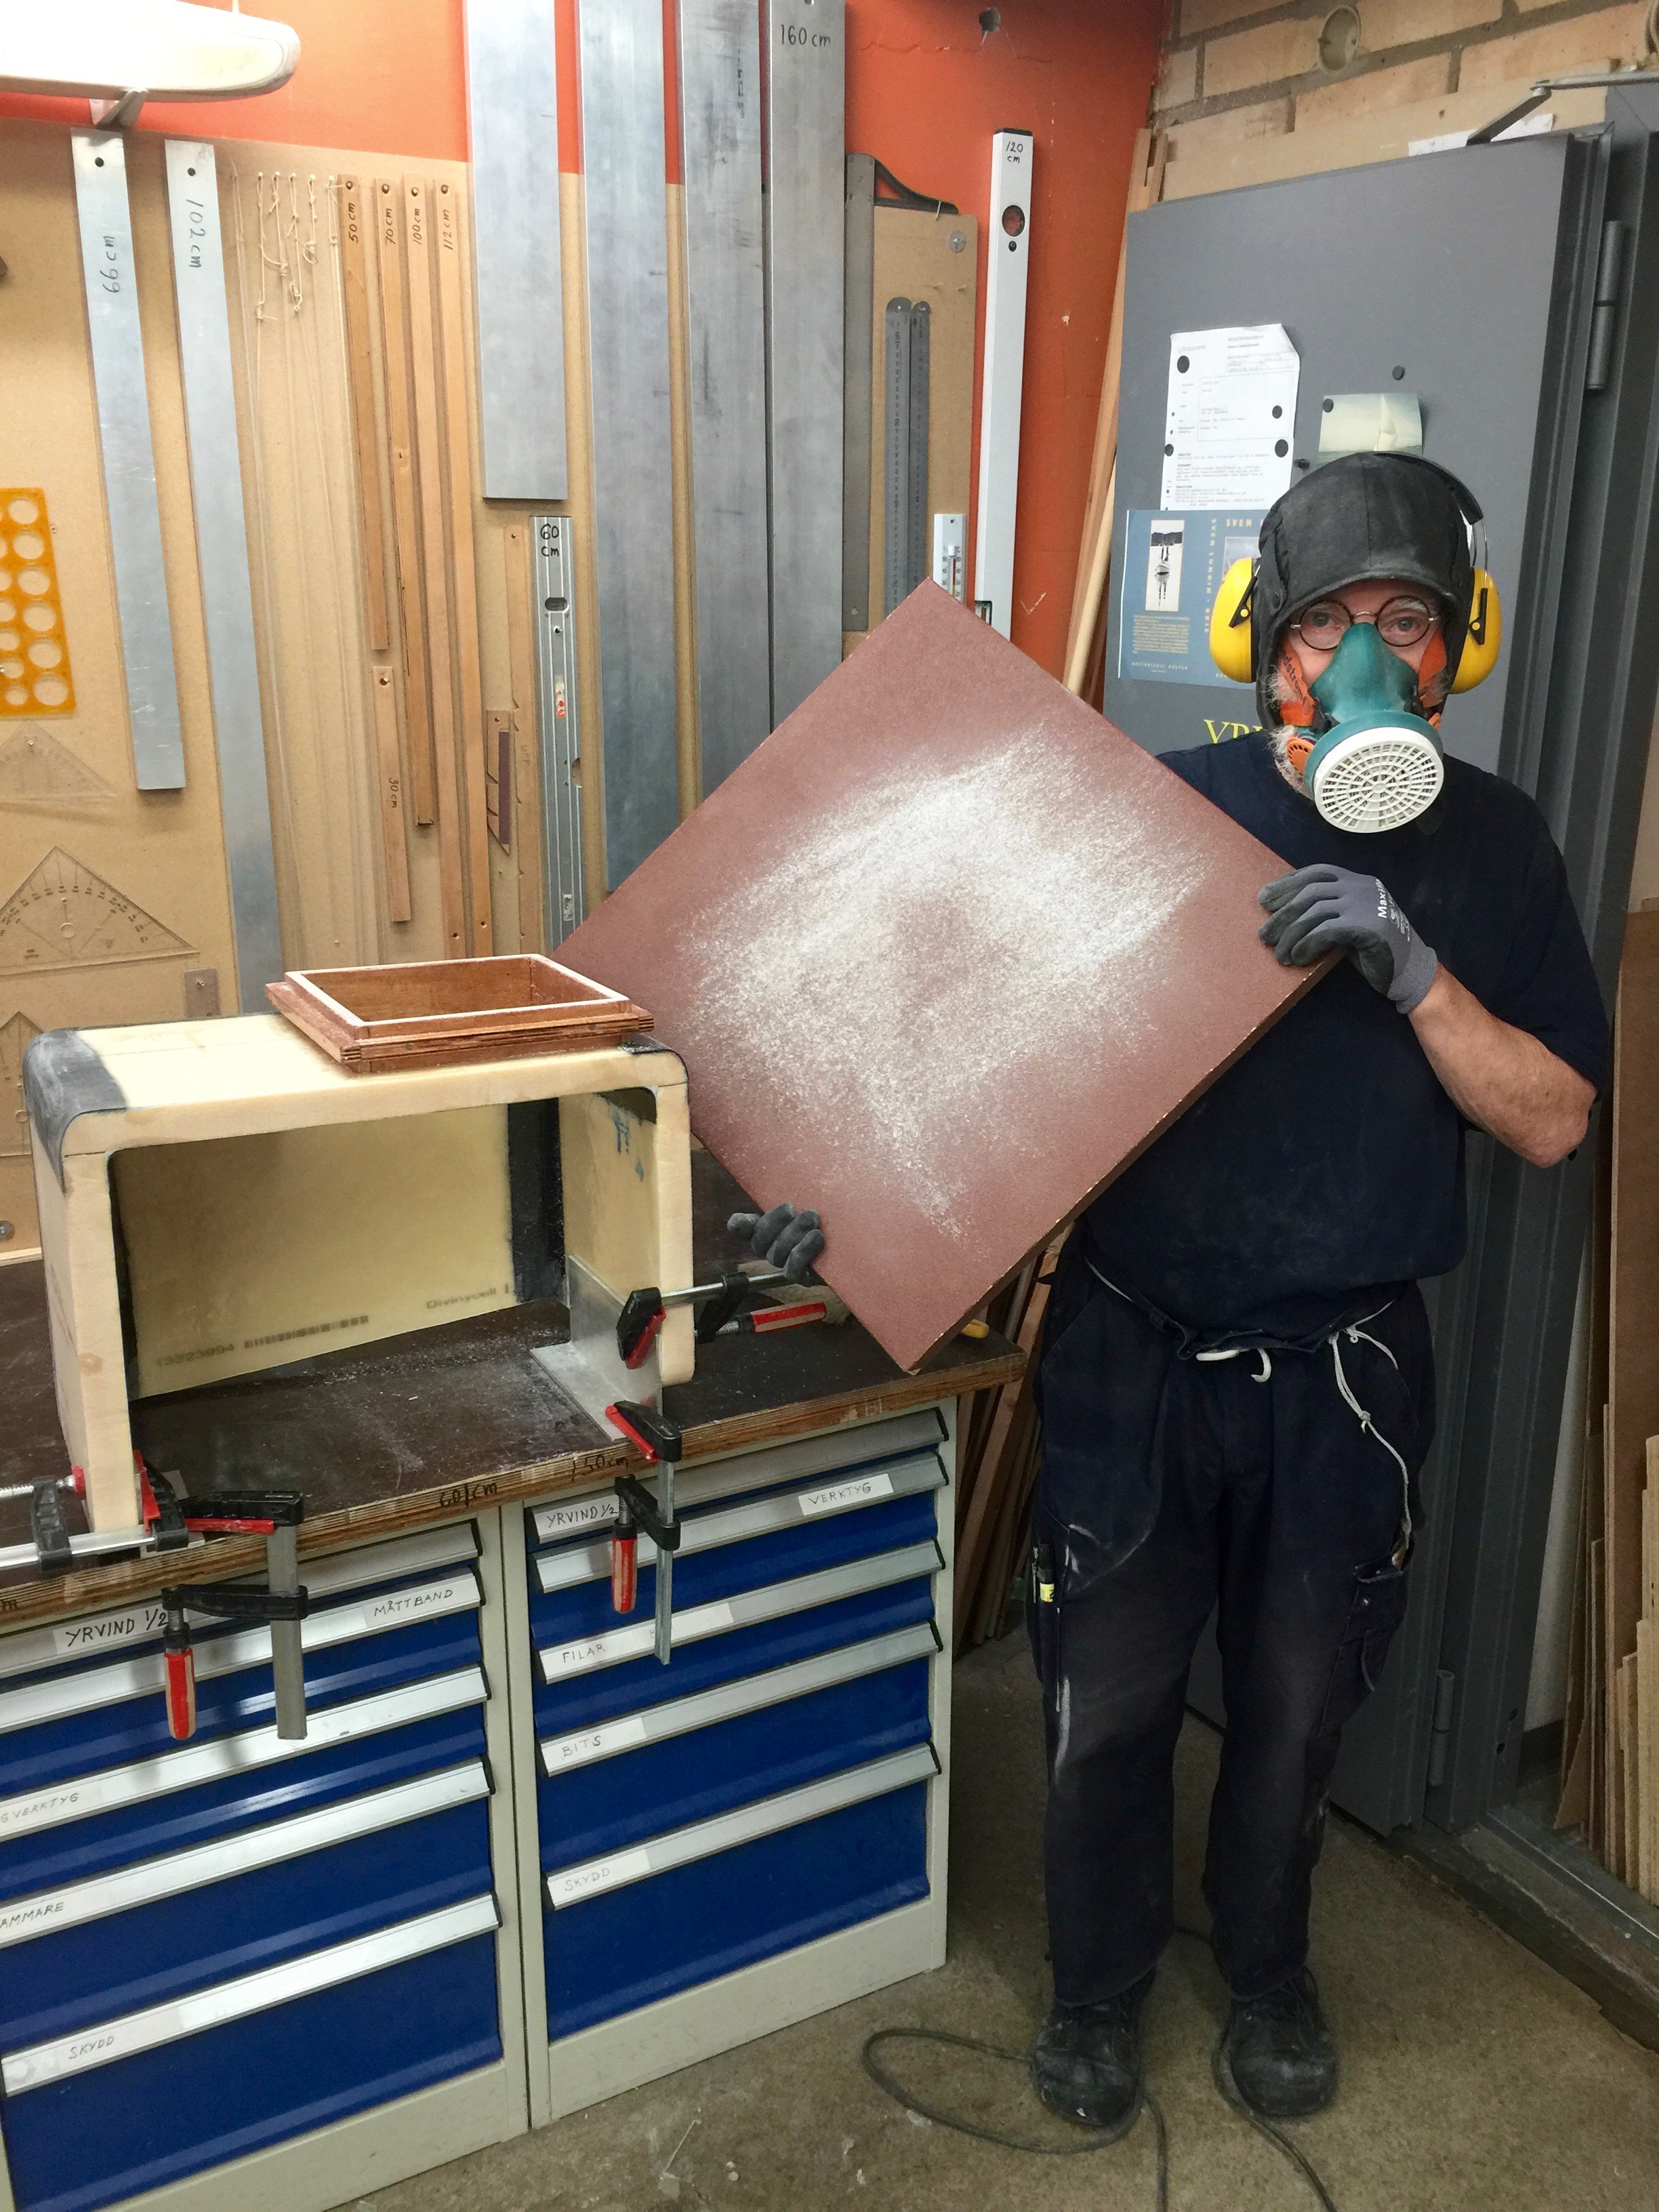
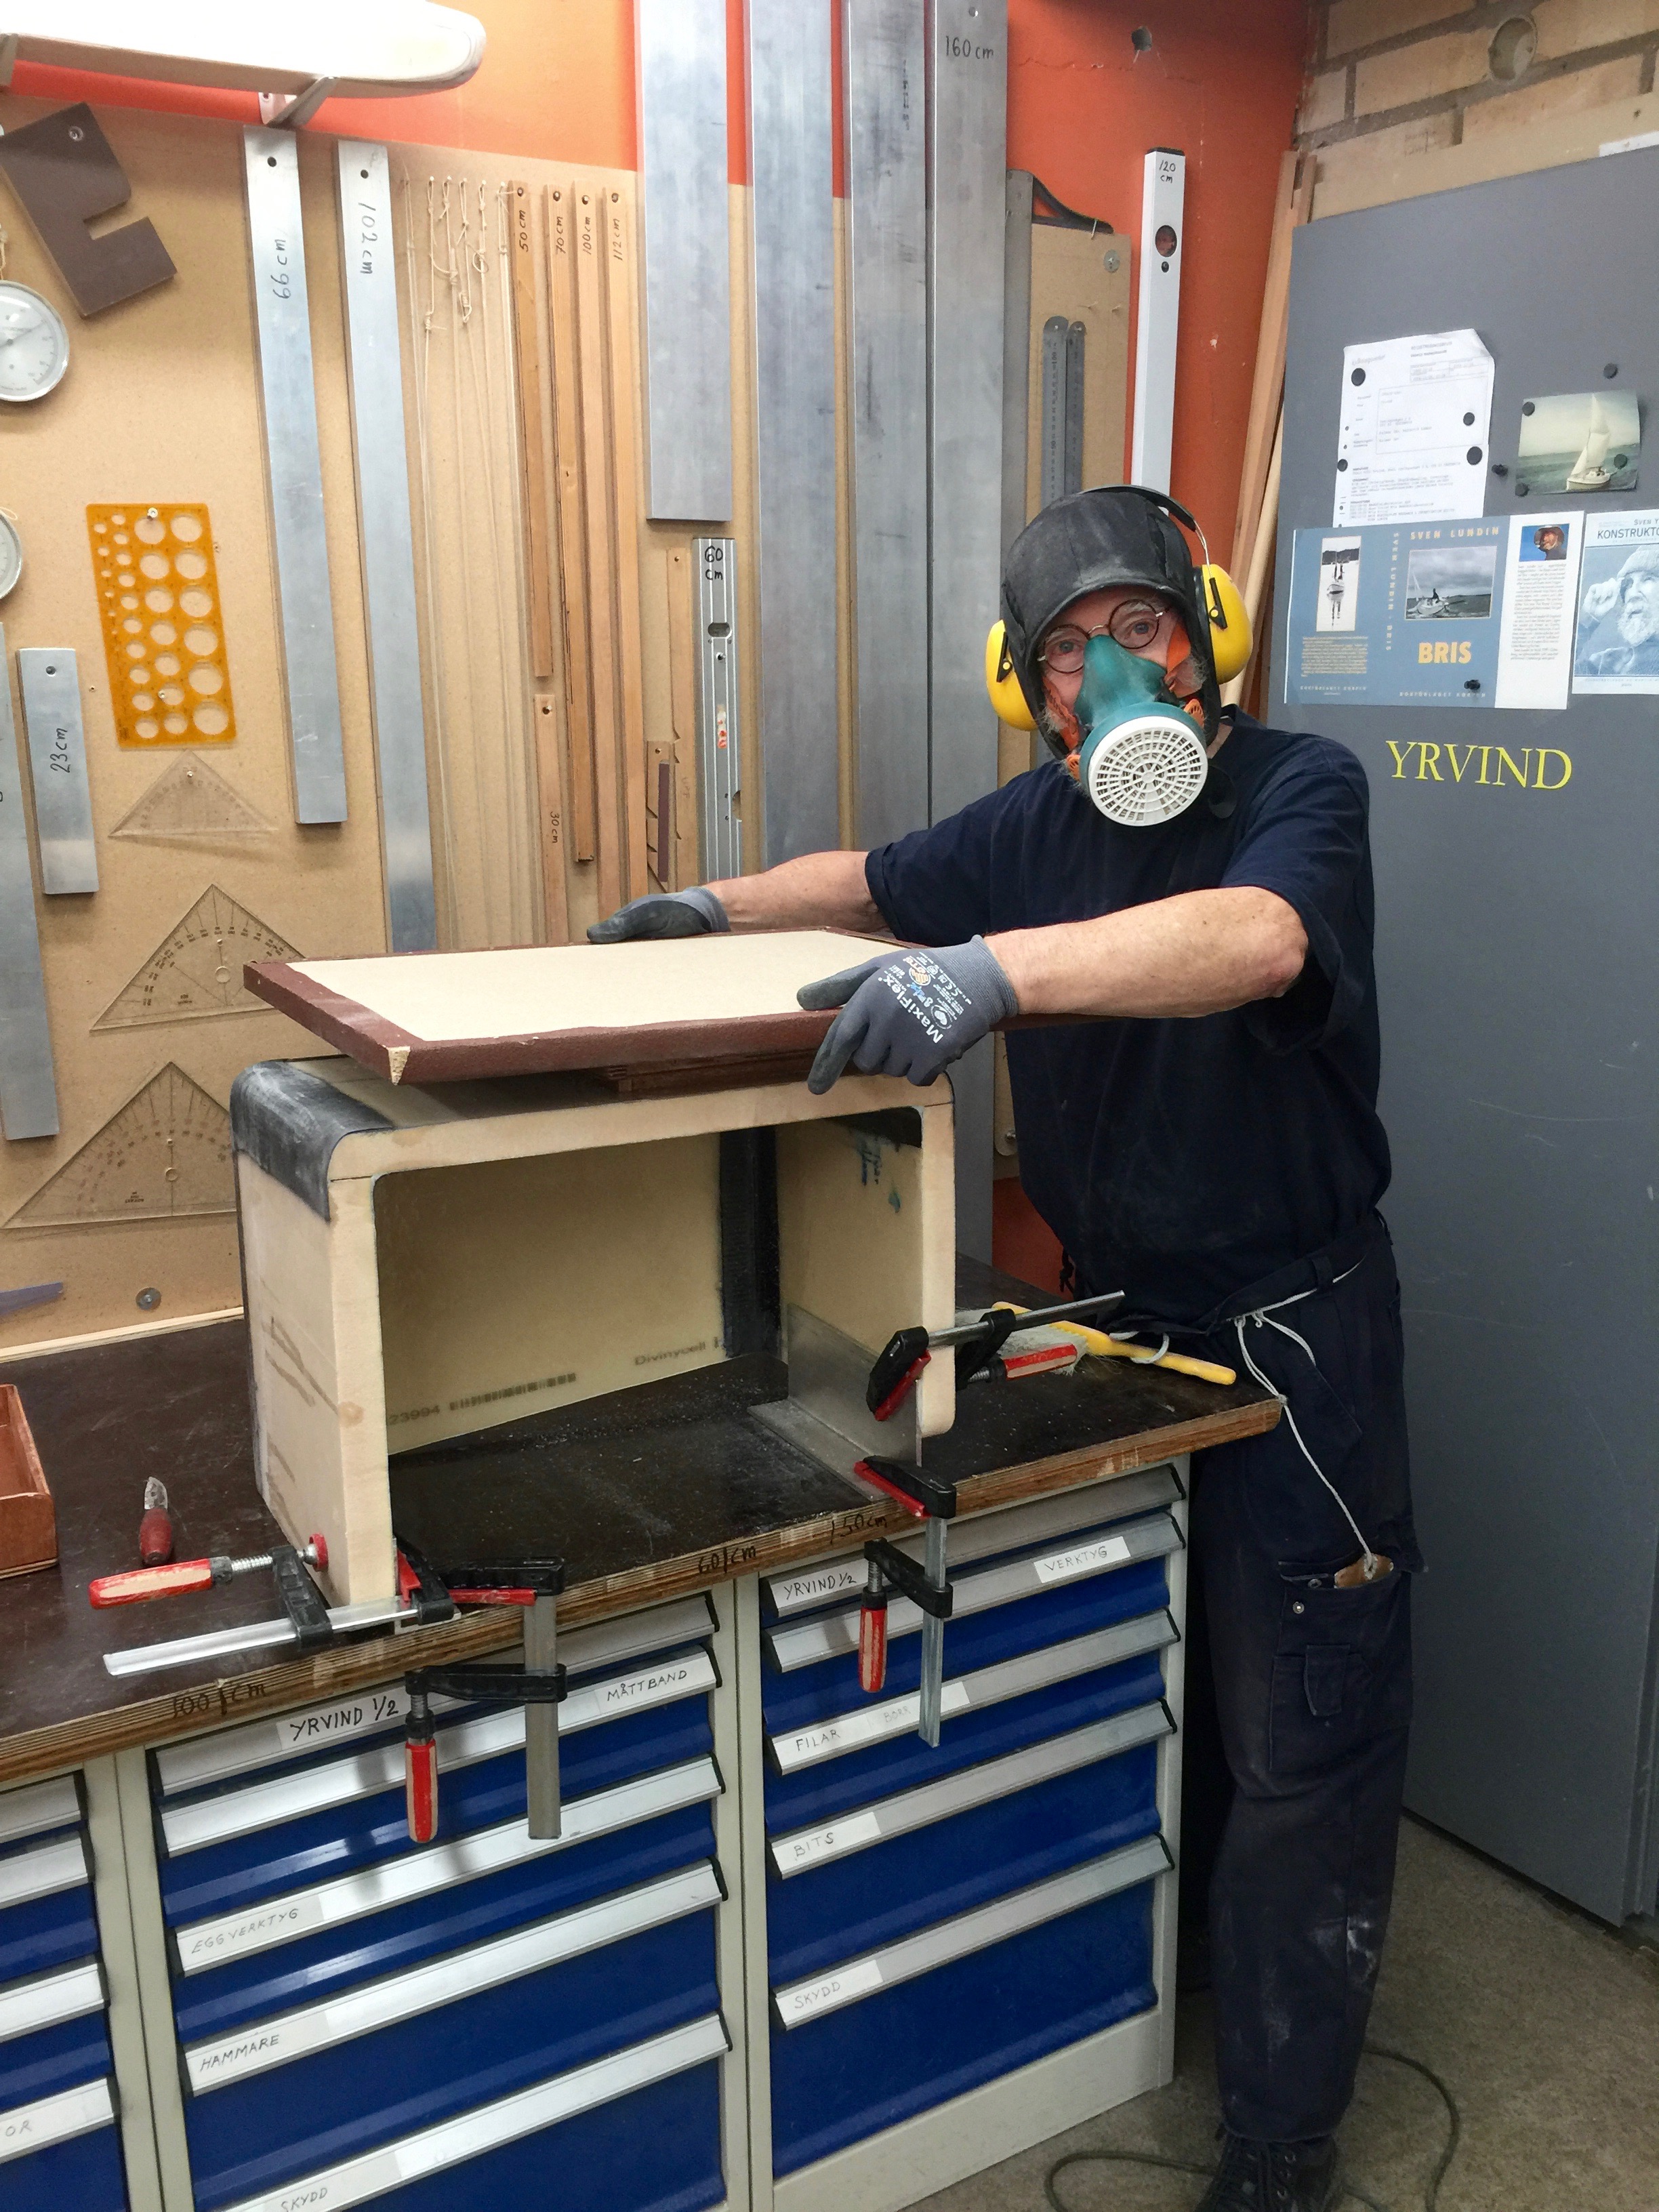
Below is some pictures of me repairing the damage I inflicted on the main bulkhead.
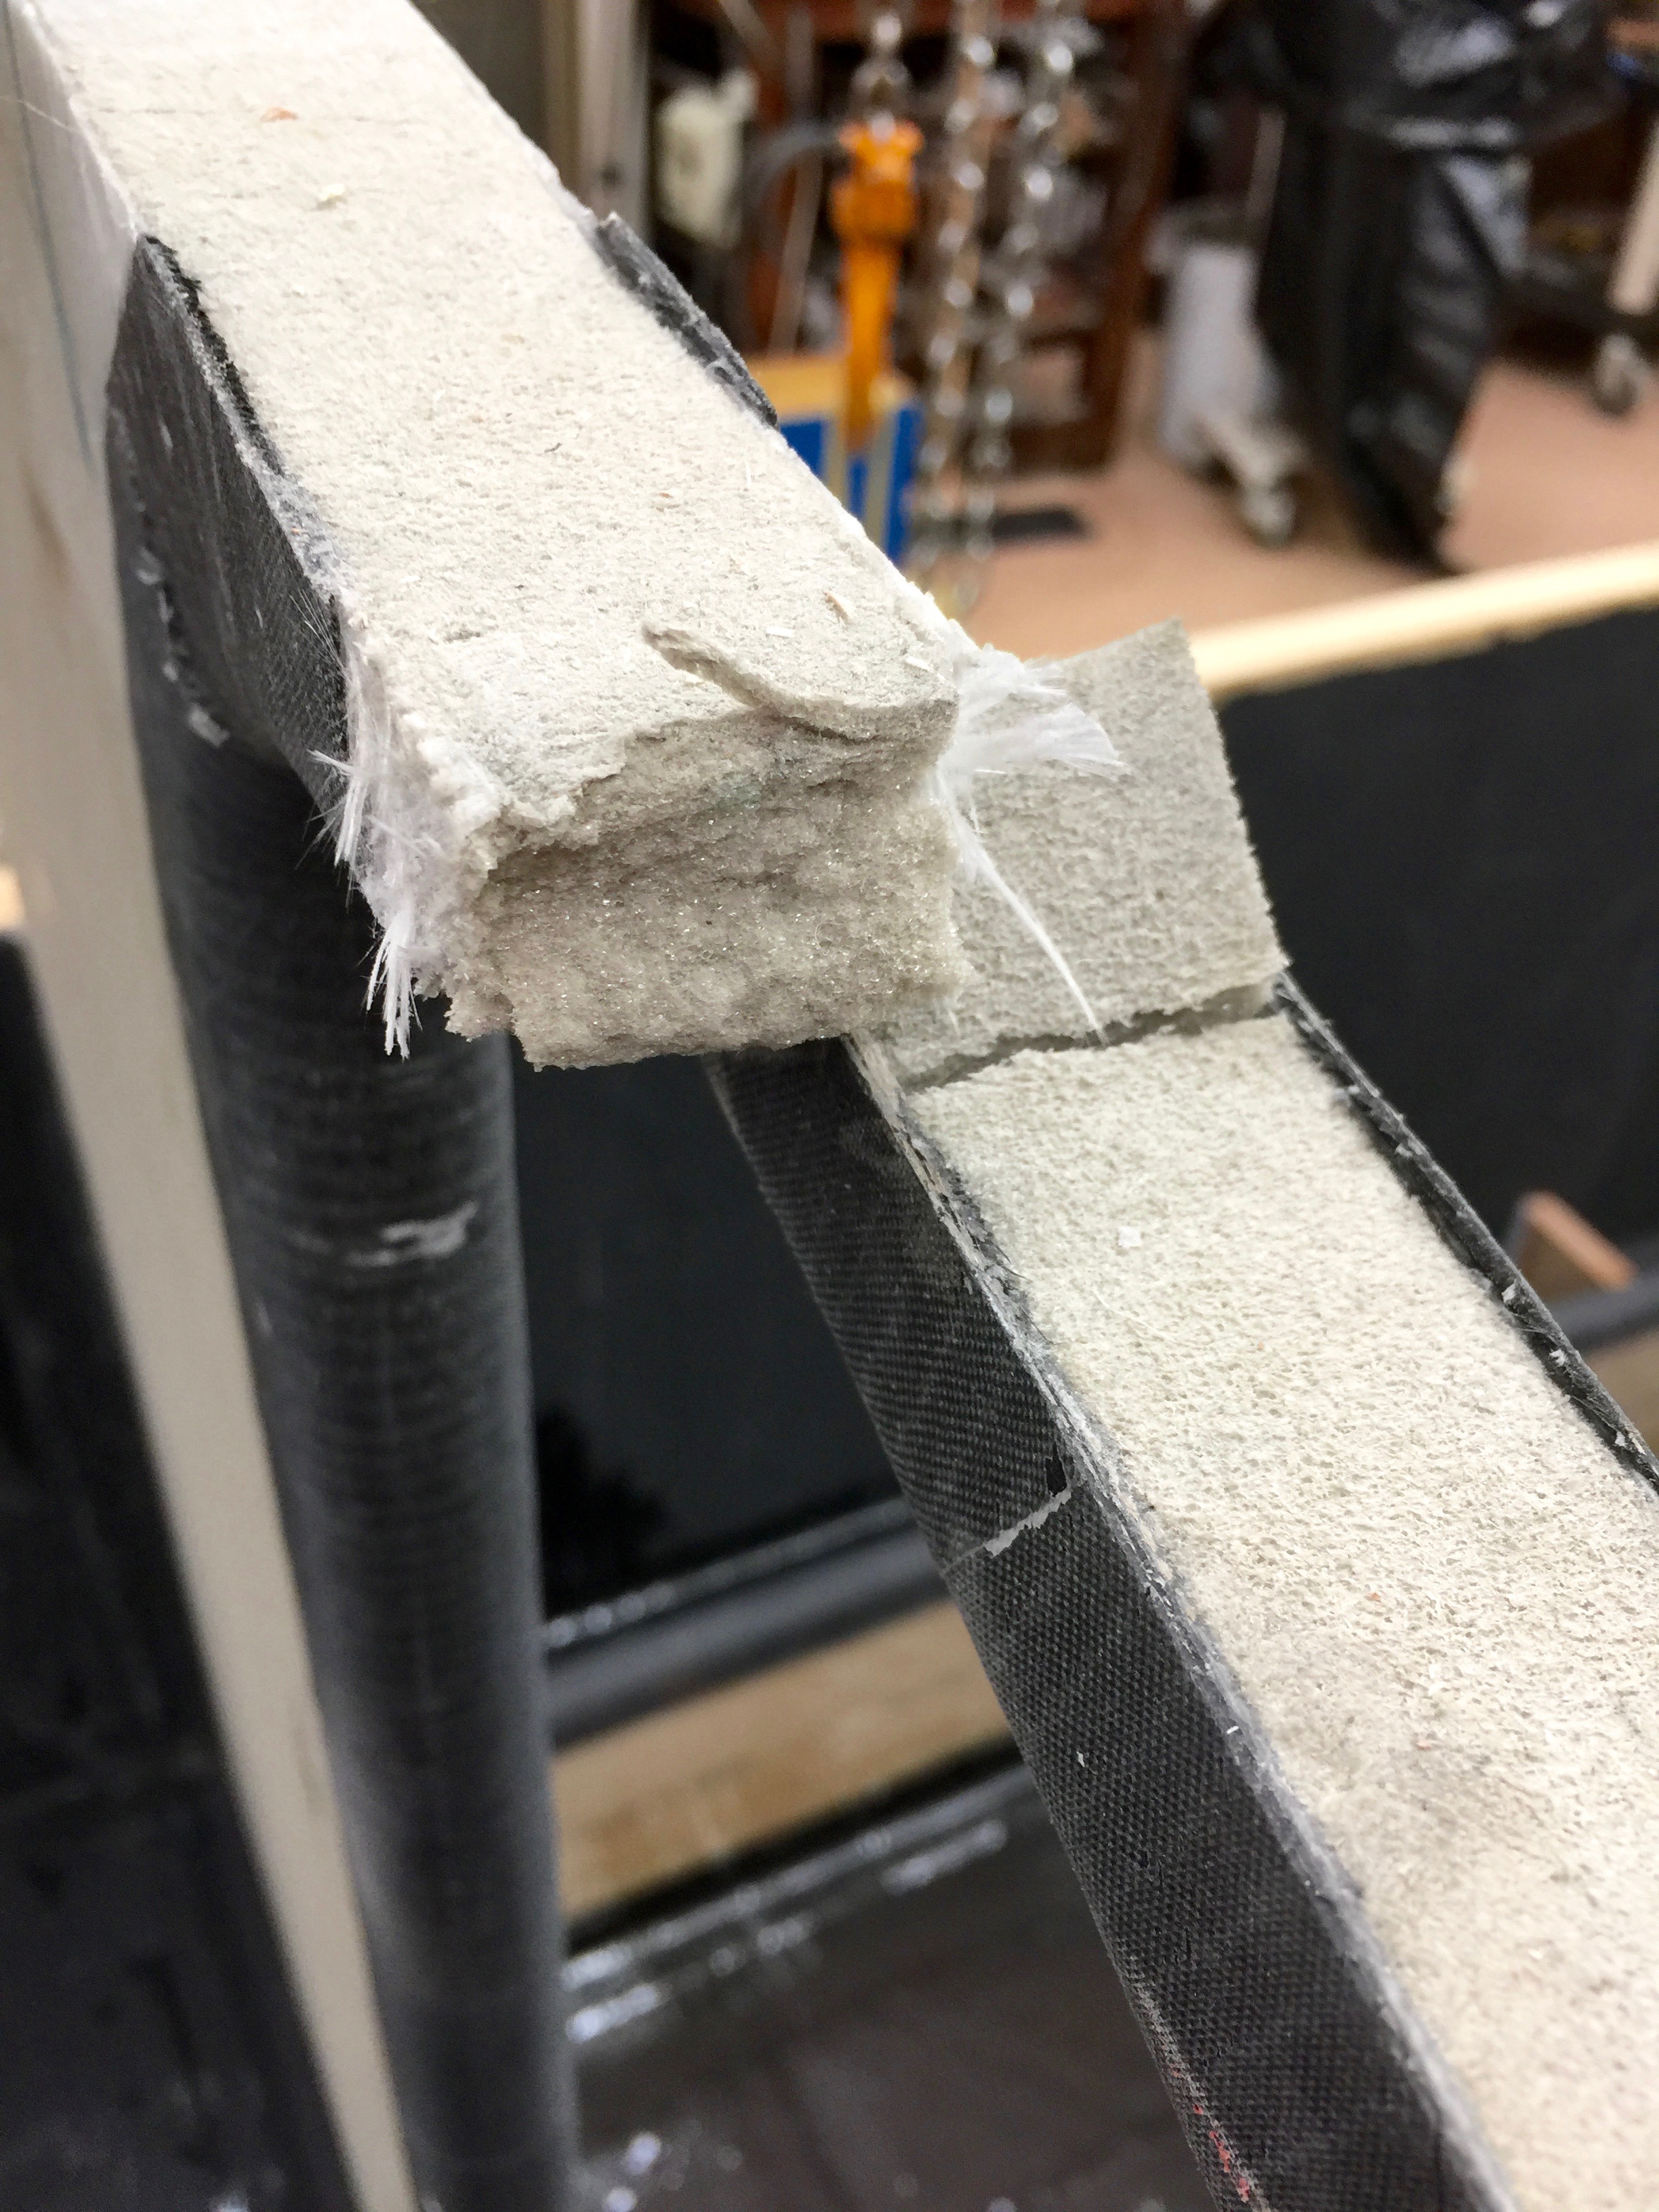
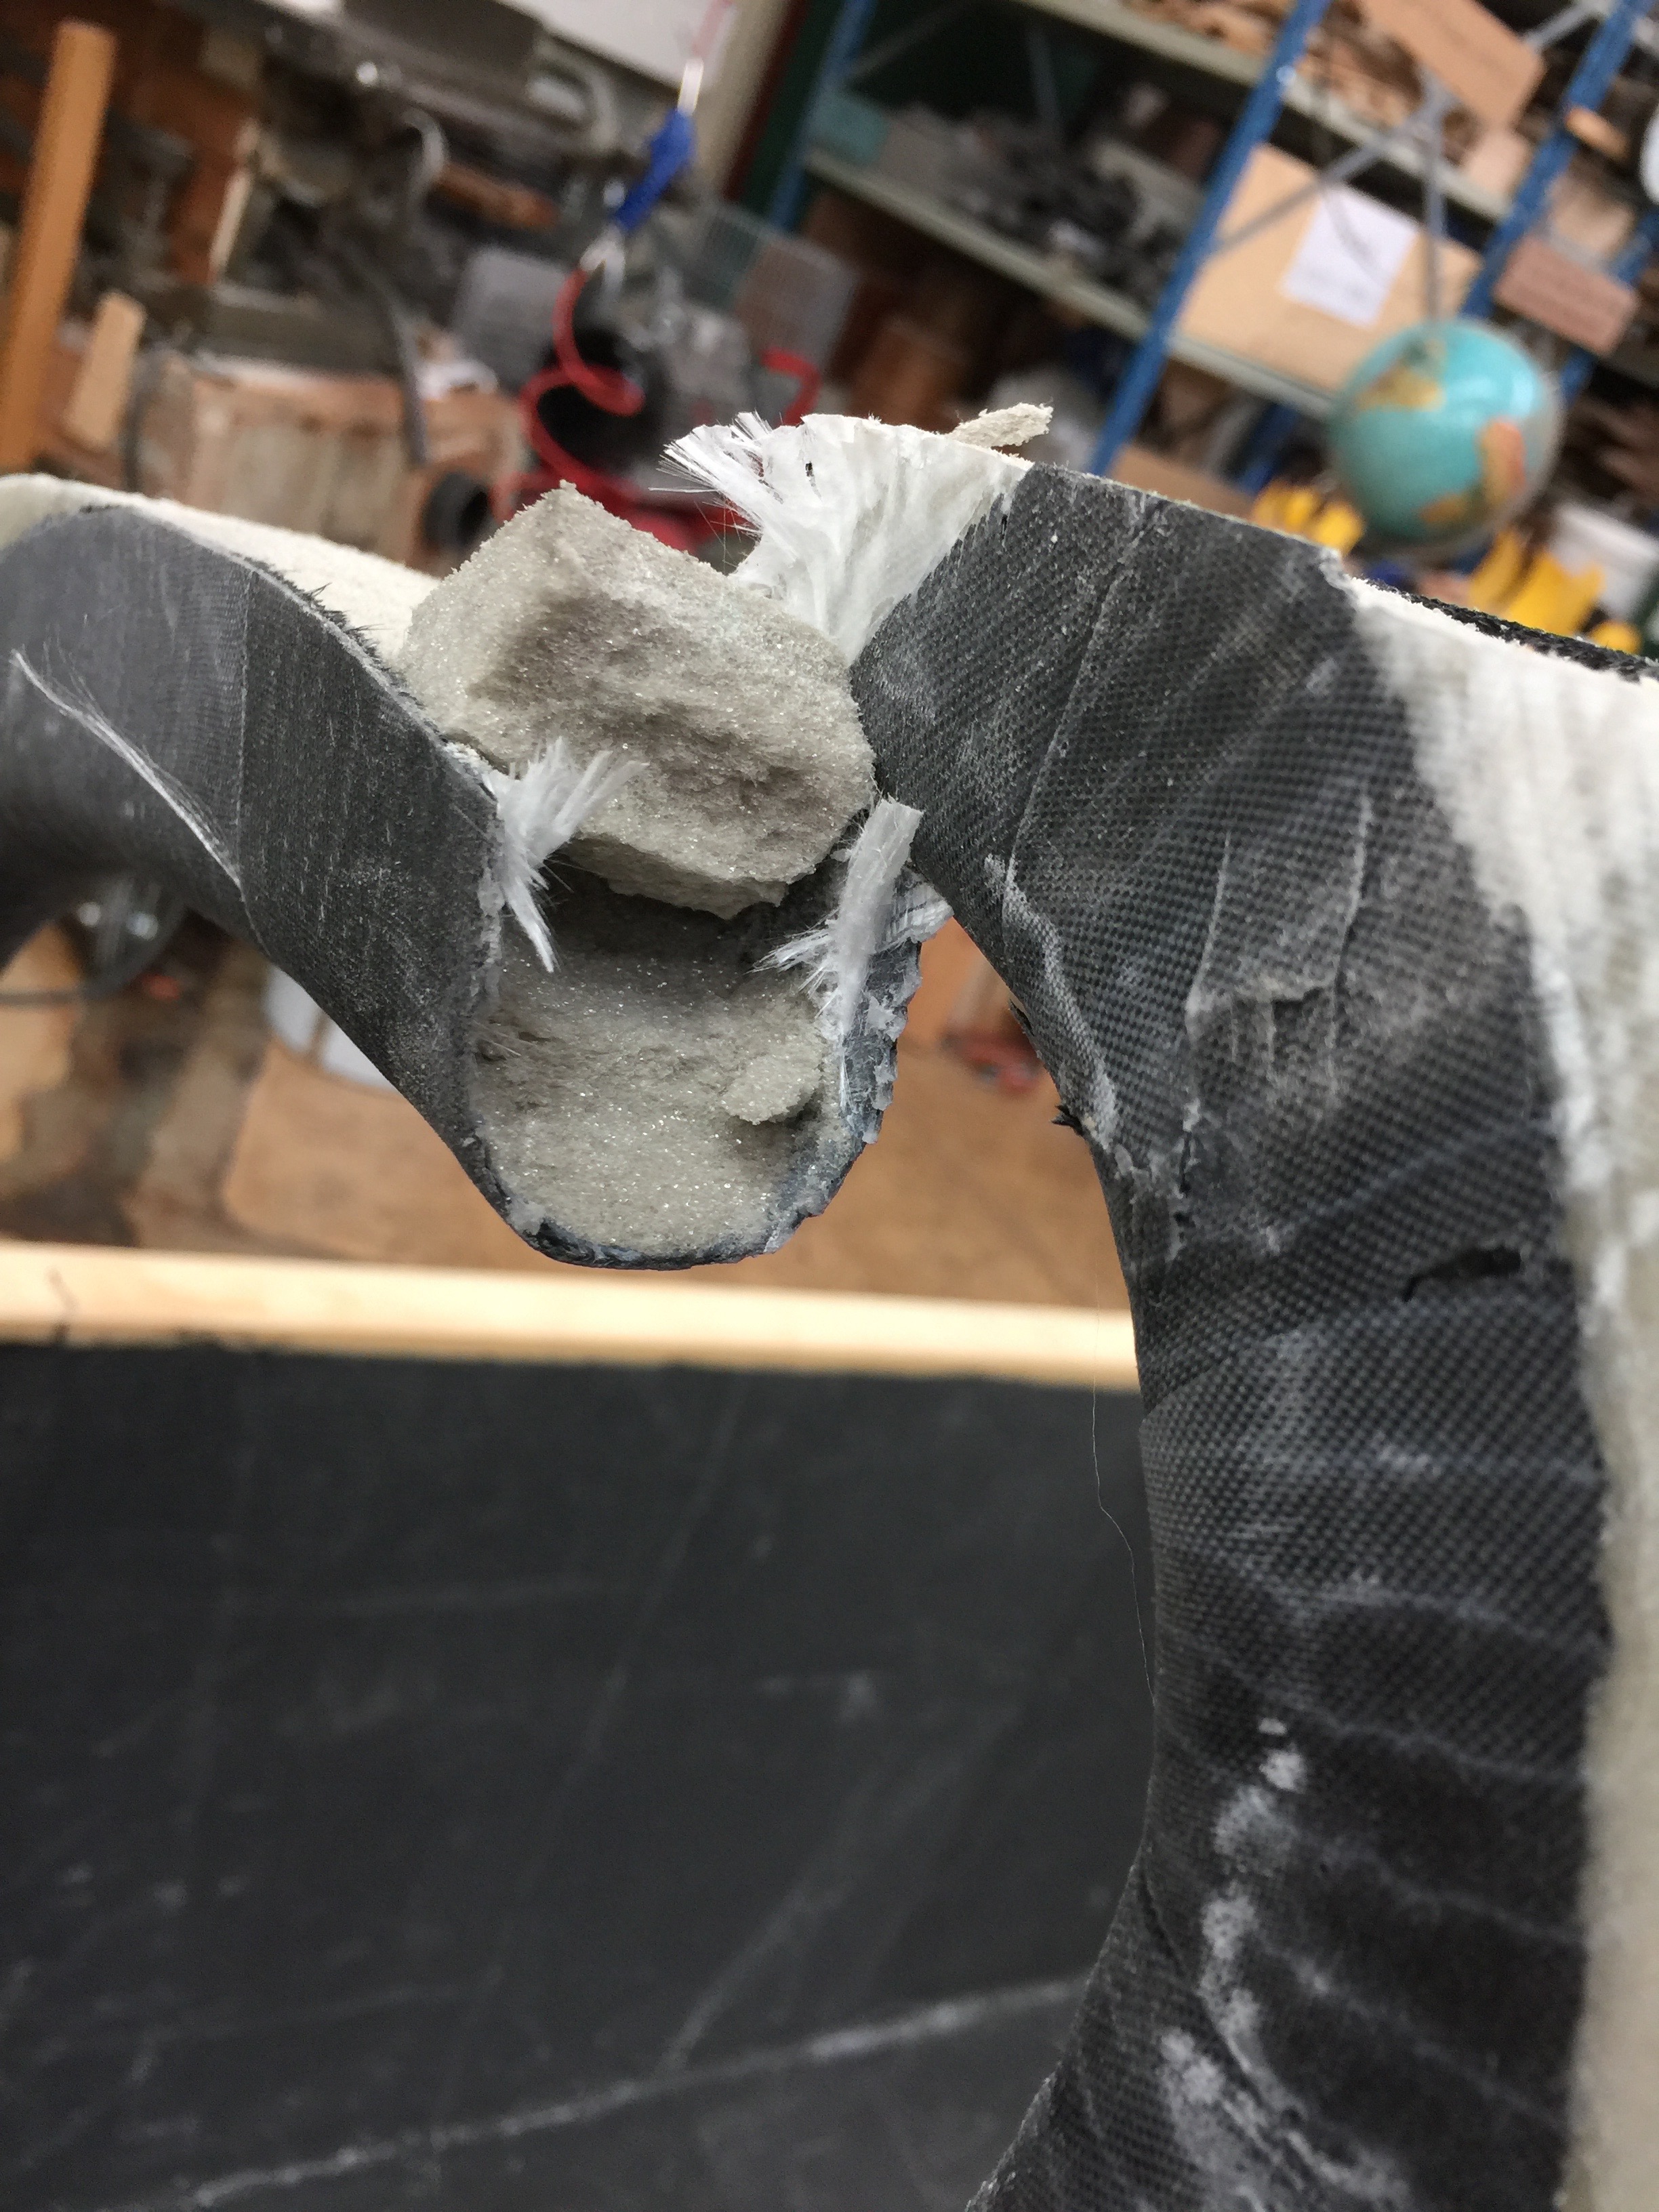
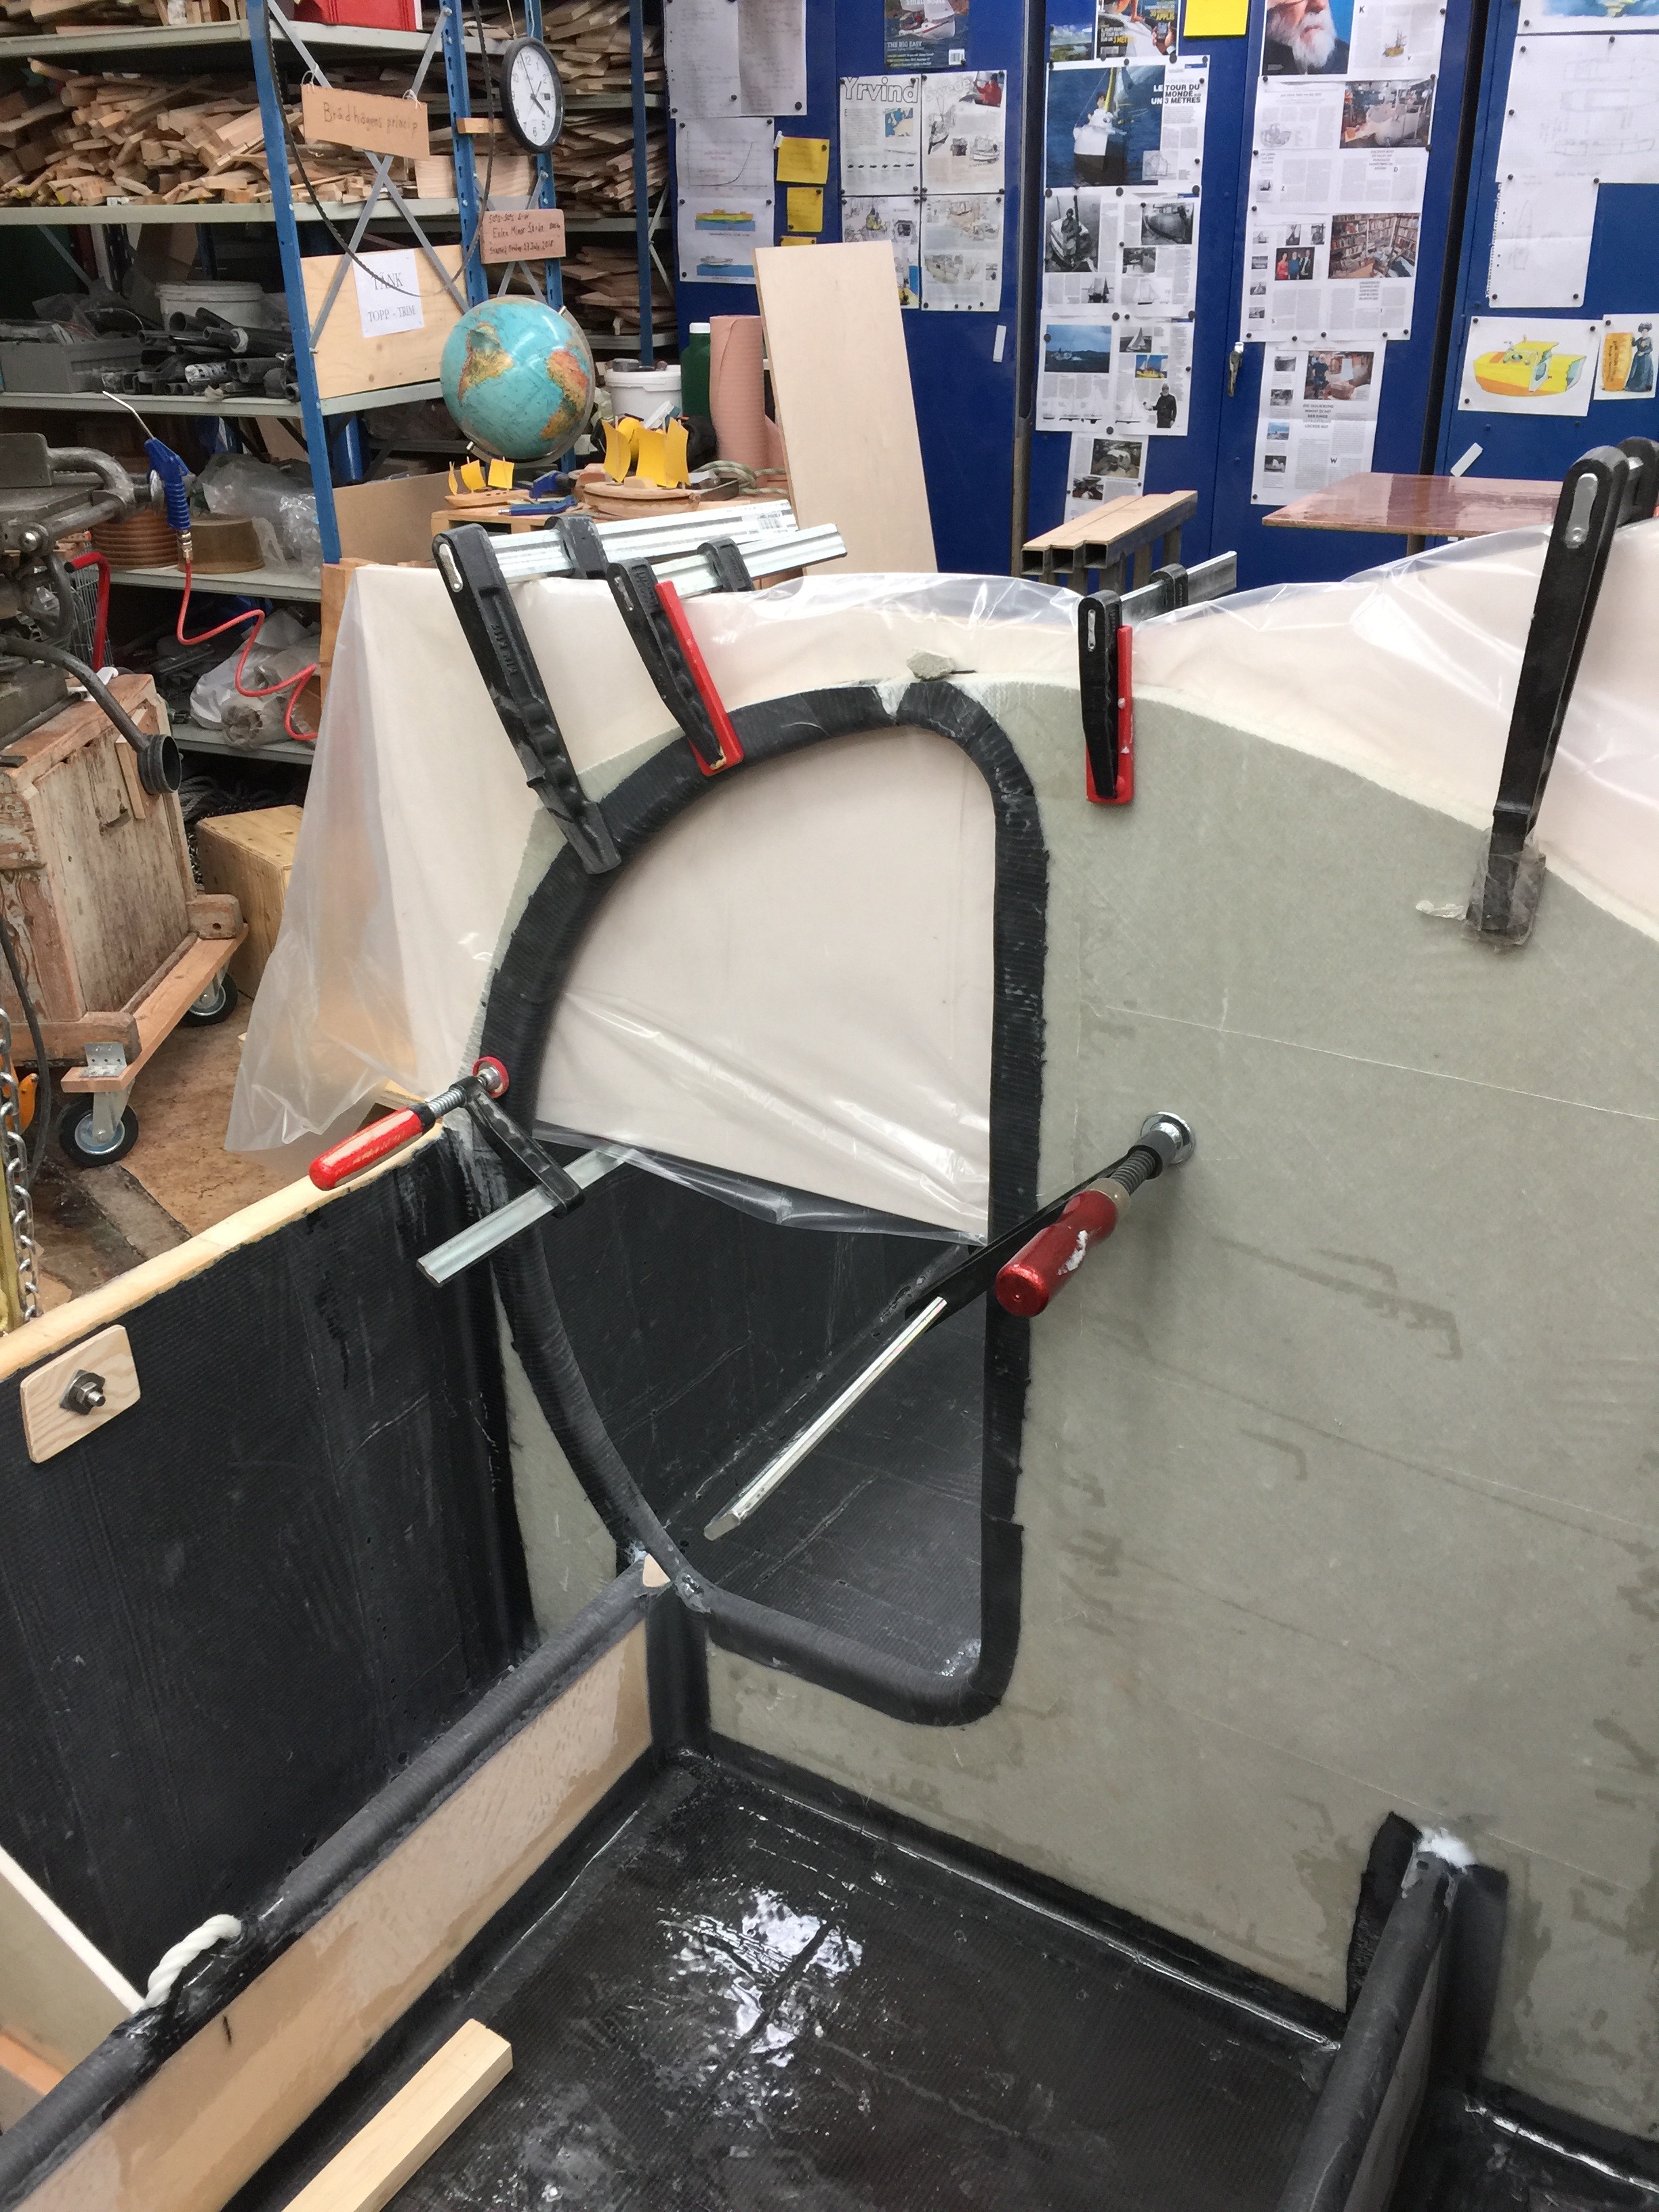
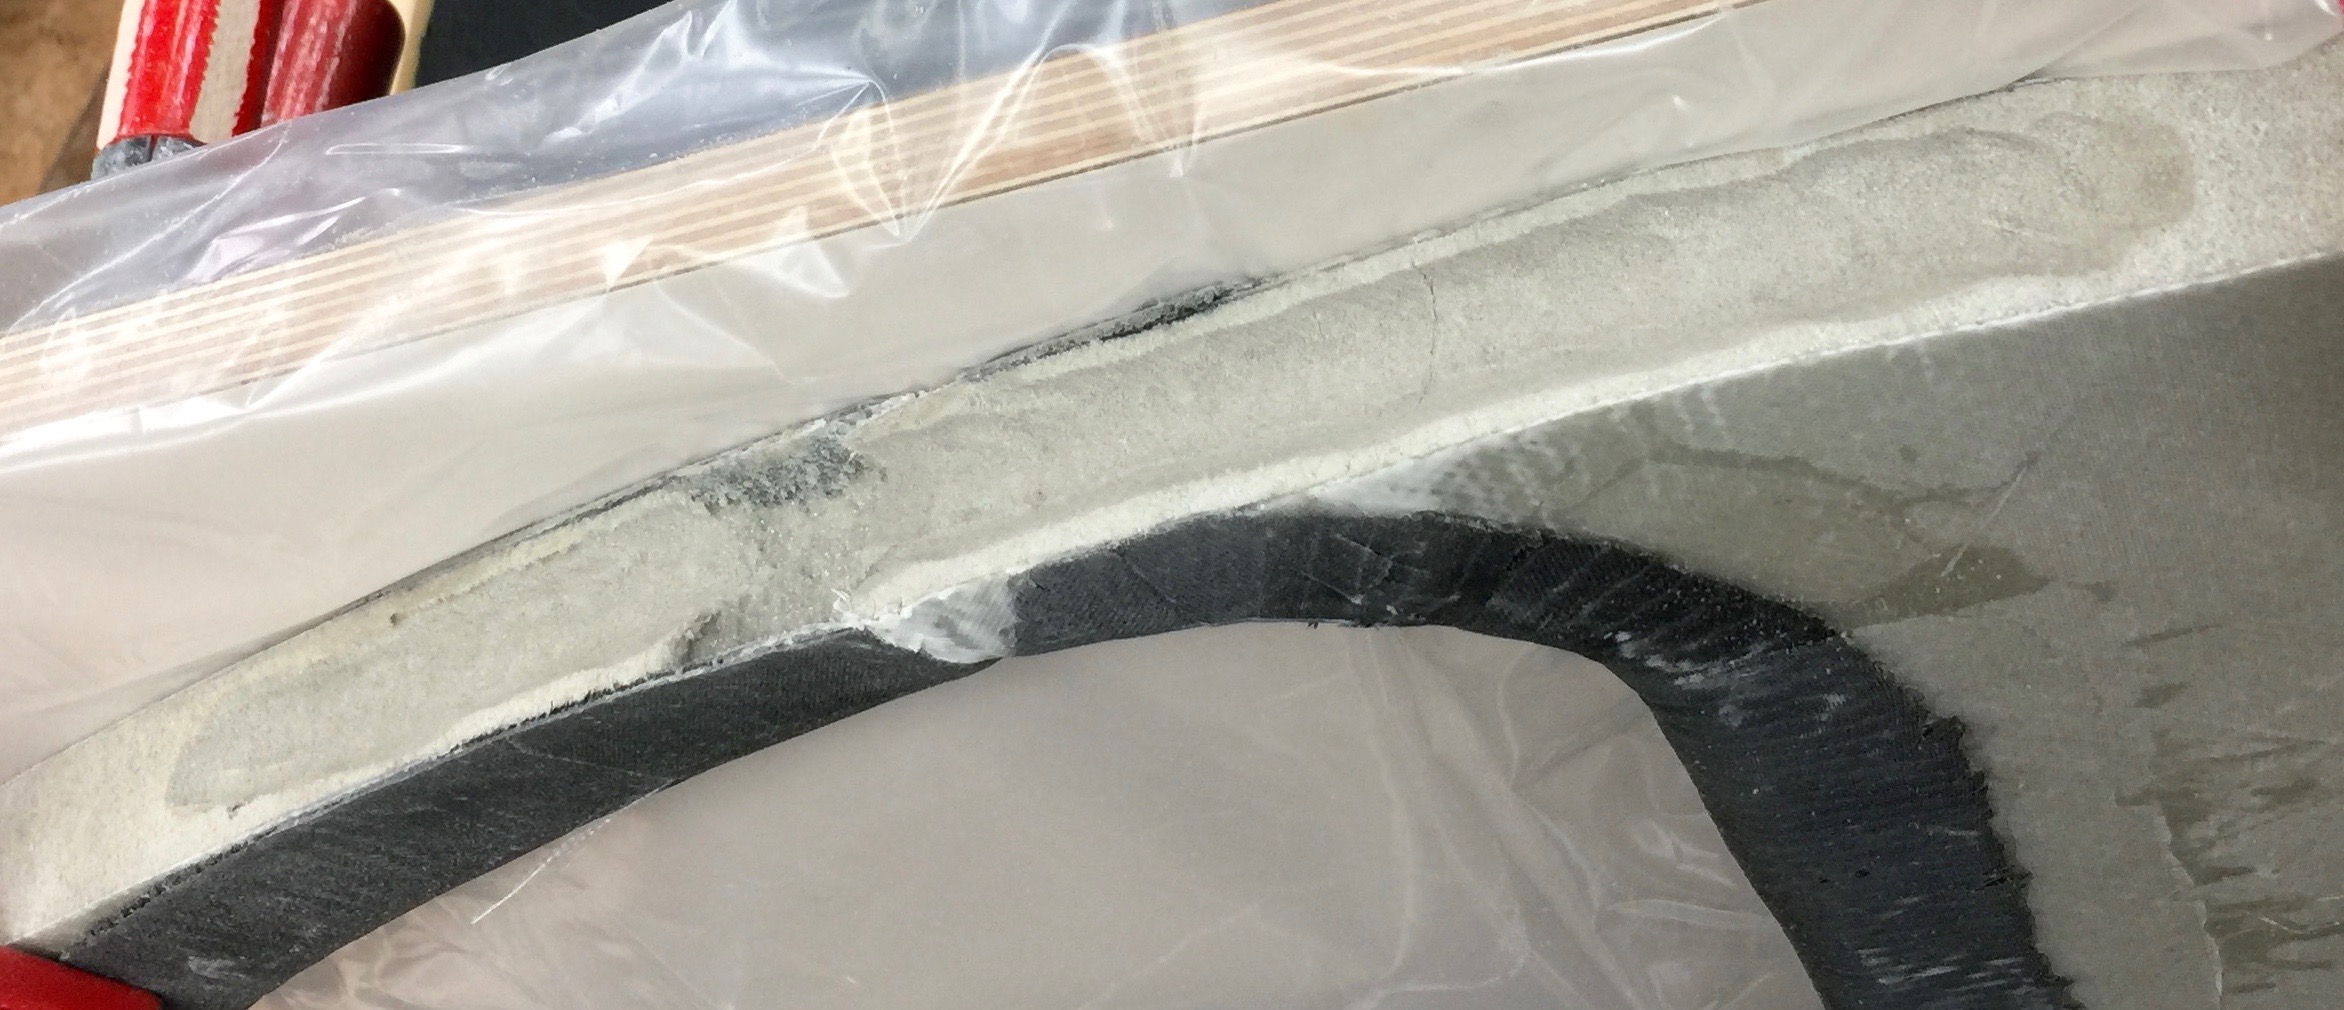
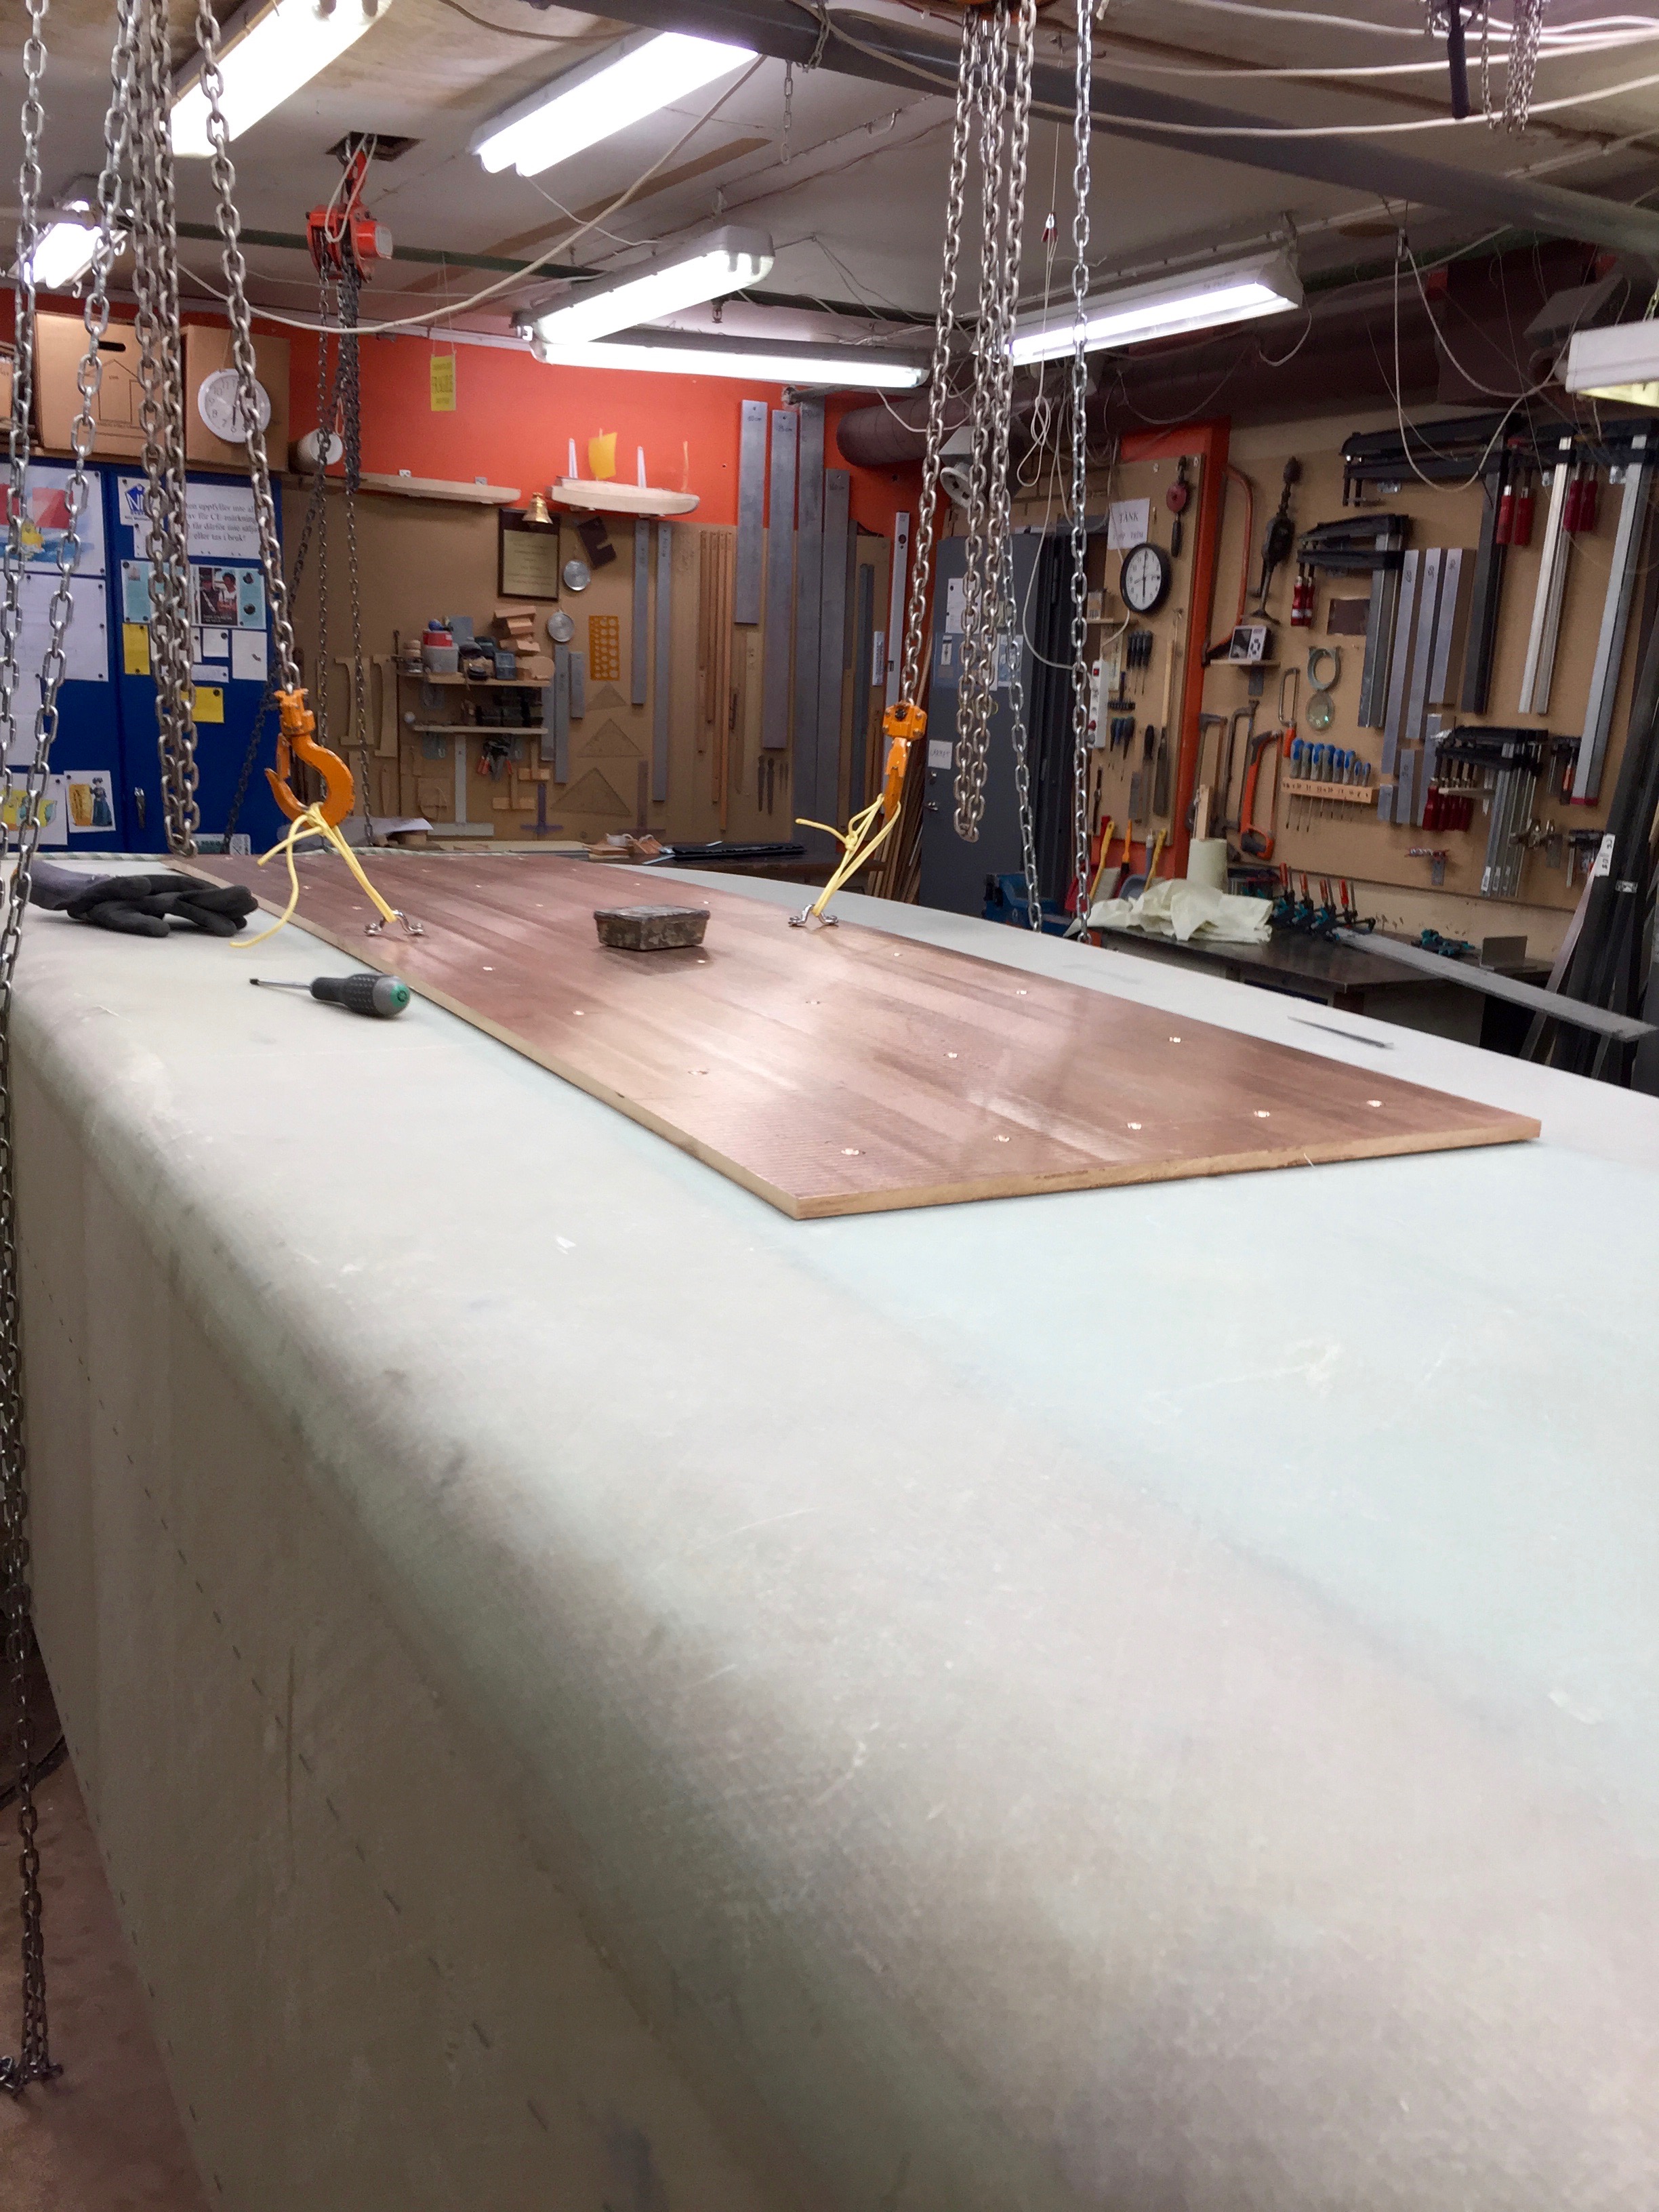
Some of the damageSame damage different view.To restore the plane surface of the bulkhead I clamped it to a thick piece of plywood.At the fracture I hollowed out a piece of the Divinycell core to give place for NM-epoxy and carbon rowing.The carbon rowing in place being covered with epoxy putty.
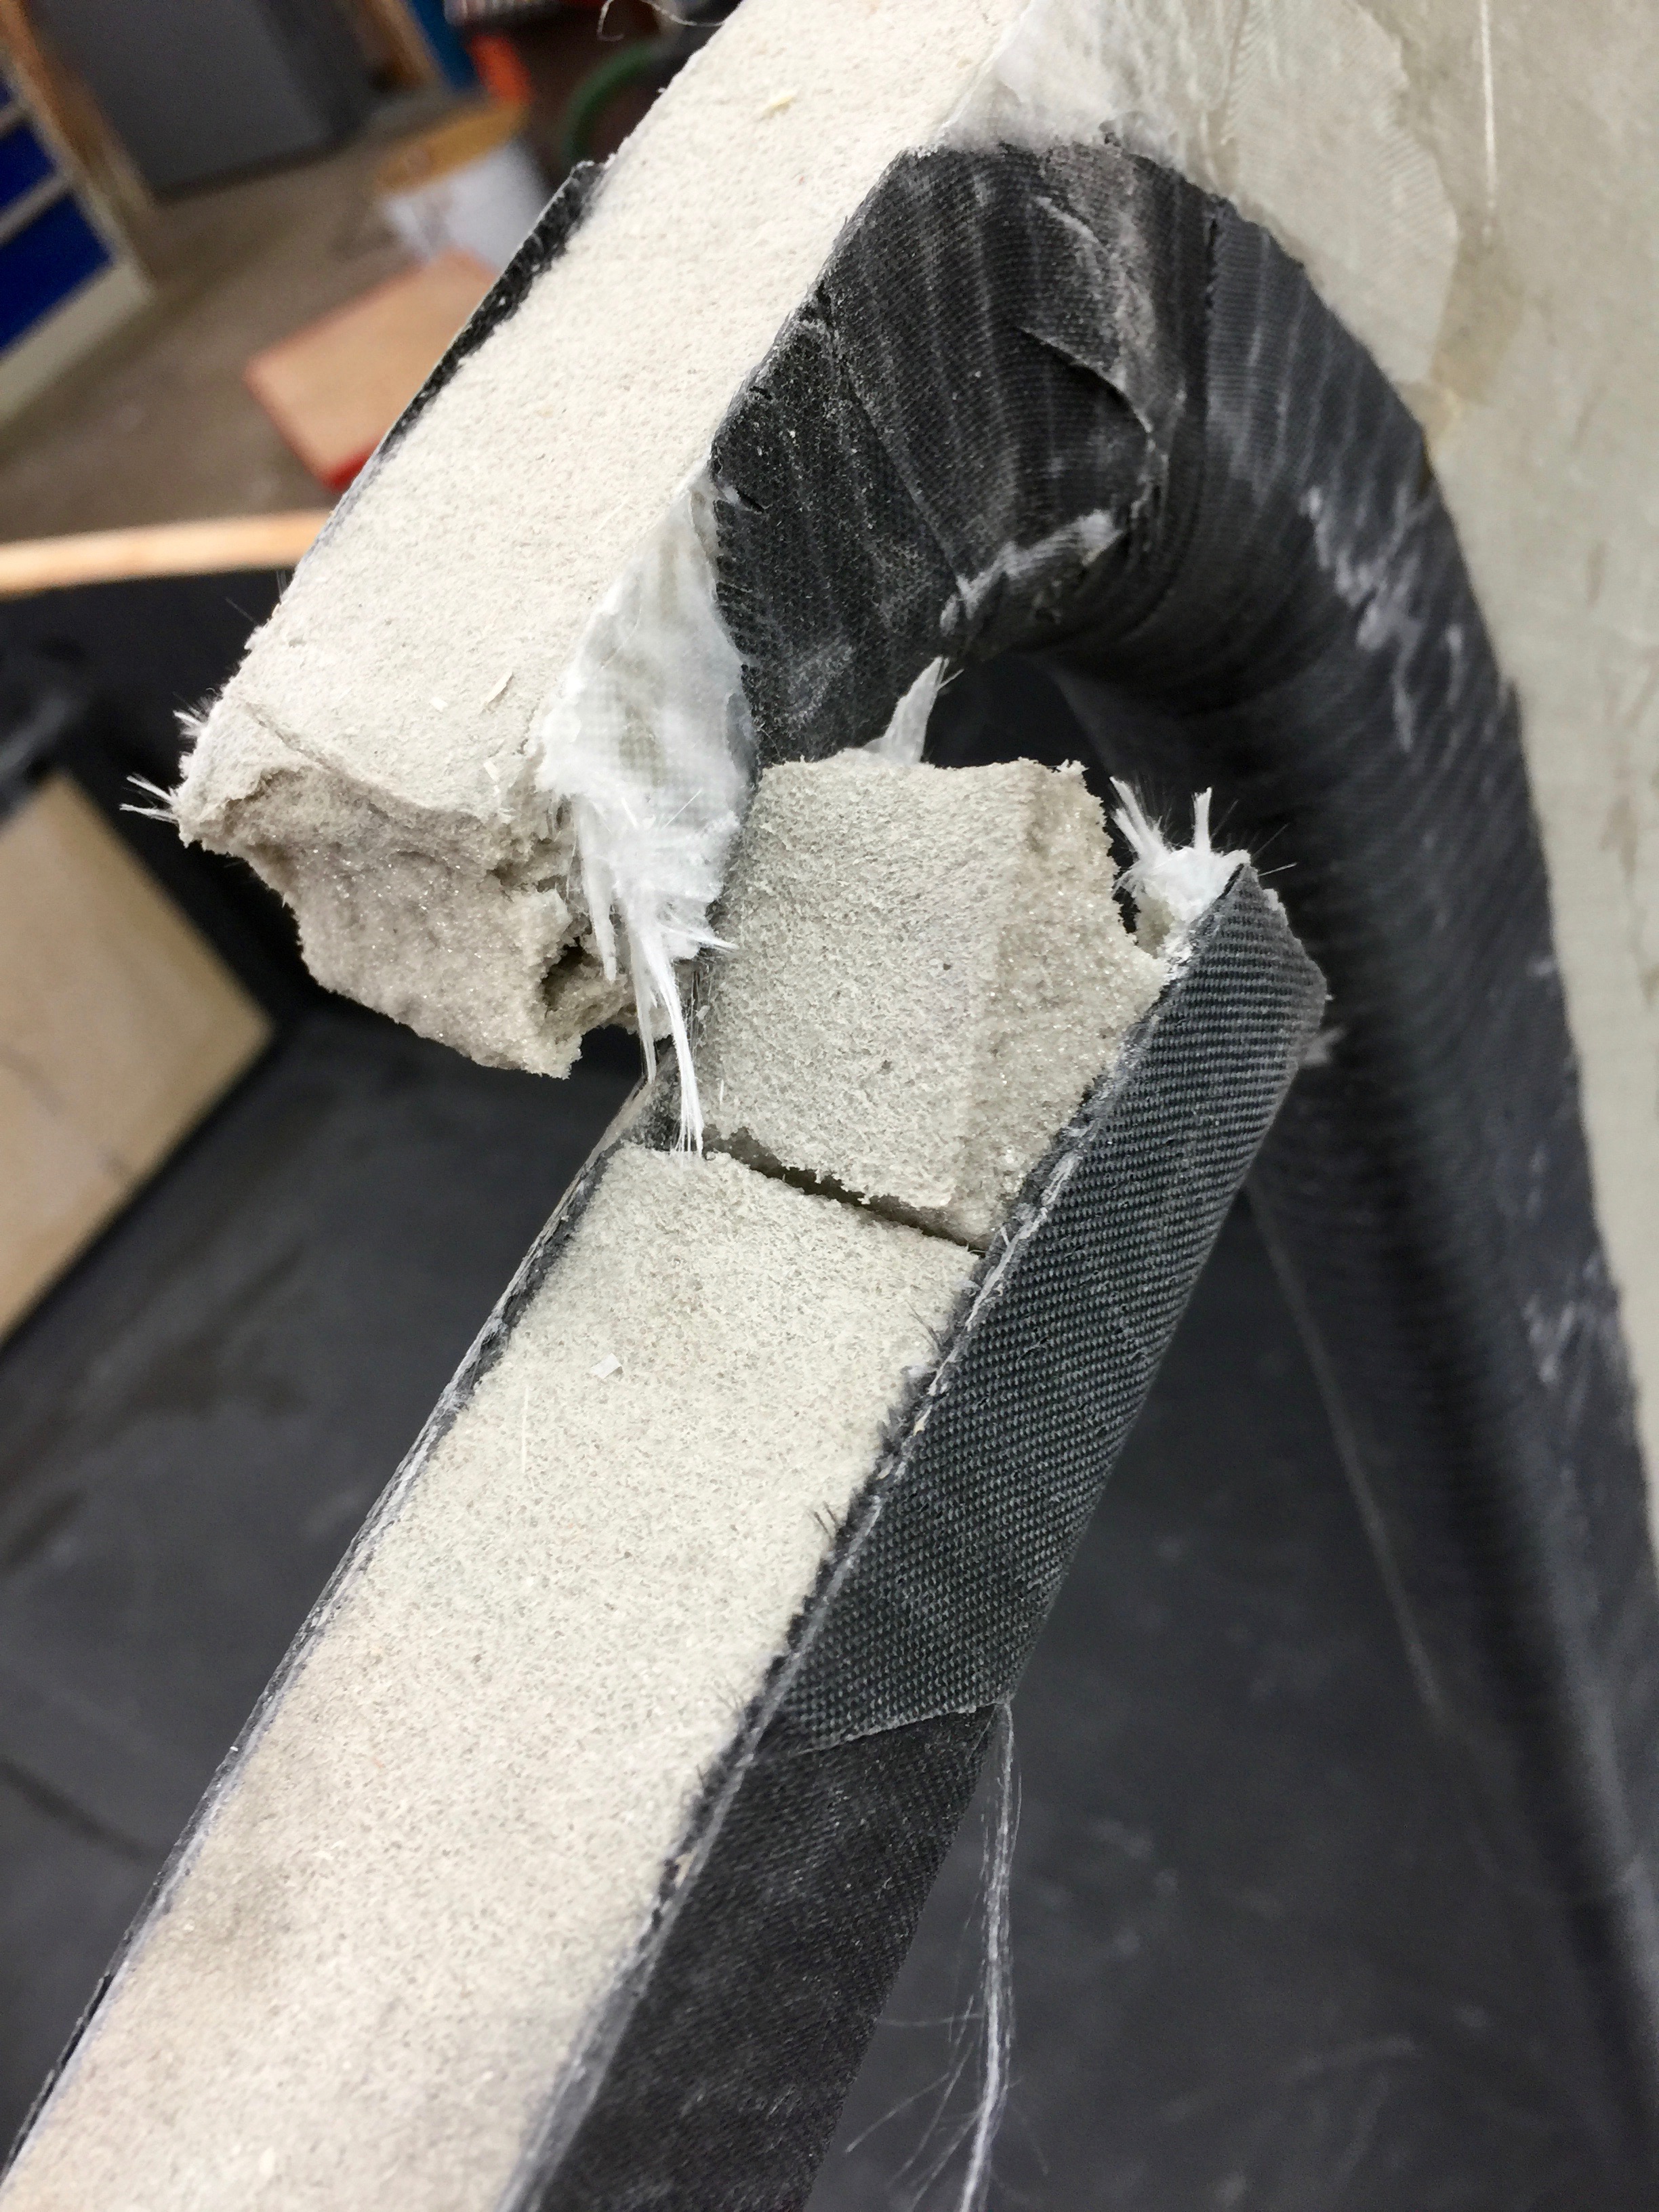
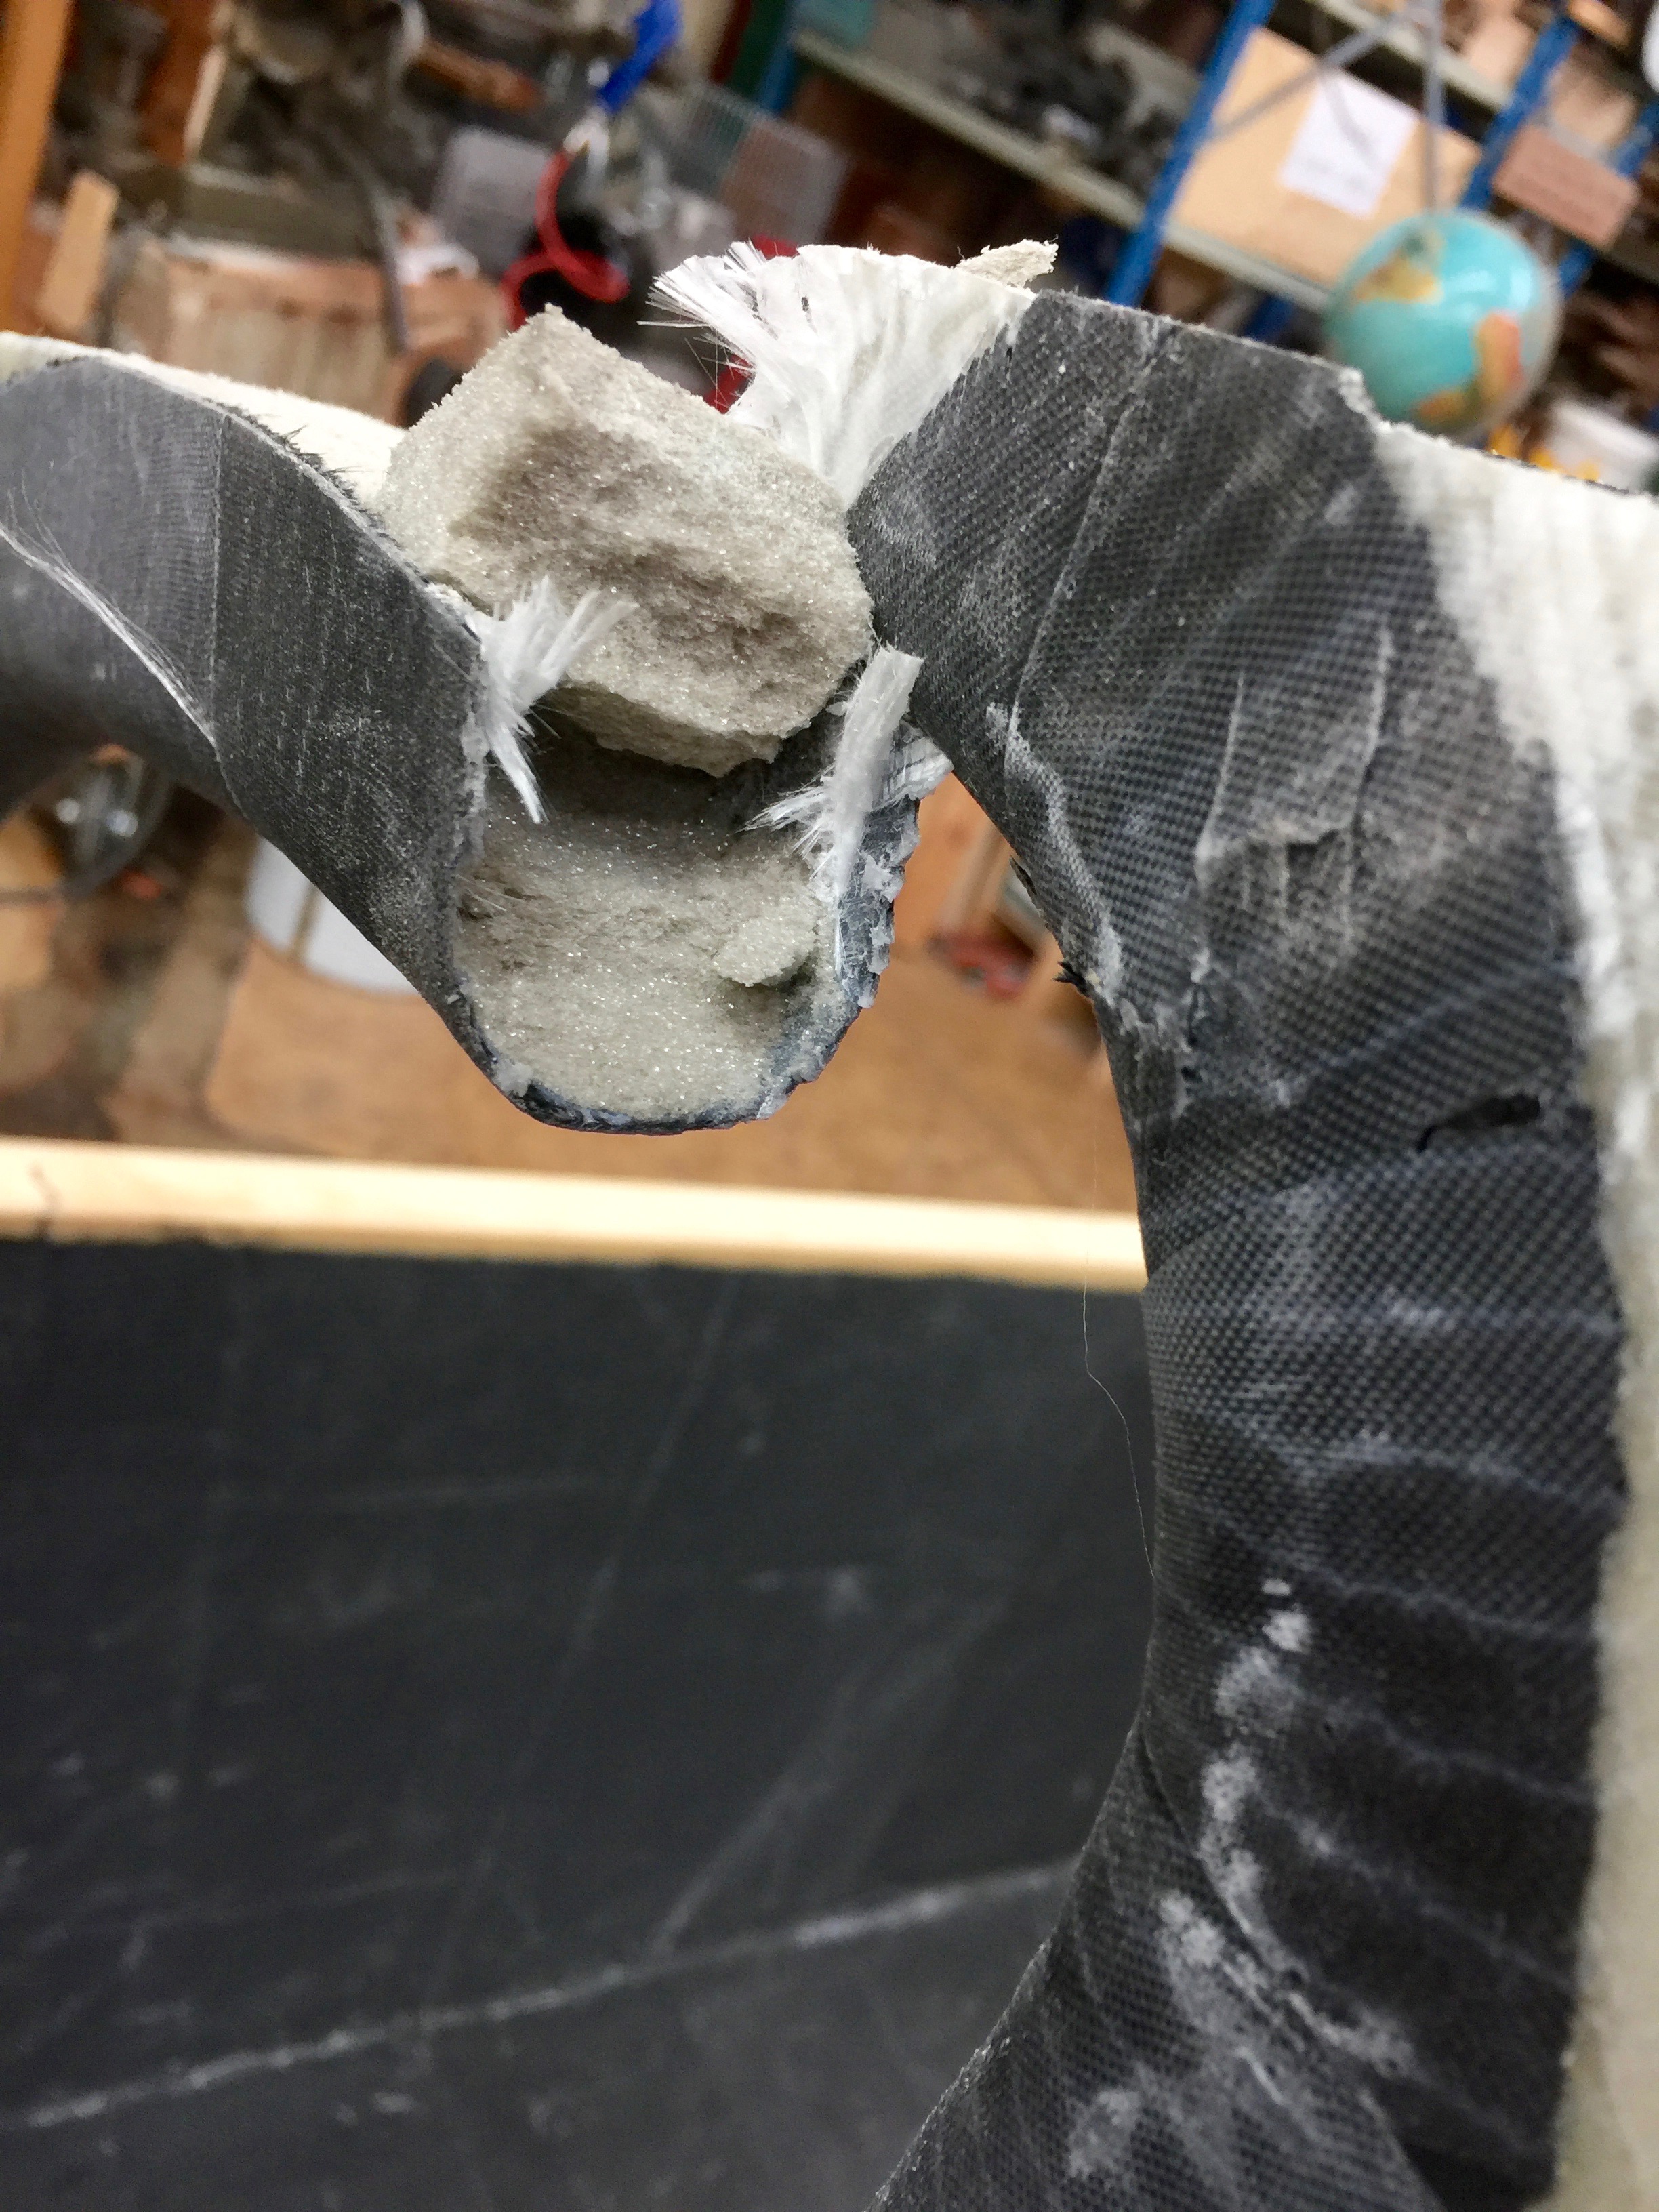
The pictures shows the rupture. There was also damage in a secound place. Later the deck and side deck will be attatched to the bulkhead. The parts together will give plenty of strenght.
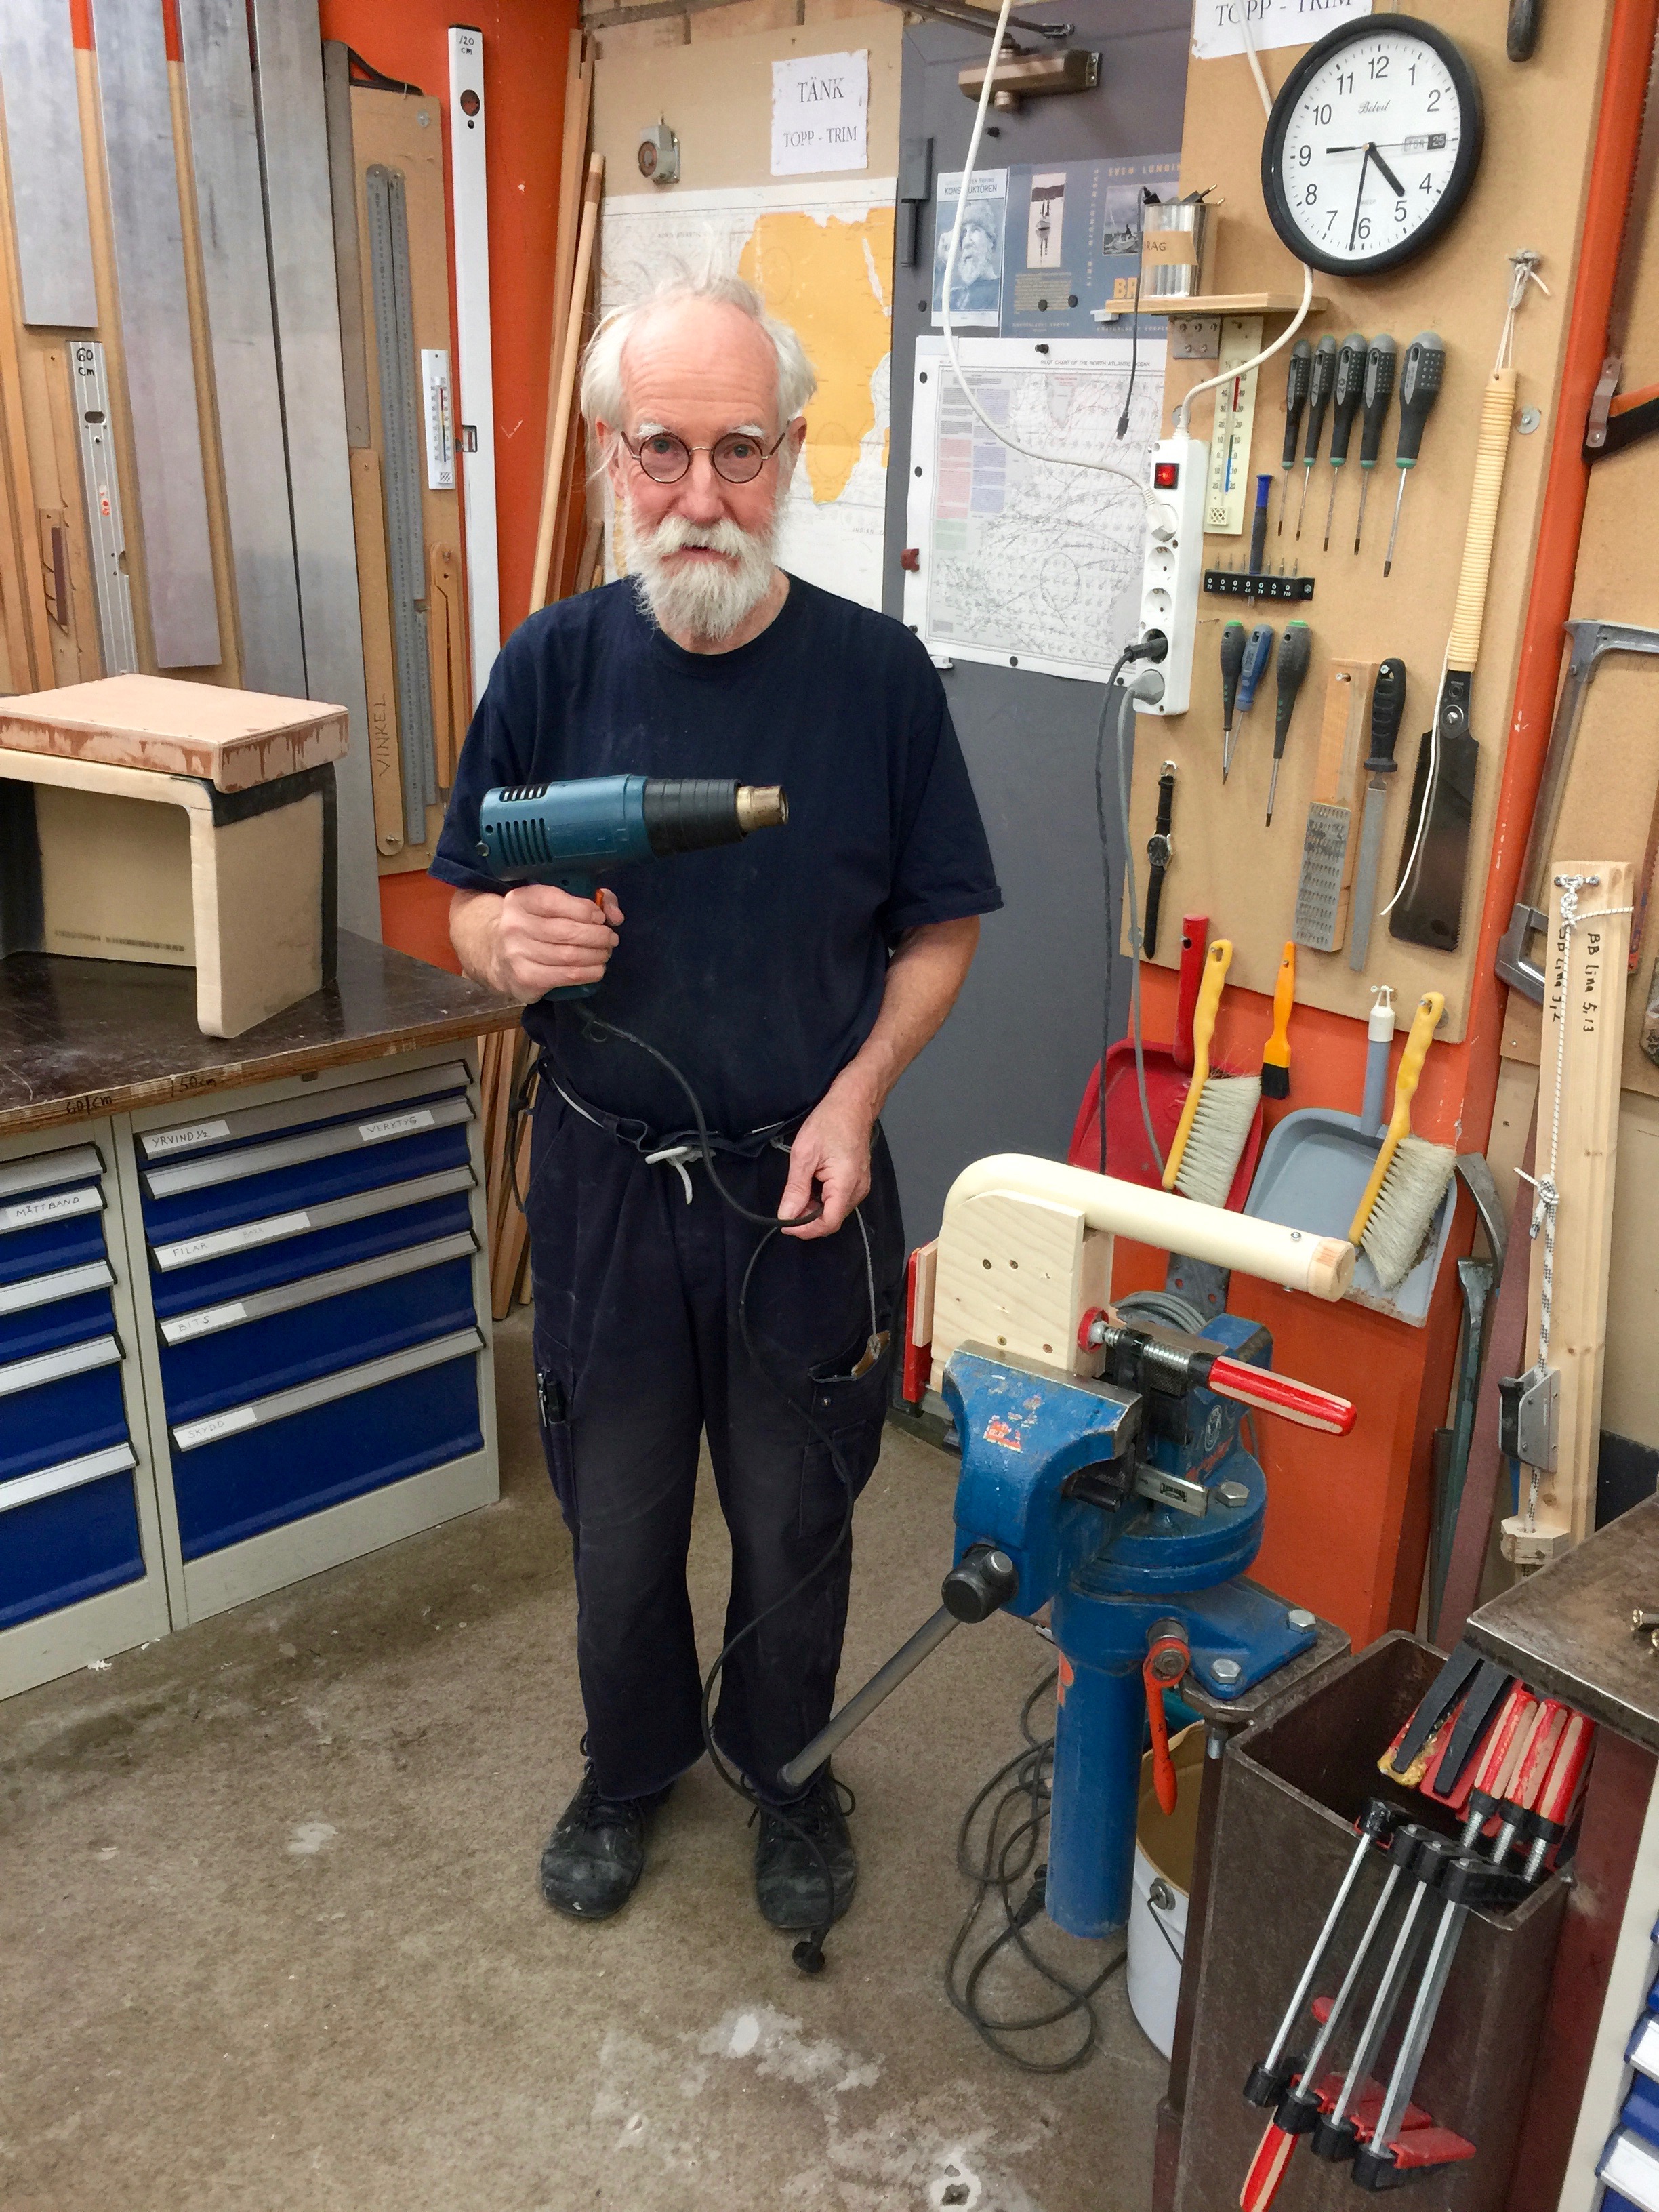
These pictures show me wet grinding the bronze plate.
The purpose is to keep out air/oxygen from the boundry between epoxy and bronze. When bronze is grinded wet oxygen cannot reach the newly exposed metall. This makes for better adheasion.
Later the epoxy will be grinded to get rid of carbonates just before it is set in elastic NM-epoxy to be glued to the hull
The plate is removed. The hull is not upside down any longer. The dry run is completed.
Below some pictures.
the damage done to the bulkhead.Same damage different view. The dammage happend on an inconvienient place because this is part of the pereferi that the rotationg door should seal the entrance to my sleeping room, but the plan is to it up by a flat surface I will get a good enough fix. The deck will be on topp and give sufficient strenght.This is the concave side of the plate, the side that will take the NM elastic epoxy. I have rughend it with the angle grinder and number 36 grit paper. Later I will wet sand it with epoxy. That way no oxygen will reach the freshly sanded bronze surface. Mora about that later.
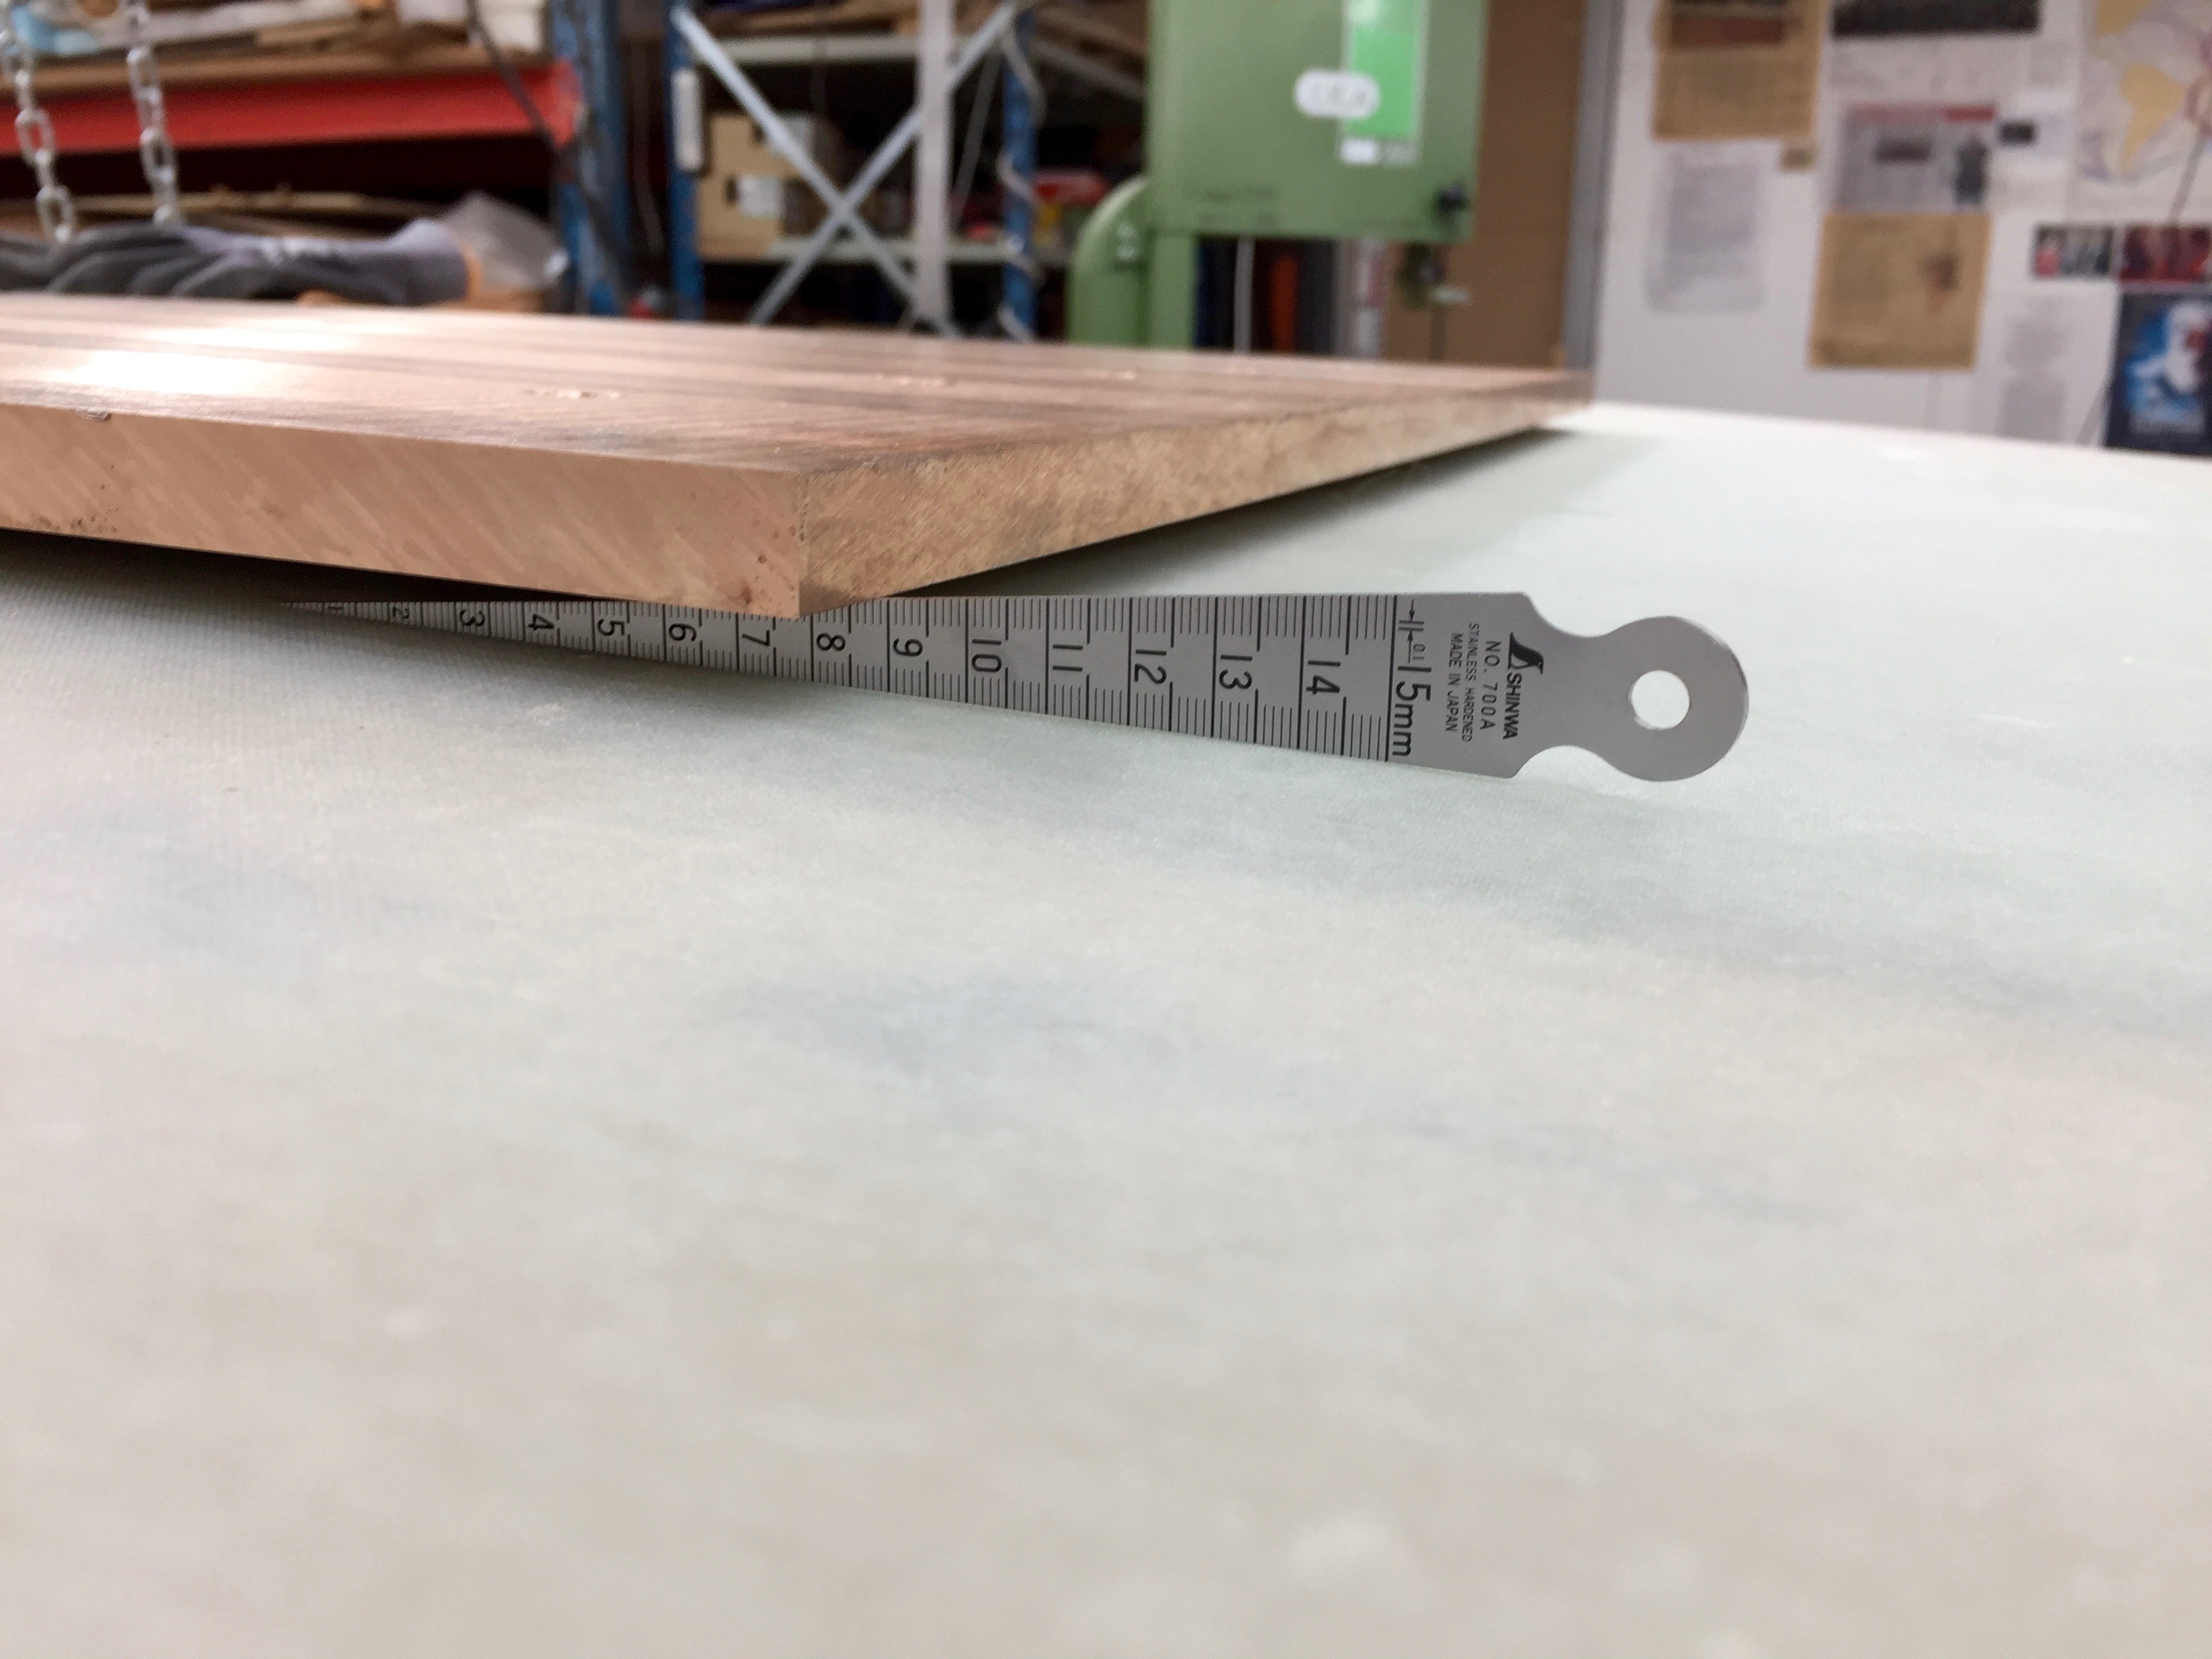
Today was spent on improvements. The results was very satisfying. I was able to reduce the space between the plate and the hull to about 2 – 3 millimeter at the worst places. Yesterday it worst place was 9 millimeter. To achive it I drilled holes through the hull and tightend them considerabel the 12 mm plate yealded and the gap closed.
Below two pictures.
Me being happy with the result. By clicking once or twice you can see tha gap on the depth gauge.Some of the stainless steel M6 boults in place. When the elastic NM-epoxy have set they will be replaced by 1/4 UNC silicon bronze countersunk screws. Silicon bronze screws and phosphor bronze plating is the ideal combination regarding marine corrusion silicon bronze ist very close to phosphor bronze but slightly more nobel. That means that if any corrosion should happen phosphor bronze is transported to the silicon screws. There is much more of phosphor bronze than silicon bronze so this is according to the book.
This is the dry run. For the real stuff I need 4 or 5 friends and more NM-epoxy. Monday I will start to organise the event. Intill then there is other stuff to take care of.
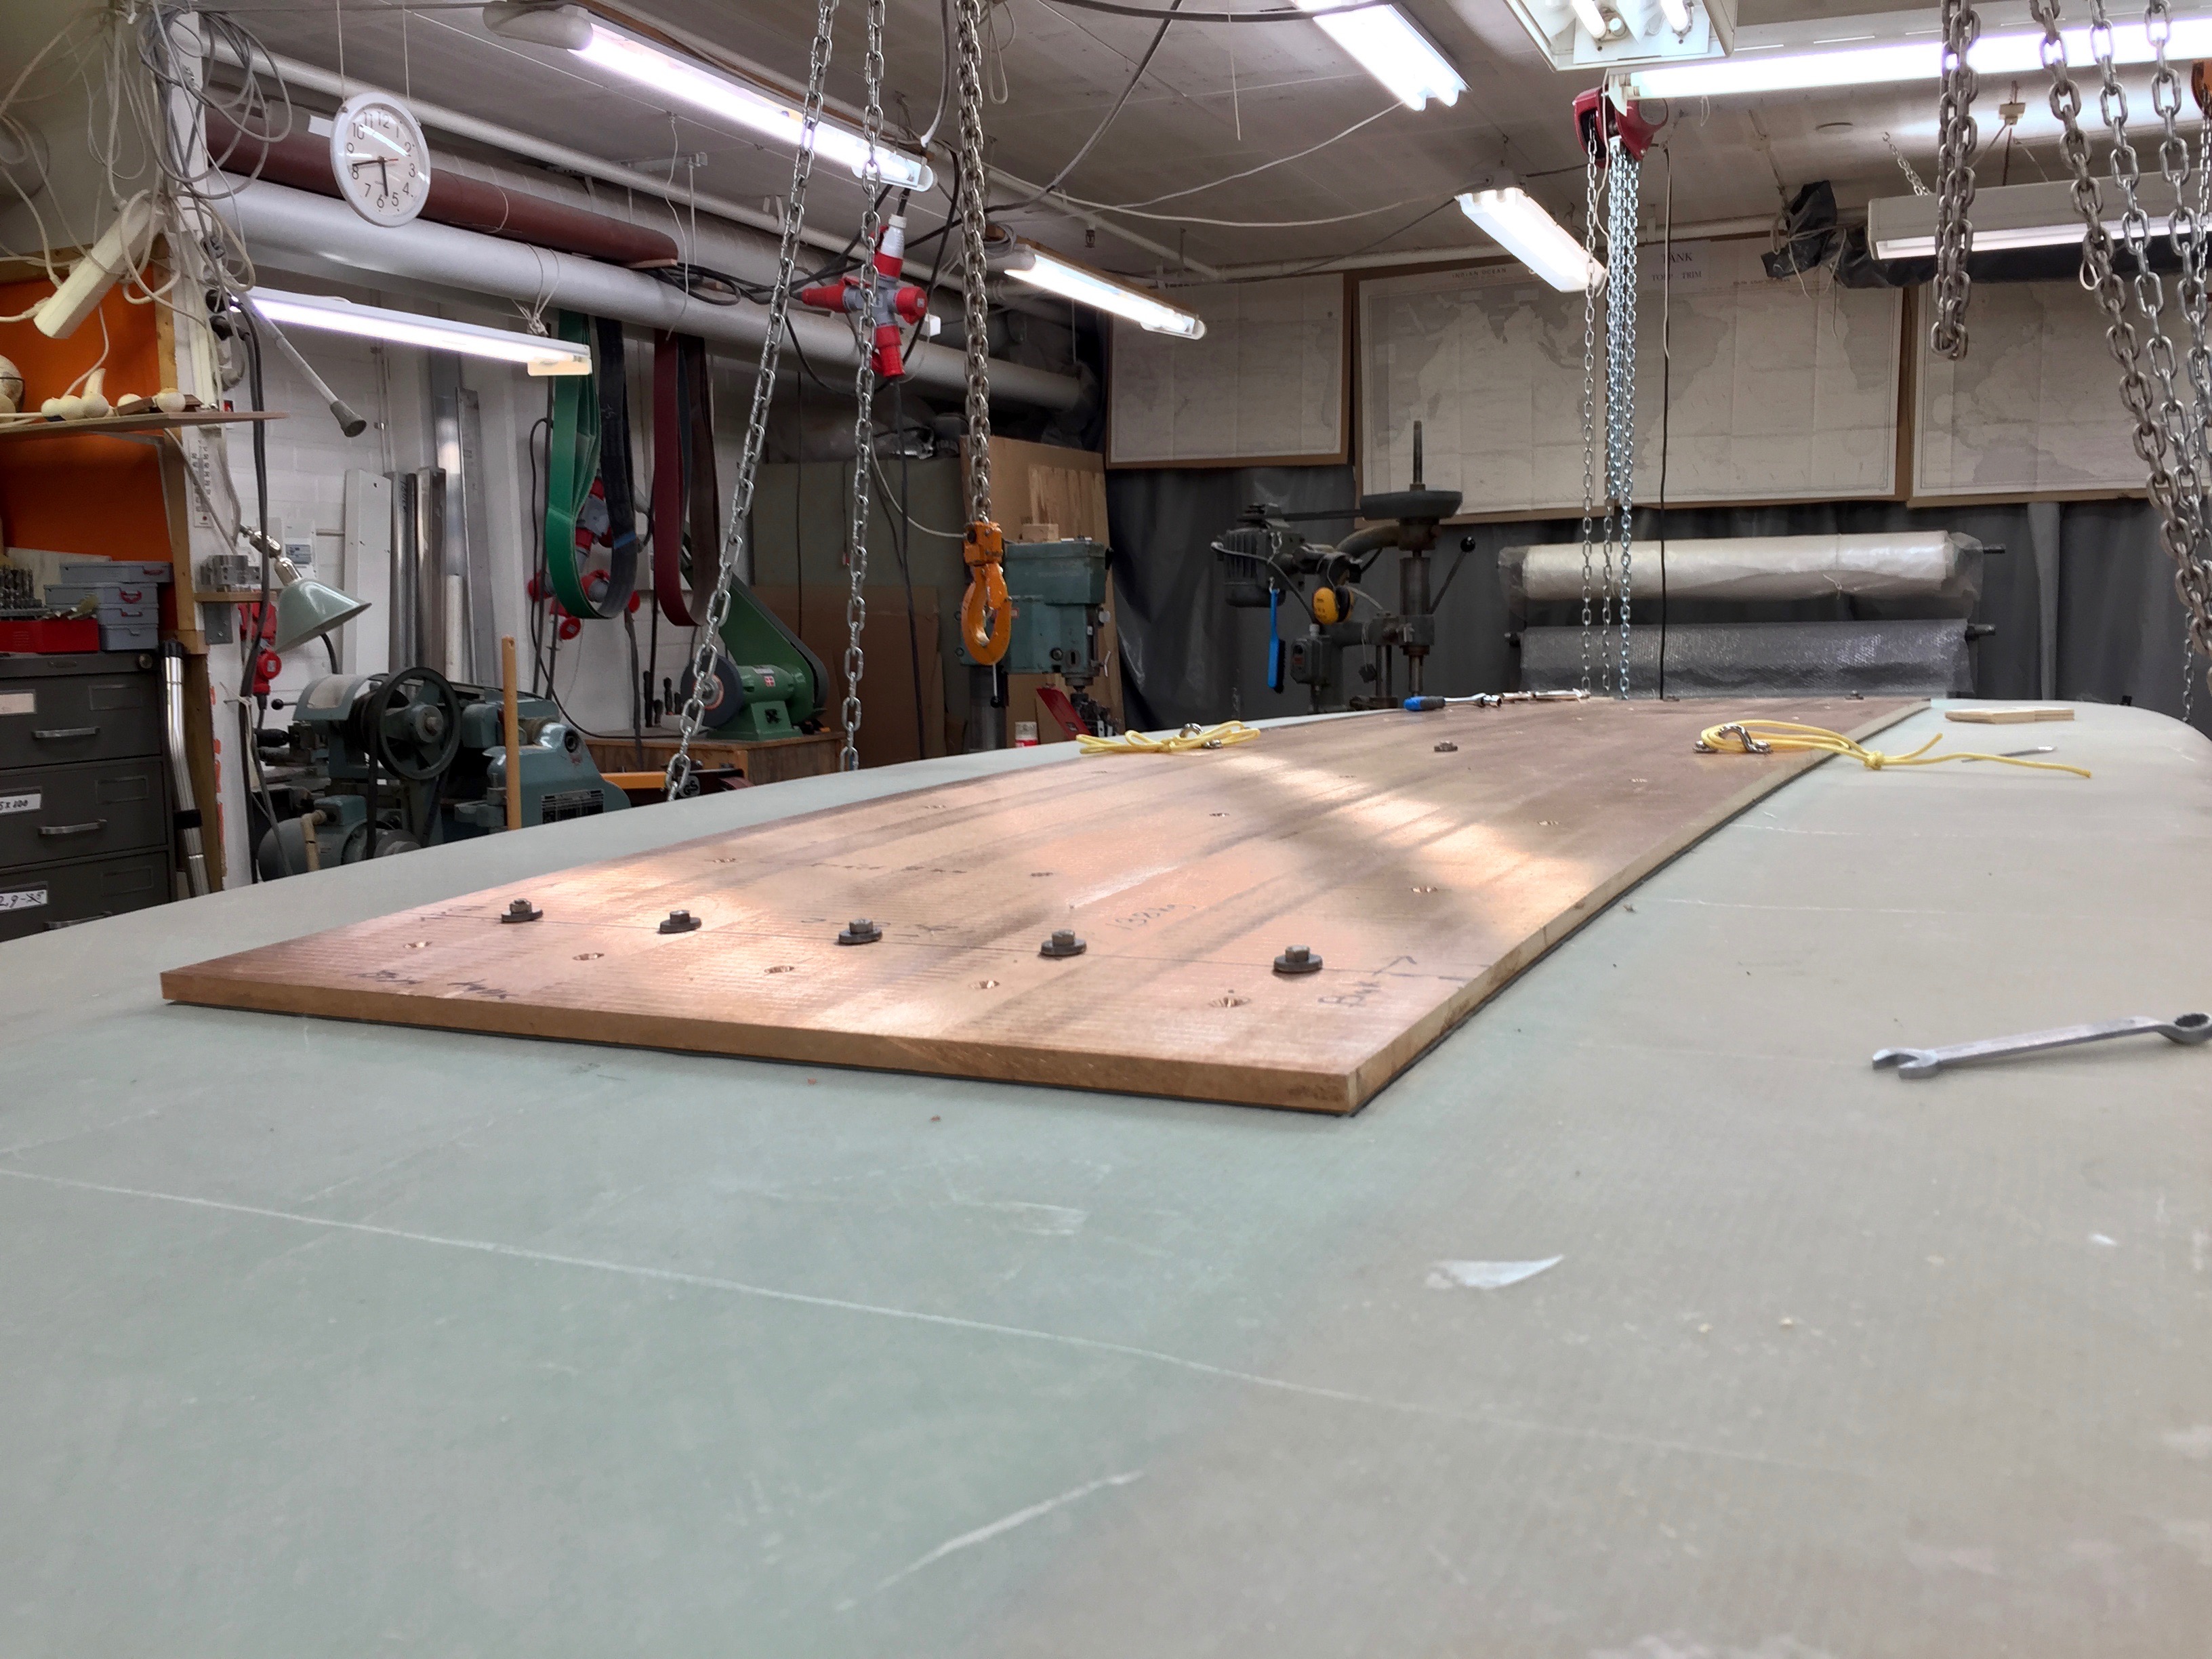
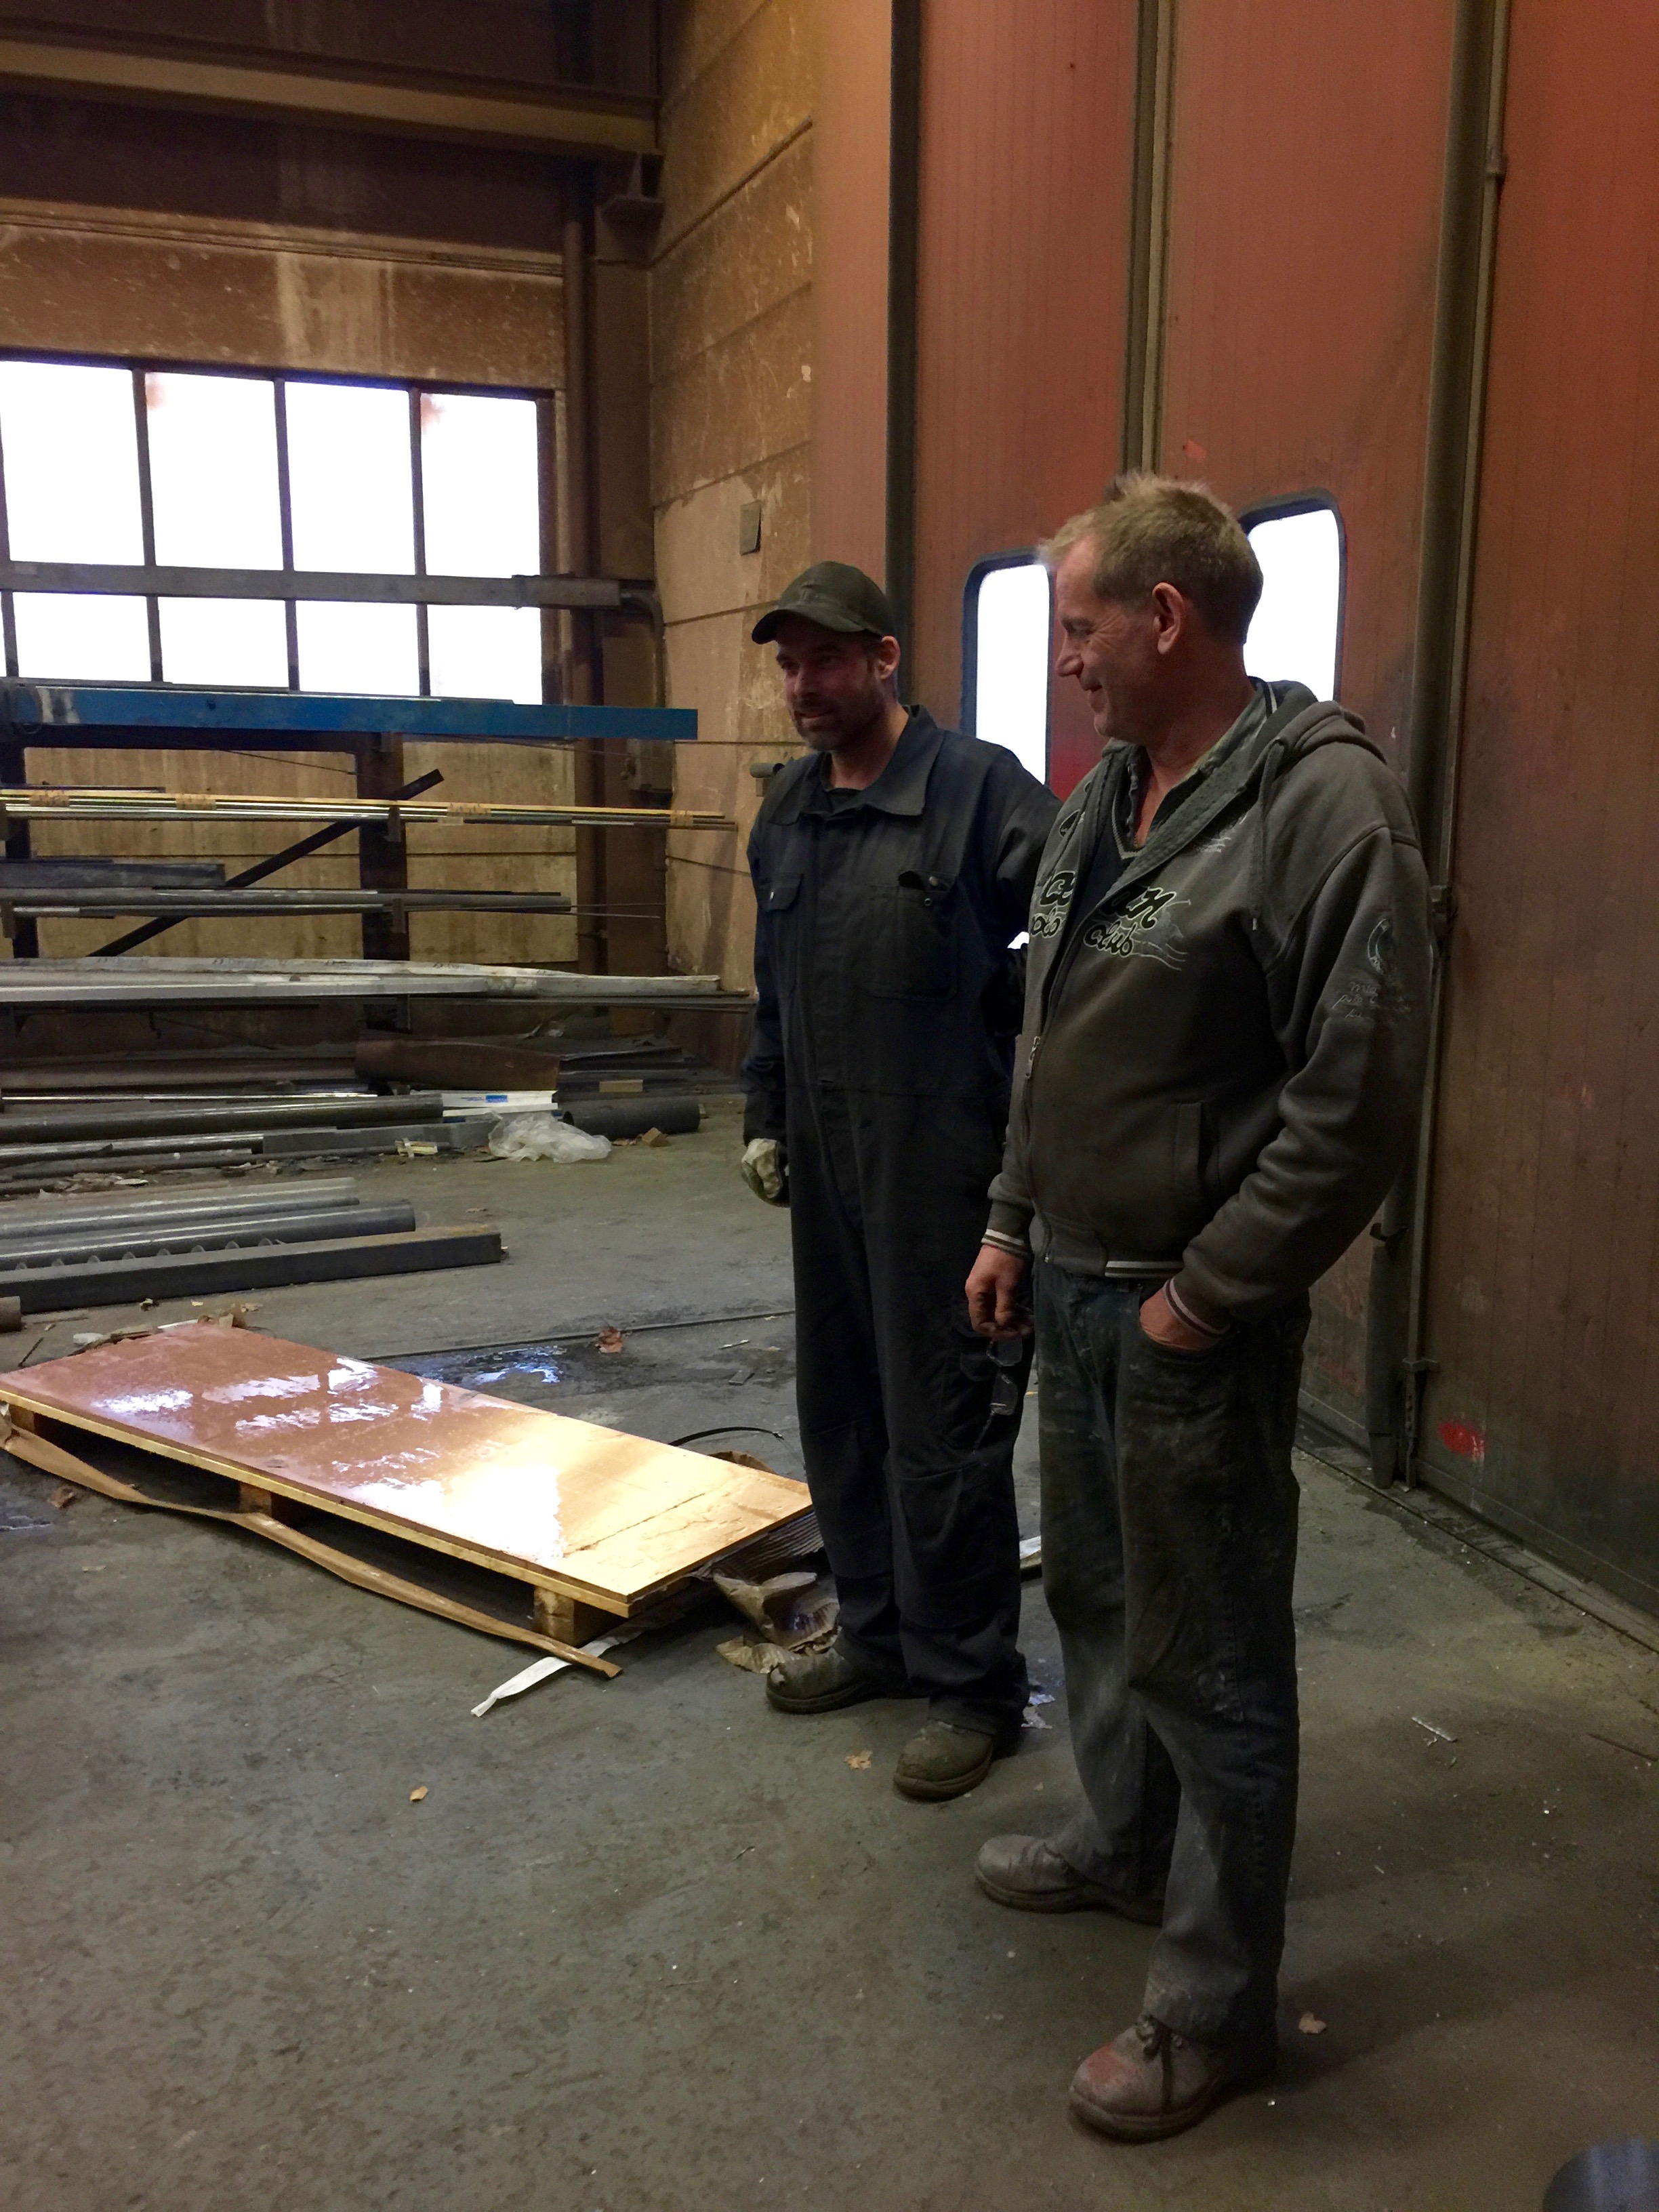
Today I have been working with the bronze plate from Lagermetall Örebro, bent to a fitting curvature by Wevik Maskin AB here in Västervik.
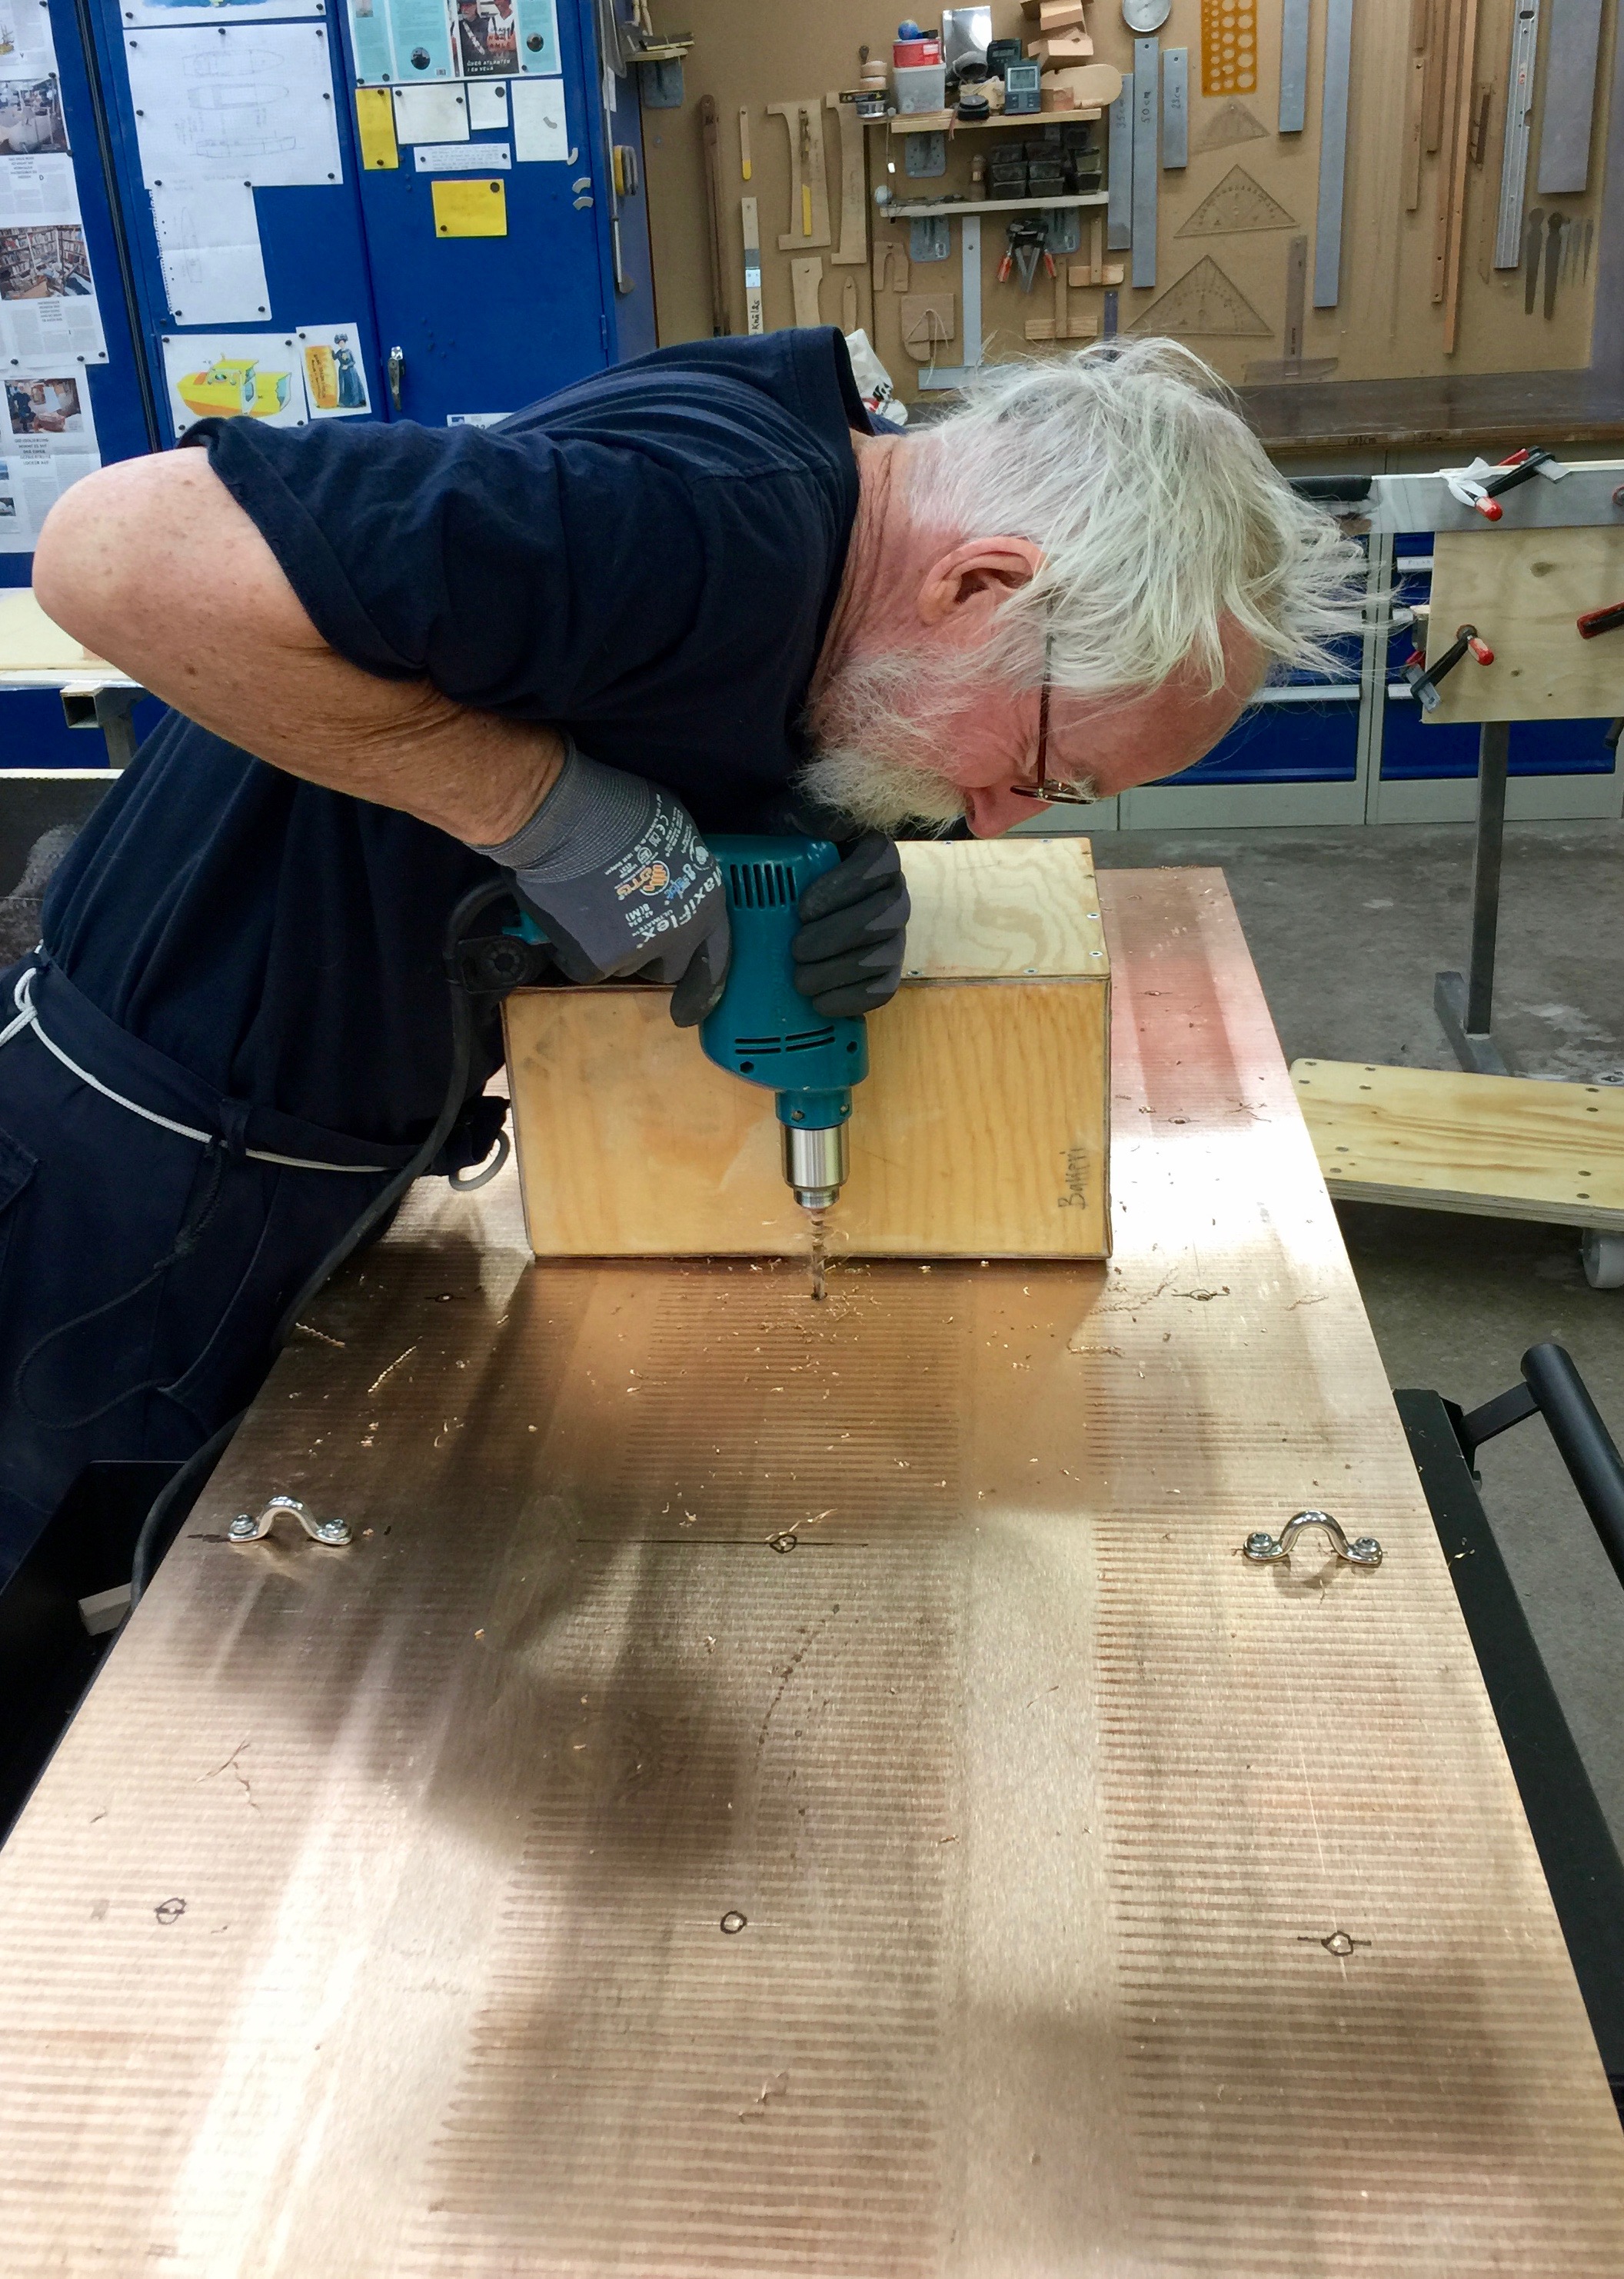
A lot of holes had to be drilled and some tapped. The plate is to big for my drillpress but by using a mighty sharp drill and get support from a box all went well with the holes and the tapping.
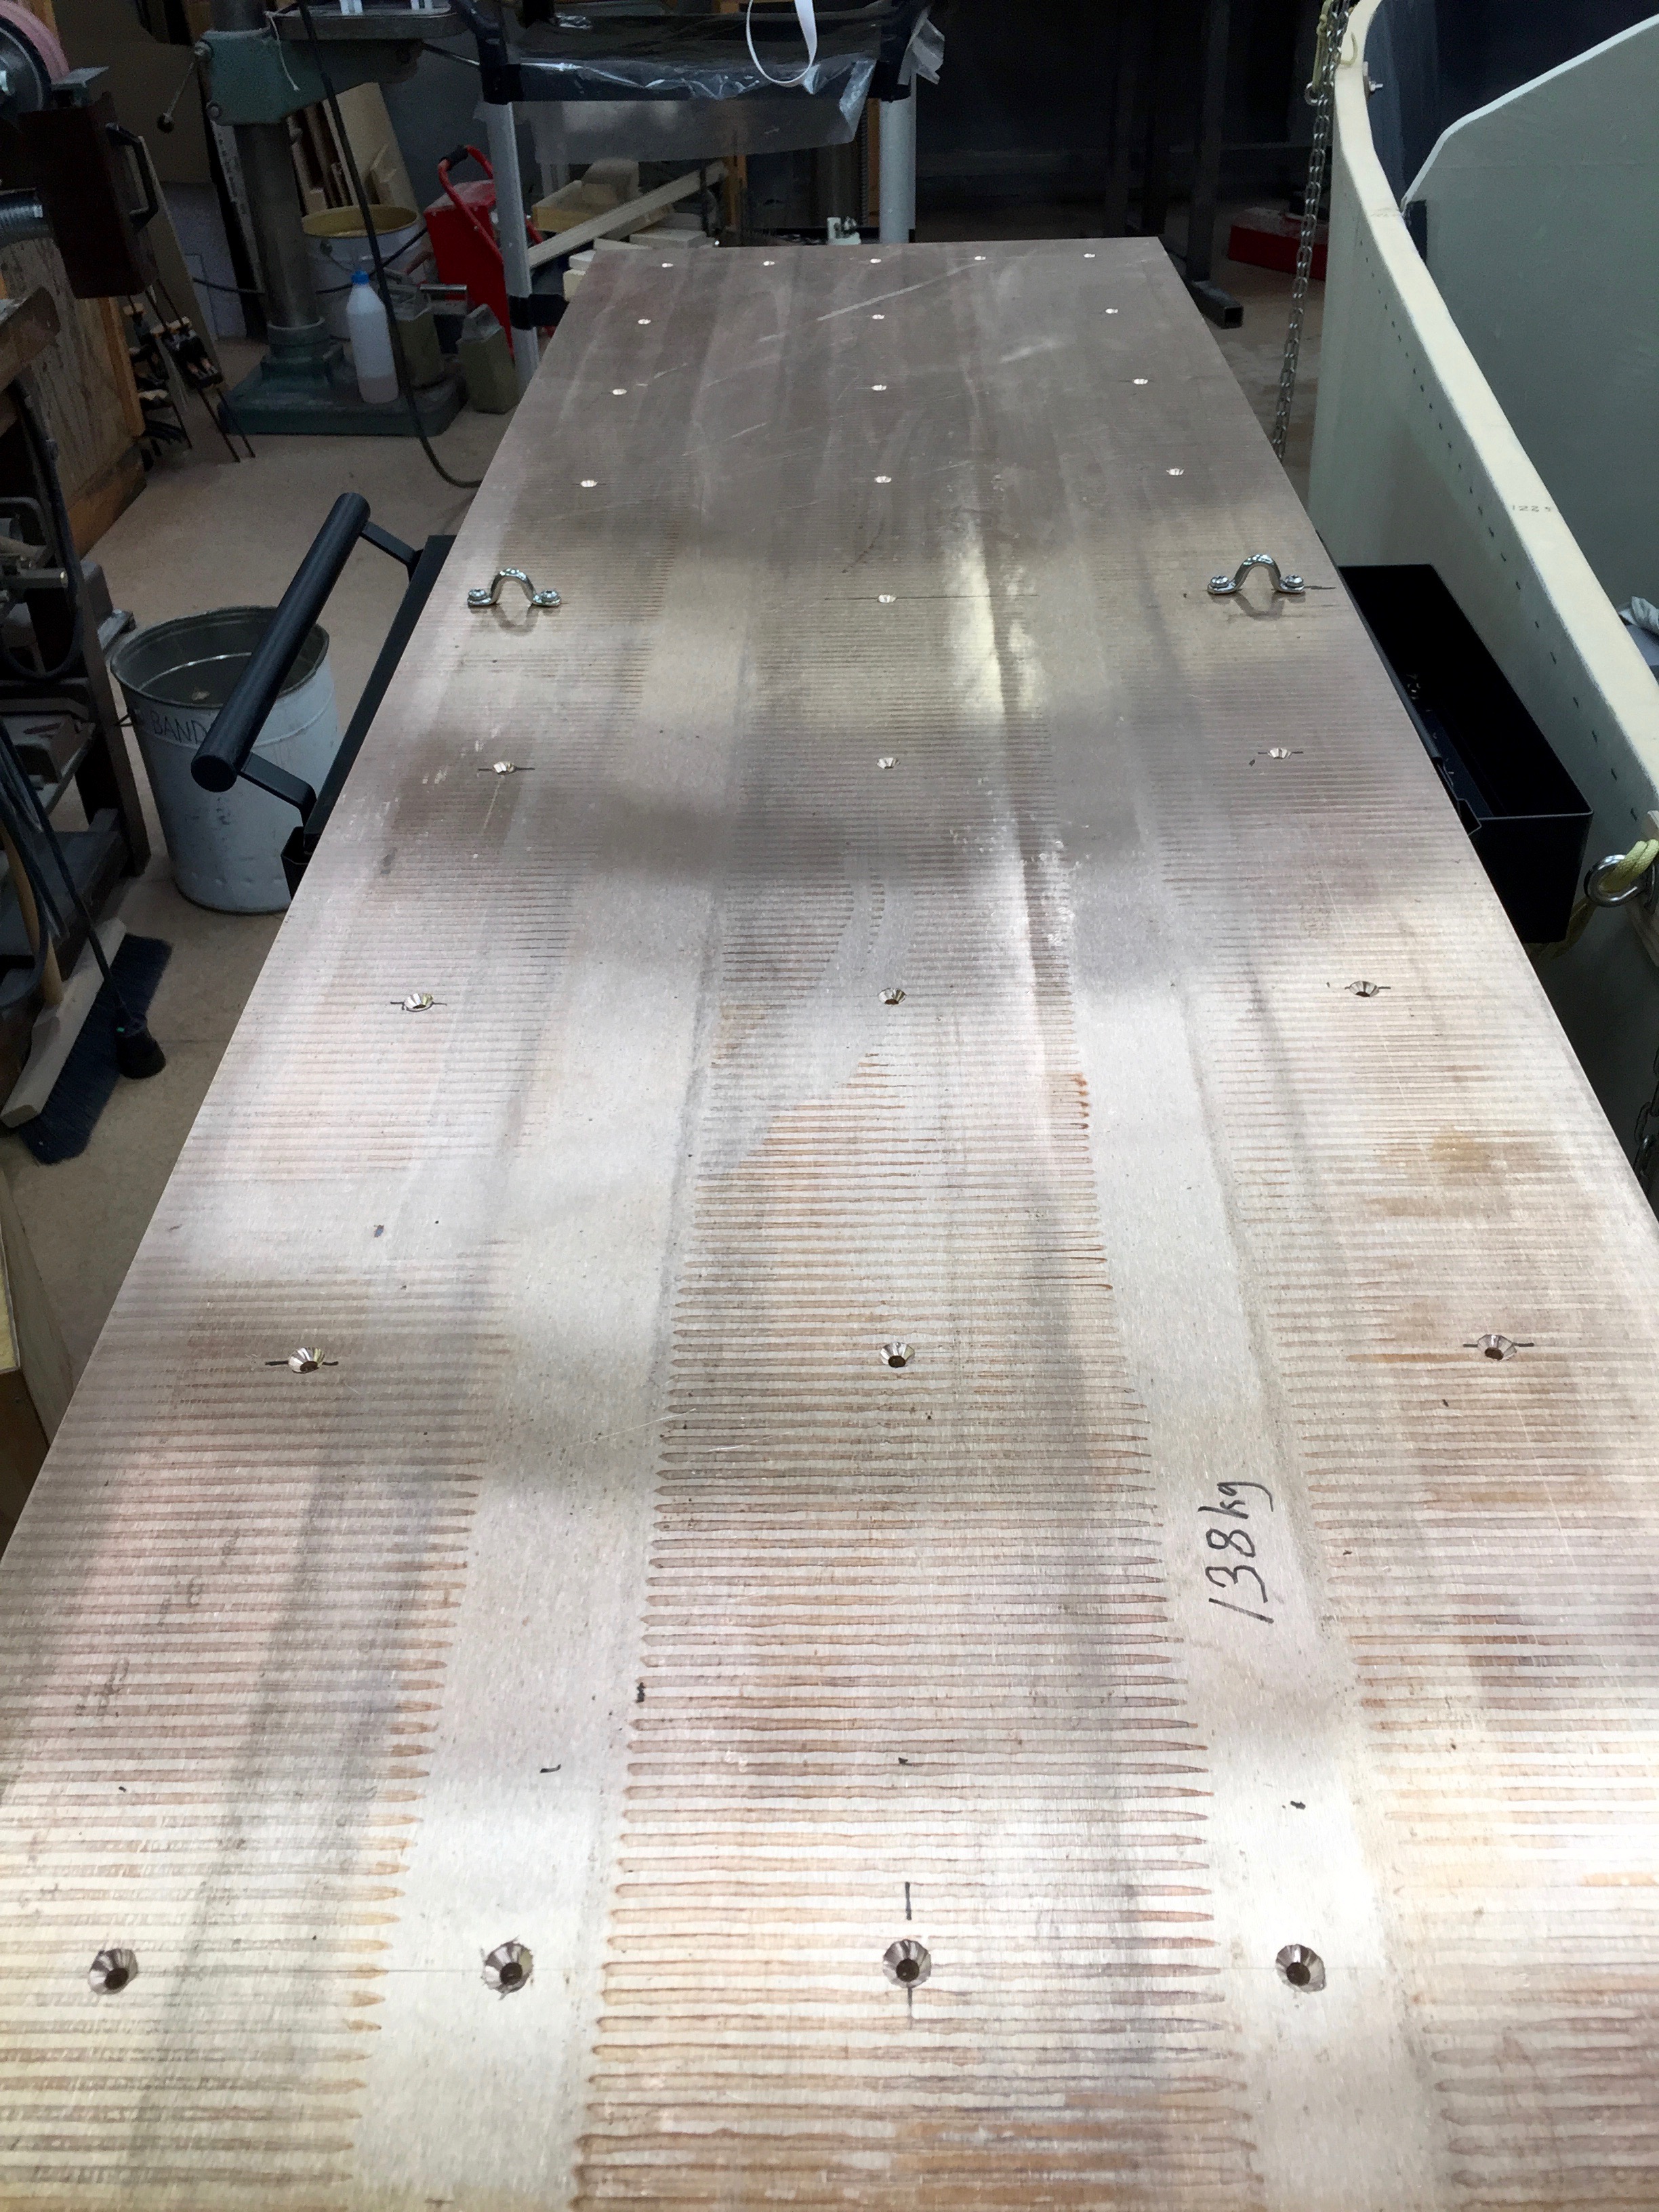
It turned out that the plate was heavier than anticipated 138 instead of 127. The extra kilos will do good rounding Cape Horn.
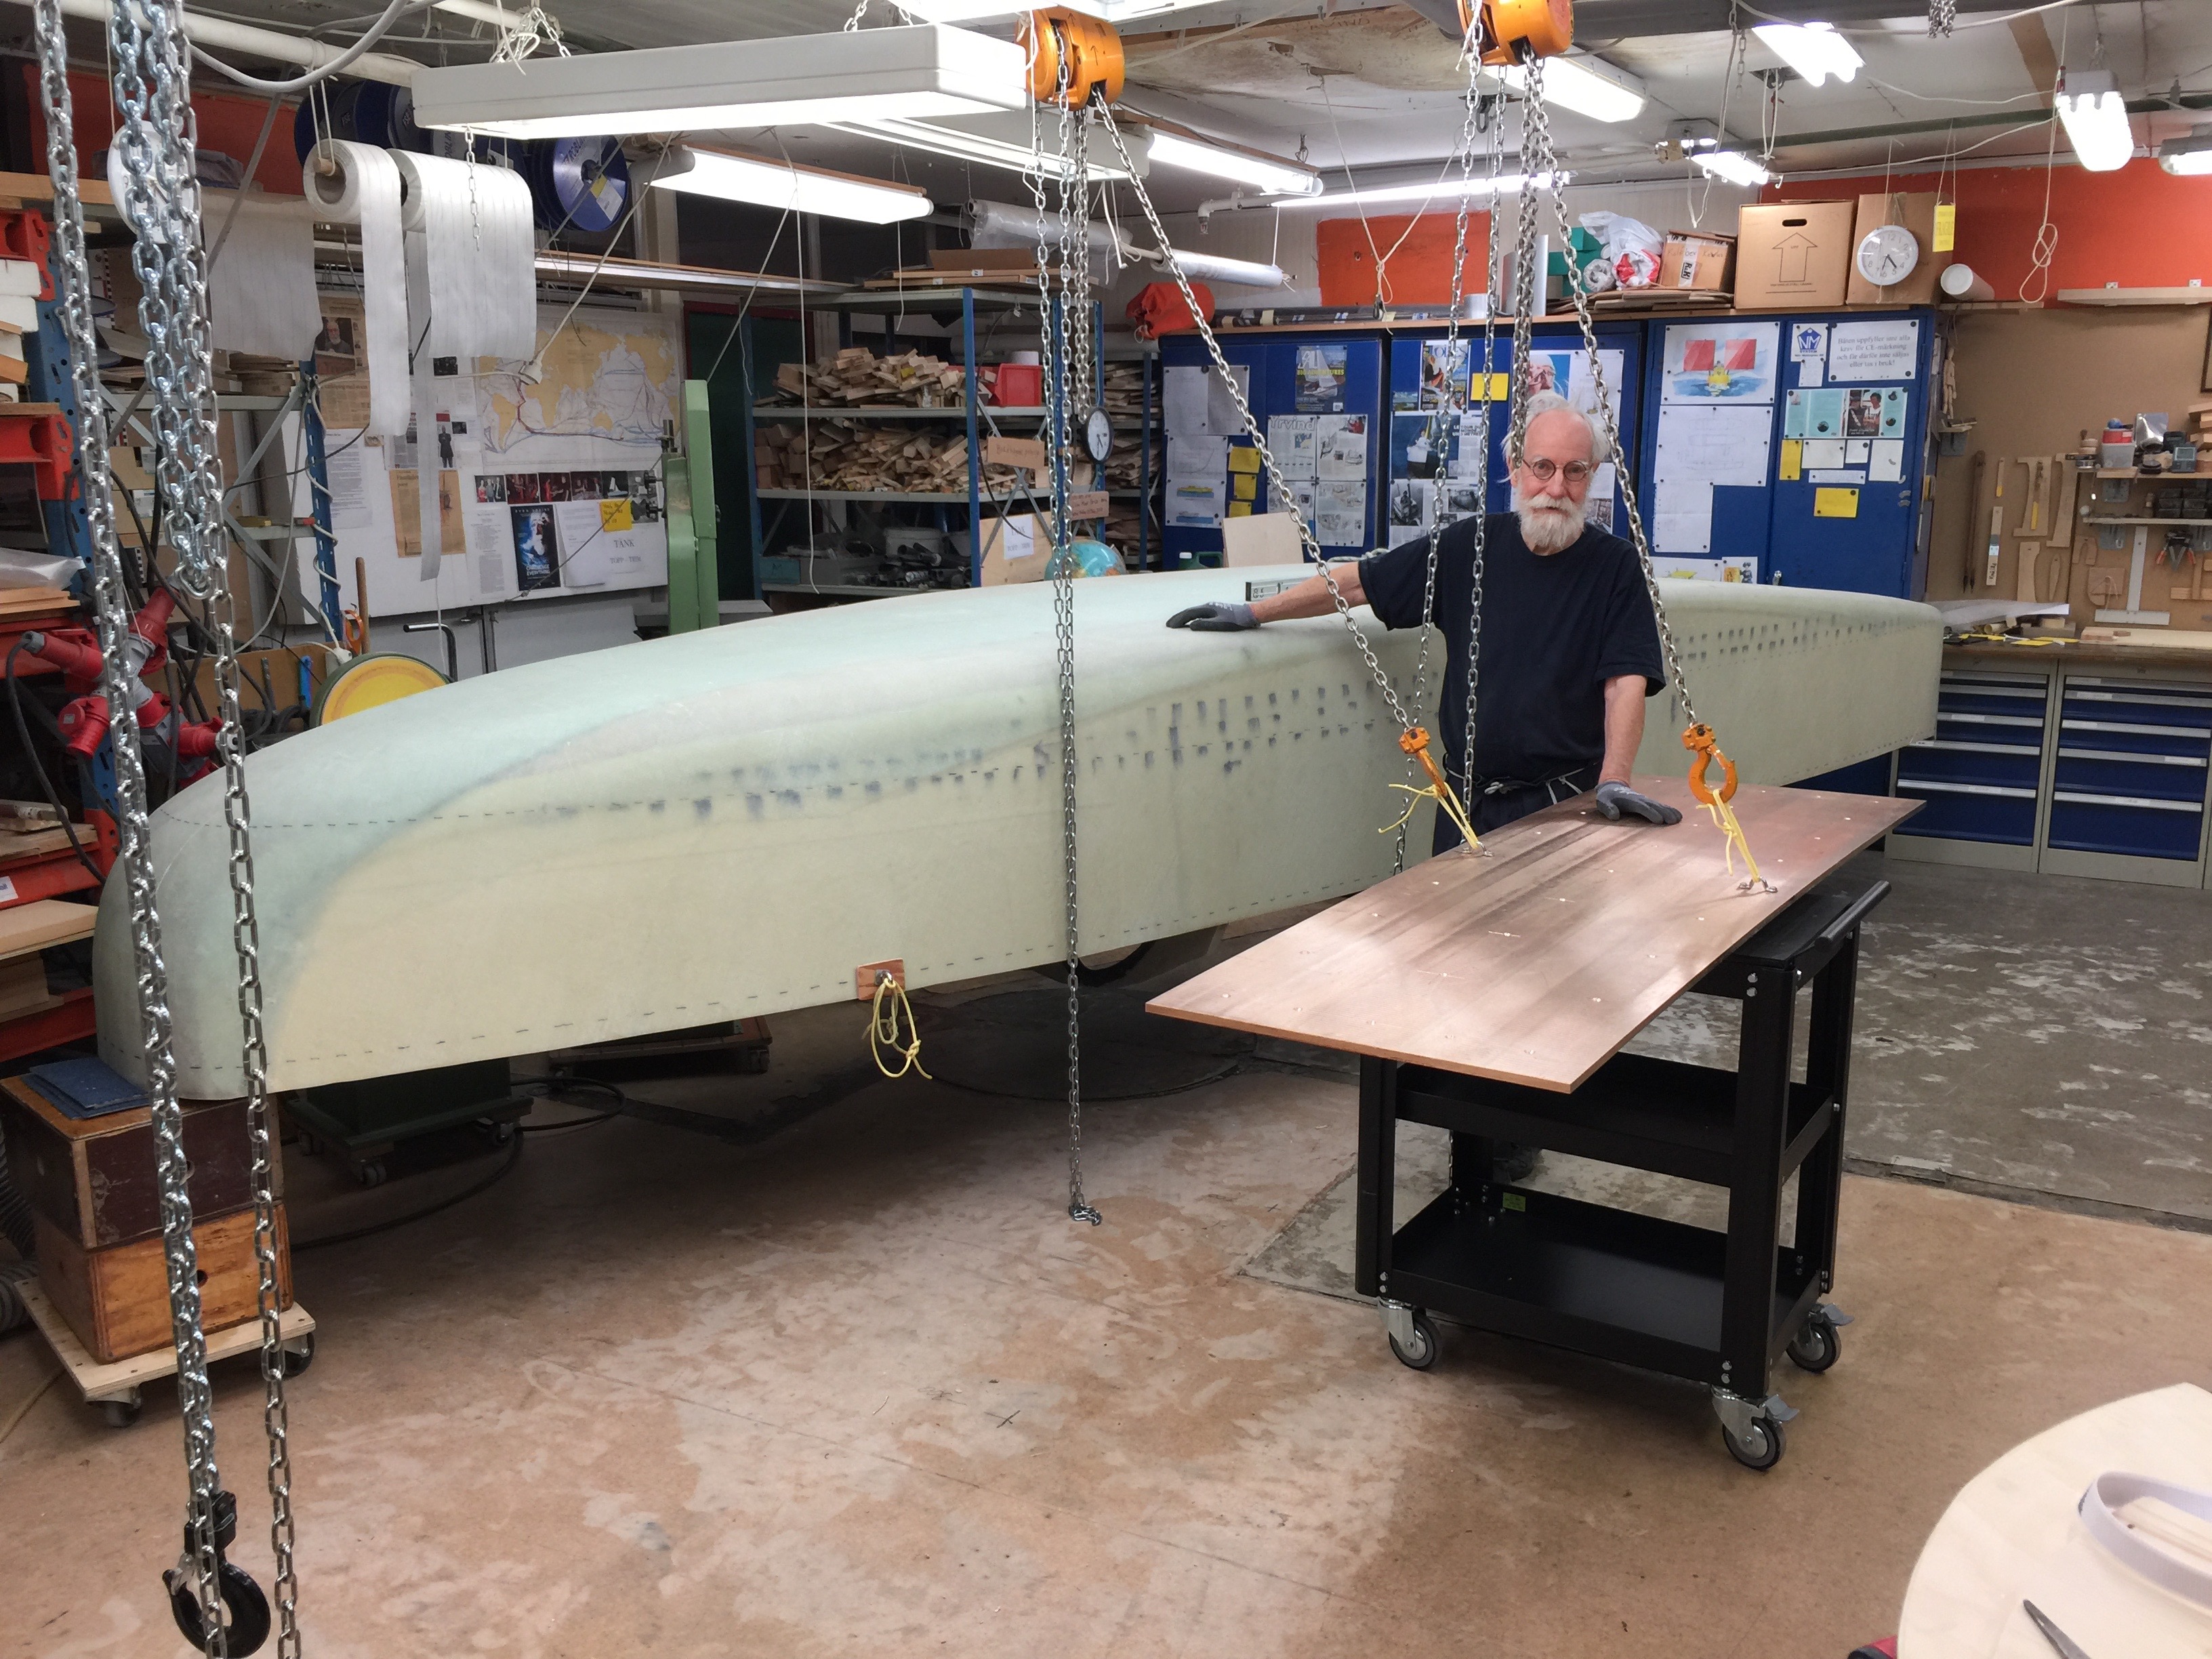
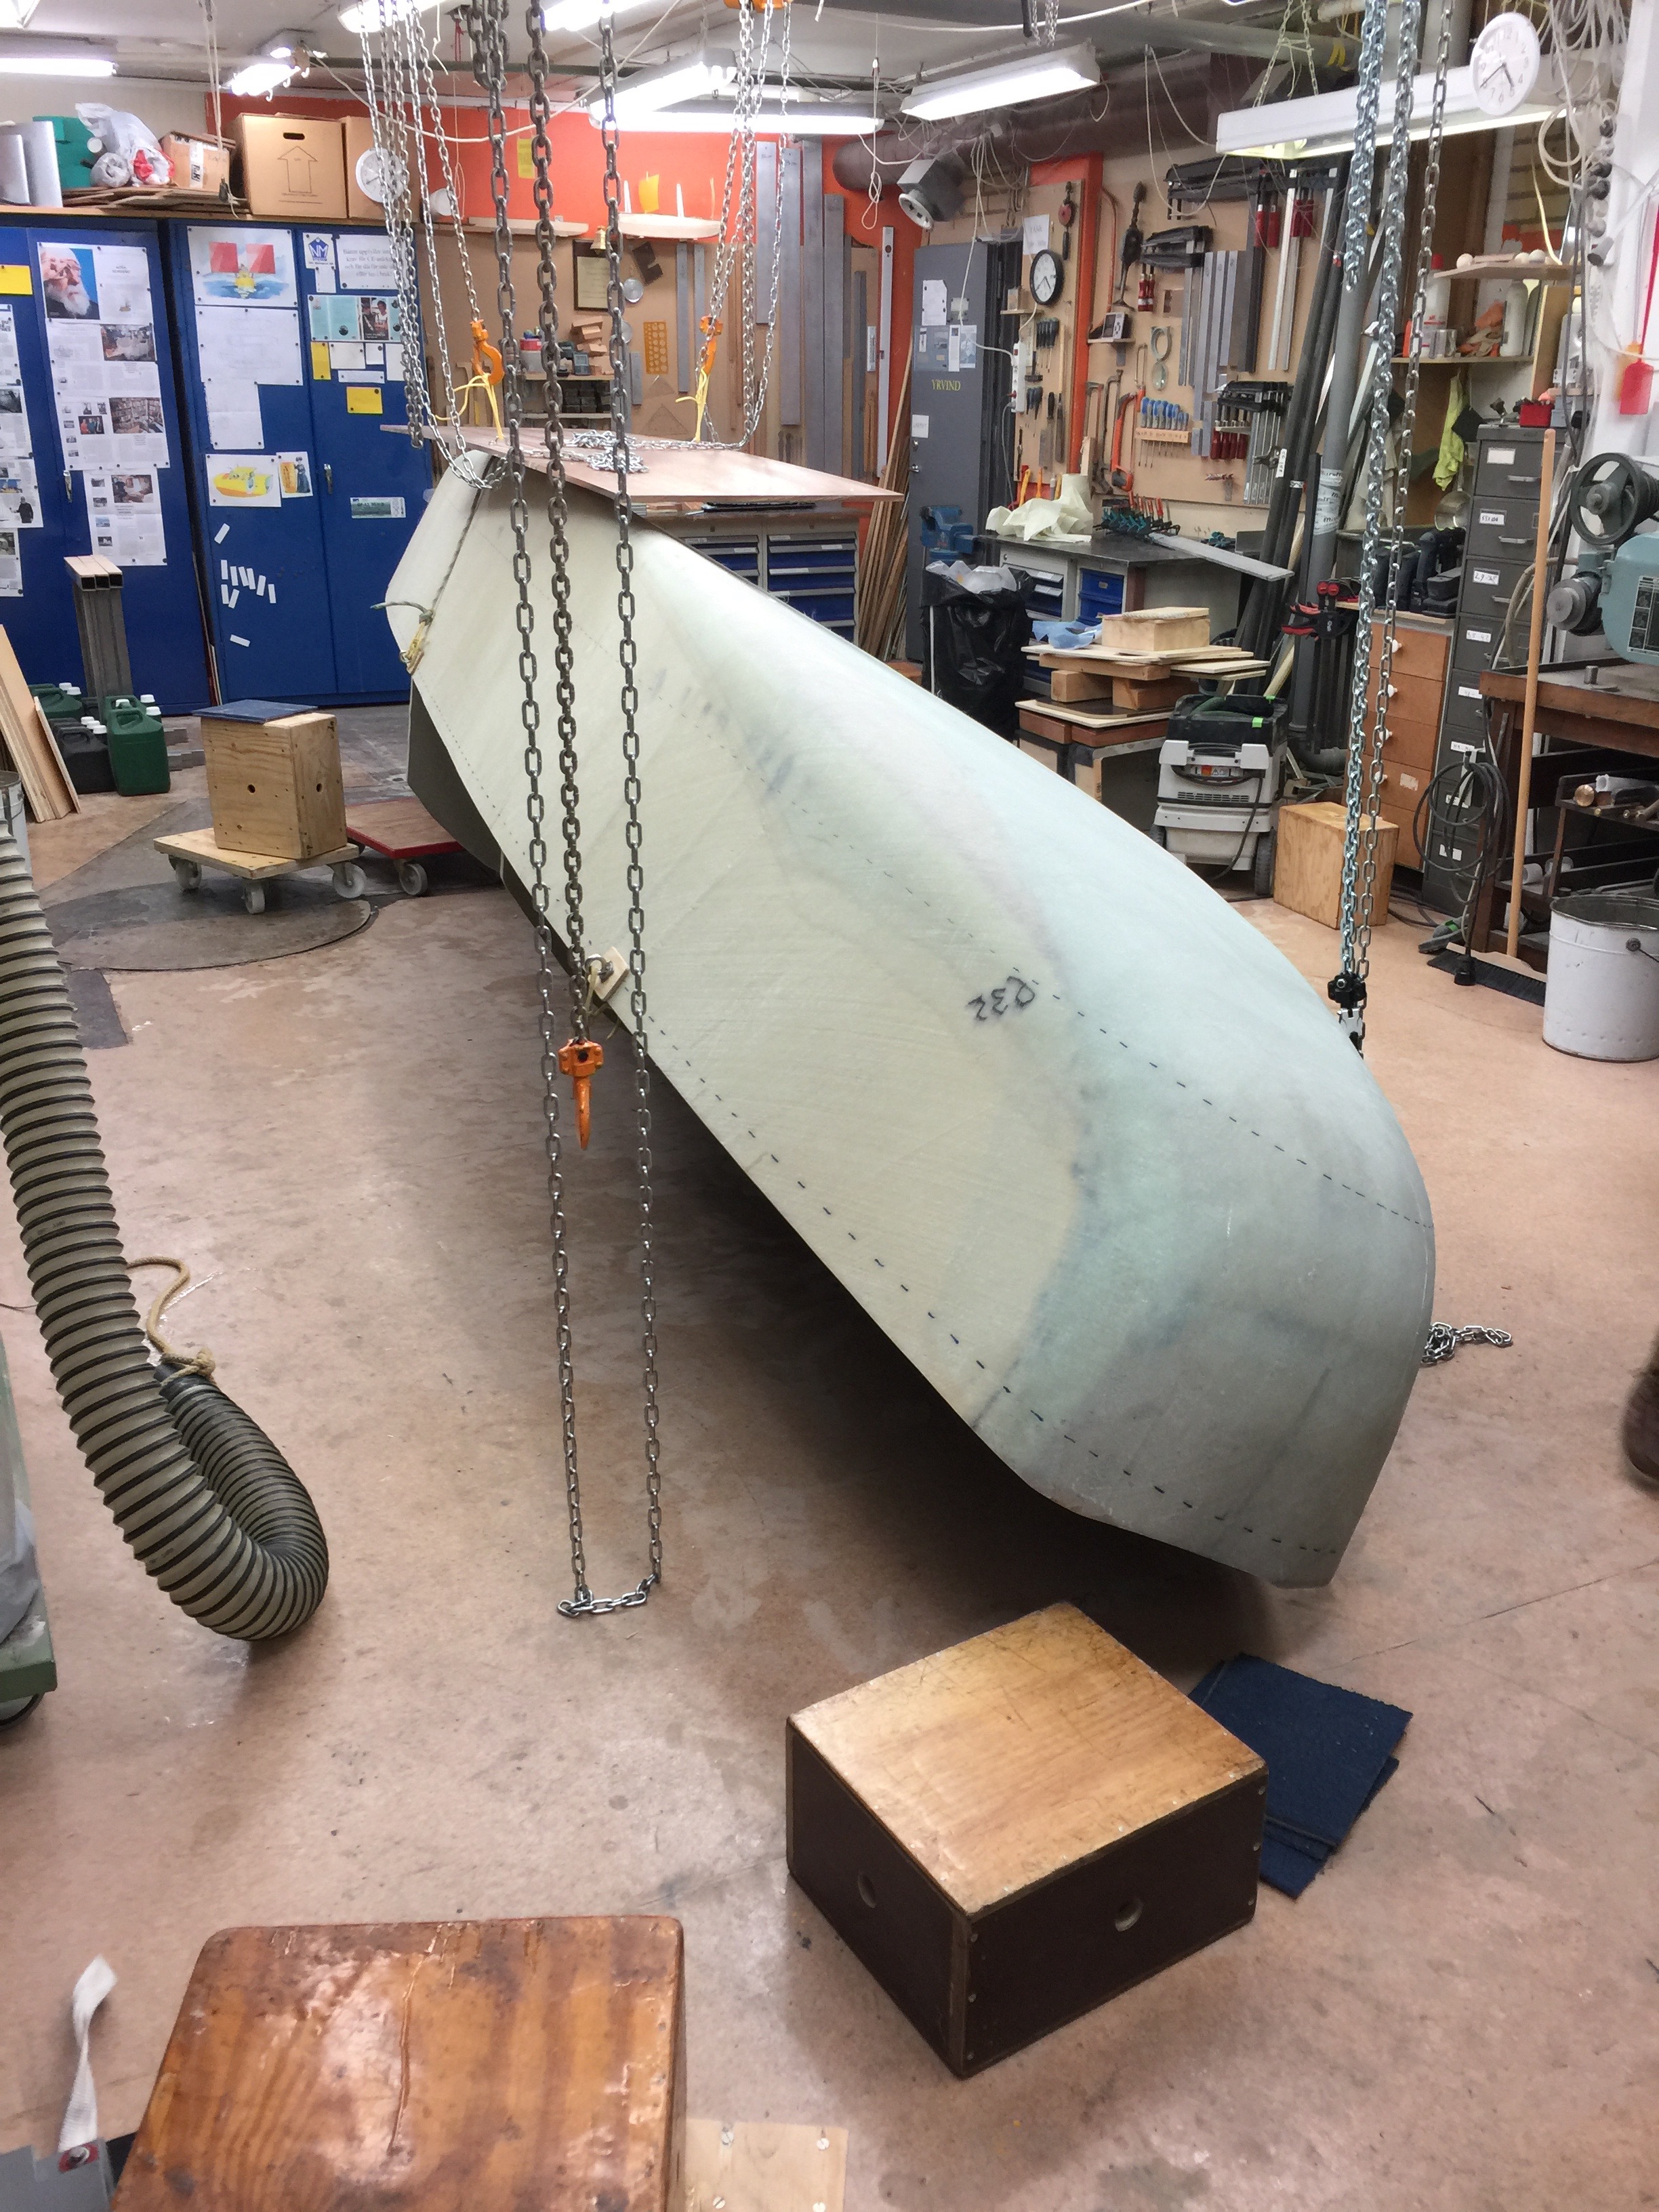
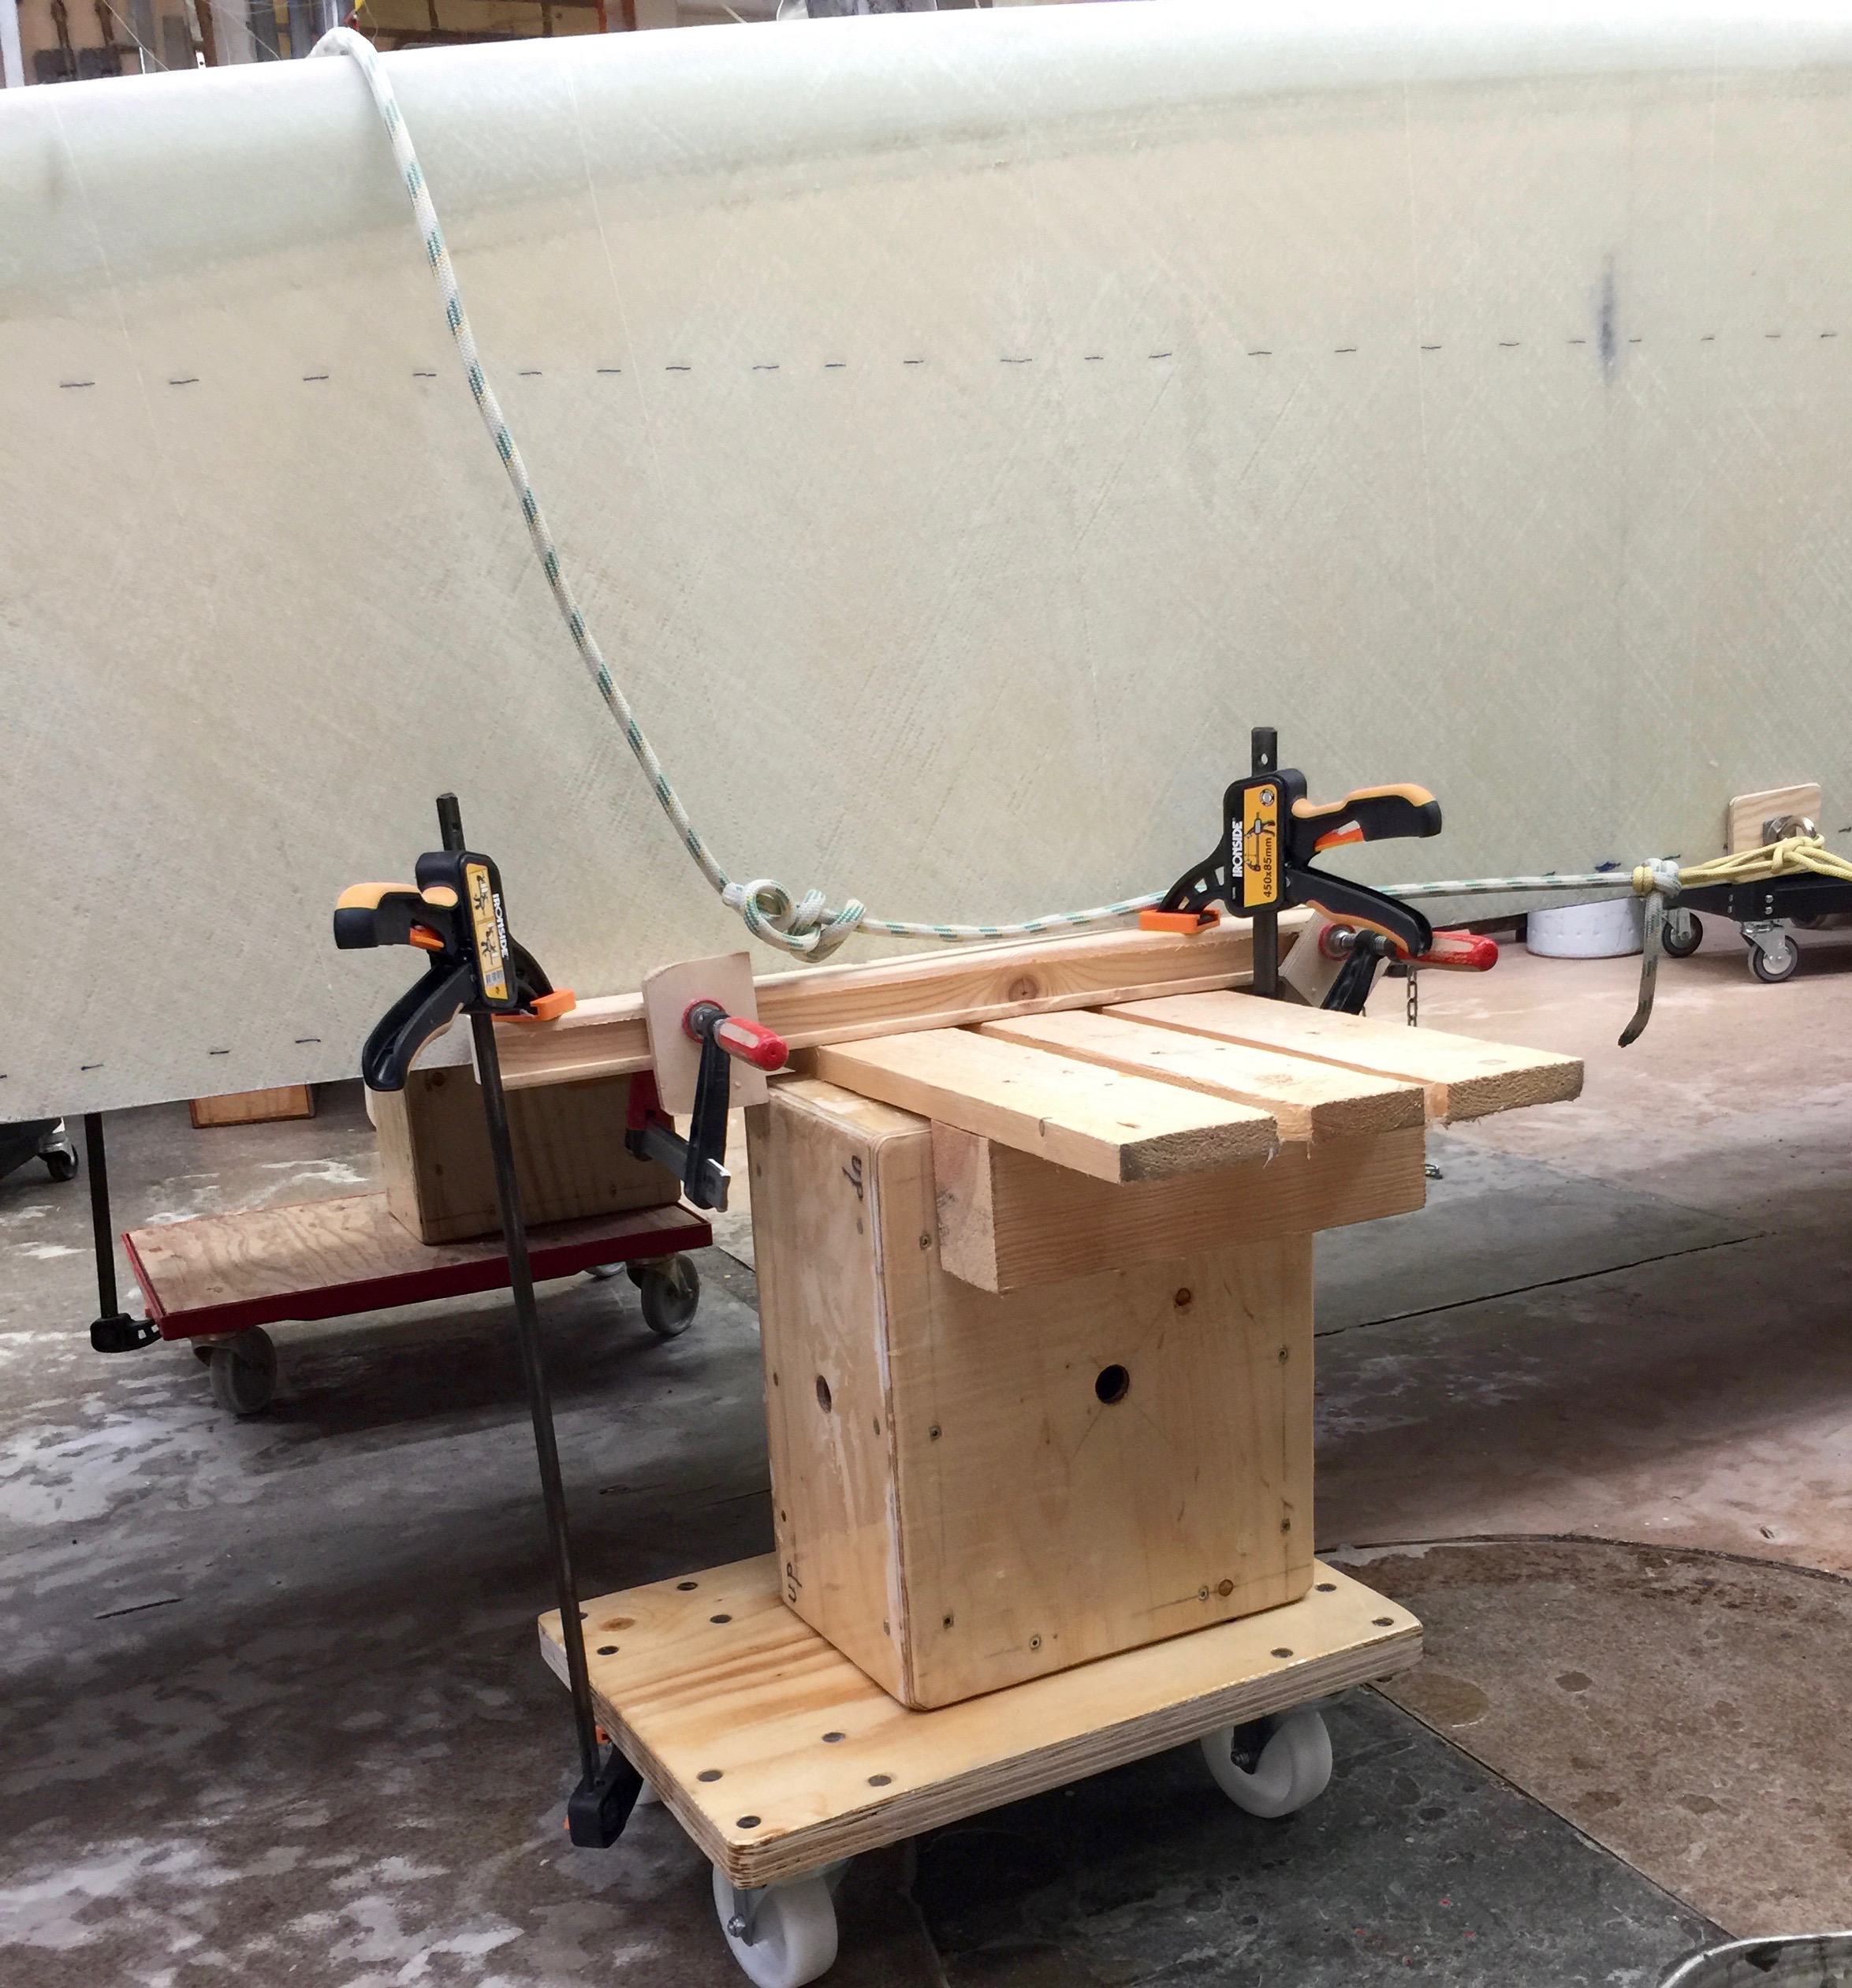
To get the plate in the right place some reshuffling had to be done. The boat had to be put upside down and rolled away, the heavy plate lifted up towards the cealing. The boat had to be rolled back and put in a very precise position below the plate. The finally the plate had to lowered.
All went very well except for the very last correction, then the boat fell over. A bad thing had happend. The bulkheads got damaged but can be fixed without to much weight gain I hope. No use cry over spilled milk. I continued.
To cheer me up the plate fitted itself in the most beatiful way. Only about 9 mm in the back was there a rather wide gap between the plate and the hull. I belive I can do something about it. We will see.
Below some pictures.
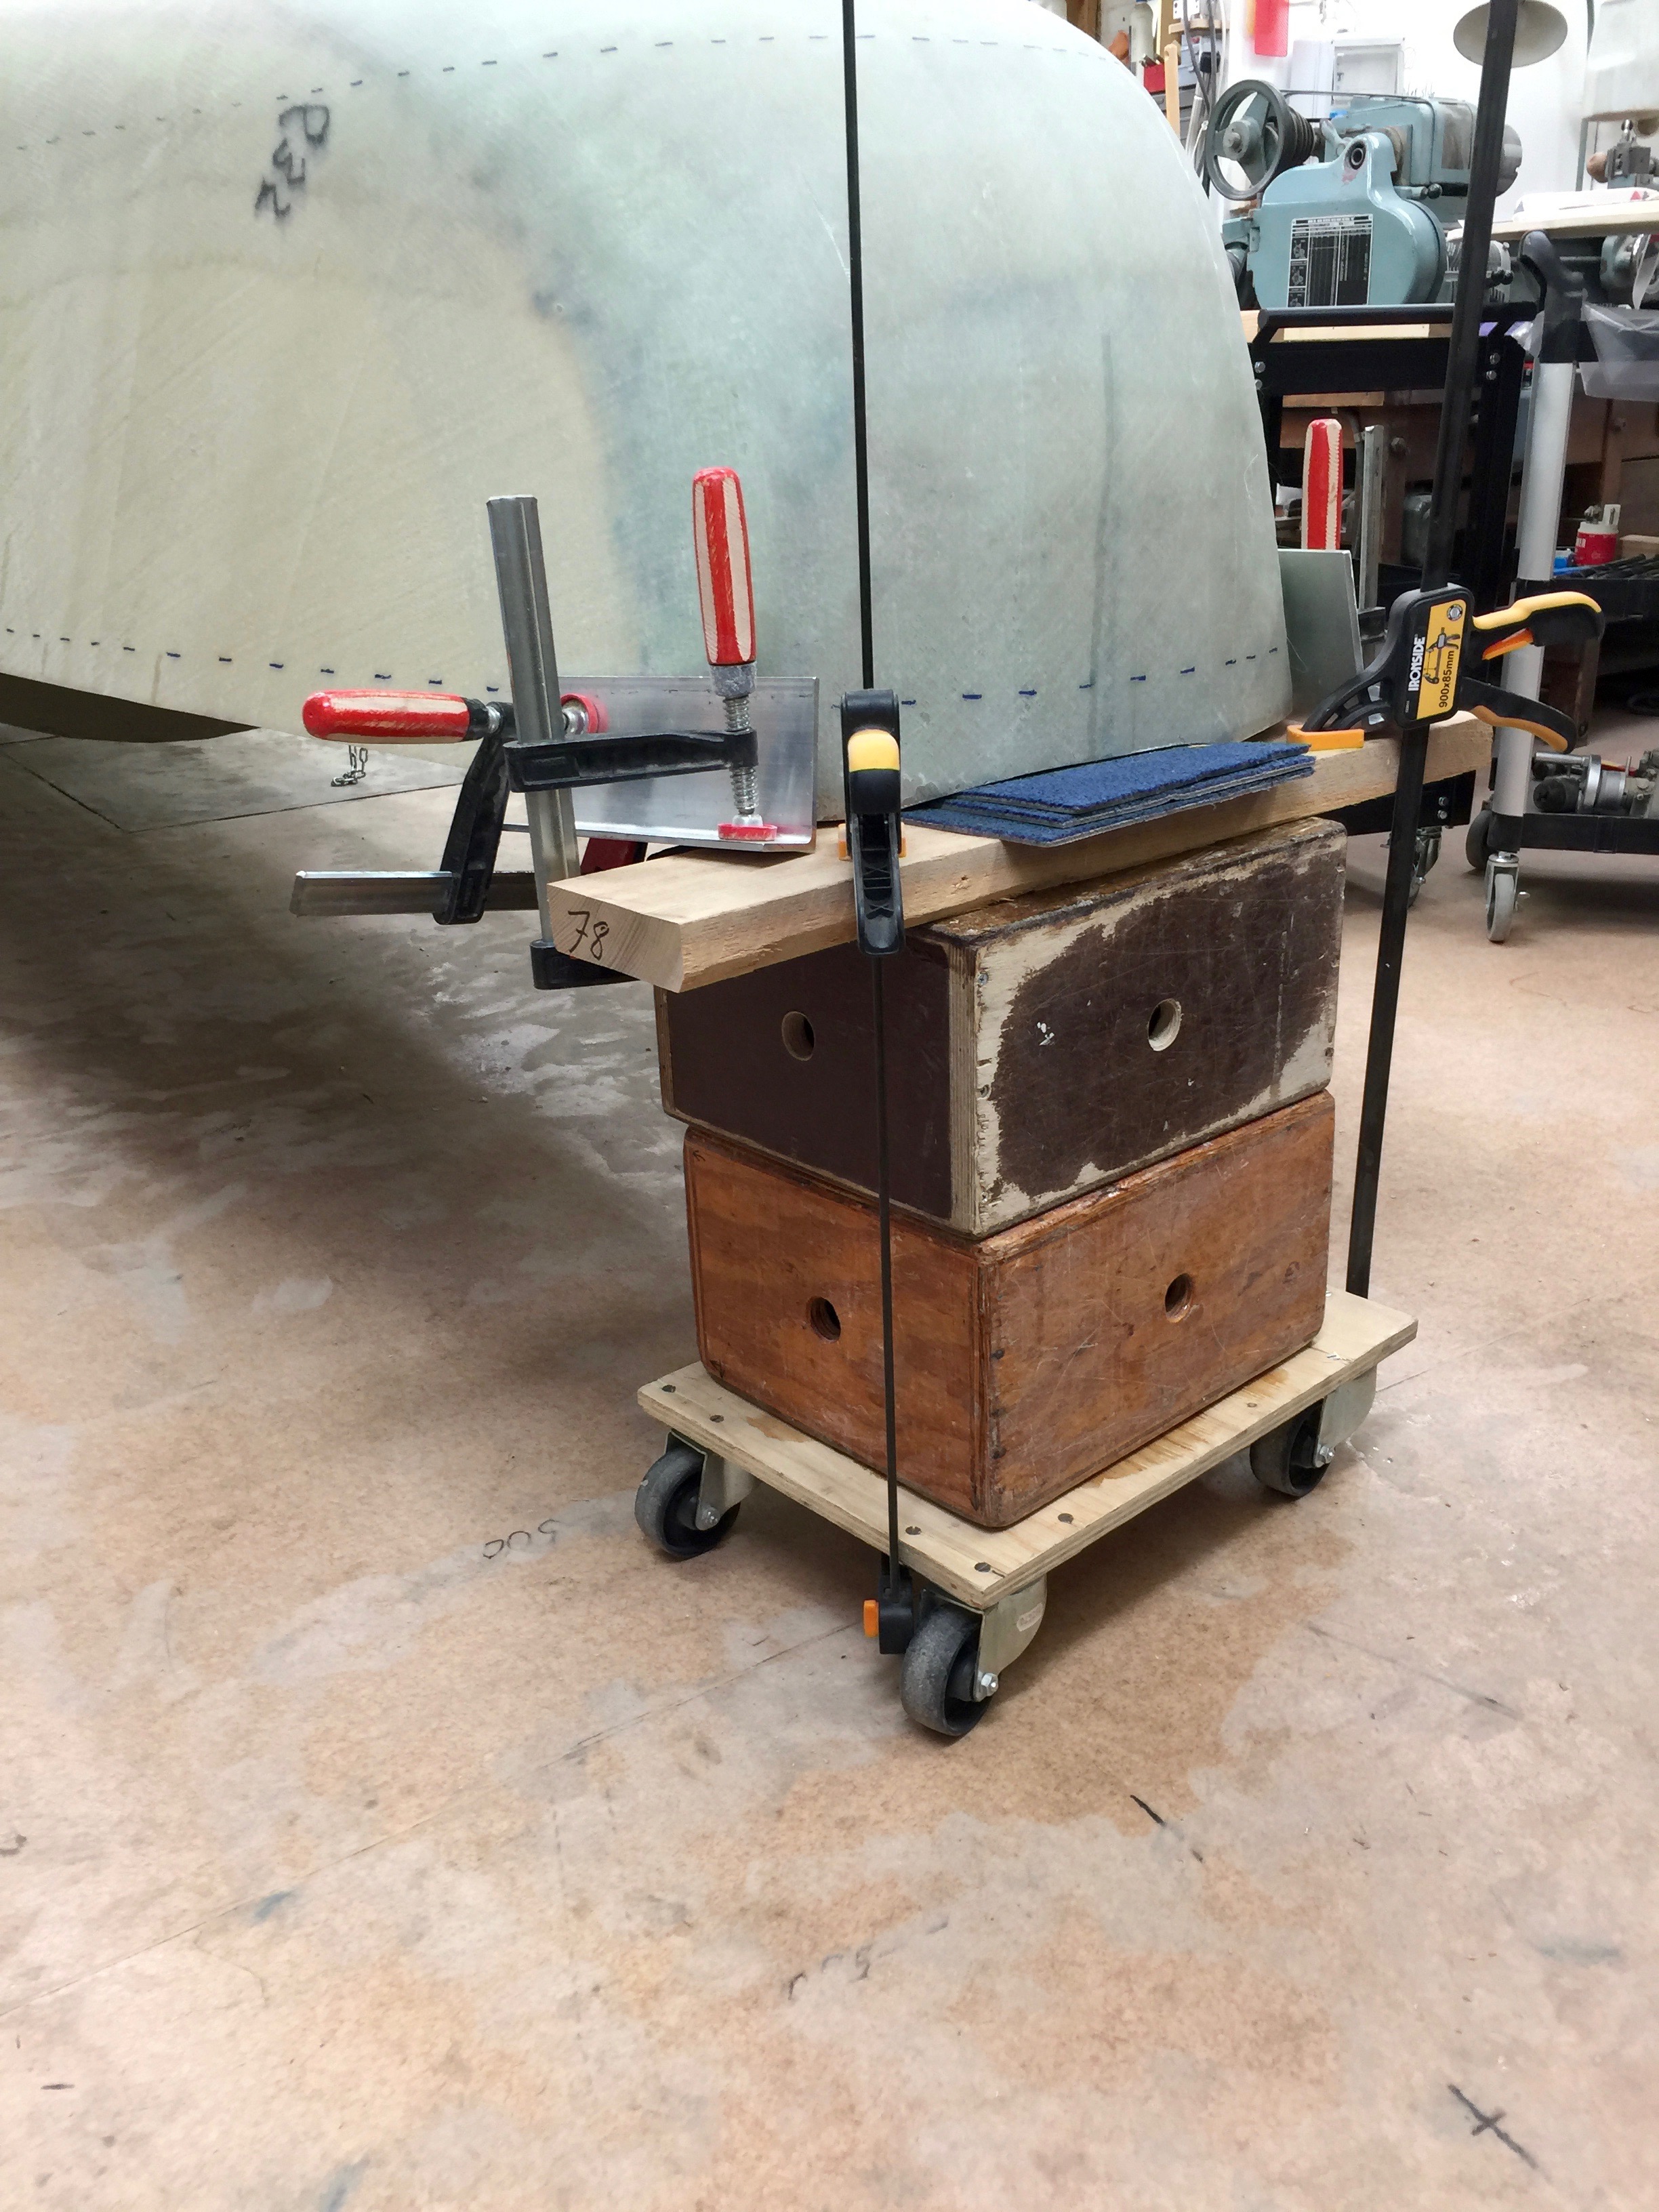
After I got a super sharp drill bit and used a box as support drilling went very well. More than 30 holes in the 12 mm thick phosphor bronze plate was done.The plate with the holes. The two pad eyes are fastened with screws in tapped holes. Their purpose is to lift the plate and then when their job is done be remowed.The plate on wheels being lifted. The boat on three dollies one forward two back. Everything rolled easily and everything was fine.Then suddenly all hell broke lose. I screamed as my boat fell over. No use the damage was done.One moment all happiness, next disaster. The plate still hanging over the boat. The dollies in the back can bee seen.The broken aft bulkheadThe plate on the hull. A very satisfying fit. I am pleased.This is the worst spot. Mostly the gap is not more than 3 millimeter or 1/8 of an inch.Now the dollies are secured with clamps. Here the bow oneHere the the two aft dollies. They are now connected by plancks and more widely spaced. One mistake is not OK but can be repaired. Two would be very bad.
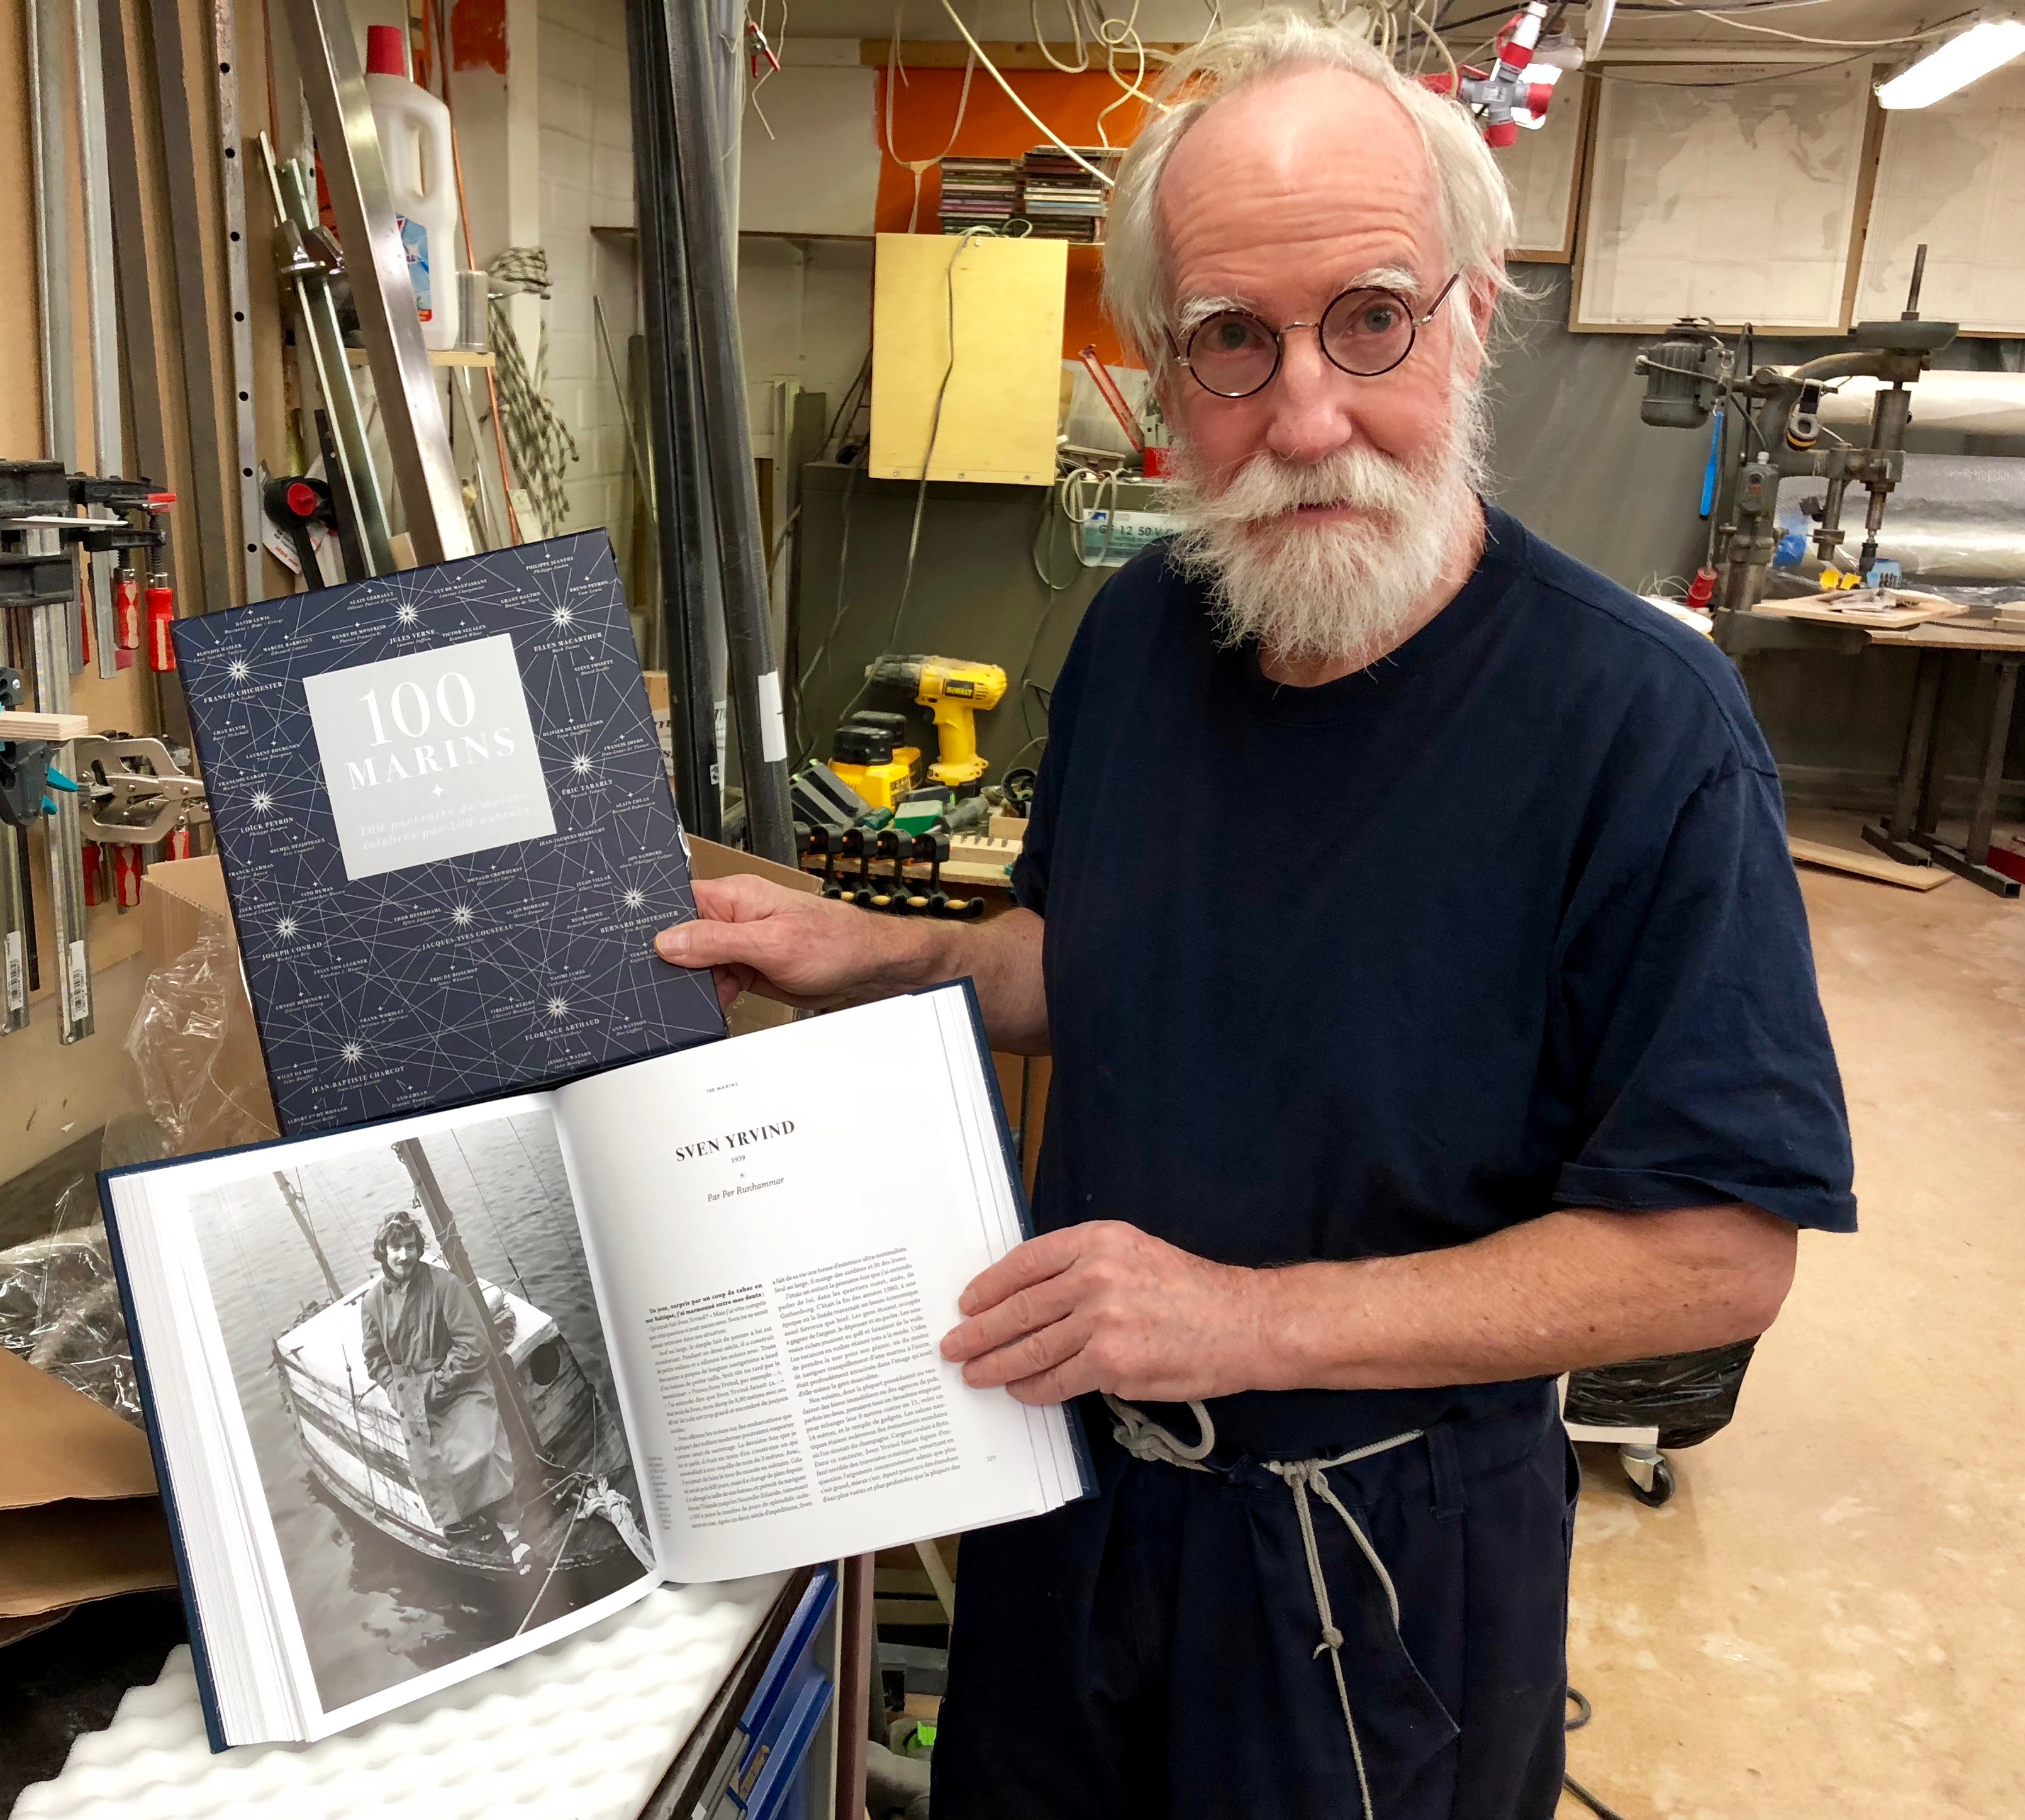
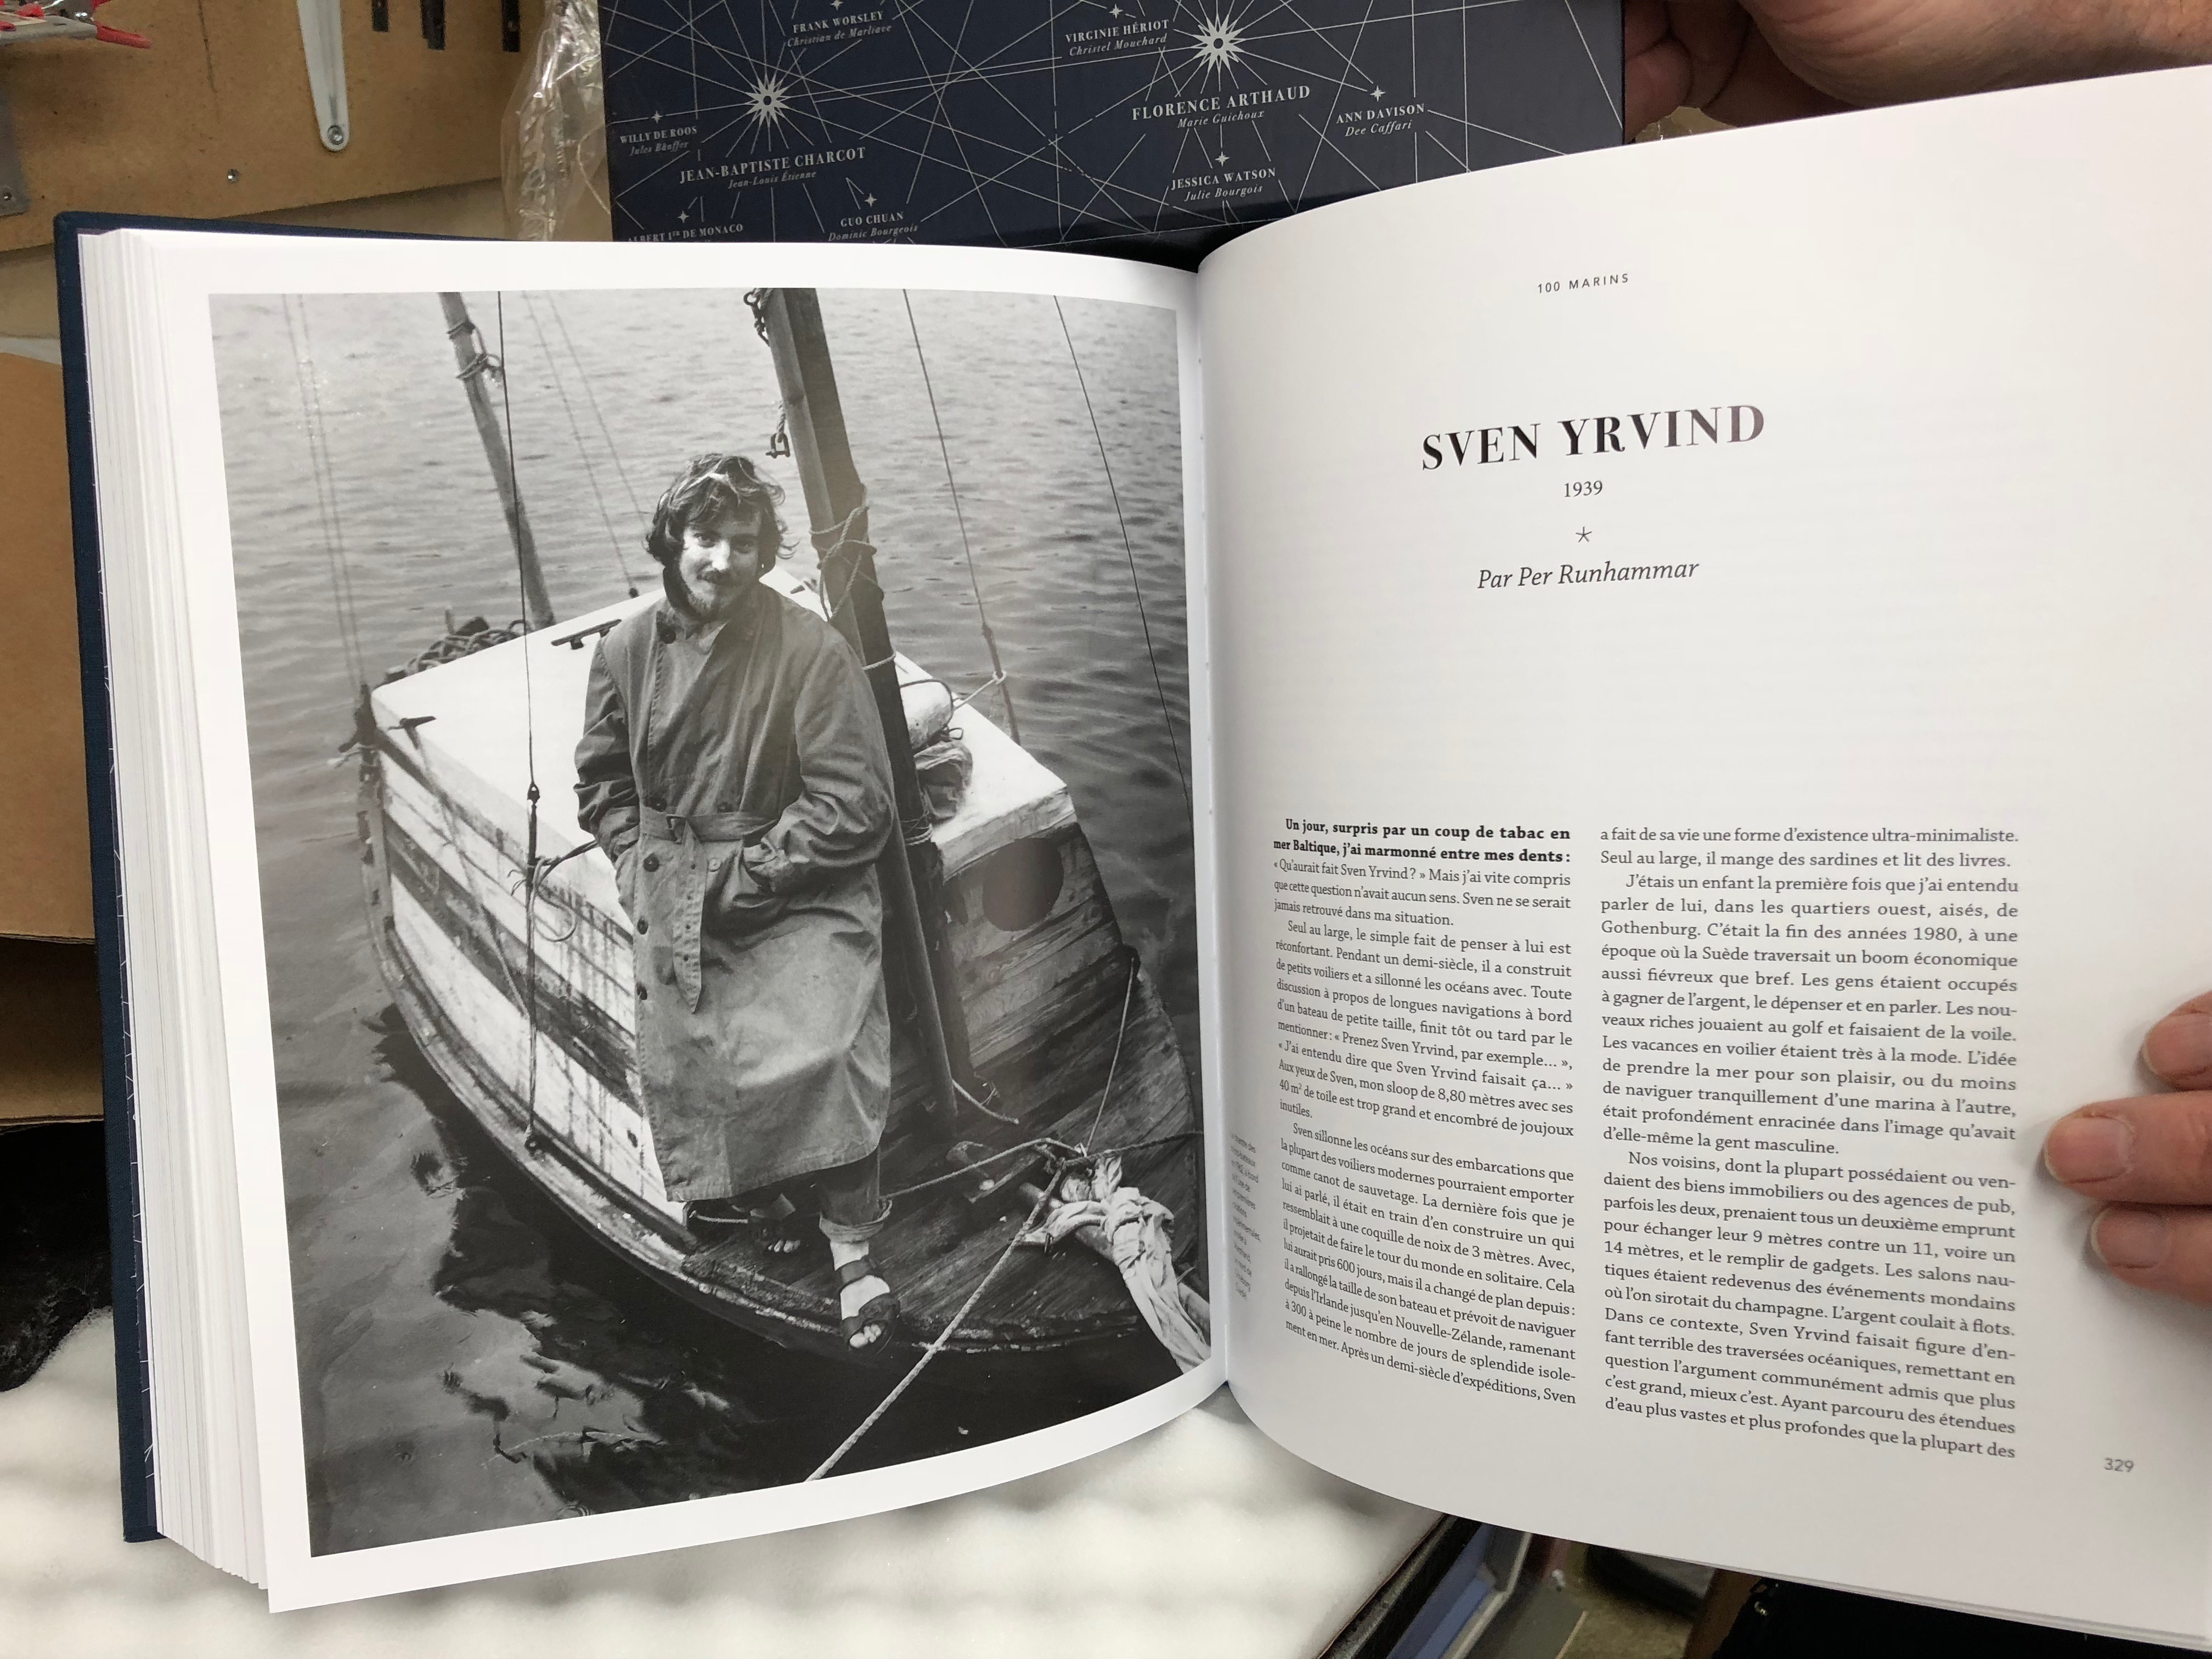
The book with famous navigators and me has arrivied.
Below two pictures.
So its true that I have a chapter in the same very expensive book as Chichester, Heyerdal, Costeau, Moitessier, Hemmingway, and many more, still my thoughts are with Exlex Minor and the development of small ocean going cruisers. We need to save the world and not build big boats.The picture shows me on my first small cruiser that was my home and sole possesion on which I for the first time I could see my country disapear below the horizon and to make a landfall on a foreign port. True not an ocean passage but the beginning of a new life. The year was 1962 and yachting was very different then.
About five weeks ago I ordered a heavy bronze plate as a sole for my boat. It is now here.
It will protect Exlex bottom when she is being beached and and handled on other hard surfaces. It will also act as ballast to give needed stability. The wheight is 127 kilos and thirdly bronze have antifouling propreties. Many of the contenders in the Golden Globe Race have serius problems with fouling by goose barnacles. On Exlex with a bronze plate and only 20 cm/ 8 inches draft that will not be a problem. Saddly bronze is wery expensive but it solves many problems. Fortunatly Lagermetall in Örebro have been giving me an very good prize, still this phosphor bronze plate is nearly ruining me so please, if you can afford it send me an contribution.
Wevik Maskin AB here in Västervik have kindly put a bend in the strong plate to make it fit the bottom of Exlex Minor. Tomorrow I try to organize a transport to my workshop. This bronze plate is nothing I can carry on my bike.
Below are two photos
Hans and Dennis at Wevik Maskin AB regarding the 2000 X 600 X 12 mm 127 kilo bronze plate that is now in their scilled hands to give a bend that matches Exlex bottom.The bronze plate in the rollers. Very exciting. Much depends on this plate.
At the moment I am doing details. Details but details are important and time-consuming.
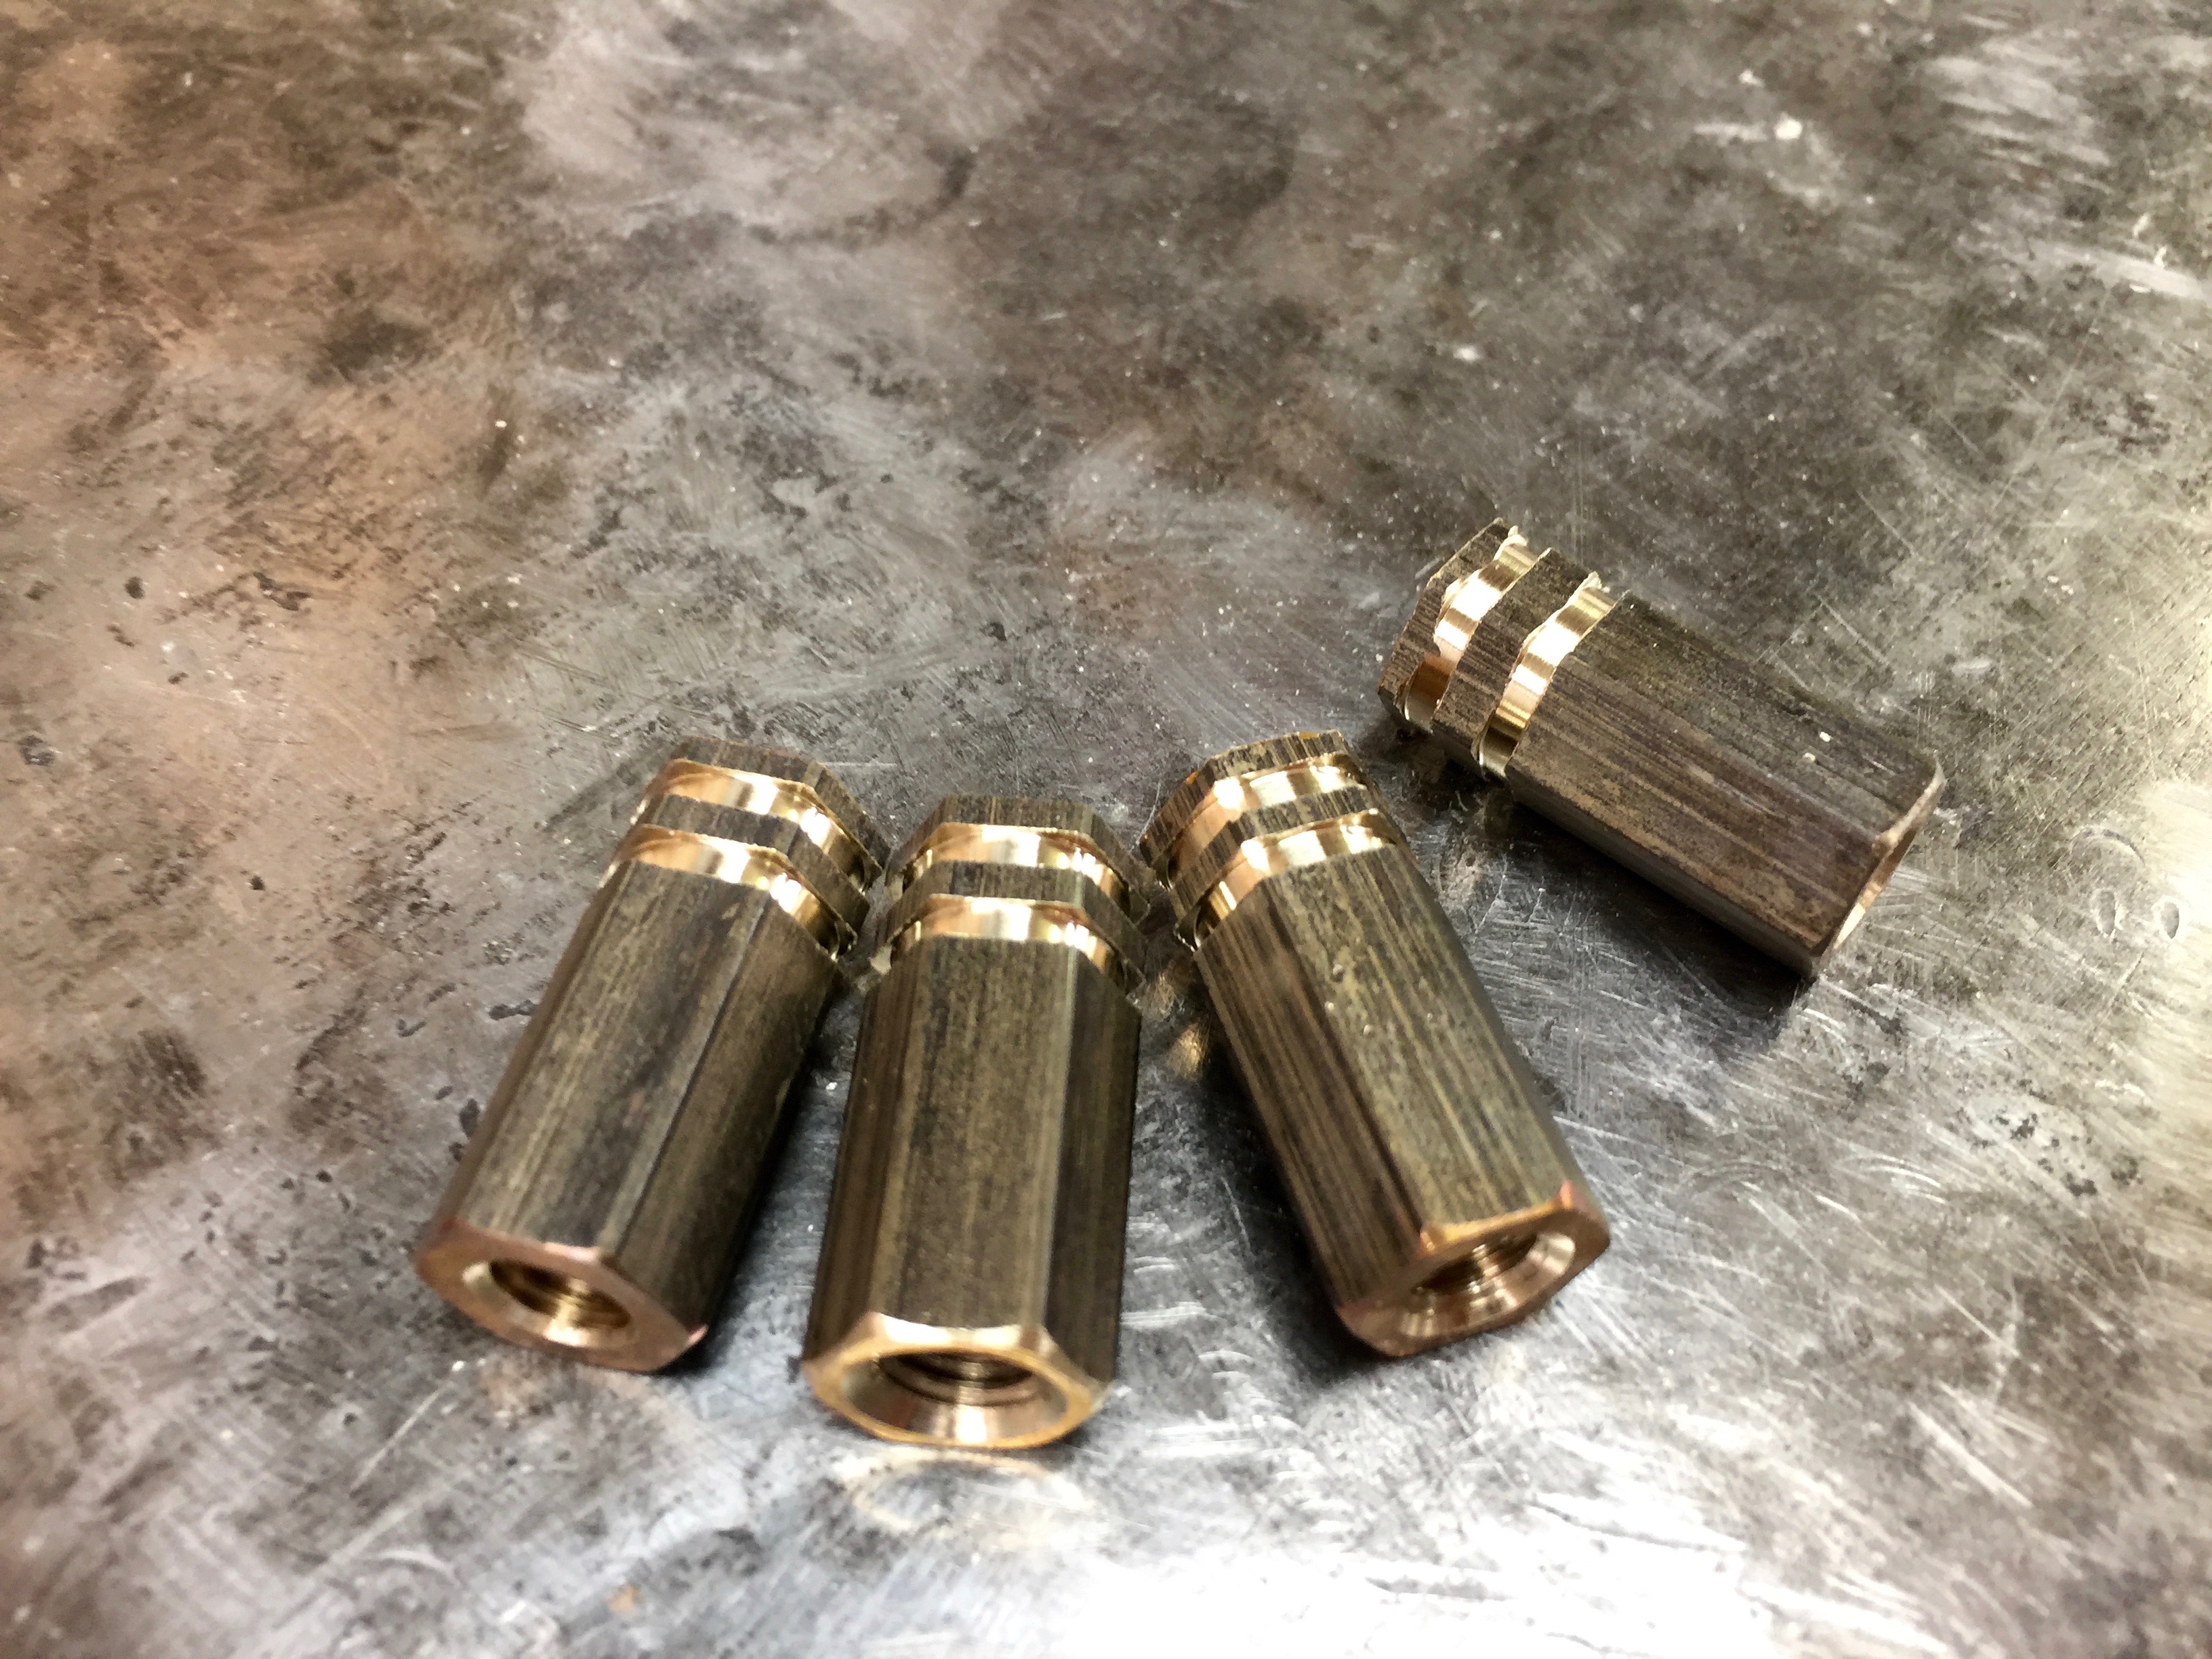
On Exlex I secured the lunch-box hatches by screws. Some people say that takes to long time. I say I dont mind spend ten secounds to obtain a well secured hatch. Pictures below show how I secured the 30 mm long M8 bronze nuts.
The nut is embedded in NM-epoxy and secured with 24 pieces of carbon rowing. A bolt clad in teflon-tejp is inserted in the nut to prevent the epoxy to get into the screw-threds.
The epoxying of the nut is done with the lid in place and the bolt in the nut. That guarantees that everything is aligmented.
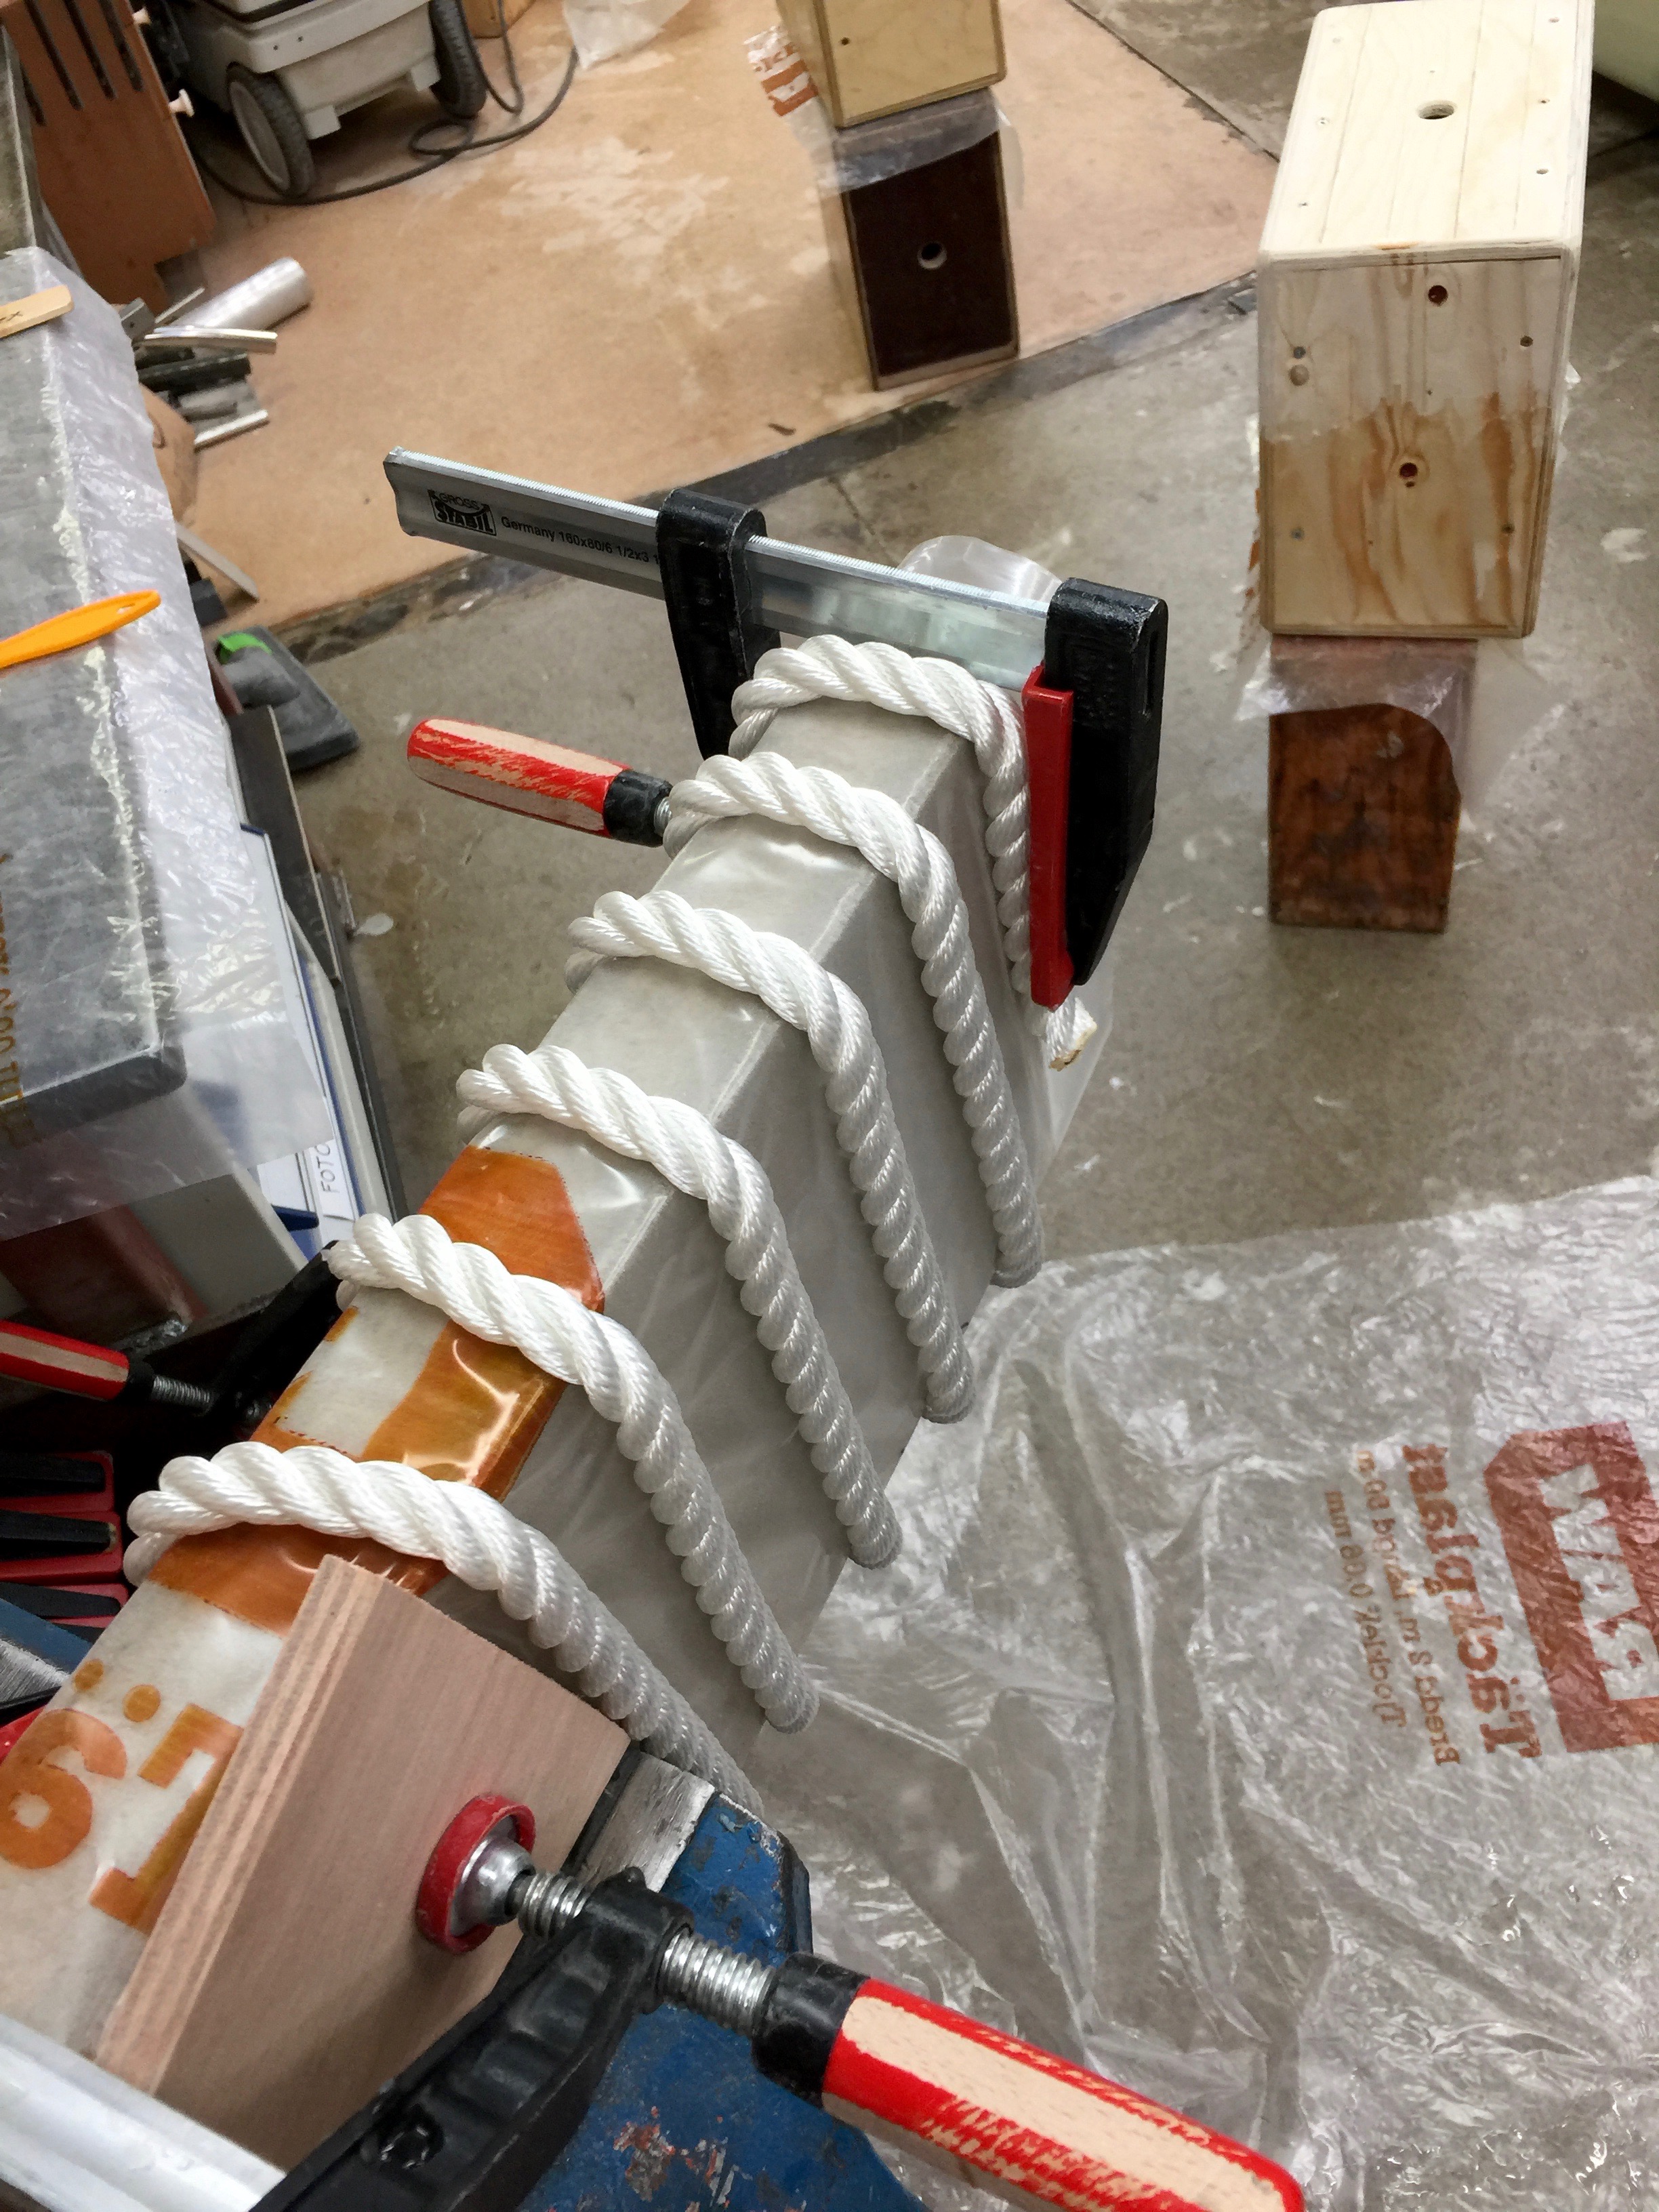
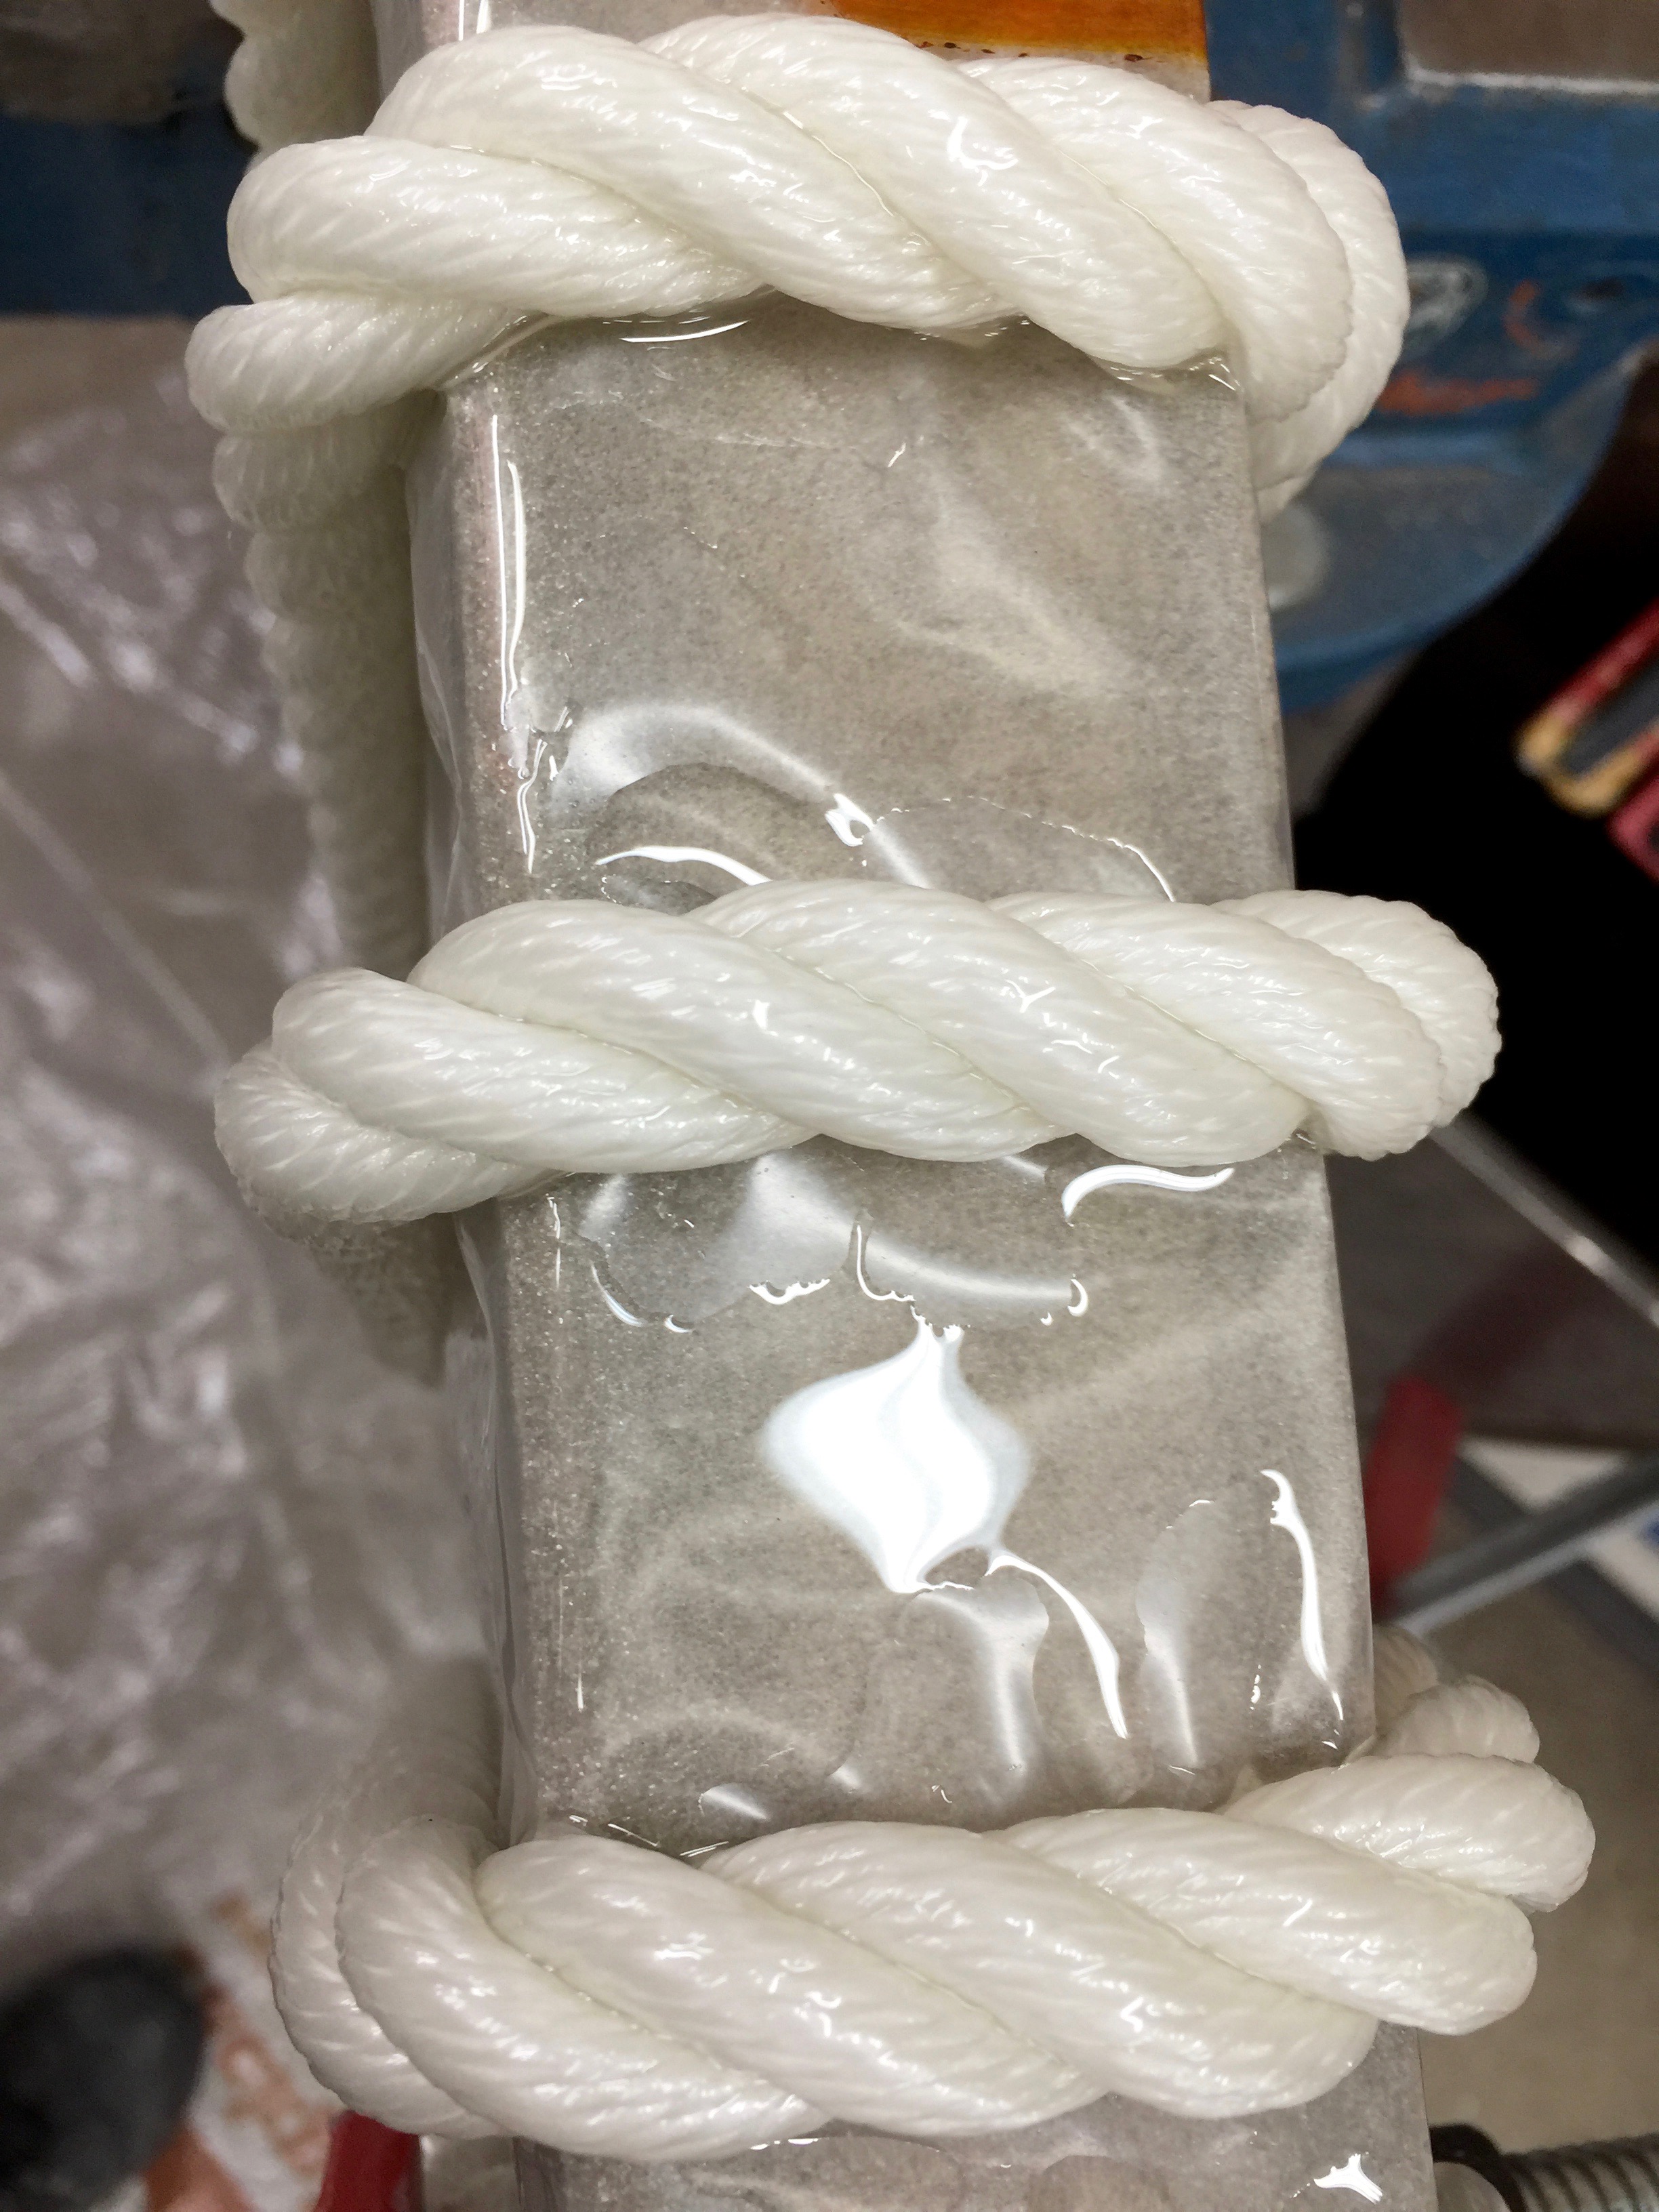
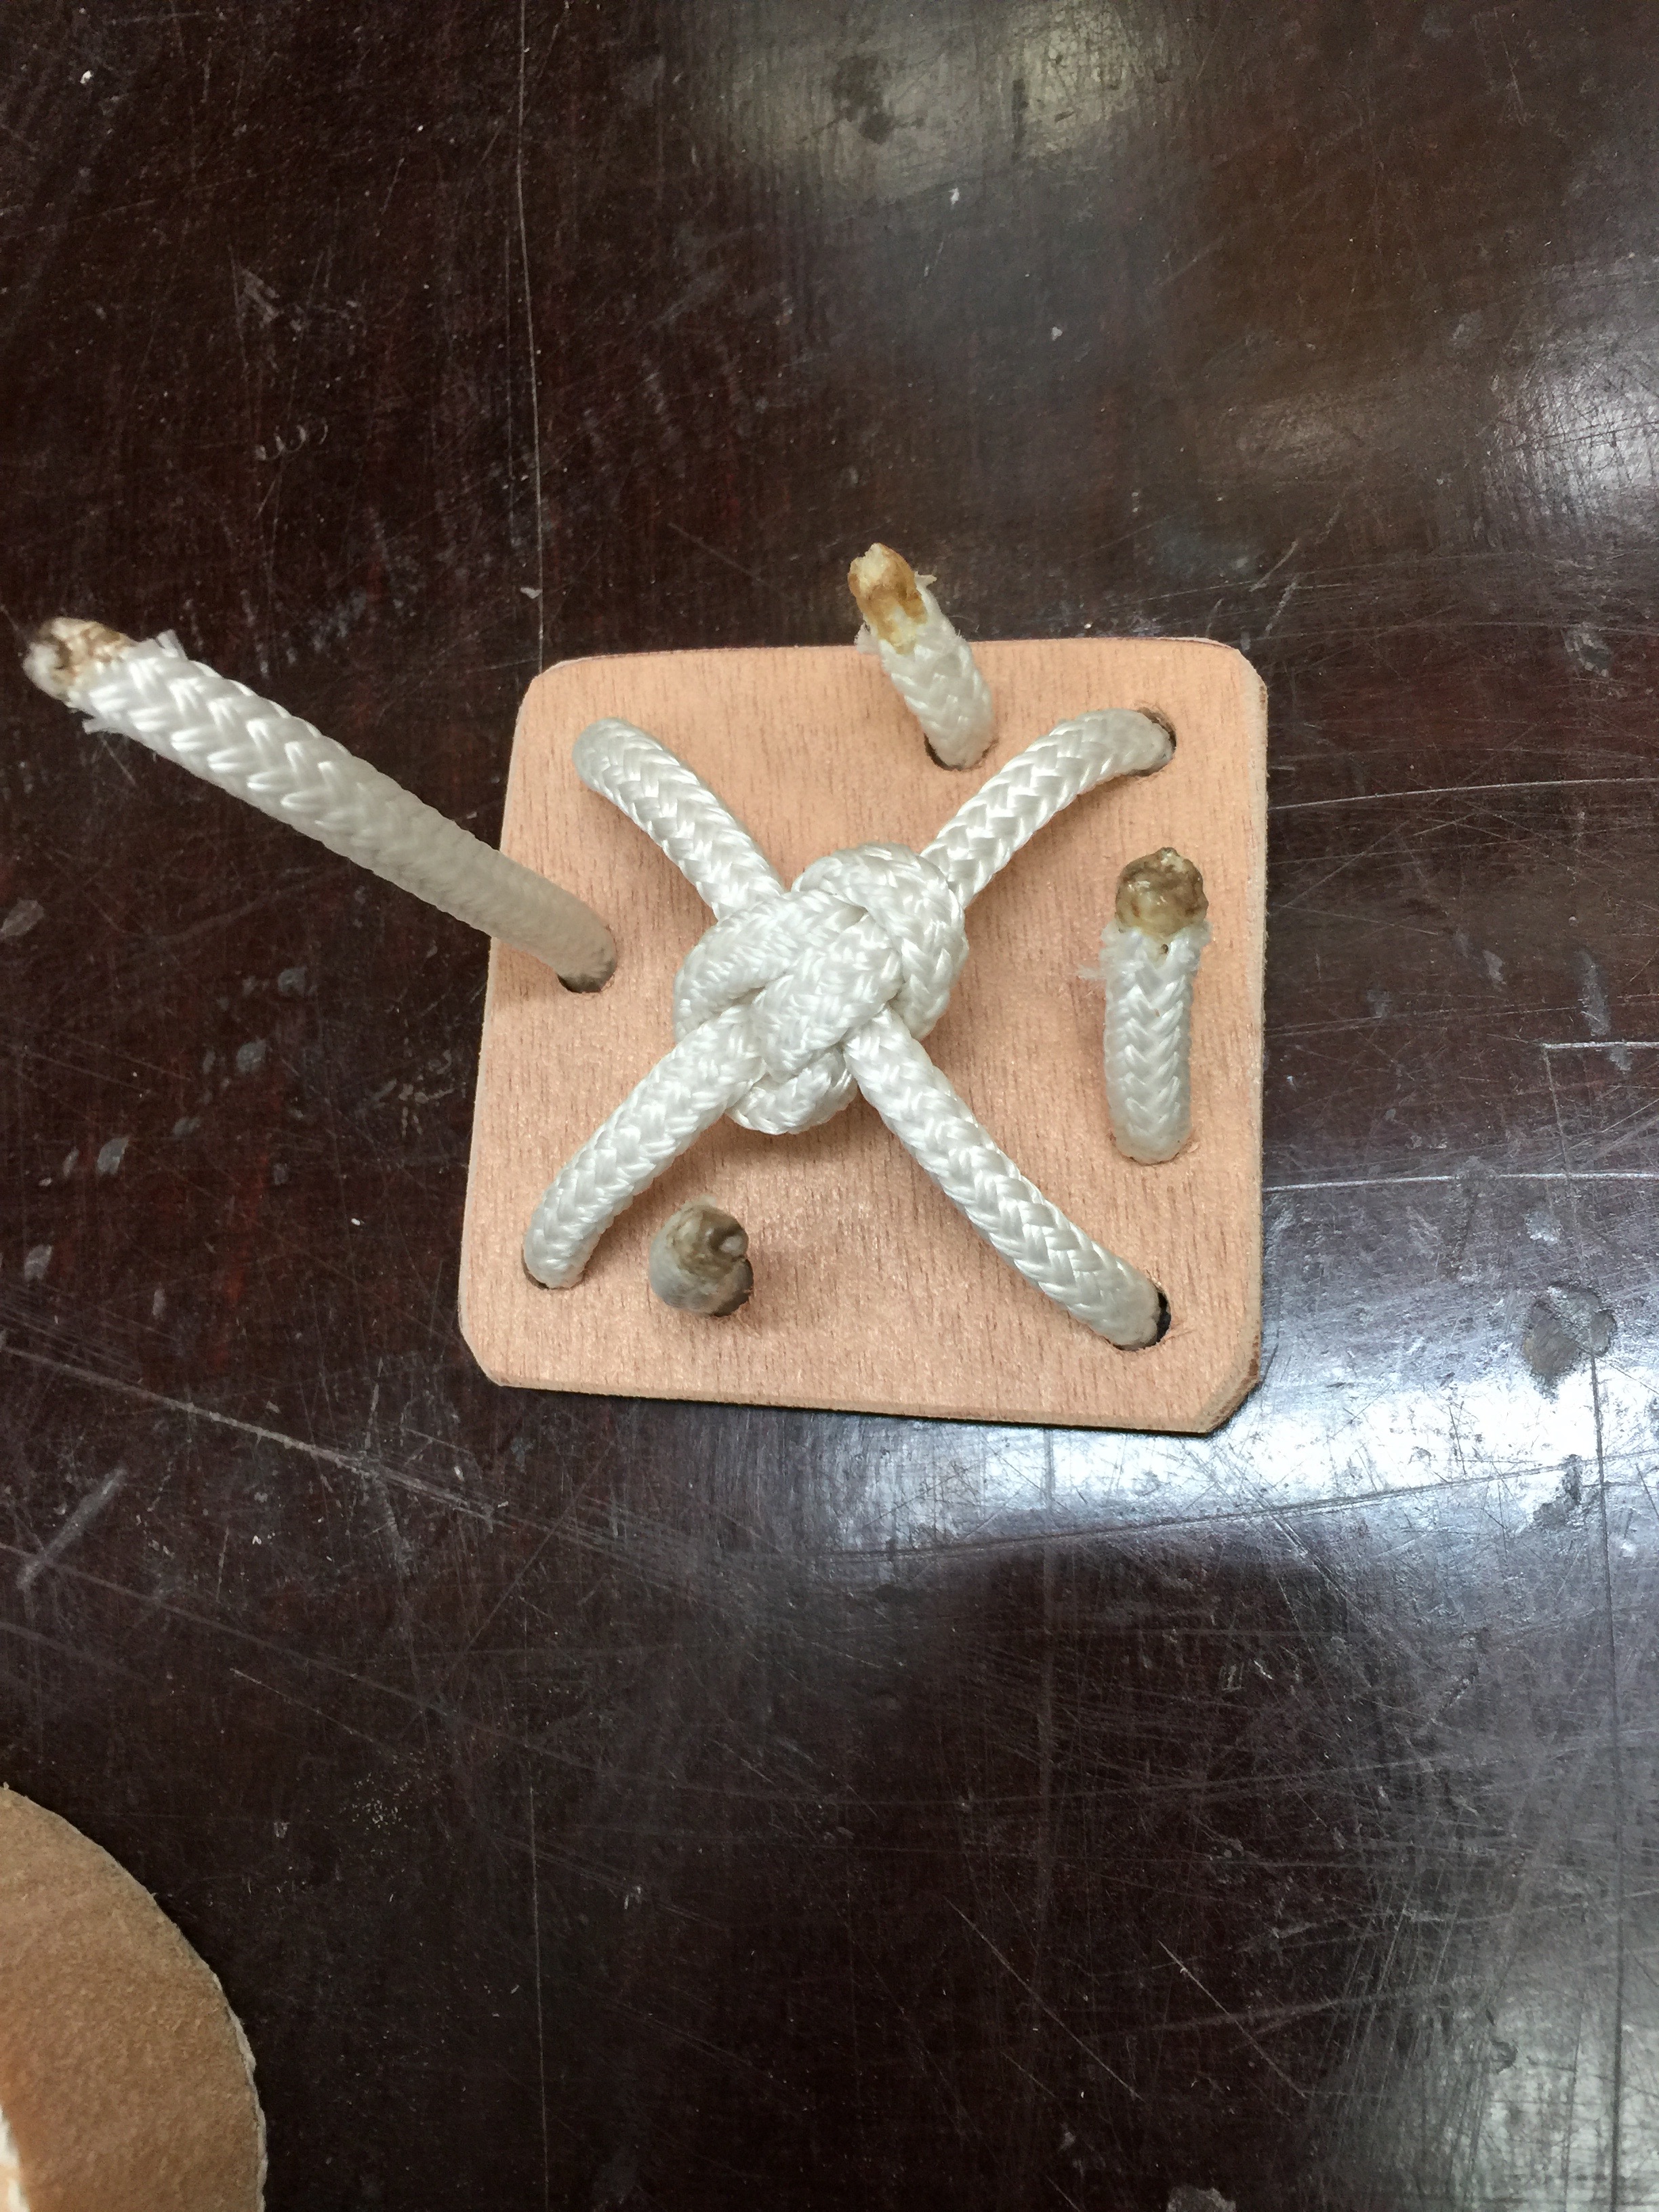
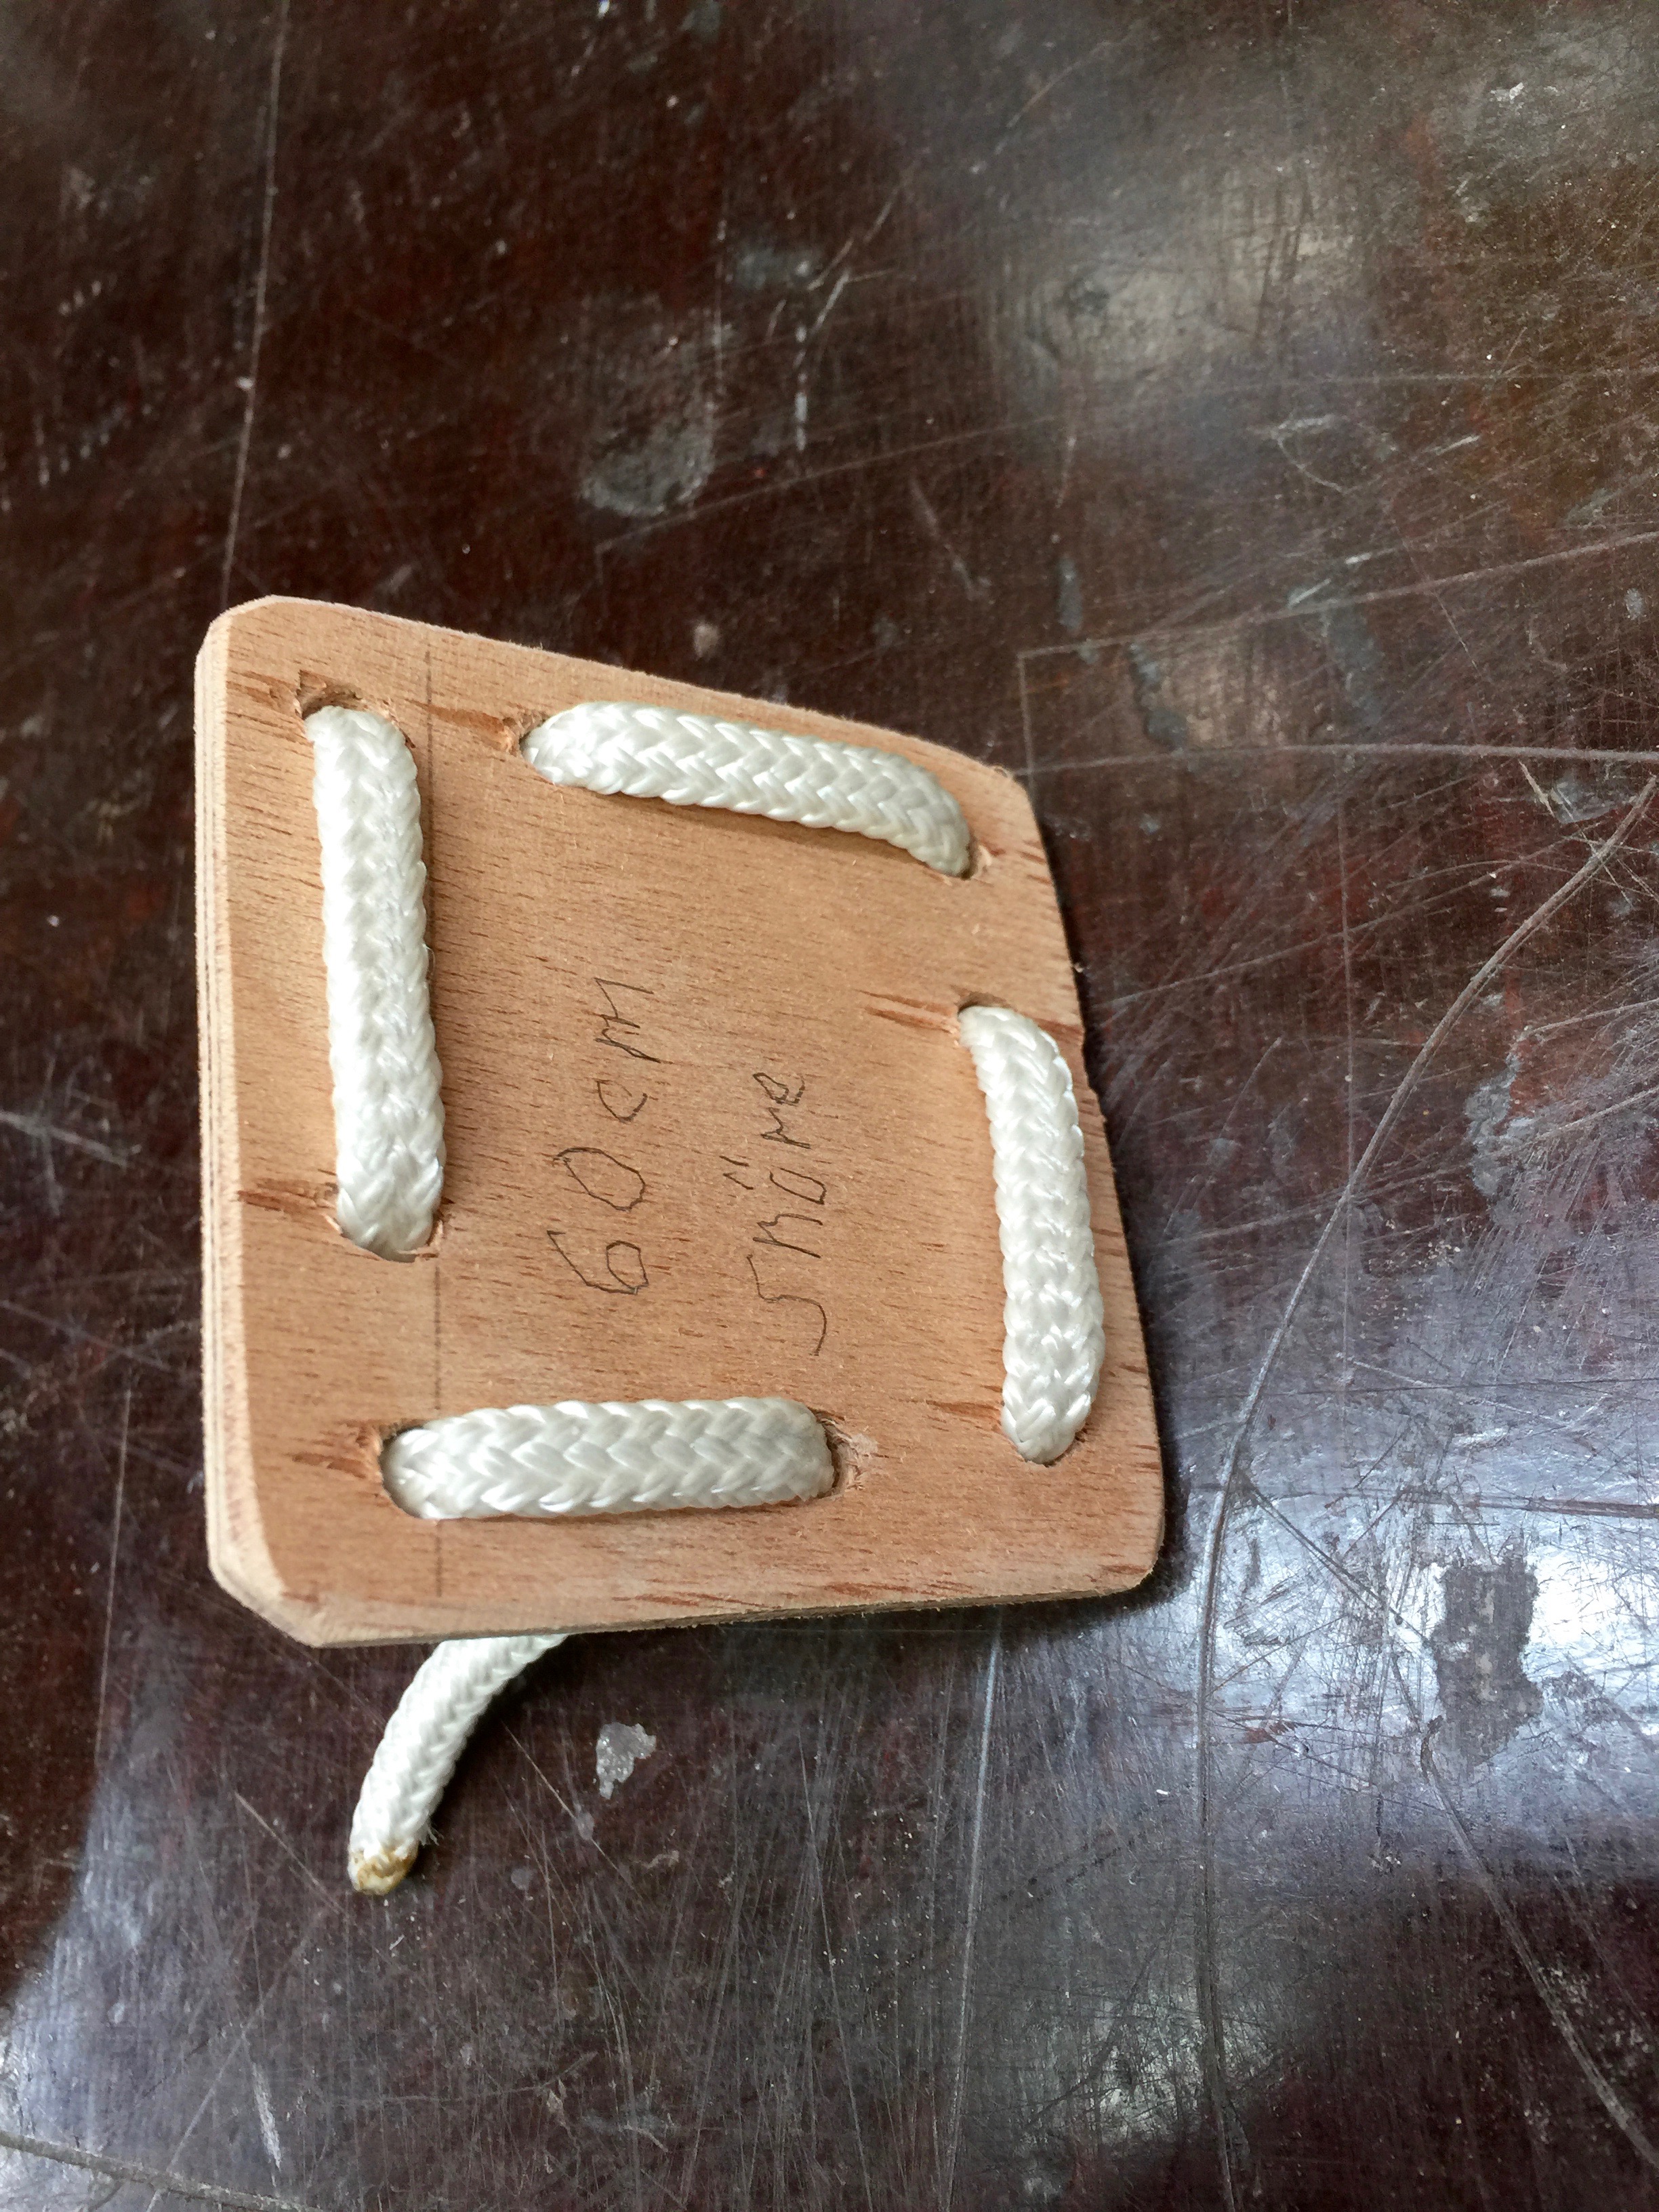
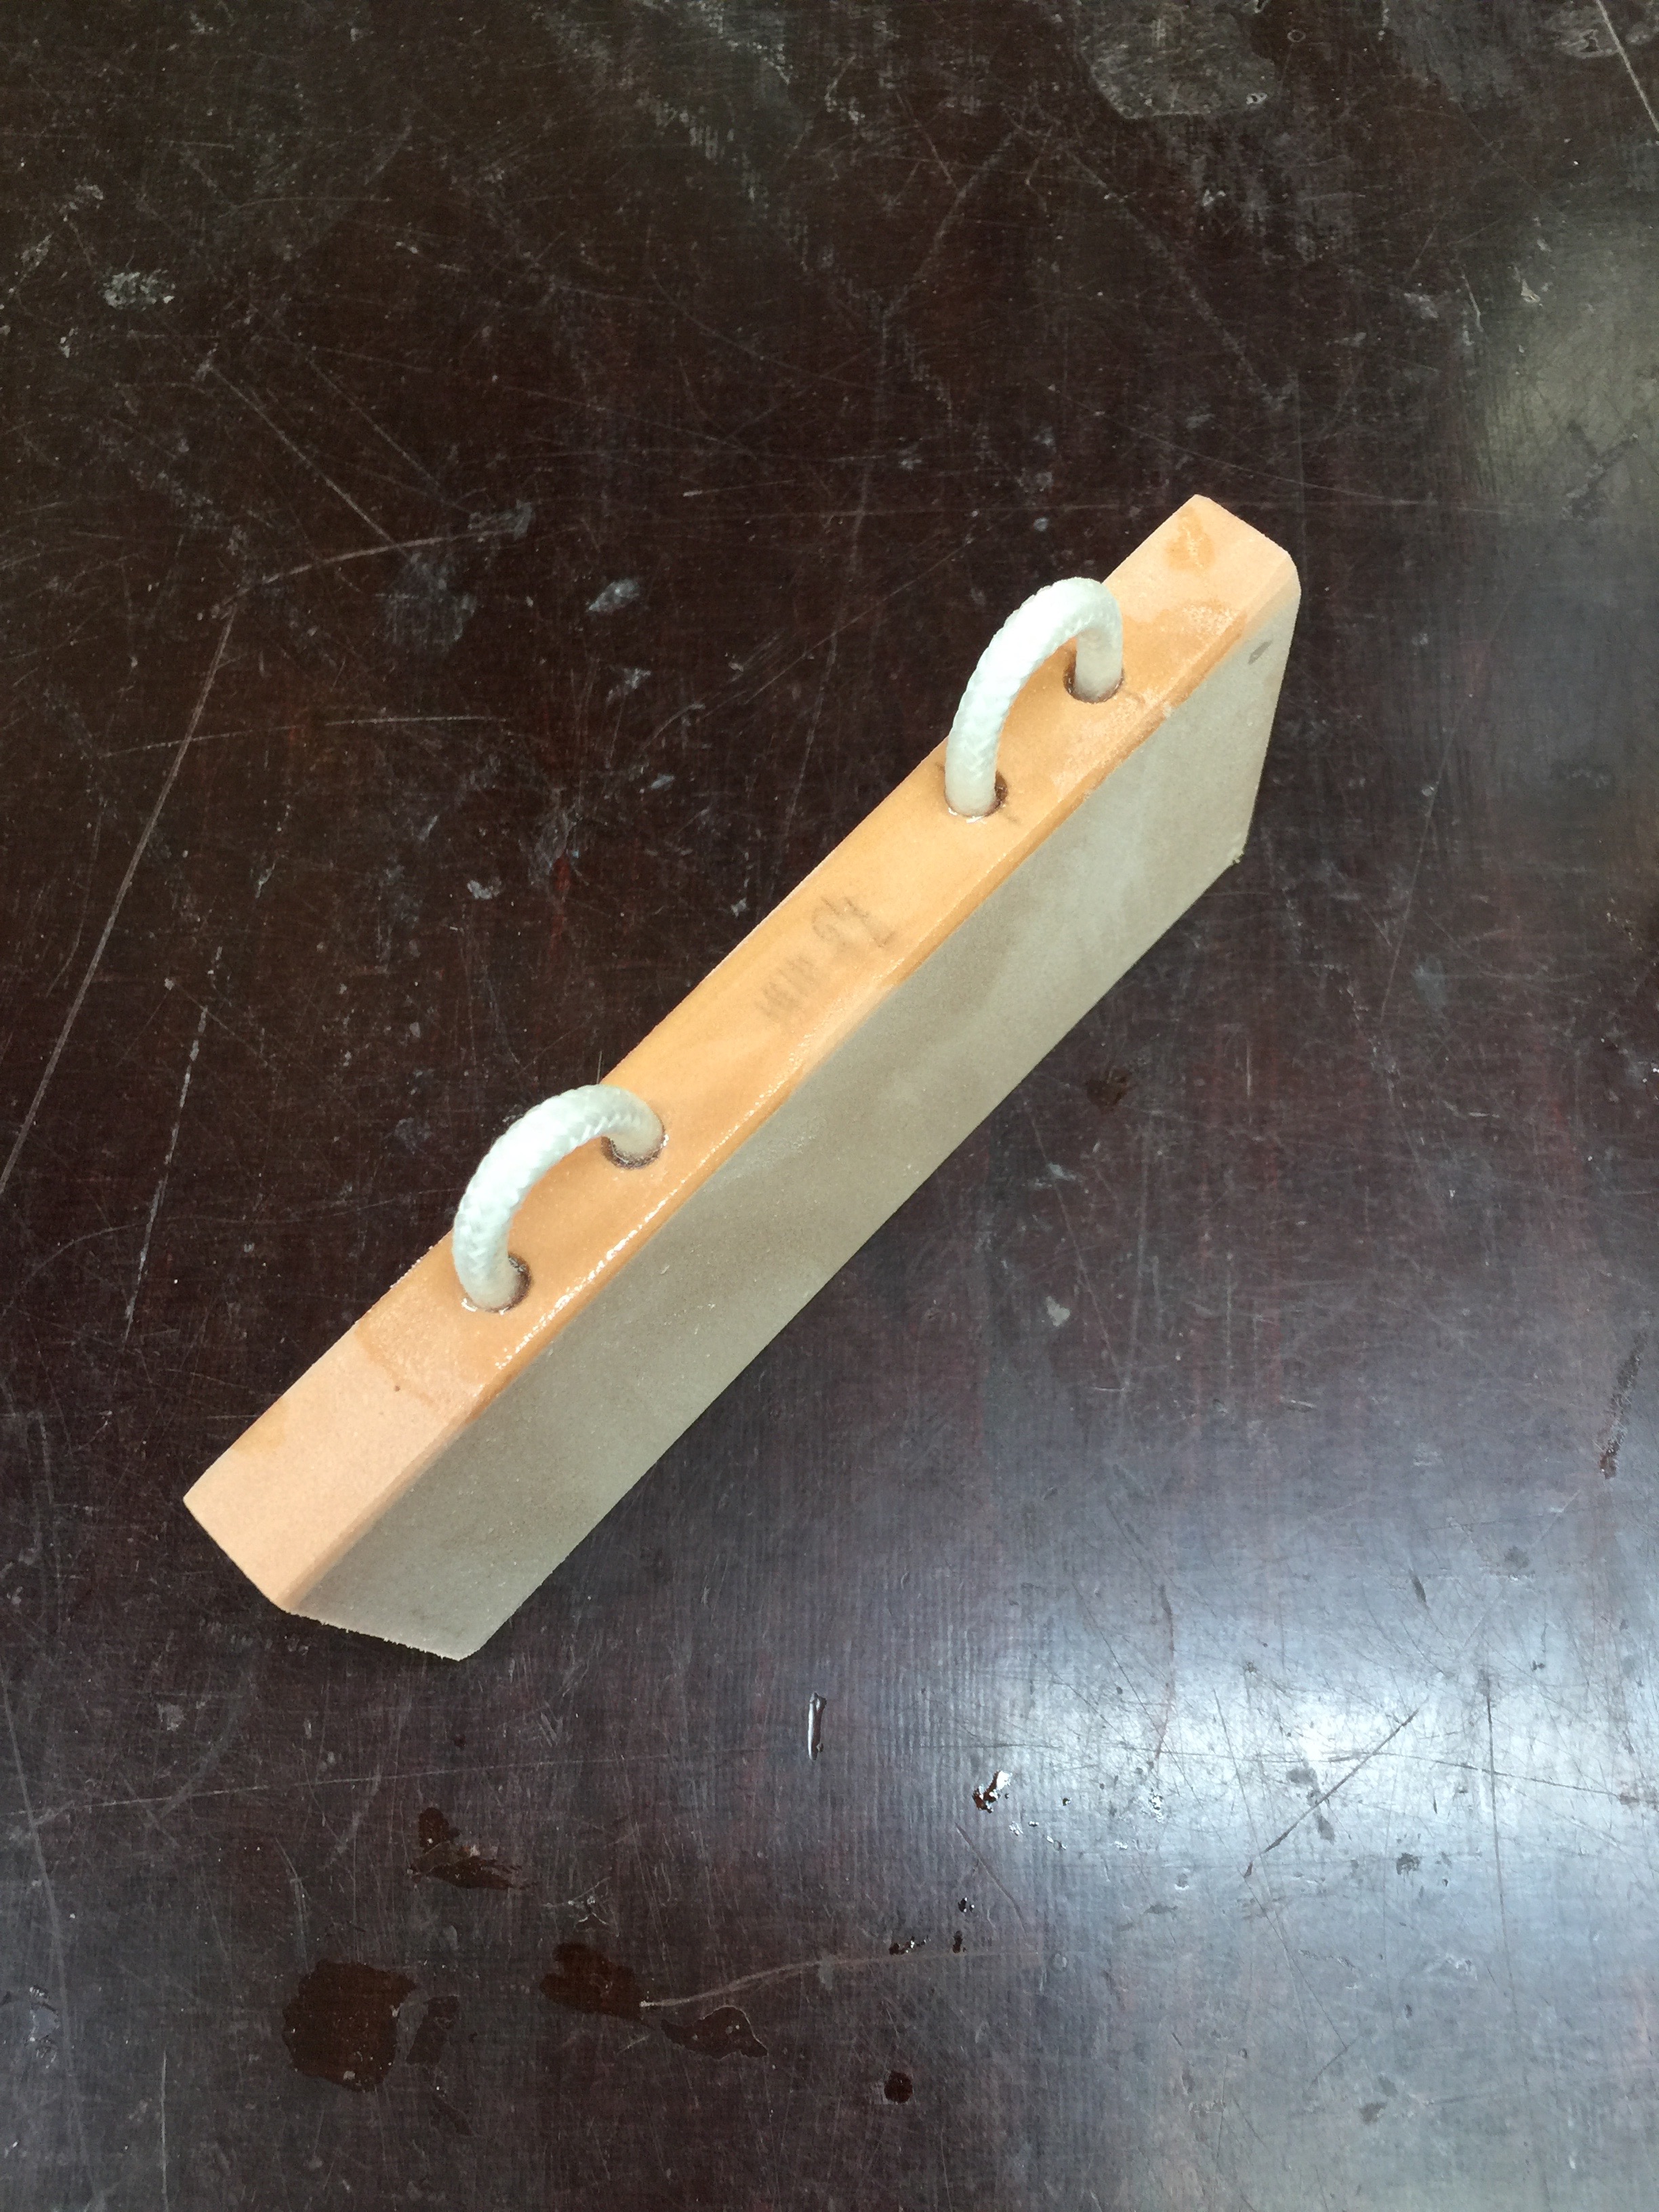
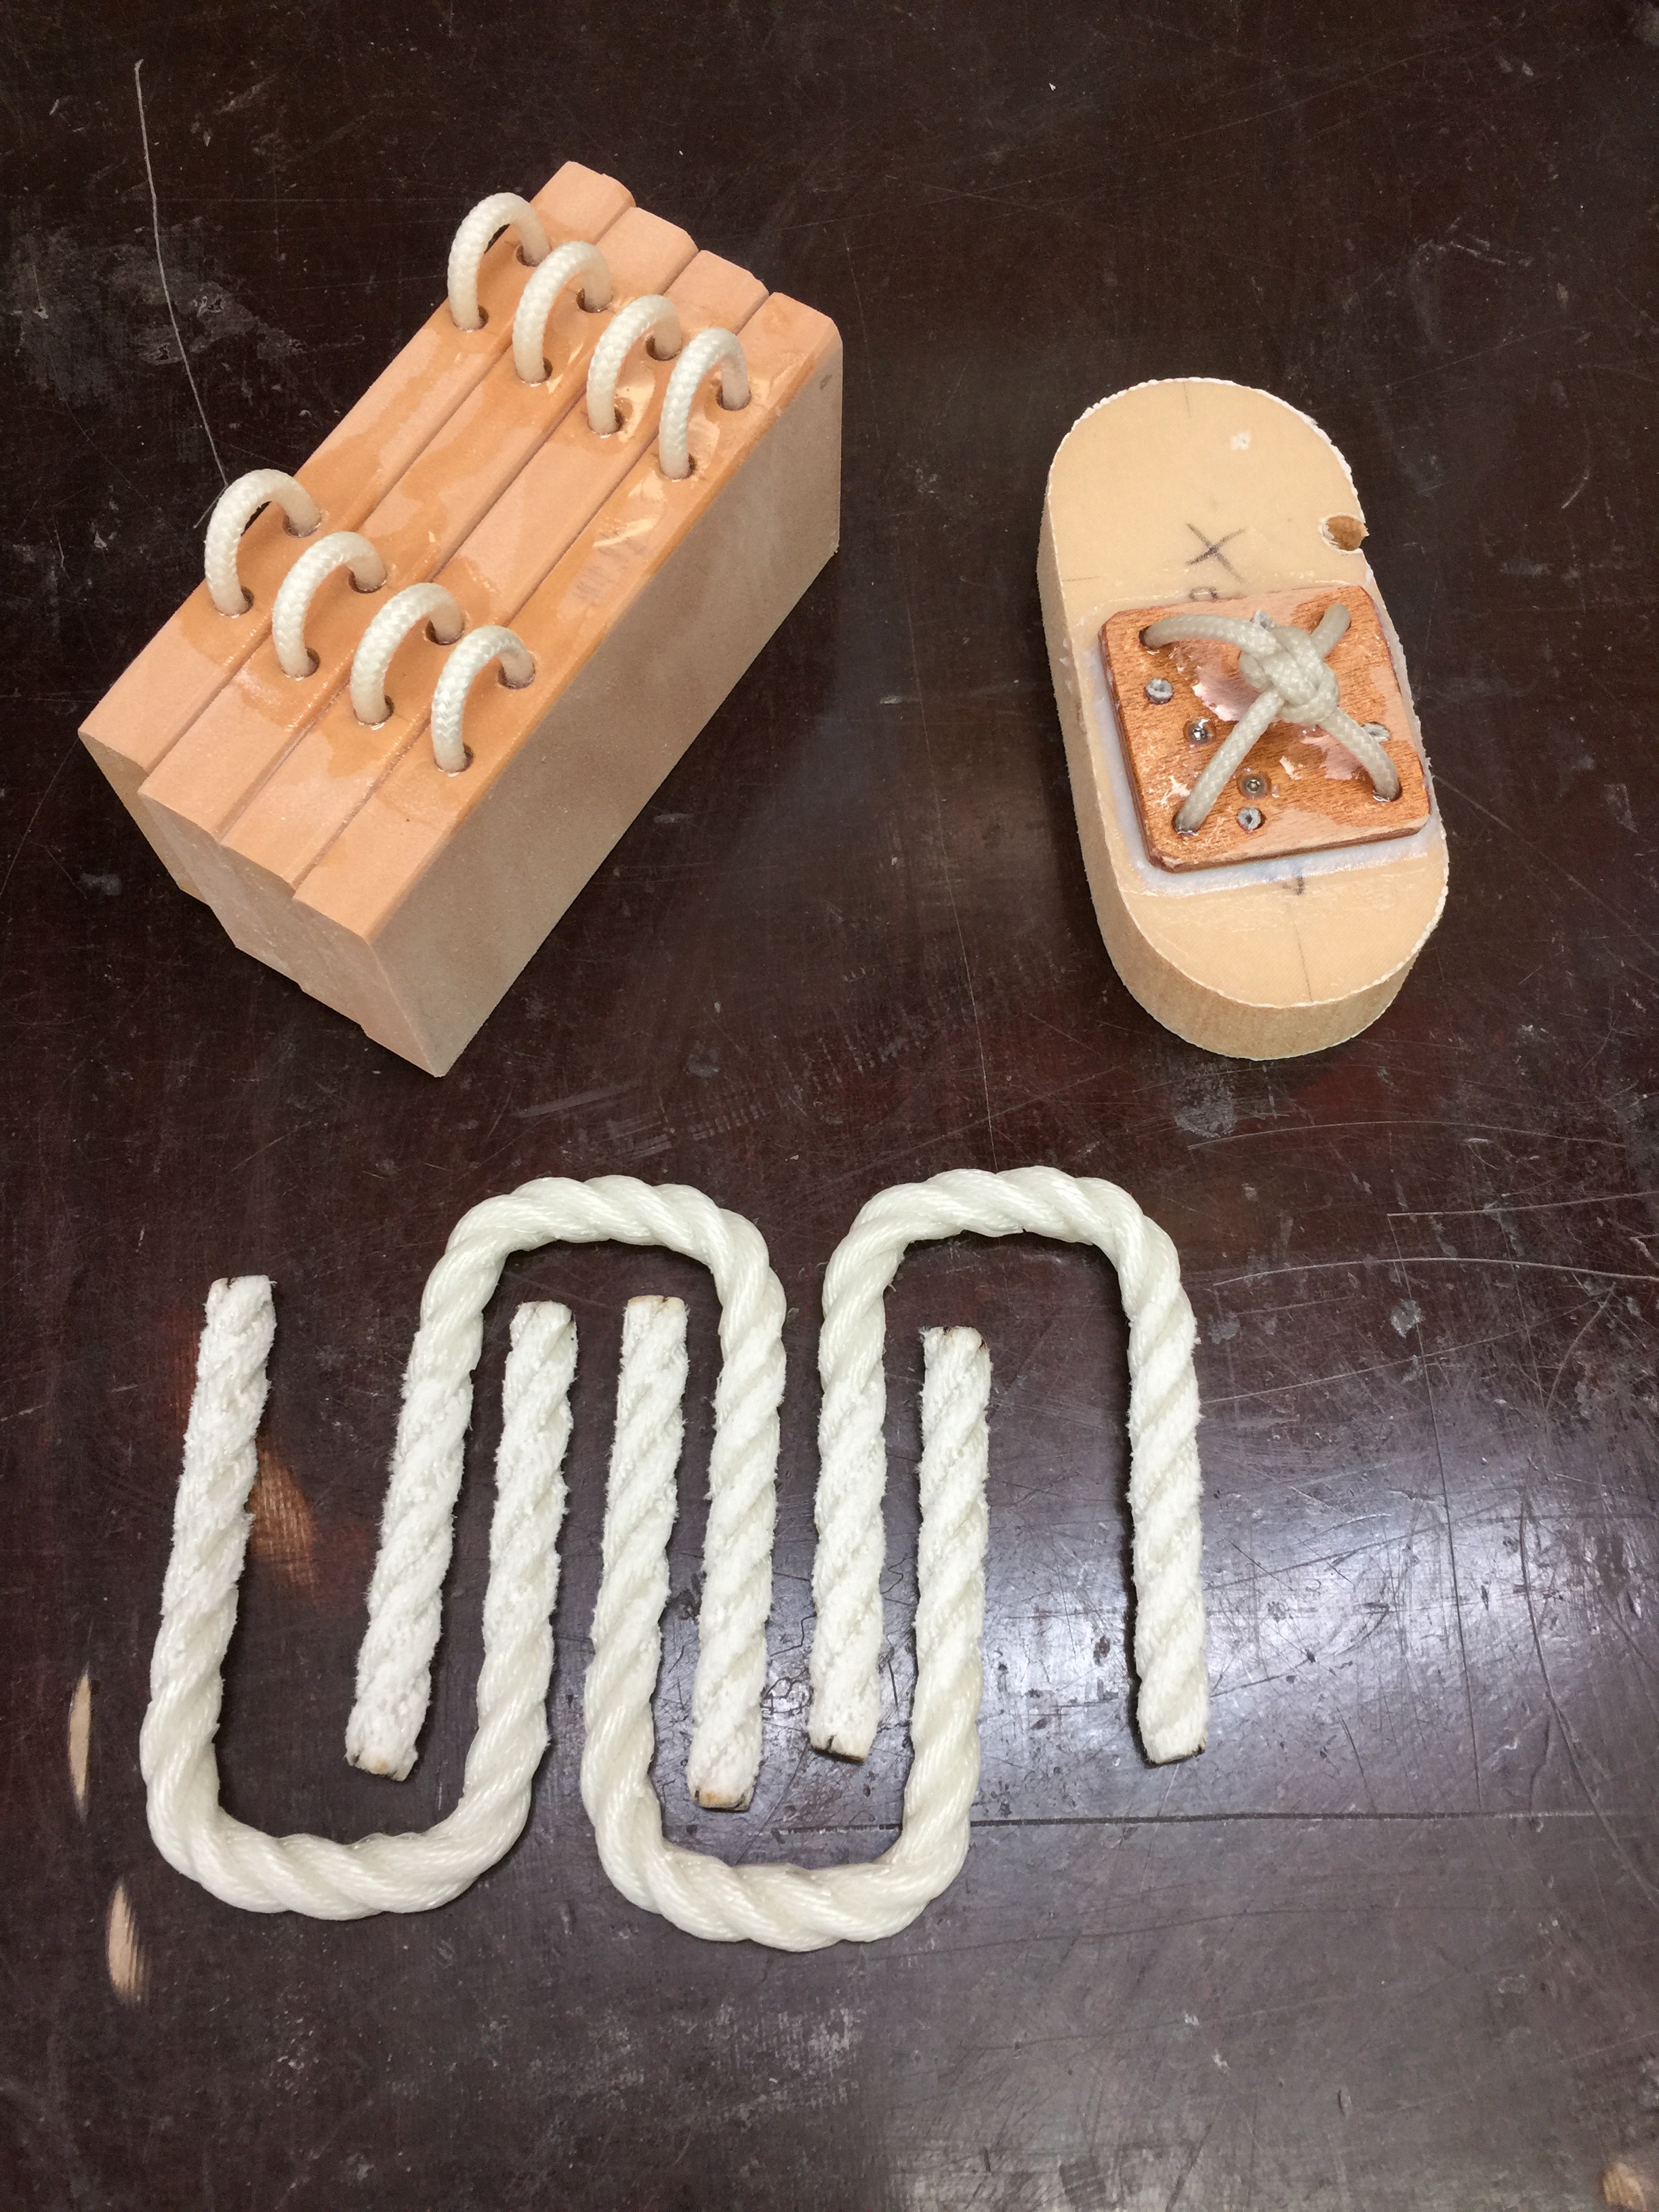
The bolt is remowed. It have done its duty. Epoxy is all over the place but not in the screw-threads.The epoxy is removed. The nut is countersunk. That helps the screw to find the threads.This is the start of hardware for my safety-belt. A three strand polyester rope is wraped around a piece of Divinycell insulated with pastic film.The polyester rope is saturated with NM-epoxy. Polyester fibers and epoxy love each other as you may have noter when you get a drip of epoxy on you clothes.The picture shows an Idea for a textile padeye. It is extremely light. Weighs next to nothing and takes glue exelently. Its a good idea for a small boat and even for a bigger one.The reverse side of the padeye. I use only the mantle of the polyester string to make it flatter. Spectra and Dynema does not take glue well. Those kind of fibers are very slippry and polyester is plenty strong. This padeye can be done with very simple tools. Here for the experiment I am using plywood Tufnol and carbon fibers can also be used. The knot is a Zeppelin knot. I think they look great.This is a fitting I will use for securing the four 13,5 kilo batteries.Some of the textile fittings. The ones at the bottom is for the safety belt.
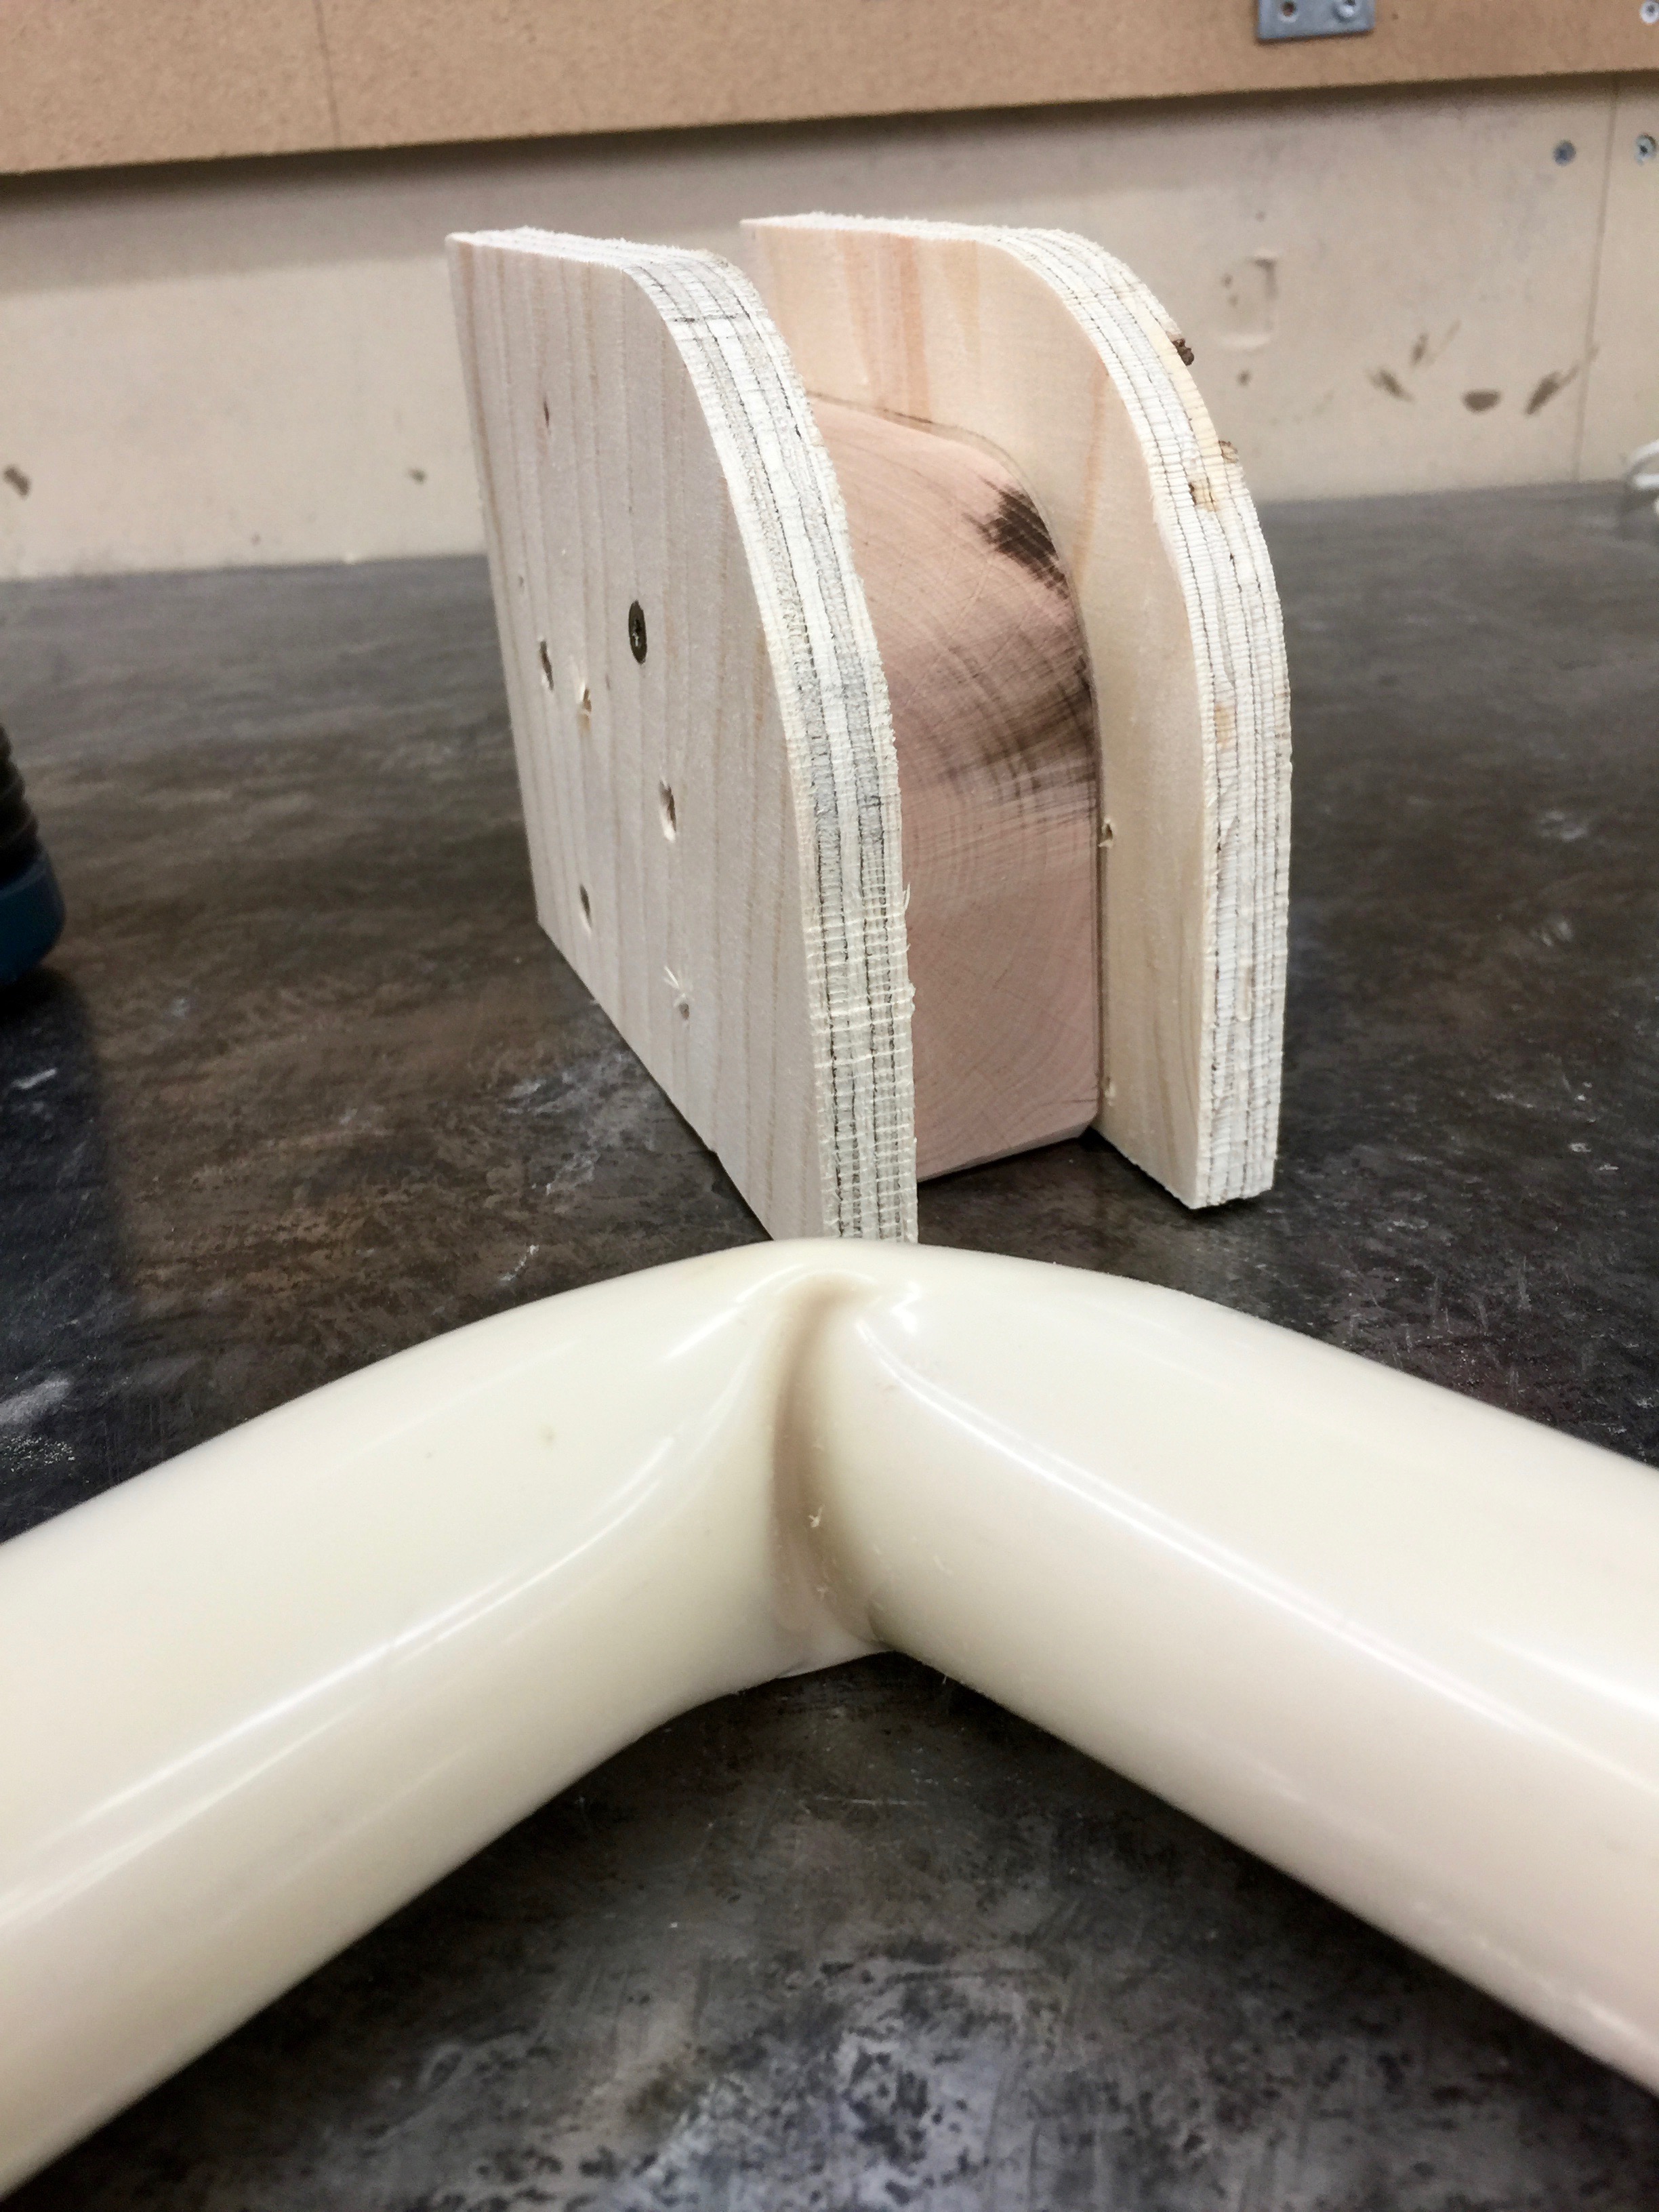
Yesterday was a succes in disguise. Luckily I did not succeed in bending the PVC-pipe. Without the setback I would not had this bright Idea that I found today.
Due to interference the ventilation system has to be situated in the sleeping room. Fresh air comes in above the sleeping room is ducted from port side to starboard and vice verse, descends to the floor and is piped through the aft bulkhead to the lunchroom aft which is a wet room.
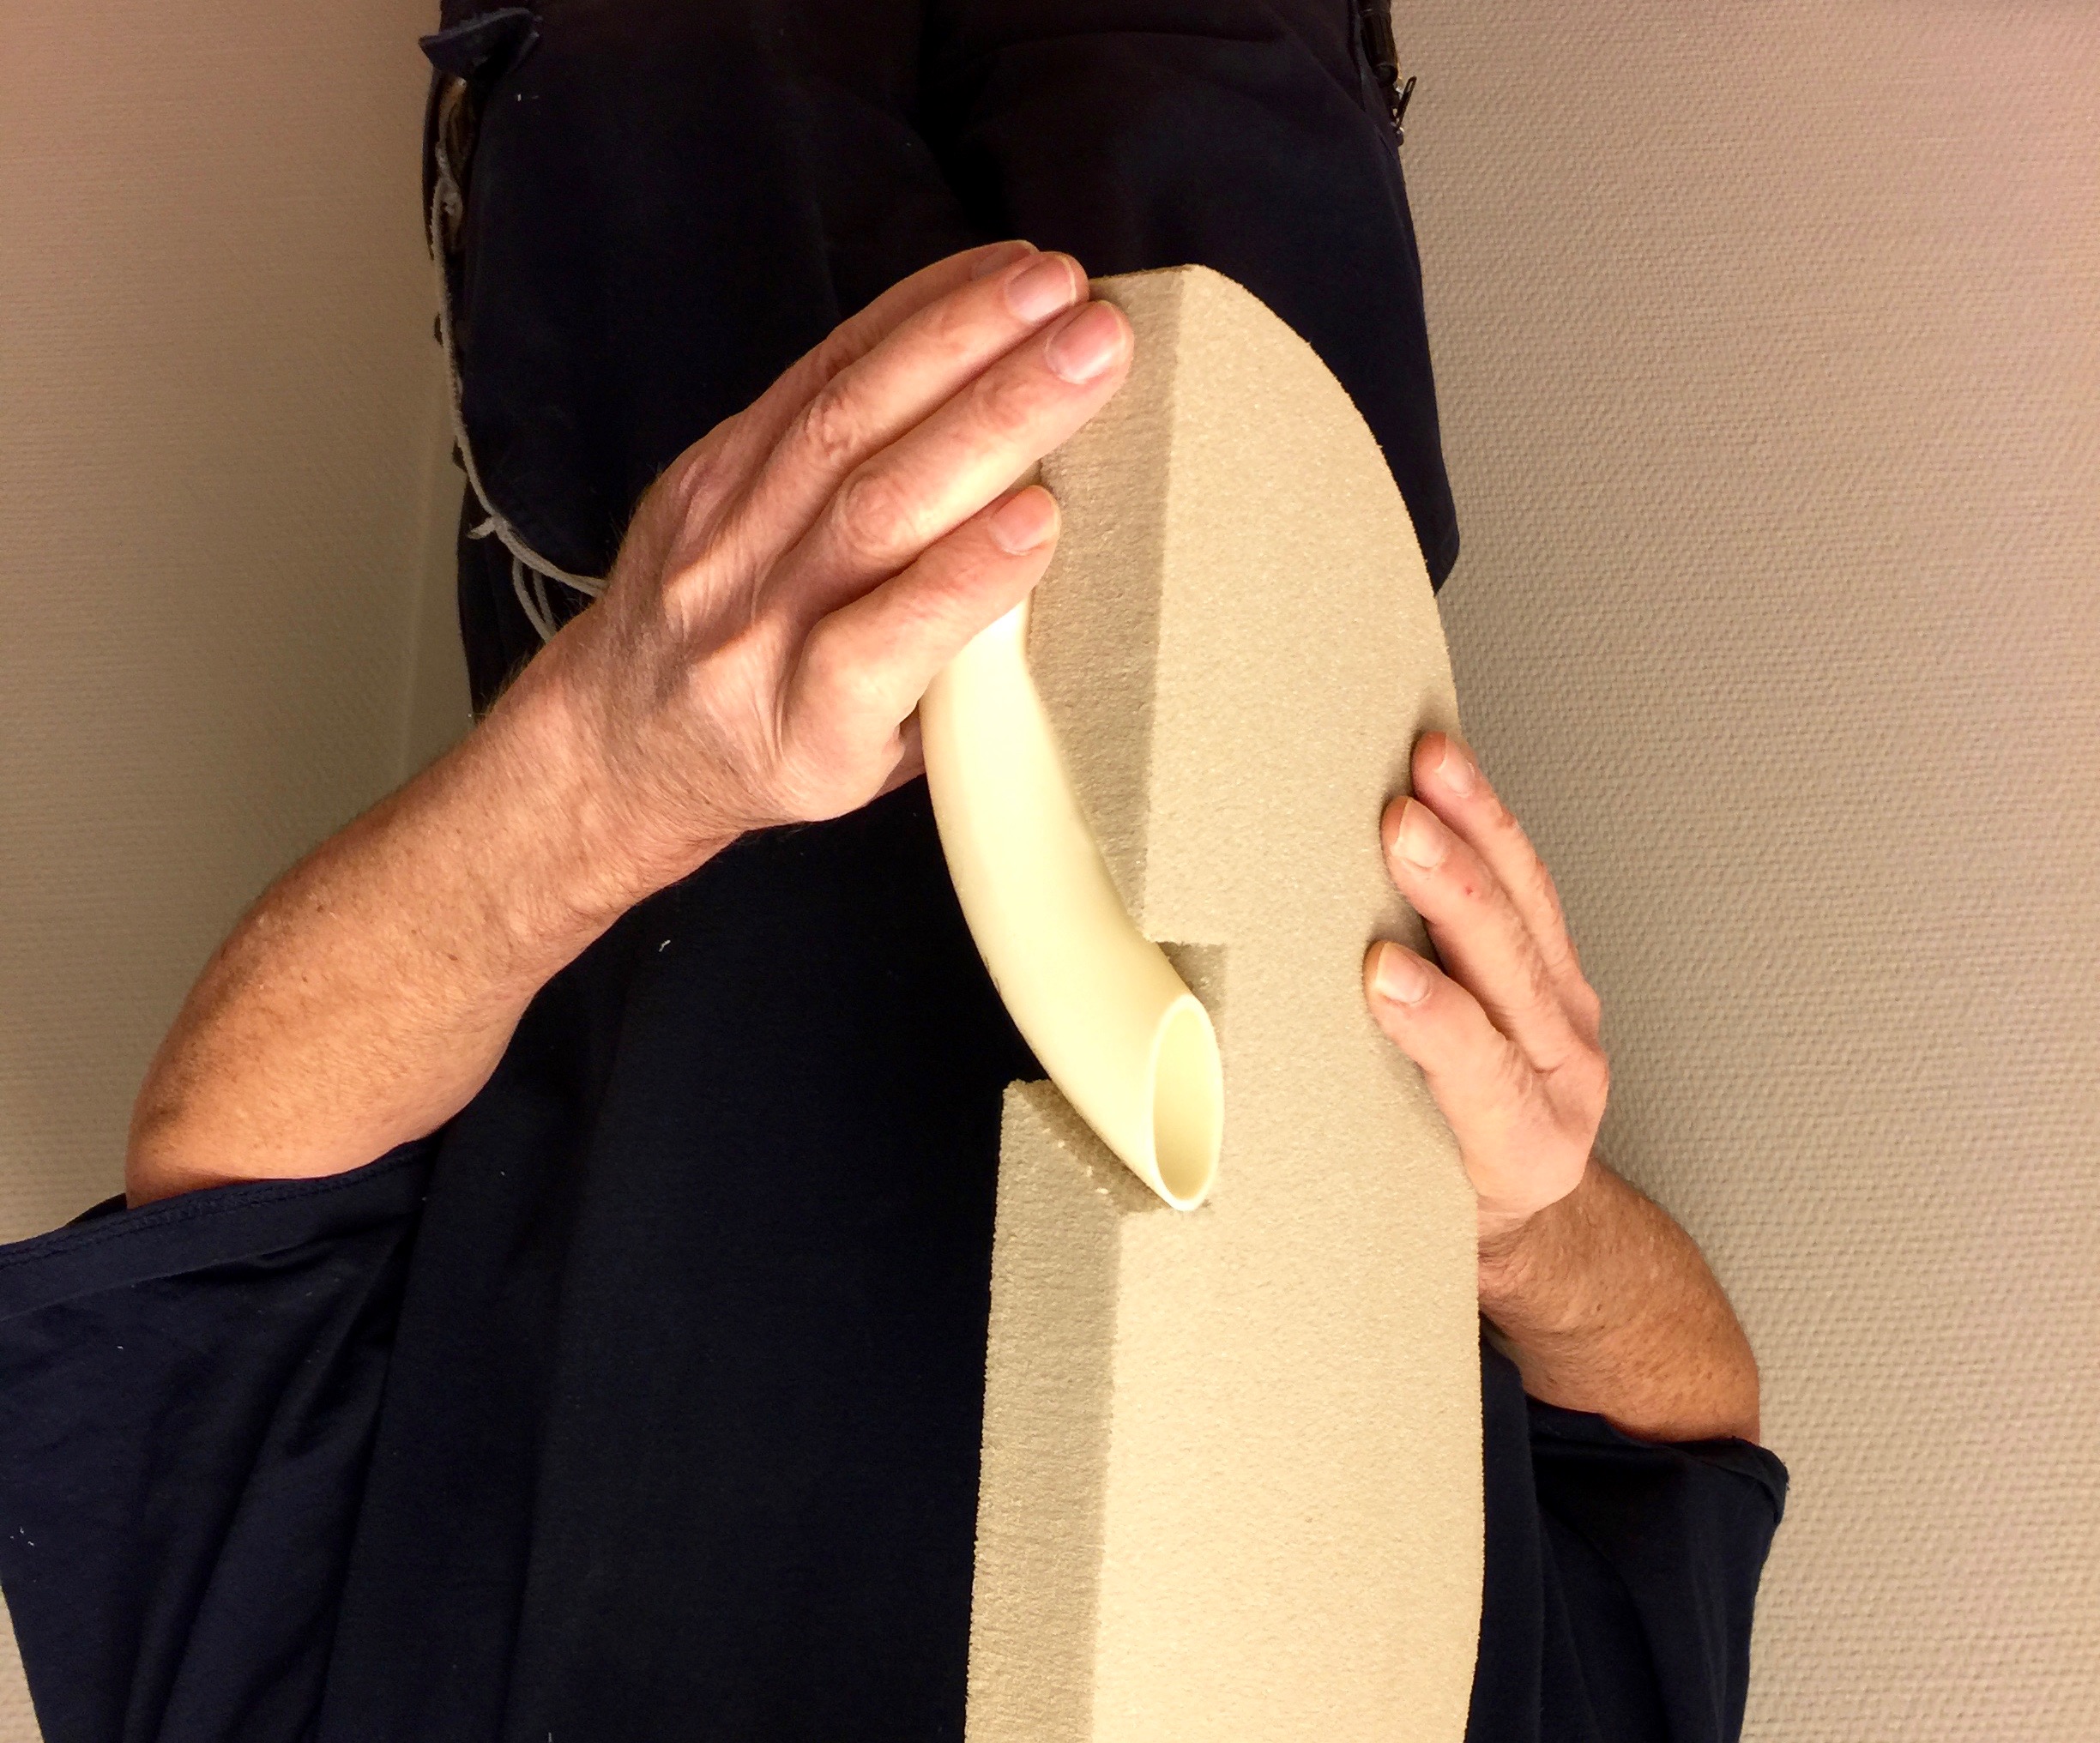
After my disasterius pipe-bending experiment I put on my thinking cap and realised that the pipe did not have go through the bulkhead at 90°. In fact it would be much better if it did not. That would reduce the resistence as the airstream did not have to be bent so much. It would also save a bit of wheight as the distance would be shorter and also be far easier to produce. I simply bought a ready made bend and cut it.
Pictures below will illustrate.
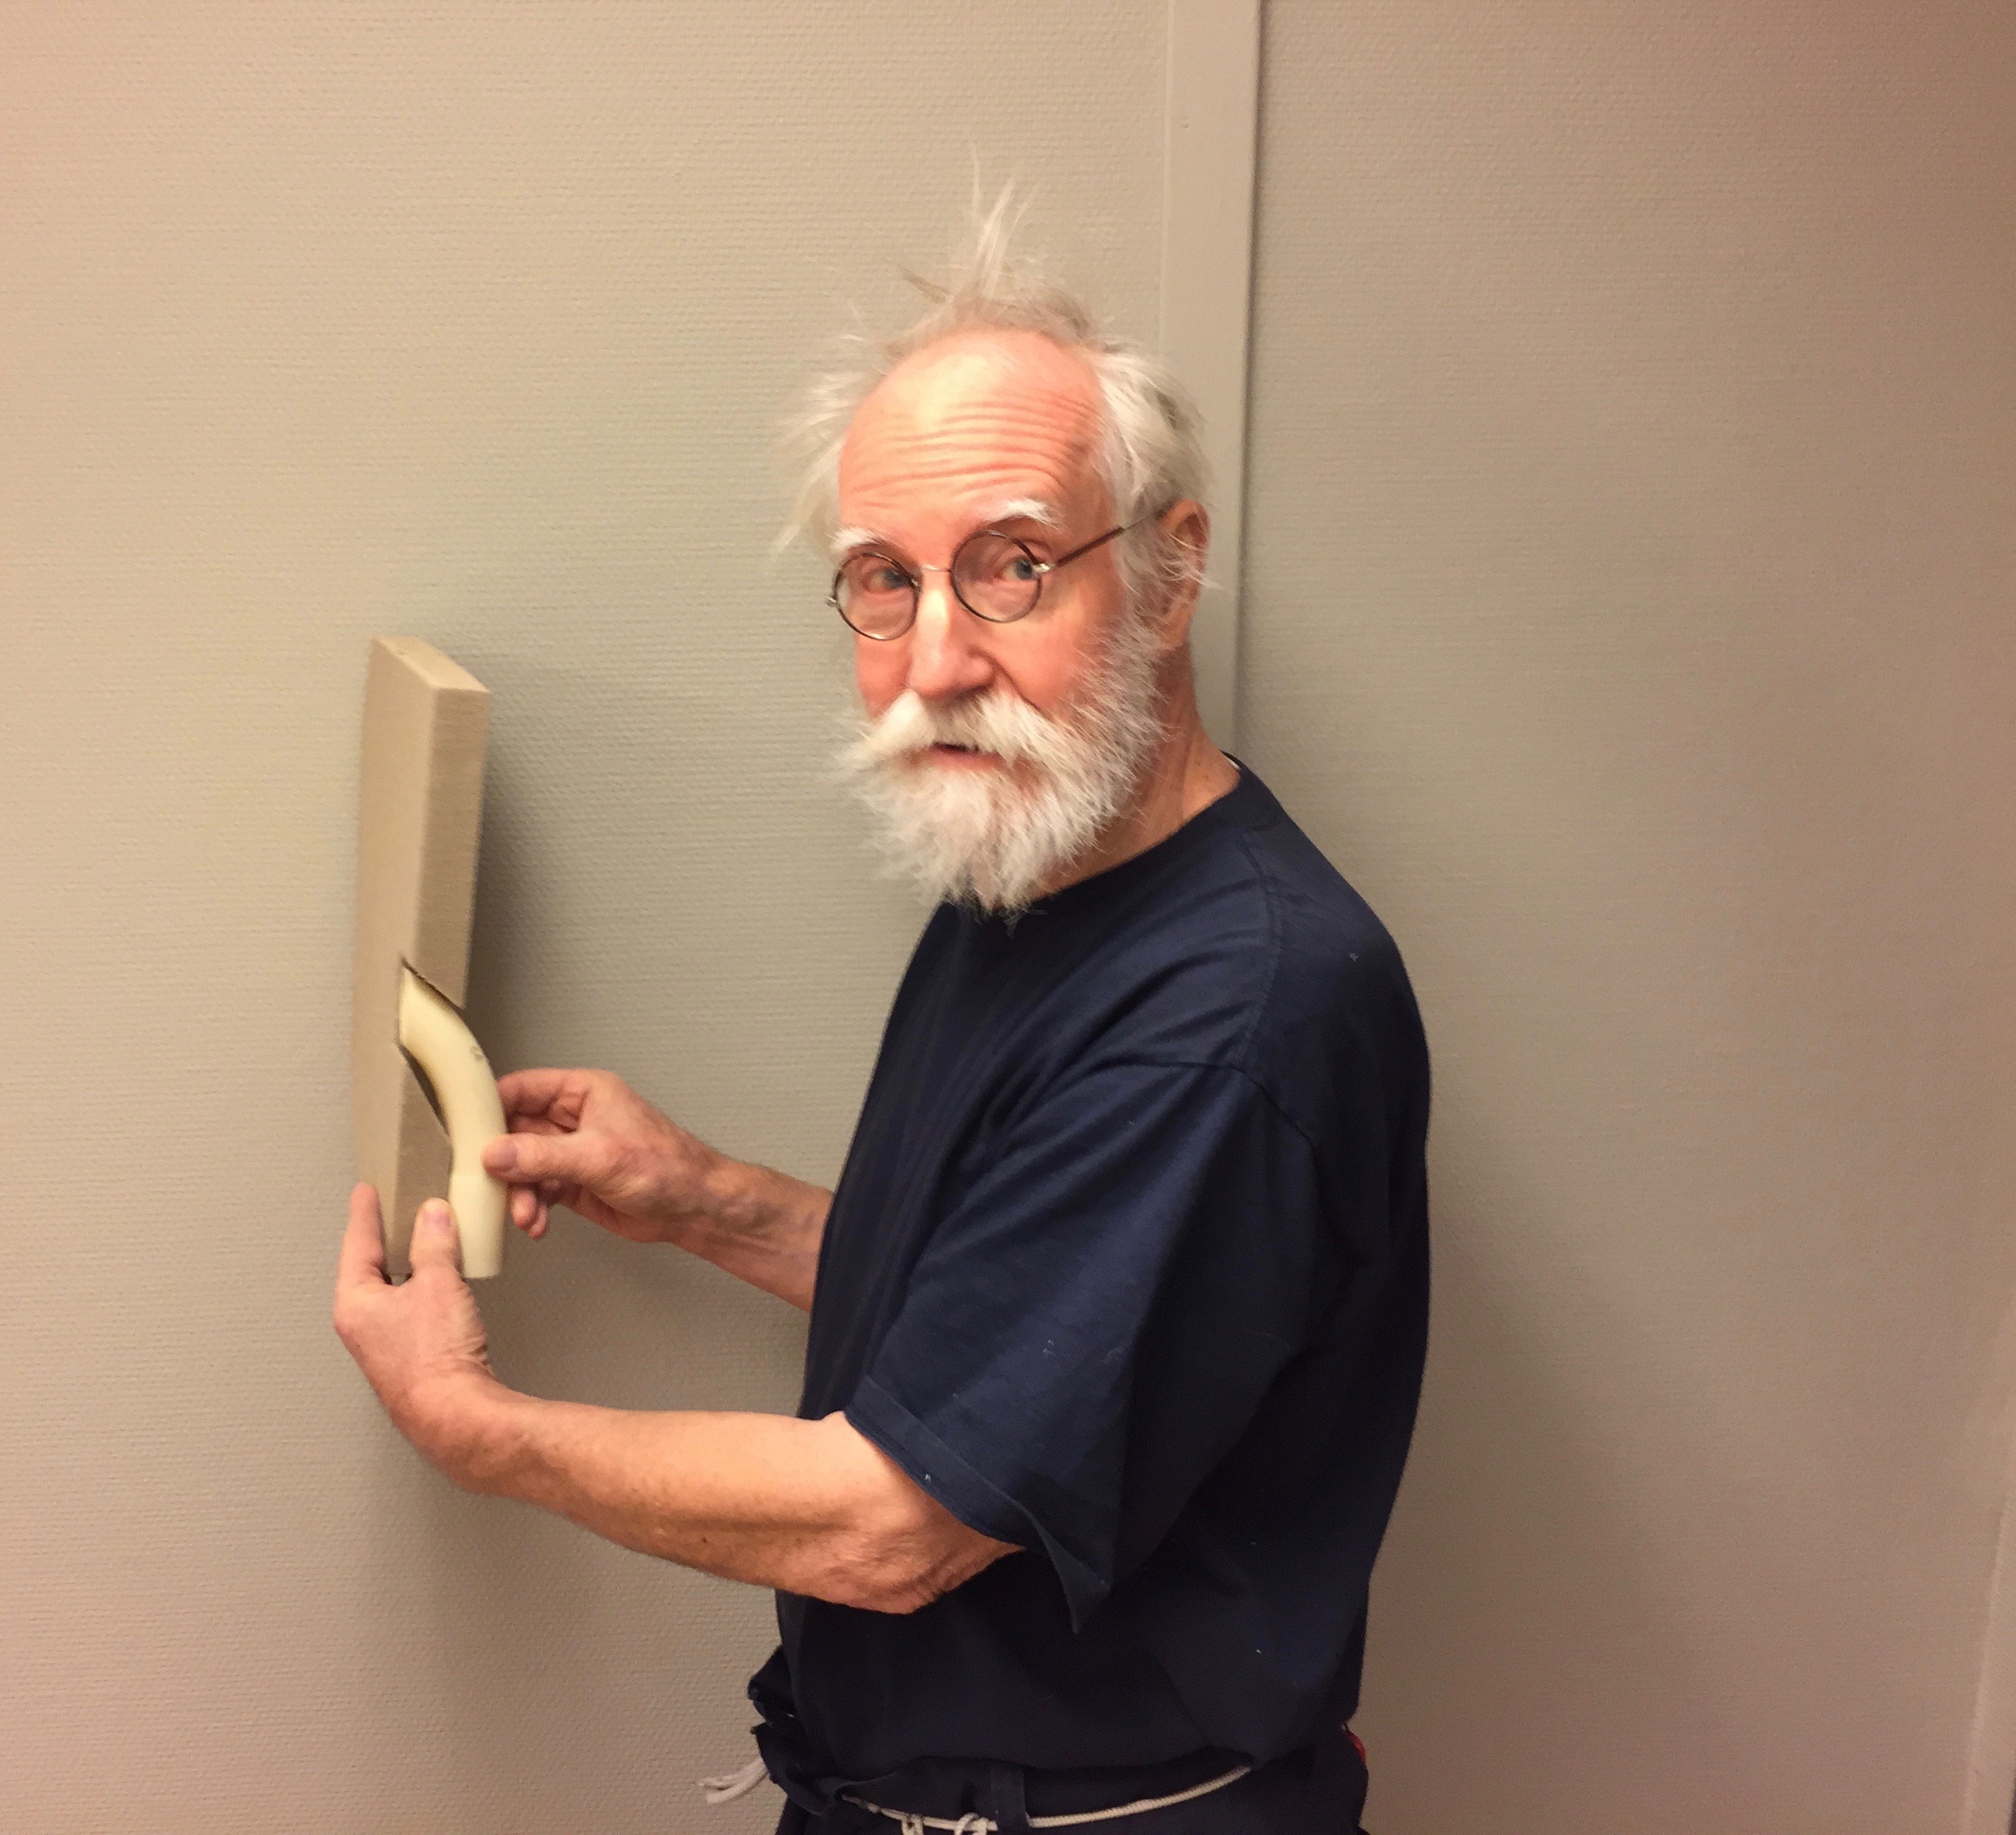
The cut bend.A mock up showing the bend penetrating the bulkhead.Same thing.
Some people say that the diameter of the pipe I use is to small. That it will not allow me to get enough air. I say that the diameter of my nostrils are even finer and the increase of flow is more than linear. For exampel in hemodynamics it is considerd that flow increases with the forth power of the blood vessel. Not directly applicable here but it might be interesting for you readers with an inquiring mind.
I have also been working on the lunch-box below pictures showing me sandpapering the coaming flat using a large sandpaper on a particle board. Particle boards are flat as there is no tension built into them.
Me showing the sandpaper stapled to a piece of particle board. The coaming to my right.Doing the sandpapering
I am working with details. One such is trying to bend a PVC-pipe 90° for the ventilation system. To inform myself I search the internet. It did seems that many person was not succesful. Full of confidence I reasoned this does not applay to me becouse I am smarter and I knew a few tricks. First I filled the pipe with sand and copressed it well, then I made a mould to guide the pipe. When the preparations was done I gently put som heat but just on the outside curvature. The result looked very good and I felt justified in being proud of myself as can be seen in the picture below. Click once or twice to enlarge. The lunch-box in the background on my right side with lid on. The hull of Exlex Minor will supply the missing lunch-box side.
Myself proud after having succesfully bent the PVC-pipe.Unfortunately taking the bend out of the mould I saw that the inner radieus had a kink and the bend was for my purpose and all others useless. However I have not run out of ideas and will be back.
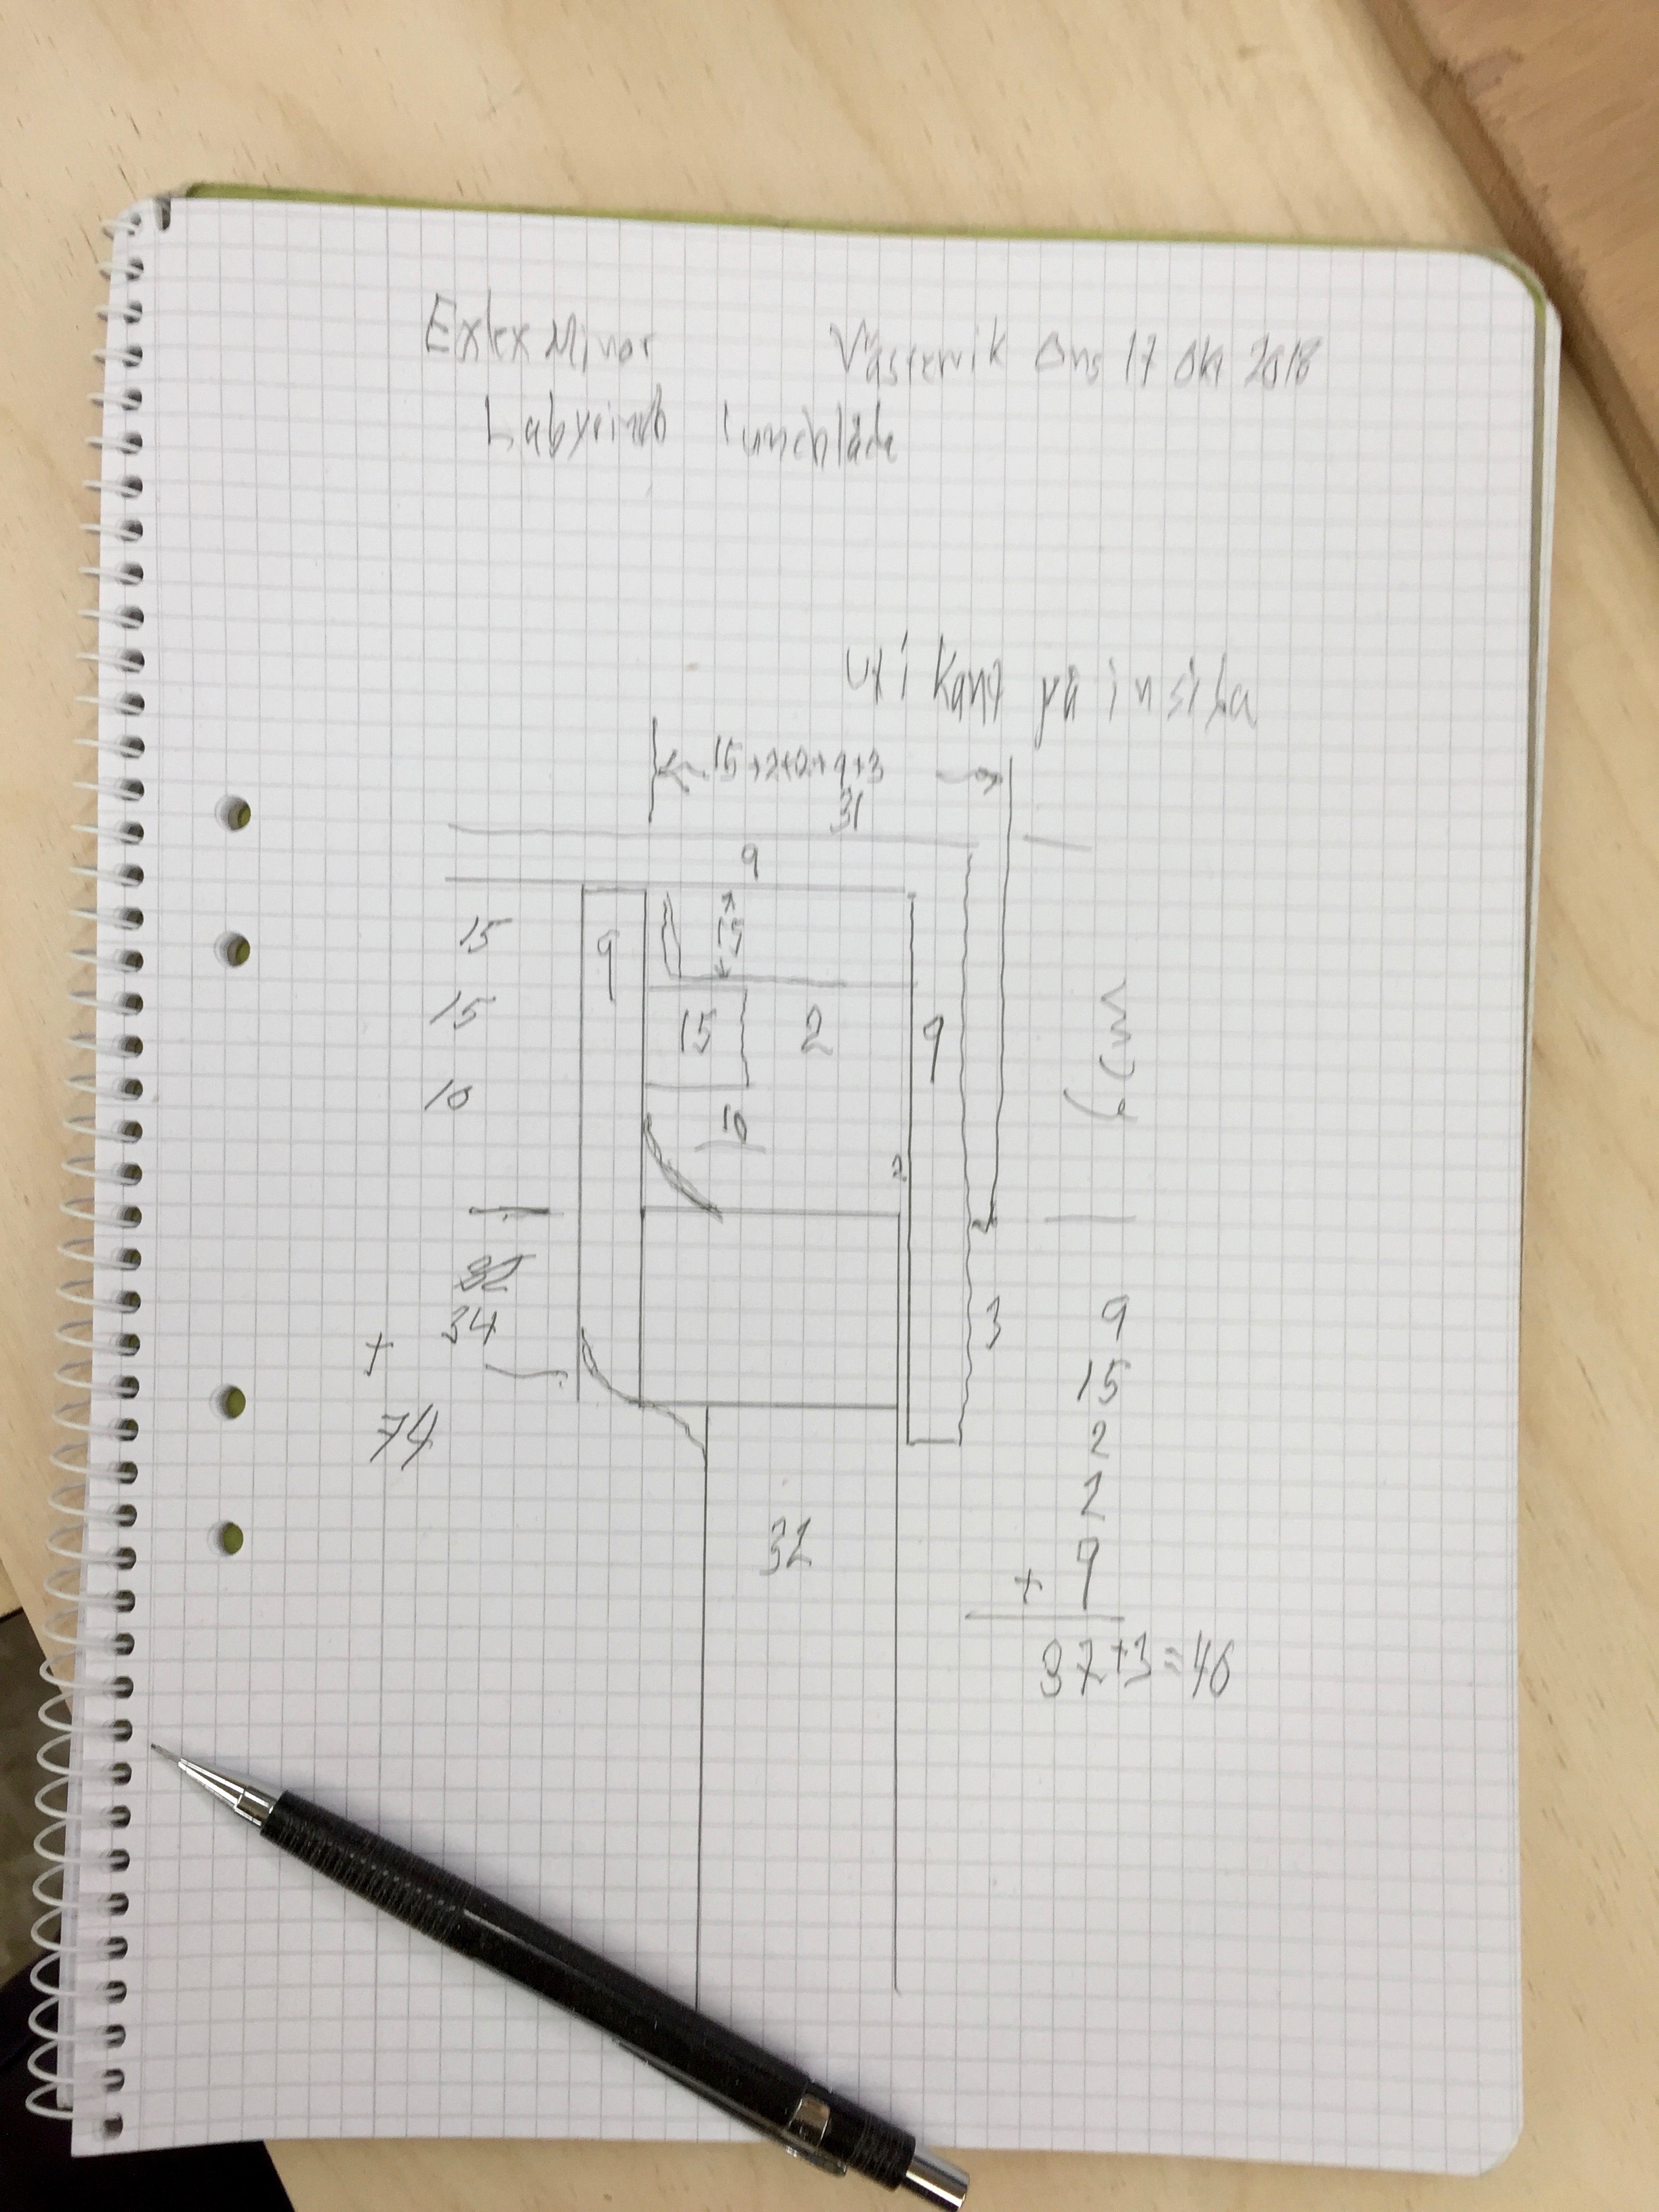
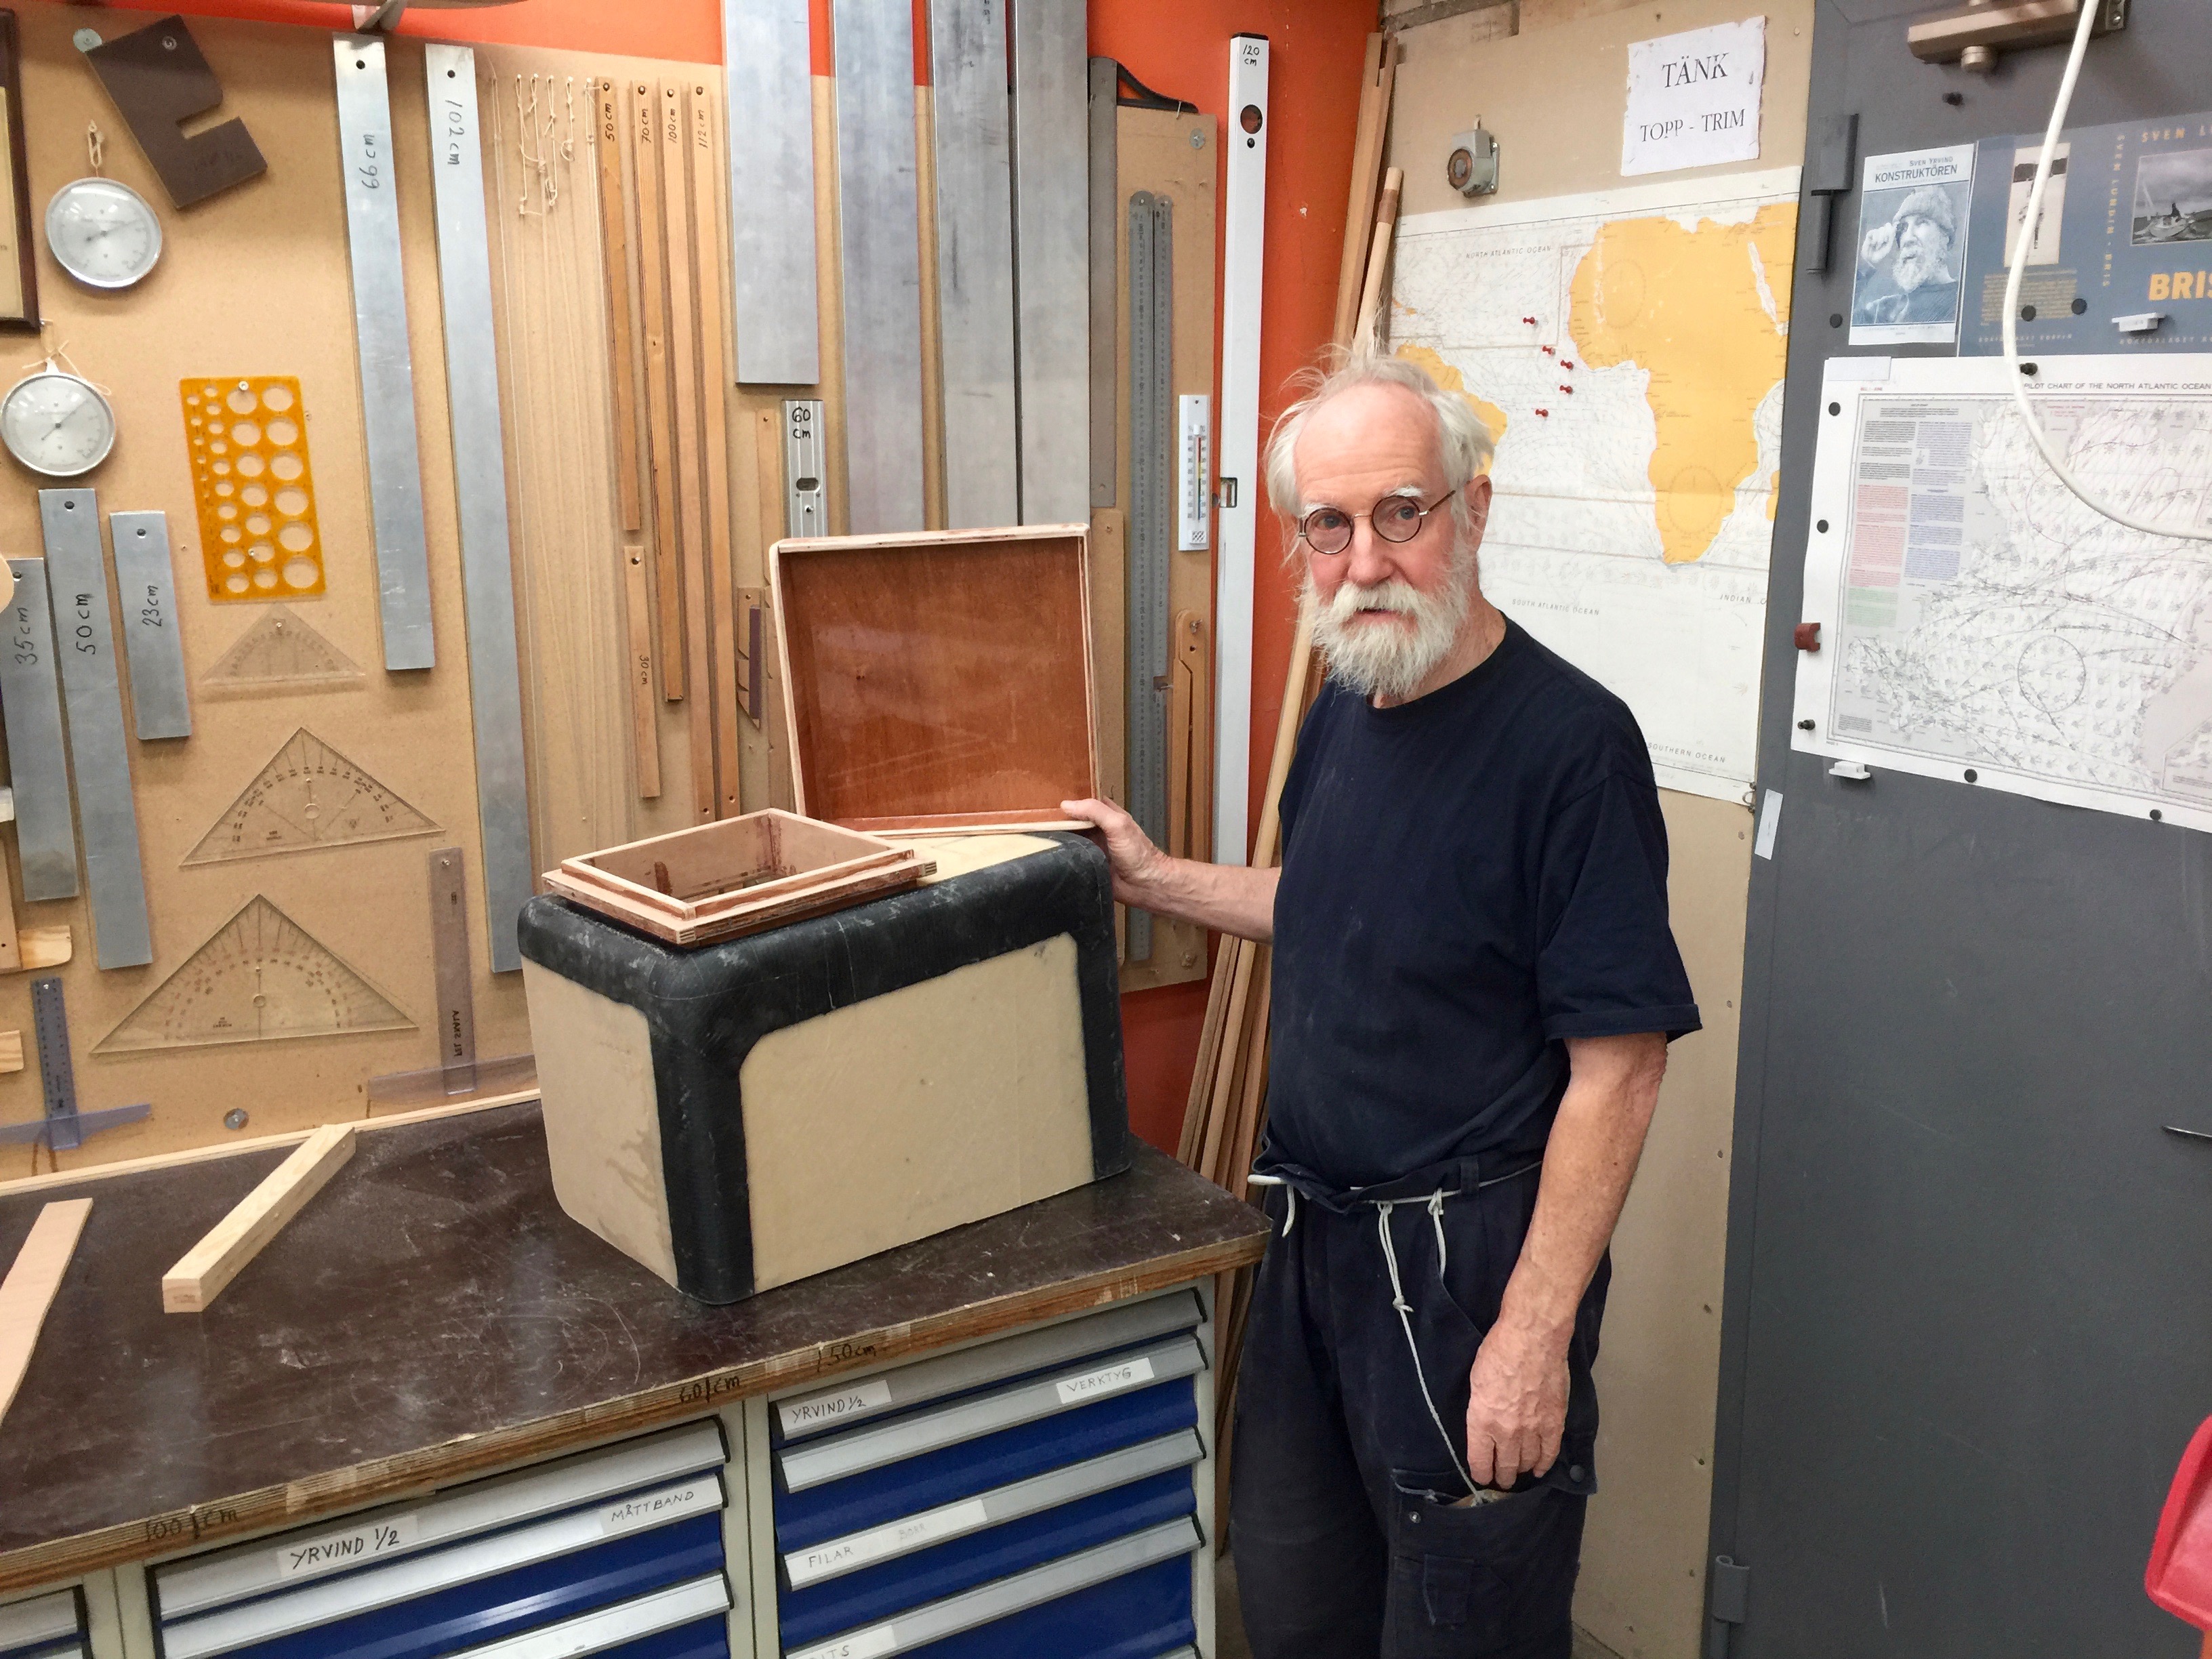
Also more work is being done on the lunch-box. The lunch-box will be situated in the aft part of the boat. Above is a hatch that in breaking seas can let in water. To prevent that water from enter the lunch-box I am making a labyrinth. Below a photo from my sketchbook.
The first sketch of the labyrinth.The lunch-box with the labyrinth. I am holding the lid in my hand.The lid will be scruwed down with two M8 scruws as was succesfully done on Exlex and tested during my 40 day voage from Ireland to Madeira earlier this year. It seems such a long time ago but I have not even been back for three months. The 30 mm long bronze nusts will be securely anchored in the lunch-box.