A VISIT FROM AN IMPATIENT LADY

Most of this week has been spent with an impatient lady. Her name is Emma Vånemo. She has been cycling to Cape Town from Sweden alone. Now she likes to row the Atlantic on her own. I advised her to get a small boat and take her time to fit it out.

First we went to Vituddens Kanotvarv and spoke to Ingvar and Kåre Ankervik about a big kayak. Their Yooakim at 5.8 m long would be suitable it can load 350 kilo and comes equipped with out rigged oars.

Göran Marström had such a kayak. Generously, he said he would let Emma use it.

To make the boat suitable for an Atlantic crossing I advised a sliding deckhouse and two pontoons to give the kayak stability and making her self-righting by hinging them upwards in when the boat kayak capsizes.

I estimate it would take a year to do good work of it.

However Emma like to leave in the end of this year.

“I am not afraid of dying”, she said.

I would be sad to loose such a enterprising friend.

Belov are some pictures.

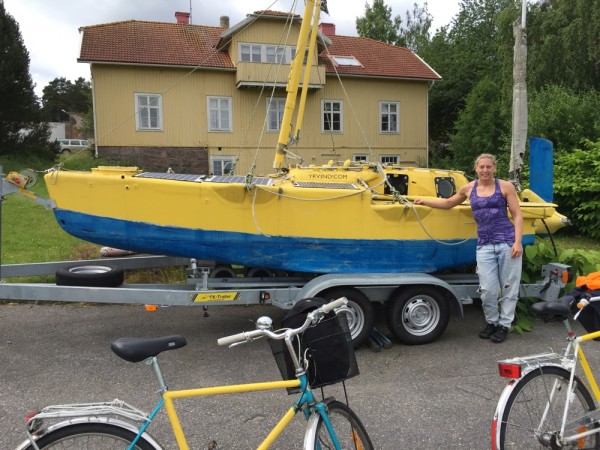
Emma visiting one of my boats. I wasa glad to be able to keep up with her speed on the bike.

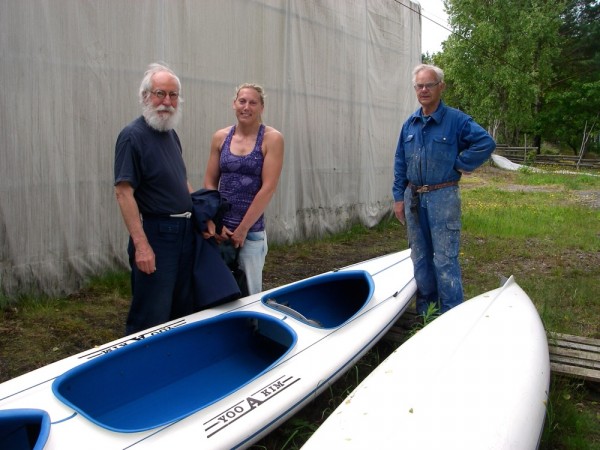
With the kayak builder Ingvar Ankervik. The kayak Yooakim in the foreground.

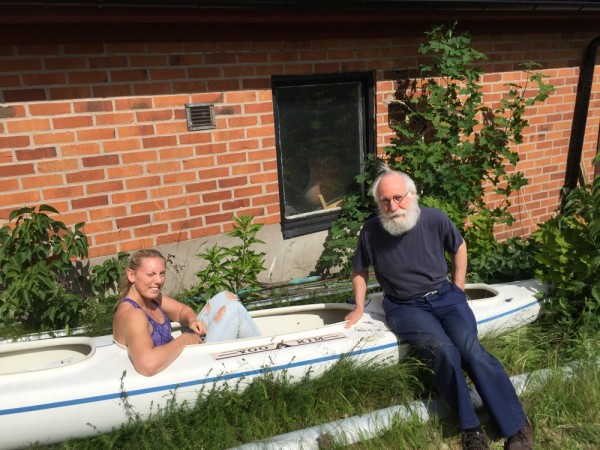
Emma gets aquinted with her Atlantic rowboat.

Regards Yrvind.
A JOB WORTH DOING

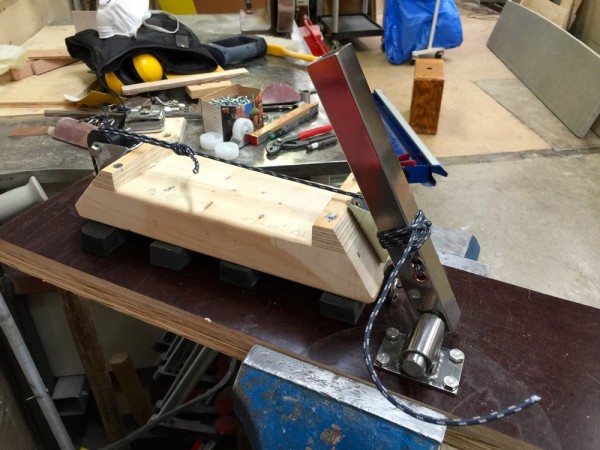
I have spent a few days improving on the tensioner that put pressure on the hatch against the rubber gasket that it may become waterproof.

Its a job well worth doing. Heavy weather may come at any time. If you are snug in your bed and suddenly is waked up of a roaring wind its nice to have smoth funktioning gear that you can with confidence make the door to your bedroom waterproof before opening the deck hatch to the breaking seas.

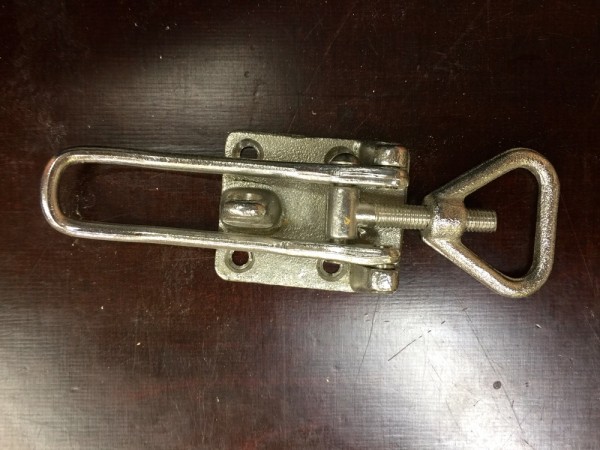
My new tensioner is a variant of the Highfield lever, but more simple. The price for a Highfield ranges from 300 to 700 €. I need about ten for my varius hatches. By making them myself I can get them bespoke.

Below are some pictures.

An over the center latch.

Below my tensioner, before being tensioned. The light wood represents the hatch.

The lever tensioned.

An other vieuw.

An other vieuw.

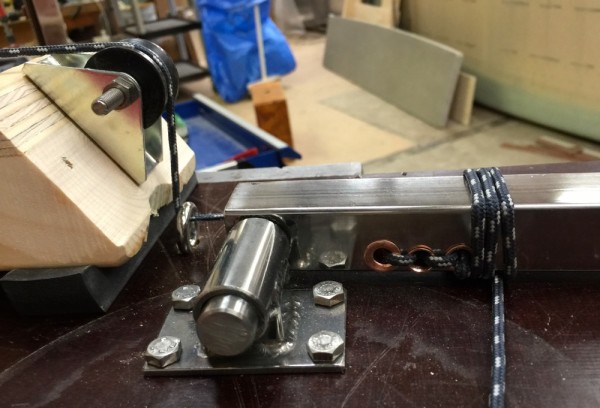
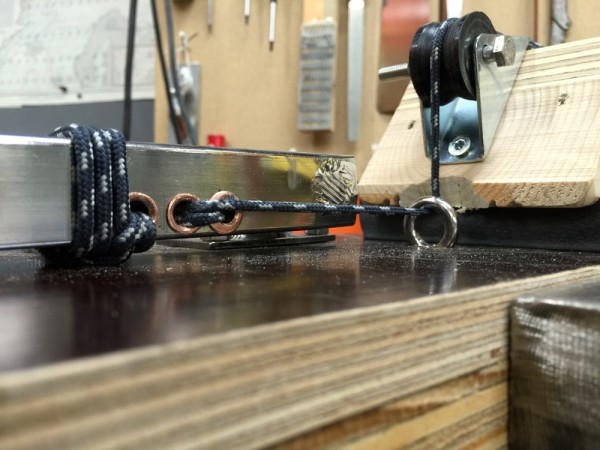
Close up of the bearing side.

Close up of the tension side. The stretchted Dynema rope is below the bearing (the pin) that makes the latch self locking, quick and easy and the power increases exponetionelly. Wery powerfull.

To be continued…

Regards Yrvind.
BULKHEAD HATCHES

I have made progress on the bulkhead hatches.

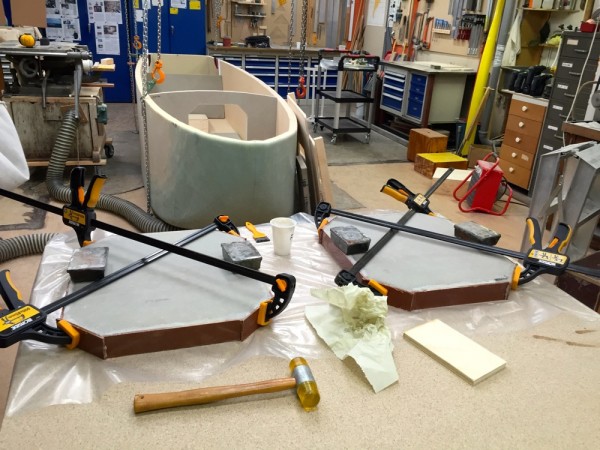
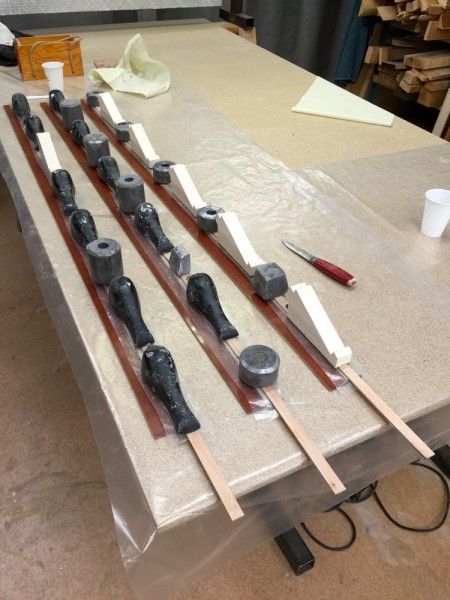
I am using “tufnol” an early composite material of phenolic resin reinforced with cotton fibres to get edges that will put pressure on on the EPDM cell rubber gasket.

To get an overlapp I am adding 5 mm Divinycell to the bulkhead frame.

Gluing them

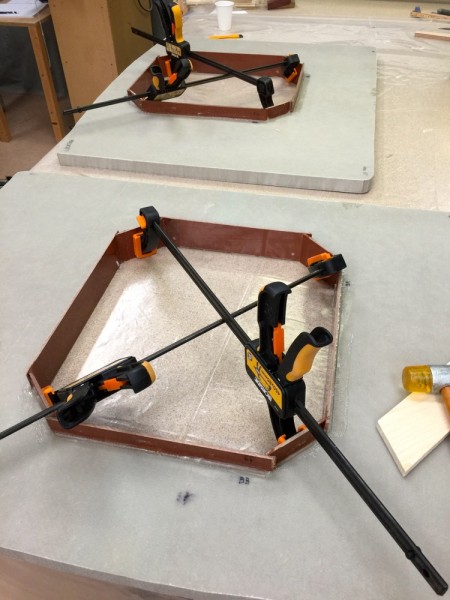
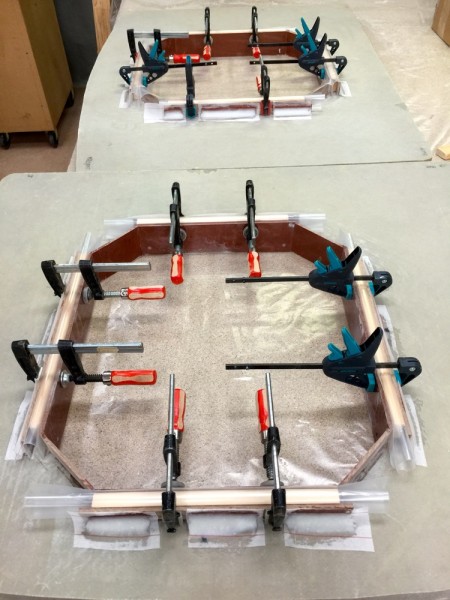
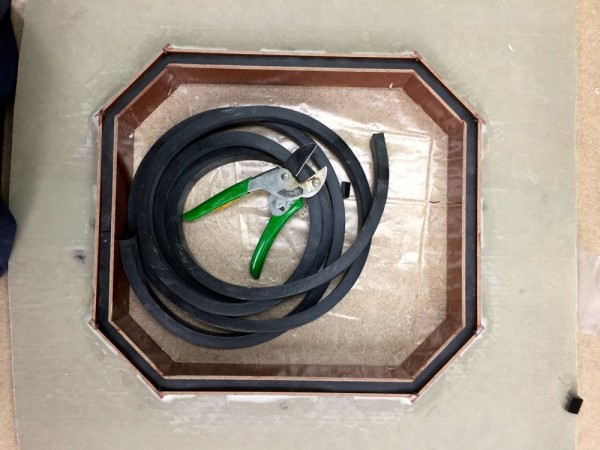
Now comes the outside pieces holding the gascet. Instead of gluing the EPDM I am squising it in position. That makes it very easy to replace them, if need should be at sea as EPDM is difficult to glue, but you have to work within a 0.5 mm margin to get it good. The gasket is 15×20 mm. The gap is 14.5 mm. To get that pricision I am using spacers.

Gasket in place.

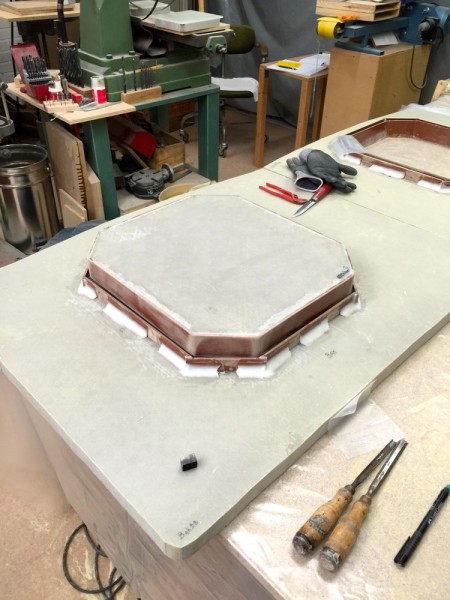
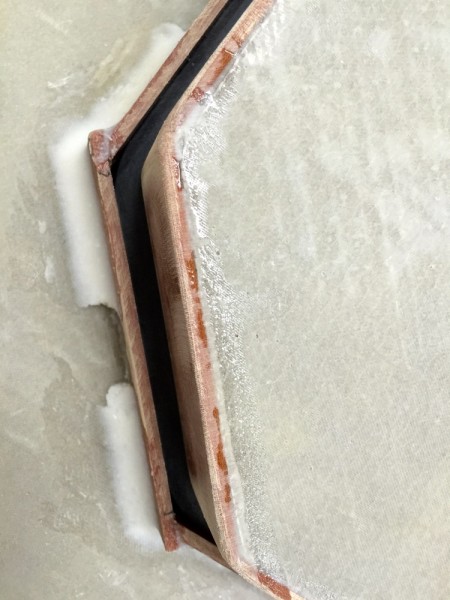
The hatch fits.

Detail.

Next problem, working out a system to get enough pressure on the gasket to make the hatches waterprof.

I am quite pleased with this idea. Its fast and gives good pressure. Top view.

Side viuw. I am using a over center fastener and rollers to get even forces in the dynema rope.

To be continued…

Regards Yrvind.
BULKHEADS

This is the position of the main bulkheads.

Before epoxy them into place i will do the waterproof hatches on the bench horisontally as that is much eaysier.

To be continued…

Regards Yrvind

THE REAL THING

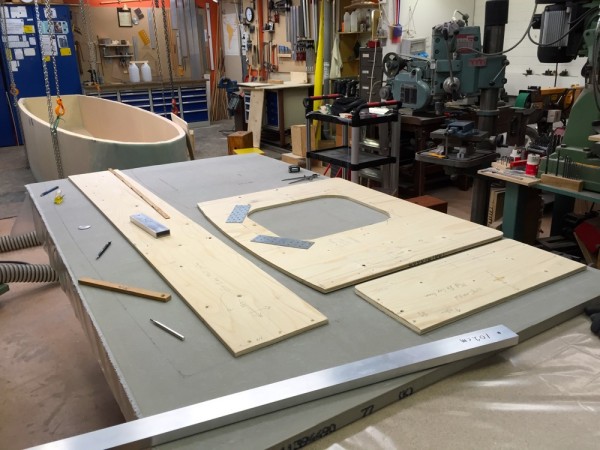
The bulkheads are now laminated. The core is Divinycell H80 30 mm thick 450 gram glass on each side in NM-epoxy. They are marked ready to be cut. Photo below.

To be continued…

Regards Yrvind.
THE MOCK UP

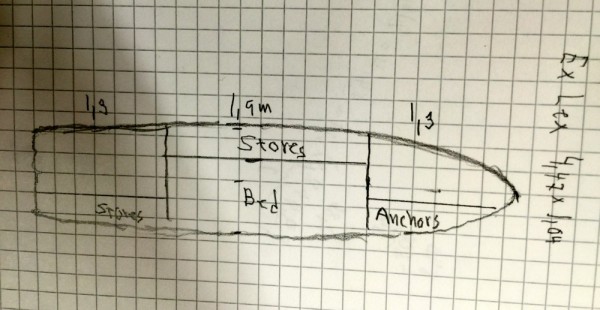
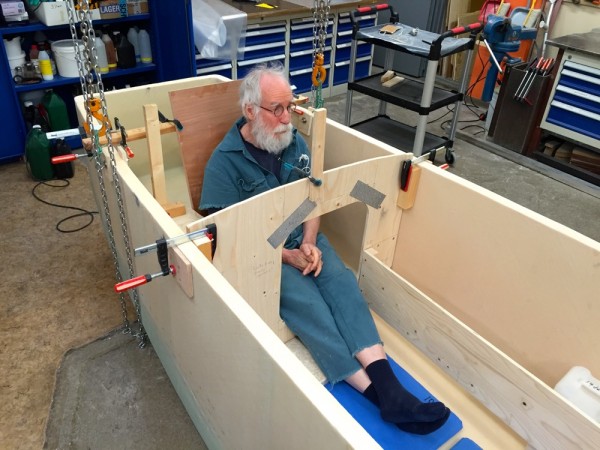
After a few days of tweaking the layout is now OK. It has been a balance of how much room each compartment should have.

I decreased the size of the doors to 45×40 centimeter wich is ample. The bed will be 3 cm narrower and the stowage to port 3 cm bigger.

Some numbers.

The seat:

By having my legs through the door into the bedroom I gained a lot of space.

The deckhouse will cover my head.

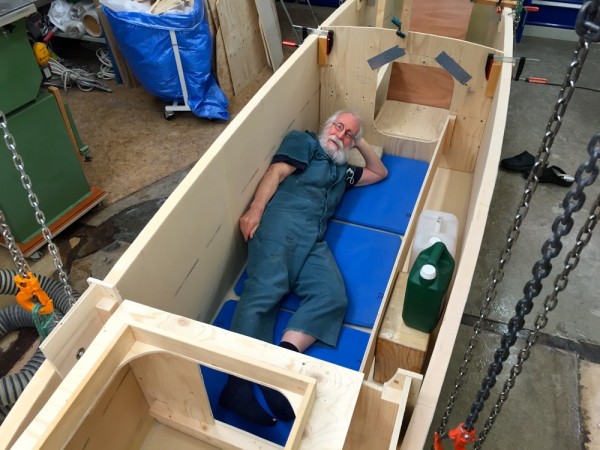
The bed is 1.9 meter long and 70 centimeter wide, much bigger than the bed in “Yrvind.com” the yeallow boat. Plenty of space.

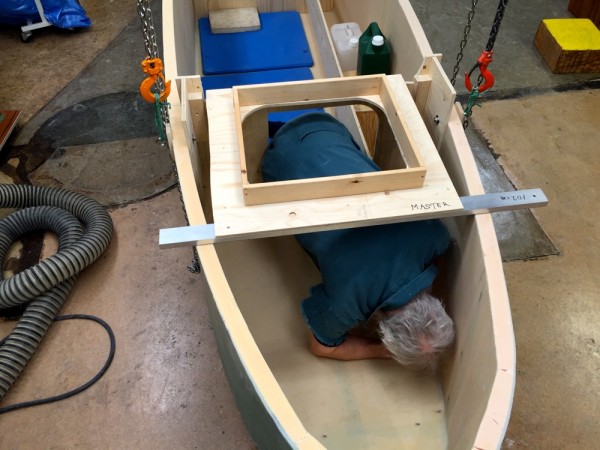
Passing through the door to the front room from where sail handling and adjusting the leeboards will be done.

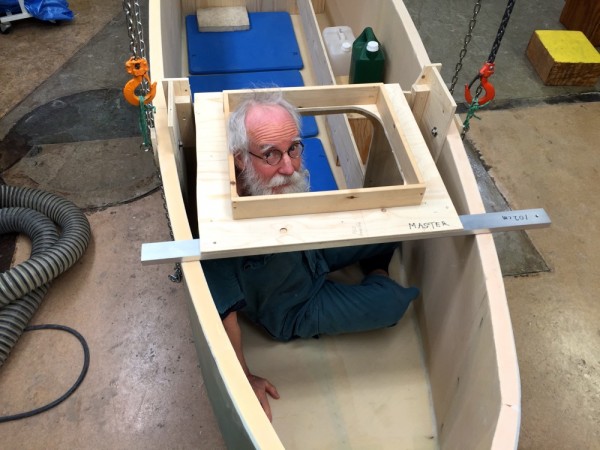
In the front room.

After closing the waterproof hatch to the sleeping room I open the deckhatch. In this position I can handle sails and leeboards.

Some people say the lenght of your yacht should correspond to the your age.

Thats is: Ten year old your boat should be ten feet

15 year old your boat should be 15 feet

30 year your boat 30 feet

40 year your boat 40 feet

50 year your boat 50 feet

60 year your boat 60 feet

Well thats certainly is a good formula for comfort, but comfort makes you lazy, fat and bored. Comfort gives a short life.

Better be active and happy in a small boat. It is also better for the enviroment.

To be continued…

Regards Yrvind

mock up

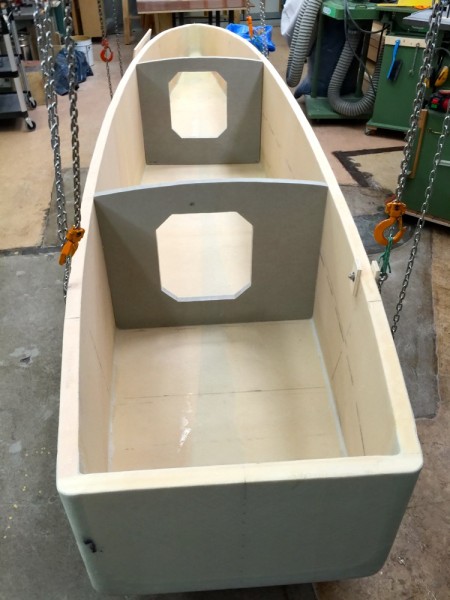
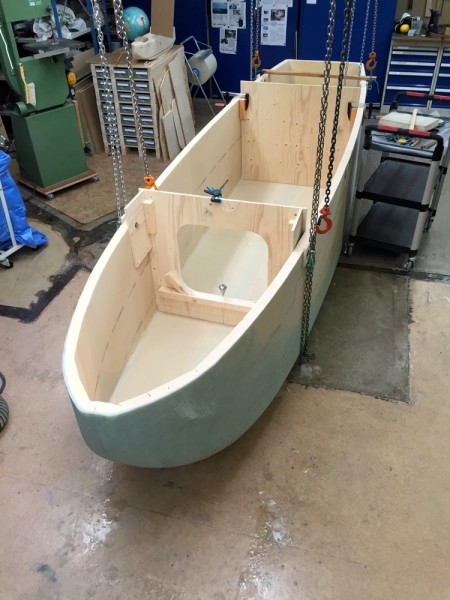
Ex Lex is now laminated on the inside and i have started the delicate compromise of of dividing the space. There is a bedroom in the middle and in front of that a waterproof bulkhead with a door leading to a foreward compartment where from a hatch I can handle the sails and leeboards.

Behind the bedroom is a similar arrangement. From that hatch I will scull the boat and do a bit of observations and enjoy nature.

The hole in the foreward compartment seams to be more than ample. I probably reduce its size.

So far thing are working very well.

Tomorrow I cut the hole in the back bulkhead.

To be continued…

Regards Yrvind.
EX LEX RIGHT SIDE UP

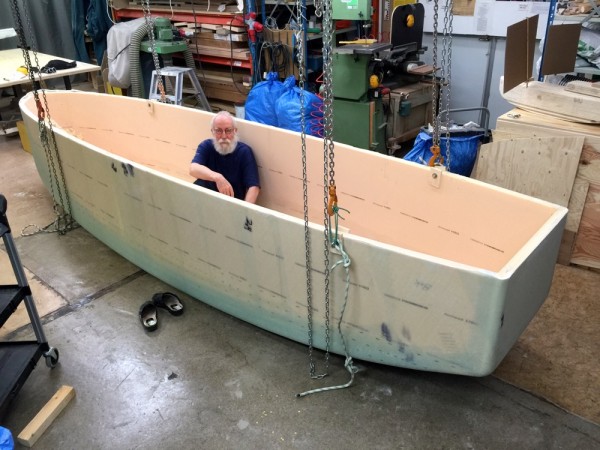
Ex Lex is now lifted off the moulds.

Below are some pictures.

Knocking down the front mould.

Lifting her

Stern viuw.

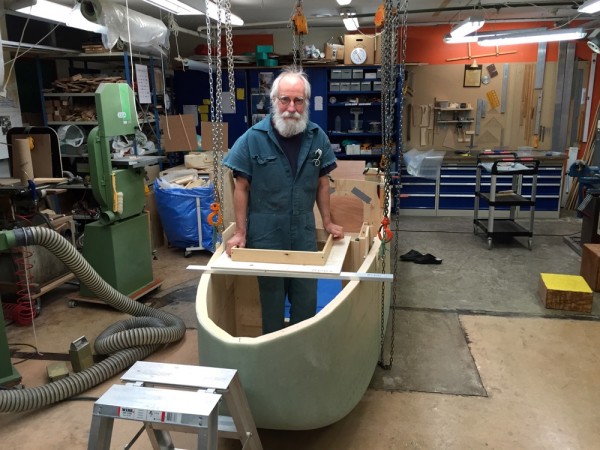
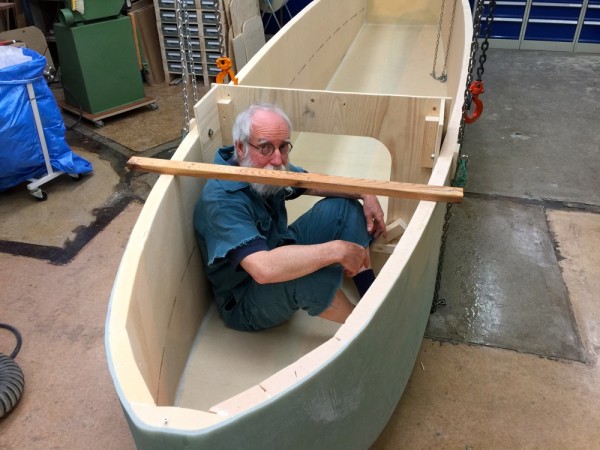
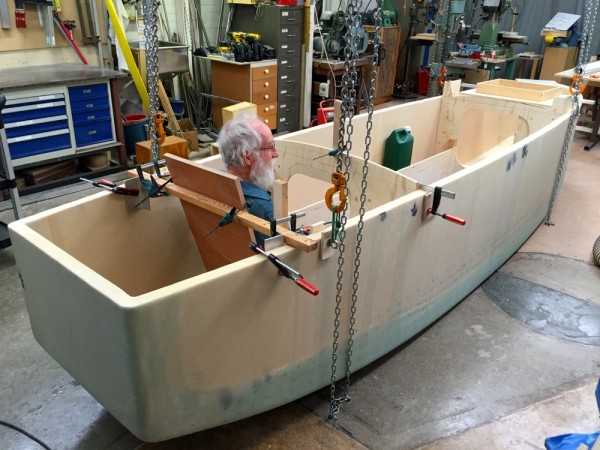
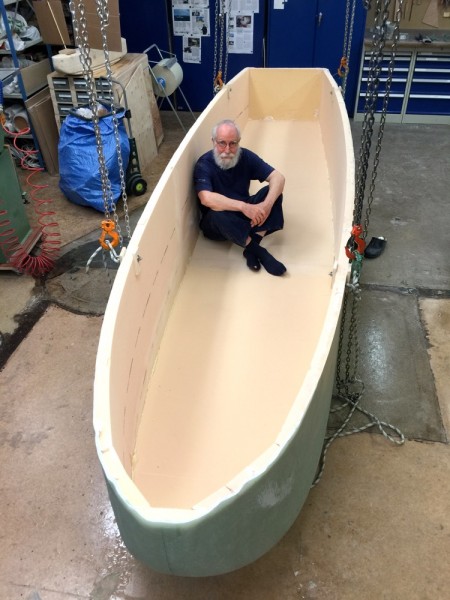
First look inside

First time inside

4.48 long with a beam of 1.04 and a high prismatic she should give me enough space and at the same time be easy to handle.

To be continued…

Regards Yrvind.
SCREWING THE BRONZE PLATE

The bronze plate is there to protect the boat when beach landing and act as ballast to give stability.

Phosphor bronze has excellent wear resistance and corrosion resistance. Their spring qualities are also fatigue resistance very good.

I believe in belt and suspenders so in addition to gluing I have screwed the plates with silicon bronze screws. I do not like to use stainless steel below the waterline.

Silicon bronze is just a bit nobler than phosphor bronze and that is as it should be because their surface is smaller.

The scarifying metal will be the phosphor bronze.

Below, part of the galvanic series:

Graphite

Palladium

Platinum

Gold

Silver

Titanium

Stainless steel 316 (passive)

Stainless Steel 304 (passive)

Silicon bronze

Stainless Steel 316 (active)

Monel 400

Phosphor bronze

Admiralty brass

Cupronickel

Molybdenum

Red brass

Brass plating

Yellow brass

Naval brass 464

The screws are set in NM-epoxy. When drilling the holes I pendeled the the drill creating a conical hollow in the Divinycell below the plate and glassfibre into that hollow i injected epoxy.

To be continued…

Regards Yrvind.
GLUING PHOSPHOR BRONZE

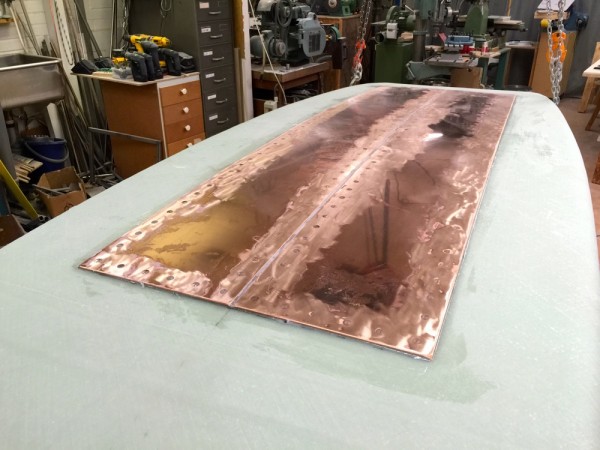
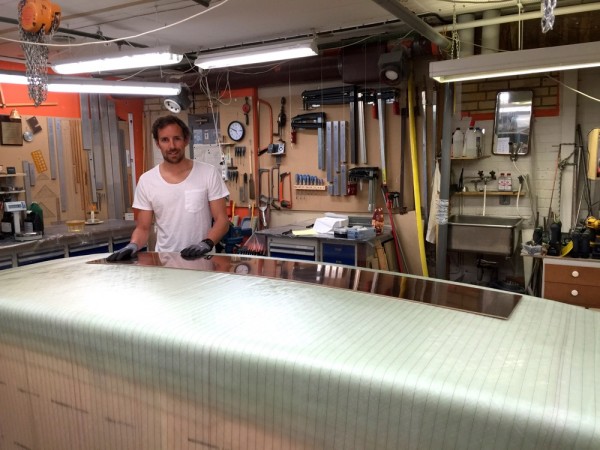
To protect Ex Lex bottom and increase her stability I am adding two 4 mm thick phosphor bronze plates. Together they are 2 meter by 0,6. The high cupper content makes them antifouling.

Thomas and me checking if they can take the bottom curve.

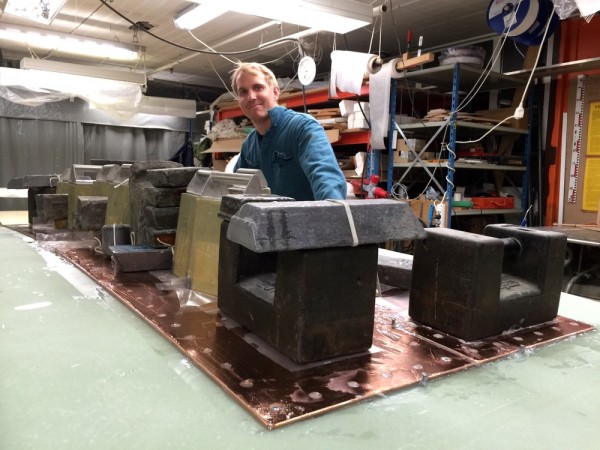
Petter is helping to glue them.

The bronze surface is prepared by wetsanding it in NM-epoxy to make sure no oxygen will oxidise the surface.

In addition to gluing they will when the glue have set be scruwed.
To be continued…

Regards Yrvind