VARIUS PHOTOS

Progress is good. Most of the epoxy work under deck is now done. I have started with the foreward deckhouse.

Below are some pictures.

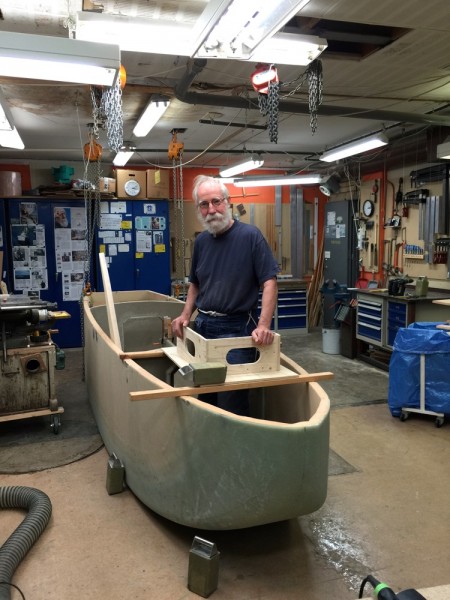
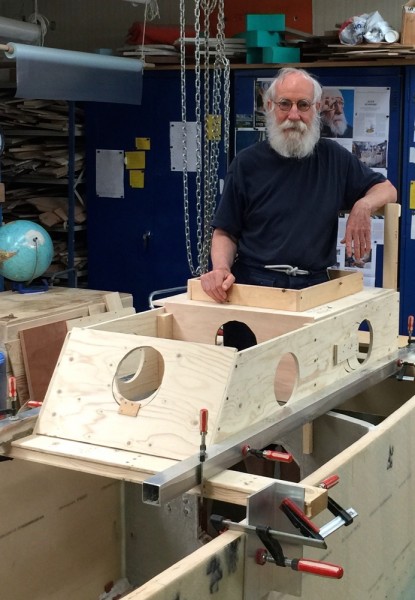
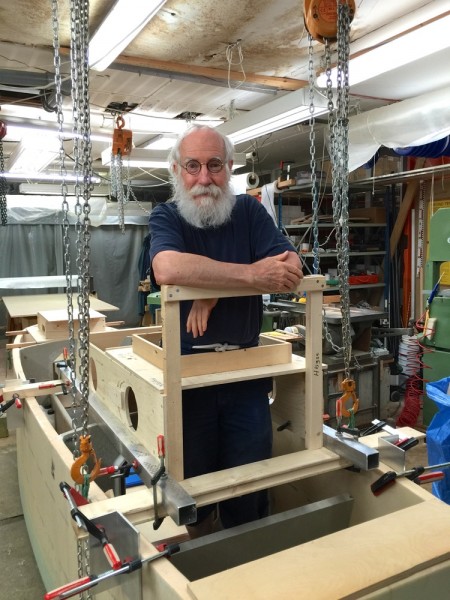
First, me in the deckhouse mockup. Its from here I intend to handle sails and leeboard. I will do that running downwind with the two rudders in breaking position. A rope controlling the rudders runs the inside perifimeter of Ex Lex.

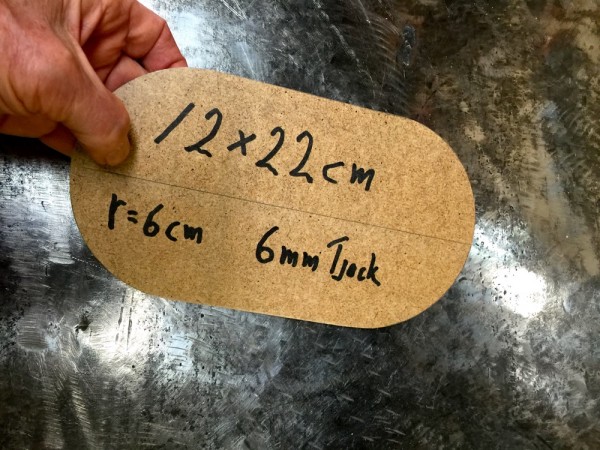
This is the size of all windows. Its mineral glass tempered and heat soaked to resist spontanius granulation.

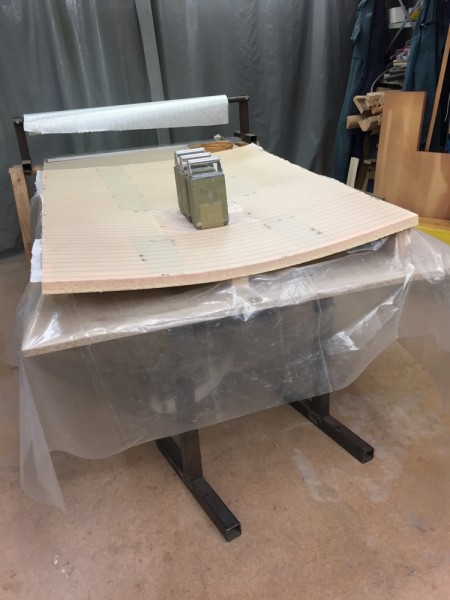
Prebending the Divinycell with weights where the hatch will be. The inside is laminated.

Cutting the panel to shape.

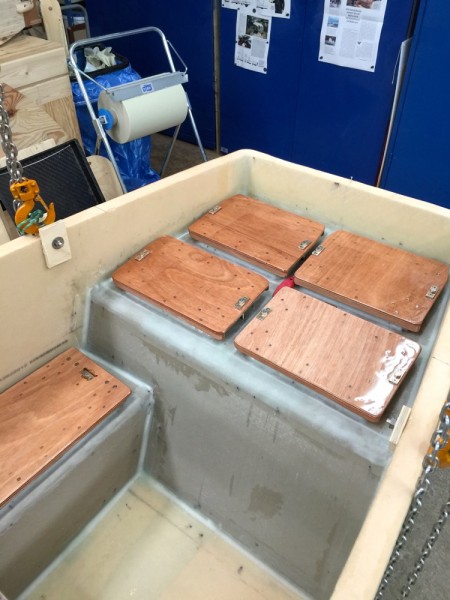
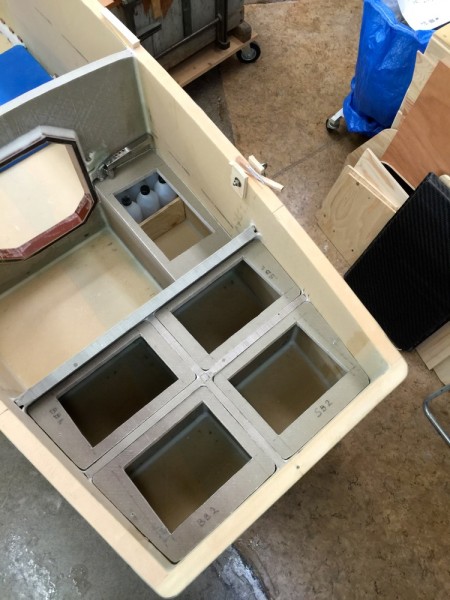
Details done. The aft storage.

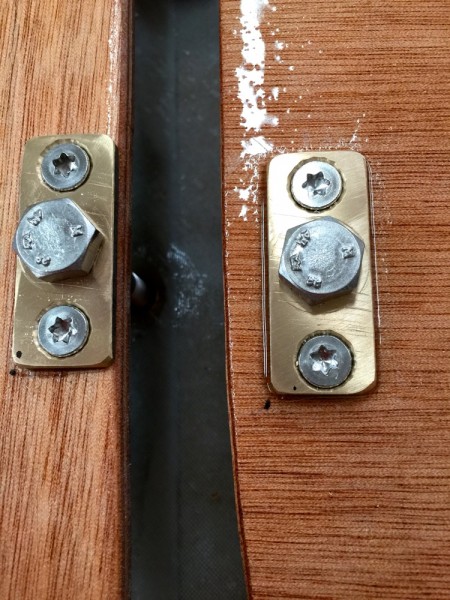
The hatches are bolted down.

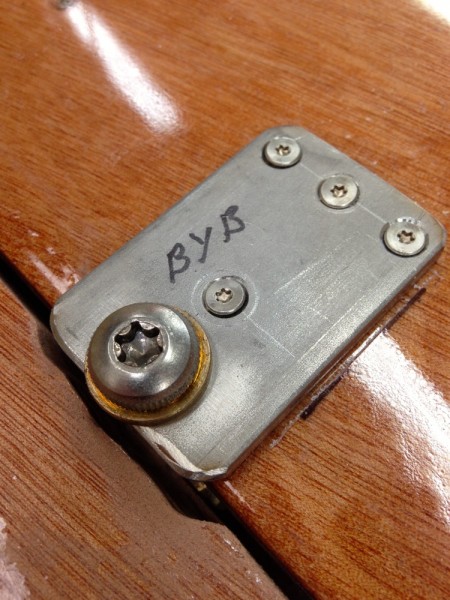
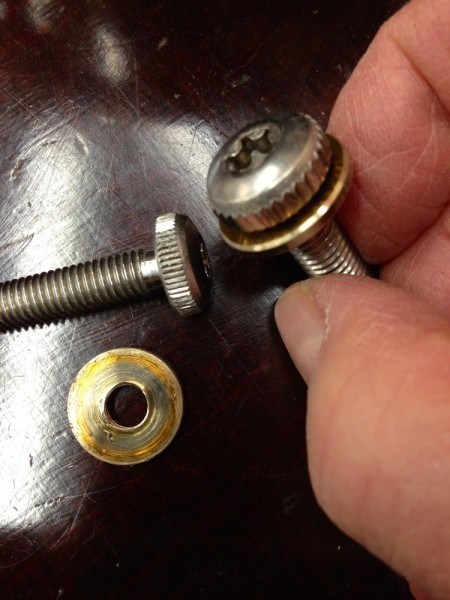
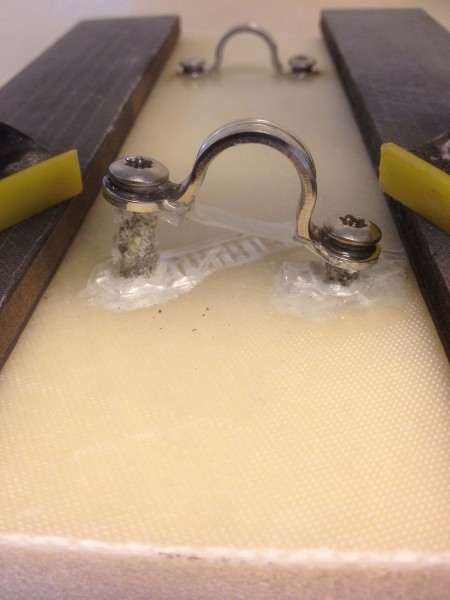
The above is a better solution than the one I used on late Yrvind Ten wich consisted of a washer on the screw resting on stainless steel.

Detail of washer. One learns.

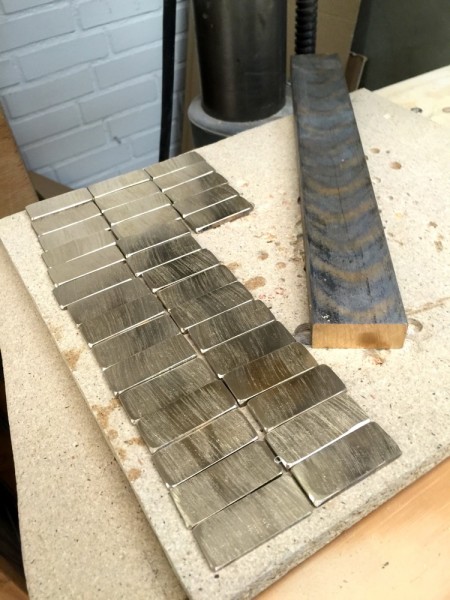
This time I  am using RG7 Gun Metall to take up the bolt forces. It contains 5 – 7 % lead thus giving very little friction. I could not find material of the right dimension so I bought a bar and sliced it.

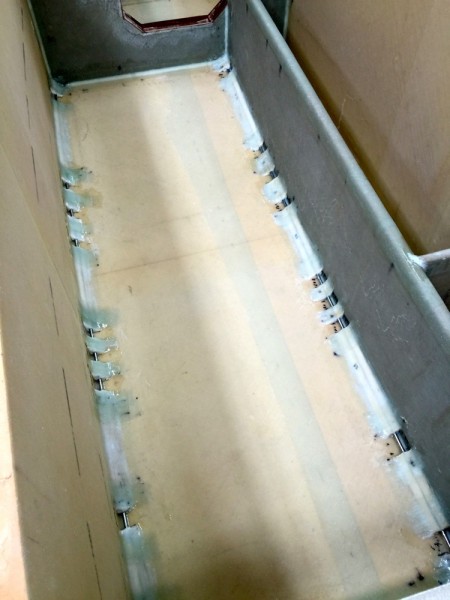
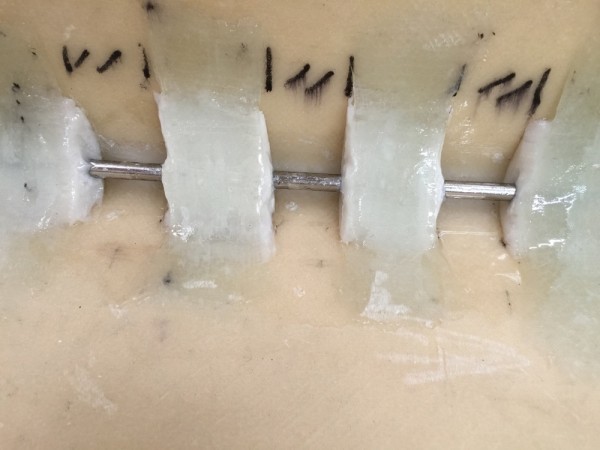
Im my bedroom I have laminated in a stainless steel pipe to take the safety belt.

I made several places to fasten the belt. It can be handy to fasten other things to. It do not look beauteiful but it shure is strong.

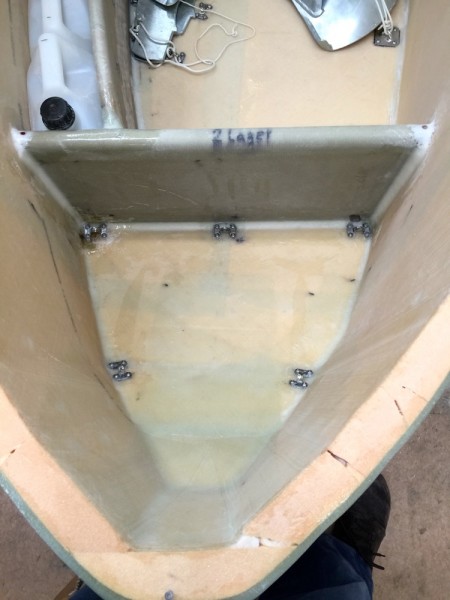
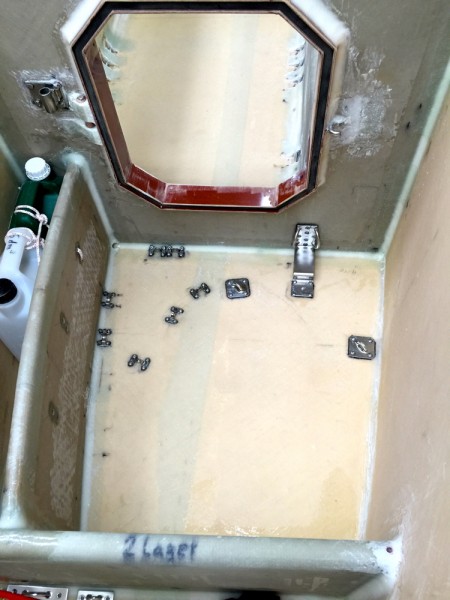
Fastening poits in the most foreward part of the boat. Part of the anchors and plastic jerrycans can be seen in the background.

To be continued…

Regards Yrvind.

KEEPING THE ANCHORS IN PLACE

When doing the hardware for attaching the anchors the following qualitys where desired.

1. The should be well secured in any weather.

2. When I was going to use the small anchor I did not want to undo the big 15 kilo anshor to reach it.

3. The storage should take as little place as possible and be “friendly”, that is sharp edges should not unnessesarrily hurt me.

4. The anchors center of gravity should be as low as possible and its gyr radius as small as possible.

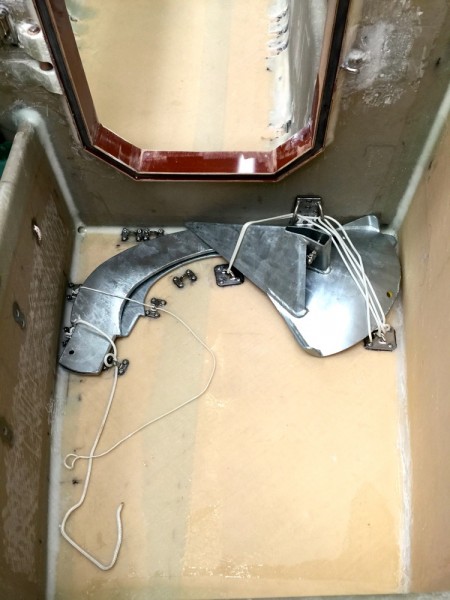
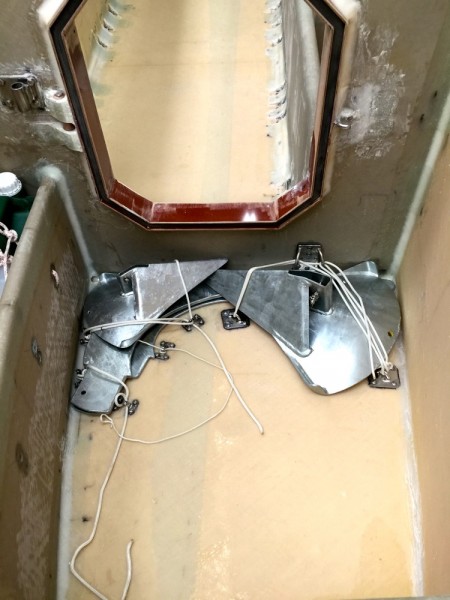
The following pictures shows how I solved the problem.

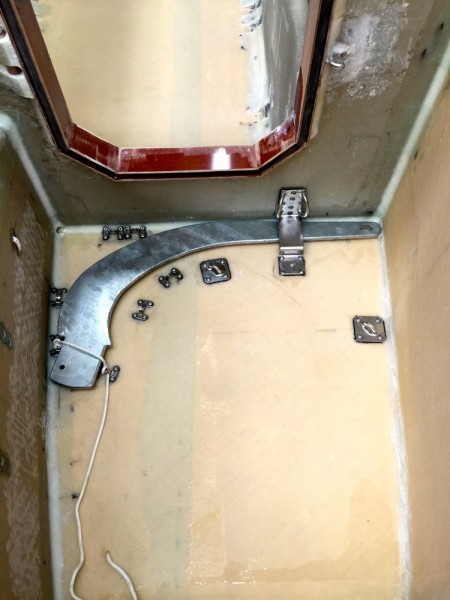
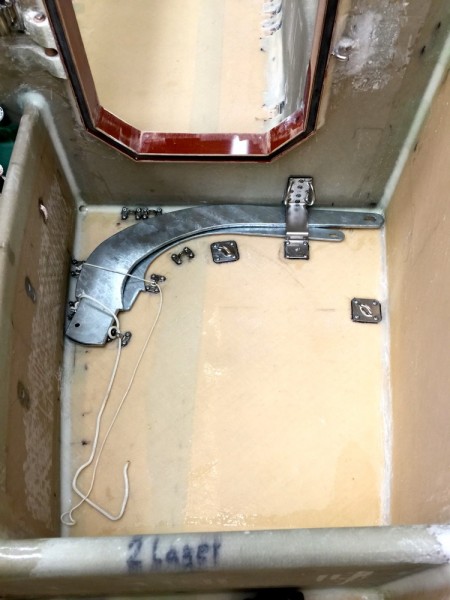
The hardware is secured with 47 screws. Each screw is good for about one hundred kilo. The anchors weigh 15 and 6 kilos.

First, the shank of the 15 kilo anchor is secured.

Second. The Shank of the 6 kilo anchor is secured.

Third. The heavy head of the 15 kilo SPADE anchor is secured.

Finally the head of the 6 kilo anchor is secured.

I can remove the shaft and head of the 6 kilo anchor while the 15 kilo is secured.

Information for the landlubber: When at sea, seagoing lashings will be used.

To be continued…

Regards Yrvind.

HATCH FRAMES IN PLACE

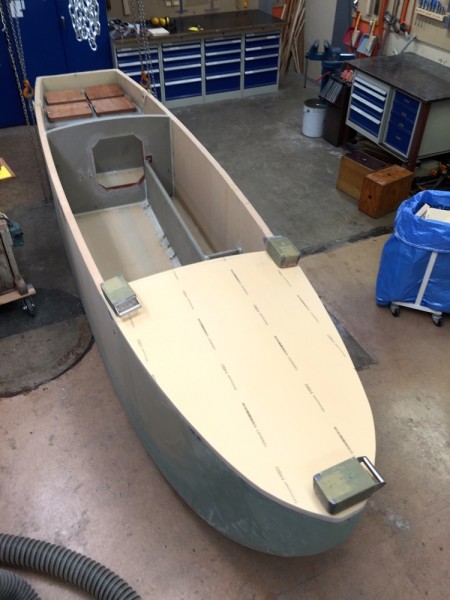
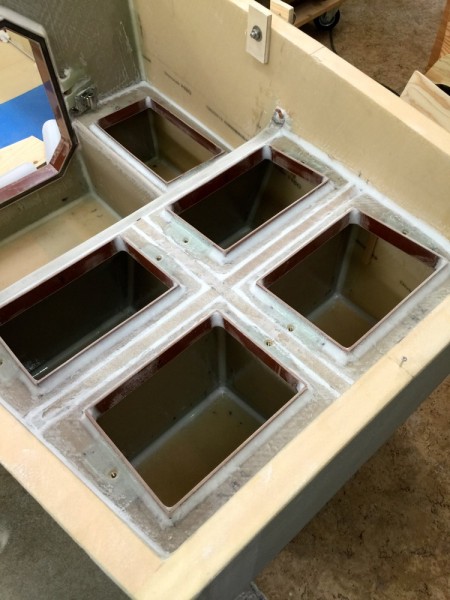
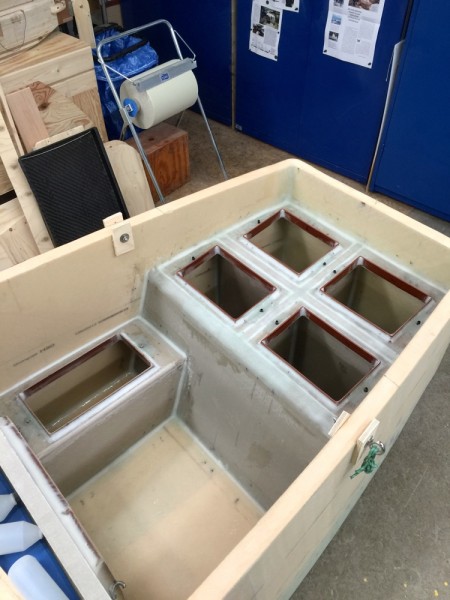
The frames of the hatches are now in place.

Here with glassfibre added.

This is the more complicated way of doing it. It would have been more simple not to divide the lid into pices and sink it in. The advantage of this way is that I can be pretty sure of having no leaks between the individual hatches. This way I have five different flotation chambers, about 135 liters. For peace of mind I do everything as safe as I can. It will be a long stormy voyage and then its nice to be able to relax and not worry.

Time spent on details is only temporarily.

To be continued…

Regardds Yrvind

BUILDING HATCHES

For some time I have been ockupied buildning waterproof hatches for the aft cabin.

Belov are some pictures of my efforts. Click on the pictures once or twice to enlarge.

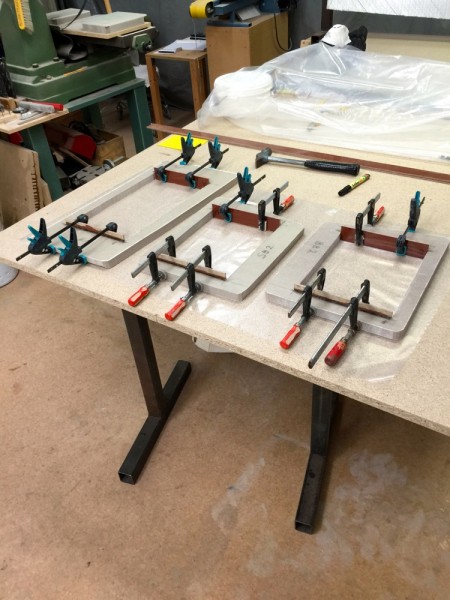
First: The five frames in position.

The edges of Tufnol, that goes into the gasket are glued into place.

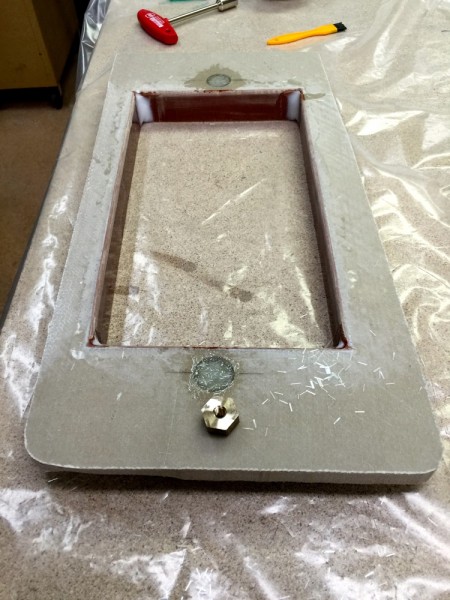
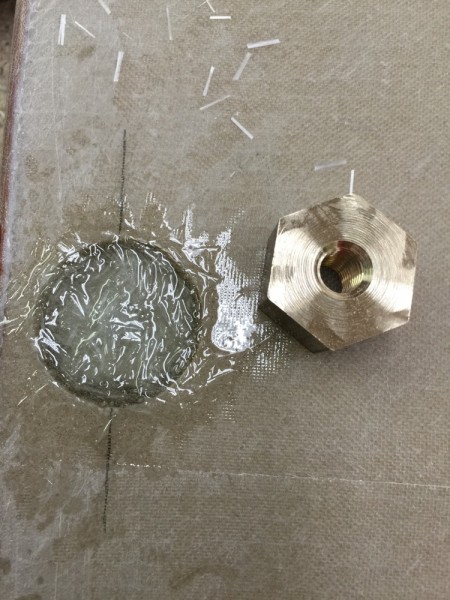
The nuts are set in MN-epoxy and glassfibre choppings. The frames are now uppside down. One nut is laying on top to show the size. The thread is M8. The material is aluminum bronze 22 mm across to give good surface.

A close up.

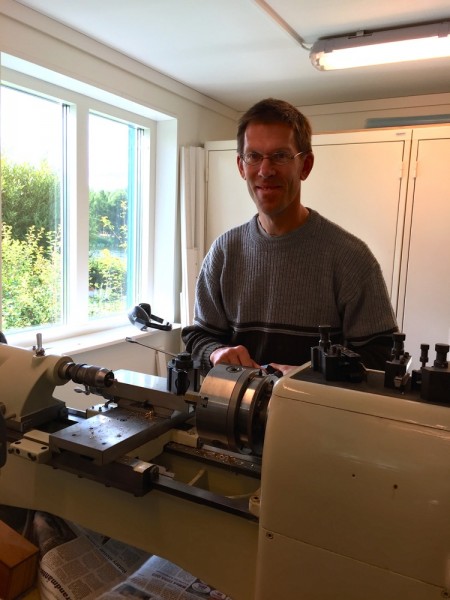
Here is Rikard and his beutifull Weiler lathe that is bigger than mine Blomquist helping me making the nuts.

Centering the hatch on the frame with the help of spacers before marking the holes for the bolts.

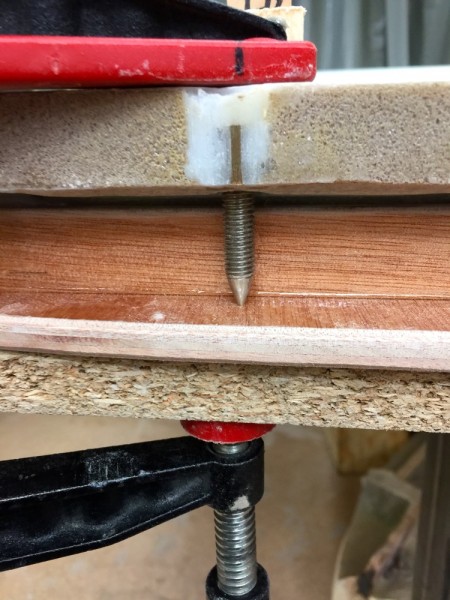
A pointed screw is inserted to mark the hole in the hatch. The clamp gives a more precise mark than a hammerblow.

Two M8 bolts gives pressure.

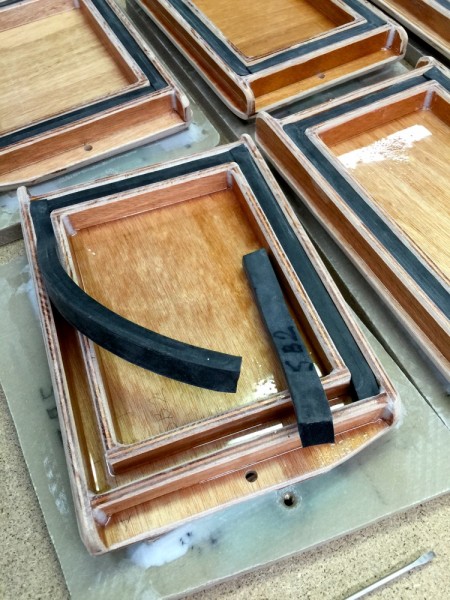
The hatches. The gakets made of EPDM-rubber is set between plywood strips. This eliminates difficult gluing and makes it possible to change gaskets at sea. The gasket dimensions are 20×15 mm

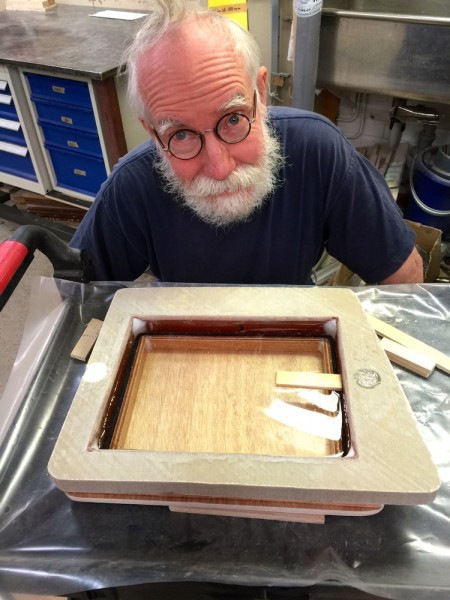
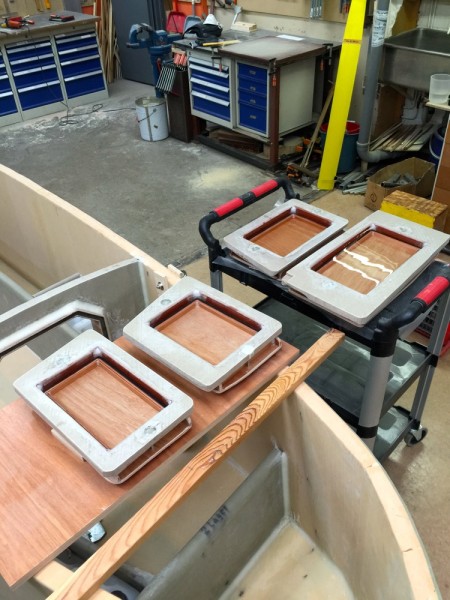
Testing the essembled hatch/frame upside down shows its waterproof. The first one was good. A little piece of wood is floating on the water, trying to indicate the water level.

So was the rest. Clear water is difficult to sea, but trust me.

To be continued…

Regards Yrvind.

FASTENING, TENSION TEST

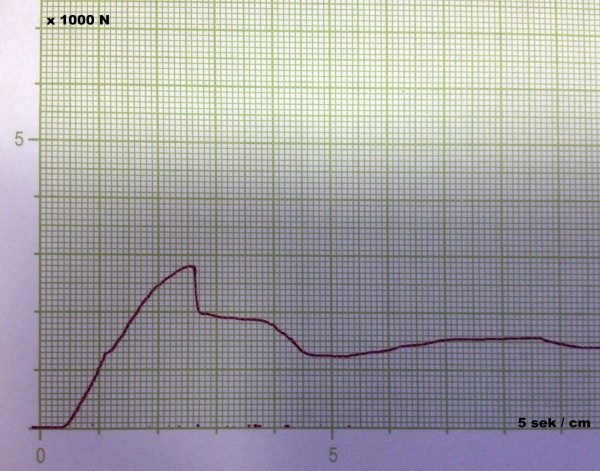
Laboratory manager Jonny Augustsson at Epoxy company Nils Malmgren has now tested an other fastening for my anchor attachment. Below is a link to a video

http://www.nilsmalmgren.se/ISO/SY20150811.mp4


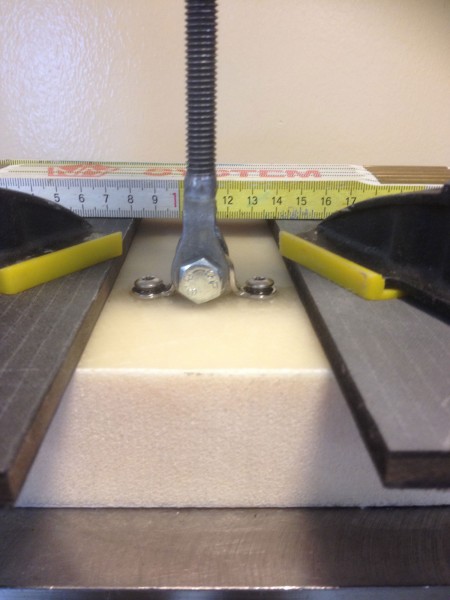
Abowe is a few pictures. Maximum load about 270 kilos. This will be ample for my needs. The total weight of the two anchors is 21 kilos. Exactly how many fastenings I will use I have not yet decided as at the moment I am working on the hatches in the back end of the boat but a guess is that there will be more than 4 as I like the 15 kilo big anchor to be attached when I use the small 6 kilo.

A big thanks to Jonny and Nils Malmgren.

To be continued…

Regards Yrvind

A WEEKEND NOT WASTED

On friday I drove to the Swedish west coast.

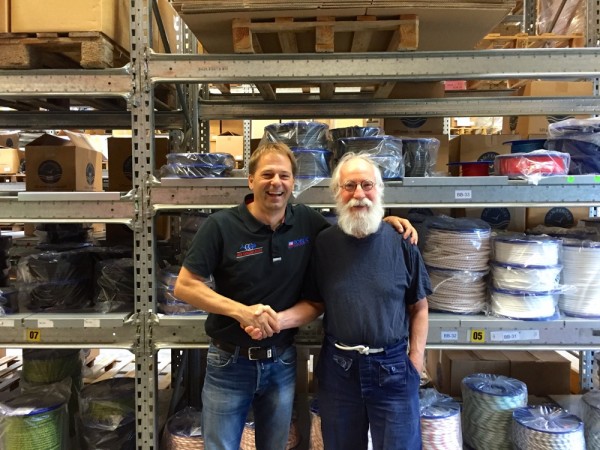
First stop was in Göteborg where Henric from Teufelberger was happy to donate some ropes to project Ex Lex. Picture below.

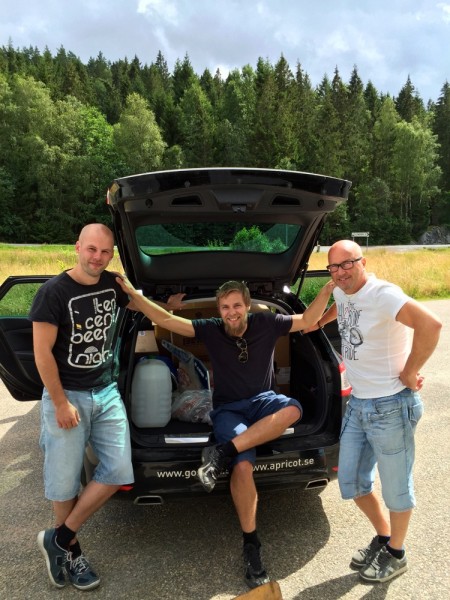
After that it was Tony at Navimo in Henån who was happy to outfit Viktor and Dan two of my adepts with anchors chain liferaft inflateble and more for a long voyage in an rebuilt Vega. Dan to the left Tony to the right.

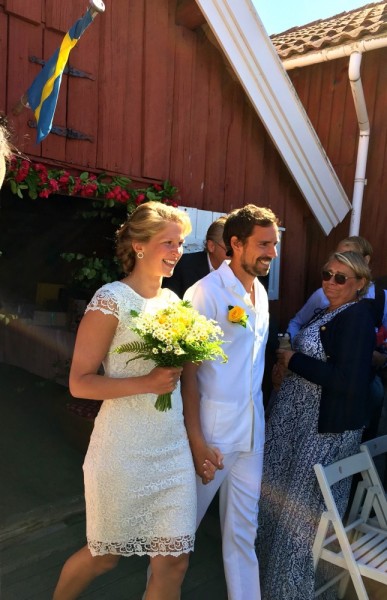
2007 I had sailed to Florida with Thomas an other adept. Now he had found himself a beautifull bride. It was a party of three days. Friday was only for yong people, persons below 30 years of age. An exception was made for me being 76 years of age.

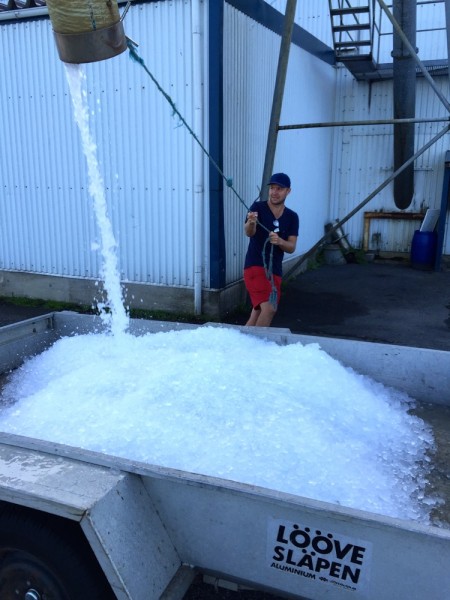
Here we are geting ice to cool the drinks.

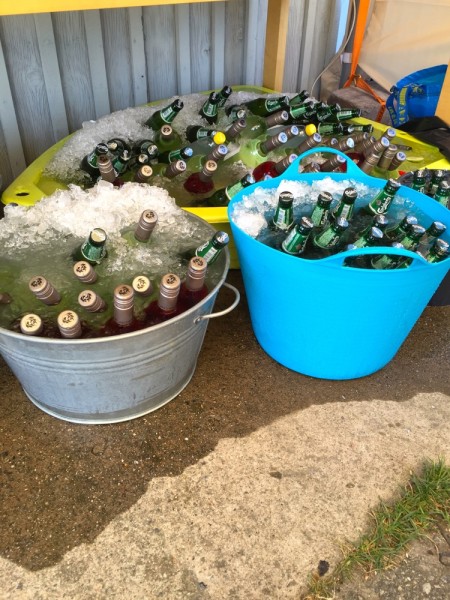
The bottles being cooled. I never touch alchohol in any form. Maybe thats why I was let in on the friday party.

The ceremony.

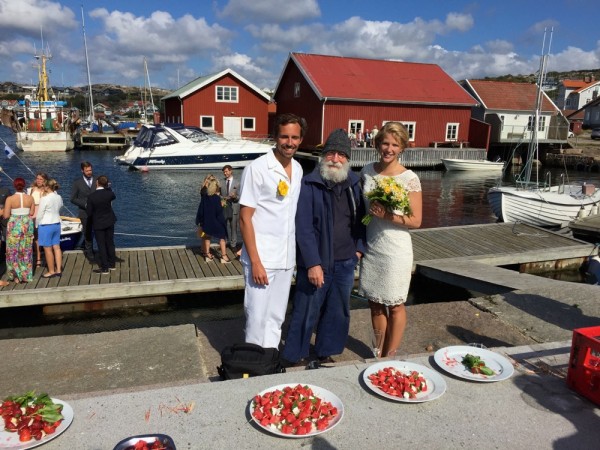
Me with the newly married, hat and jacket is against the sun.

Sunday afternoon I drove back to Västervik. With me I had a good supply of NM-epoxy from the Nils Malmgren factory in Ytterby.

Now I am back in production.

To be continued…

Regards Yrvind.

A SIMPLE EXPERIMENT

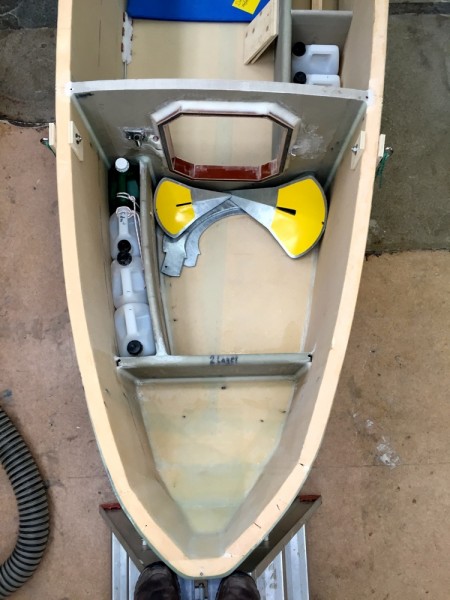
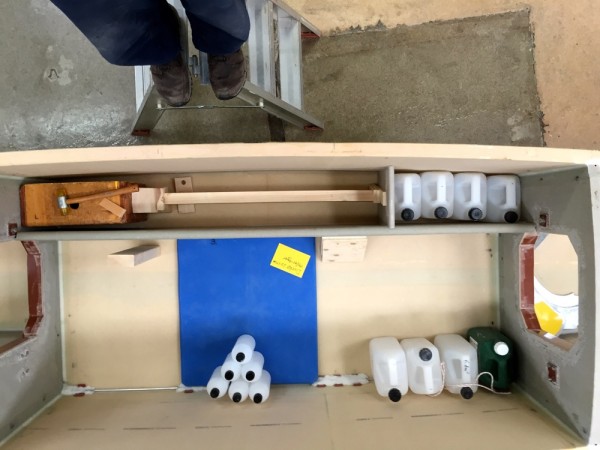
The forepeak arrangement has after mockup been modified slightly. The water containers are now arranged longitudinal instead of athwartships. It was a bit cramped before. This gives me more space to move around. Now it is comfortable. The price is now there is 4 instead of 5 plastic cans. I can live whith that.

The original idea was that this boat Ex Lex 3/4 version of the 5,4 meter Boat Ideal was to be a test boat. However as I grow into her I realize that she probably have enough space and displacement for my things and me. If I use 2100 calories a day and bring food with an average calories density of 300 calories per hundred grams 168 kilos will give me 8 months of food.

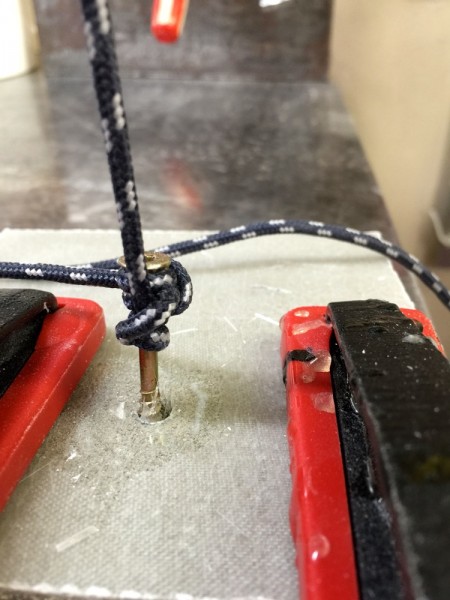
Back to the forepeak. The anchors have obviously to be lashed down. The question was how strong would a fastening be. For a test I screwed a screw into H80 Divinycell through 450 gram glassfibre.  Into the drilled hole I put some glassfibre flock and injected NM-epoxy.

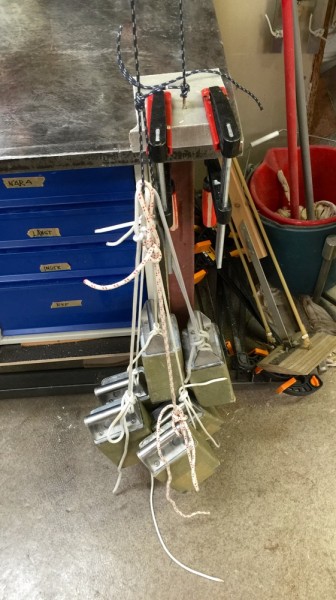
I found it was good for 6 14 kilos lead weights. Surely strong enough for my two anchors 6 and 15 kilos especially as Ex Lex is made of Divinycell H100 which is much stronger. There will also be more layers of laminate. I am going to use several screws as well. I hope to be able to do a more serious test later.

Below same pictures.

The anchors and the water containers.

The strained screw.

The load. Six 14 kilos weights. 84 kilos.

More water next to the bed. This gives me 8 cans each can be filled with 5.5 liter.

I will also have six one liter bottles, the ones in the bed. Total 51 liters. I use less than one liter a day. A good rain catch system will replentish my supply.

Next to the water there will be place for two Sonnenschein gelbatteries each 40 Ah.

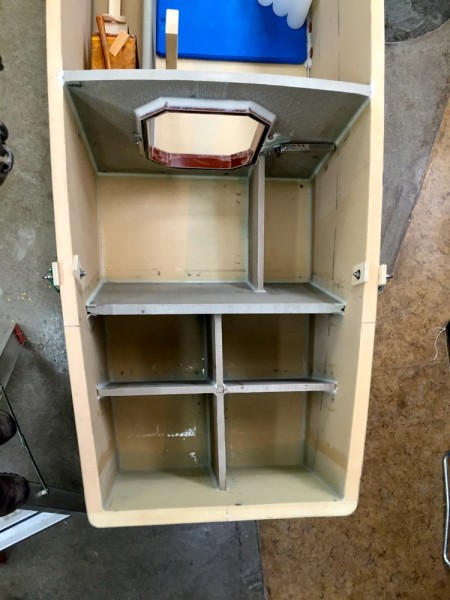
More stowage below the aft deck.

The stowage to the right at the top of the picture is my lunch box.

All these compartments will have there individual waterproof hatches.

This arrangement divides the boat up into a good number of compartments making her strong and safe.

To be continued…

Regards Yrvind.

AN IDEA BORROWED FROM THE OLD EGYPTIANS.

Archeologists where surprised to find that the four corners of the great pyramids where level to within a few millimeters.

Later they found out that the ancients had digged a channel around the pyramids and filled it with water. What could be more precise?

When making waterproof hatches its important that level surfaces matches level surfaces otherwise the gasket cannot take up the play.

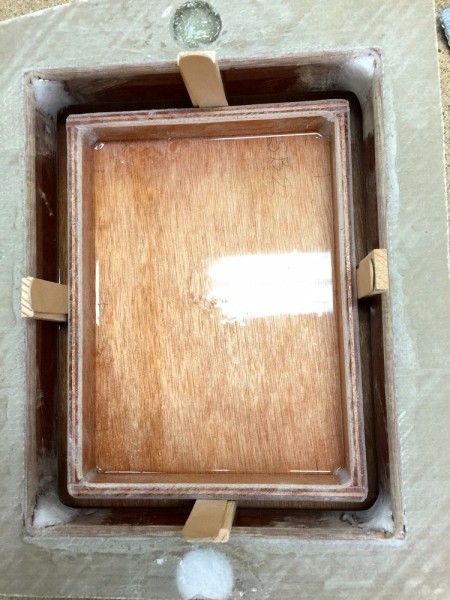
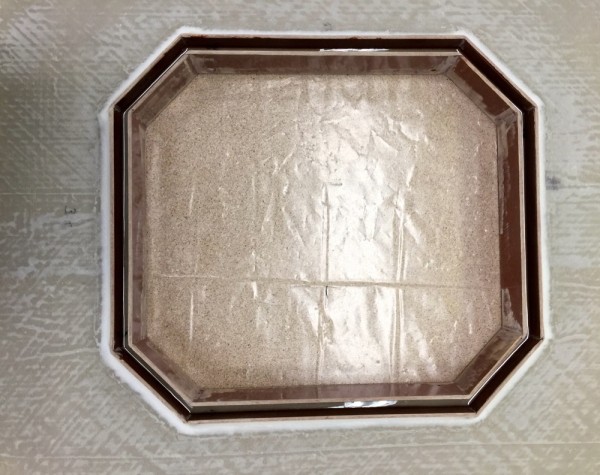
To achive a level surface blow the gasket I poured a few millimeter epoxy into the channel. See picture.

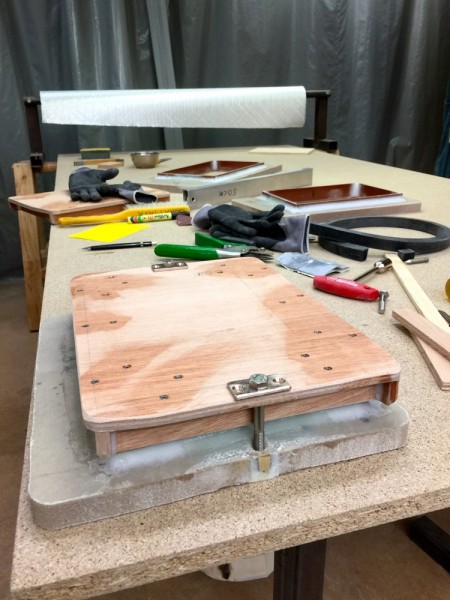
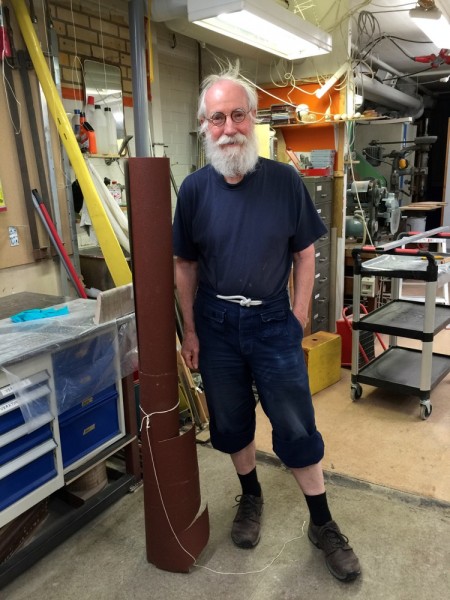
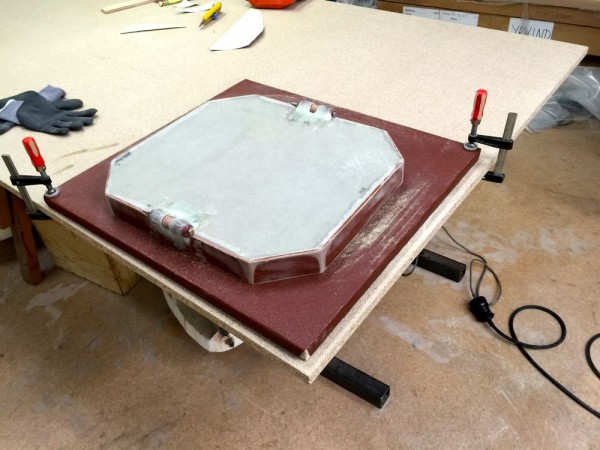
The other surface, that on the hatch. I ground it flat on a big flat surface. It was sandpaper on particleboard. Particleboard is very flat. I had found a roll of sandpaper on a flea market. The roll was five feet vide. It cost me 2 €. See picture.

Below the sandpaper on particleboard. The hatch being grinded.

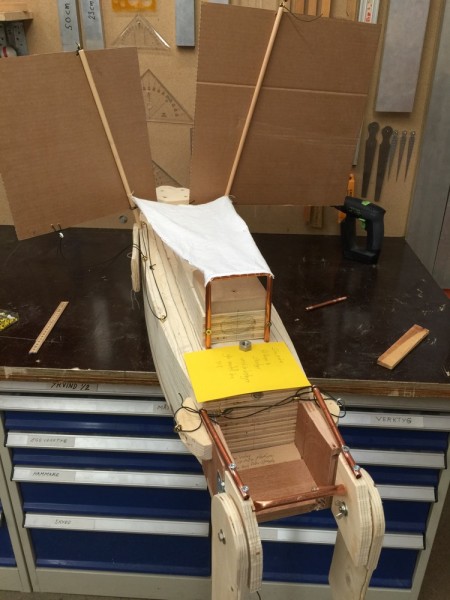
I will have a gallow to lean against and hold into. It will also serve as the aft end of the awning/water catchment system.

Pictures below.

from the back.

The watercatchment on the model.

To bee continued…

Regards Yrvind.

CONTROLLING EX LEX

Production boats are optimized for windward work. Therefore they have weather helm. Cruising boats spend a lot of their time going downwind. A trade wind passage or a voyage in high latitude west wind belts in a boat that has weather helm is not optimal. I designed Ex Lex with leeboard so that I can get lee helm by lifting them up. Leeboards leave the boats bottom nice and clean, no centerboard case that creates turbulence. There is no better lateral arrangement than leeboard for going downwind.

External forces tend to deviate at boat from its course. The winds strength and direction keeps changing therefore the sailor has to adjust sail area and rudder angle. That work often exposes the sailor to the elements at awkward times.

To make it easier for me I have a dry and cozy sleeping room in the middle of my yacht enclosed by waterproof bulkheads. At either end there is a control area.

In the back a deckhouse, the forward end a smaller deckhouse. My boat is divided into three parts. From everywhere I like to adjust the rudders therefore the tiller lines run a circuit around the boat. The top line for the starboard rudder the bottom line for the port rudder.

The rudders can be moved independently of each other. To move both rudders I grab both lines.

If I like to slow down the boat, for example running before a gale or handling sails I move their aft end out letting them form a V. I light wind I tilt the windward rudder up to reduce resistance.

The tiller lines comes into the boat through a pipe under the aft deck. The line is sealed with piston cups that no water may enter the boat that way. To keep the pipe and tiller short a block and tackle is used.

Handling the rigging and leeboard is done from the forward hatch going downwind even if my destination is to windward; the reason less water is coming onboard.

To orient myself to the sea there are some small oval windows, 15×6 cm, in the forward deckhouse.

I like to be able to adjust the sheets from either deckhouse. To make me able to do that the sheet is in an endless loop with three attachment points, the sail and the two deckhouses.

The masts are short 1.8 meter and 2.3 meter above deck. In strong winds I dowse the big sail and place it and the mast on deck.

The masts are side by side. Using one mast on the lee side makes the boat more weatherly. Using one mast on the windward side gives lee helm.

Running with two sails wing a wing the sails can be let out more than 90 degrees making at very stable configuration. Balanced lugsails are only attached to the mast at the top and they do not need a boom vang as the dawn haul is aft the fore end of the boom.

The rudders are attached to the bathing platform that extends the waterline and gives the rudders more momentum.

Below are a few photos to illustrate my text.

The endless loop runs thrugh a single block in the boom, a dubble block on the deck – the sheeting point then on end runs forward to a cleat at the forward deckhaus, the other part back to another cleat at the big deckhous. Then the loop connects the cleats.
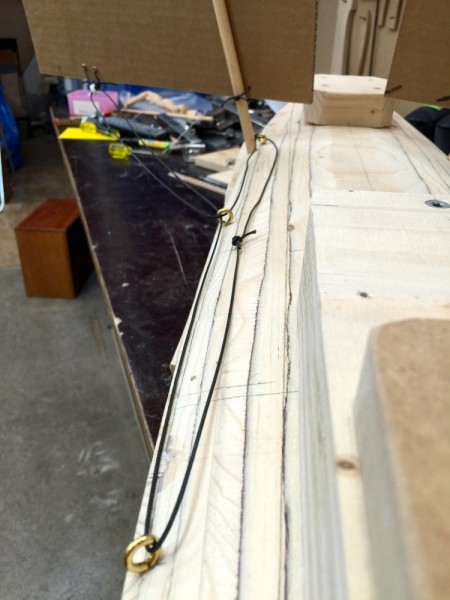
The loop seen from the aft deckhouse.
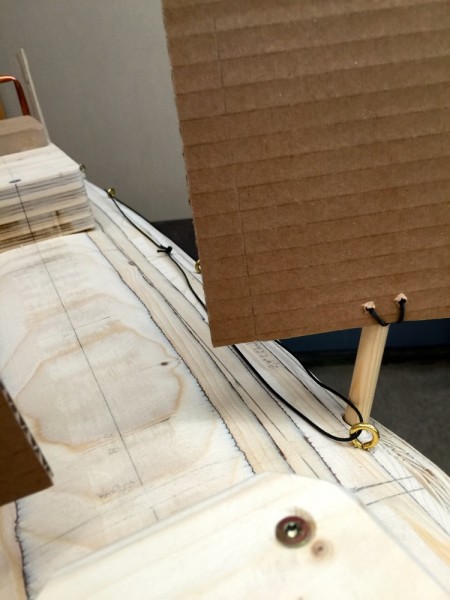
The loop seen from the forward deckhouse.
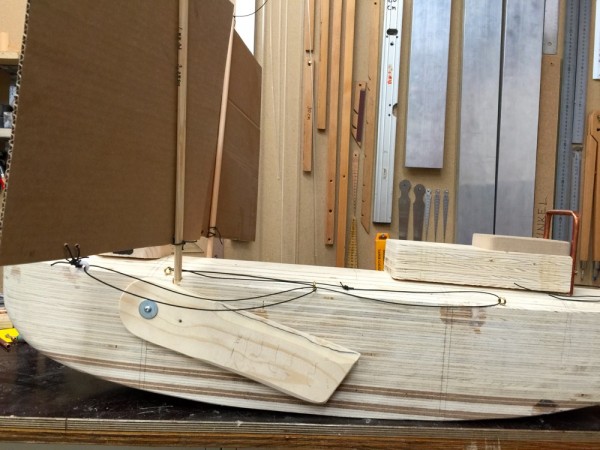
The loop seen from the port side
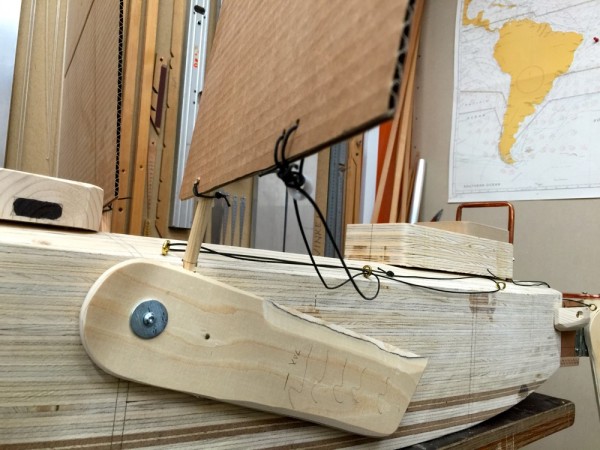
Last picture of the loop. I hope you get the idea.
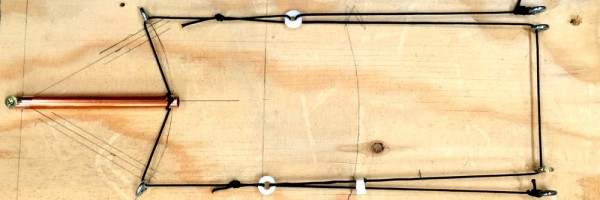
Above the principal of the inside loop that goes all around the boat. A singel block at each side does the gearing. Rope jammers – not shown – will fix the rudders in the desired position. I will give enough friction in the system that the rudders do not easily move without my intention even when the jammers are released, when I move from one position to an other.
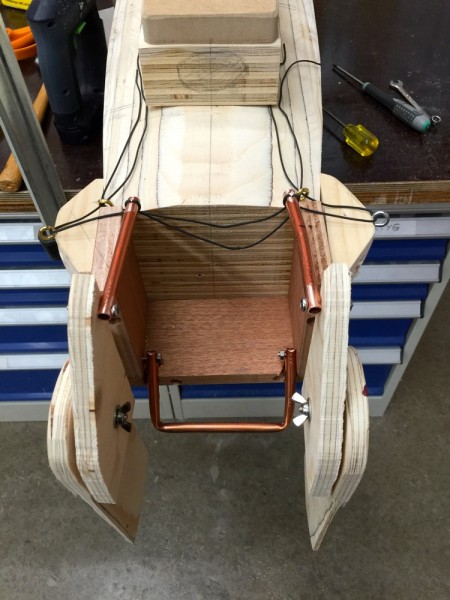
The rudders. The control lines goes into pipes under the aft deck, not shown here. The are sealed with leather cups to keep out water. The boarding ladder is in the water.
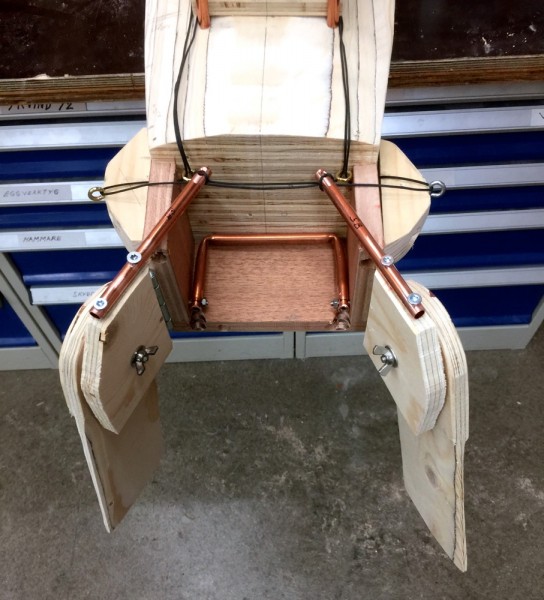
The rudders in the braking position to be used as a drouge.
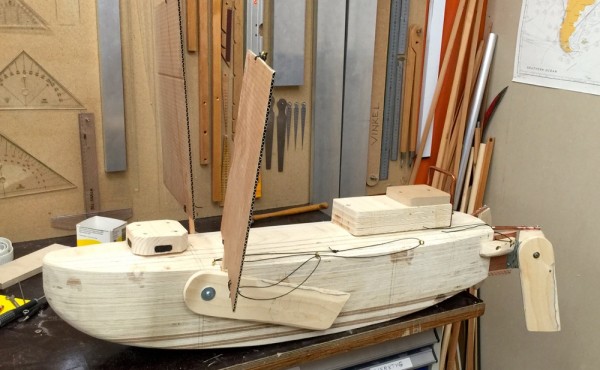
In the above picture the two deckhouses can be seen. The small windows on the forward deckhous are indicated.
Above the forward deckhous in full scale. The windows gives me an excellent vieuw allowing me to orient the boat nicely before open the hatch. Saving me from useless bailing.
To be continued…

Regards Yrvind.

BUREAUCRATS AGAIN

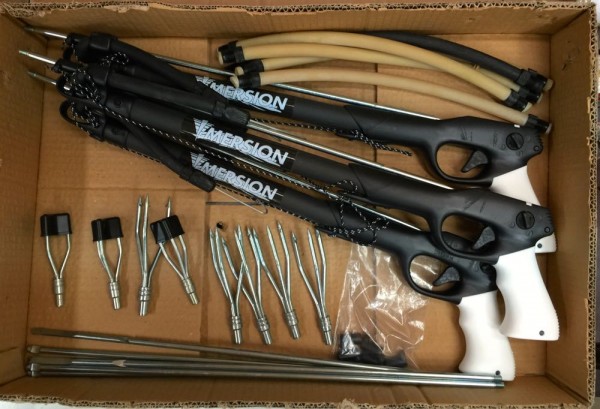
I have received a box with spear guns from Dan Berg. As Ex Lex is so small I can only store food for about 8 months. I intend to use them if I run out of food.

The Swedish bureaucrats have given me many problems about it.

Unlike the other Nordic country’s Norway, Denmark and Finland spear guns are forbidden here. I wonder why.

I have asked the related authority’s to get a permission to carry a spear gun as a survival tool.

“No way”, they say.

Finally I found a police recommendation from 1986 that said that small spear guns 50 cm, were OK. I like small things and I am aiming for small fish.

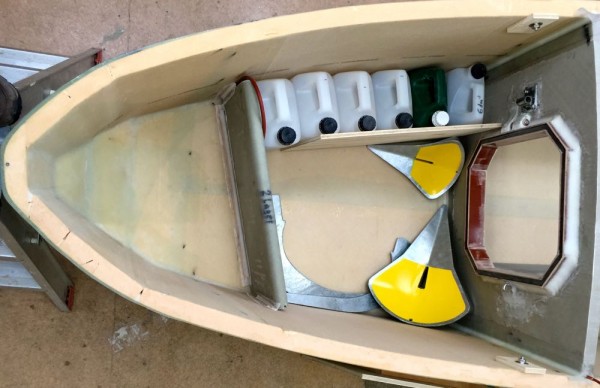
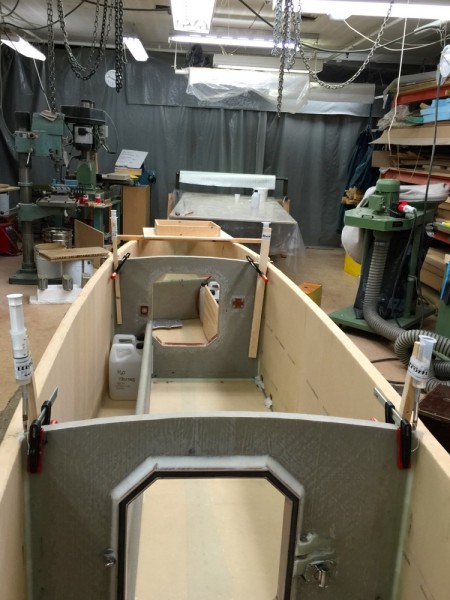
Below is the forepeak arrangement.

One Spade anchor 15 kilo for extreme storm use one 6 kilo for normal use.

6 plastic cans for water. Each holds 5,5 liters. There are 4 more elsewhere. I will also have 7 one liter bottles for dayly use. Over the years I found that I use rather less than one liter a day. Therefore whith no problems I can go two months between rains.

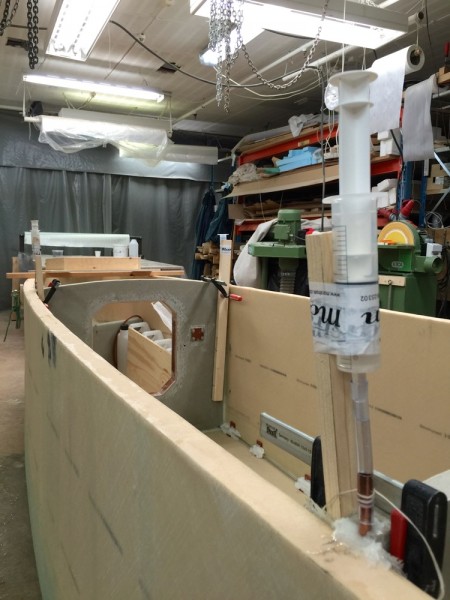
The main bulkheads are now attached. A taped fillet on each side and epoxy injected between should make a strong and precise connection.

I use a syringe connected to a cupperpipe to inject into a grove.

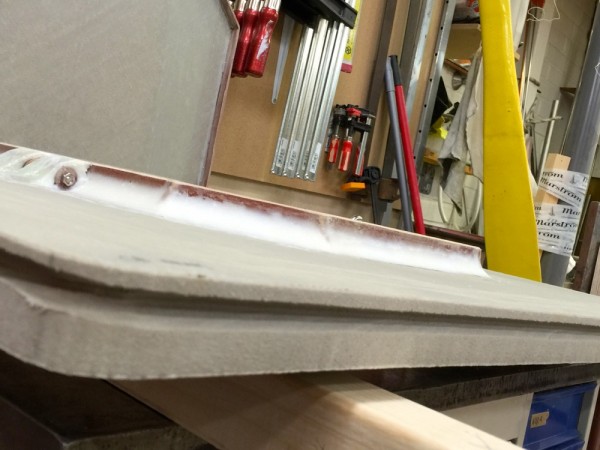
The Growe .

The bulkheads are made from 3 cm thick H 80 divinycell.

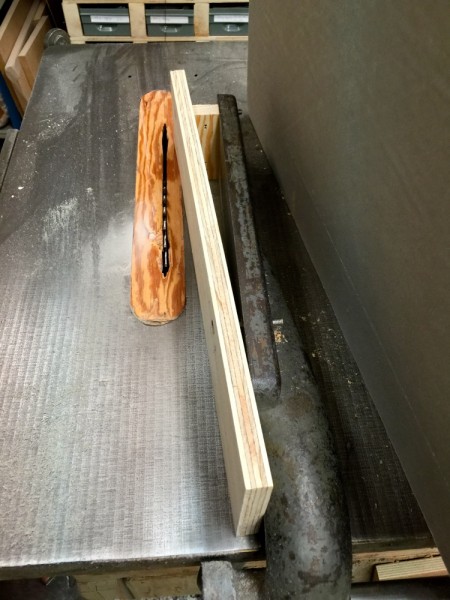
With the help of a piece of plywood the table saw cuts the grouwe at an angle making the grouve wider.

To be continued…

Regards Yrvind.

When I happily told my friend Björn, who knows about laws about he said:

“That was 1986, what about today” He checked and it was OK.

I intend to have one in the forward hatch and one in the aft hatch and one spare gun with some spare parts.